Murphy Bed
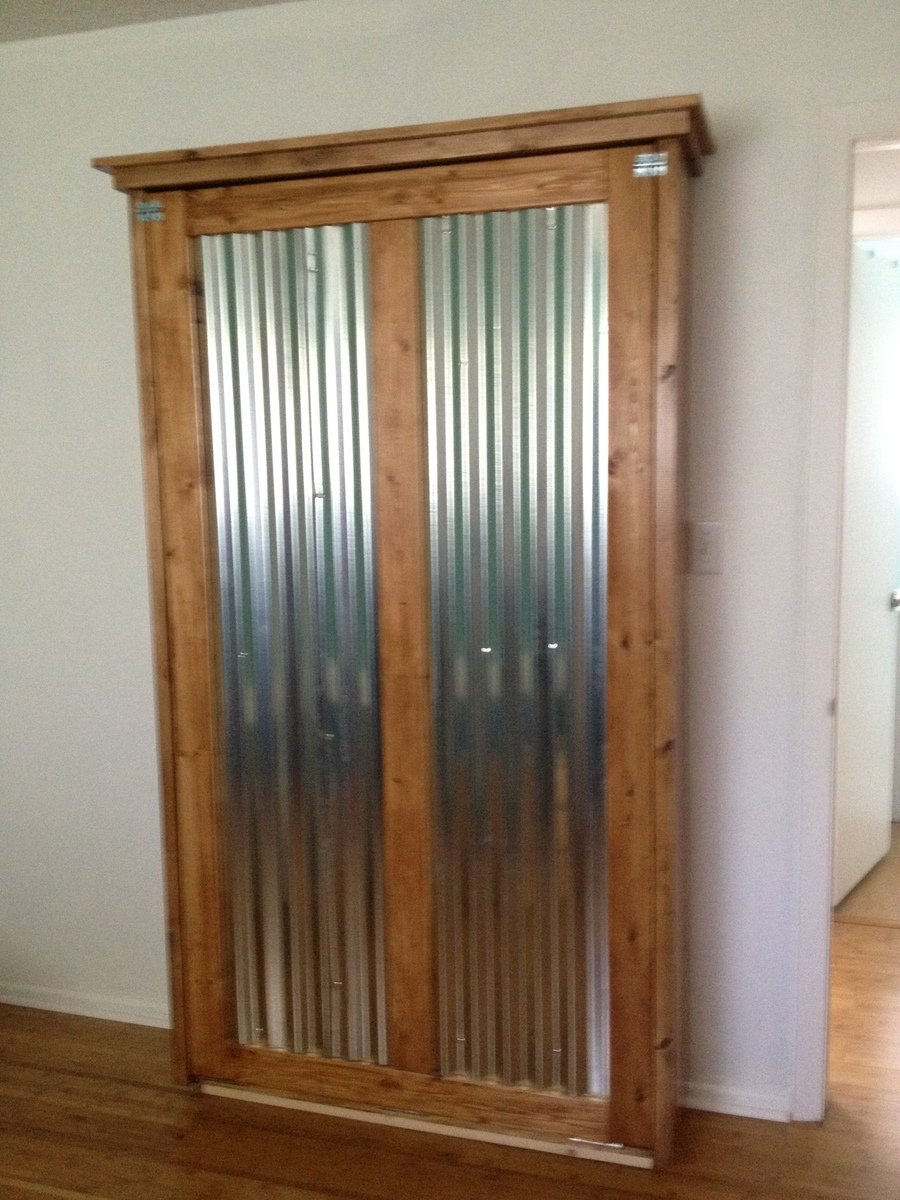
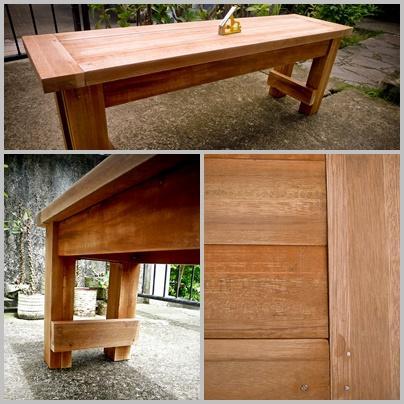
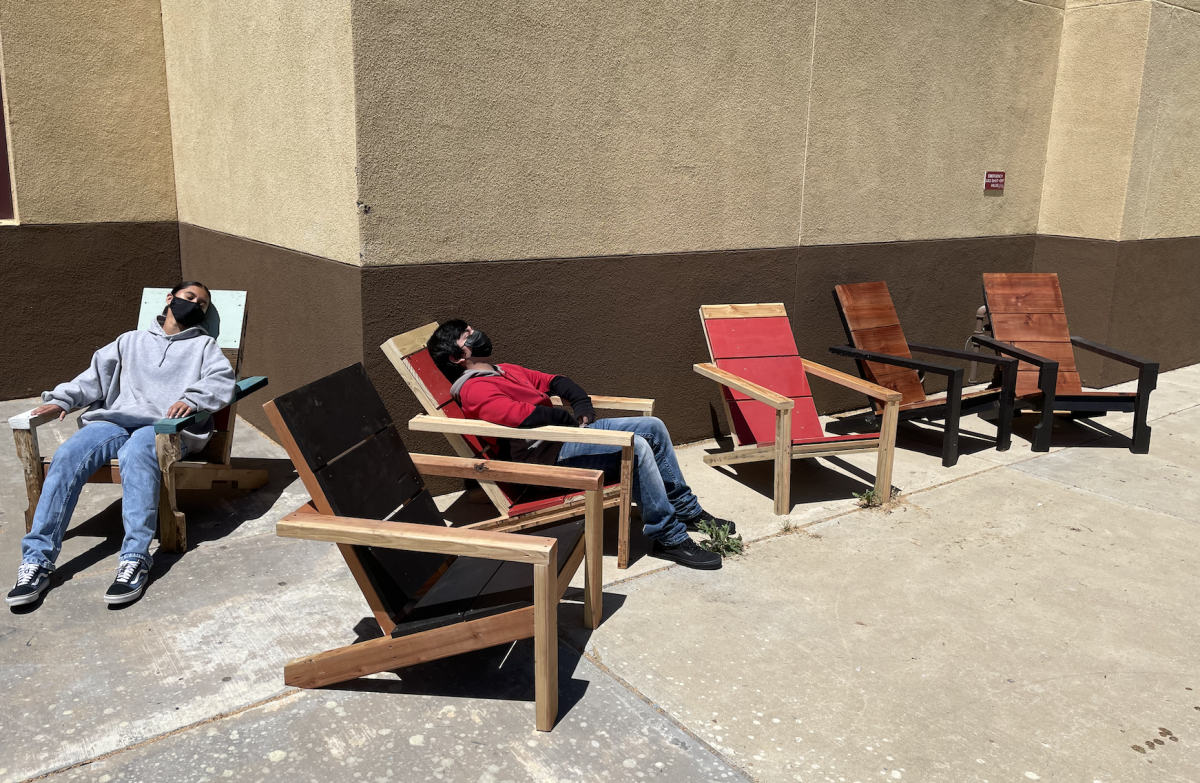
I'm turning my messy sewing room into an organized craft/guest room, so I made a murphy bed to conserve space. I used corrugated tin on the the face of the bed so that I can use it as a magnet board while not in use as a bed.
This is my first DIY project ever. No plans.
I adapted the plans somewhat. The headboard is made from Pucte, a trpical hardwood with frame of Cedro, a Mahogany. The seats of the stools are also Cedro and legs of Caoba, another Mahogany. I live in Yucatan so these woods are available. The Pucte was repurposed old salvage free
This was the first good-sized project I built by myself. I finished it more than 4 months ago and it still makes me smile every time I look at it. :-) A simple, functional and BEAUTIFUL shelf that will work anywhere and for anyone! I was so impatient for it to be finished I didn't put poly or any clear coat on it and I'm still in love!
Here is a pic of kitchen cabinets I built using Ana's plans.
Tue, 04/07/2015 - 11:40
If you lived near me, I would hire you. If you can do this, your funk tire buying days are over ! Awesome job!
Mon, 05/04/2015 - 12:00
Thank you, this was my first Kitchen remodel. I am not sure if I want to do this for hire. I may just build the cabinets but not sure if I want to install anymore.
Mon, 05/04/2015 - 12:03
I still have to install the back splash and flooring. Going with a knotty pine flooring. I will distress it and I am going to install vintage Common Rose Head nails at the butt joints of the flooring.
Tools Used:
Jigsaw, Hammer & Sander.
FIRST Project! Made this for my brother who works out at home and uses his bed as bench when he lifts weights. tsktsk. It took me 2 days, on and off to finish this. :))
Thanks Ana for the plan. I learned a lot and I can't wait to try and build your other plans. :)
I made this from the kitchen island plans, but added a countertop. It's really sturdy and cost about $65 in materials. I love it.
I basically just followed the plans on this site. it is really a pretty simple build but it helps to have a second person and it is very time consuming.
Needed a table for food prep with my grill and found your plans! I used treated lumber for the base and nice cedar planks for the top. The treated lumber had a whiter than usual color which made the base really pop out. I put a nice pecan stain on top and a few coats of poly so the BBQ sauce wouldn't stain it! This was so easy, literally took 2-3 hours to build, stain and poly was done over the next few days. Ready for my next ana-white project. Thanks for posting these plans.
Wed, 07/09/2014 - 16:24
I was looking on Pinterest and found this table. It was exactly what I was looking for. You inspired me to go out and buy a miter saw and some wood and make the table. It turned out wonderful. It now has a permanent place on my patio and gets used when I grill mostly. I was hoping to be able to upload a photo but don't see the option to do so. Anyway, I want to say thanks for the great plans/instructions.
Sliding door to my laundry room with etched, stained glass window
During Covid, we had hybrid classes going on. As a teacher of Stagecraft Technology, we had no sets to create, no large flats or walls to build, so I took your Adirondack chair design and had each student build one using any type of repurposed or up cycled wood. It was a great success, and many of the teachers and staff members started placing orders. The students worked their fingers to the bone, got lots of tool experience, and in the end were proud of their creations, many that we donated to charities, families, etc. Thank You for such a great design.
Wed, 10/06/2021 - 20:15
That is so inspiring, great work and thank you so much for sharing!
Our fifth build.
Built from rough pine.
Modified for 1x2s in both panels.
Footboard is stacked a little different because silly me got carried away and cut a board, before it was time to cut, and cut it too short. Oooops. Still works though. And looks superb I think.
We did not screw the joists vertical, and through the sideboards. I cut 1 inch pieces off the scraps from the joists, and mounted them from the inside, then laid the joists thick side up, and screwed them down into the mounted pieces.
For step by step instructions, and details on where to buy everything, see my blog. I blogged each step of the way. It took us a month to build this due to life obstacles and bad timing on baby naps, but you should be able to do it in one good afternoon.
I made this awesome step stool for my daughter to be able to reach things a little bit better. It works perfectly. And the heart adds the perfect touch, don't you think?
This week's project was a wine rack that I built for my aunt.
Blog: http://www.lanebroswoodshop.com/2015/04/pallet-wine-rack.html
YouTube Video: https://www.youtube.com/watch?v=NUB6UEaLXtE
This is the dining room table I built for my house. It was based on the 4x4 truss beam table plans I found here on Ana's website. I opted against stain, and decided on a clear polyurethane finish to highlight the wood's natural beauty. I've had this table for over a year now, and it has withstood the rigors of young children quite nicely. Thanks Ana!
Sincerely,
Ron Floyd
Portland, OR
I was commissioned to build these bookshelves to go along with the “Rustic X” consoles table. The finish is distressed white and True Browns stain.
I love this little farmhouse bed. I made it for my daughter for Christmas. It is spacious for one doll and cozy for two.
This was our first project. The directions were easy to follow. We used wood screws to put this project together as I do not have a nail gun. My five year old was in charge of the electric screwdriver. I just used 1 peice of wood for the table top and diagonally screwed into it from the bottom. It took us a few days to complete as when you are working with a little one, everything takes quite a bit longer. This was the perfect project for us to work on together! My husband requested a table to put next to the hottub so he could put his drink on it, but I don't want this to move outside! Maybe I'll have to make another one. :)
Comments
Pam the Goatherd
Wed, 05/15/2013 - 11:05
Great idea!
Great idea!
Julie44256
Fri, 05/17/2013 - 09:54
Hardware Cost?
The estimated cost is $100, but the hardware linked from the original plan was over $300. Do you have an alternate method of mounting this?
arkep
Fri, 05/17/2013 - 11:23
Hardware cost
I think that link was a suggestion if you want an assisted lift/lowering system, and that hardware is part of what makes regular Murphy beds so expensive. I just used door hinges--3 for $8. It's not that heavy to lift and lower the bed, in my opinion.
Julie44256
Fri, 05/17/2013 - 11:40
Hardware Cost :)
Thank you for your reply! If I make this project, I think I'll try the door hinges. It won't be frequently used (a few times a year) and I'm pretty sure we can handle the minimal weight for those few occasions.
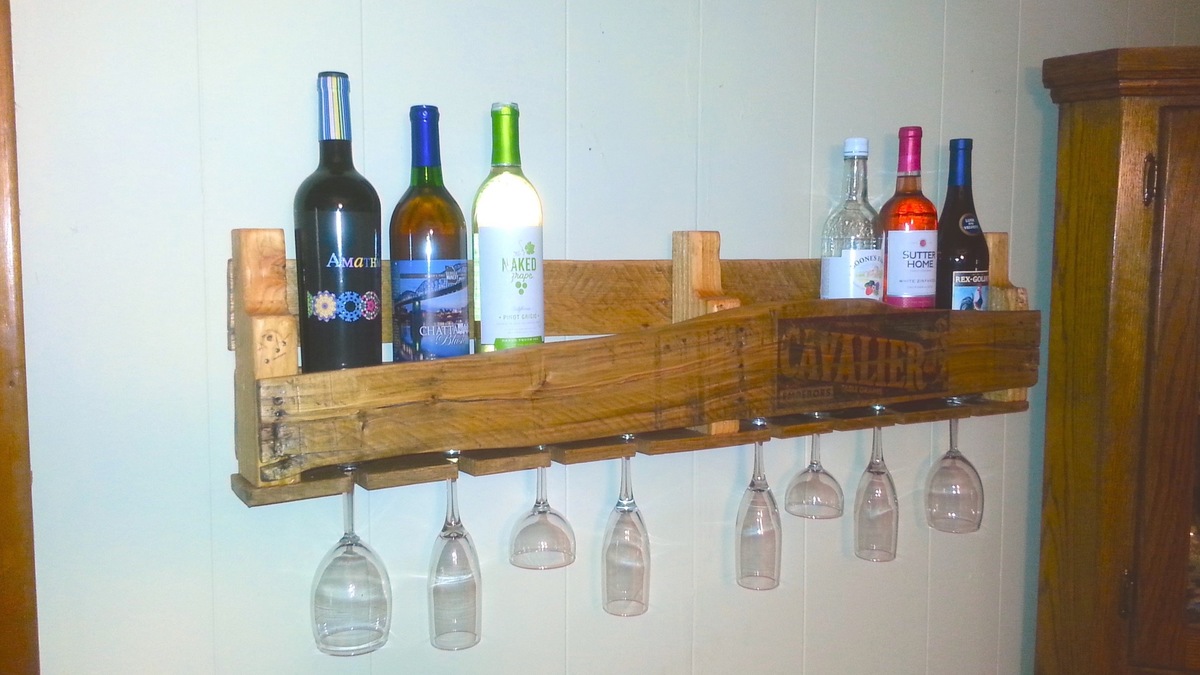
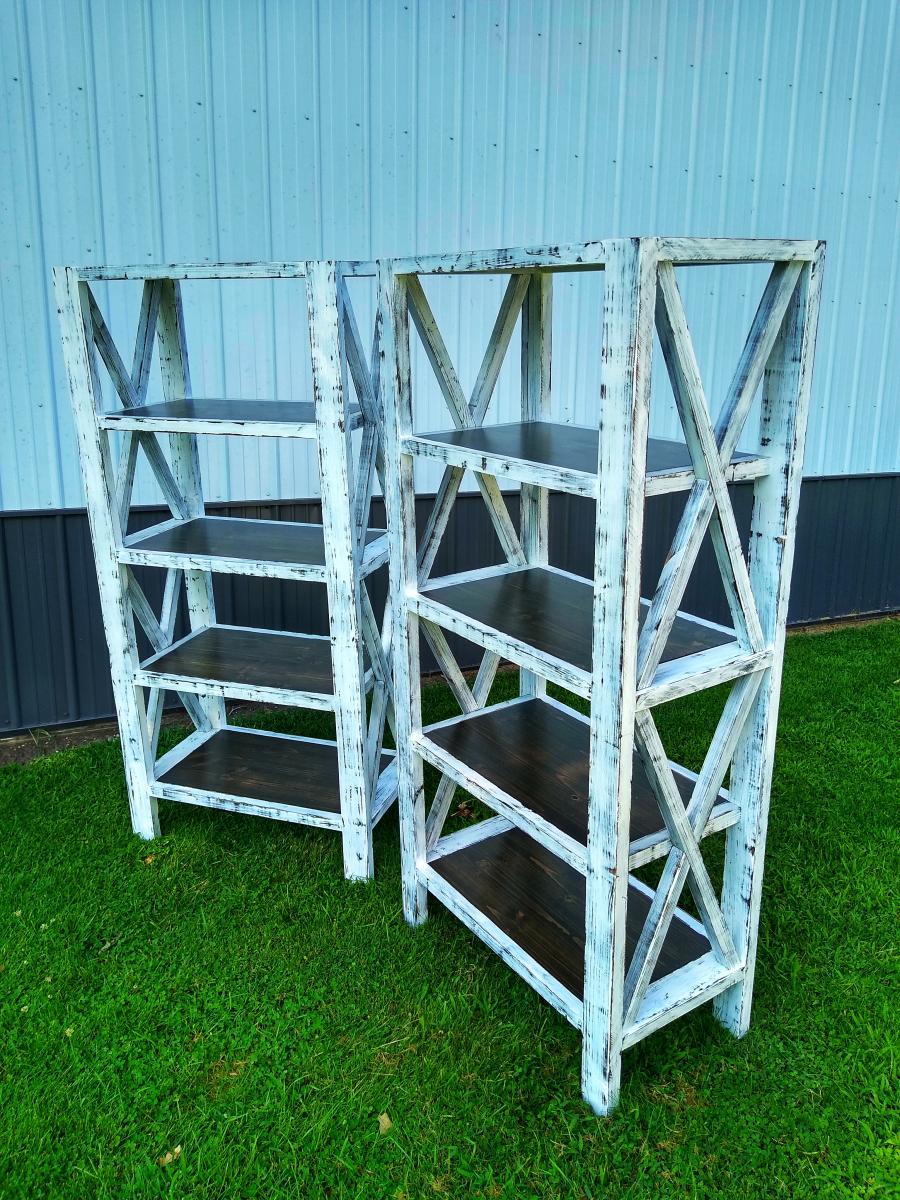
P.S. I really like the styling with the wood and corrugated metal, it looks sharp!
iMark
Fri, 06/28/2013 - 20:02
great muphy bed
thanks for sharing the murphy bed. have been looking for a space solution for my daughter's bedroom. the corrugated tin look sharp in this project--my daughter would like the corrugatged tin as well--except for hot pink stain on the cabinet.
anyone know where to get hot pink stain?
Onaedge428
Sun, 09/08/2013 - 20:58
Does anyone have any
Does anyone have any suggestions on how to bring it up off the floor some?
DorieM
Wed, 02/10/2016 - 04:22
Modify?
I would love this for my room let me save space versus sideways bed. Maybe spray chalkboard or dry erase on one side magnets to one side and daily to do notes on the other?
DorieM
Wed, 02/10/2016 - 04:24
Modify possibility?
Paint tin with dry erase or chalkboard on one side for daily notes?