Rustic table
Modeled after the rustic table. I made it smaller and taller. I used Pine boards and golden oak stain and also jacobean stain. The legs can come off by unscrewing them.
A full write up of this build, including photos & dimensions, is here: http://imgur.com/gallery/YyawW
Sligthly modified based on what I could find in Sweden. Very, very happy about this 😃 Thanks Ana.
Sun, 05/16/2021 - 19:16
That looks so inviting, love the added cushions! Thank you for sharing.
This was a modification of the Shirley Console Table. I had to change the dimensions to fit our entryway, and I wanted some color variation. Because I used two different stains, the pieces had to be fit together, sanded accordingly, taken apart, stained, and then glued/screwed together again. I learned how to use a router on this project, so it was a learning experience (thank goodness for wood filler!). I also inset the sides and back, though it's not really obvious in the picture. The drawers slide on a tongue and groove track. The pulls are white porcelain covered in teal sharpie (baked then coated with acrylic). Definitely learned a lot on this project! As this was made basically from wood scraps, I'm not sure what the cost was. The drawers, minus the facing, is 3/4" oak veneer plywood.
Thu, 04/04/2013 - 17:15
Great project! It's beautiful! Your porcelain knobs method sounds fascinating -- did you sharpie them first and then bake in the oven (what temp & how long?) - that's a super creative idea!
Thu, 04/04/2013 - 17:49
Thanks Joanne :) The tutorial I used is here:
http://www.tealandlime.com/2012/09/diy-faux-malachite-knobs
After perusing the comments, I decided to spray on a clear acrylic coat to protect the Sharpie from eventually rubbing off. It sounds like other markers may not work as well, so I'd stick with Sharpies. I think it would be fun to do other colors!
The design of our planked entertainment center is a compilation from various designs offered on Ana White; Planked Sideboard http://ana-white.com/node/4682 & Media Center http://ana-white.com/2012/04/plans/rebecca-media-center-console-piece. This is the 1st piece in our collection of 6 being made in the Farm House style for our Great Room and Dining Room. We considered this to be our “practice piece” in preparation for the remainder of the collection with many important lessons learned.
The wood used was Red Grandis, which is plantation Eucalyptus and has just recently been made available in the U.S. Red Grandis is being sold in California to replace Mahogany due to the environmentally unfriendly agriculture practices of many Mahogany producers. While highly recommended by our local hard-wood retailer, we were reticent as we couldn’t find much information about Red Grandis on the internet. And, while we don’t completely know how it will stand the test of time, we found it to be very user friendly, and it cut, machined, drilled & stained very well.
This was our first attempt at making drawers. While it took some re-cutting / re-routering, we are pleased with the final result and have gained some cautious confidence for the next pieces. We did learn, in our hands at least, that the Rockler 45° Lock Miter Router Bits provided a much more reproducible drawer corner than the Rockler Drawer Lock Router Bit - 1" Dia x 1/2" H x 1/2" Shank .
This was also the first time that we have used Miller Dowels and we were very impressed with their ease of use and outstanding fixation. Additionally, I called the Miller Dowel company a couple of times for information and found them to be very accommodating and informative. Based on our experience, we would recommend that you consider them for your next project. One tip that we learned along the way was to put shipping tape around ( 5”strip above, below and each side) the dowel before you cut off the tip as it, apparently, lubricates the flex saw and protects the finished surface from being damaged while removing the tip.
Mon, 02/16/2015 - 10:08
This is the first of six pieces that we plan to build using the planked/farmhouse style design.
Tue, 02/17/2015 - 14:27
Wow! This is really nice! I love the stain that you chose!
Getting back into projects. Started with this little table. It was well received!!
Saw your plan for the vintage stool and had to build it for my grand daughter. I added a little twist to it by adding a saying found on stools back in the 70s. Used a router sign kit for the lettering. The last picture shows the grand daughter's approval
I couldn't find a kitchen hutch to fit my space/needs so I modified this bedside table plan. I widened it 3 inches then extended it up! Now I have room for all my cook books! I love it!
This puzzle is similar to the other puzzles I posted over the last year. The goal is to remove the rope/ball from the piece of wood. With very little parts, it was really easy to make – less than 15 minutes. Go to the video for the solution if you cannot mentally figure it out from the pictures.
More Info: https://www.instructables.com/id/Simple-Rope-Puzzle/
Solution: https://youtu.be/NmcurEs-BIA
i followed the instructions for the DIY Greenhouse and even though there are a few warts and freckles neither the wife nor the flowers are complaining
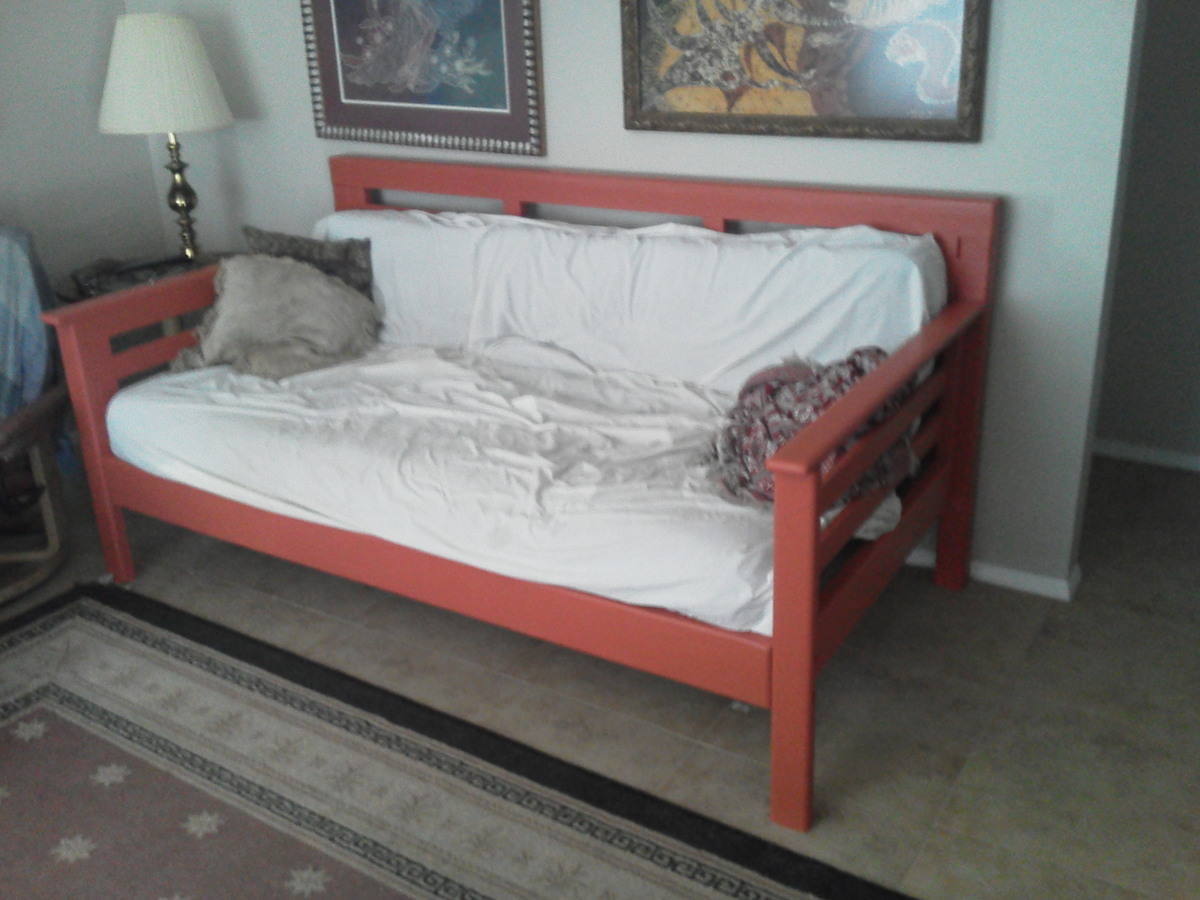
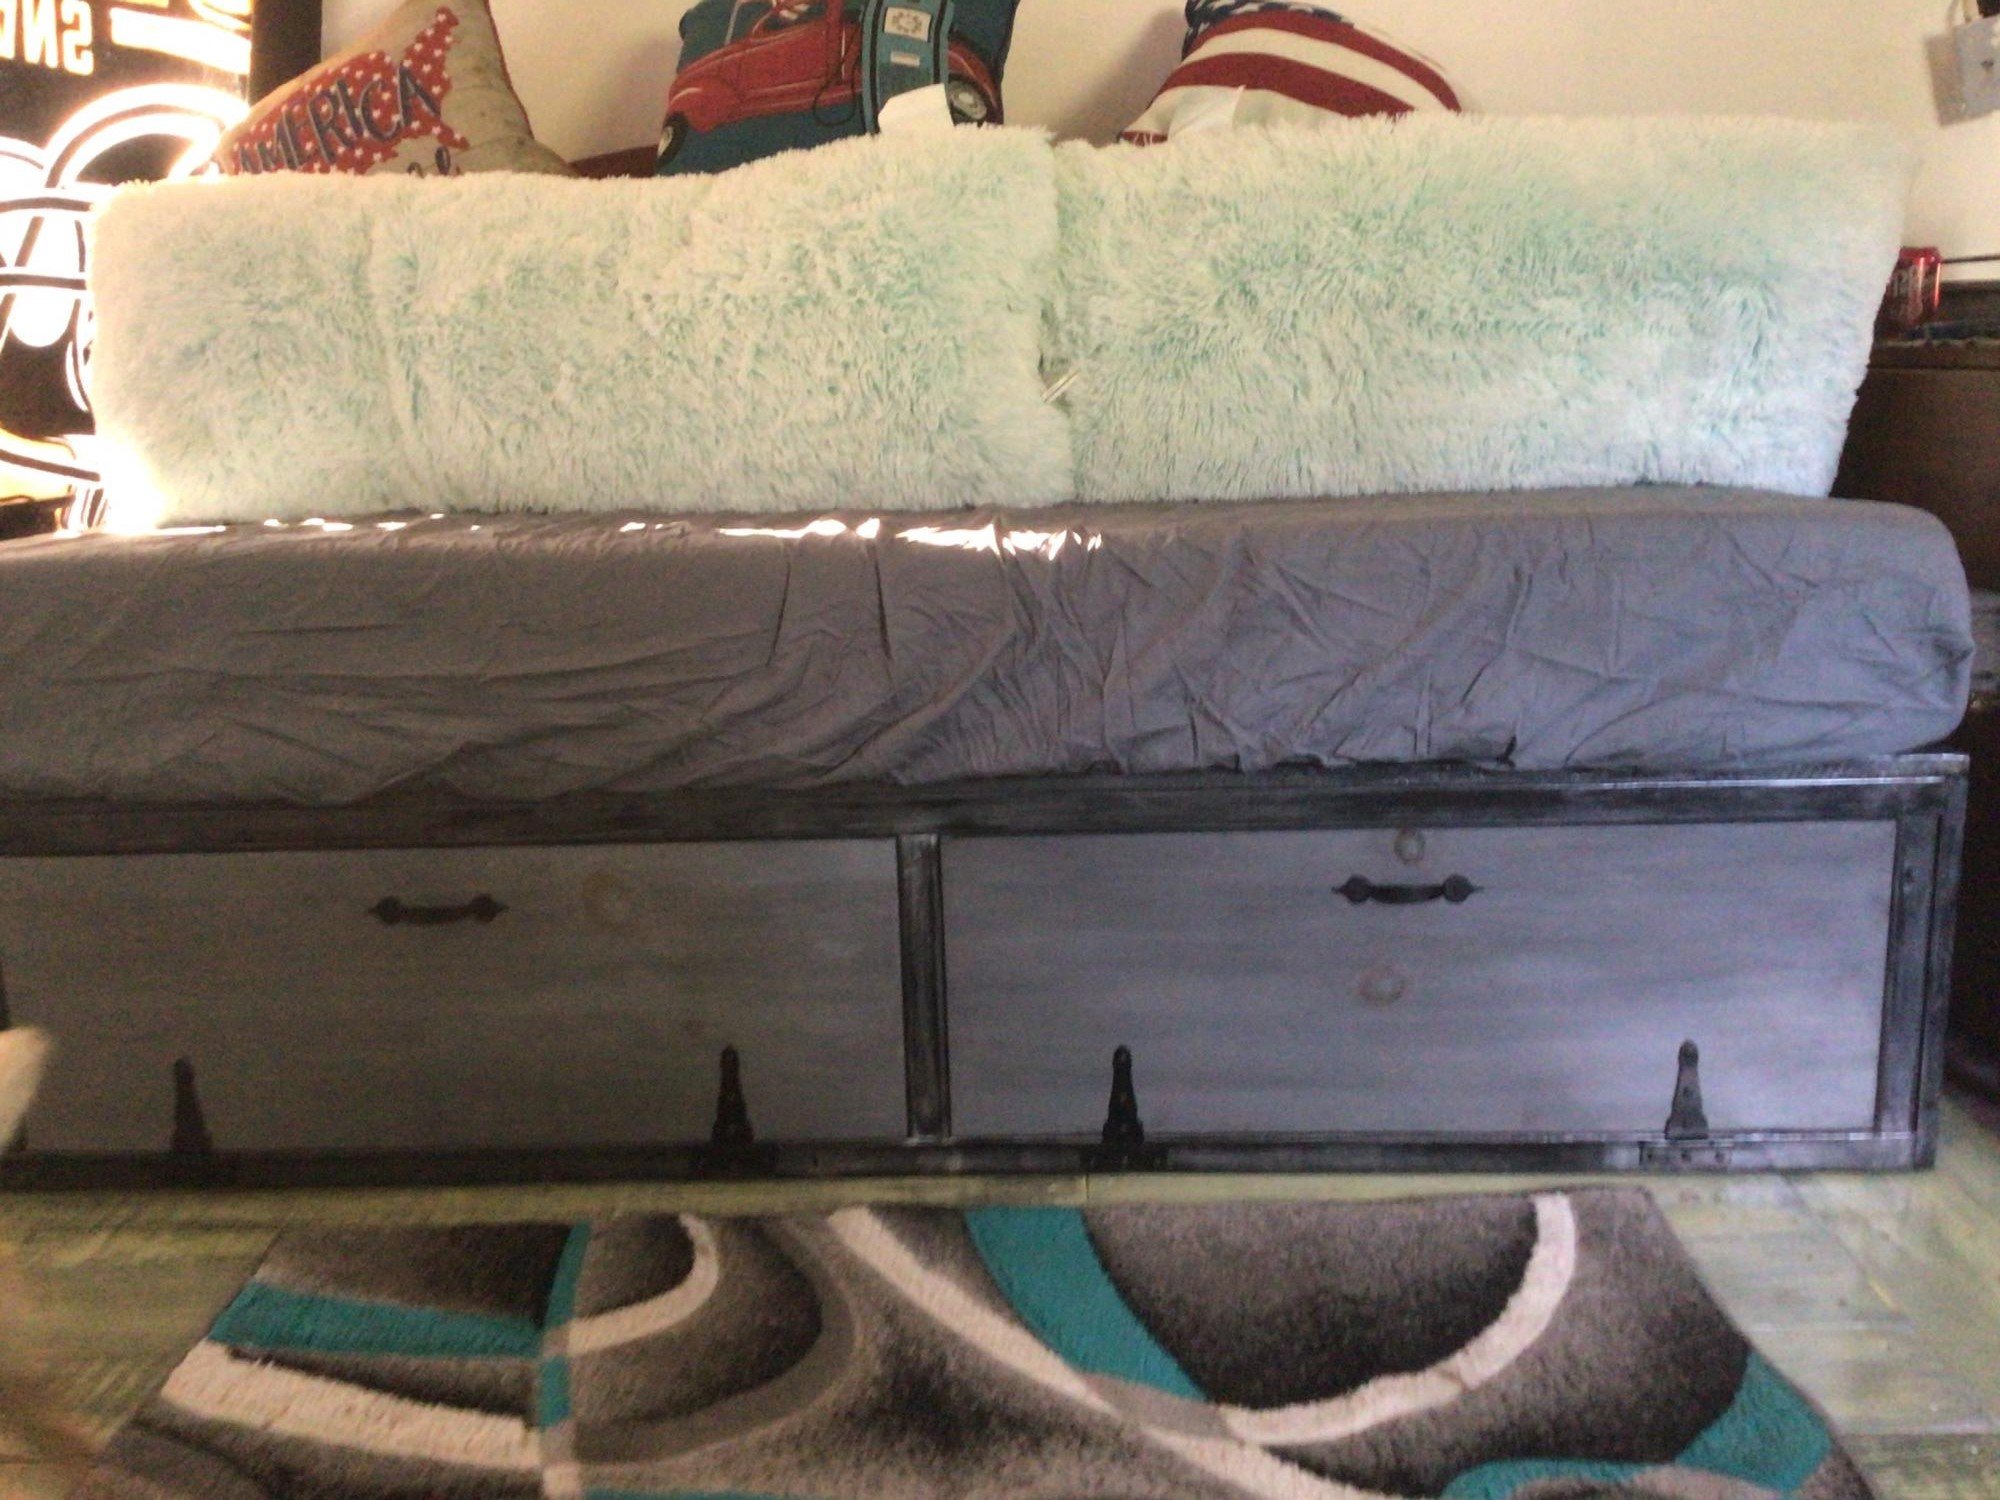
We (myself and my girlfriend) decided to build this daybed after considering several options for a new sofa. With three big dogs we knew we wanted a big sofa and after looking at many $400+ options we saw several issues (besides cost), The biggest was the availability of slip covers for easy cleaning. We went with the daybed route because a mattress is far cheaper than foam for sofa cushions and twin sheets are readily available for low prices in many colors.
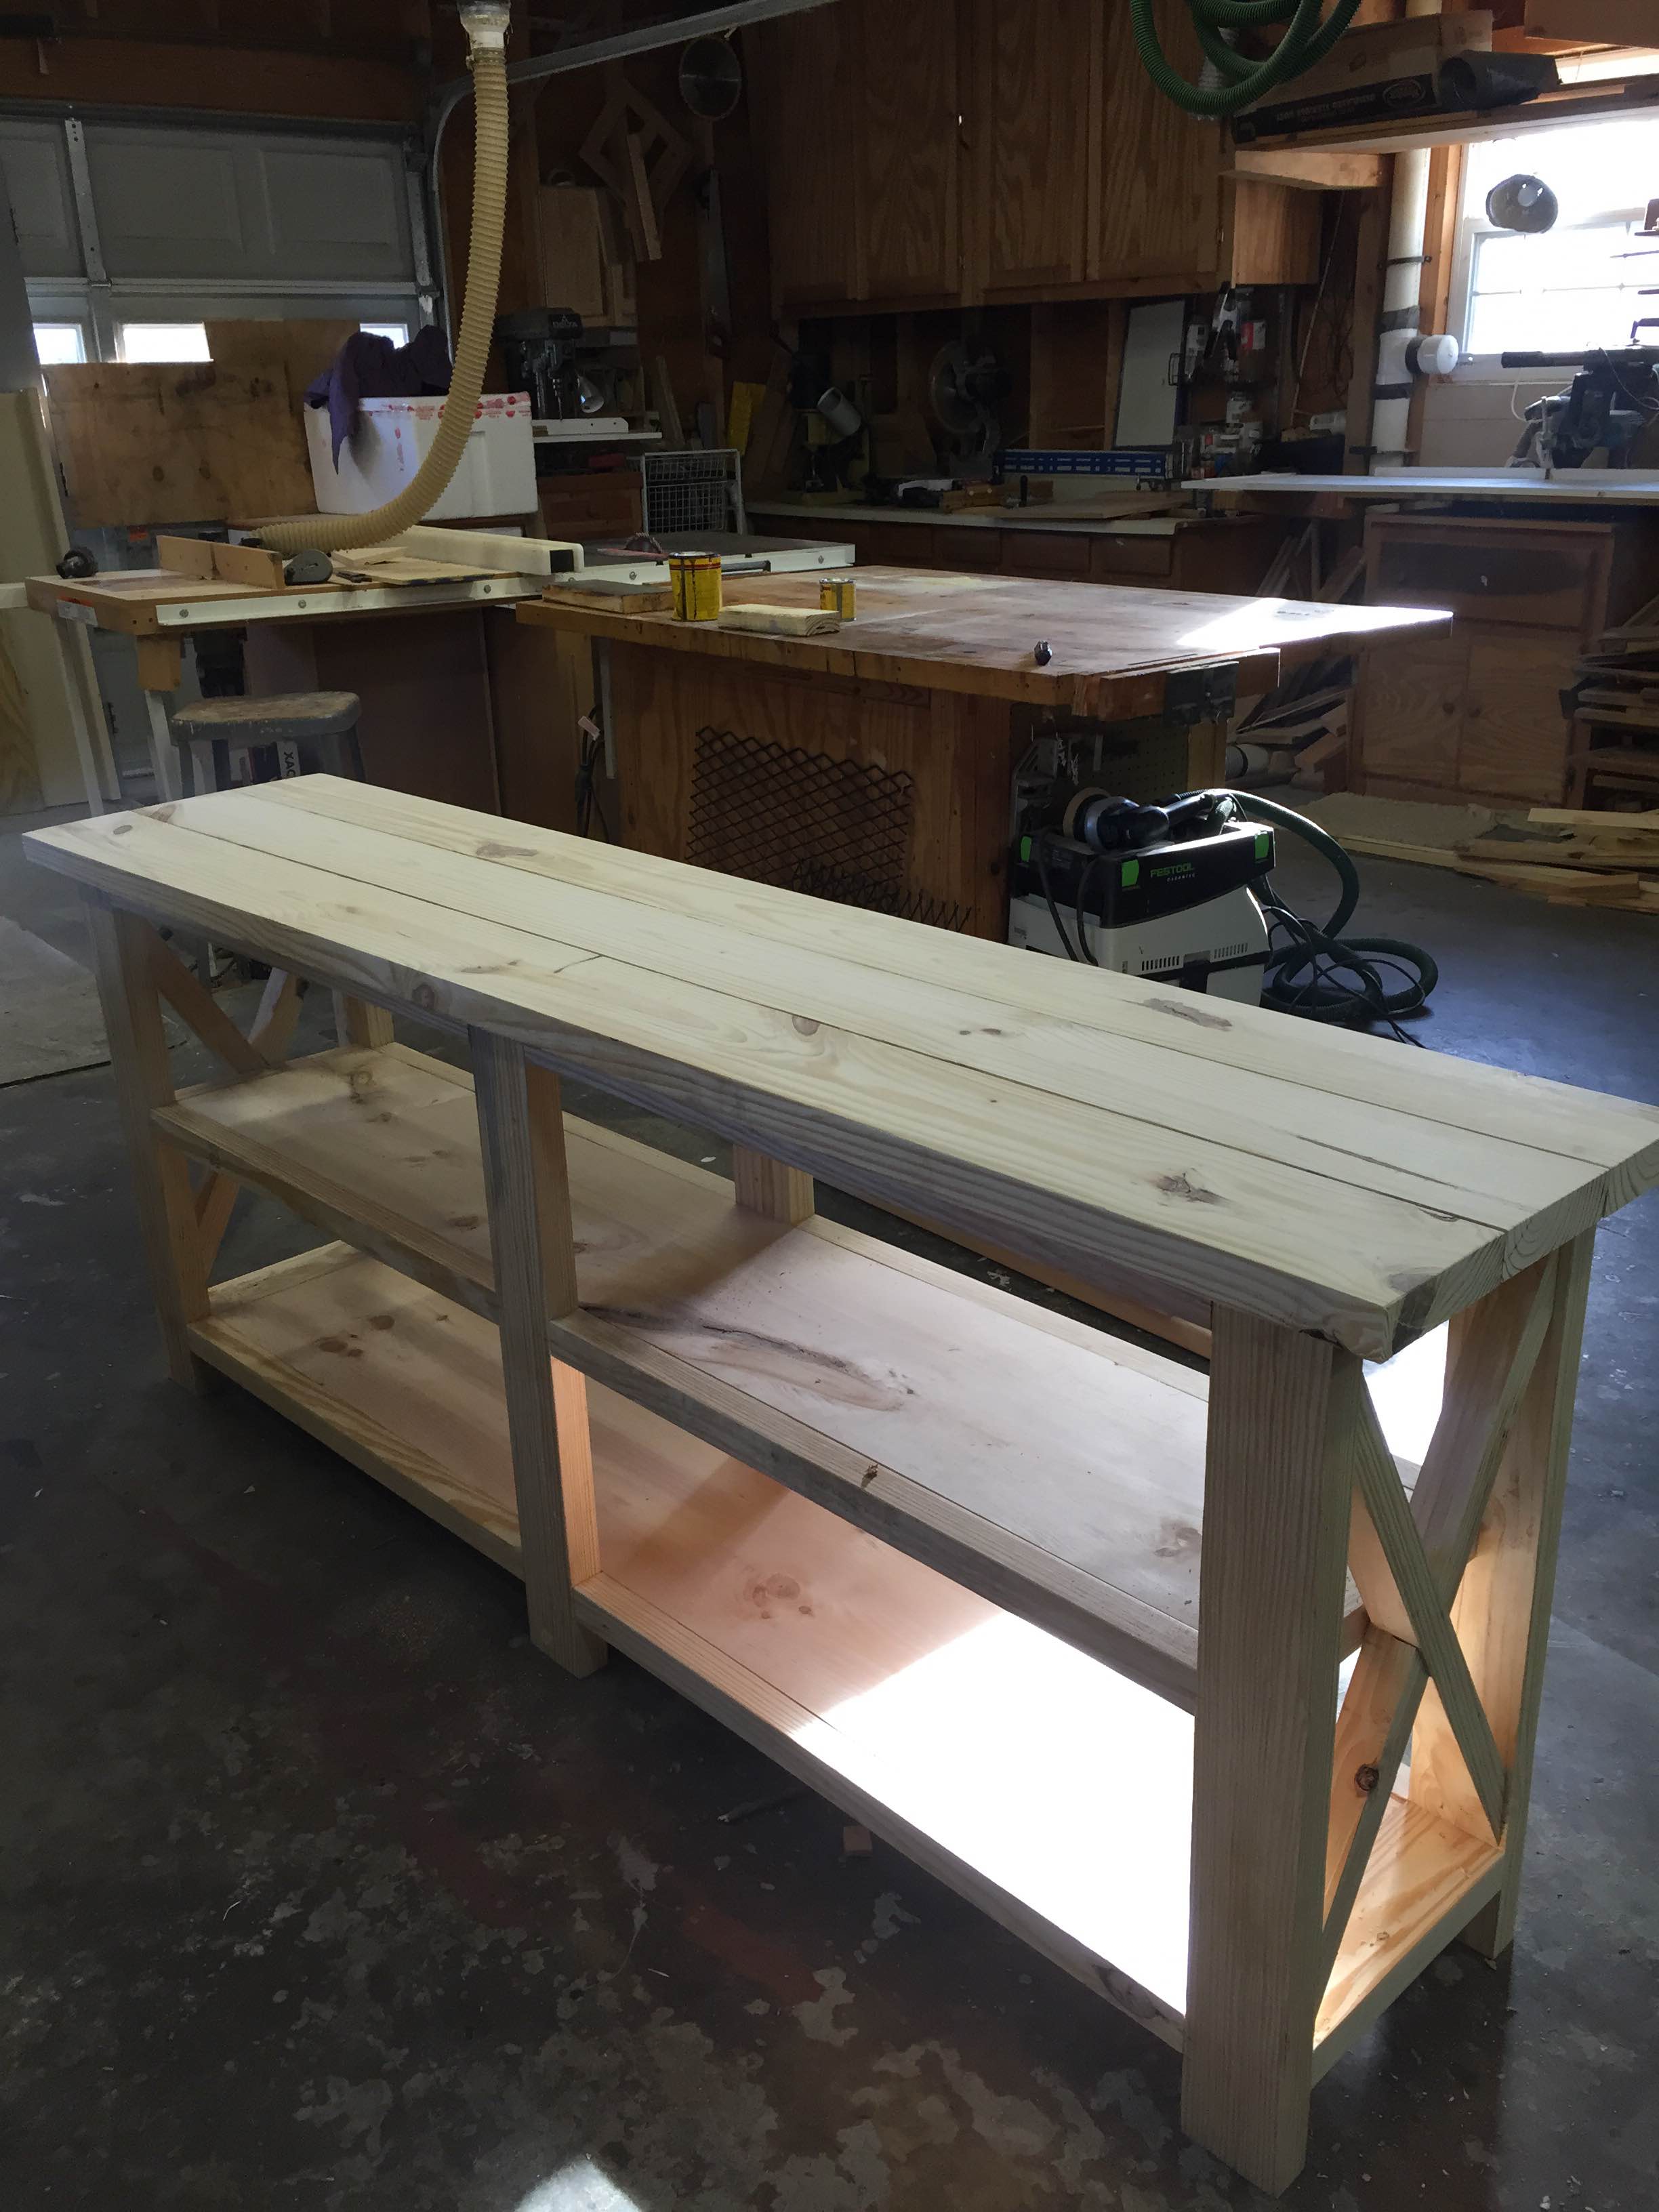
Obviously I altered the plans significantly as I wanted a chunkier, heavier frame that would withstand the abuse of day to day life. Also I removed the canopy as it's not needed indoors. The rear legs are 4x4 nominal which I resawed to 3x3 actual. The rear frame is 1x3 nominal horizontal pieces with 2x3 nominal boards as the verticals. These have rabbets cut in them to join with the horizontal pieces. The bottom support for the mattress is a 2x6 resawn to 2x5 actual and rabbeted to fit each vertical and the legs. Also, the top two horizontals are longer to fit into rabbets in the legs - this allows the back structure to be far stronger.
The sides are constructed of 1x3 horizontals with the leg and arm cap being 2x4 nominal resawn to 1x3 actual. The verticals were rabbeted like the rear to accept the horizontal pieces. The front crossmember is a 2x6 nominal block planed to match the front legs.
Joinerys consists of the following -
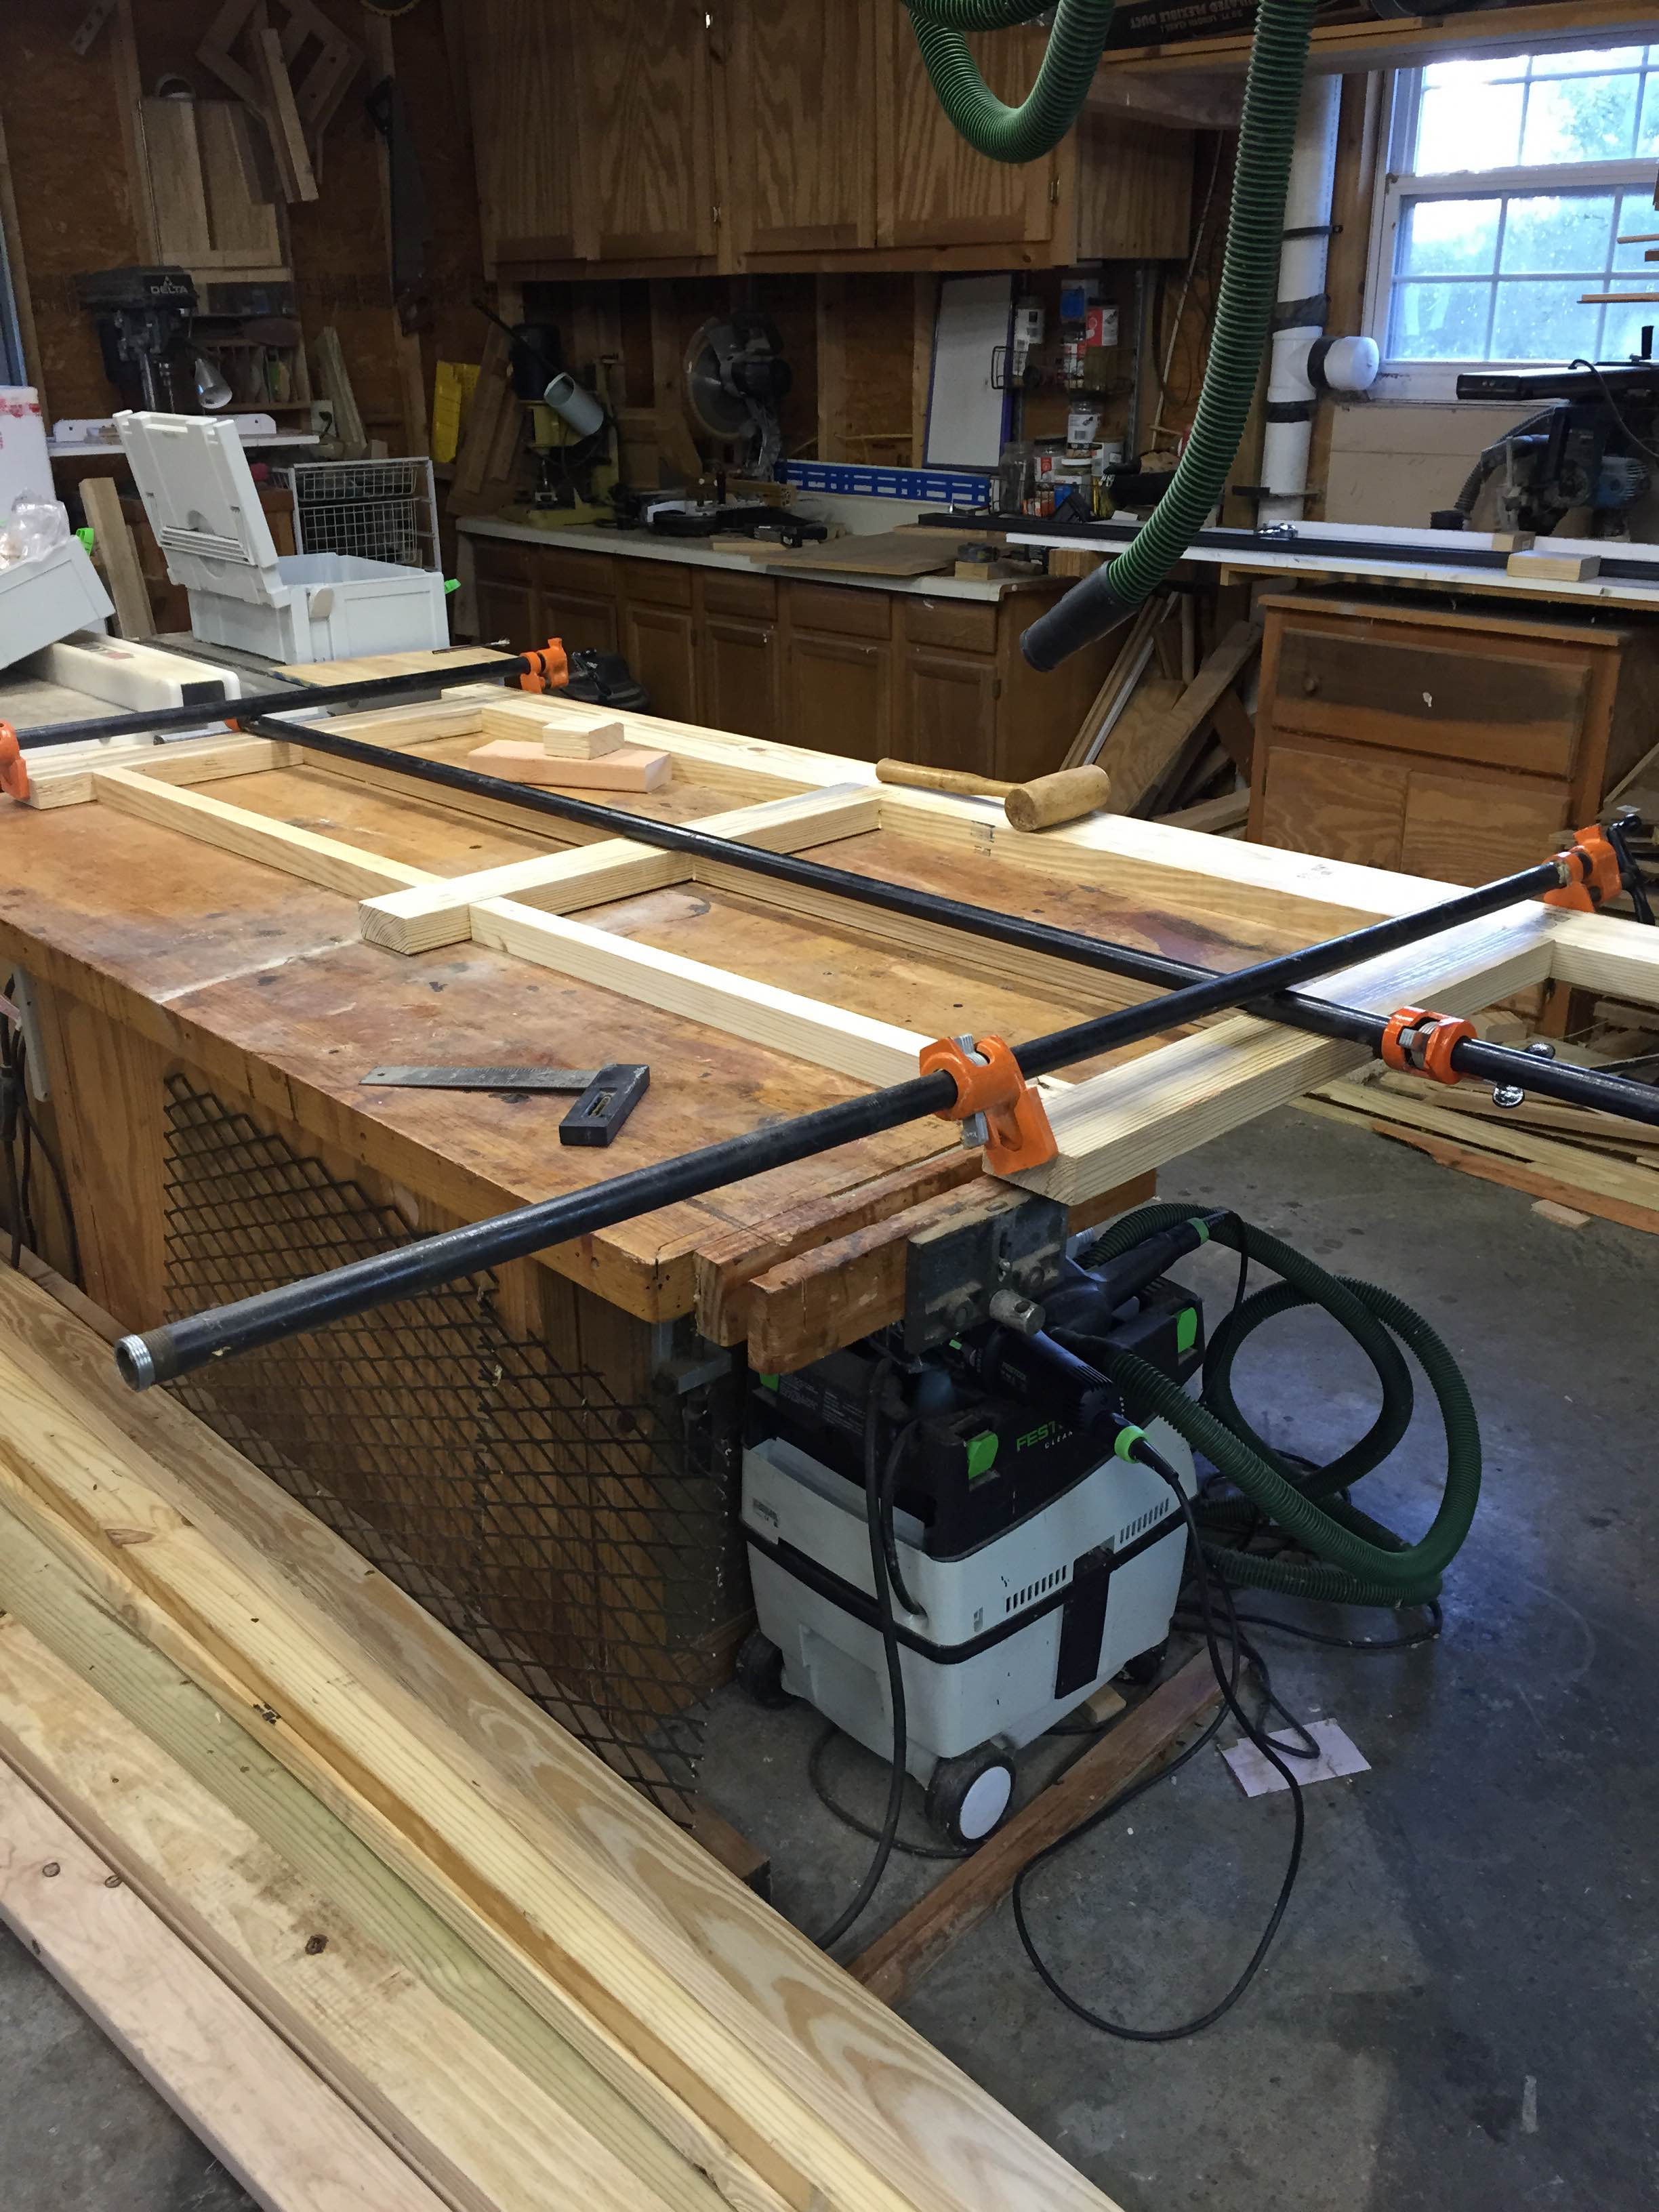
All rabbeted joints are glued and brad nailed together.
The legs and arm/top caps are pockted screwed to the horizontal crossmembers.
The front, sides, and rear join with 3 1/2" deck screws and 5 1/2" lag bolts.
Stringers/mattress supports are 2x3 nominal.
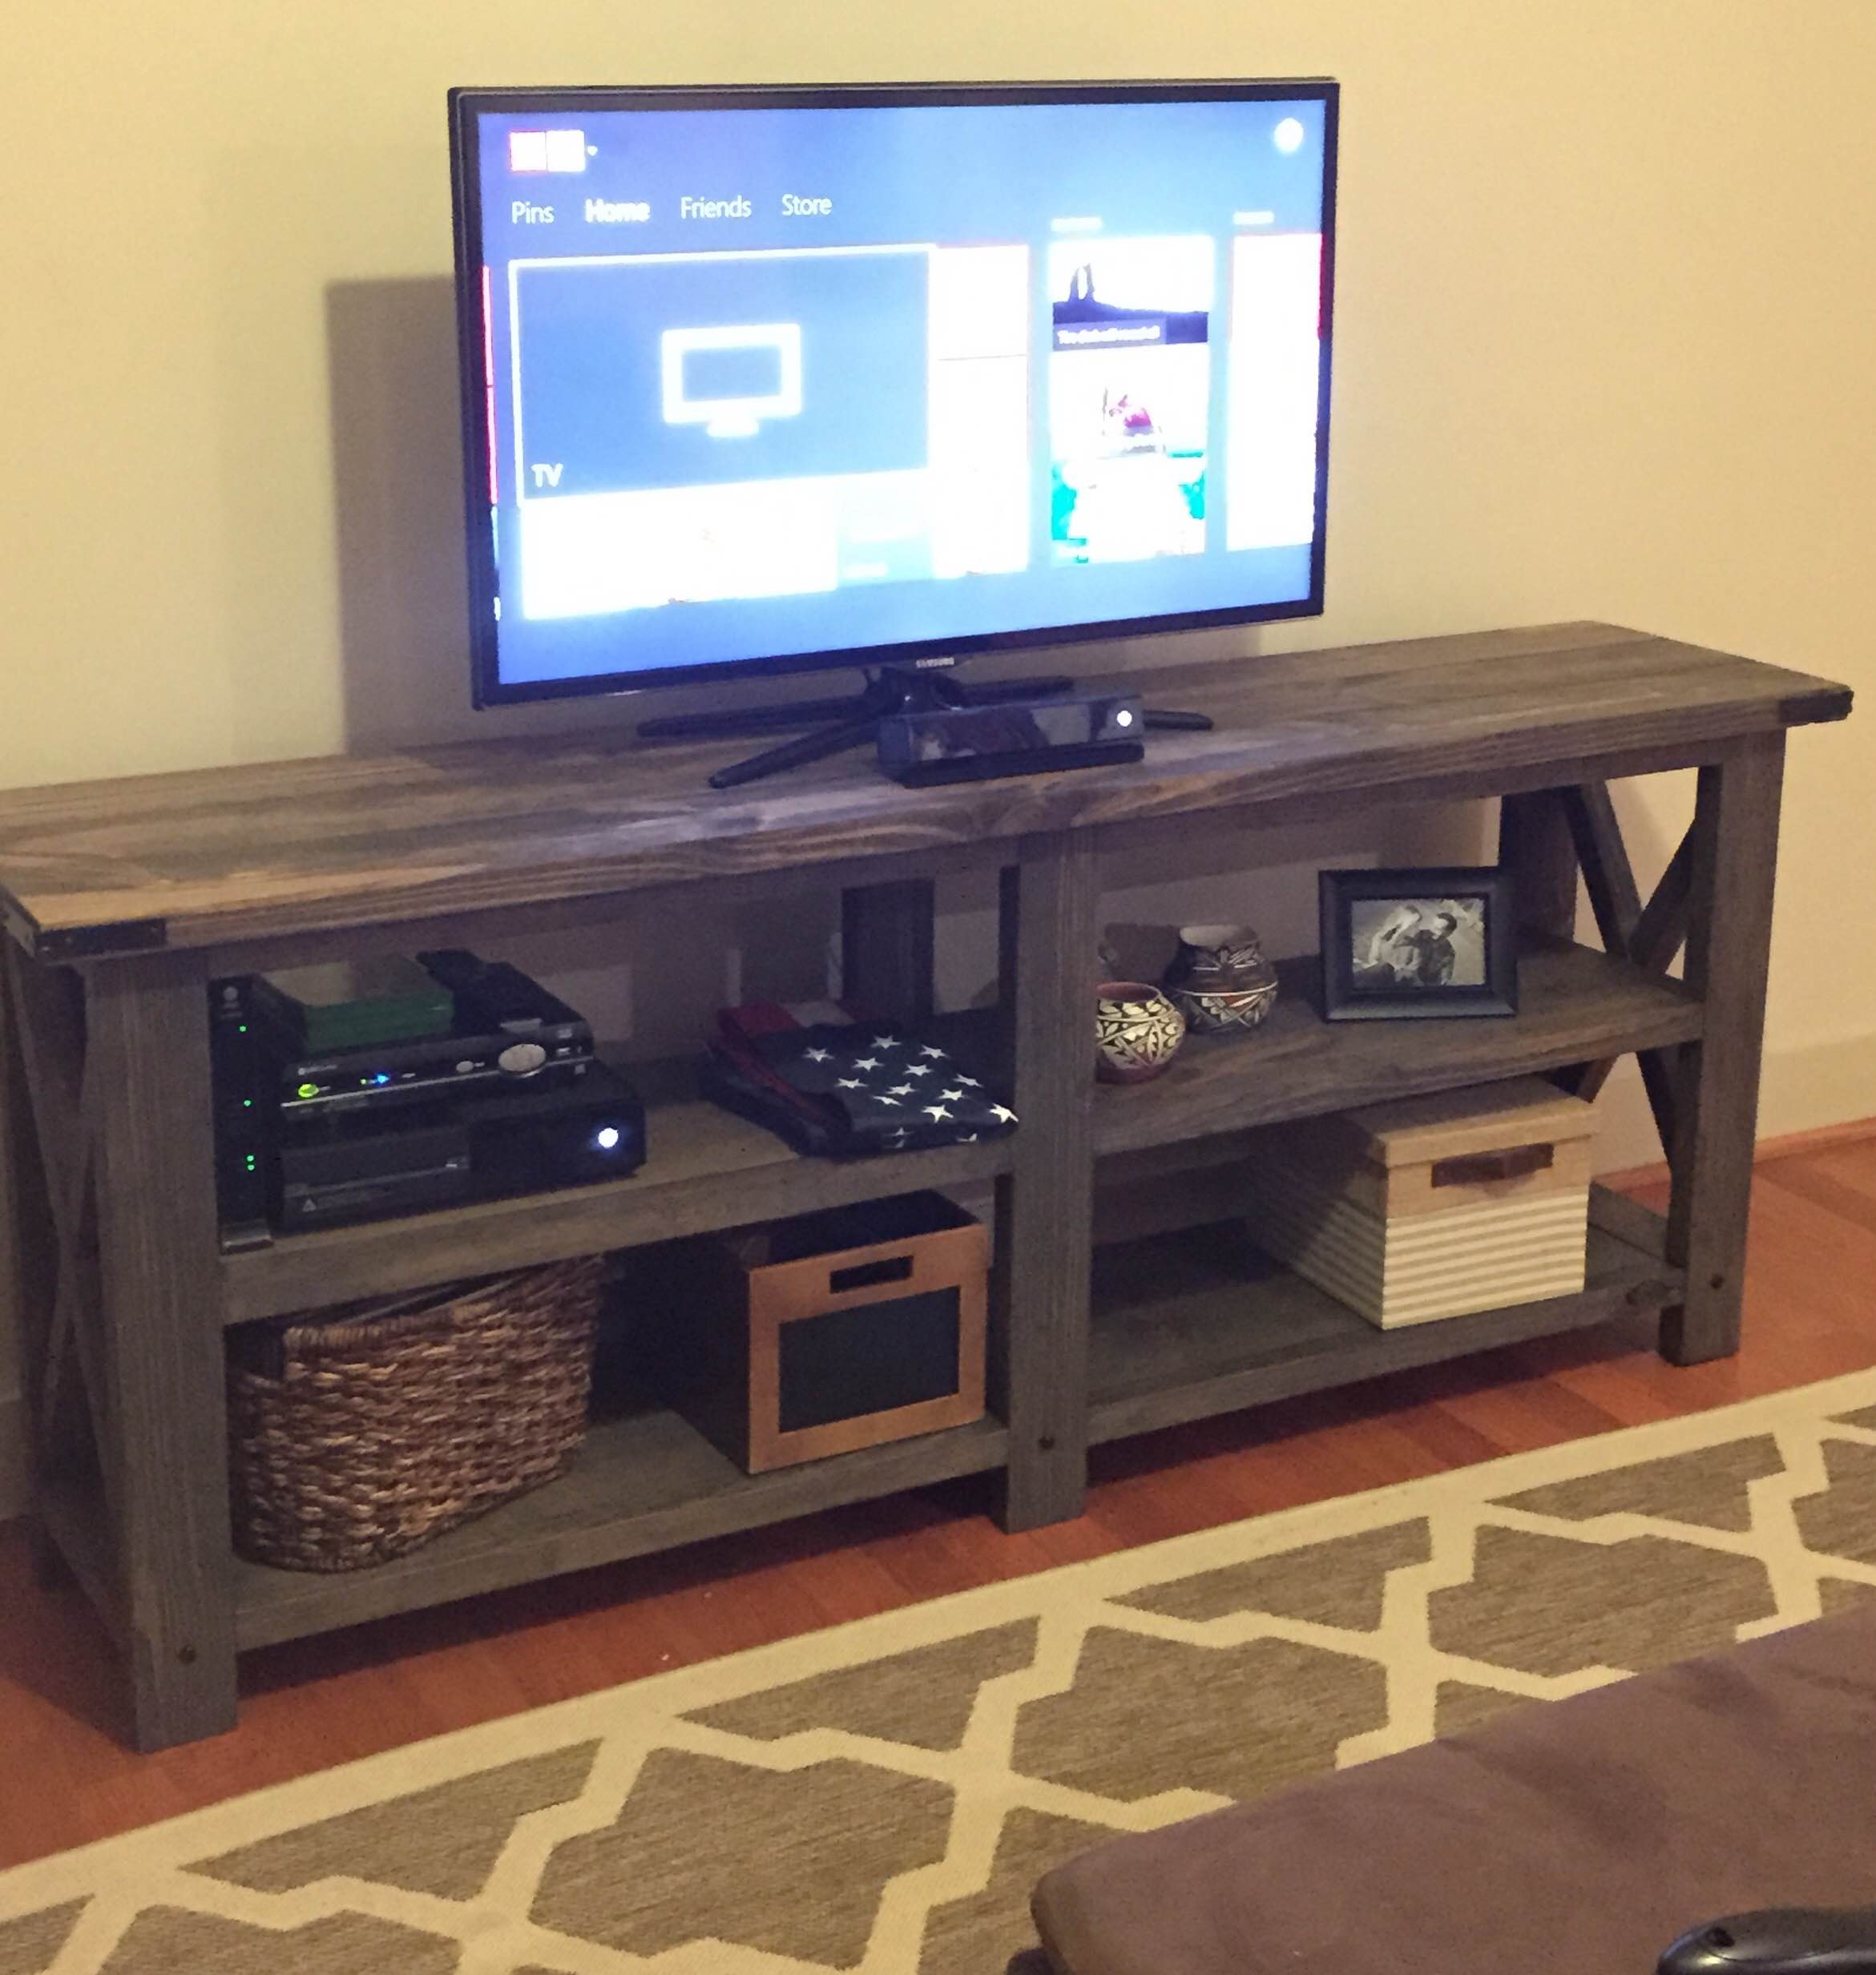
Finish is Behr premium plus interior latex eggshell paint/primer sprayed with an HVLP sprayer.
If anyone is interested I can take some measurements and more photos. Right now we just have our old futon mattress on (we're saving to do some other projects).
Very quick and easy project. Used the plans but adjusted the width and used pocket hole screws. We made ours 54" wide. After building the entire box and horizontal shelves with pocket holes you can secure the vertical pieces with brad nails. Start with the top row first and you can secure all of those with brad nails. Then use pocket holes on the top of the bottom vertical pieces because it won't really show. You won't be able to nail it since the top vertical piece will be in the way.
I put some extra 1x2 scrap pieces on the bottom of the shelves for extra support but it would probably be fine without it. We just knew we were going to be loading this thing up and wanted it to last forever and it's not visible anyways.
I modified the plans slightly to fit our walk in closet.
(made the towers taller, placement, shelving etc.)
We just love how it turned out!
Built it mostly out of pallet wood. Bought 1x12 Hardware for doors
My dad and I built the Rustic X Console table this past weekend based off of the plan! The only differences were that we used the Festool Domino tool to attach everything together instead of the Kreg Jig and our Xs are two pieces that we chiseled out to fit together. This plan is awesome and it turned out great!
Had a great time building this!!! Thanks for the plans!
I've had these granite pieces that I got incredibly cheap from a remnant place last year for another project. A few weeks ago, I put them on some spare IKEA desk legs to make a workspace on my deck. I hated the look AND they were a little wobbly.
I spent some time searching the web and thankfully stumbled upon these plans. I modified the dimensions to fit the granite tops, used fewer pickets on the shelves and painted the whole thing black.
I think it looks great and adds awesome outdoor counterspace on the grilling deck!
Thu, 06/24/2021 - 09:30
Looks great and much more sturdy! Thanks for sharing:)
This was the first piece I ever made and I was very excited about how it turned out. Last summer I spent a weekend with a friend and she had a bench almost identical to this one in her entryway-- I just had to have it. I took pictures of it from every angle and went home, telling my husband he had to make it for me (he does some woodworking). As time went by and my bench was not made, I finally told him to teach me how to use the power tools... he did and this was the result. I wish I had plans for this, but I do not. I made this bench by looking at the pictures I took of the one I saw at my friend's house. Eventually I hope to get it together in order to make some up-- it was very easy, and I do think someone with some skill (since at the time I had none!) could most likely do the same. I was able to do it about 3 days.
Hello everyone!
I'm about to secretly make that jewelry box for my wife. But I first decided to create a 3D version of it in Blender (to visualize how it looks and what I may tweak).
I thought I would share it with you all as it ended up quite well. It's not the sleekest model you'll see... but it was the very first time I used this sofware (it took me several days to finalize this object).
Also note that there are no measures here as I didn't scale it properly.
Anyway... I'll come back later on with the real thing once it's done. I can provide you with the .blend file if you want.
Thanks for the great ideas!! Bye for now
Router table with Paduok, maple and Walnut beauty. Featuring a Bench Dog Pro-lift router lift, I'm going to have a lot of fun making more beautiful things with this one! Loving how this turned out.