Community Brag Posts

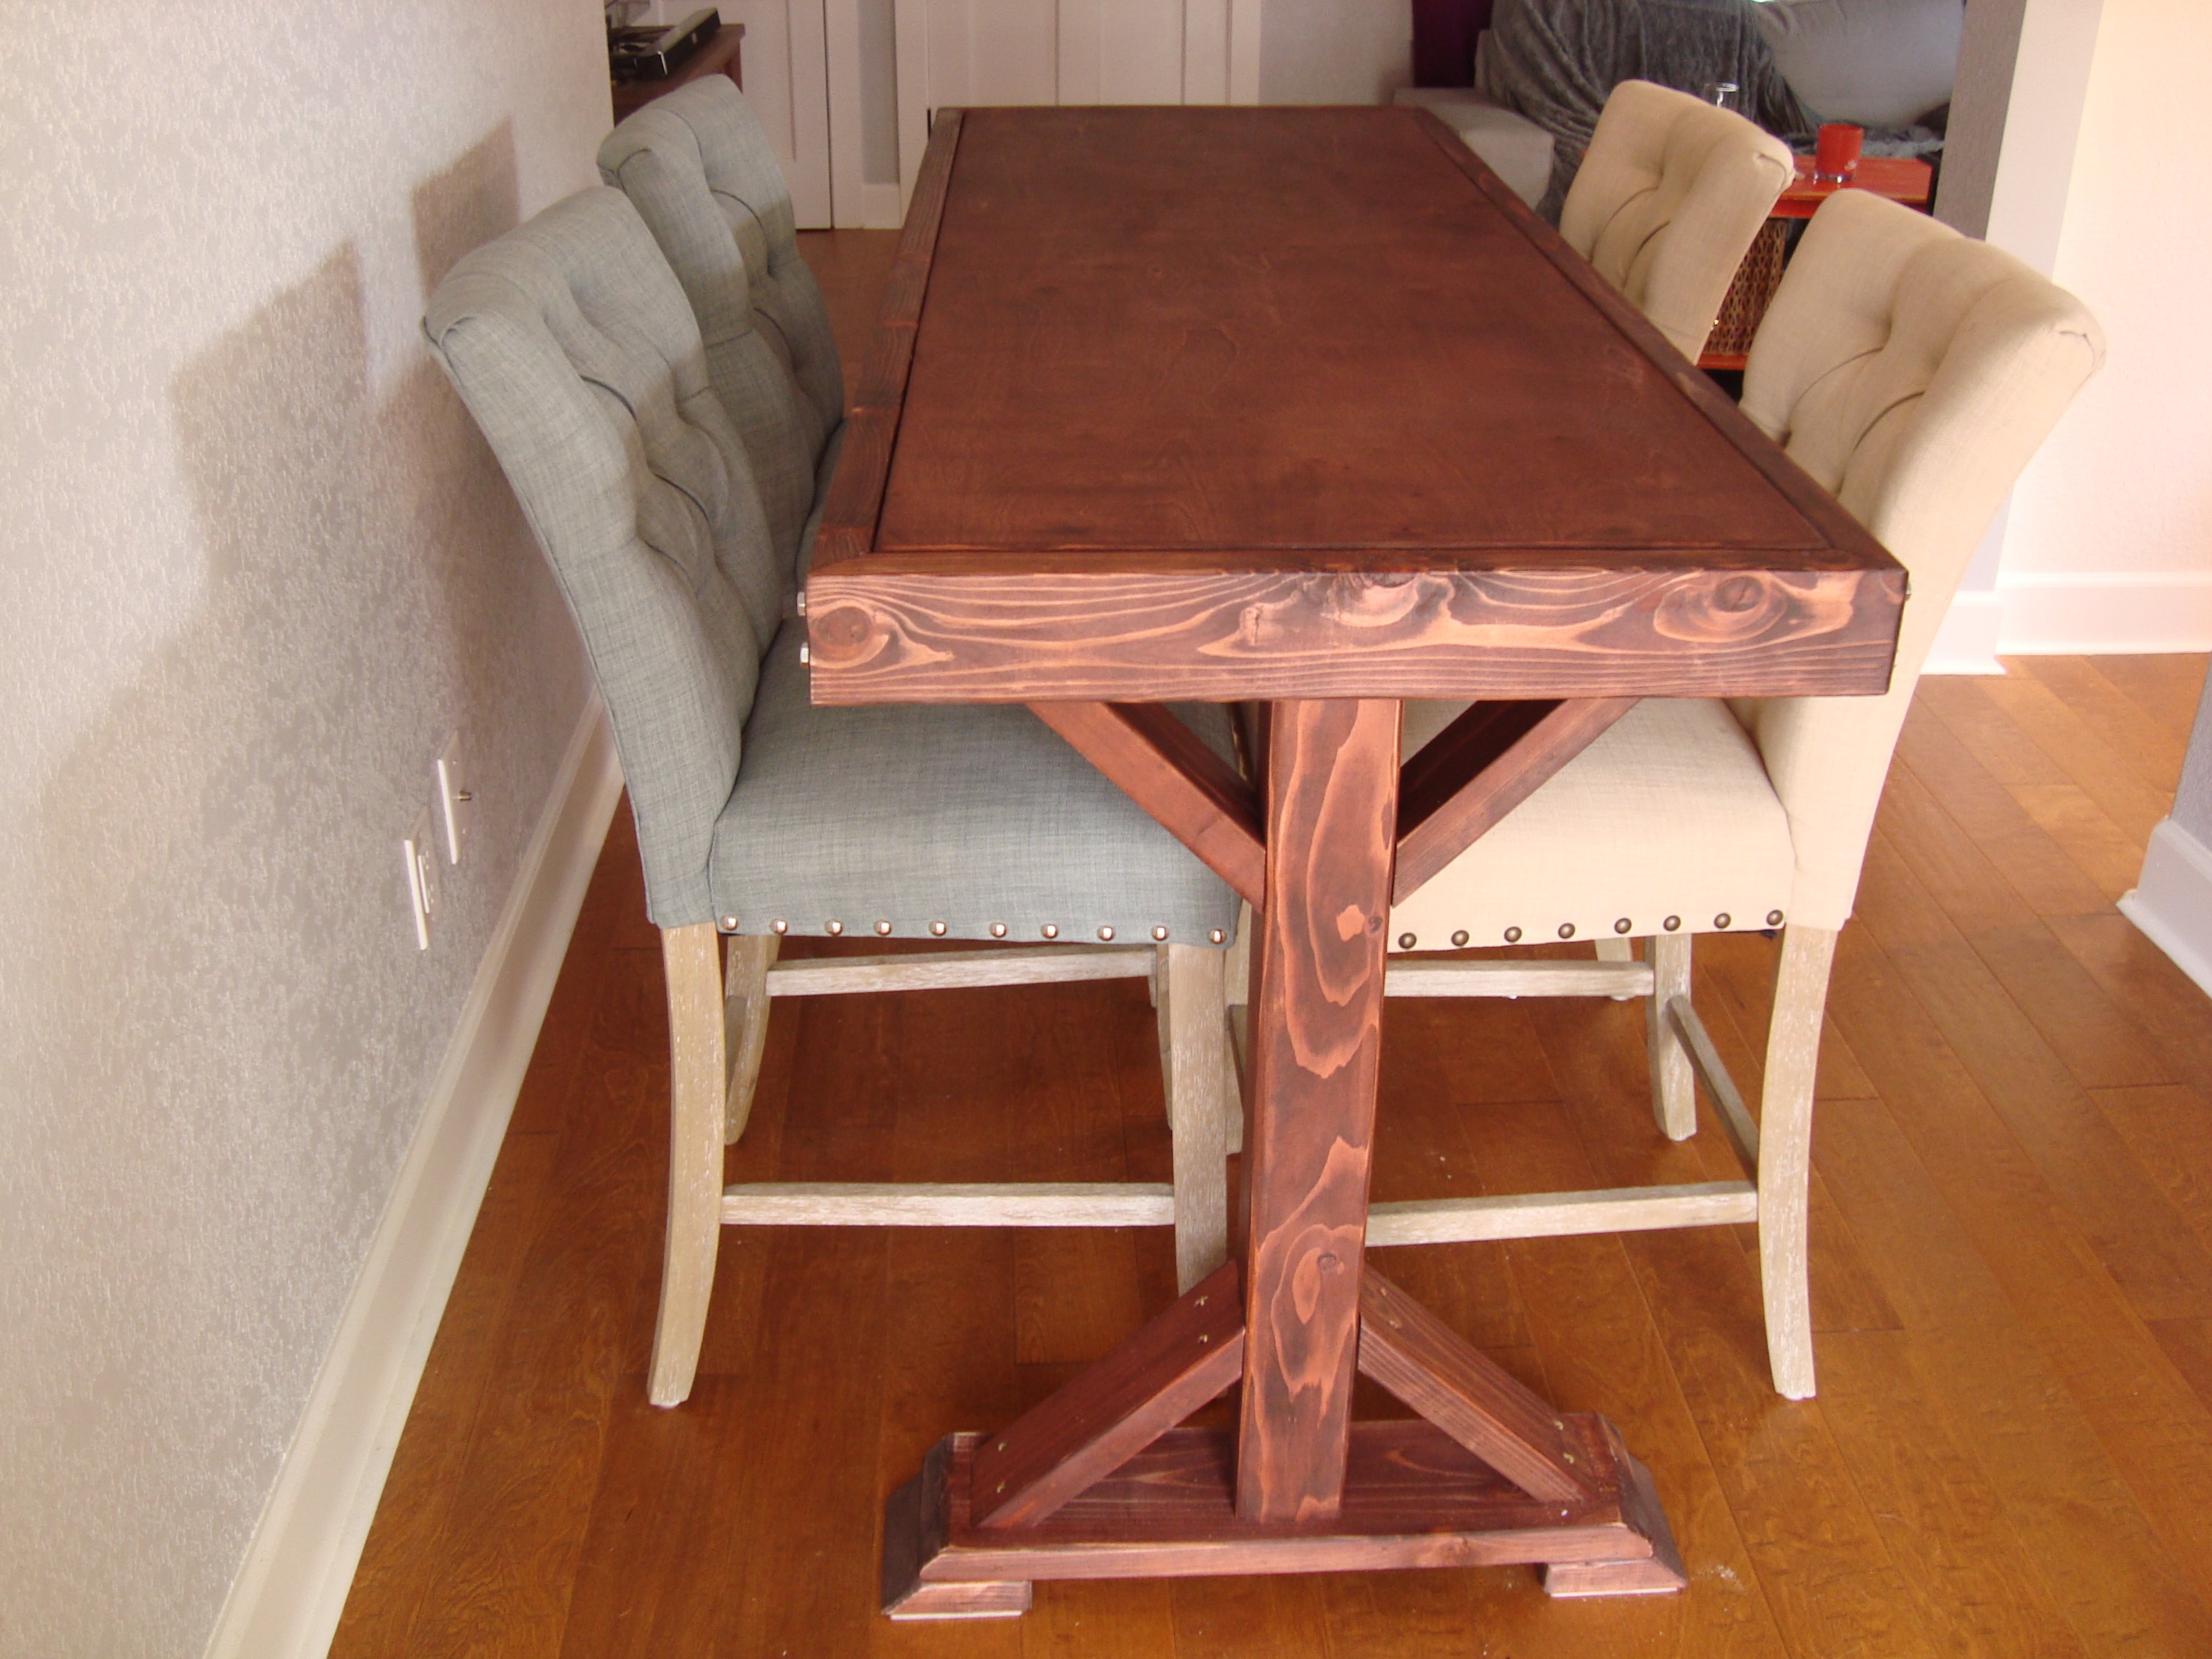
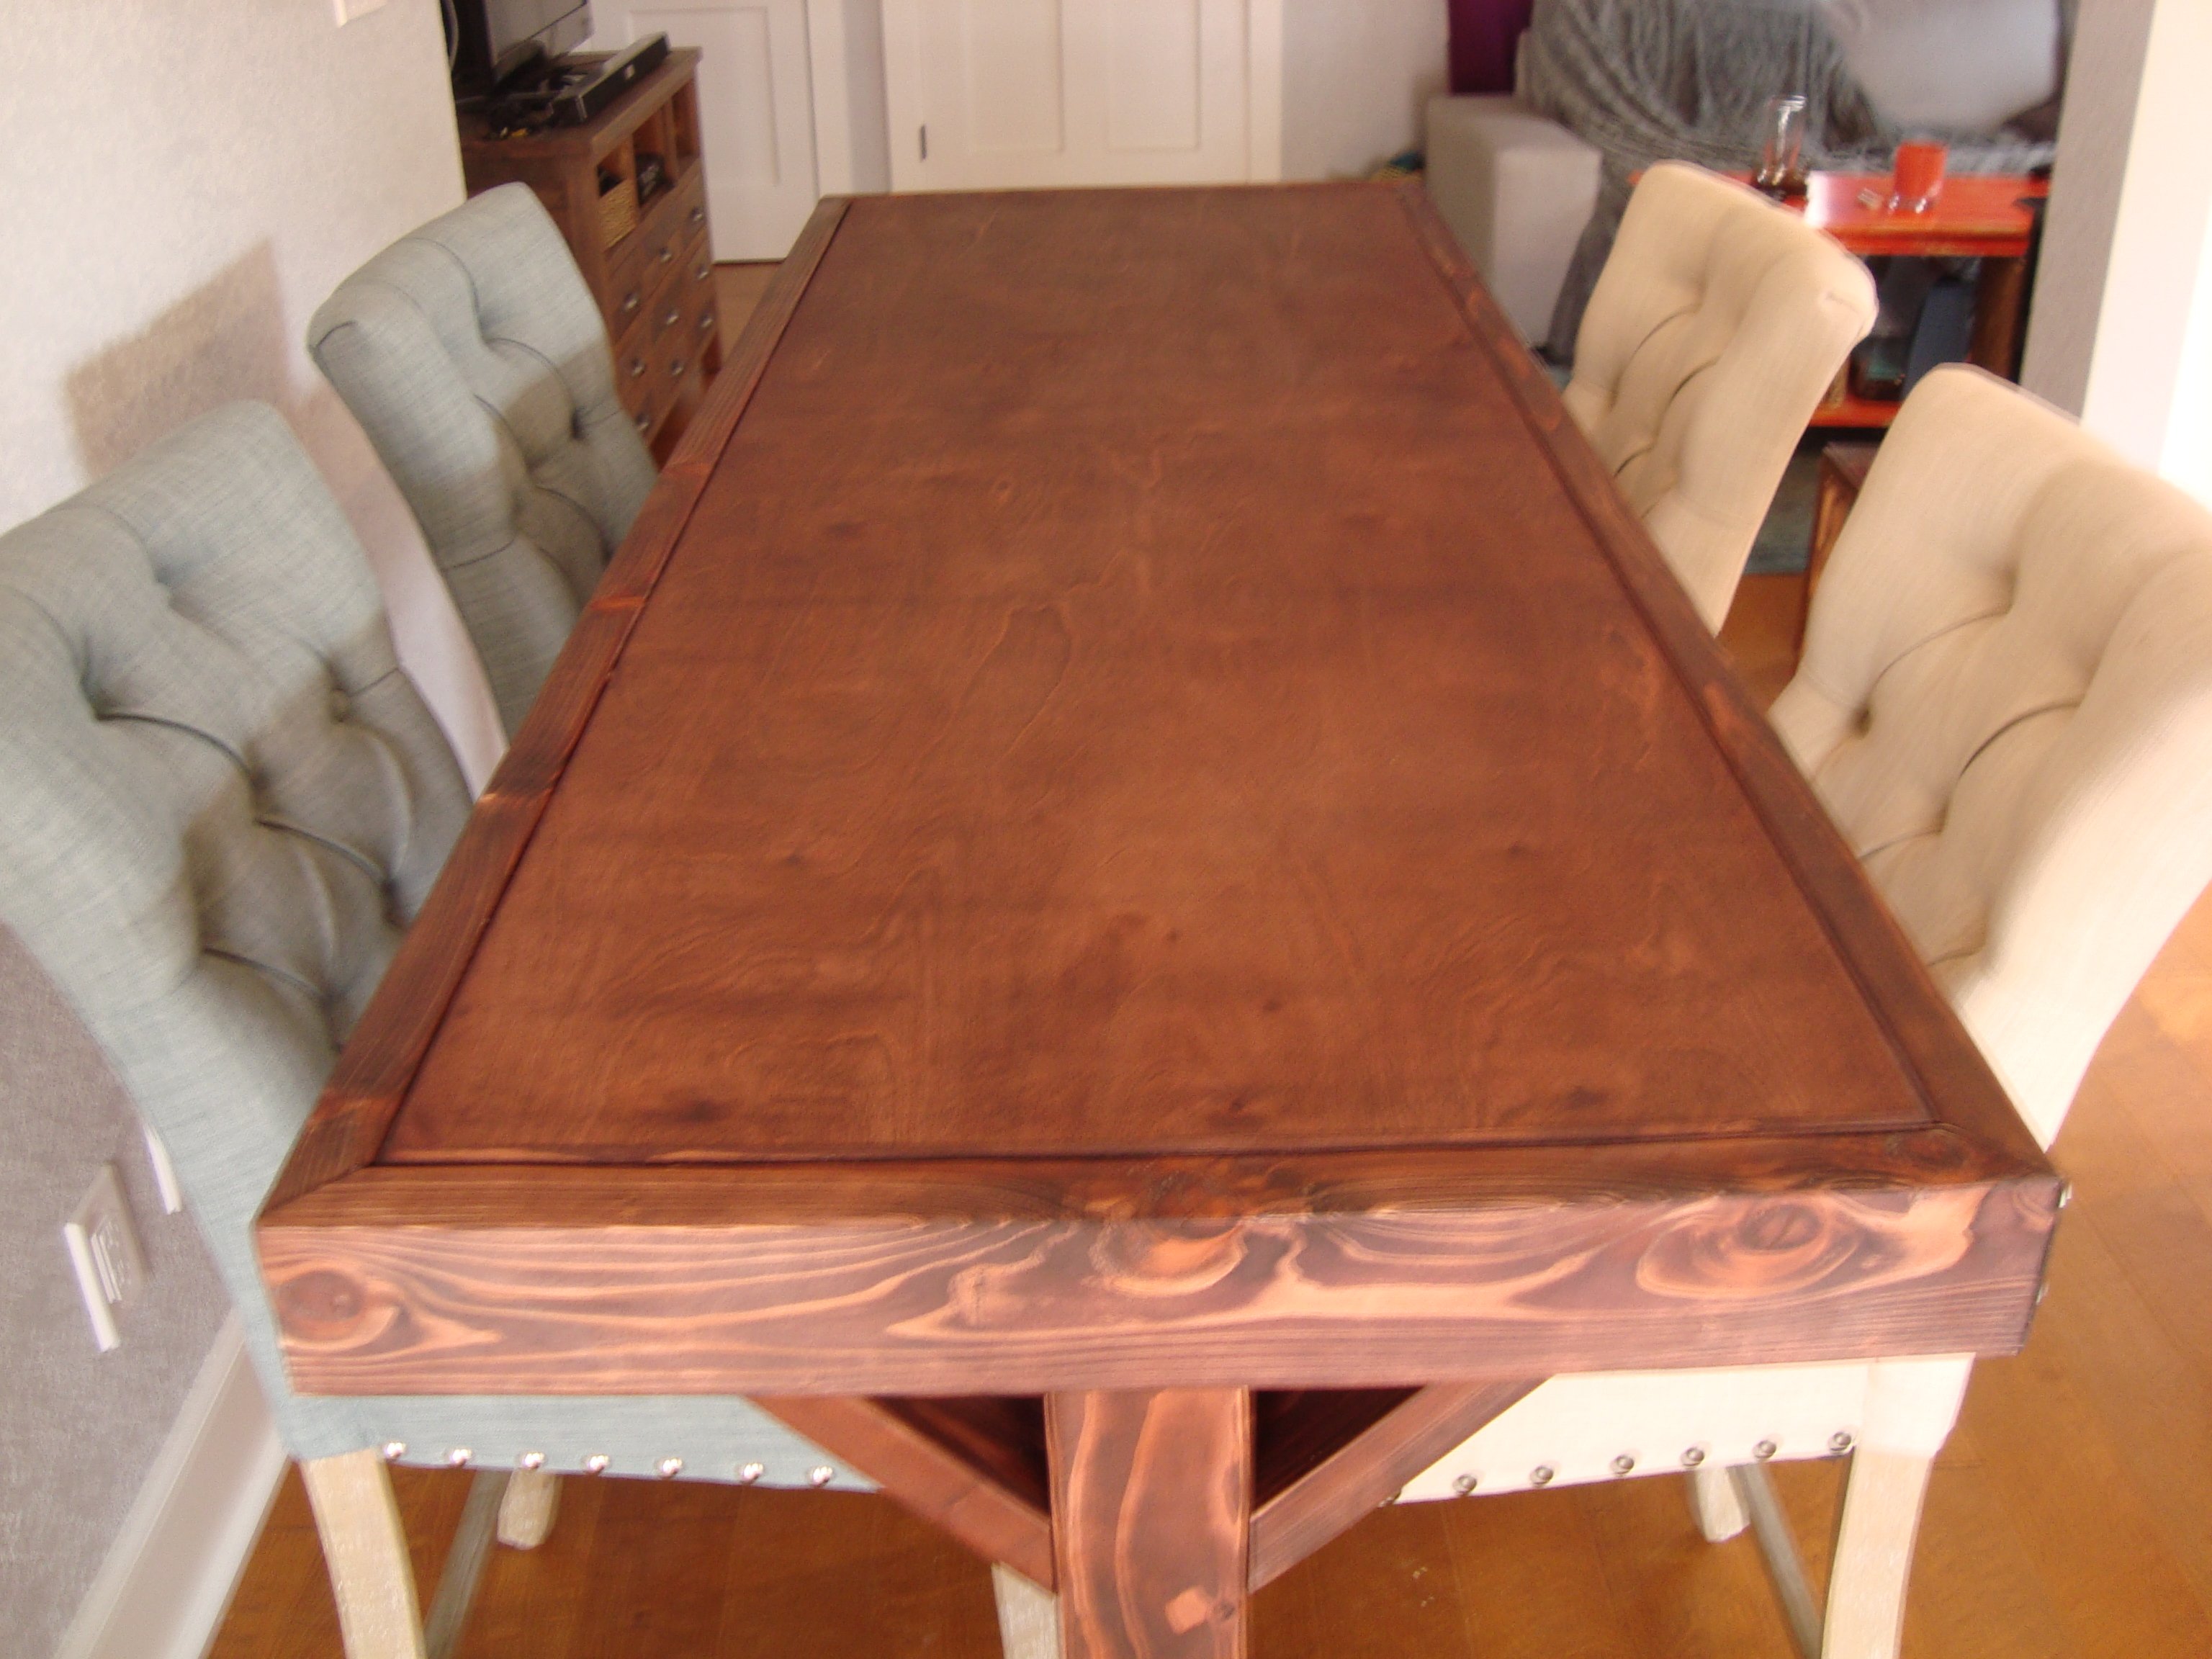
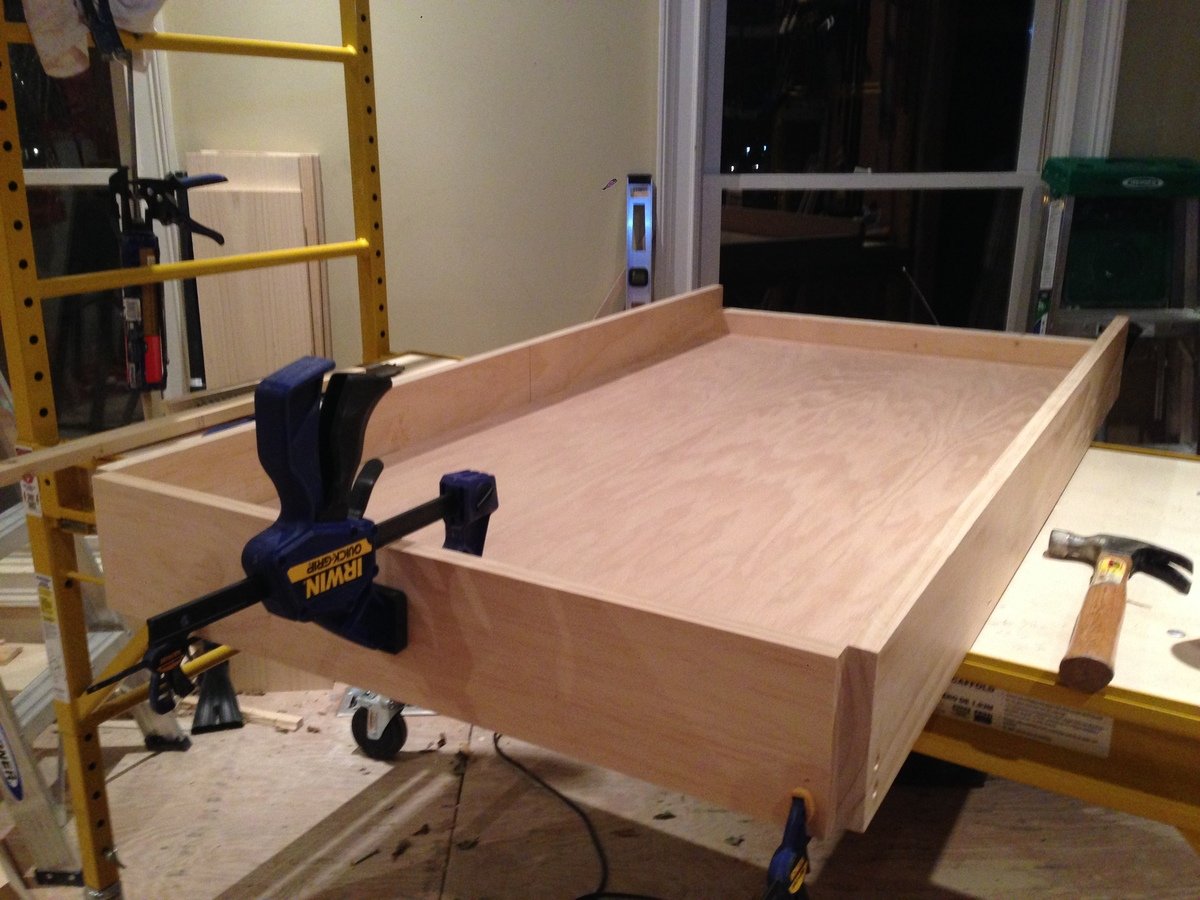
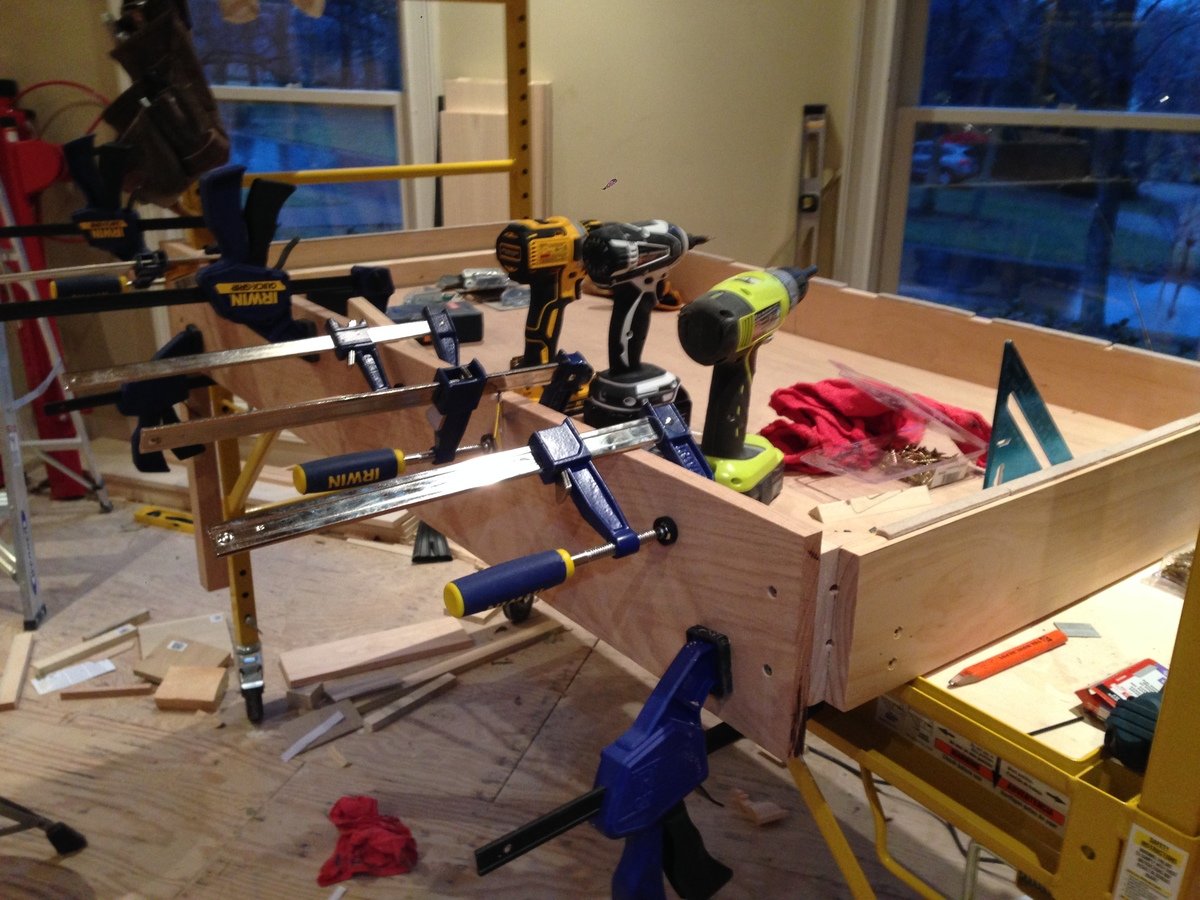
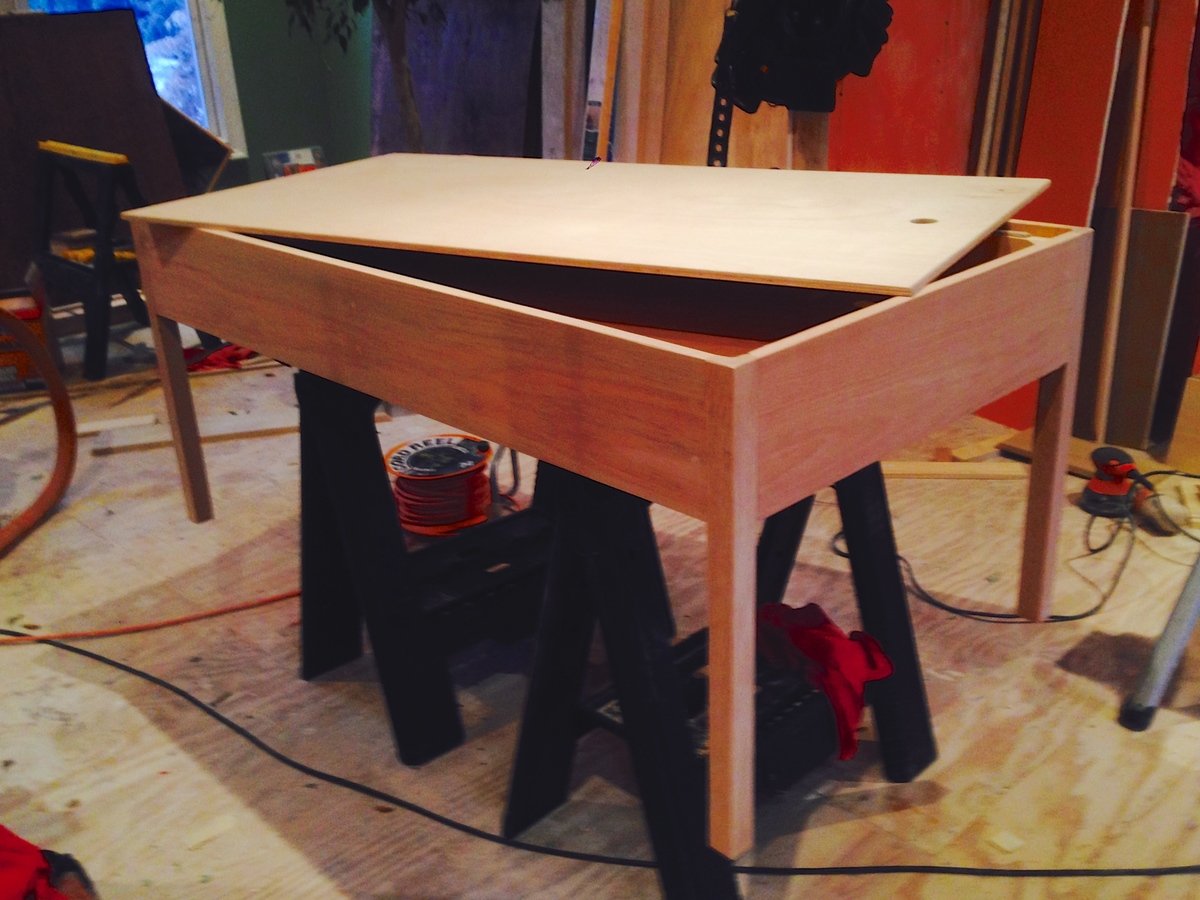
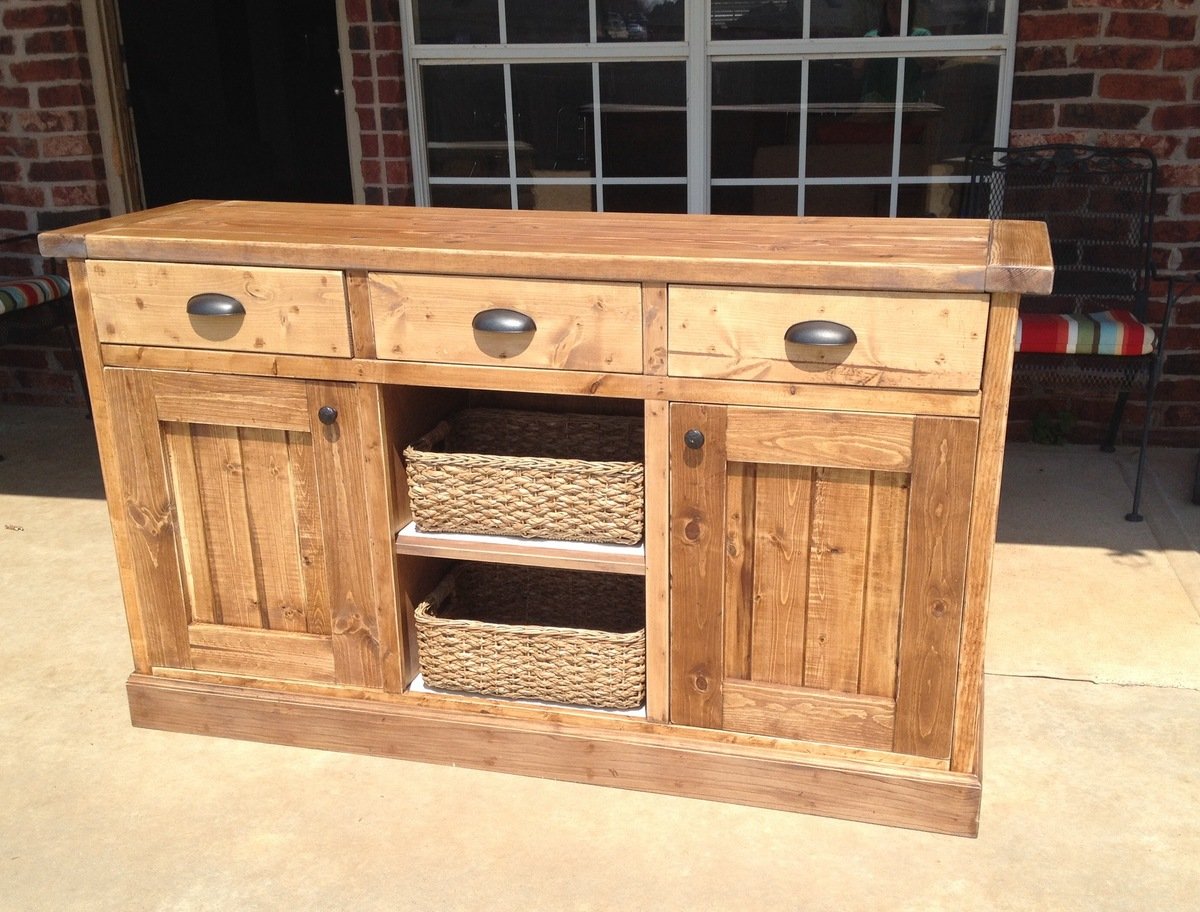
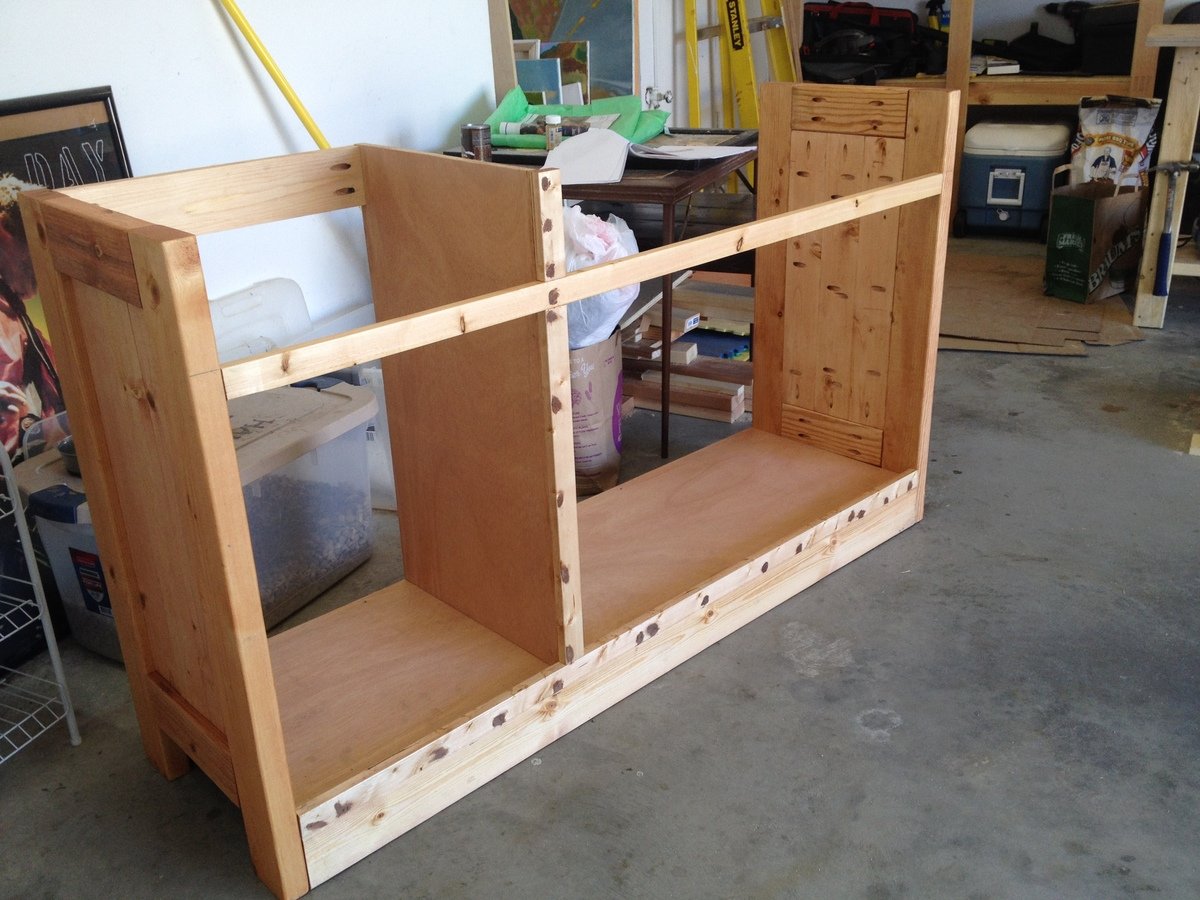
Doing things big in Texas

Submitted by StewartTX on Sat, 03/08/2014 - 15:18

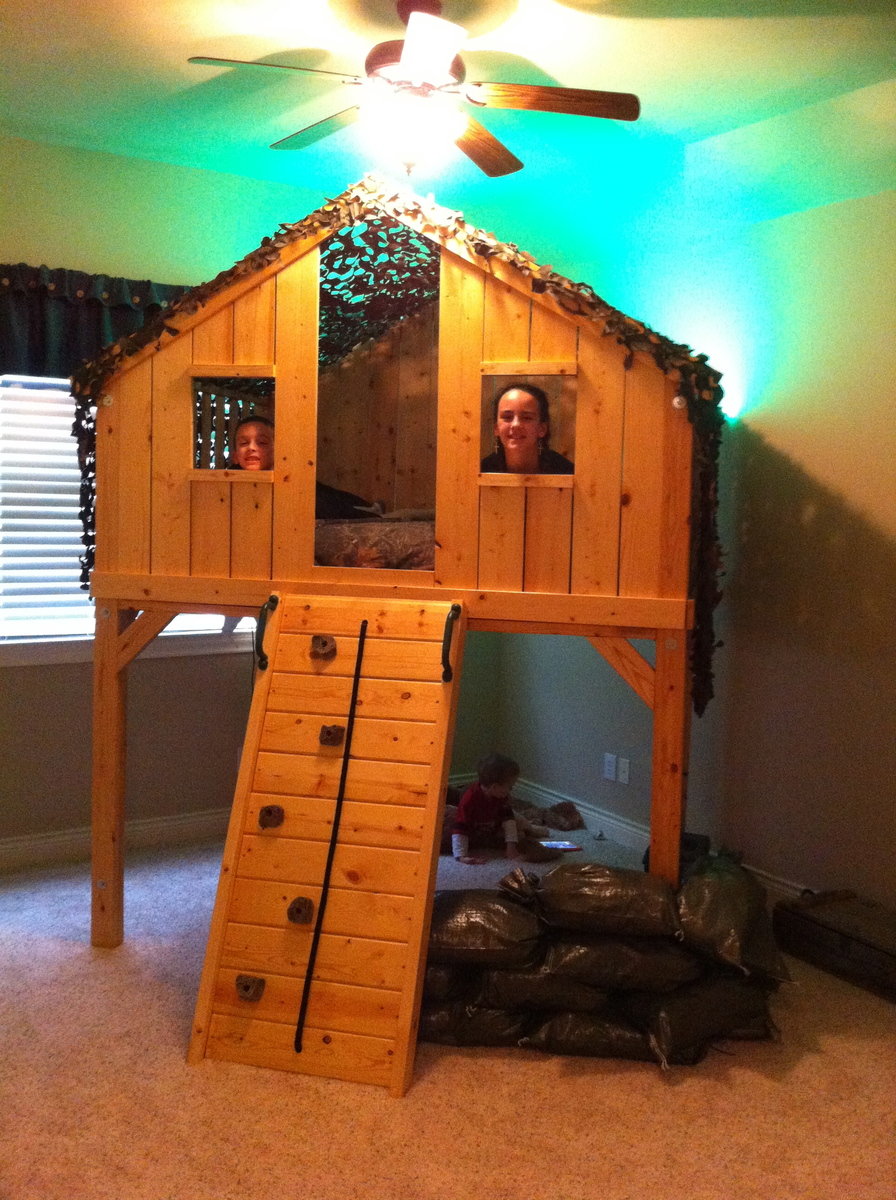
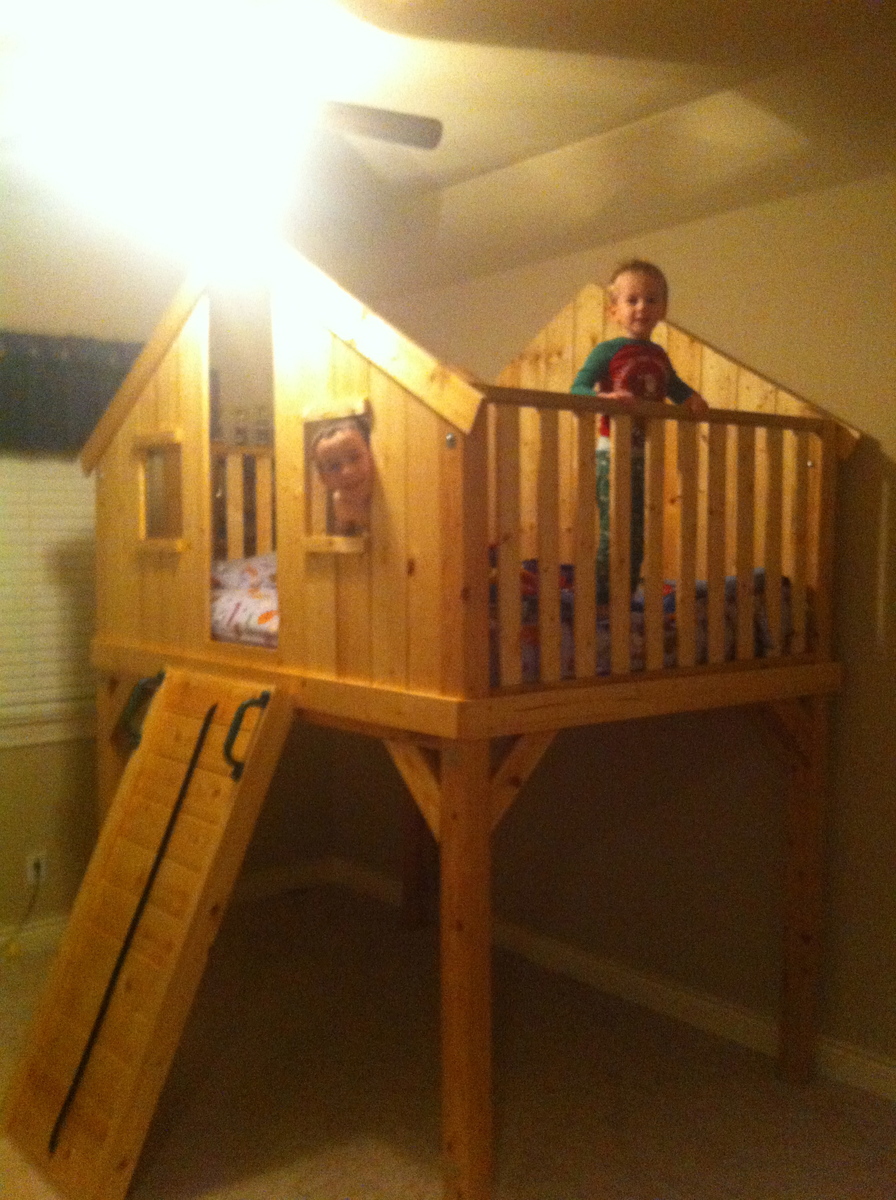
We decided to build this a bit bigger and taller. I will caution you to be careful as we came inches to not making it through our doorways. We expanded the depth 15" to make it a full bed and we extended the length of the legs to allow for 48" clearance underneath.

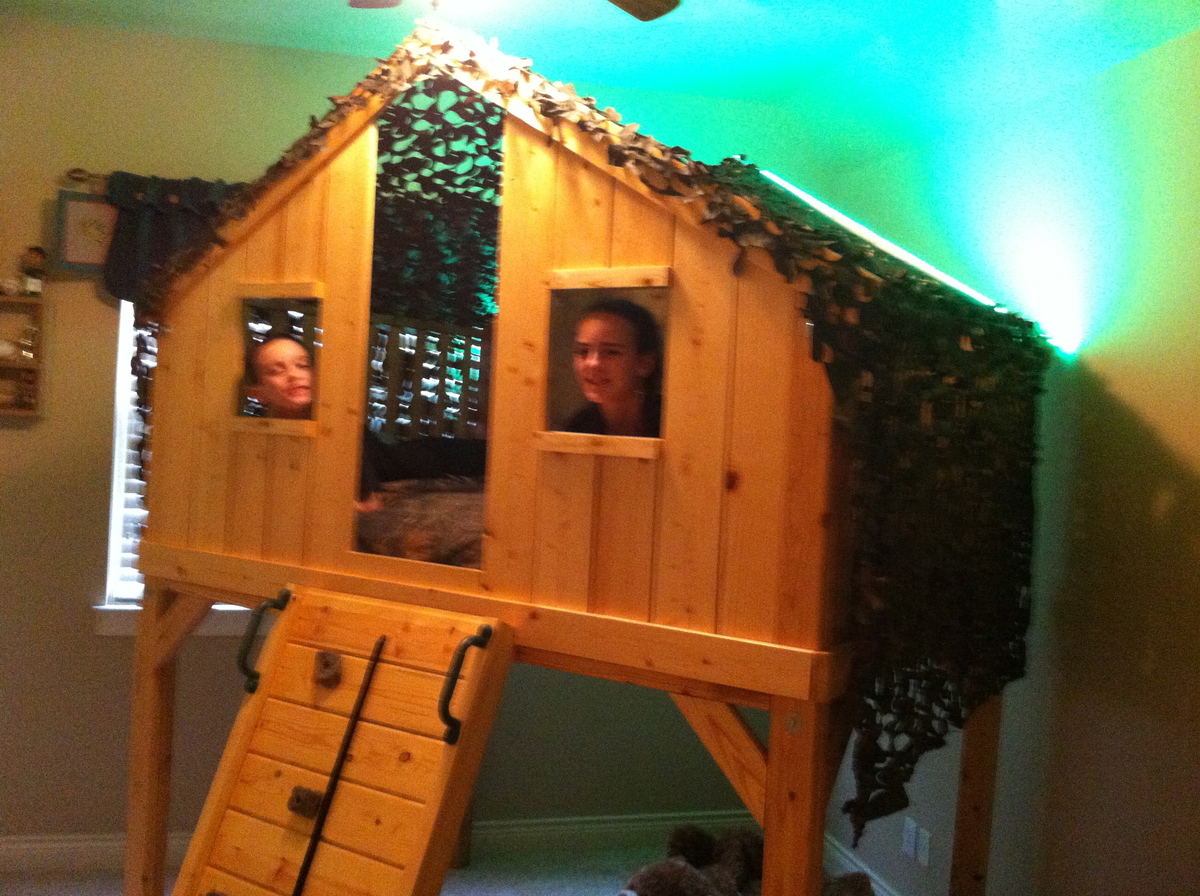
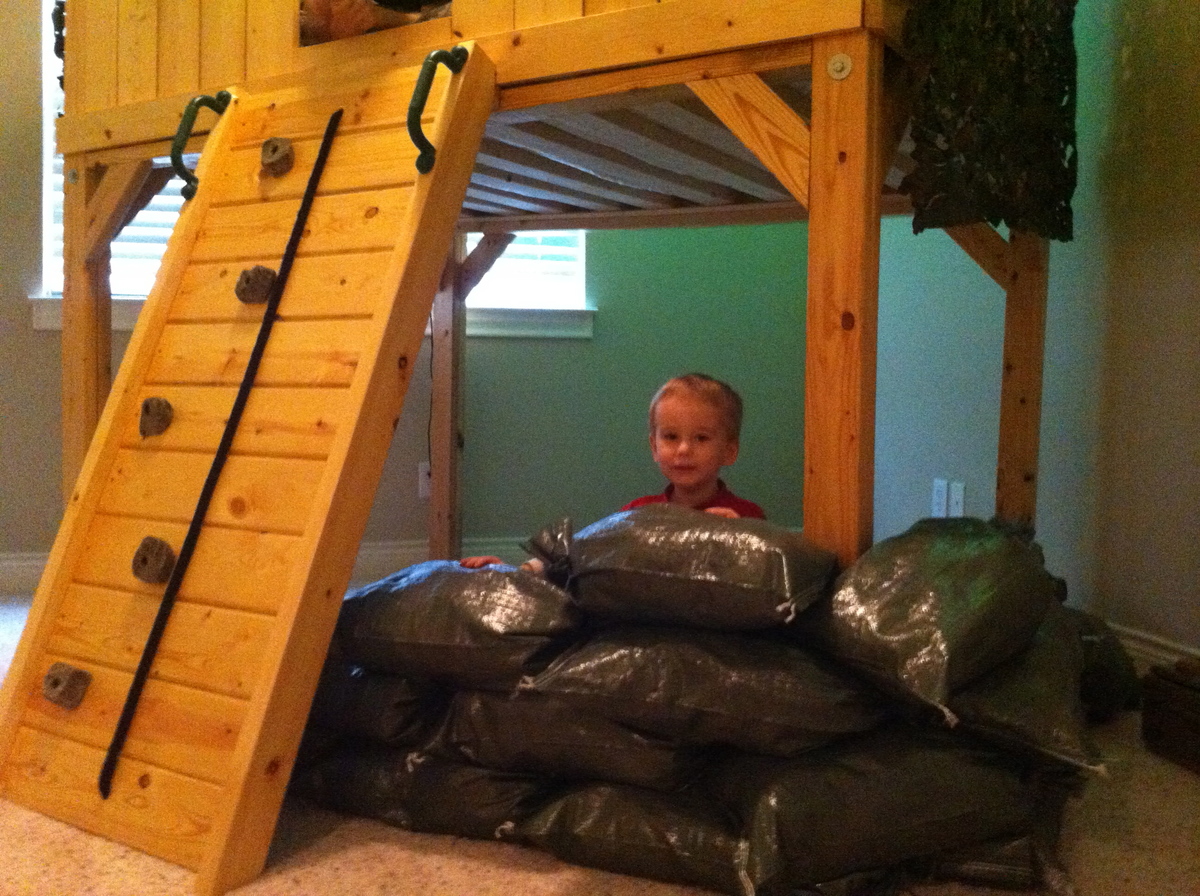
We also went with a rock wall instead of a ladder. I 1st built the angle too steep; recommend at least a 30 degree angle on a wall. Kid's love it; mom not so much when attempting to make the bed! :)

We went with military theme - green rope lights, camo netting for a roof, and sandbags filled with old clothes from my high school years for a bunker underneath.

Great project! Thanks for the idea!

Built from Plan(s)
Estimated Cost
$350 - materials. Needed to invest $250 in new tools
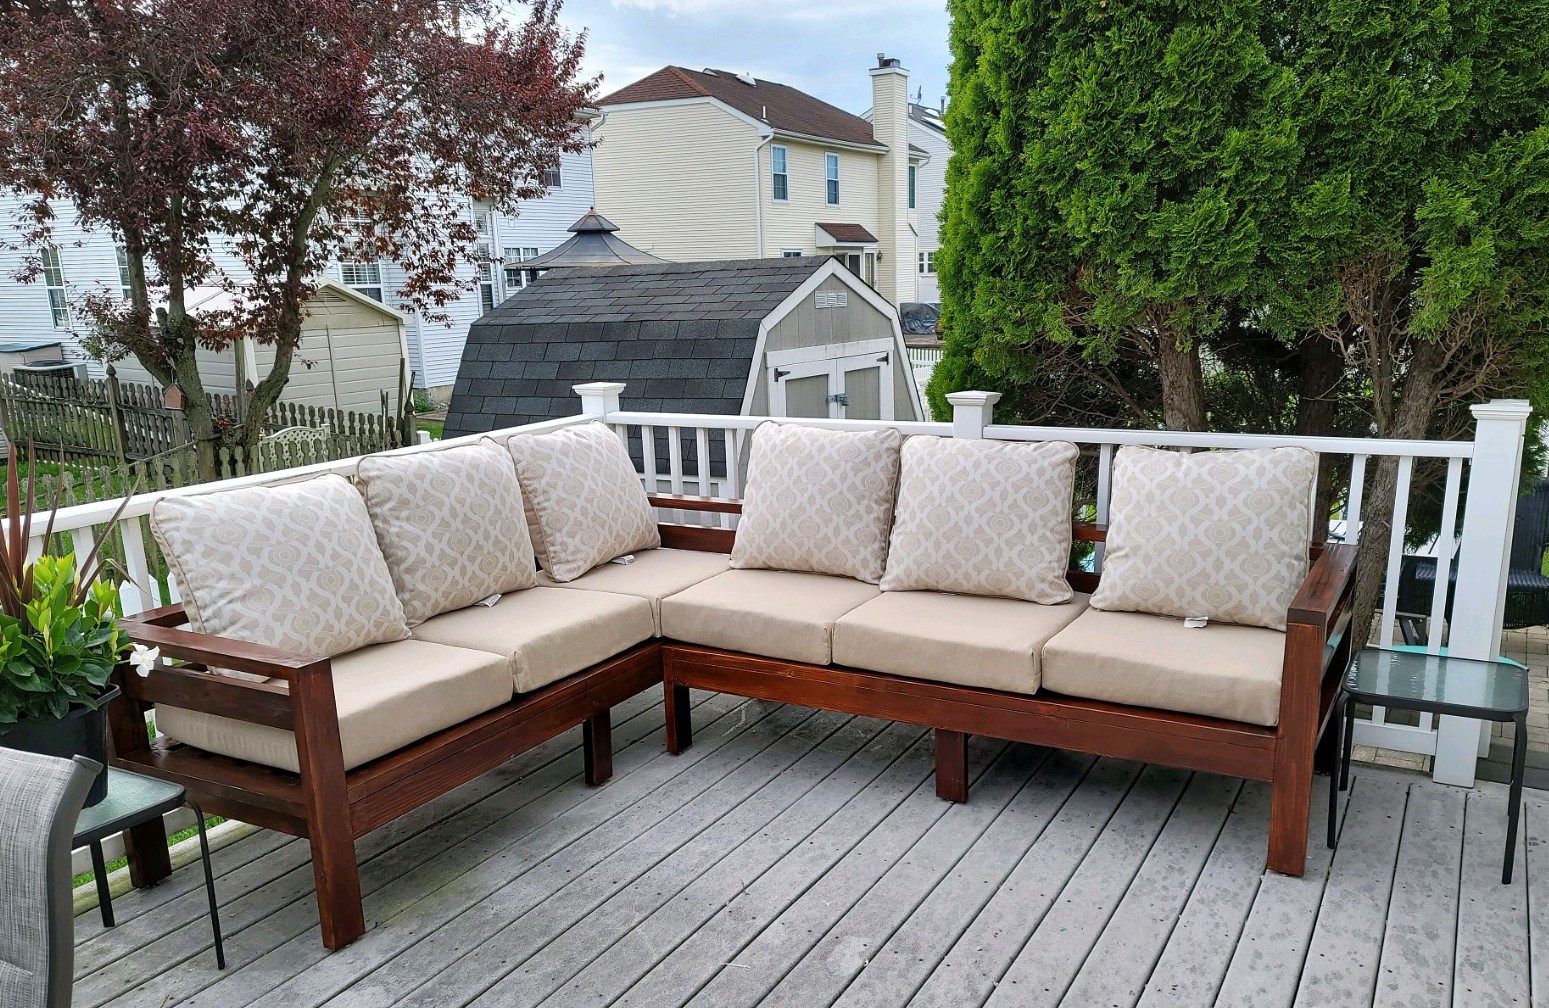
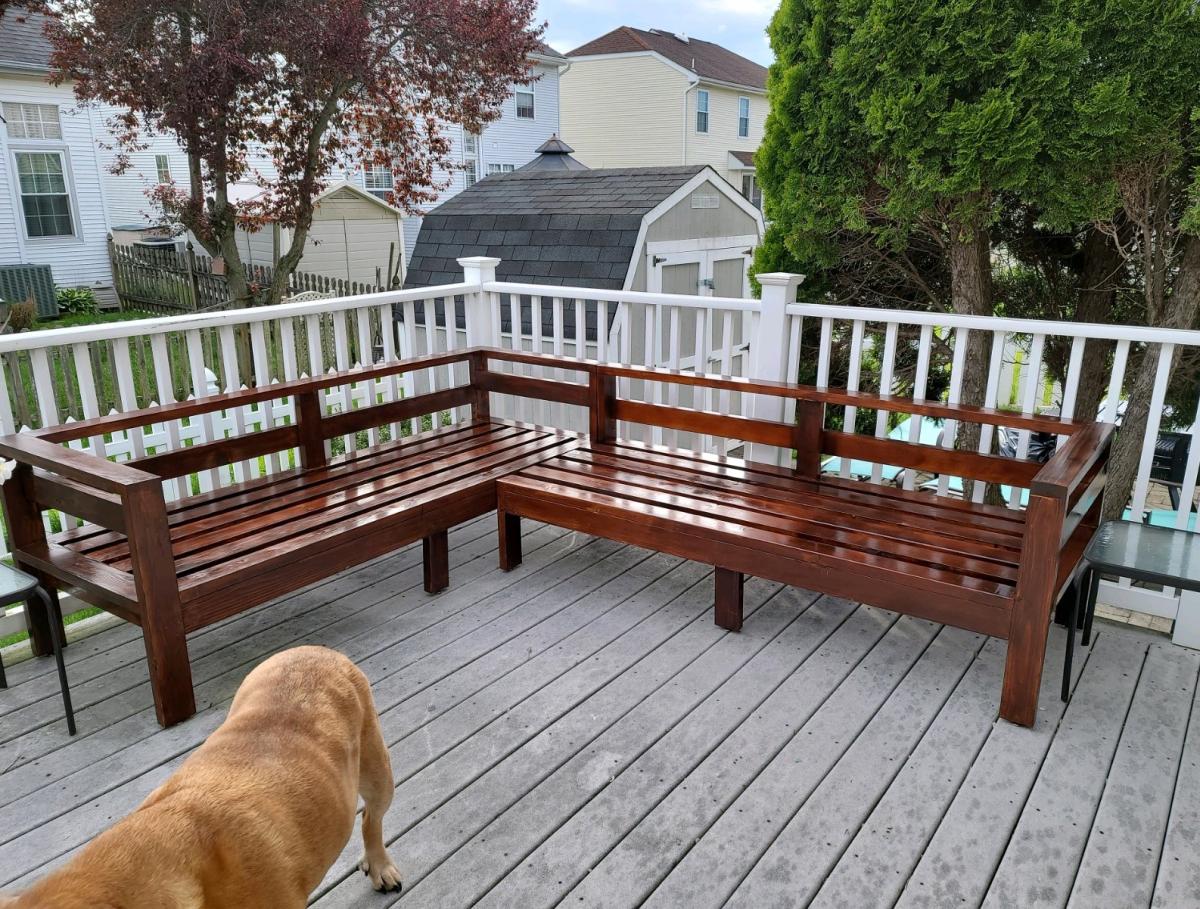
Finish Used
Natural Minwax stain then clear satin poly
Recommended Skill Level
Beginner

Modified Farmhouse Storage Bed (California King, headboard with bookshelves)

Submitted by Anonymous (not verified) on Tue, 06/07/2016 - 19:51

Modified the Farmhouse Storage Bed with Storage Drawers. Changed the design to california king and added booshelves to the headboard. Will eventually turn a shelf into a nightstand for water/light. I LOVE IT!! Thanks for the Design, Ana!

Estimated Cost
$400
Estimated Time Investment
Week Long Project (20 Hours or More)
Finish Used
minwax grey stain and light grey paint (I can't remember the color, but it's valspar prairie something)
Recommended Skill Level
Advanced

Mudroom Bench, Above Storage and Drawers

Submitted by advanlente on Sat, 03/28/2020 - 11:16

When we moved into our home, this whole area was empty. I don't remember seeing anything in this spot during our walkthrough. But I knew it would be a perfect spot for a mudroom. We were also getting a puppy and I did not want my shoes to be torn to bits. This was my very first build. I will forever be proud of this. 

Tryde Coffee Table

Submitted by JHughes on Sun, 05/27/2012 - 15:00

Tryde coffee table pattern with added magazine rack. We used pallet wood which was sanded but still retained it's rustic appearance. Dark walnut stain was used to finish!

Built from Plan(s)
Estimated Time Investment
Weekend Project (10-20 Hours)
Finish Used
Dark Walnut Stain with Satin Polyurethane
Recommended Skill Level
Intermediate

Comments

Little Helper Tower

Submitted by aoliaak on Wed, 03/12/2014 - 16:48

Loved building this for my son, much easier than I expected it to be.

Total build time was about 3 hours, and another 3 hours for finishing. We've had it only a few days and it's already a staple in the kitchen, used for everything from peeling potatoes to feeding his horse!

Thank you so much for making these plans freely available.

Built from Plan(s)
Estimated Time Investment
Day Project (6-9 Hours)
Finish Used
2 coats of Sico's Luster Gloss in Desert Sun + 1 coat of polyurethane spray.
Recommended Skill Level
Beginner

Rustic X End Table

Submitted by B.W.Martin on Thu, 04/16/2020 - 20:35

I used the rustic X end table plan to make a set, went a different route on the color and stain. I also used plywood on the bottom instead of 1" by 12".

Built from Plan(s)
Estimated Cost
$20
Estimated Time Investment
Day Project (6-9 Hours)
Finish Used
Eggshell antique white was used for the paint. I used minwax pre-stain, one cost of minwax honey stain, and two coats of minwax polyurethane.
Recommended Skill Level
Intermediate

Joss' Big Boy Bed

My building write-up goes with the post for the plans. The only thing I need to add here is the change I made on the toddler rail. The first one I did wasn't quite long enough for my little guy. He's quite the squirmmy bug at night, so he kept slipping off the bed with the shorter one. He never just really fell hard, but it was enough to wake him up a few times, so I added a little more length to the rail and it seems to be working much better. I'm excited to see how this bed will evolve :) Hoping to make a few additions to it a little further down the road!

Estimated Cost
$450
Estimated Time Investment
Week Long Project (20 Hours or More)
Finish Used
Distressed a few shades of blues and greens of interior flat paints. Wiped on a light coat of a satin poly for the top coat.
Recommended Skill Level
Intermediate

Sissy's Toddler Farmhouse Bed

Submitted by Wifey on Sun, 03/16/2014 - 15:16

I'm so excited, this is my first furniture project. My husband was a little hesitant initially but is happy with the completed bed. This bed is so sturdy, I can easily sit on the edge and even lay down with my daughter. She loves her new bed and her brothers are a bit jealous. I told them to go through Ana's site and find something they like! Thank you so much for the projects you offer on here.

I altered the plans for a 28" wide crib mattress. Instead of a 1 x 3 on the ends of the head and footboard, I used 1 x 4s all the way across.

I also altered it to be 3" taller because I need a little extra storage space under my daughter's bed.

I did not use a nailer, just a hammer and nails. I found that it helped to use legs and shims on the bed rails frame and get to perfect level and then nail the footboard to the frame. Next, I screwed the frame into the footboard. This might be unnecessary info, but as a beginner, this part gave me a bit of trouble.

I used Behr Premium in Ultra Pure White with an Eggshell finish.

Built from Plan(s)
Estimated Cost
$60
Estimated Time Investment
Afternoon Project (3-6 Hours)
Finish Used
Behr Interior Premium Eggshell finish in Ultra Pure White.

Used a small roller on larger areas and a brush in all others.
Recommended Skill Level
Beginner

Counter Height Chunky X Table Long and Skinny

This is an adapted plan from the:

Chunky X Base Table

http://www.ana-white.com/2016/02/free_plans/chunky-x-base-table-featuri…


I made it counter height, made it skinnier at 27" depth and really long at 72" long.

Estimated Cost
$100-$150
Estimated Time Investment
Weekend Project (10-20 Hours)
Finish Used
Red Mahogany Oil Based Interior Stain. First using wood conditioner, stain than a semi-gloss polyeurathane
Recommended Skill Level
Intermediate

Headboard out of a door

I made this headboard last year. I got tired of my 5 year old shutting the door on my 2 year old, it was a large heavy old wooden door, so I took it off the hinges and had it sitting there staring at me forever. So I decided to make a headboard out of it. It was simple, just using the basics of the farmhouse bed around it. I love it :D

Estimated Time Investment
Day Project (6-9 Hours)
Finish Used
A can of mistinted semigloss paint from walmart
Recommended Skill Level
Beginner

Carolina Craft Table Modified

http://ana-white.com/2010/09/pb-kids-caroline-craft-table

 *** apologies for the missing baseboard in the photo- we are in the midst of a remodel ***

We wanted a high quality table so we researched the Parker Play Table ($1200) and the Carolina Craft Table- ($600). 

In the research i found the plans for the Carolina table on this site- and modified them a bit (we wanted the removable storage top). 

We painted the top with White board on one side and Chalkboard on the other. 

The table has 22" legs and they can be changed out with a second set of legs when our daughter gets taller.

There is plenty of storage for all the art supplies in the unit and a art paper dispenser on the end. 

The unit is made of poplar on the inside and the legs and facia are all red oak- a very dense and beautiful wood. 

All exterior screws are counter sunk and hidden under face grain wood plugs that are surface sanded.  i chose to do no finish as the wood grain is beautiful- although i may do a timber oil or tung oil at some point - 

the project took about 2 days total time- $150 in supplies (including paint) and the piece feels substantial..... like it will be used for my daughters children. 

you will want to have access to a table saw and some clamps, wood plugs and a countersink bit for your drill

Estimated Cost
150
Estimated Time Investment
Weekend Project (10-20 Hours)
Finish Used
none- light hand sand with 180 grit sandpaper
Recommended Skill Level
Intermediate

Just a beginner! Second Project

Submitted by Rifka on Tue, 06/21/2016 - 18:35

Great first project!

Built from Plan(s)
Estimated Cost
$20
Estimated Time Investment
Afternoon Project (3-6 Hours)
Finish Used
Annie Sloan chalk paint with clear wax.
Works great for outside too.
Recommended Skill Level
Beginner

The Carb Cupboard

Submitted by Booooozle on Tue, 06/05/2012 - 18:34

Anther creation of my own but this would easily be created from Ana's plans for this wall shelf. There isn’t much cupboard storage in our kitchen so when friends gave us a sideboard they didn’t have use for & it fit perfectly in one of our kitchen’s oddly spaced corners we were thrilled. It became our “Toasting Station” where the toaster & Panini grill are. I decided that we needed matching shelving to house our “Carbs” since it was much easier to make toast & sandwiches when the bread was right above the toasting implements.

Estimated Time Investment
Afternoon Project (3-6 Hours)
Finish Used
Valspar Flat Black Indorr/Outdoor Enamel
Recommended Skill Level
Beginner

Planked Wood Sideboard

Submitted by emilykay on Tue, 04/01/2014 - 18:42

This was my first build from this site! It took me about a month working on-and-off during my toddler's nap time. I thought this project was very accessible for a beginner--or, in my case, a distracted mom who is six months pregnant. I scaled down the plans to fit my dining nook, but I forgot to account for a half width of face framing when I subtracted so my third door hole came out a little narrow. I decided to just put open shelves in odd-sized middle opening. I used euro cabinet hinges instead of the butt hinge style because they are more adjustable for not-so-perfect openings/doors. I bought a 1 3/8" Forstner bit to drill the hinge mortises. I was intimidated by the hinges & drawer glides but that part went surprisingly well! I used a plastic template to locate the cup handles on the drawer faces--that purchase was definitely worth a couple of bucks! I wish I had borrowed a router to make a rabbet for the door panels, but I got impatient & just tacked them on. I also wished I had replaced or sharpened the blade on my circular saw because it chewed up the plywood making long cuts. (There's a lot of wood filler on those plywood edges. I ended up painting the shelves with leftover interior latex because they looked like a dog attacked them.) There are also a few shims under the drawer glides to correct the width, but oh well, you can't see them :) Before my next project, I am going to get a couple right angle clamps and make sure I buy the BIG box of pocket hole screws!

Built from Plan(s)
Estimated Cost
$250
Estimated Time Investment
Week Long Project (20 Hours or More)
Finish Used
Minwax Pre-Stain Conditioner, Early American Stain (distressed after dry with 220 grit) & Paste Finishing Wax
Recommended Skill Level
Beginner

Comments

Leaning wall desk/bookshelf

Using only scraps from all my other projects, I modified Ana's plans to create this workspace in the house we just moved into. I changed the dimensions of the shelves to take advantage of the materials I had on hand. Additionally, though I have a lot of different things on the shelves in this picture, I'll be using the shelves more for books and reference materials, so I needed standard shelf sizes. Though this is a simple design, cutting some of the angles and installing the shelves was a bit tricky, therefore I think this is more of an intermedite project. I also added 2x4 legs to support my Mac. Can't have that tumbling to the ground!

Built from Plan(s)
Estimated Cost
I used all scraps and left over lumber from other projects to make this. My actual cost was $25.
Estimated Time Investment
Week Long Project (20 Hours or More)
Finish Used
I used an all-in-one Verathane stain+finish (ebony). I put on 3 coats, sanded with a fine grit sponge and put on one additional coat.
Recommended Skill Level
Intermediate
Back