Corn hole
Another great tutorial and project done. Thanks Ana
Built from Plan(s)
Another great tutorial and project done. Thanks Ana
When I first found Ana's site, I fell in love with this project. I knew it was one I had to 'work up to'. I got a few projects under my belt and then I tackled this one. I am so pleased with how it turned out. No, it isn't perfect...but I made it :) Thanks for the great plans and inspiration Ana!!!

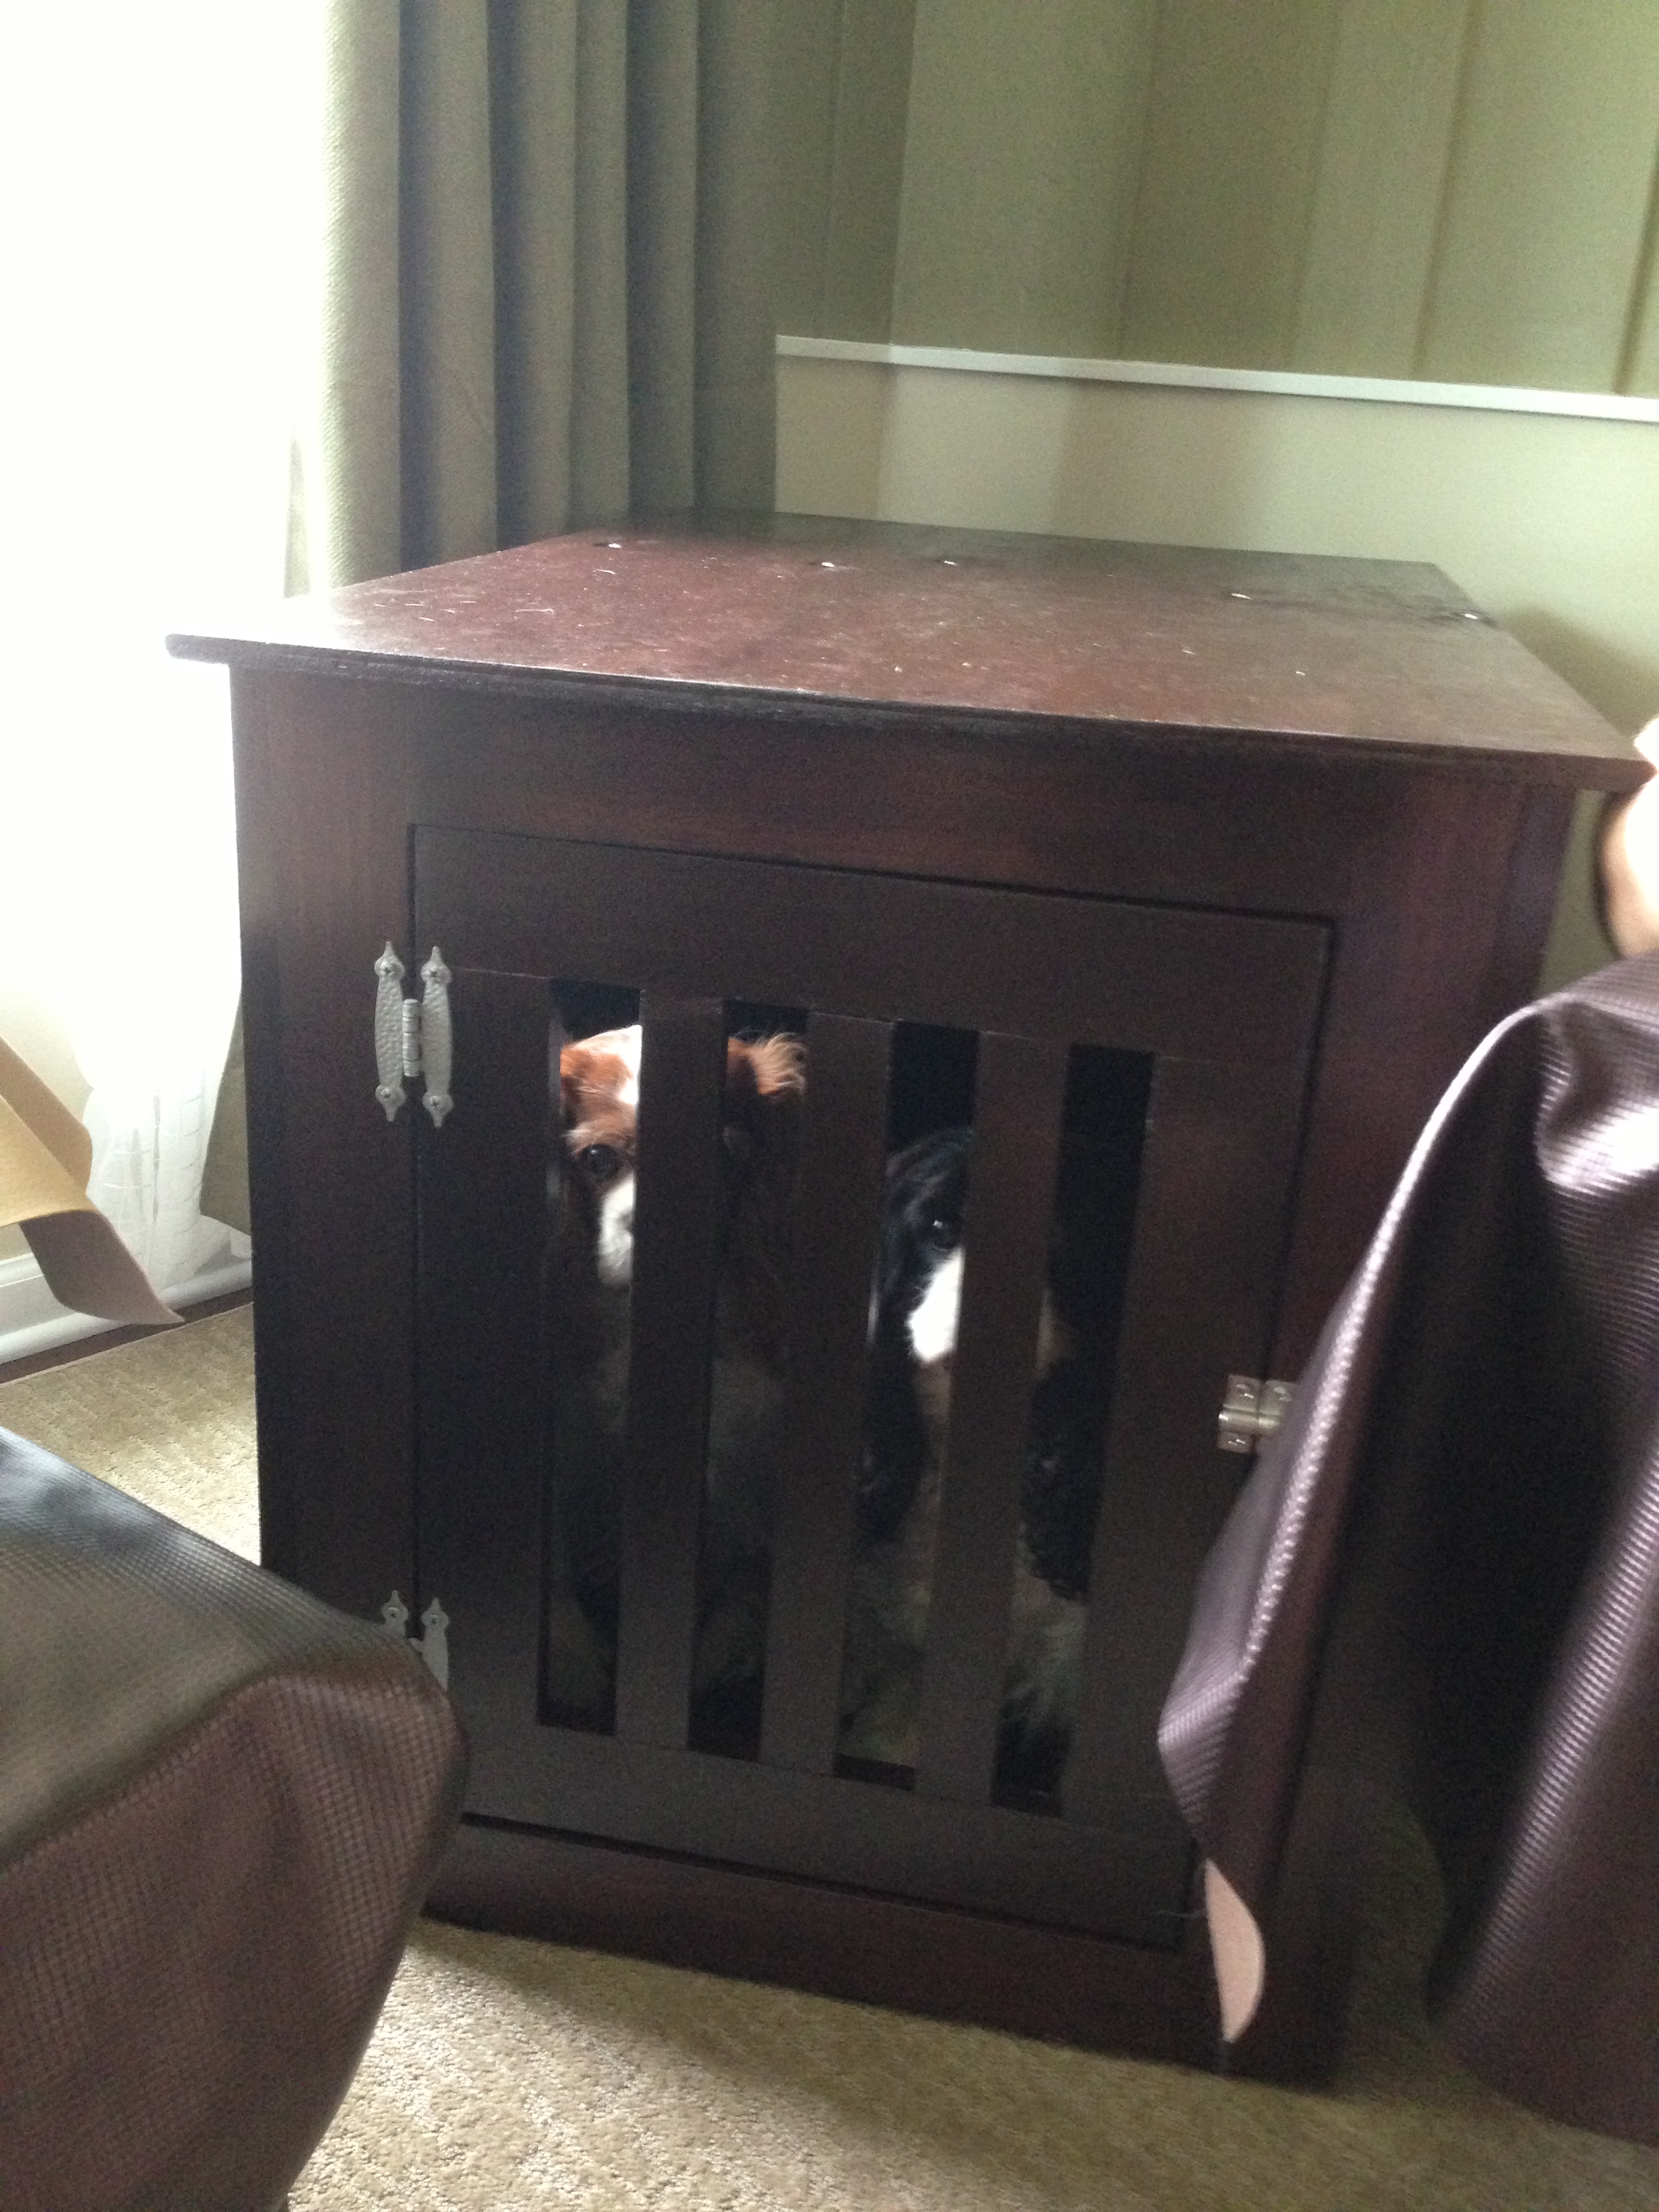
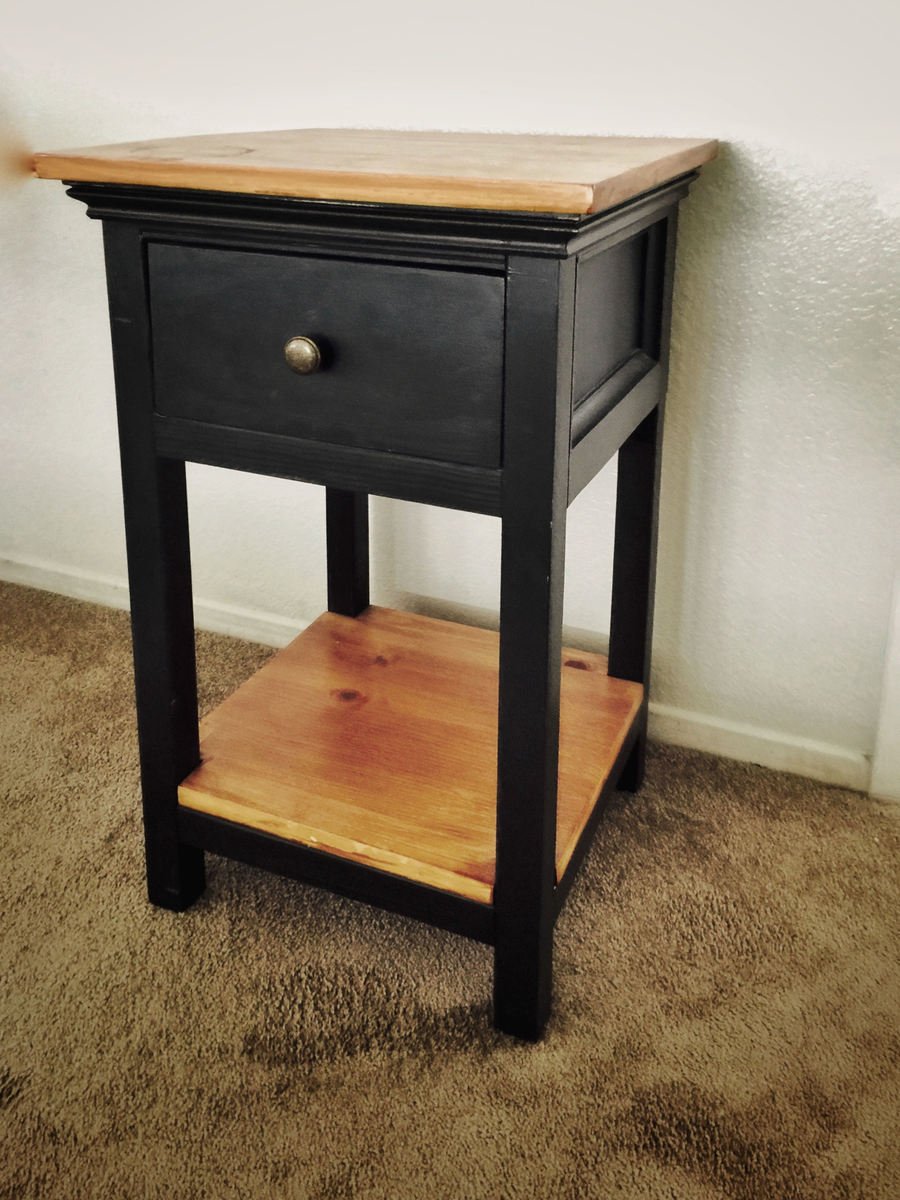
This projected turned out great! I admit, it was a bit of a stretch for me. This was the first project where I had to use the Kreg jig. Yikes! That takes some time getting used to! I chose to stain my Kennell/End Table with Minwax Red Elm. And that took the longest! Everyone always makes it look easy to stain something, I still haven't gotten the complete hang of it after project 50, and the waiting between coats is for the birds. But, I am happy with the overall end product! Thanks Mrs. Ana White!

Thu, 07/18/2013 - 08:48
Hi YankeeBelle,
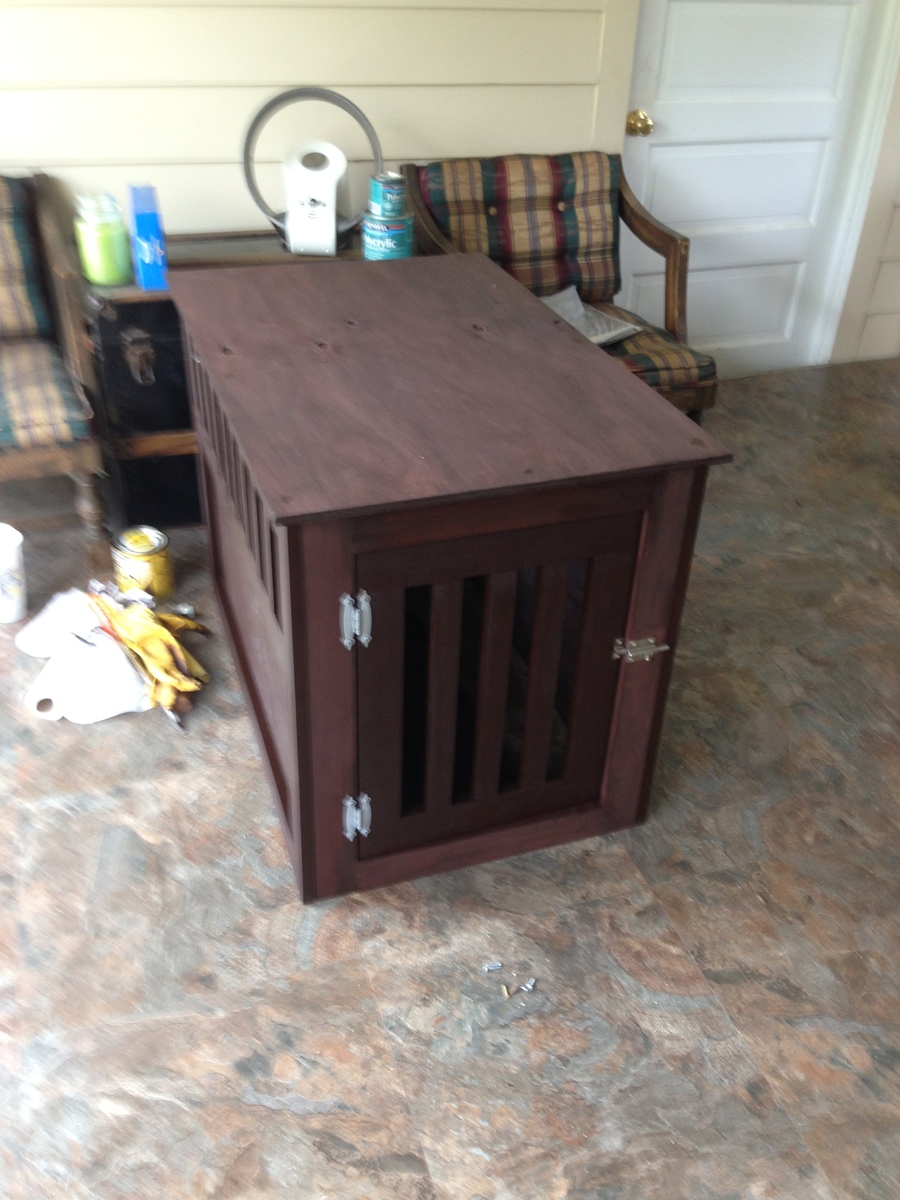
I used the plans for the "Large Wood Pet Kennel End Table." If you chose to do this project, beware that the cut sheet does not include all of the plywood cuts. There should be two identical for the sides, and one additional one for the back.
Thanks again!
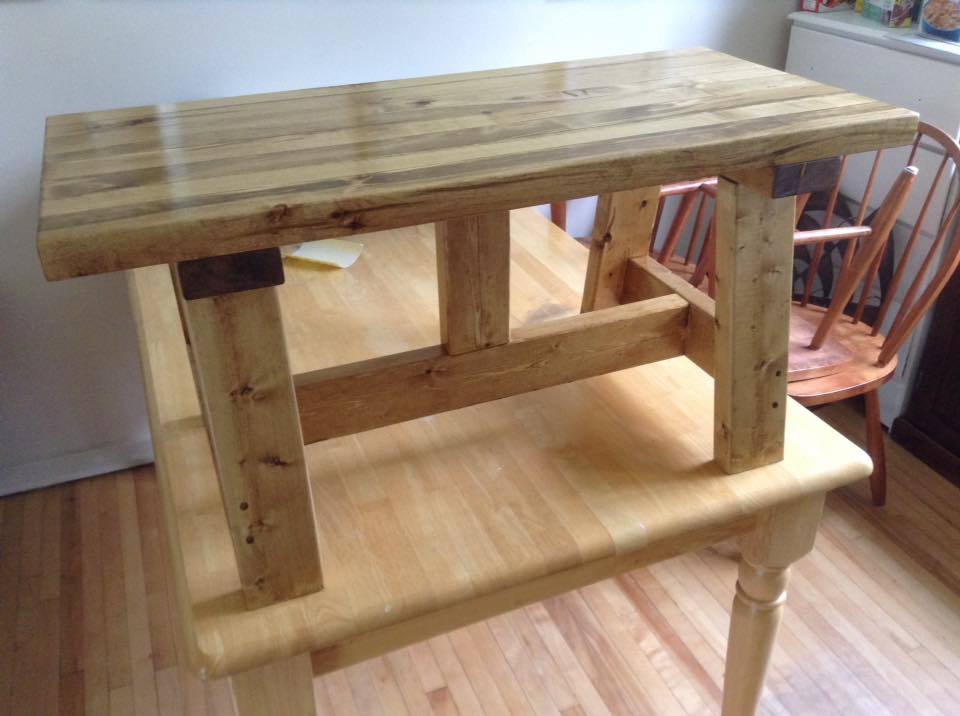
My neighbours had noticed the things I build and asked if I could build them a nice bench. I had some very nice pieces laying around that I thought would be amazing to laminate for the top. After completing the top which was alot of elbow grease, I needed to build the base. I cannot for the life of me find the link, but I know it was from Shanty Chic. It is absolutely beautiful, one of my best pieces of work.

Tue, 07/21/2015 - 09:42
It looks like a recent post from Ana's site: http://ana-white.com/2015/07/free_plans/2x4-truss-benches-alaska-lake-cabin
Mon, 02/20/2017 - 08:12
I don't remember which plan I got the base from, but the top is of my own design, and I spend awhile figuring out what kind of base I wanted, but it is suppose to be representative of an old design from Pottery Barn, was built for some friends that needed something heavy duty.
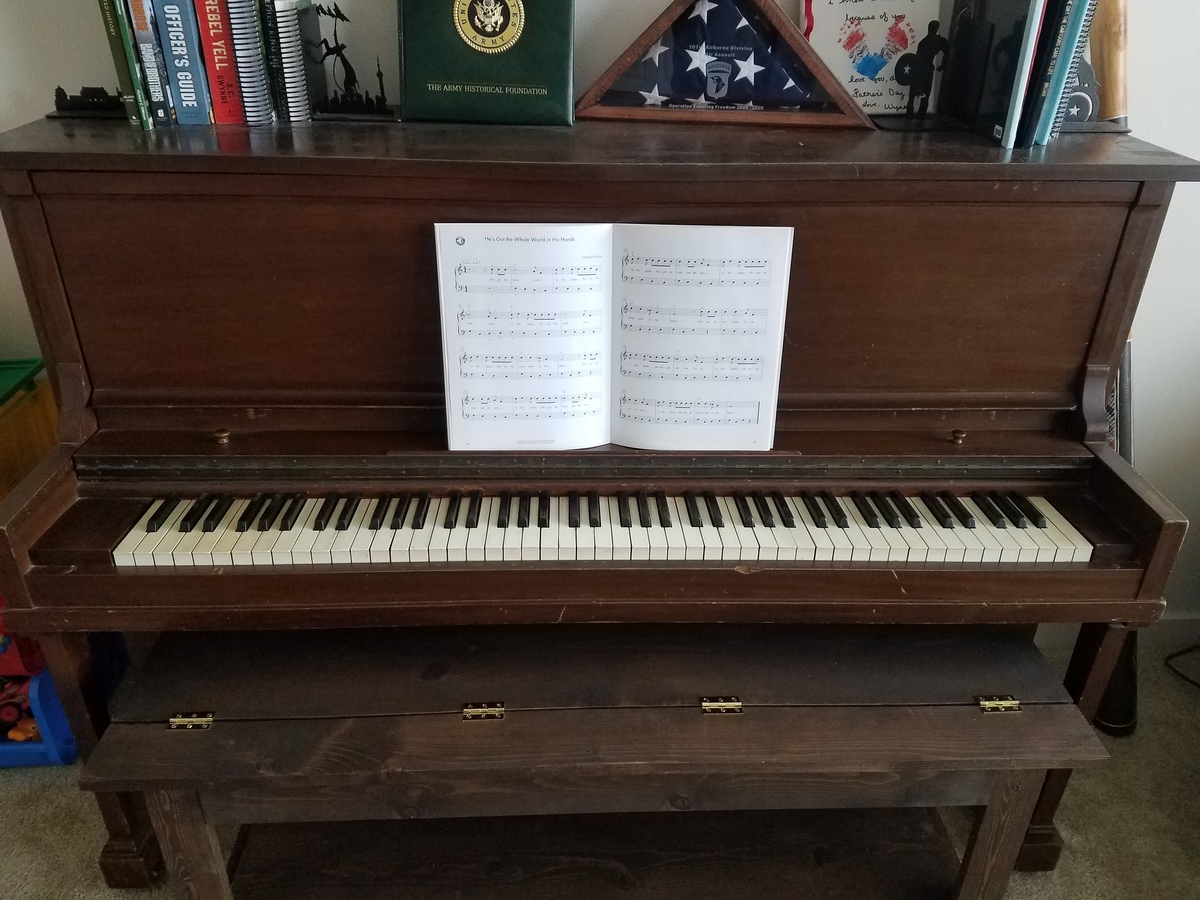
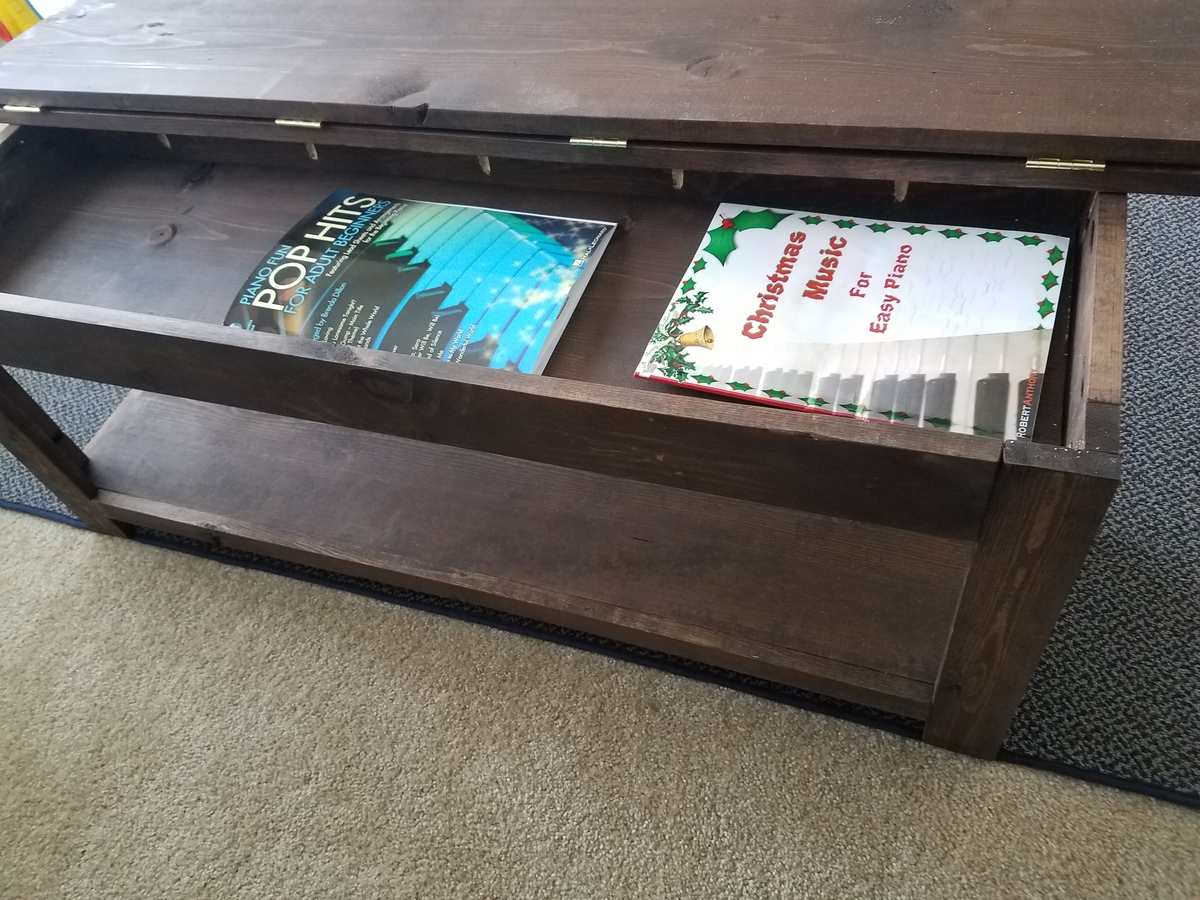
Got a piano for free that has no bench with it. When I started looking up dimensions, I realized traditional benches are a little short if you want to sit and play with someone else. The size of this plan works perfectly and can store music. Best part is that if we ever get rid of the piano, we will have a nice entryway bench.

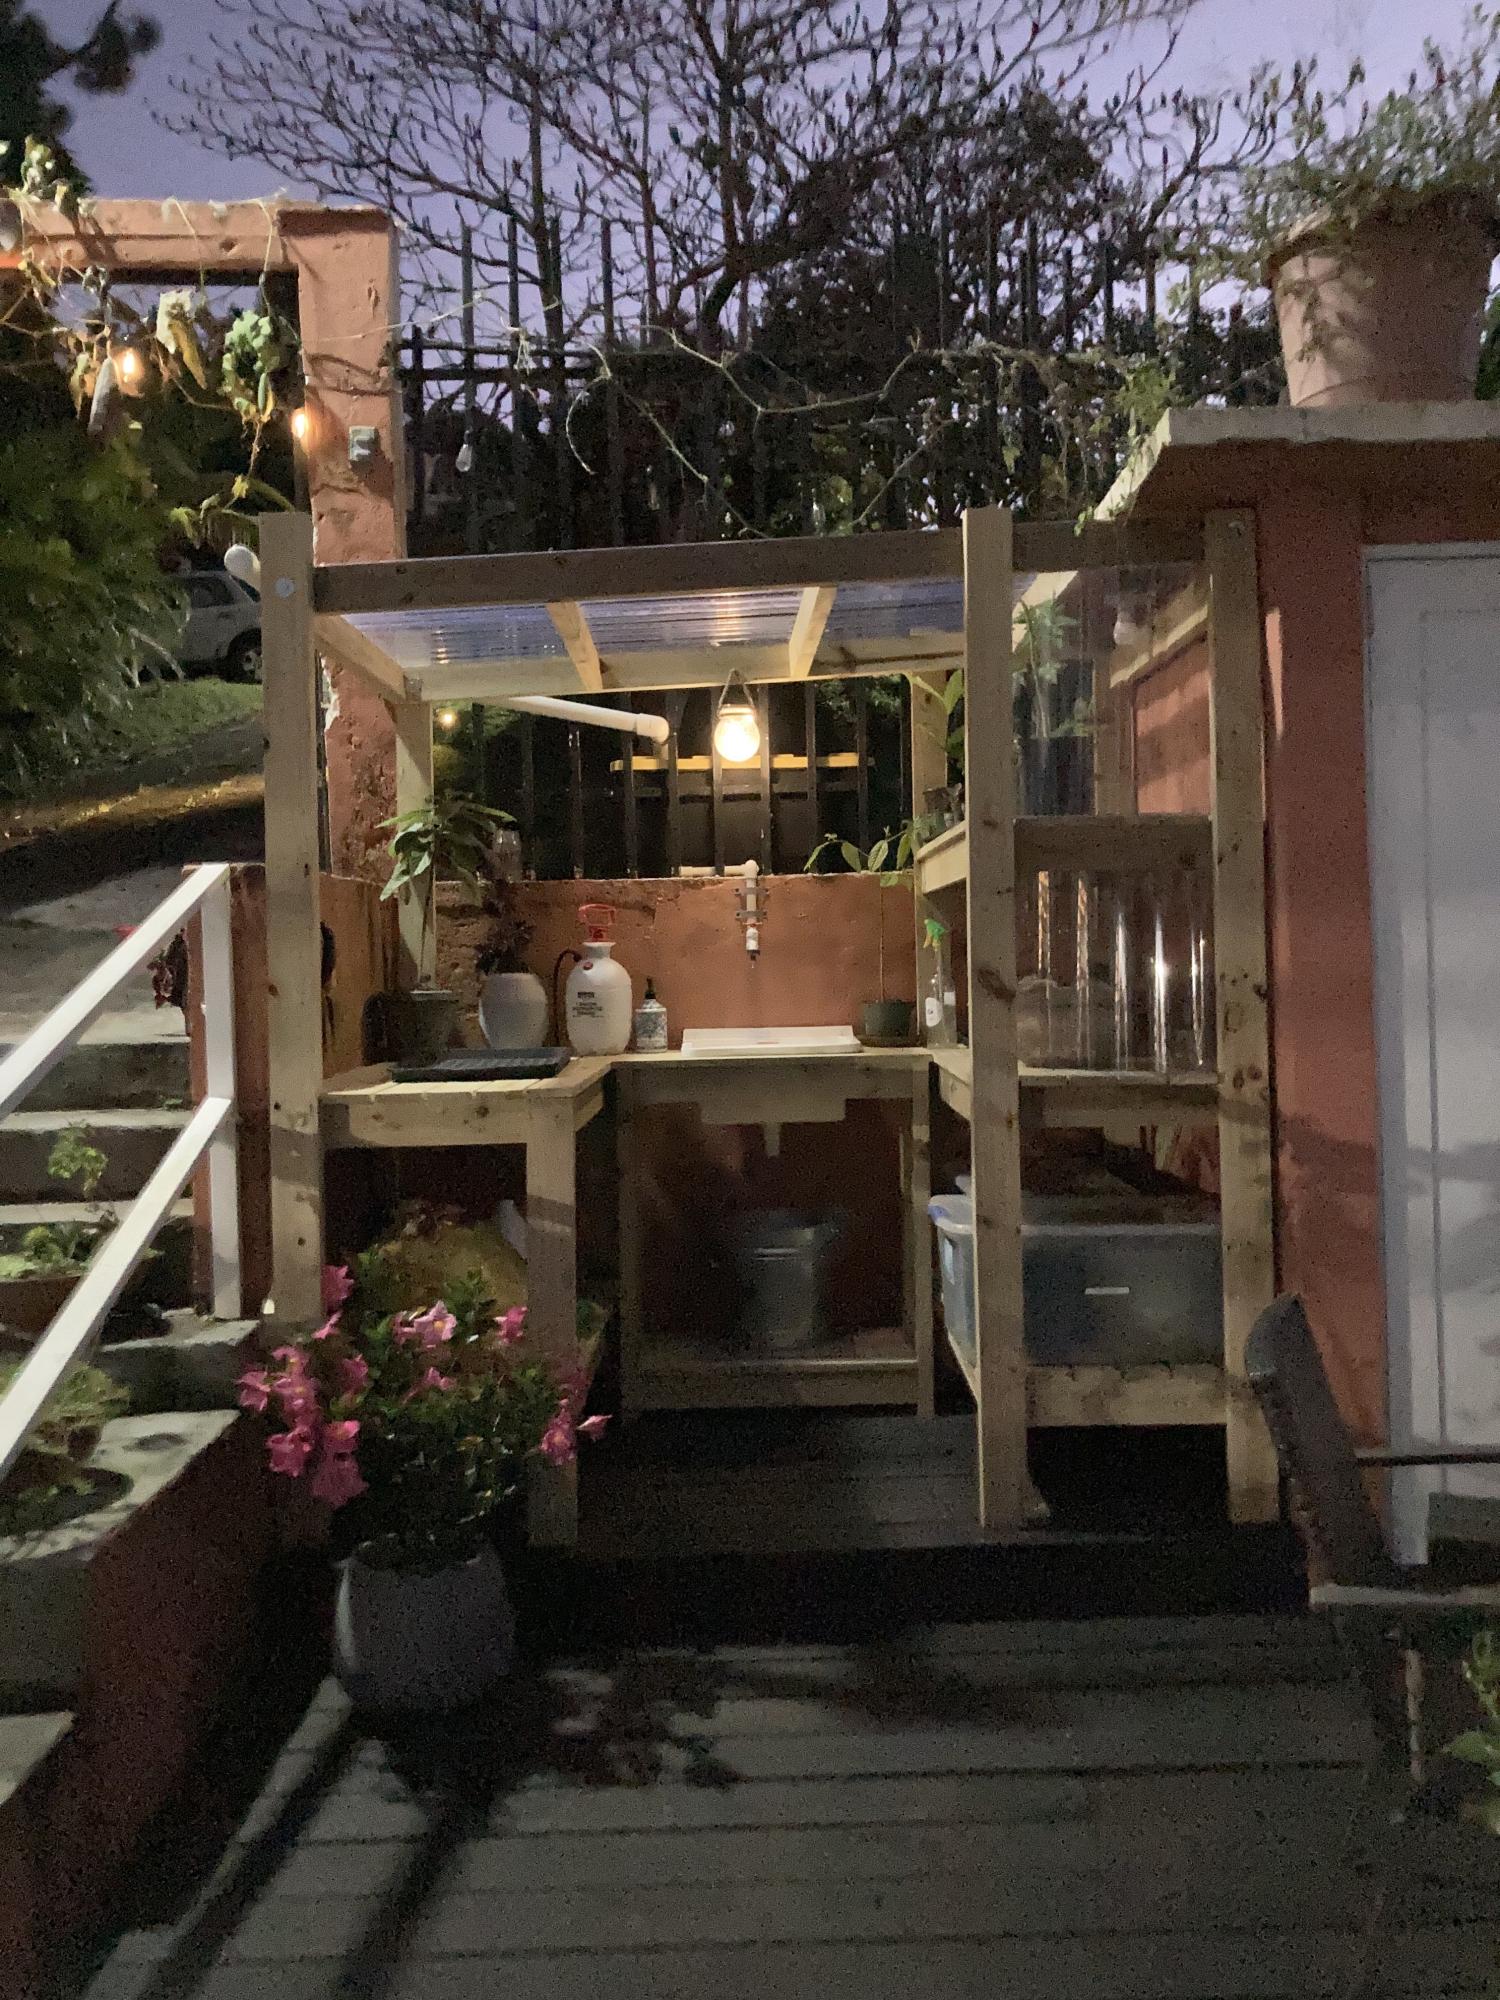
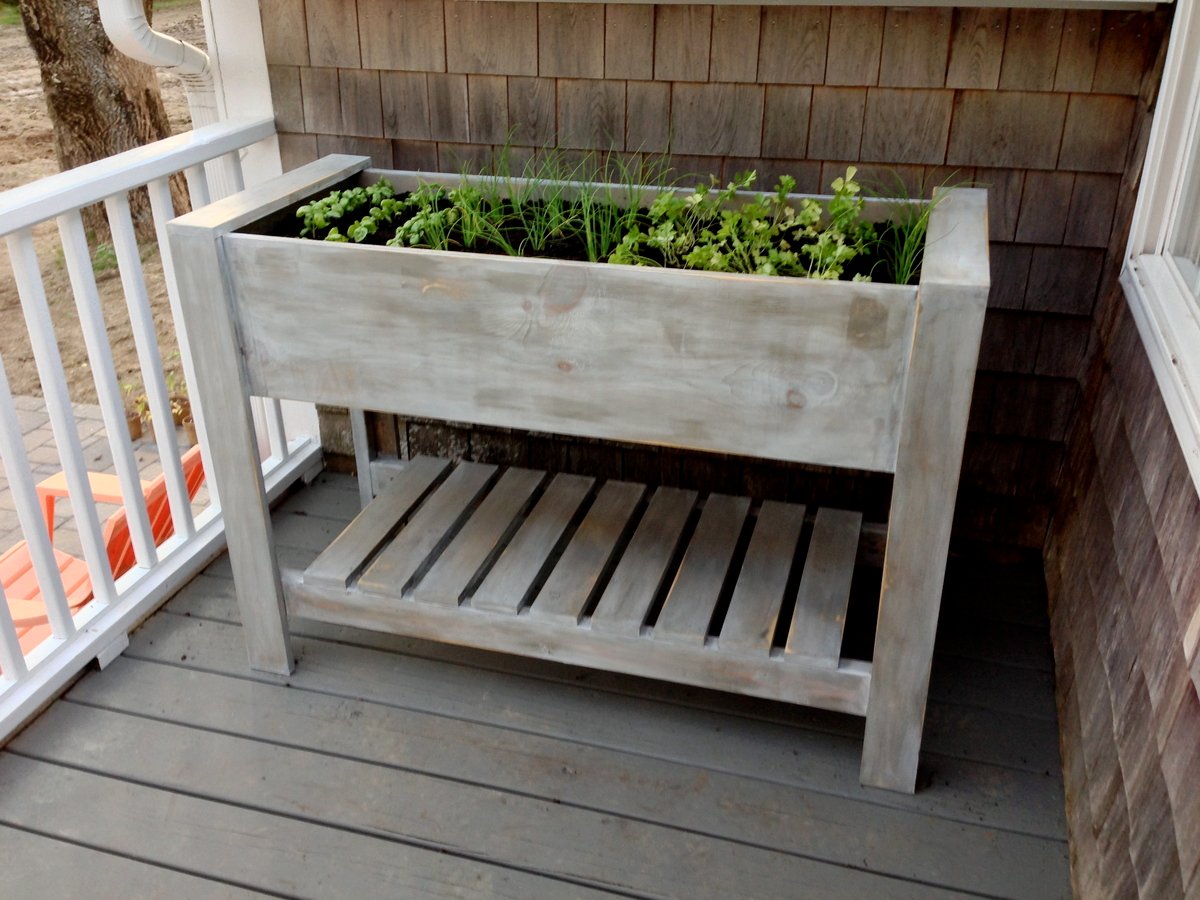
I modified the simple potting bench into 3 components. The potting bench, a place for seedlings and a sink.
We get a ton of rain up here in the mountains of Puerto Rico. So much so that it tends to drown seedlings if they aren't covered. So I took the Simple 2x4 Potting Bench plans and modified them to fit the space I had picked out for the project. Since we get so much rain I wanted to collect it. So I added a clear pvc roof and with a gutter made with pvc pipe which flows into a 27 gallon storage container. This disperses into the sink. There is a bucket under the sink to collect the water.
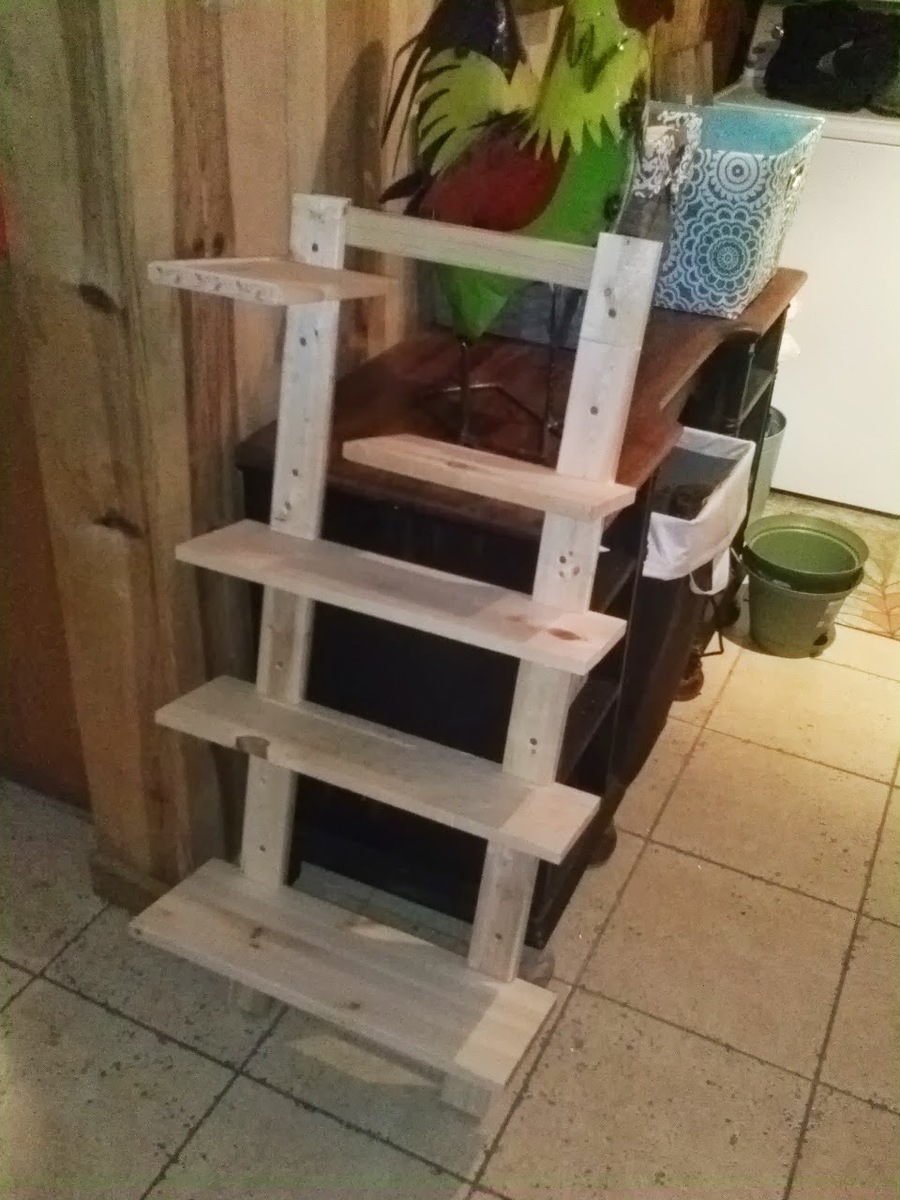
Note: I had to add a 2x4 support under each shelf. I made the two big shelves a little longer so it needed it to support the 1x4s.
I am an avid gardener so I should have given myself this gift after years of not having any level/proper space to work.
Tue, 03/15/2022 - 09:34
Thank you for sharing your wonderful project, looks great and super functional!
My husband and I built this custom desk adapted from the "X-Table," in celebration of his PhD program acceptance!
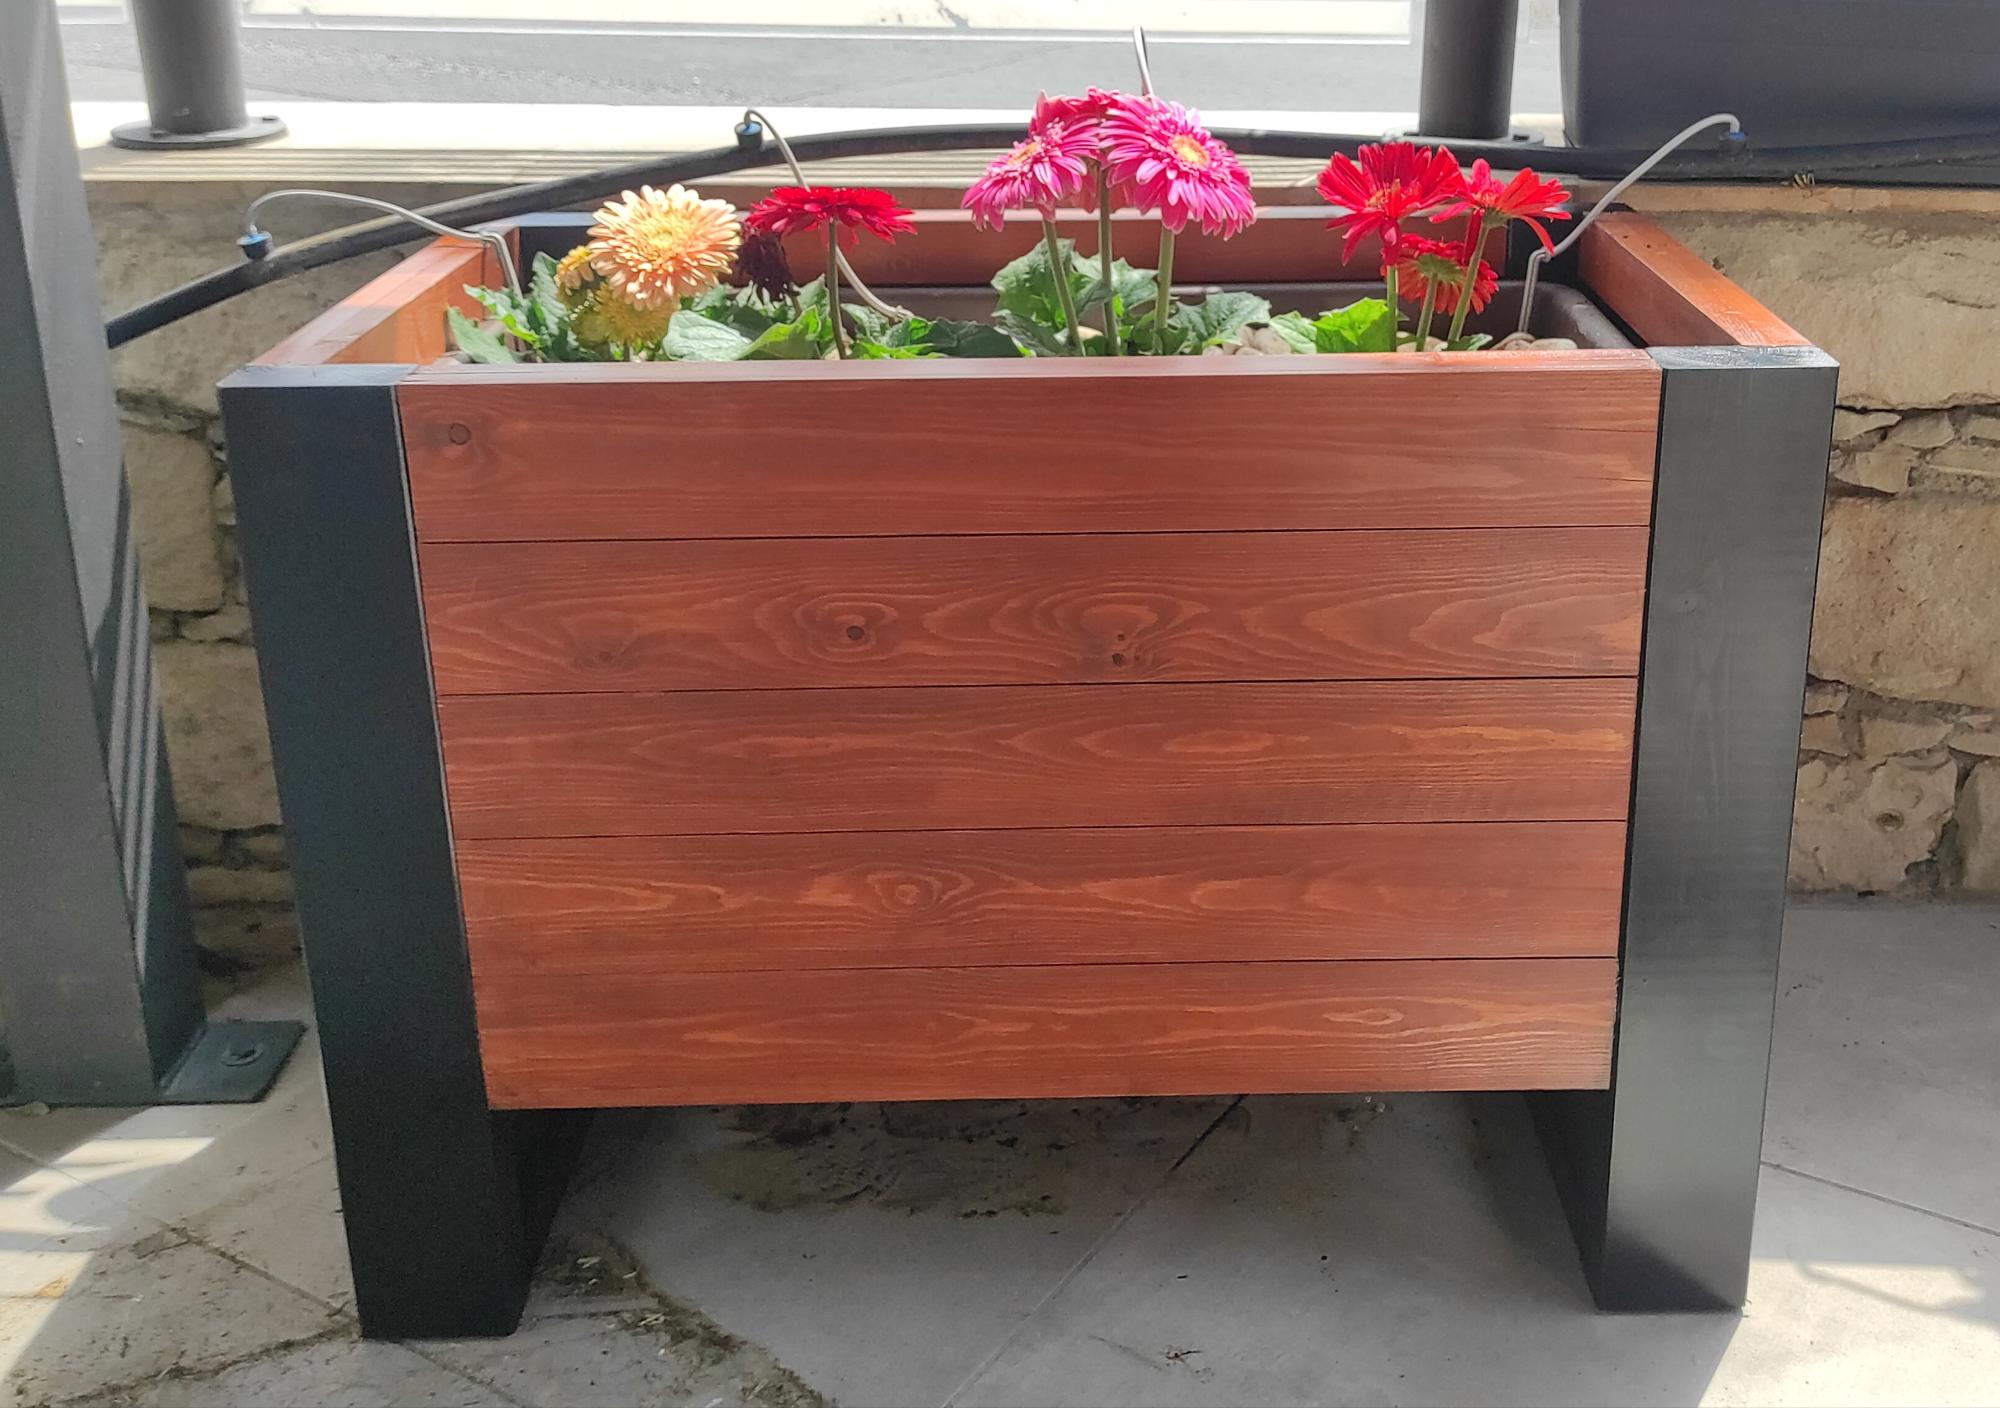
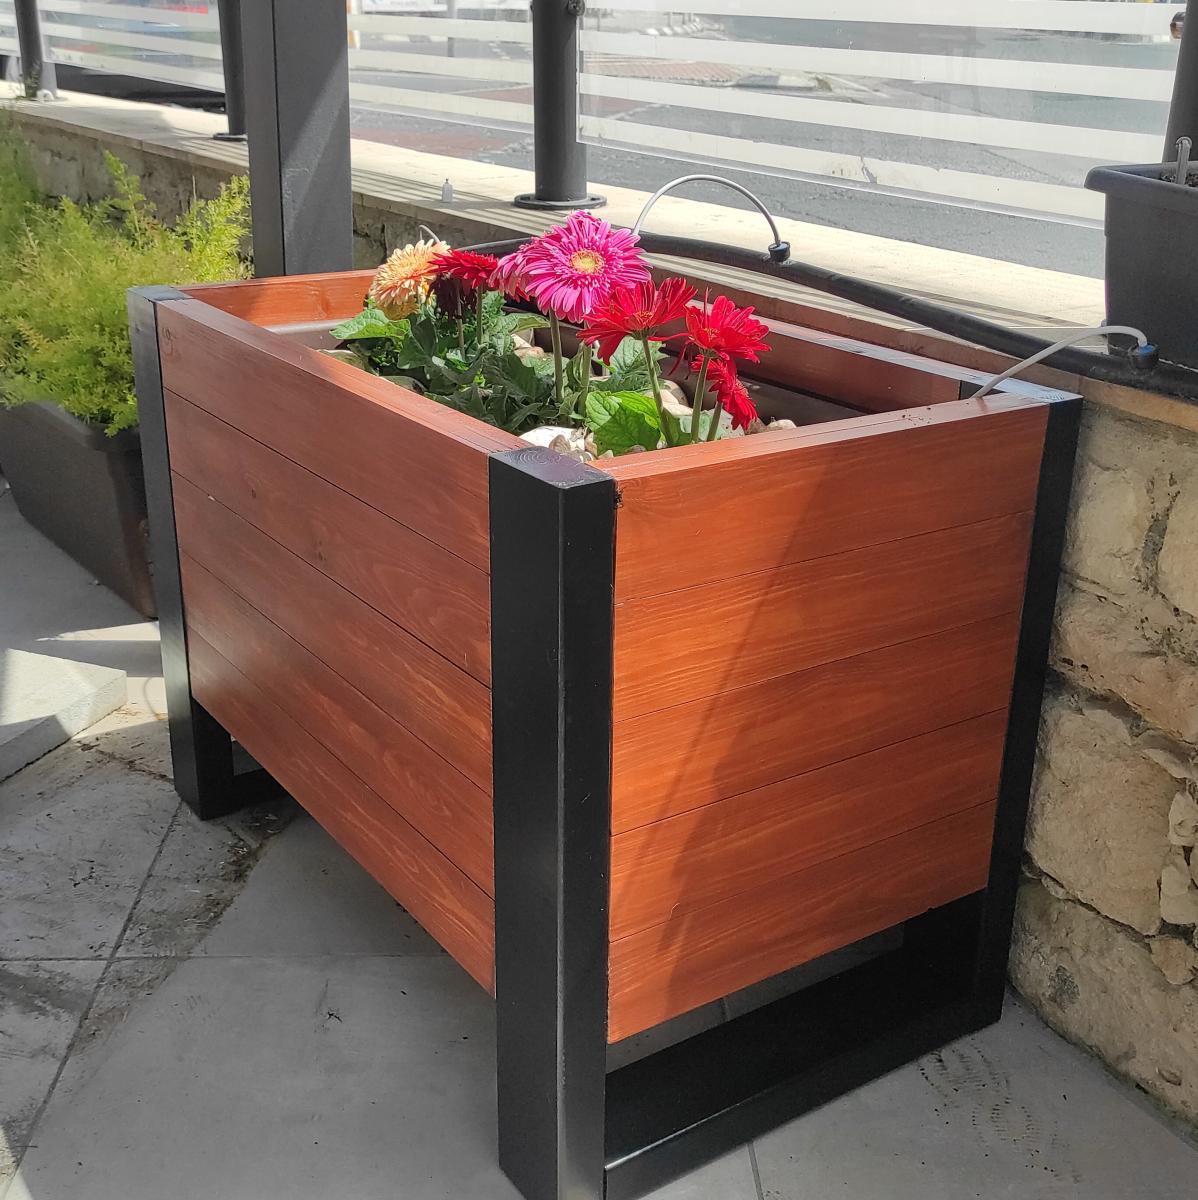
I followed Ana's Raised Planter Box plan exactly. We did purchase a Kreg Jig Jr. recently, which came in handy on this project for sure. It is a very sturdy piece and it only took a couple of hours to assemble.
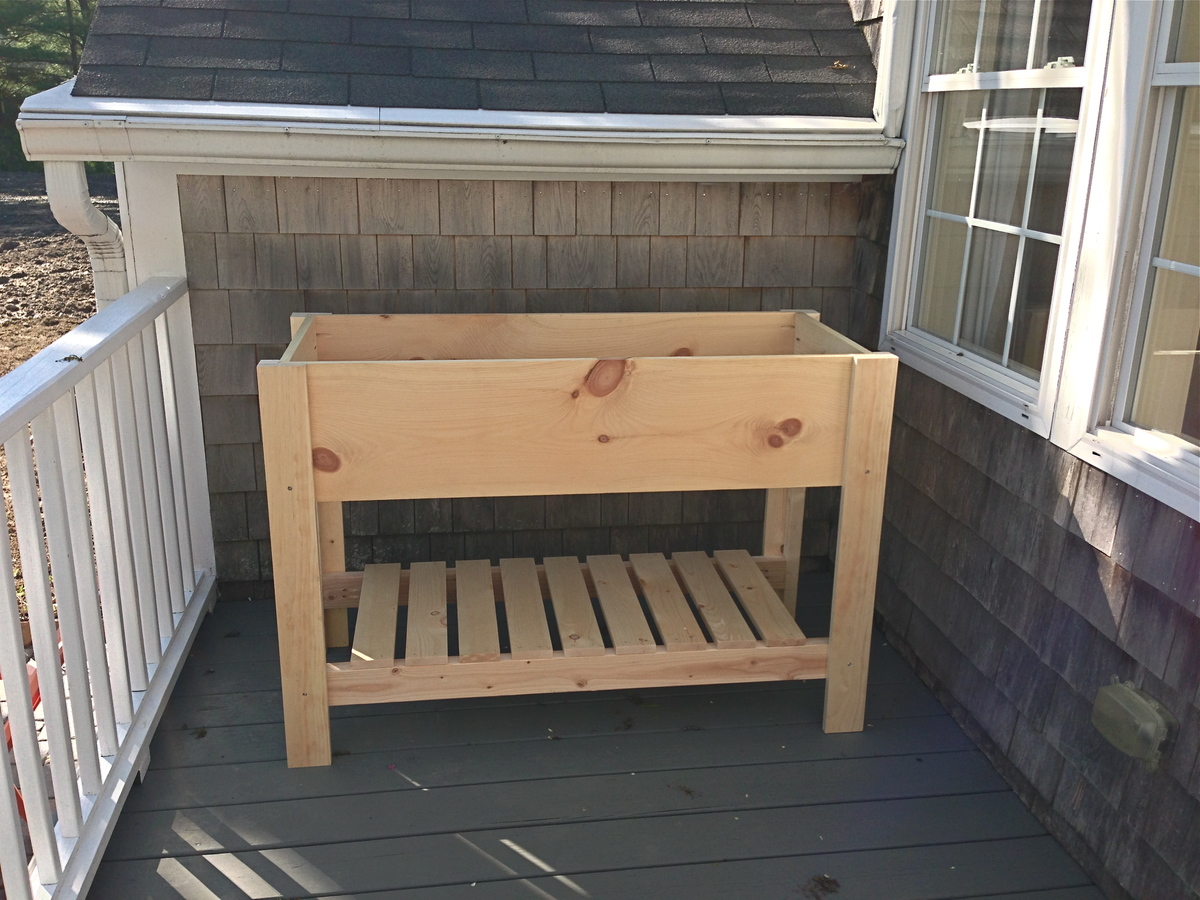
I added some decorative trim to the top of the table and also to the sides of the table.
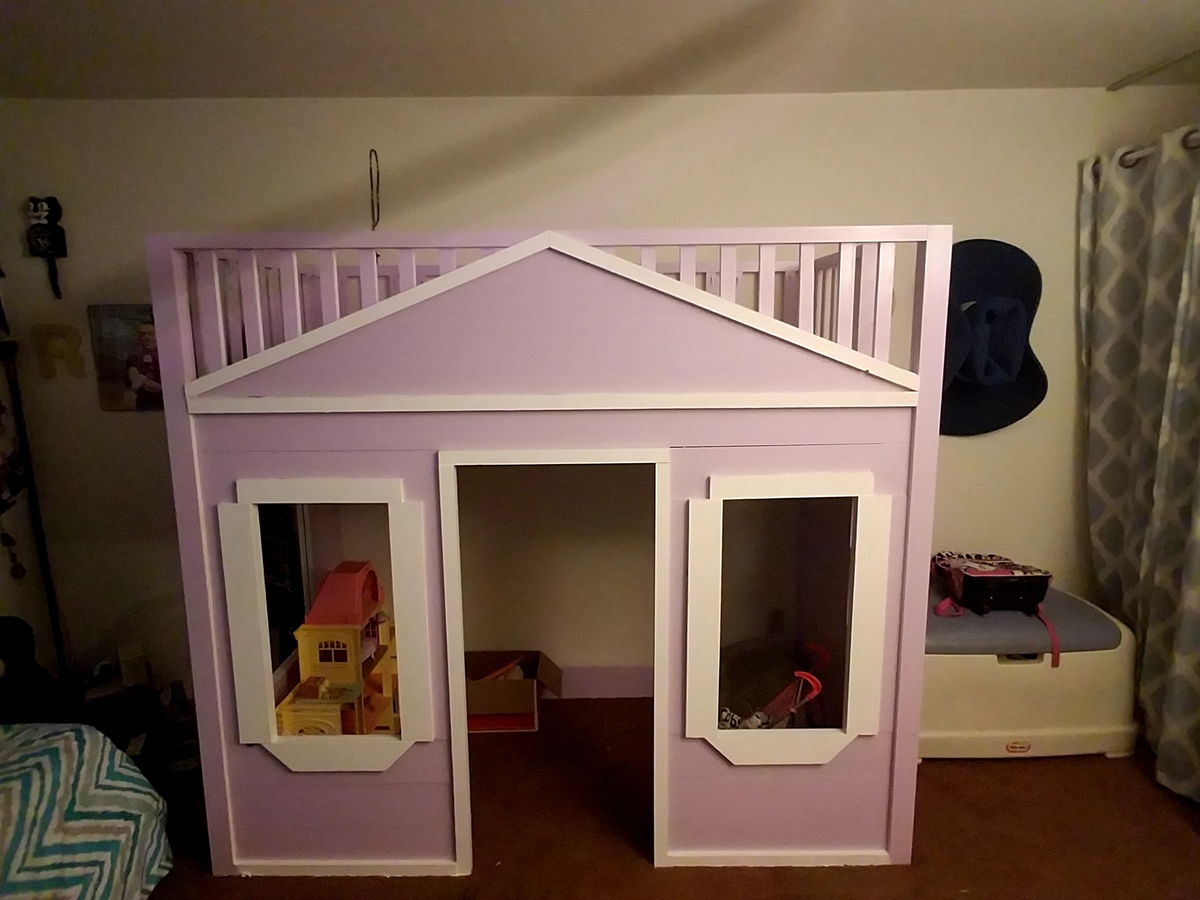
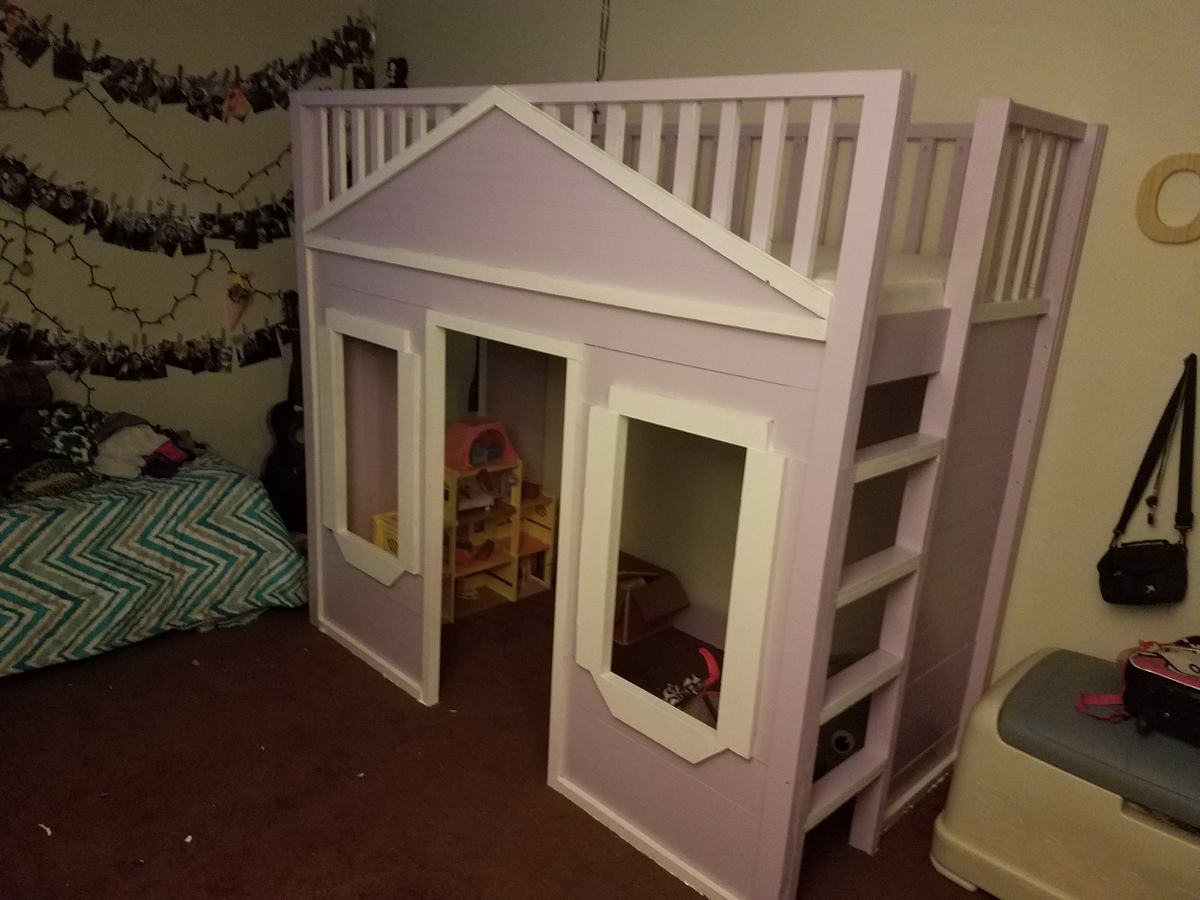
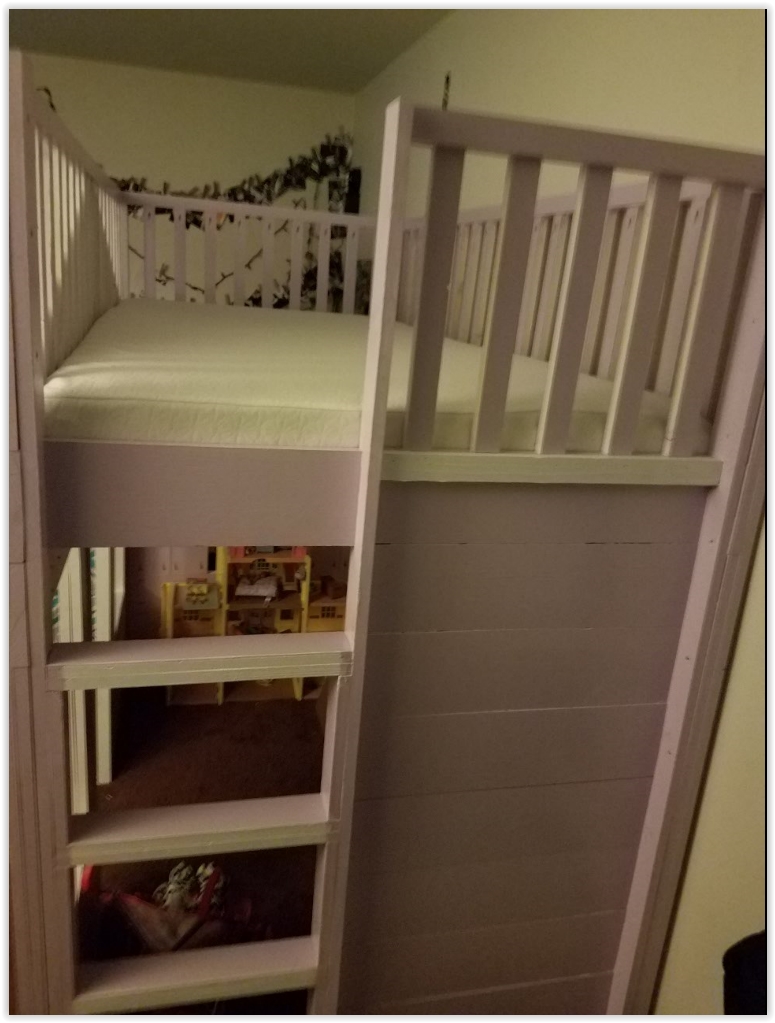
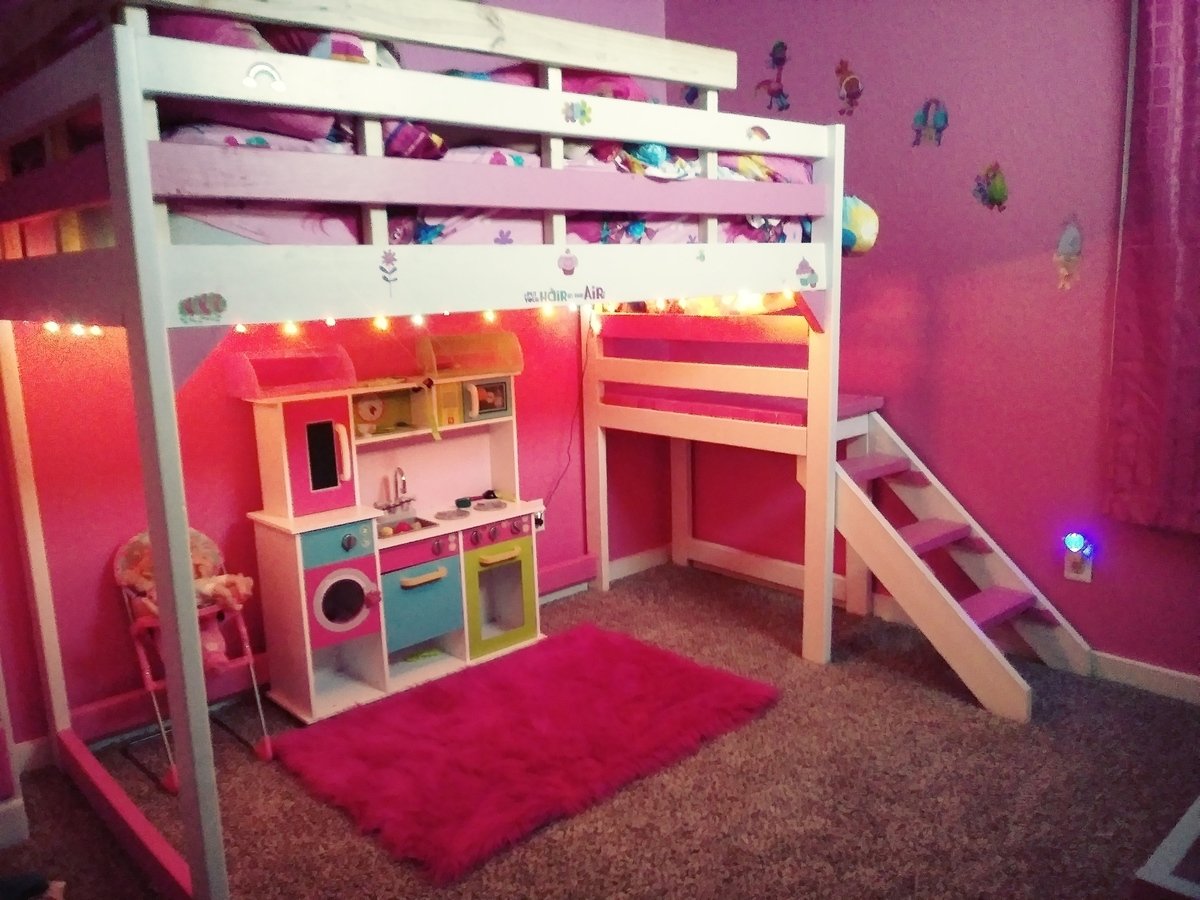
I saw this and new I had to make it for my eight year old daughter. Followed Ana's plans as directed. The total cost to include wood, screws and paint brought this to about $315.00. I am going to make stairs next for this but my other daughter wants a new bed now too, so, the stairs will have to wait.
This has to be one of our favorite Ana projects so far! And our first using the Kreg Jig - which I now love!
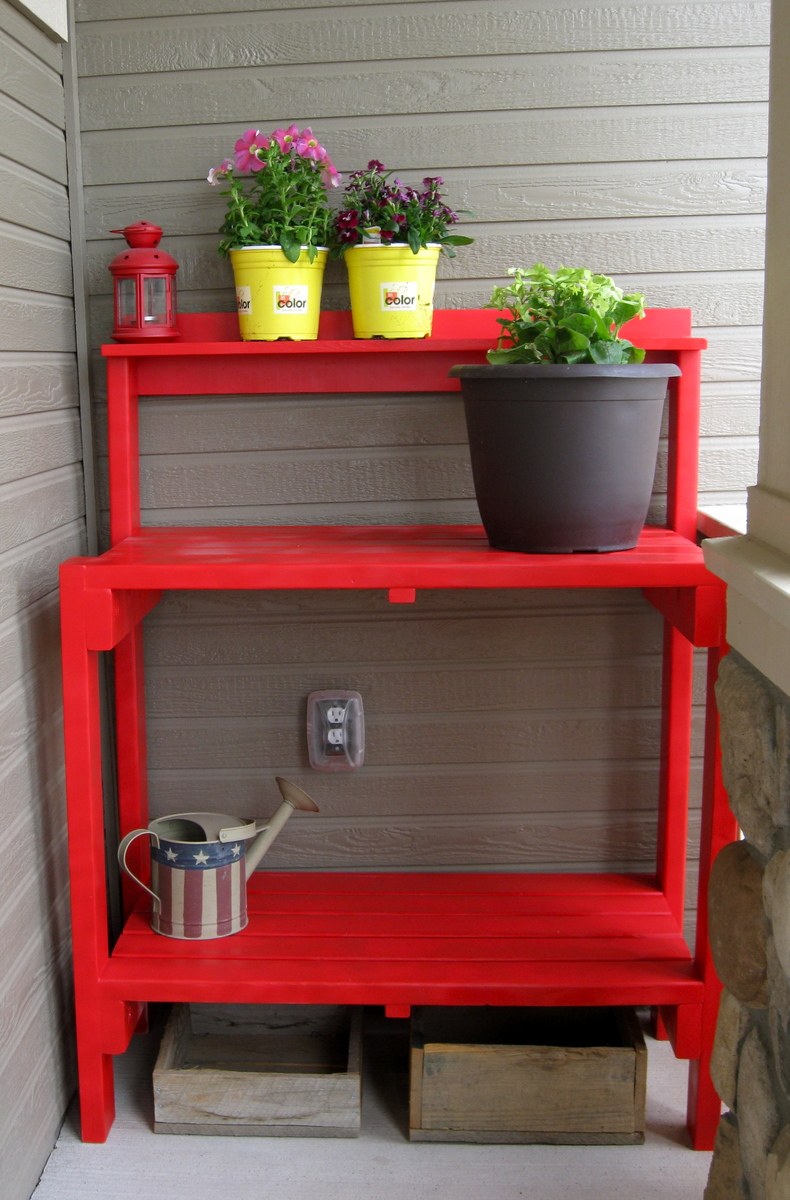
Much to the dismay of the neighbor kids next door - it's not a candy stand. Nope, for now it's destined to be my little red potting bench.
Made these shelves for my mom.
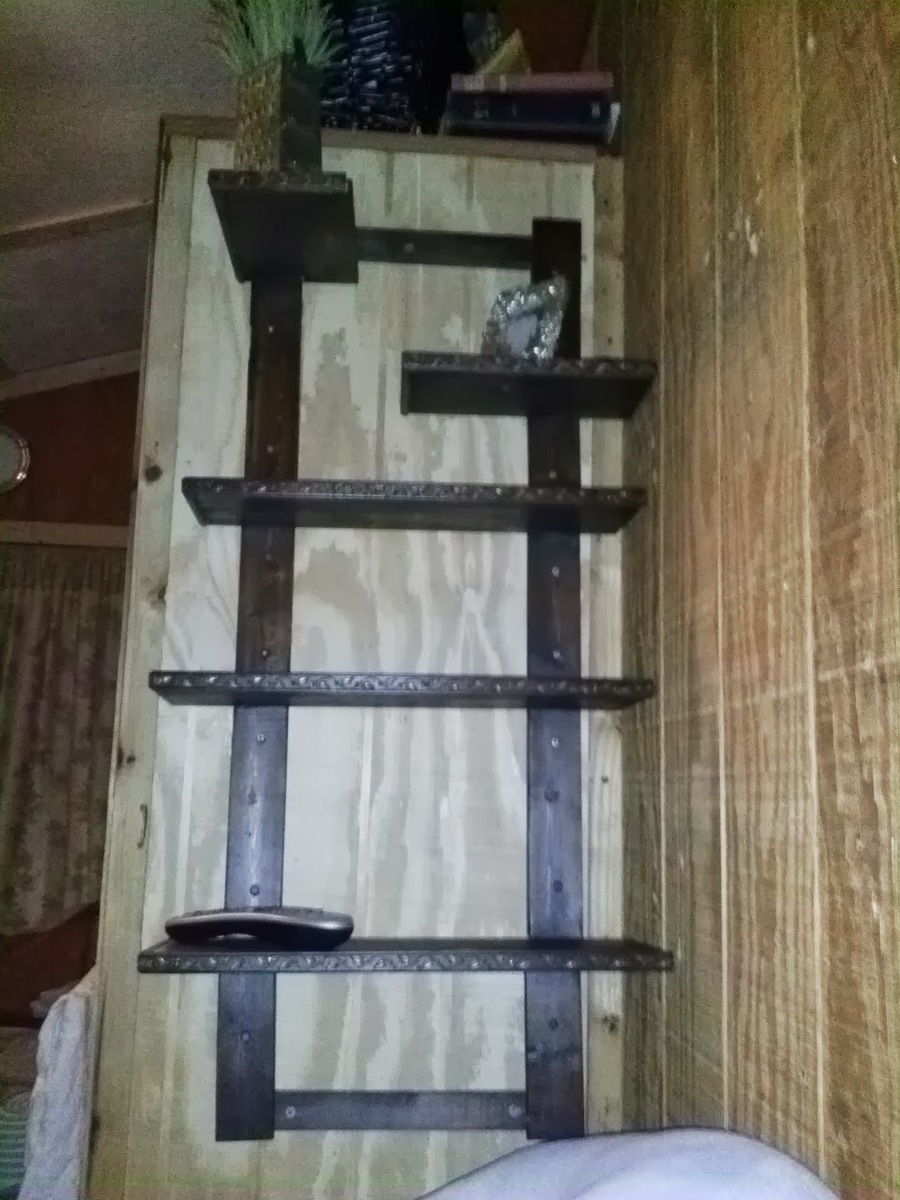
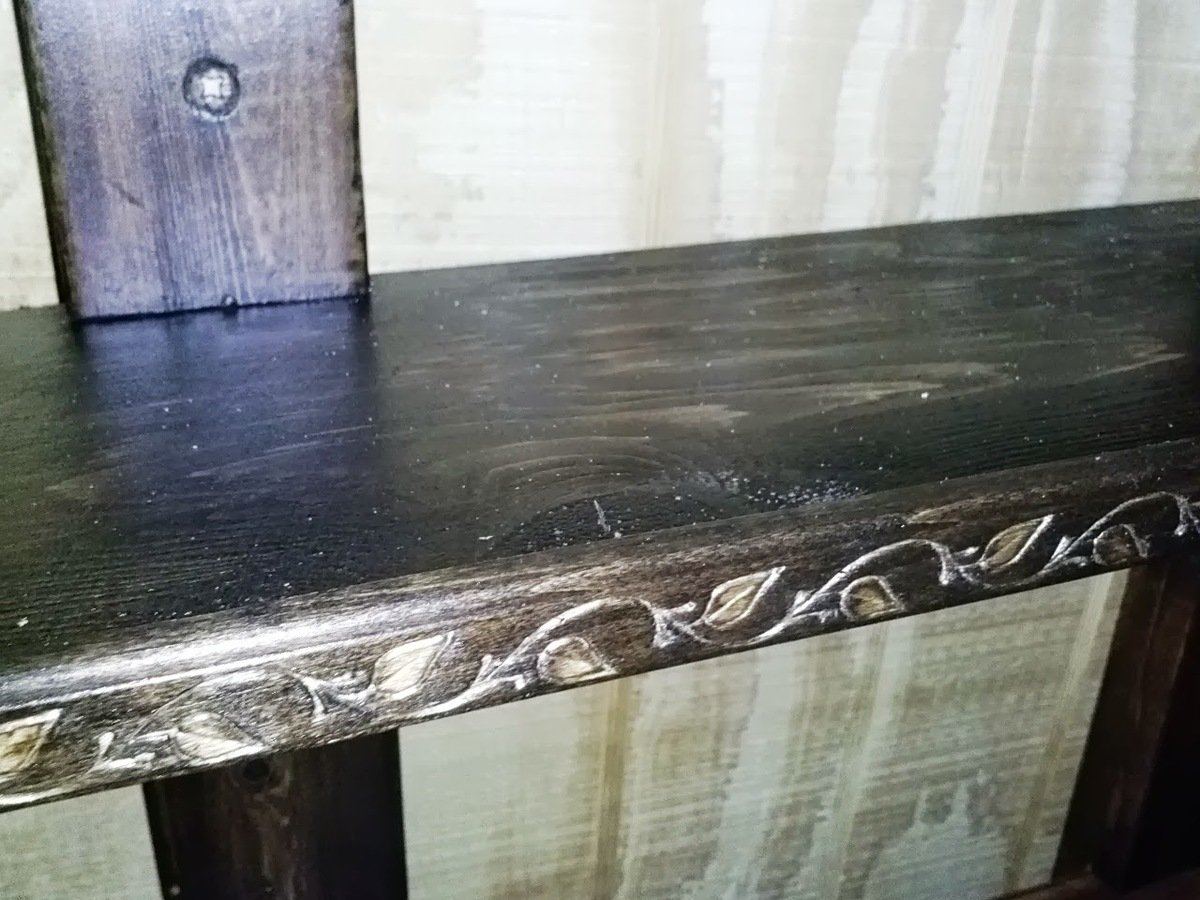
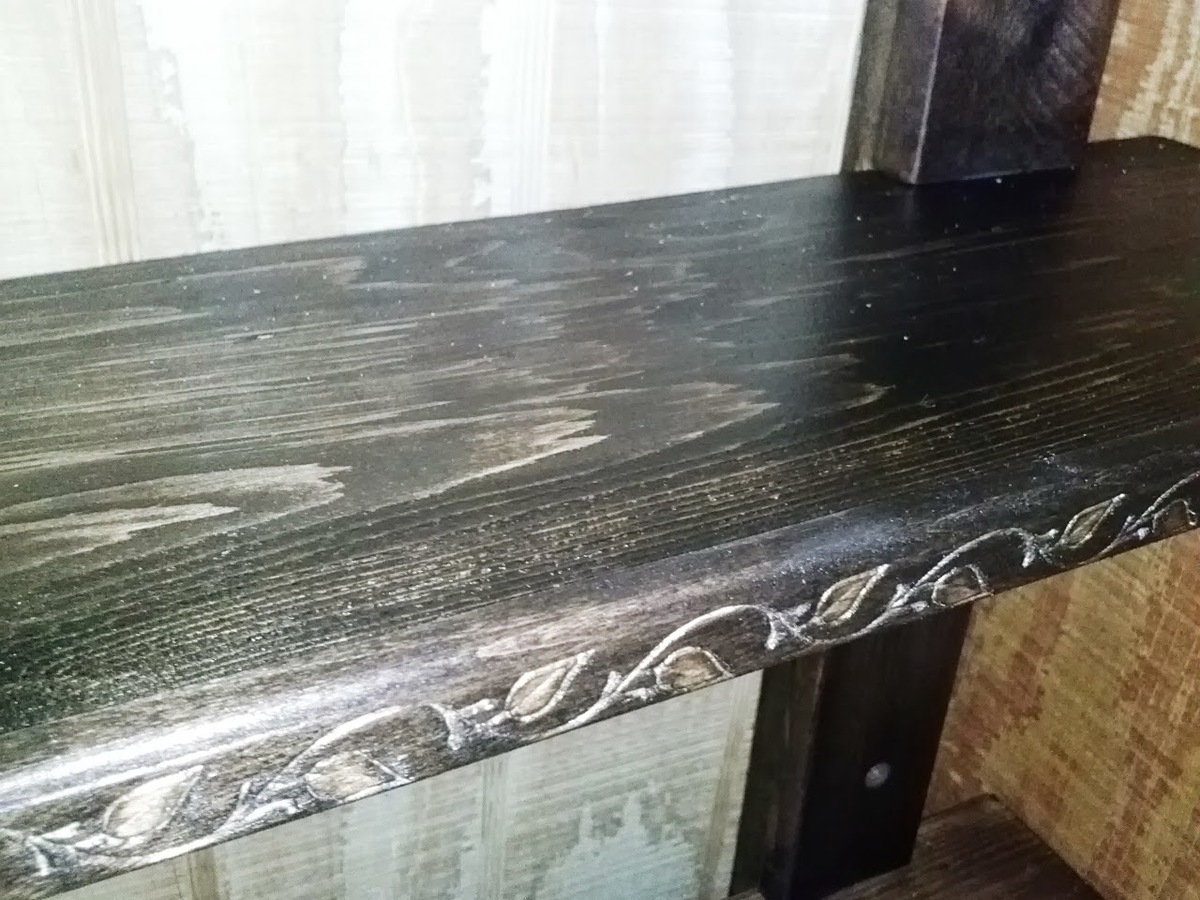
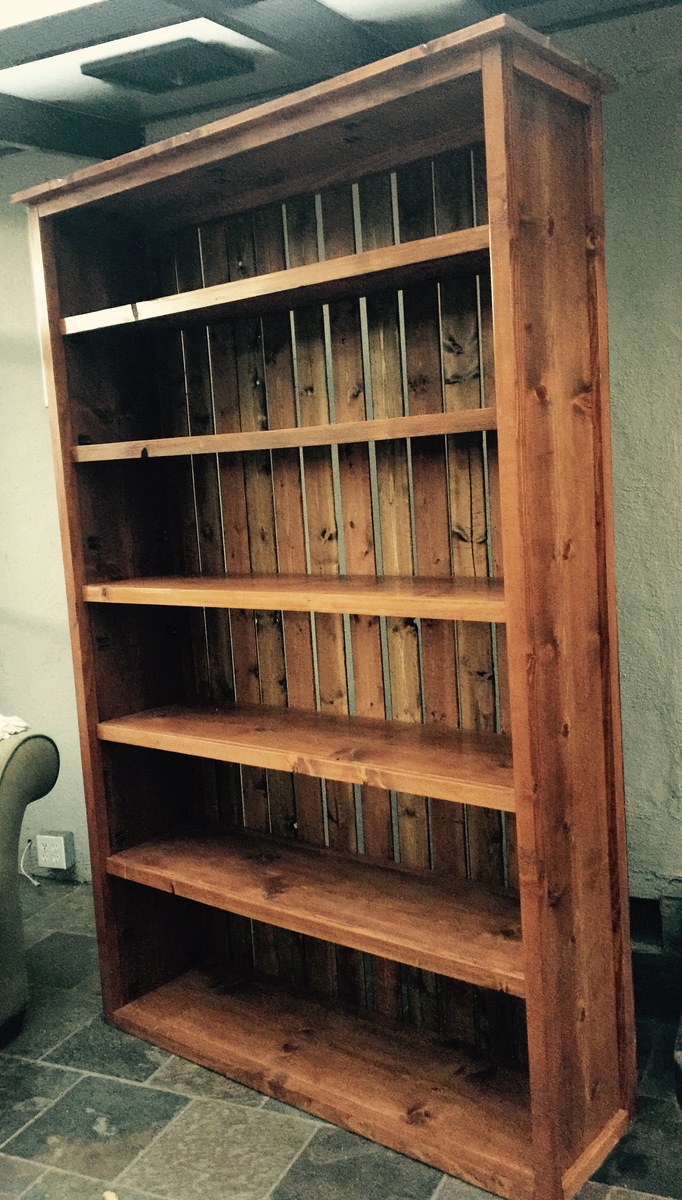
I wanted to build as big of a booshelf as I feasibly could so I altered the sizings in width and height to create this monster. The planks in the back did not fit perfectly in the new sizing so I spaced them a little bit and I think it turned out nice. The spacing gives it more of barn-like look to it. I also alternated stains on the planking between American Walnut and Dark Walnut because this thing took more than a can of stain and I thought the look was neat. The majority of the piece is in American walnut which turned out a little redder than I hoped, but overall I am happy how this turned out.
As always, thanks for the plans!

Mon, 07/27/2015 - 17:09
You did a great job on this bookshelf! Love the plank back and the barn-like look it gives, and the alternating colors for the back. Looks beautiful!
In reply to Great bookshelf! by JoanneS
Tue, 07/28/2015 - 07:39
Thanks! Always good to hear you are not the only one that loves your piece after all the blood, sweat and tears :)

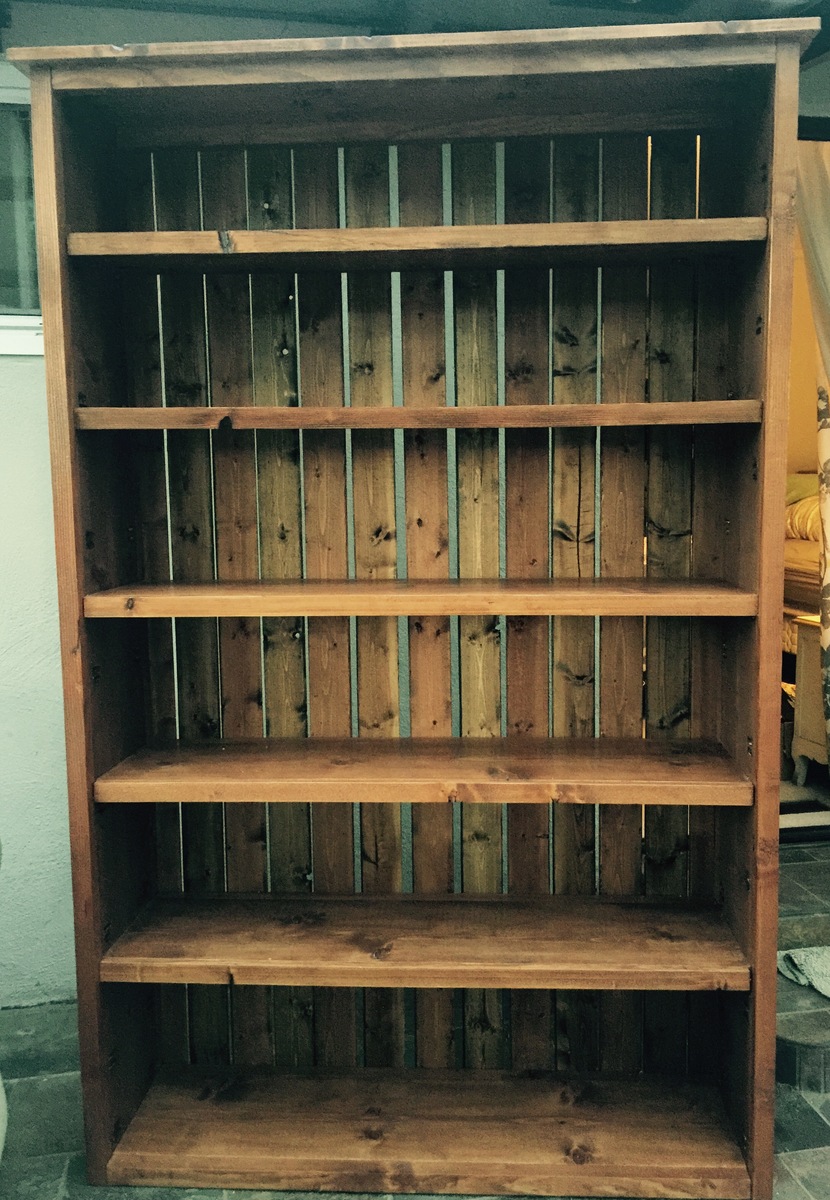
Wed, 11/02/2016 - 00:14
Hello, would you be able to provide the exact measurements you used to build this beautiful piece? It would make my life a whole lot easier lol Thank you :)
Thu, 01/19/2017 - 10:29
Final dimmensions of the bookshelf ended up being 51"W x 16.5"D x 81.5"H. I would suggest measuring out the space where you would like to put the shelf and see how much room you have.
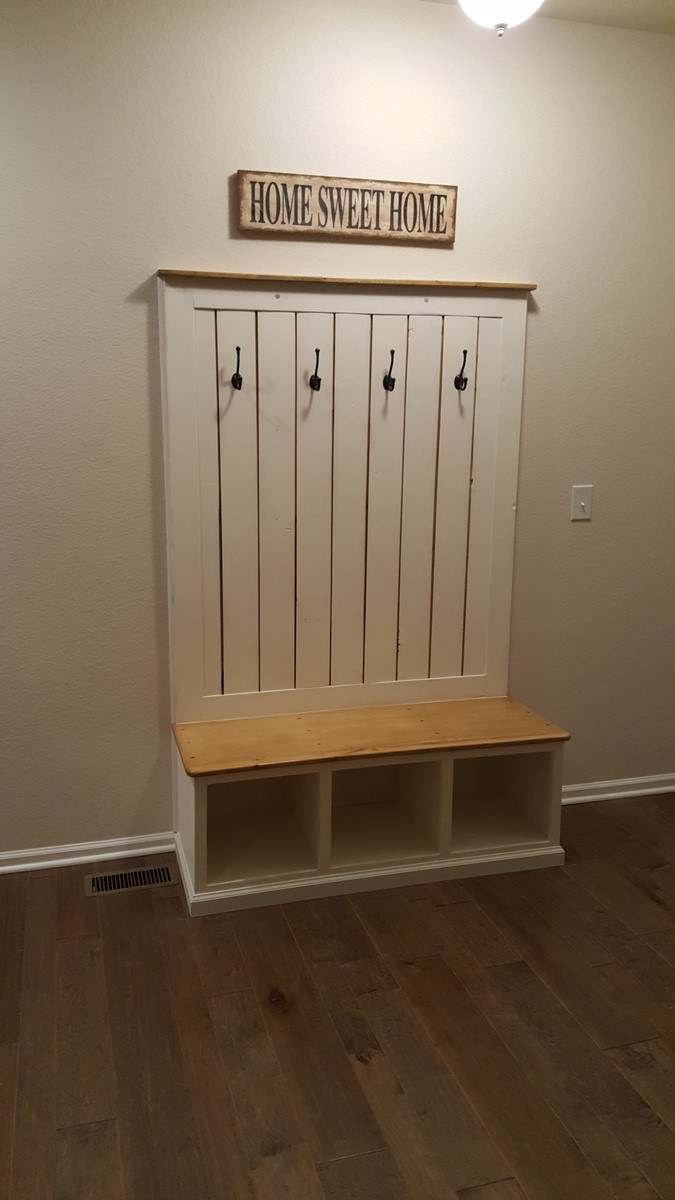
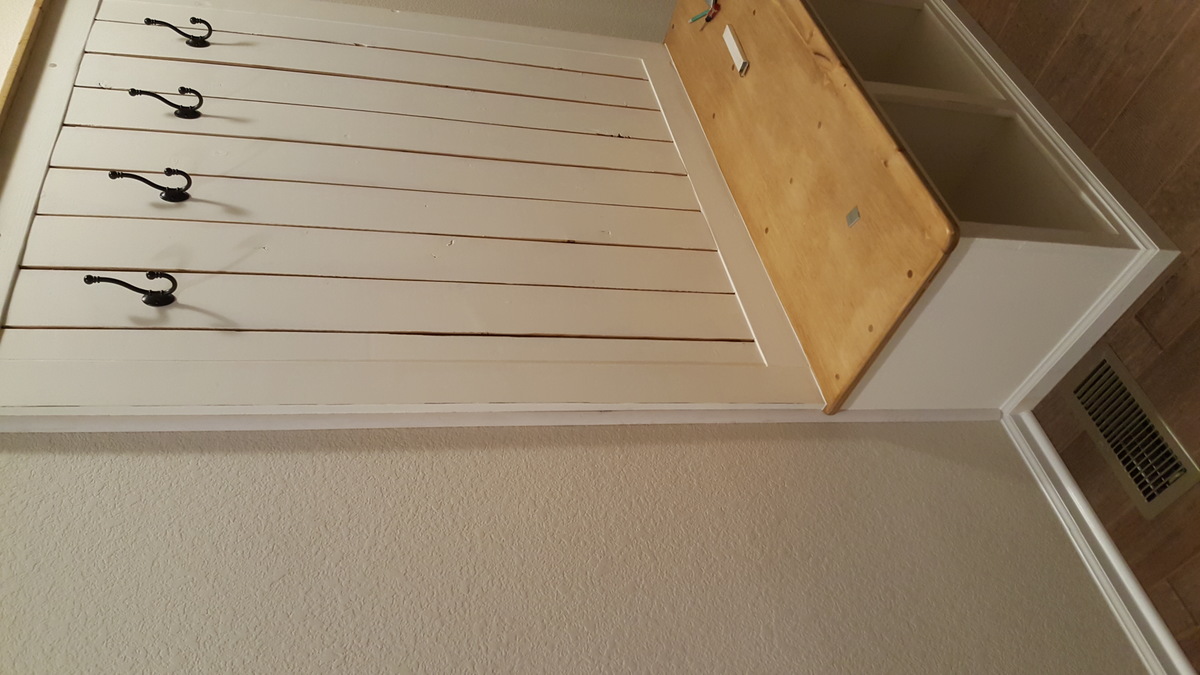
Love this site! I've made the Facny X Farm Table, and now this piece. I changed the back to ship lap. Also cut out the baseboard so it sits up against the drywall then coped the baseboard around the base to look built in. Thanks!!!
Edit - sorry for the pics being sideways, they're not like that on my phone or computer :(
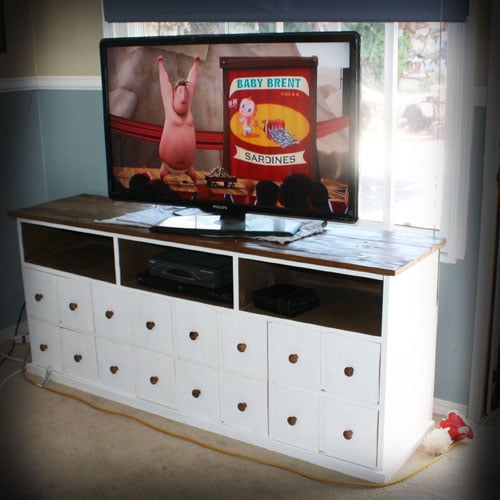
I worked on this by myself for 1 month...i am exhausted, still need to glue the flase drawer fronts, but am overall happy with it, still functional.
Mon, 01/20/2014 - 20:51
This is beautiful. Imperfections (I can't see any) definately add to the character. It looks perfect to me, way to go!
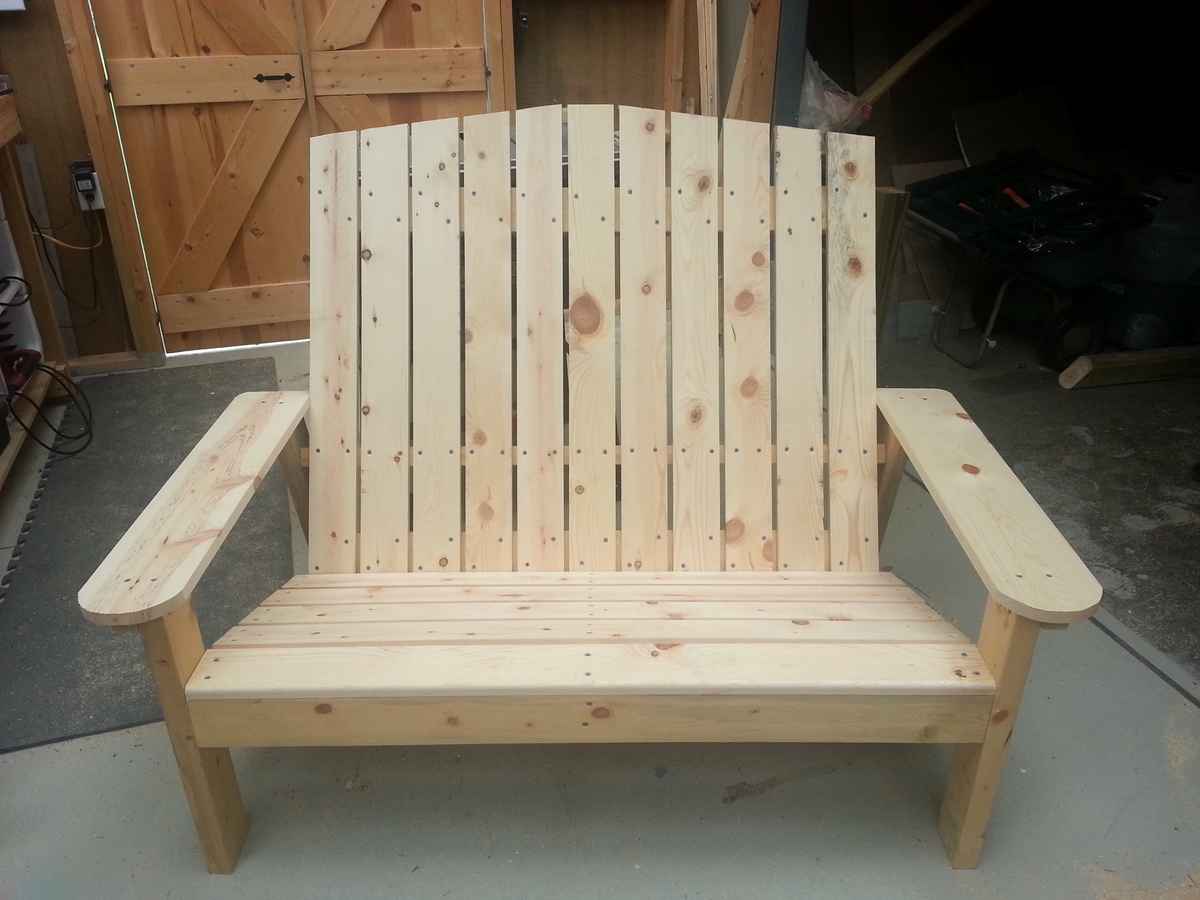
Modified from Ana's Home Depot DIY, using all pine lumber w/1x6 for the arms.
Sat, 05/03/2014 - 19:40
Actual plans for this loveseat/bench are not showing unfortunately :(
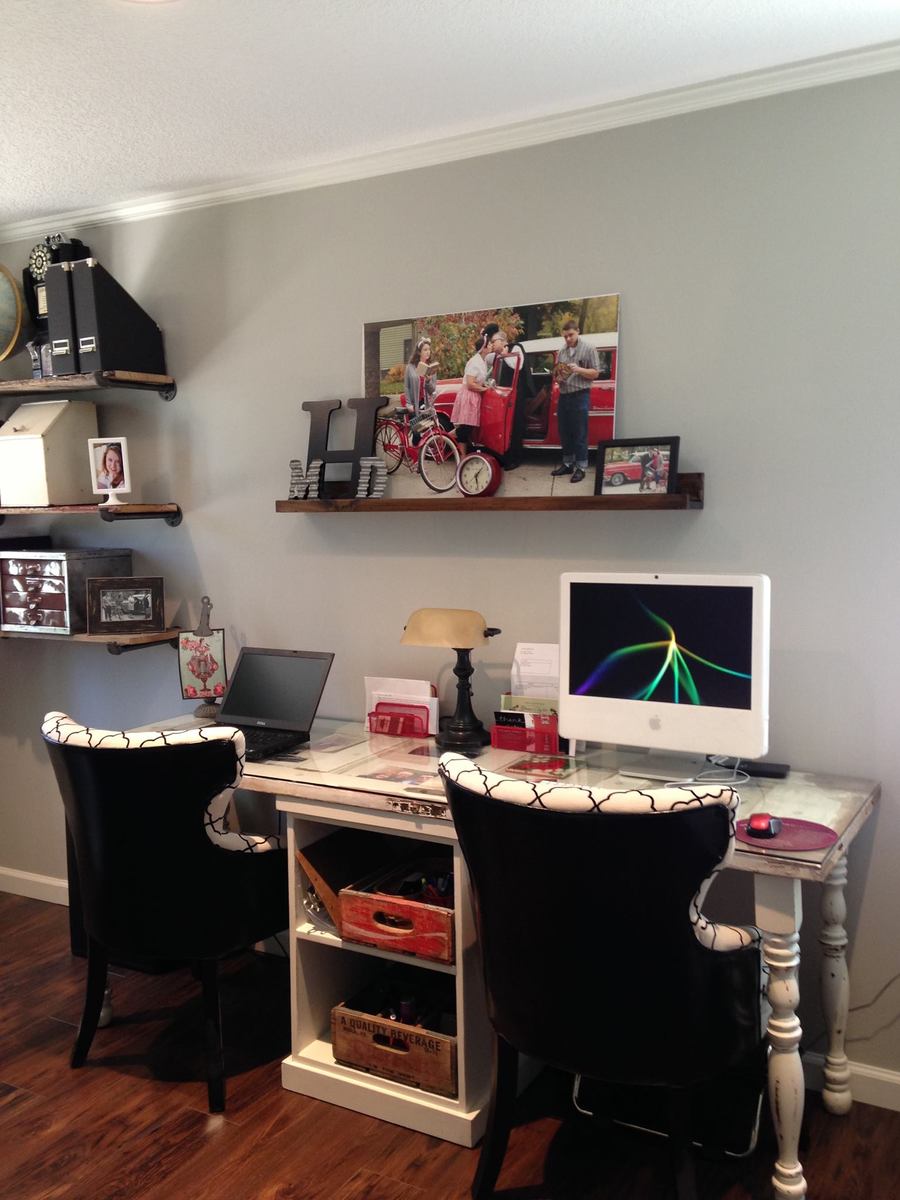
I love this site! I used the Modular Office- Narrow Open File Base under an old 5 panel door added some old table legs and voila new desk for two!
I thought the perfect thing to go above the desk was the $10 ledge shelf. I actually had the wood and the stain already...so this project was basically free...just my time.
Super easy build, had to make a few adjusments because of the size of the room. My daughter absolutely loves it. Thanks Ana White for these awesome plans!!
Nice and simple planter, the frame uses 2x4 for the legs with 2x3 to frame the lower section internally, along with 1x2 to provide a base for plastic plant pot to sit on. The sides are use 1x4 attached internally with pockets screws and glue so there are no visable fixings ruining the look, additional strips of 1x2 are placed at the very top to give the rim a wider and more aesthetically pleasing finish. Finished in ebony and medium oak followed by three coats of Polyurethane and the addition of small plastic feet/sliders on each corner to prevent damage to the paint if slide along concrete floors.

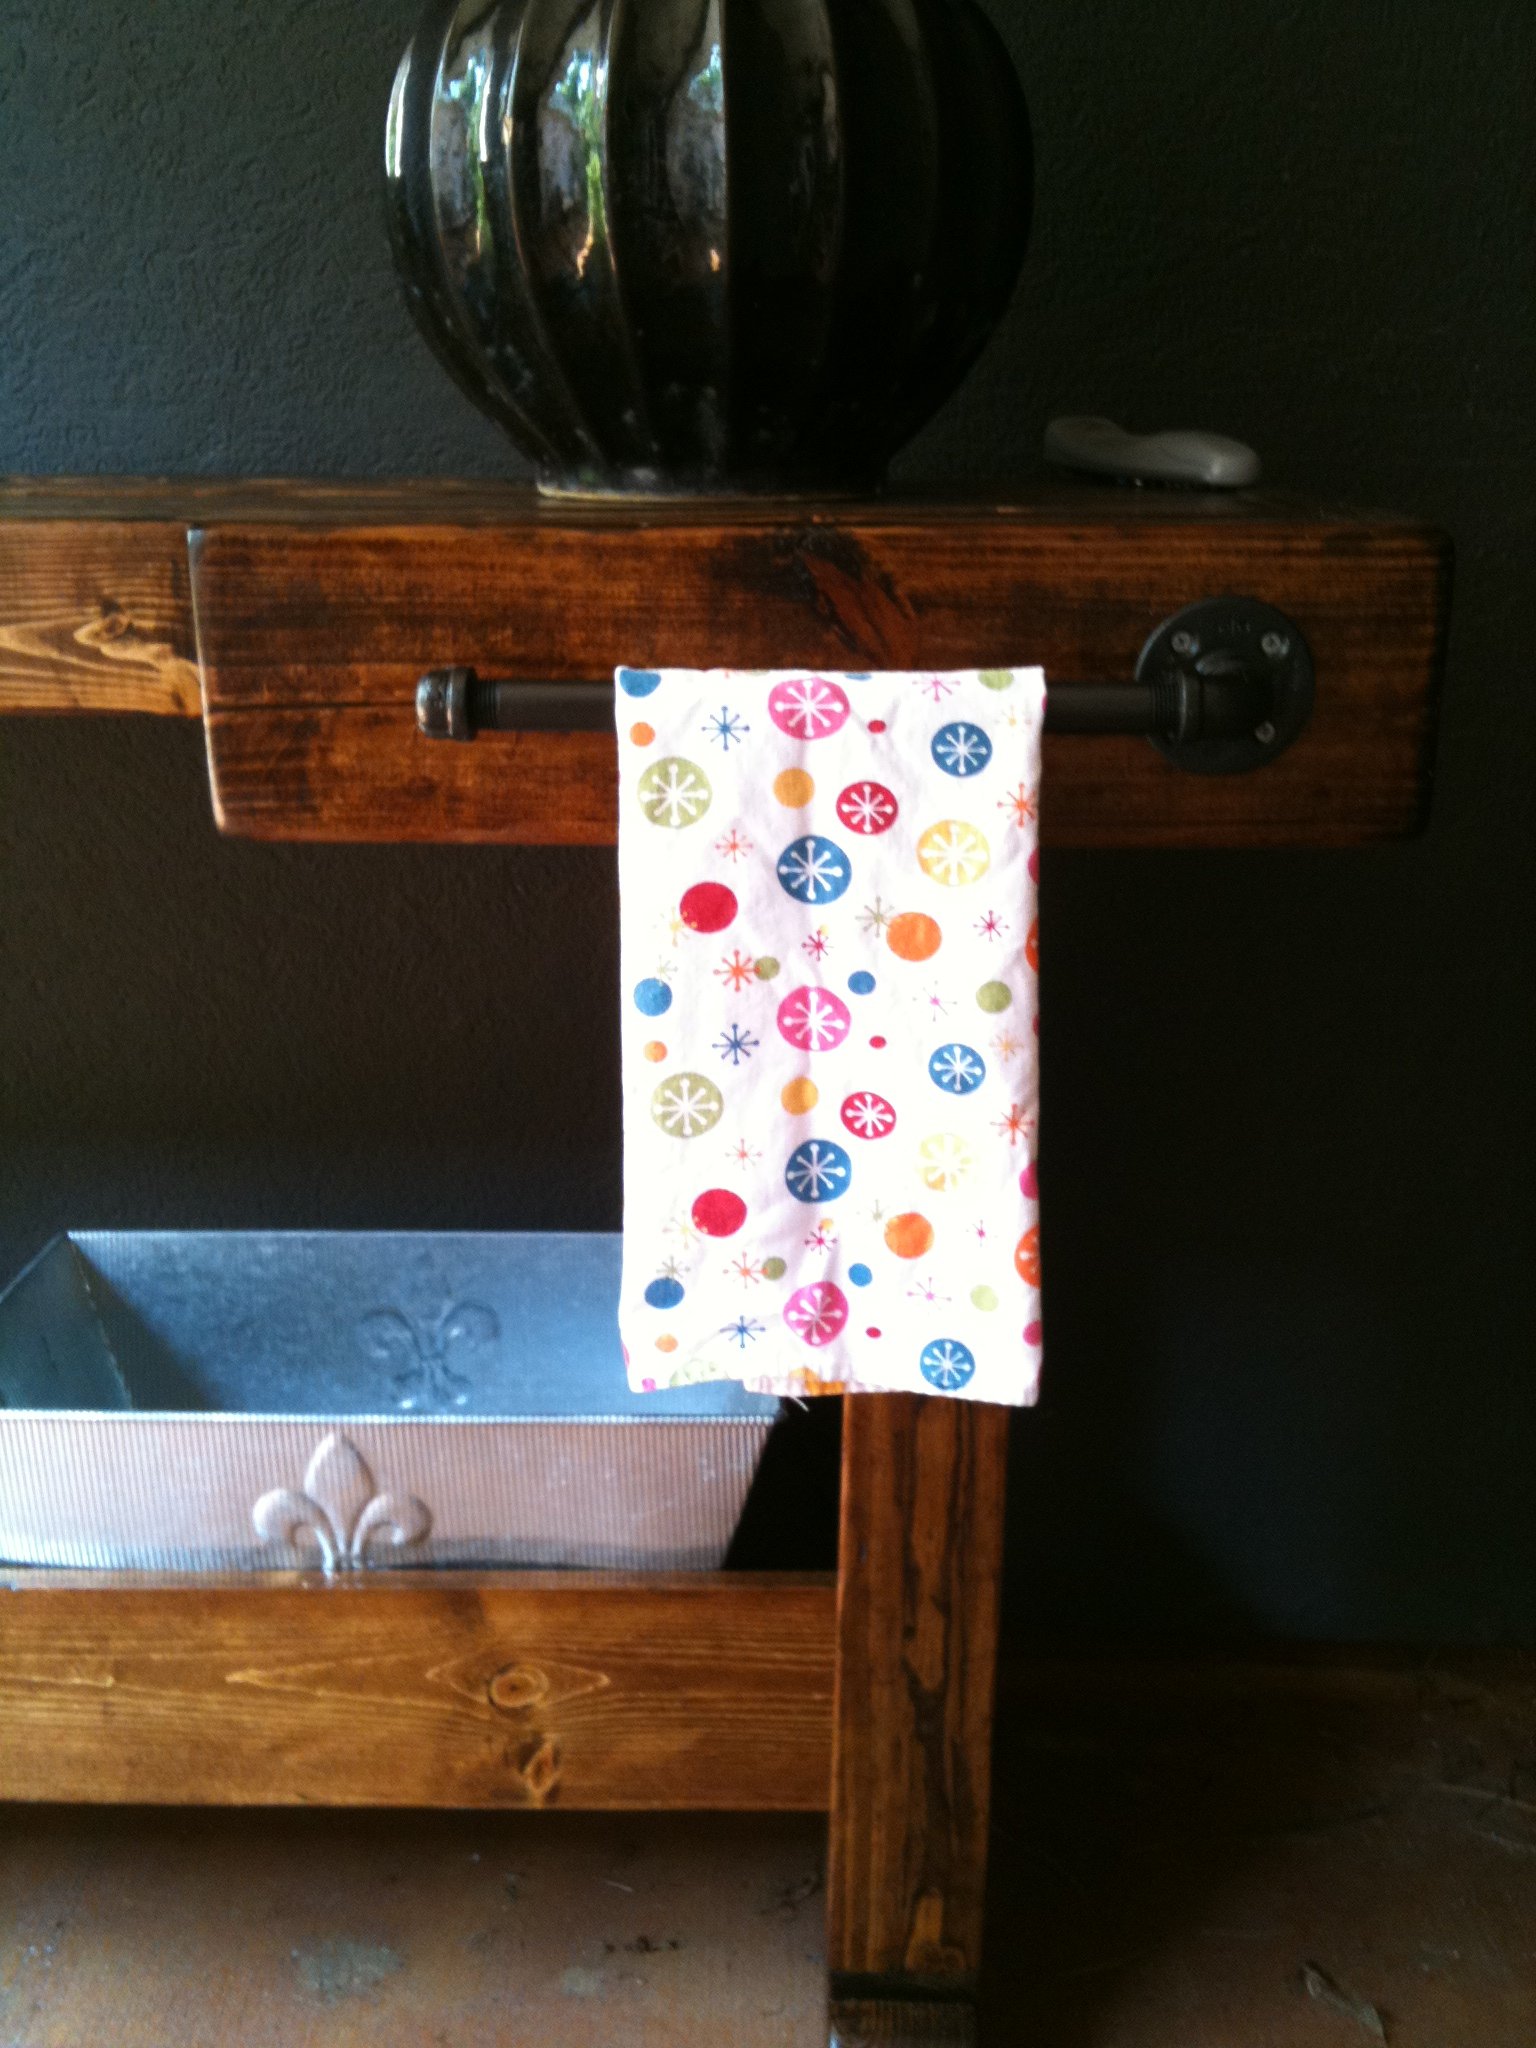
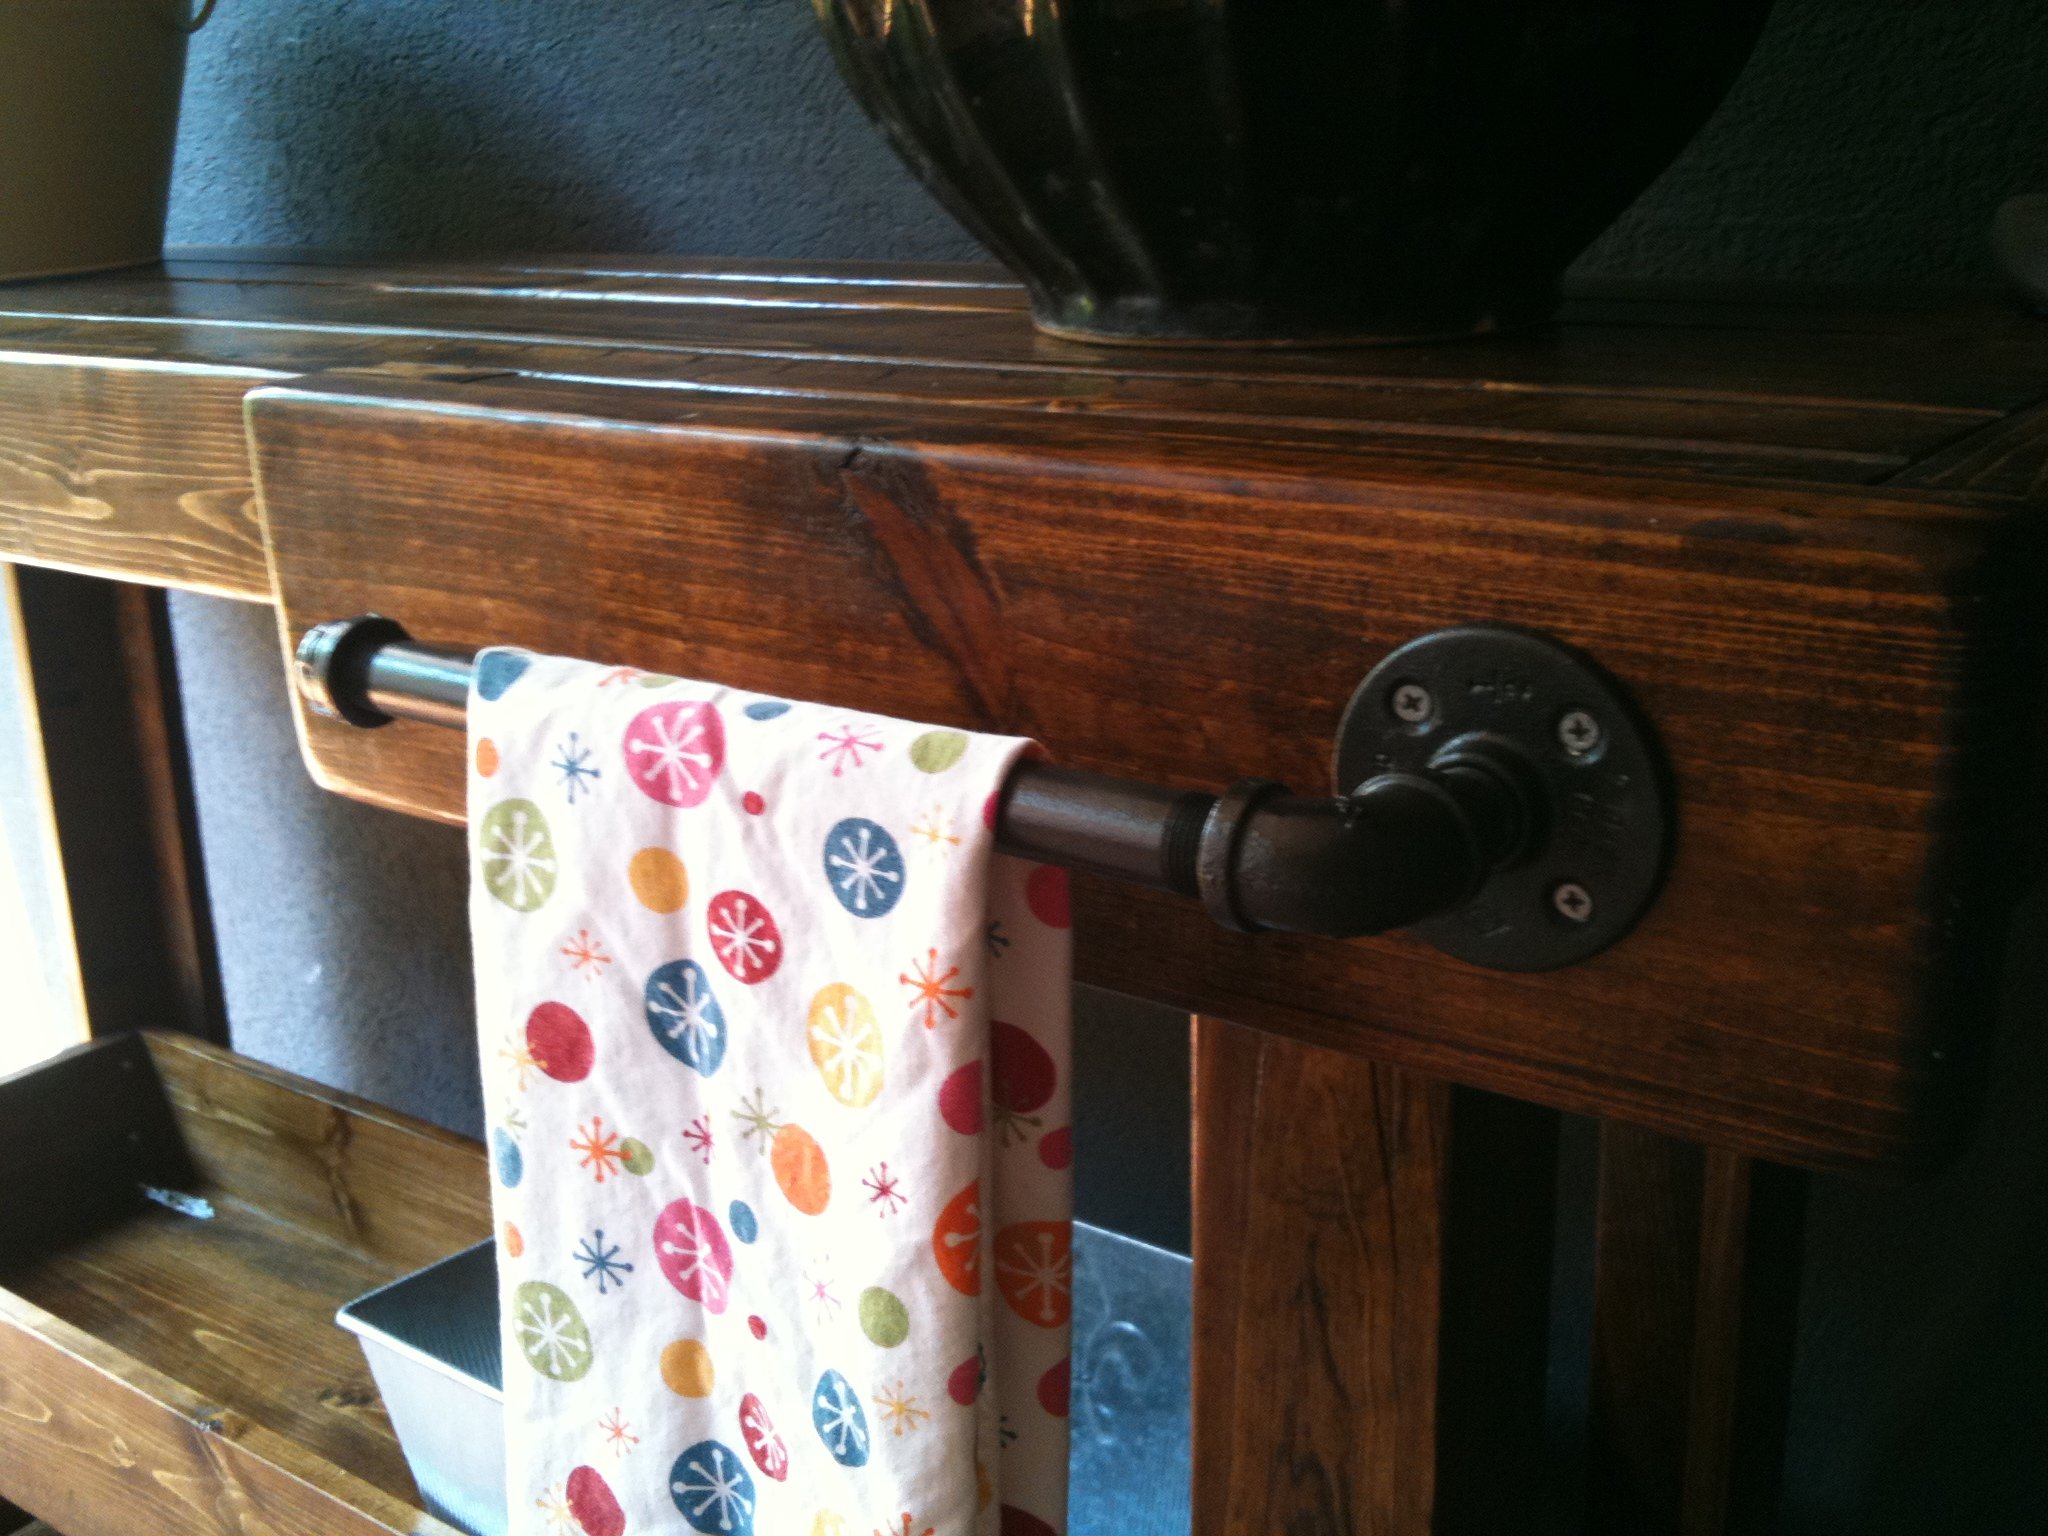
First Project. Finished it all except the hardware just in time for my Mother-in-laws birthday party. Pictures are from my phone decorated for the party w/o the hardware, and then after, finally complete with the hardware.
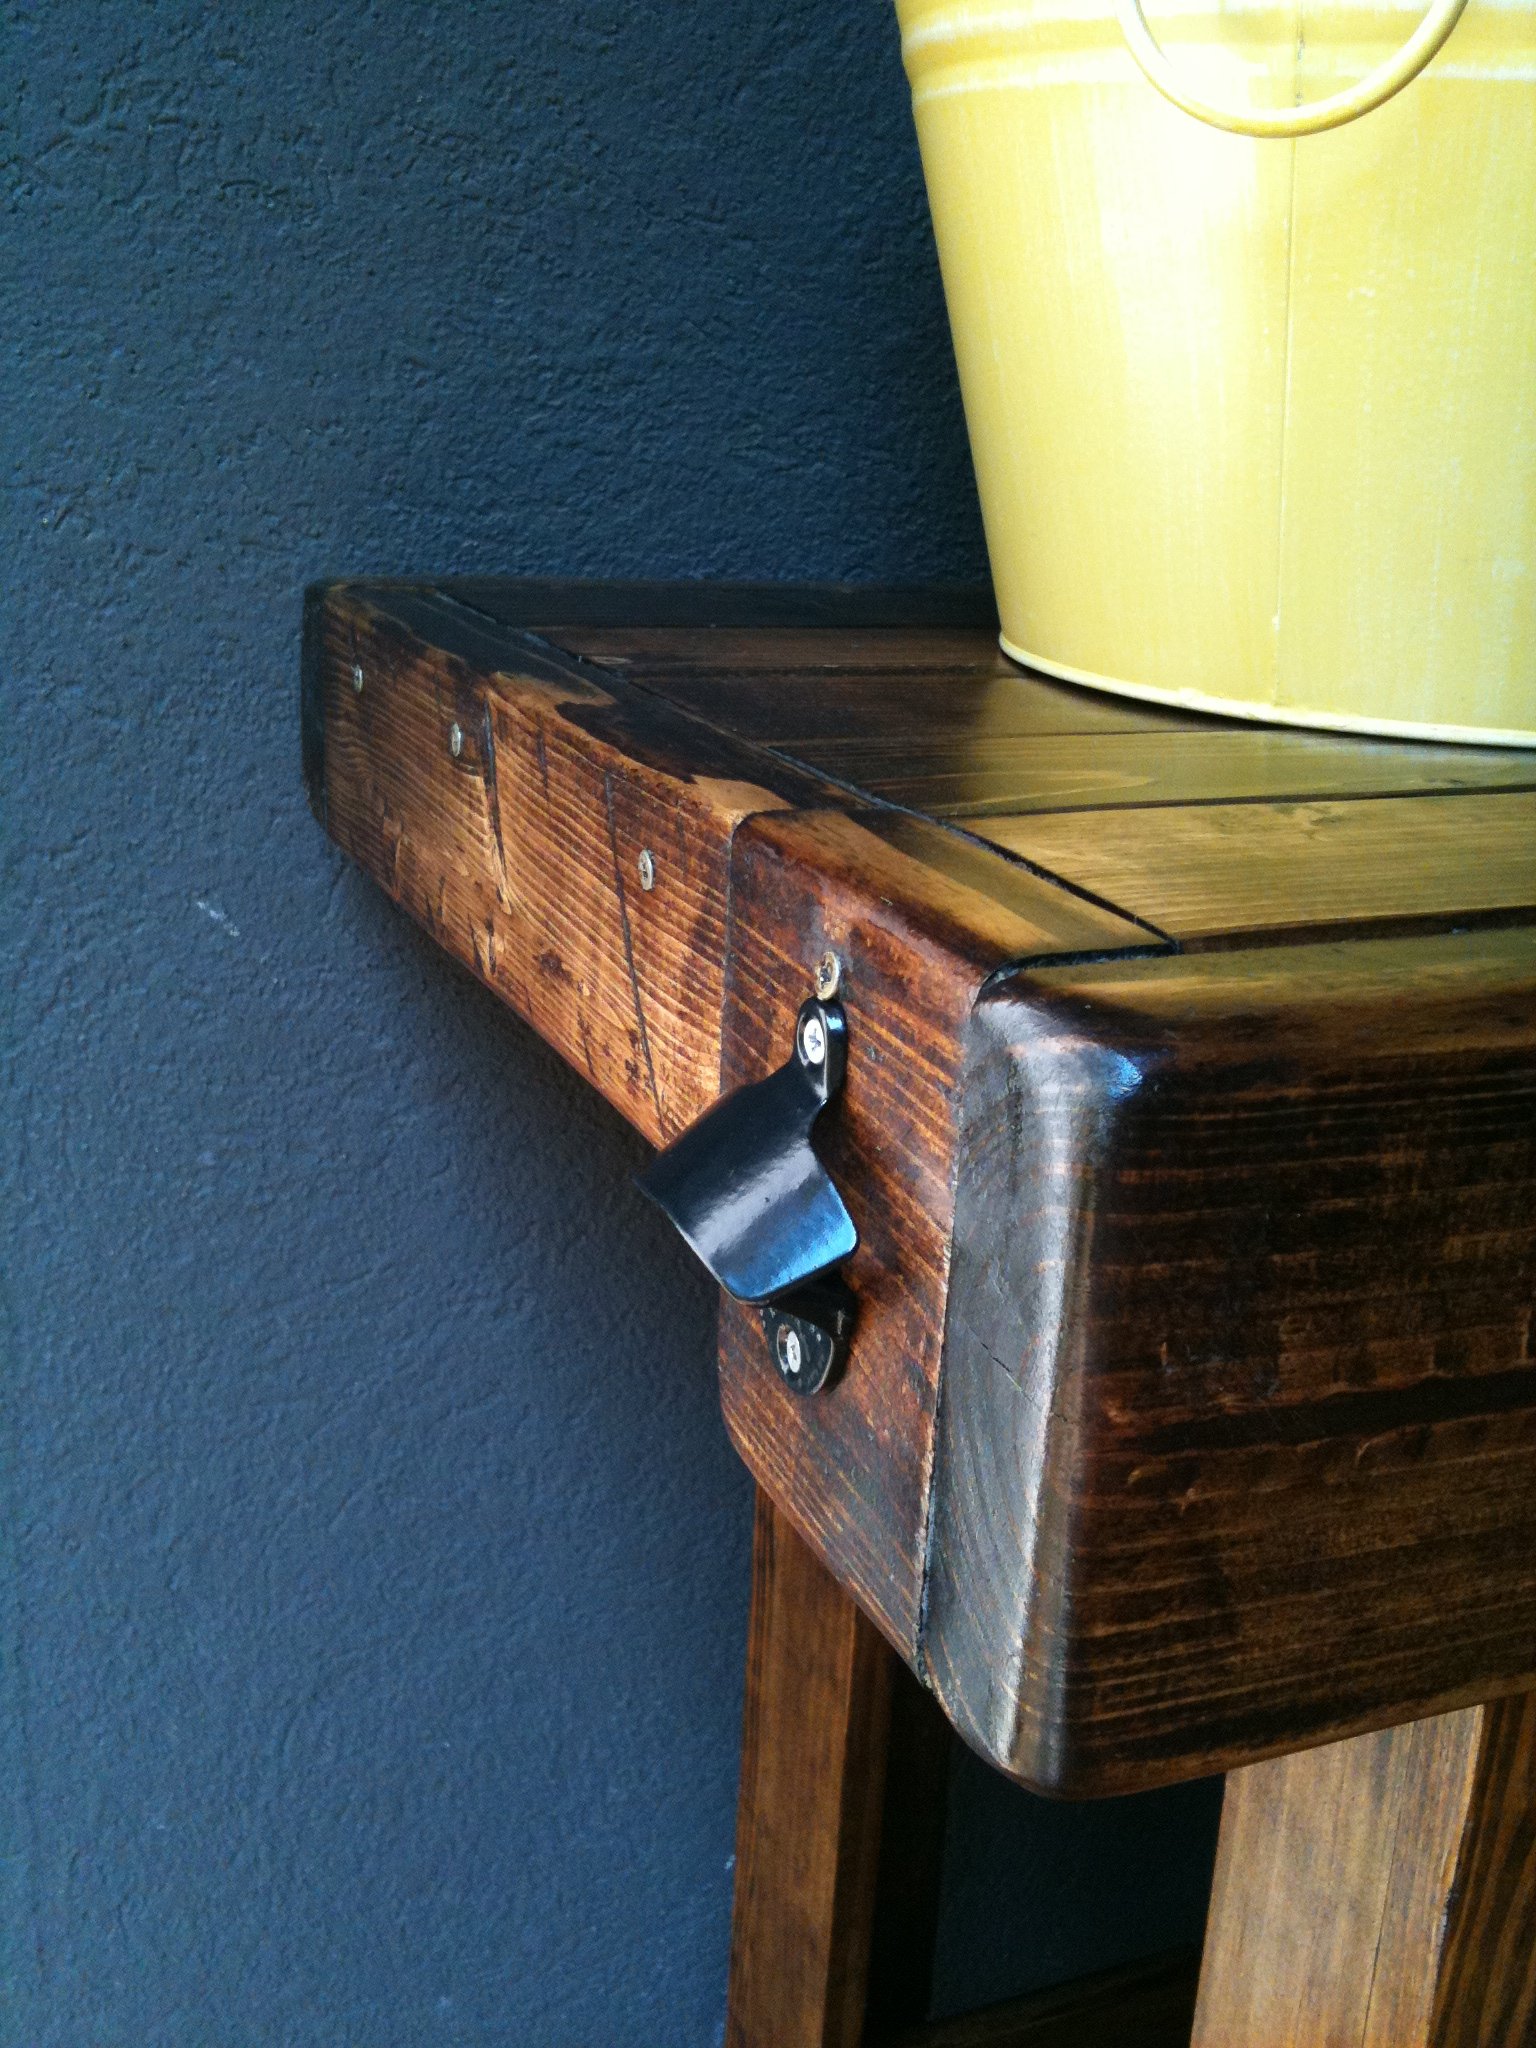
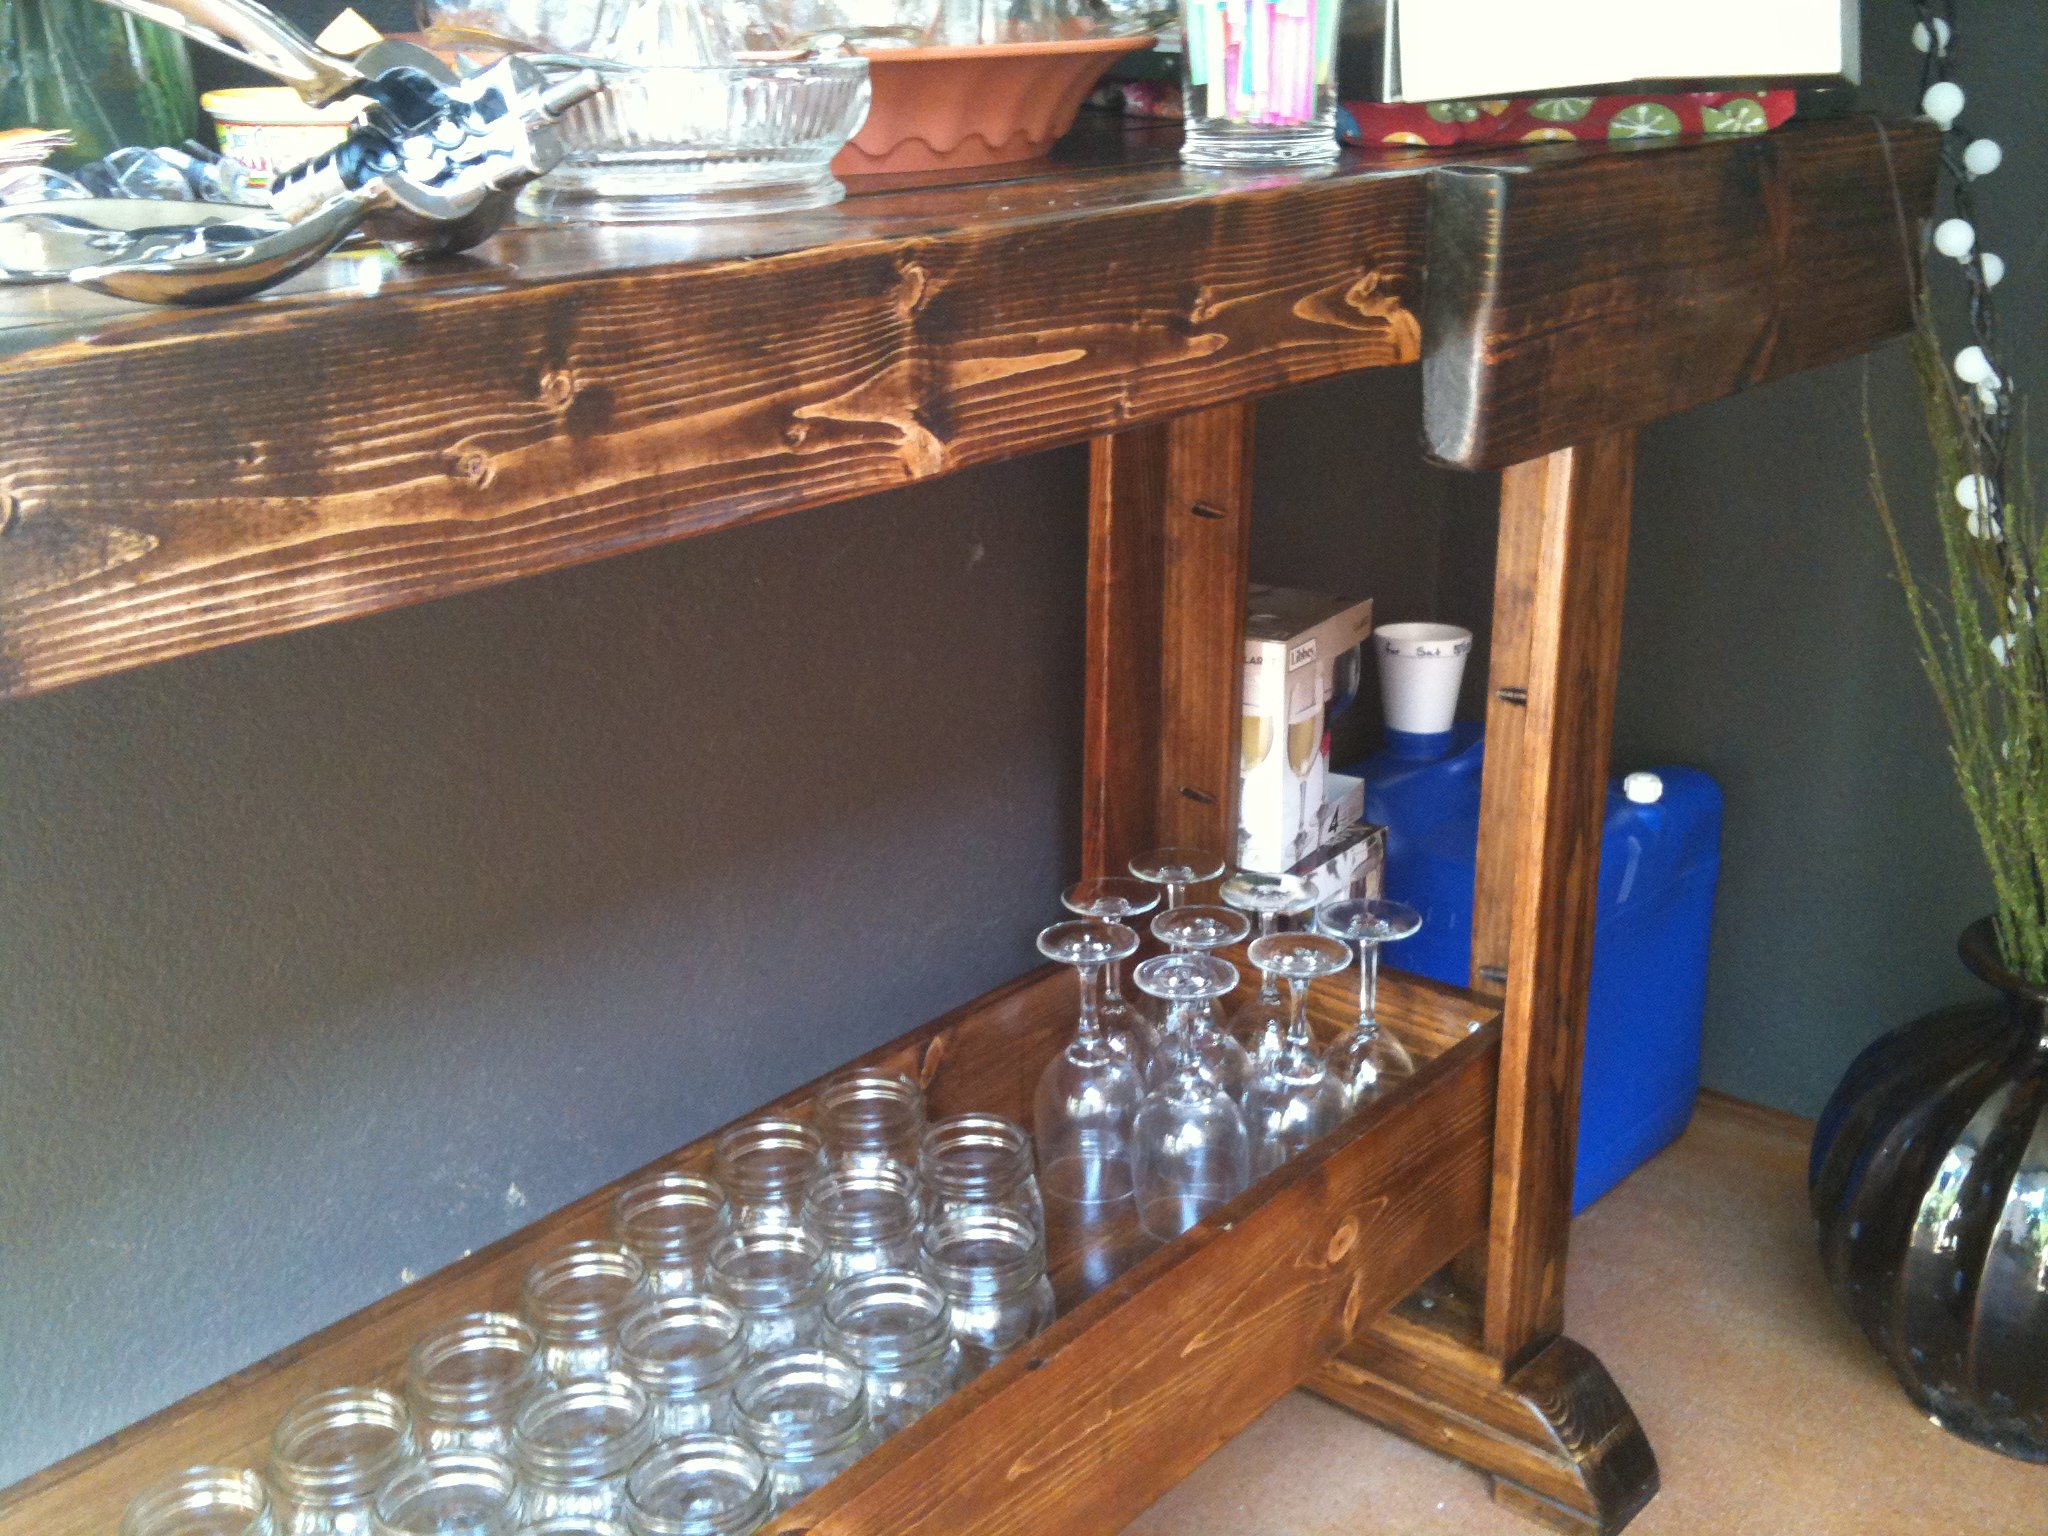
Thu, 06/23/2011 - 11:34
Your workbench looks amazing! Can I ask where you got the towel bar and bottle opener? I just love them!
Sat, 01/14/2012 - 11:48
My guess is it's attached to the piece using something like this
http://www.homedepot.com/h_d1/N-5yc1v/R-100129872/h_d2/ProductDisplay?l…
then an right angle piece, length of pipe and an end cap, painted to match.


Comments
Ana White Admin
Wed, 02/23/2022 - 05:37
Those look fantastic!
Thank you for sharing, way to go!