Love this!!! Thank you!!!
This was a fun family project! Thank you!!
Built from Plan(s)
This was a fun family project! Thank you!!

Reader submitted photo
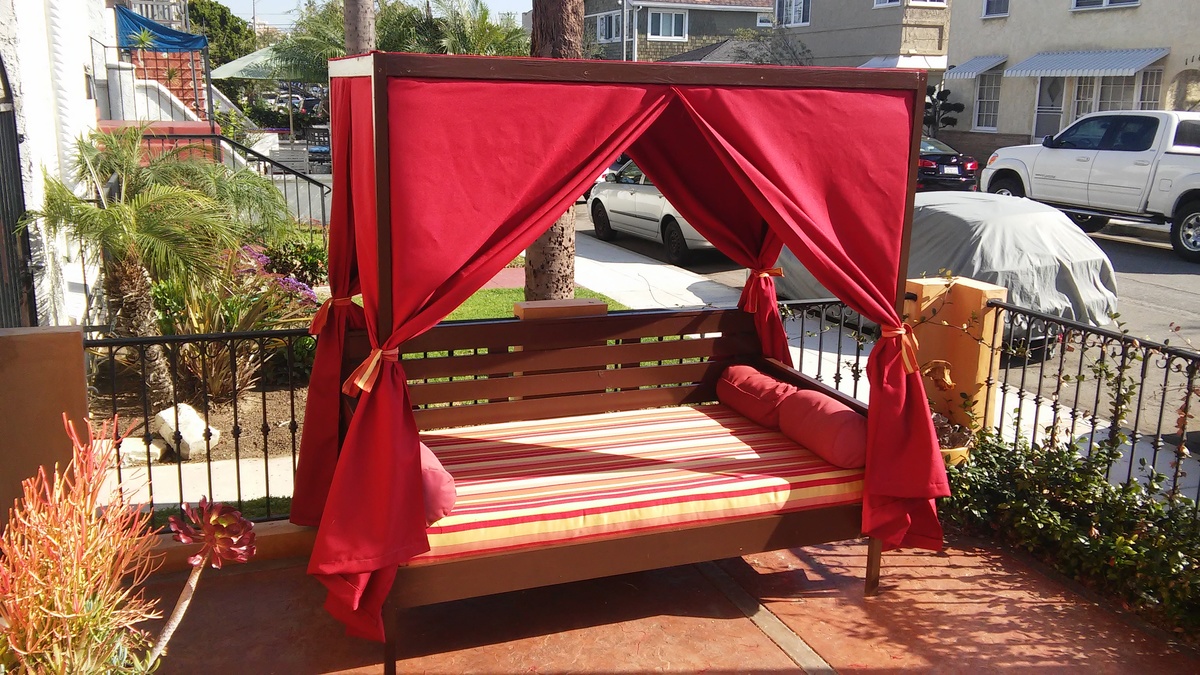
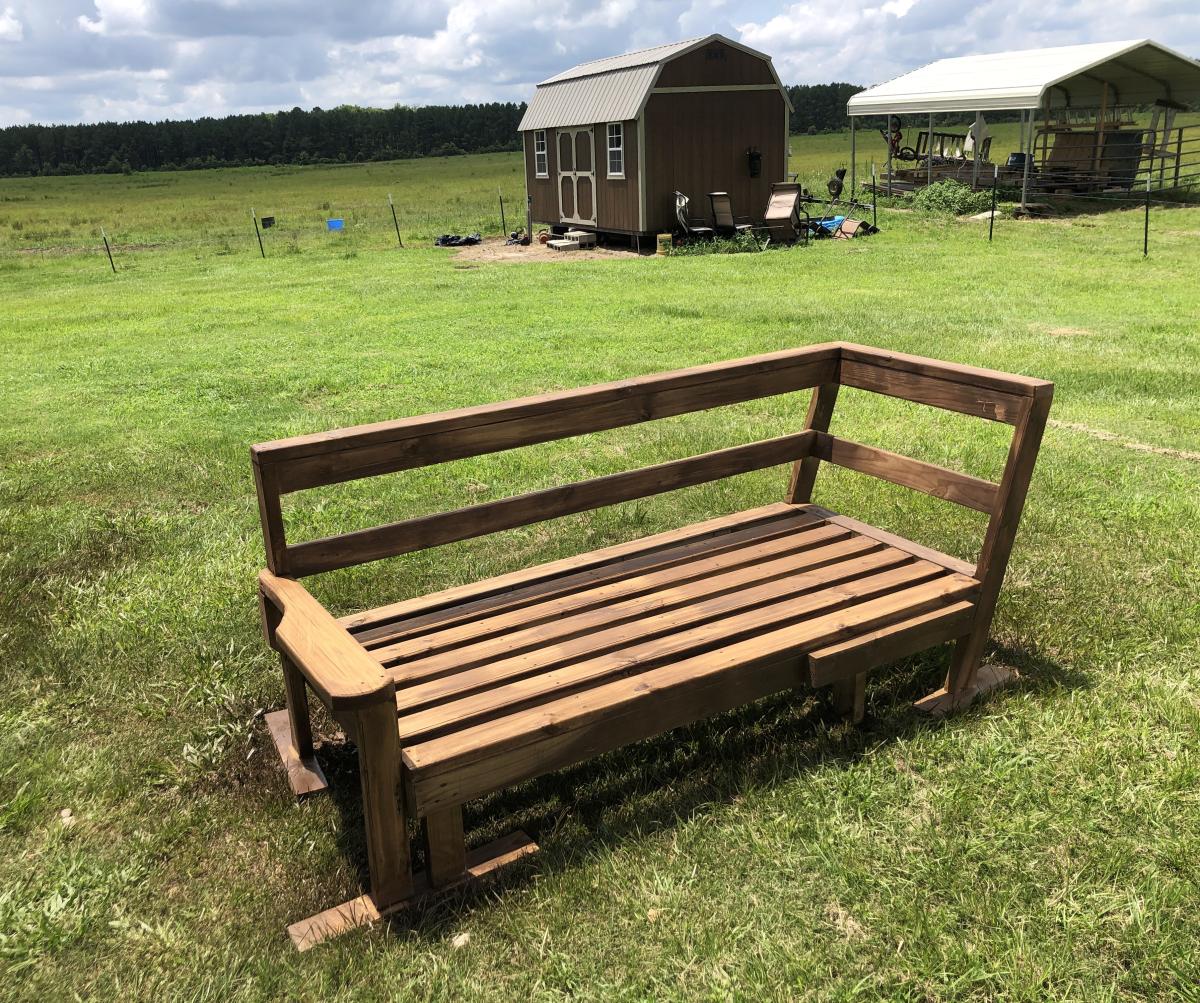
I gave away my outdoor furniture in need of something for that space. This plan is perfect with added outdoor matress and Curtains so I can lay down on the summer.
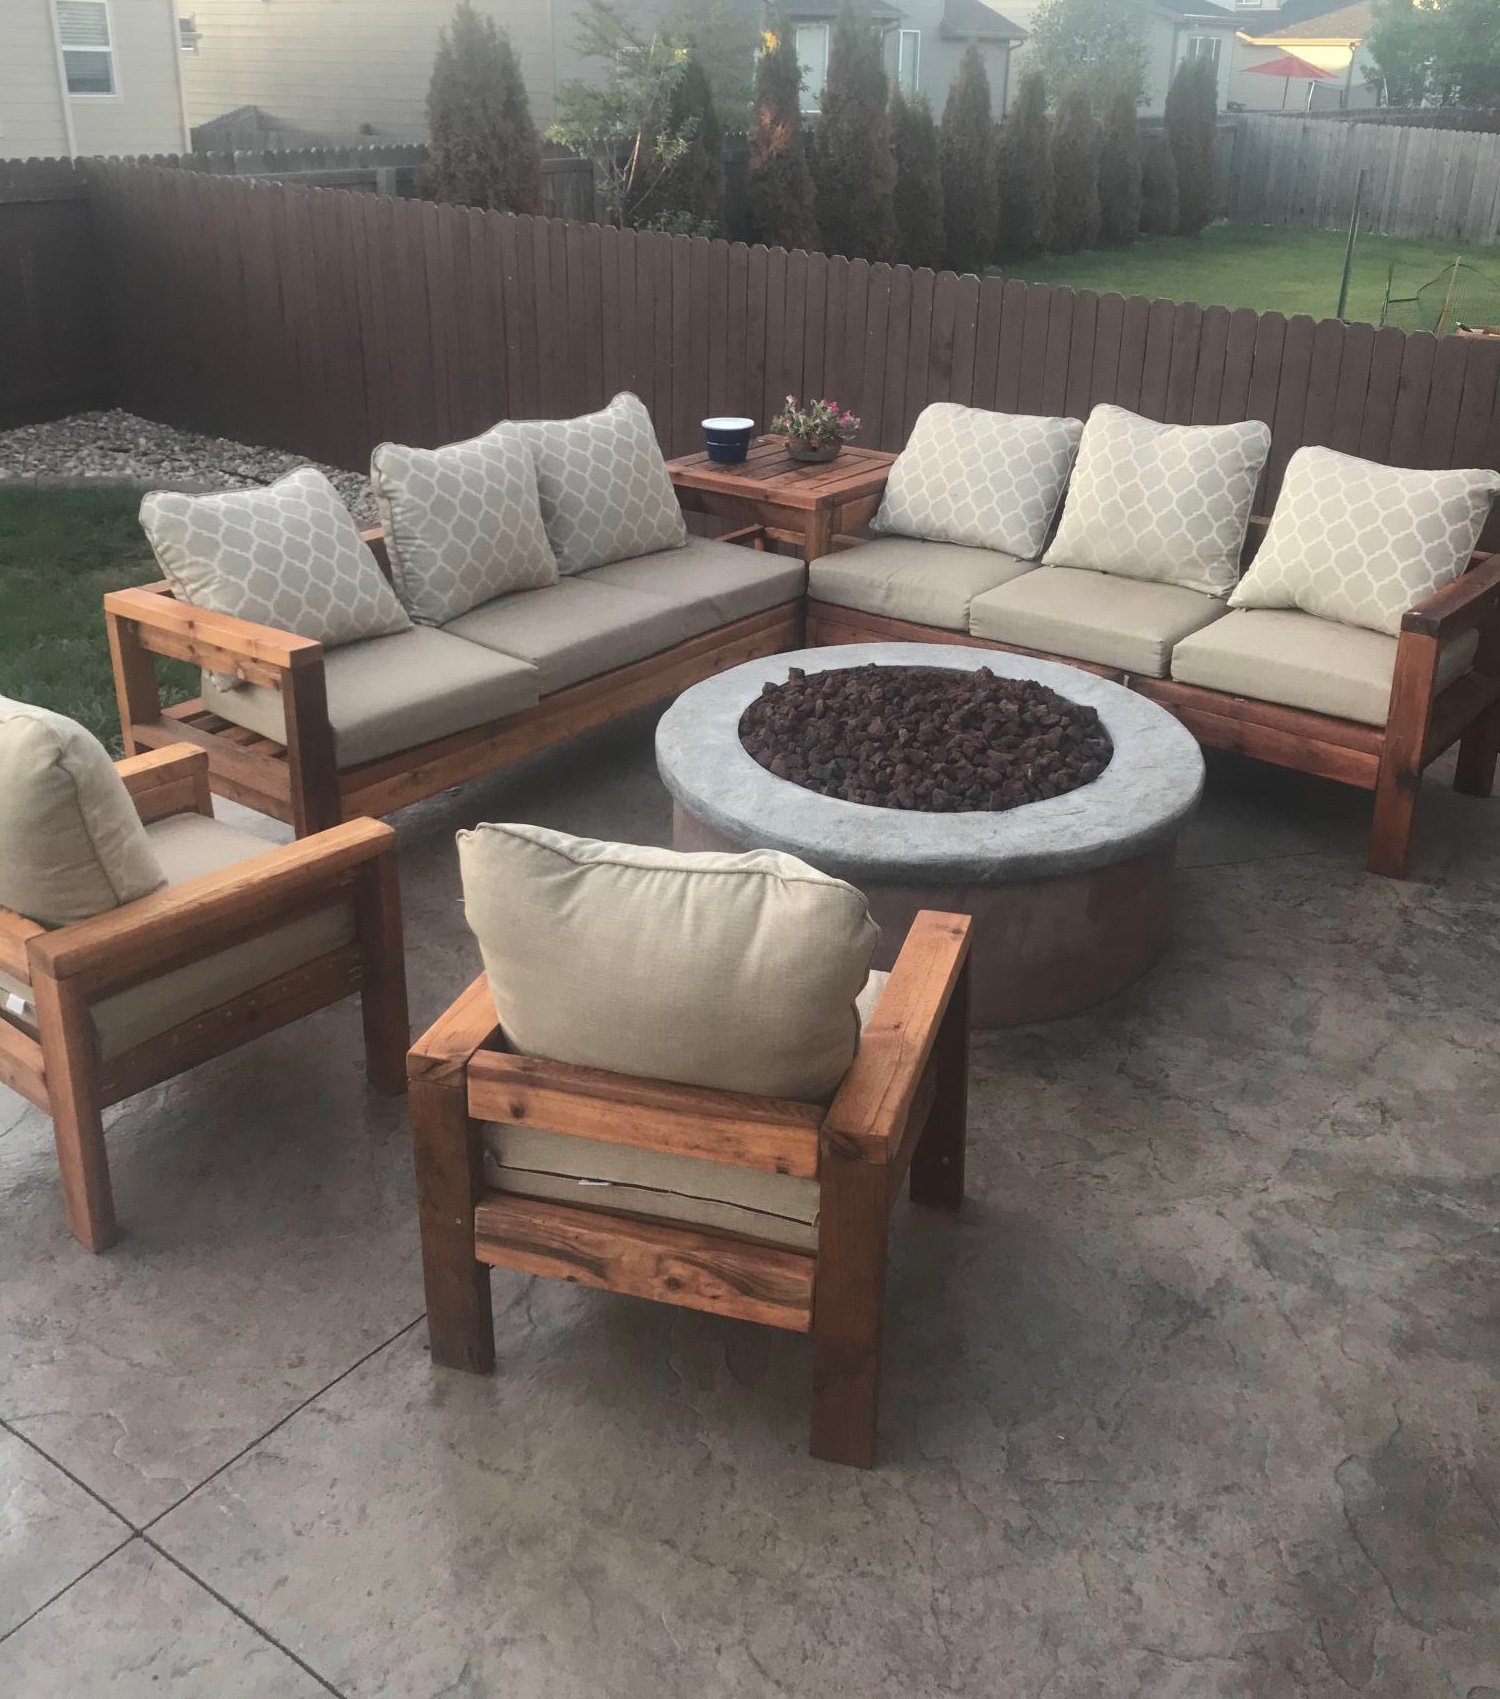
I did your same couch but made the back lean in the middle parts 15 degrees. Love your website. I'm 3 years sober and to try to sell this on facebook marketplace.
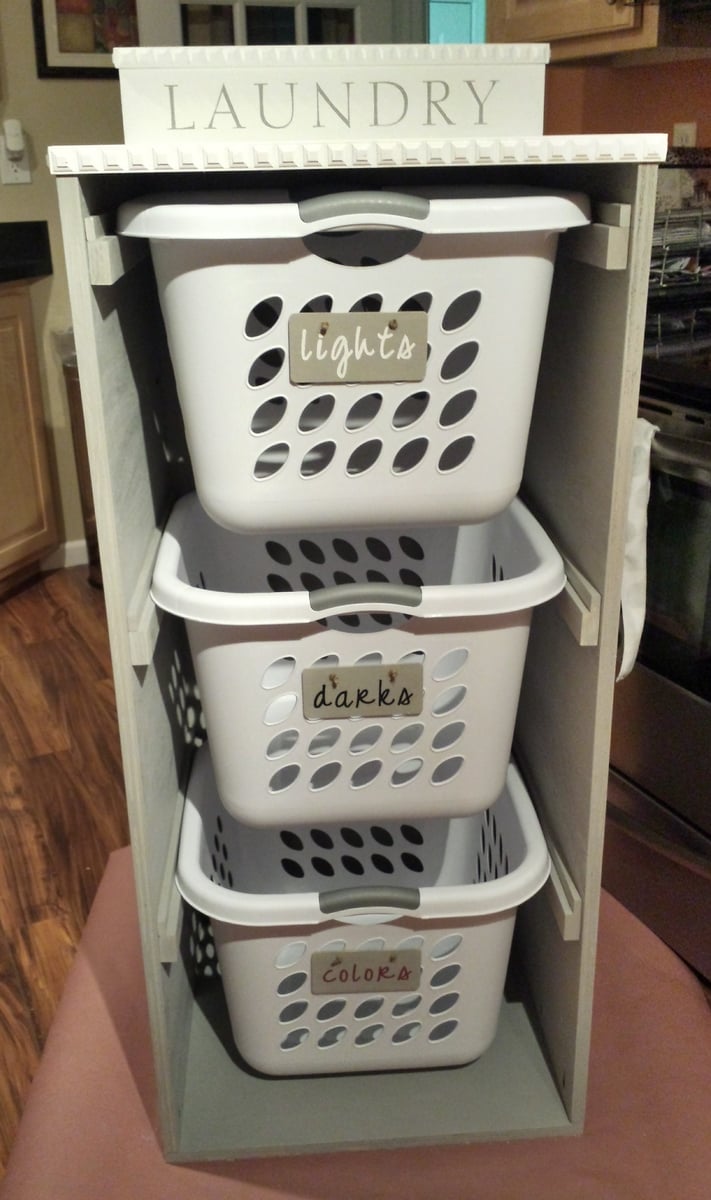
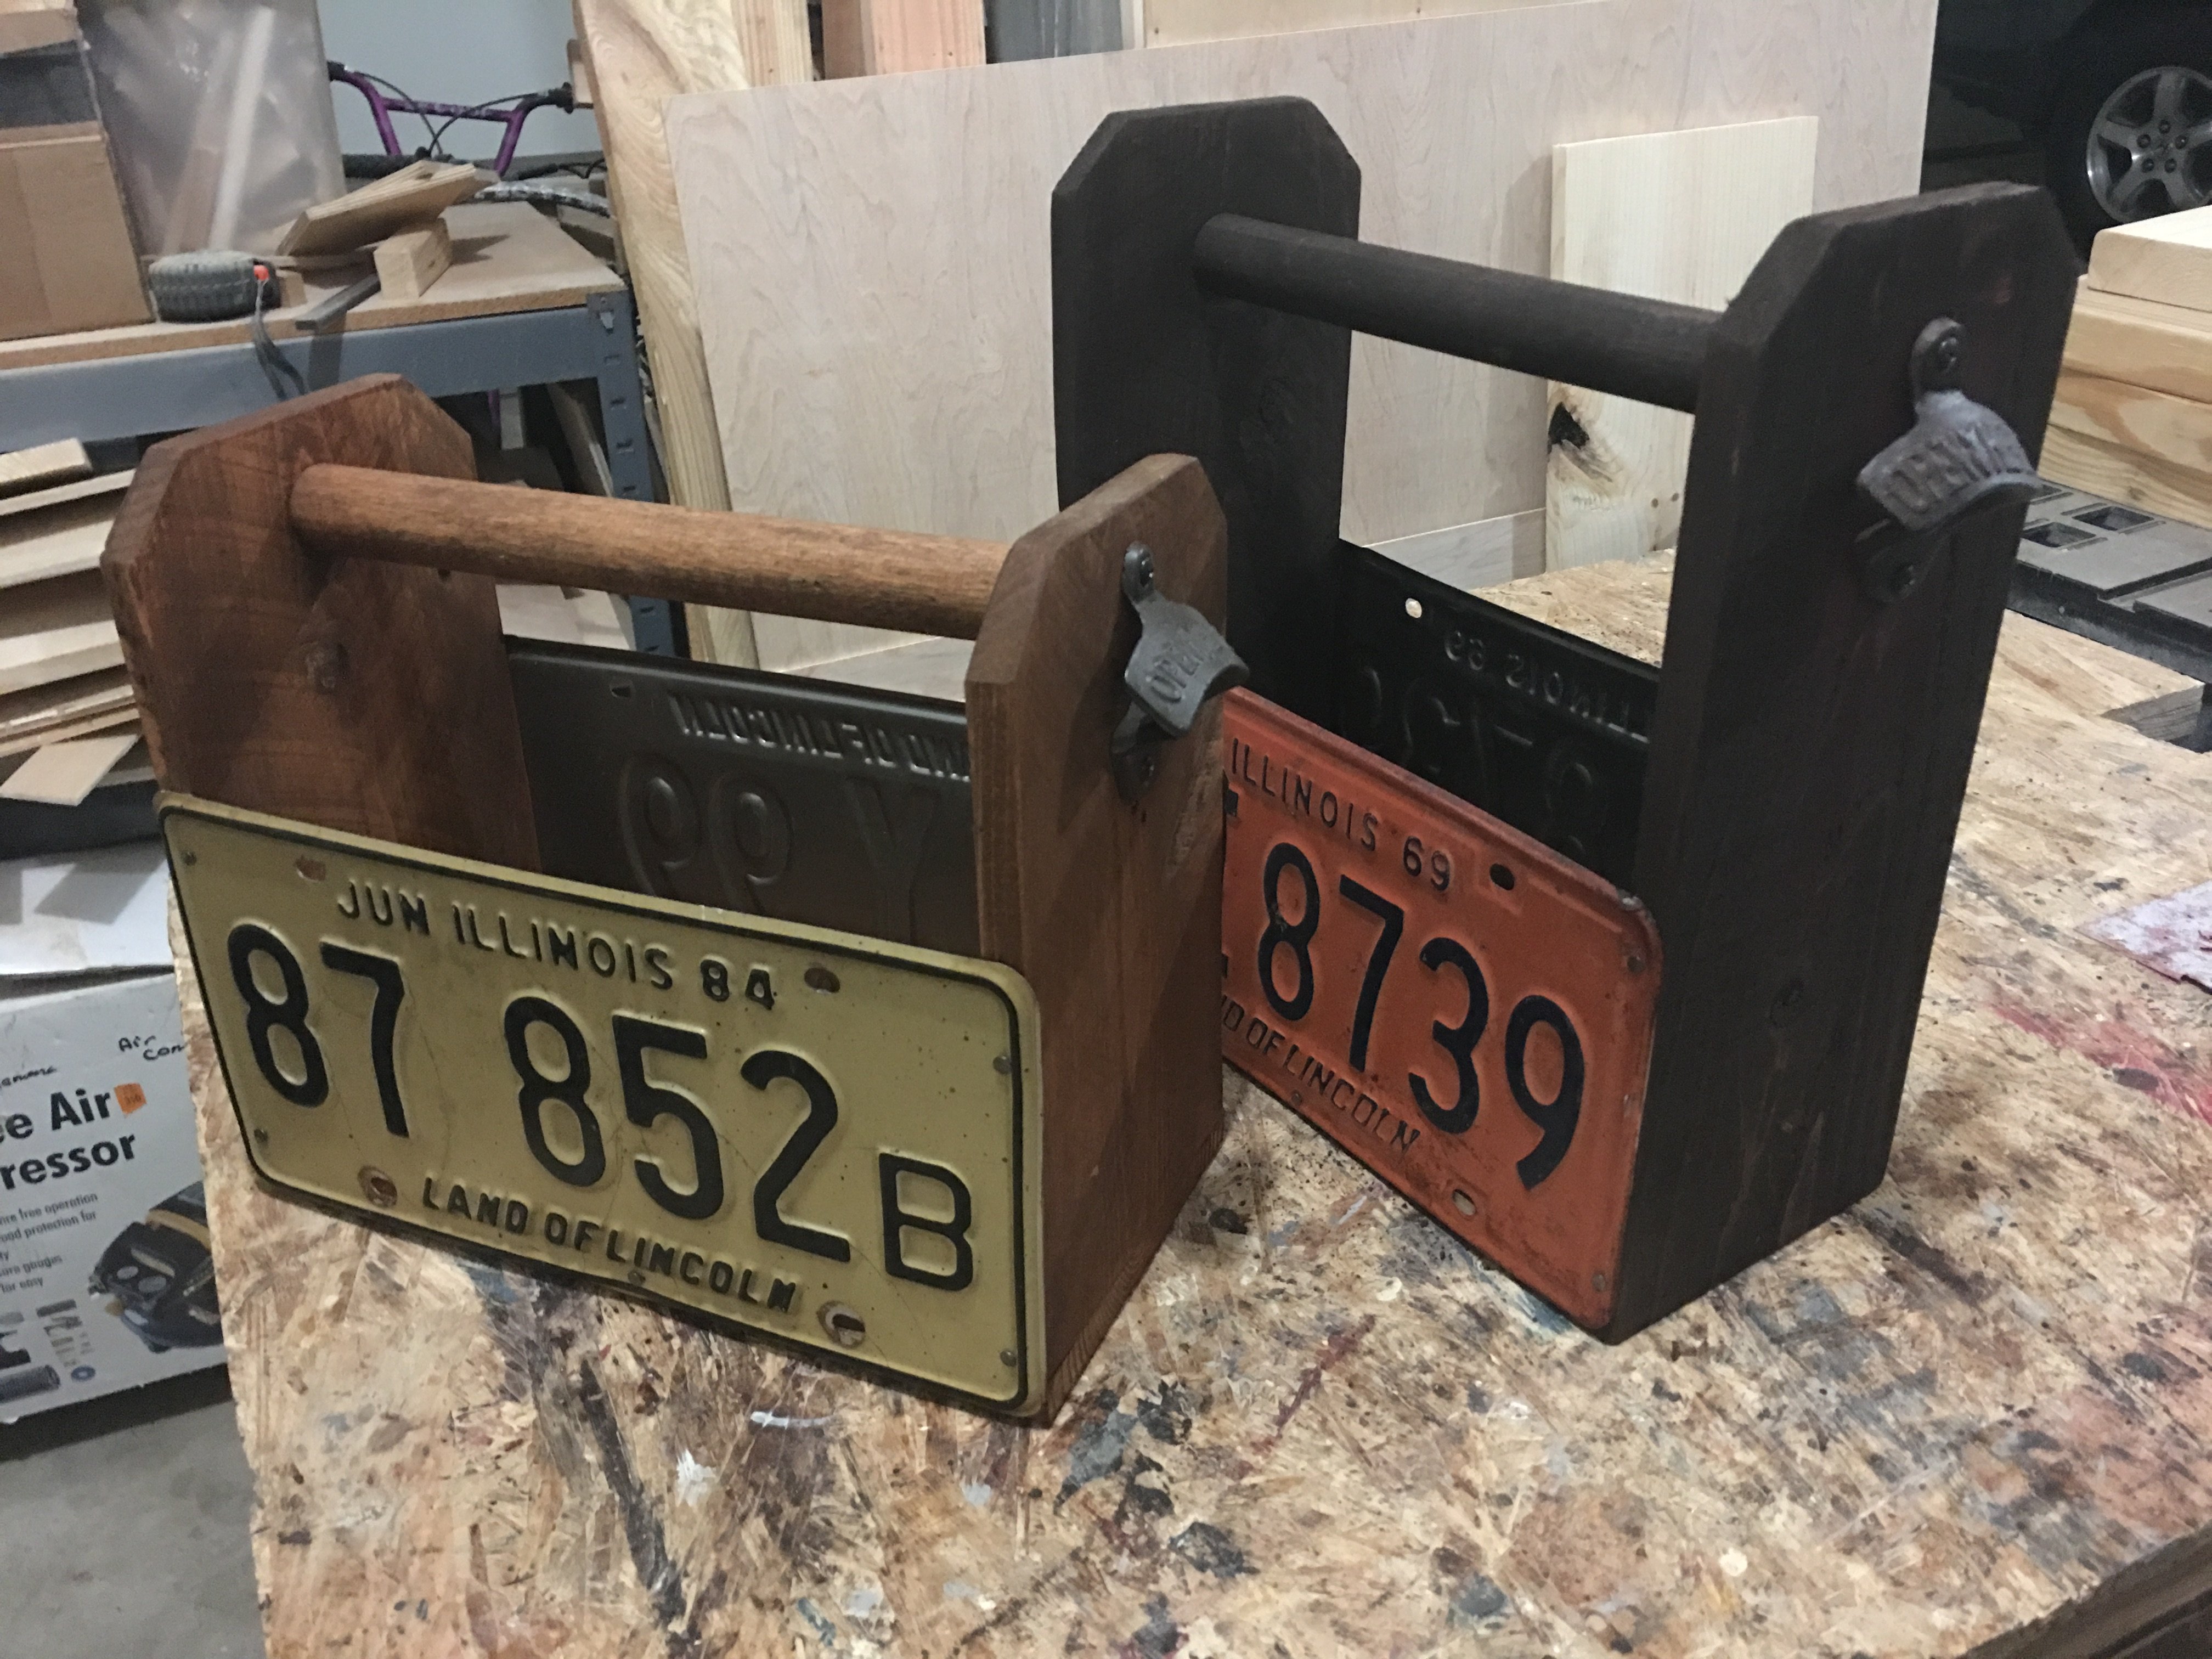
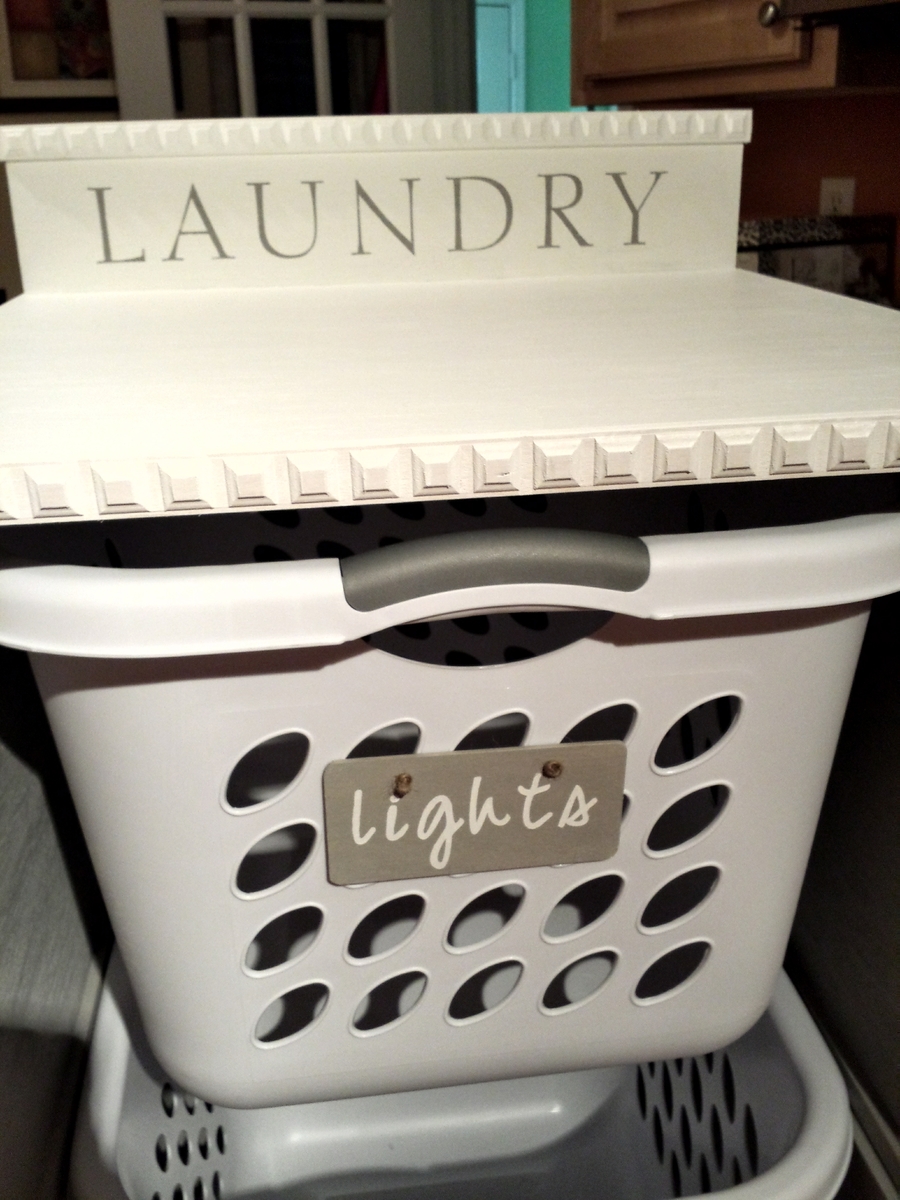
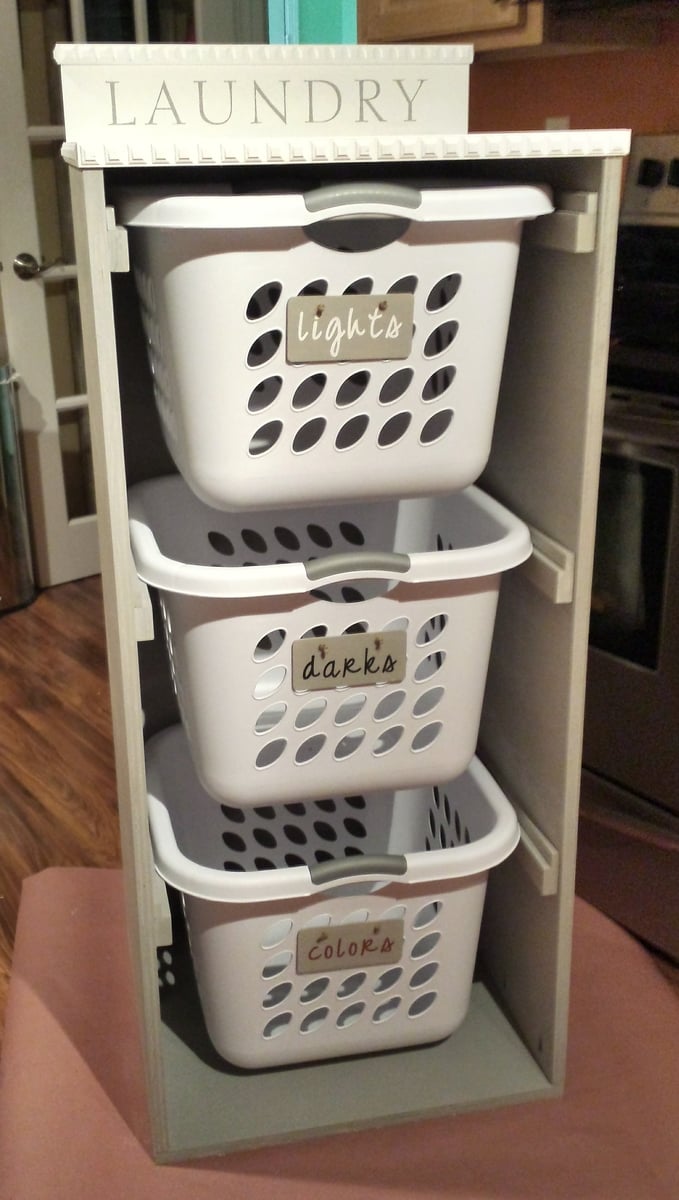
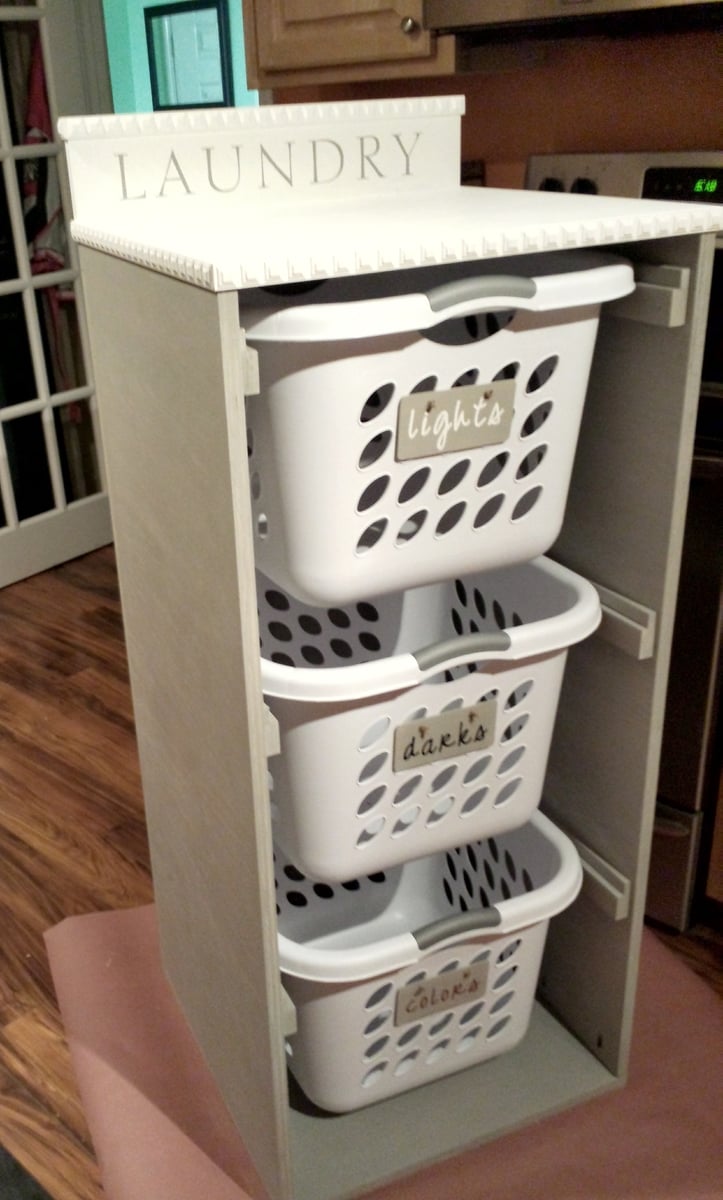
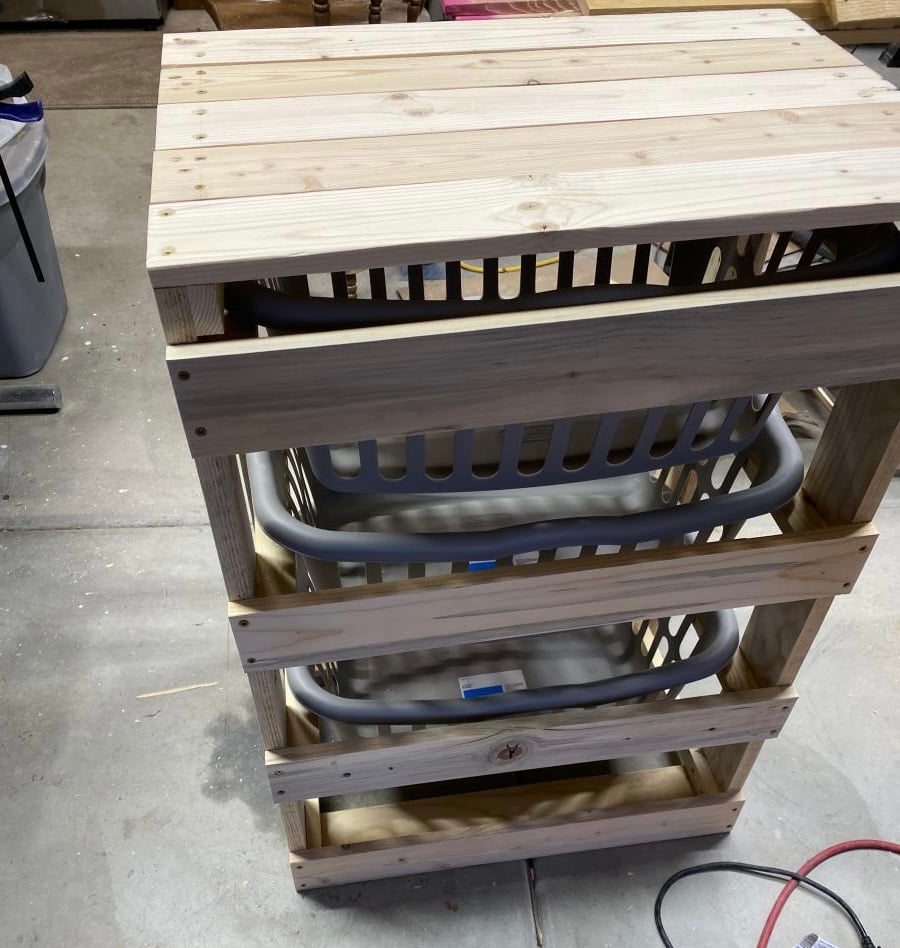
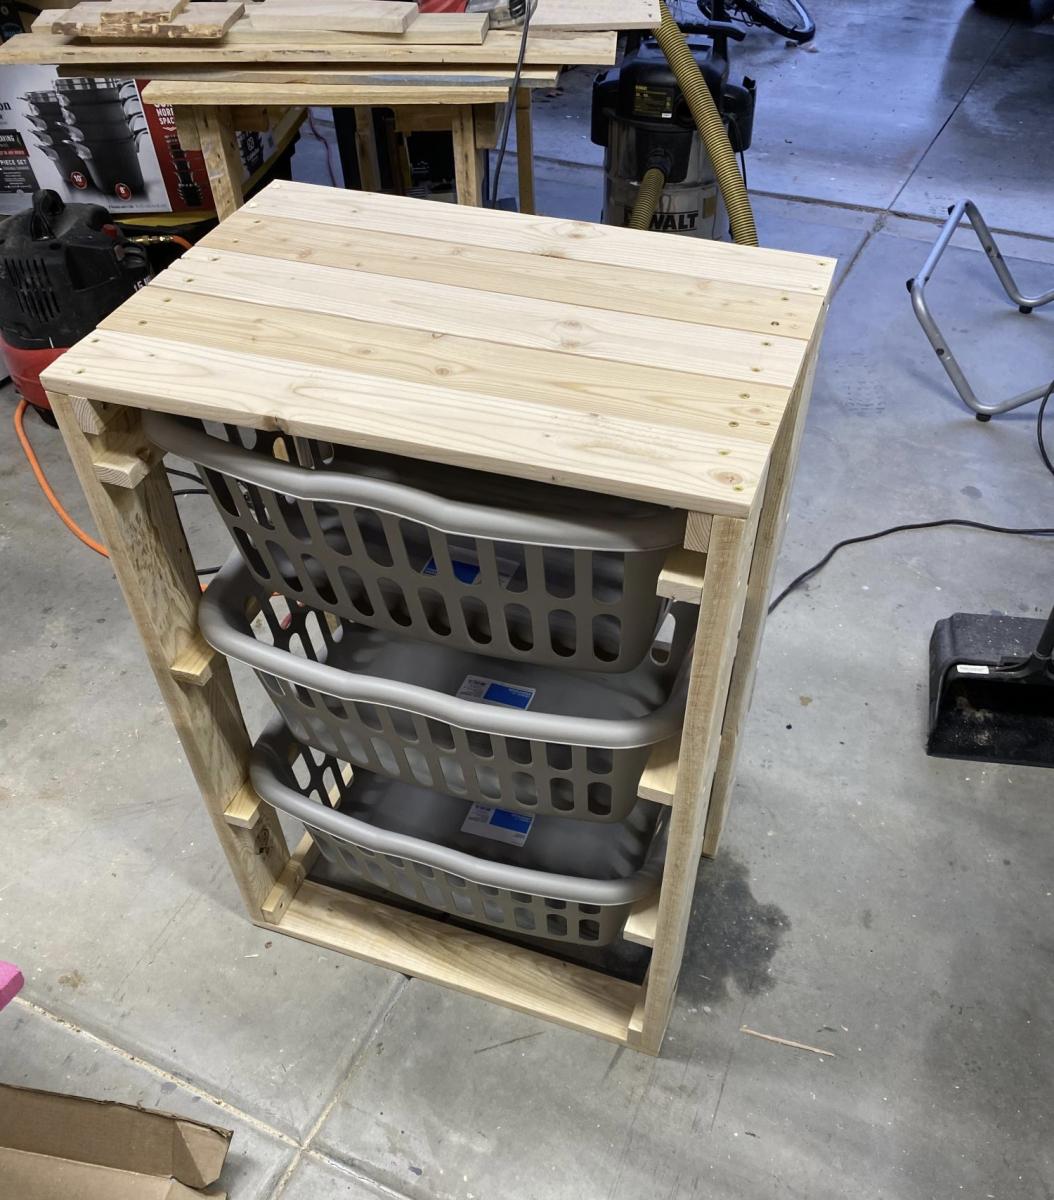
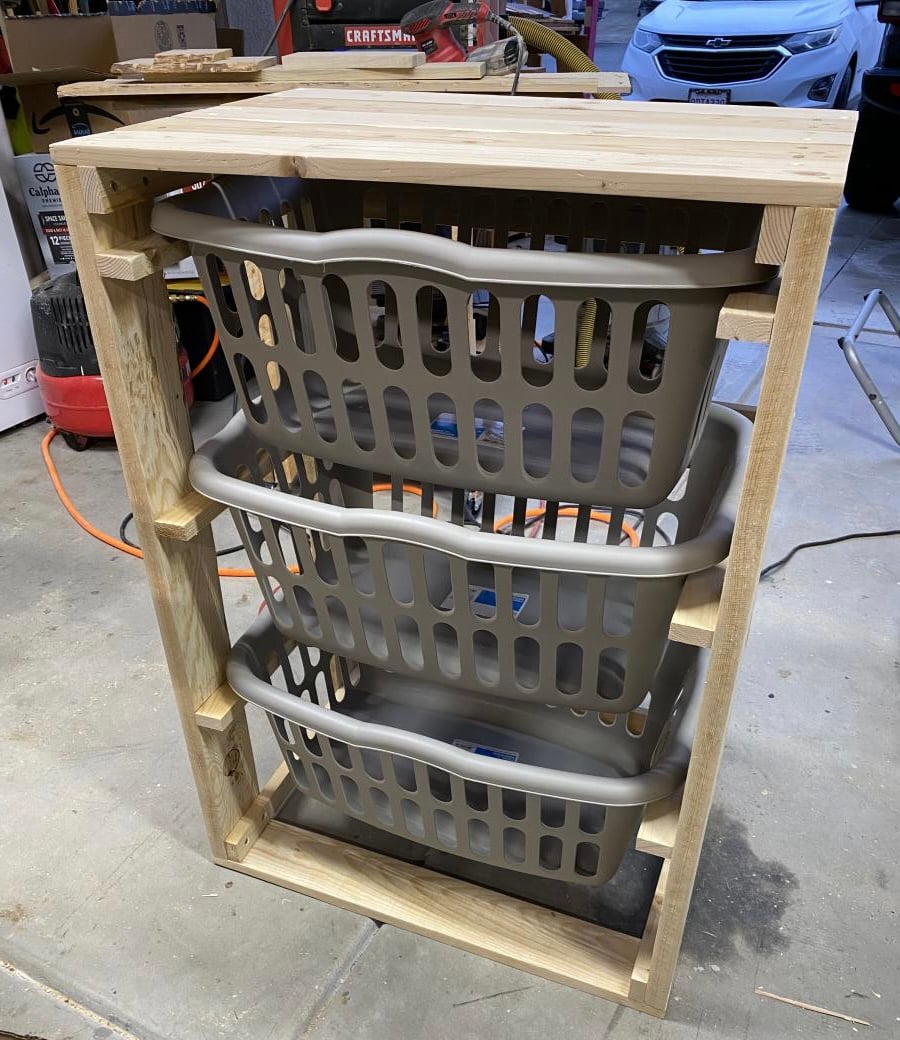
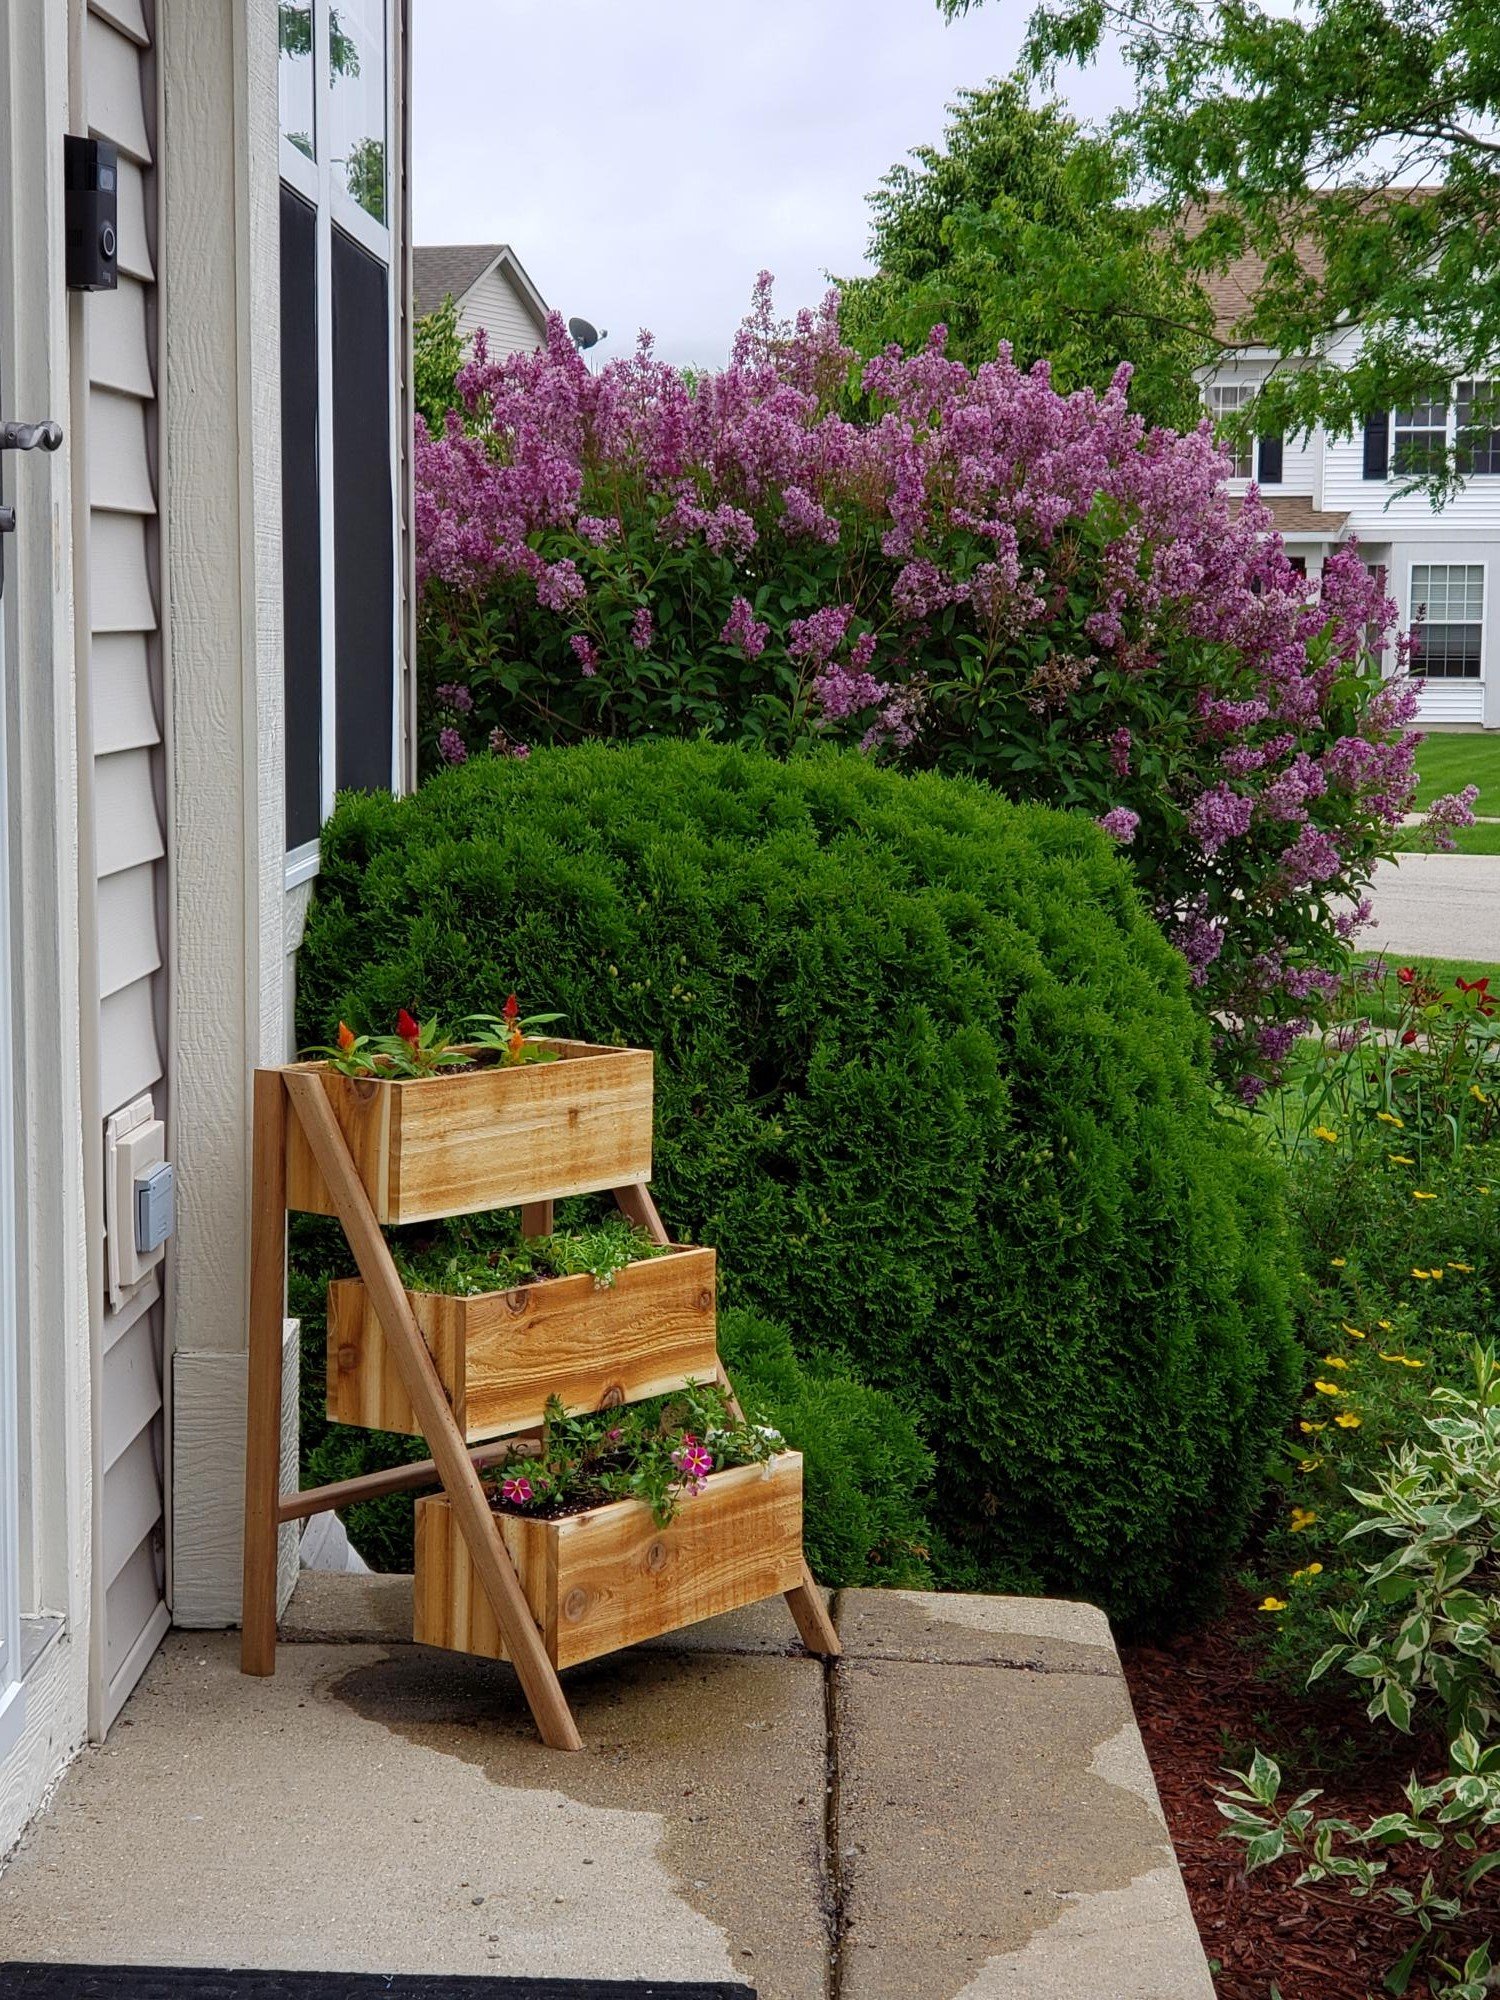
Used square laundry baskets instead of regular rectangular baskets. The square ones aren't as deep but are a bit taller so I had to modify the plans. I added a backsplash and some wooden tags to the baskets to designate them for certain colors. I also added some decorative trim and finished the bottom in a gray stain and used white chalk paint for the top.

This was a great last minute Christmas gift. Took me a little over two hours. Made completely out if pallet wood.
Sun, 12/26/2021 - 13:19
It looks great, I'm sure the recipient loved it! Thanks for sharing:)
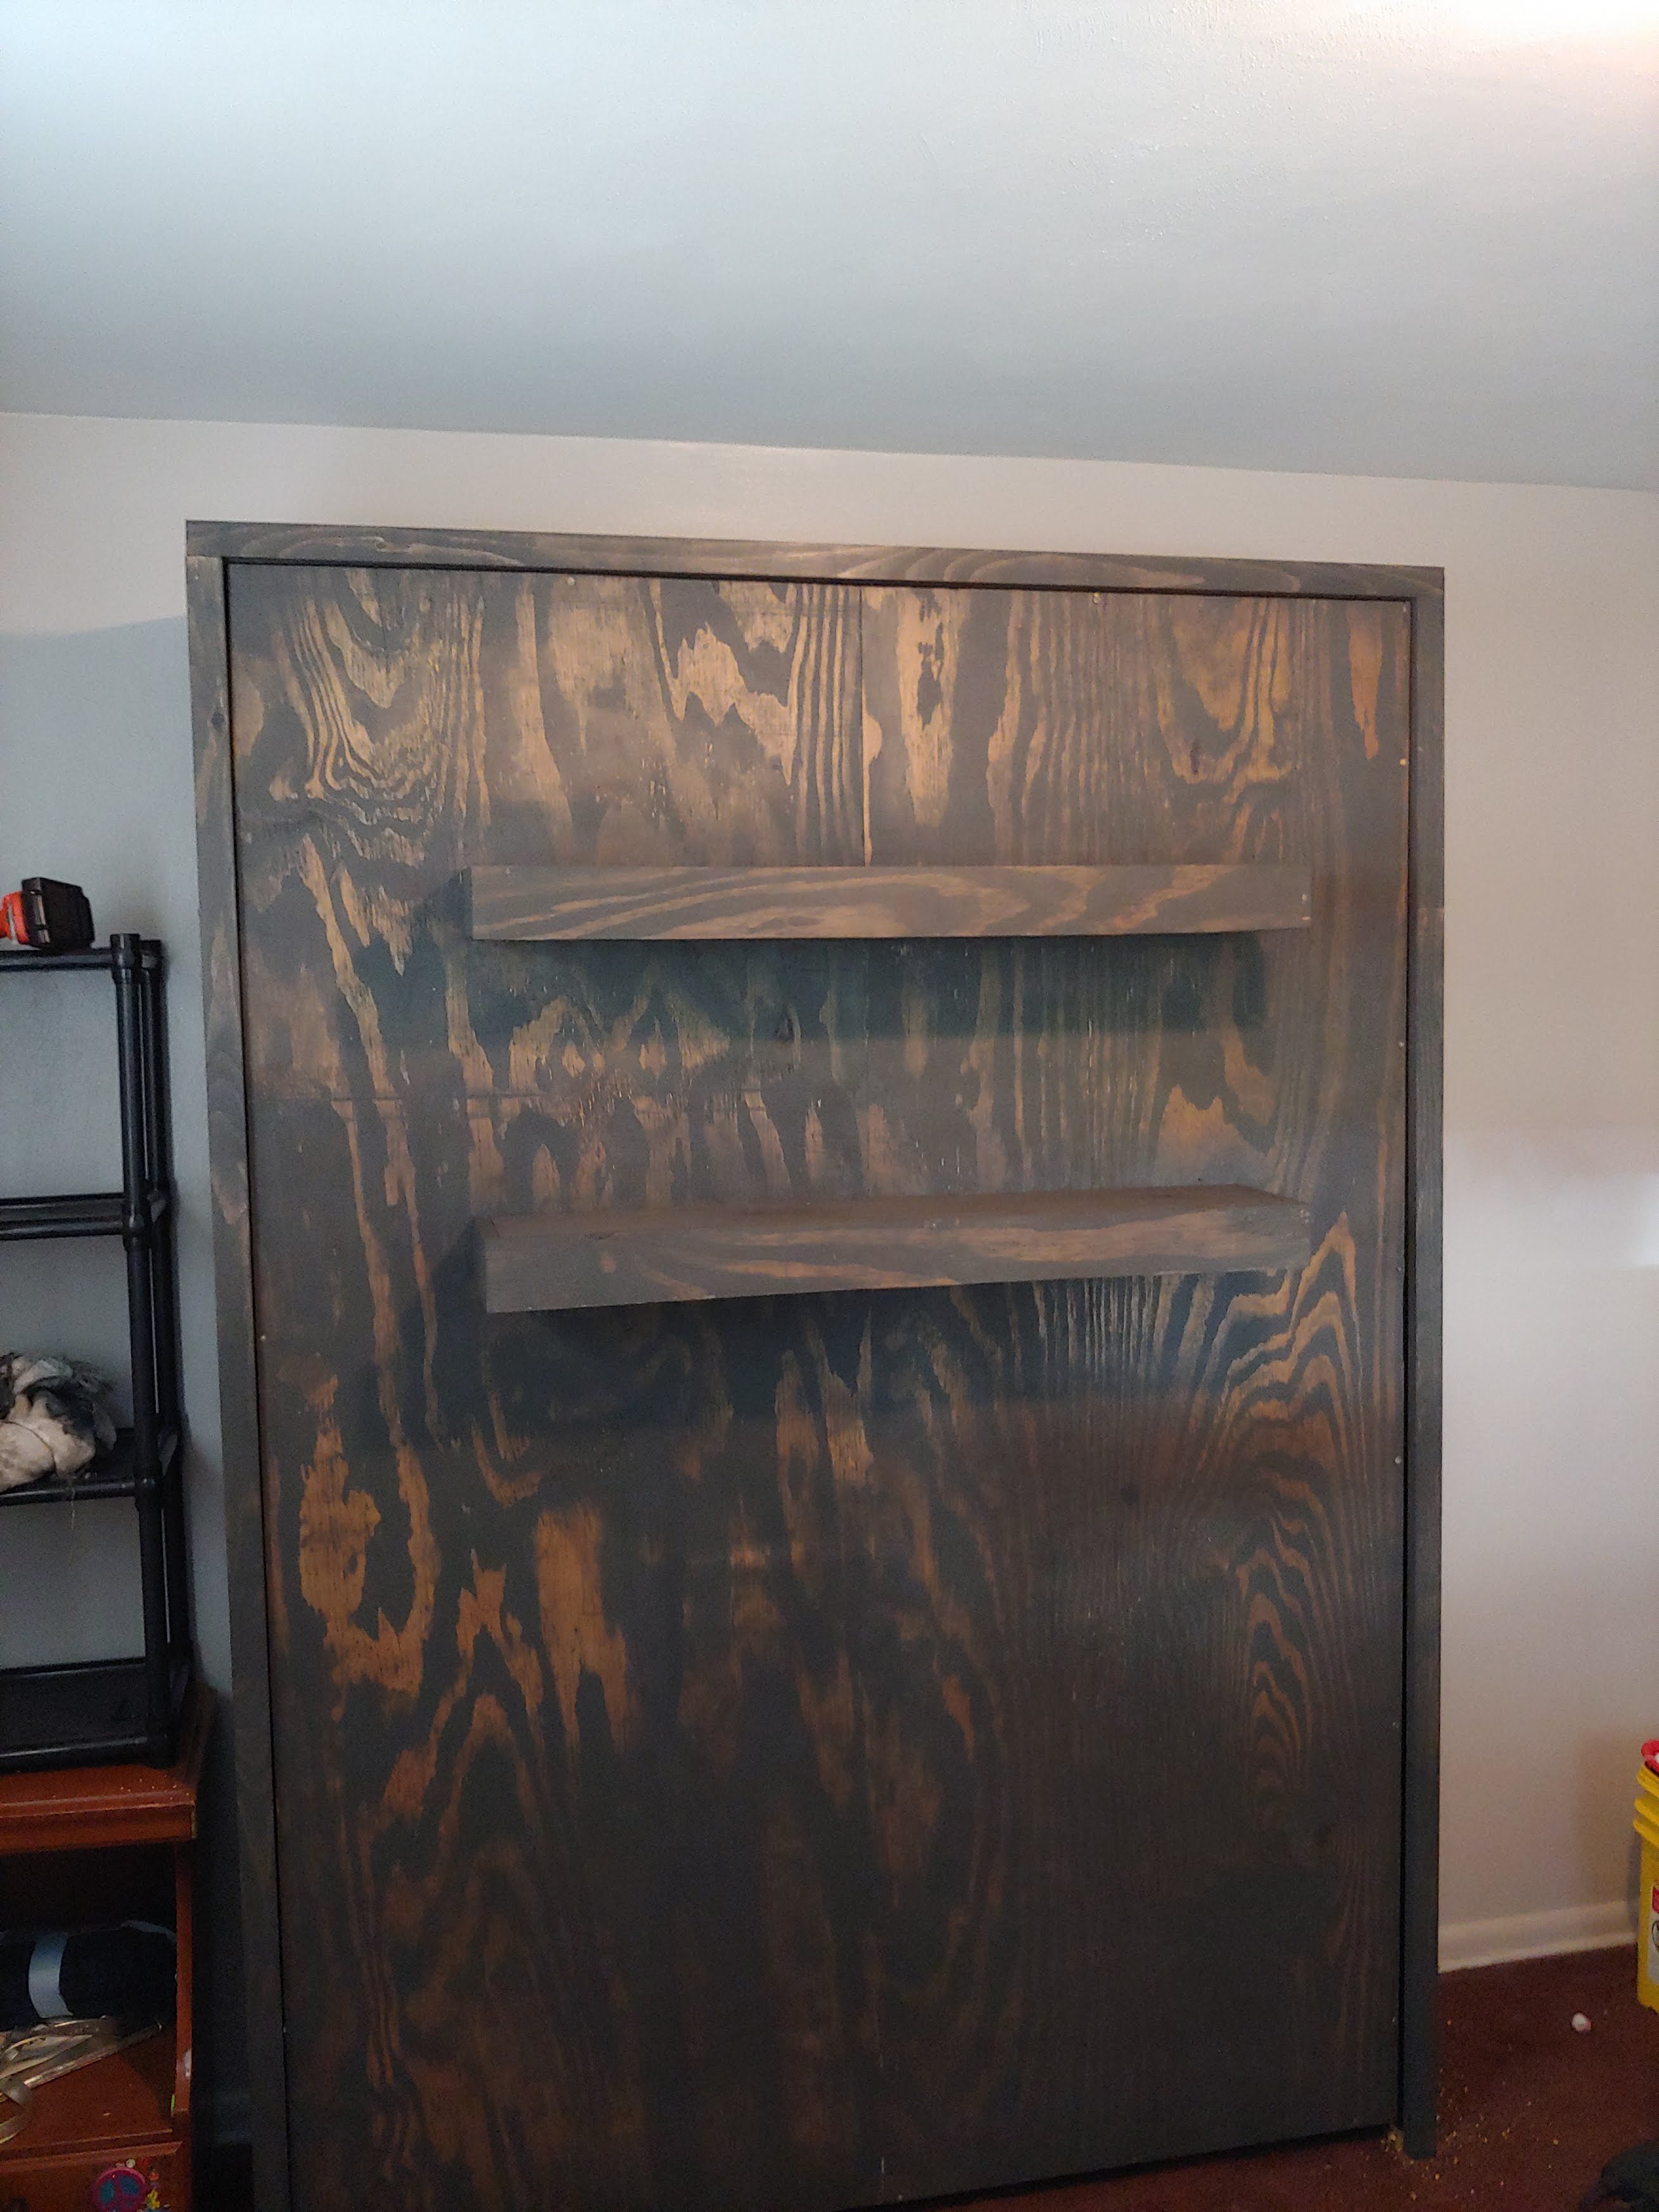
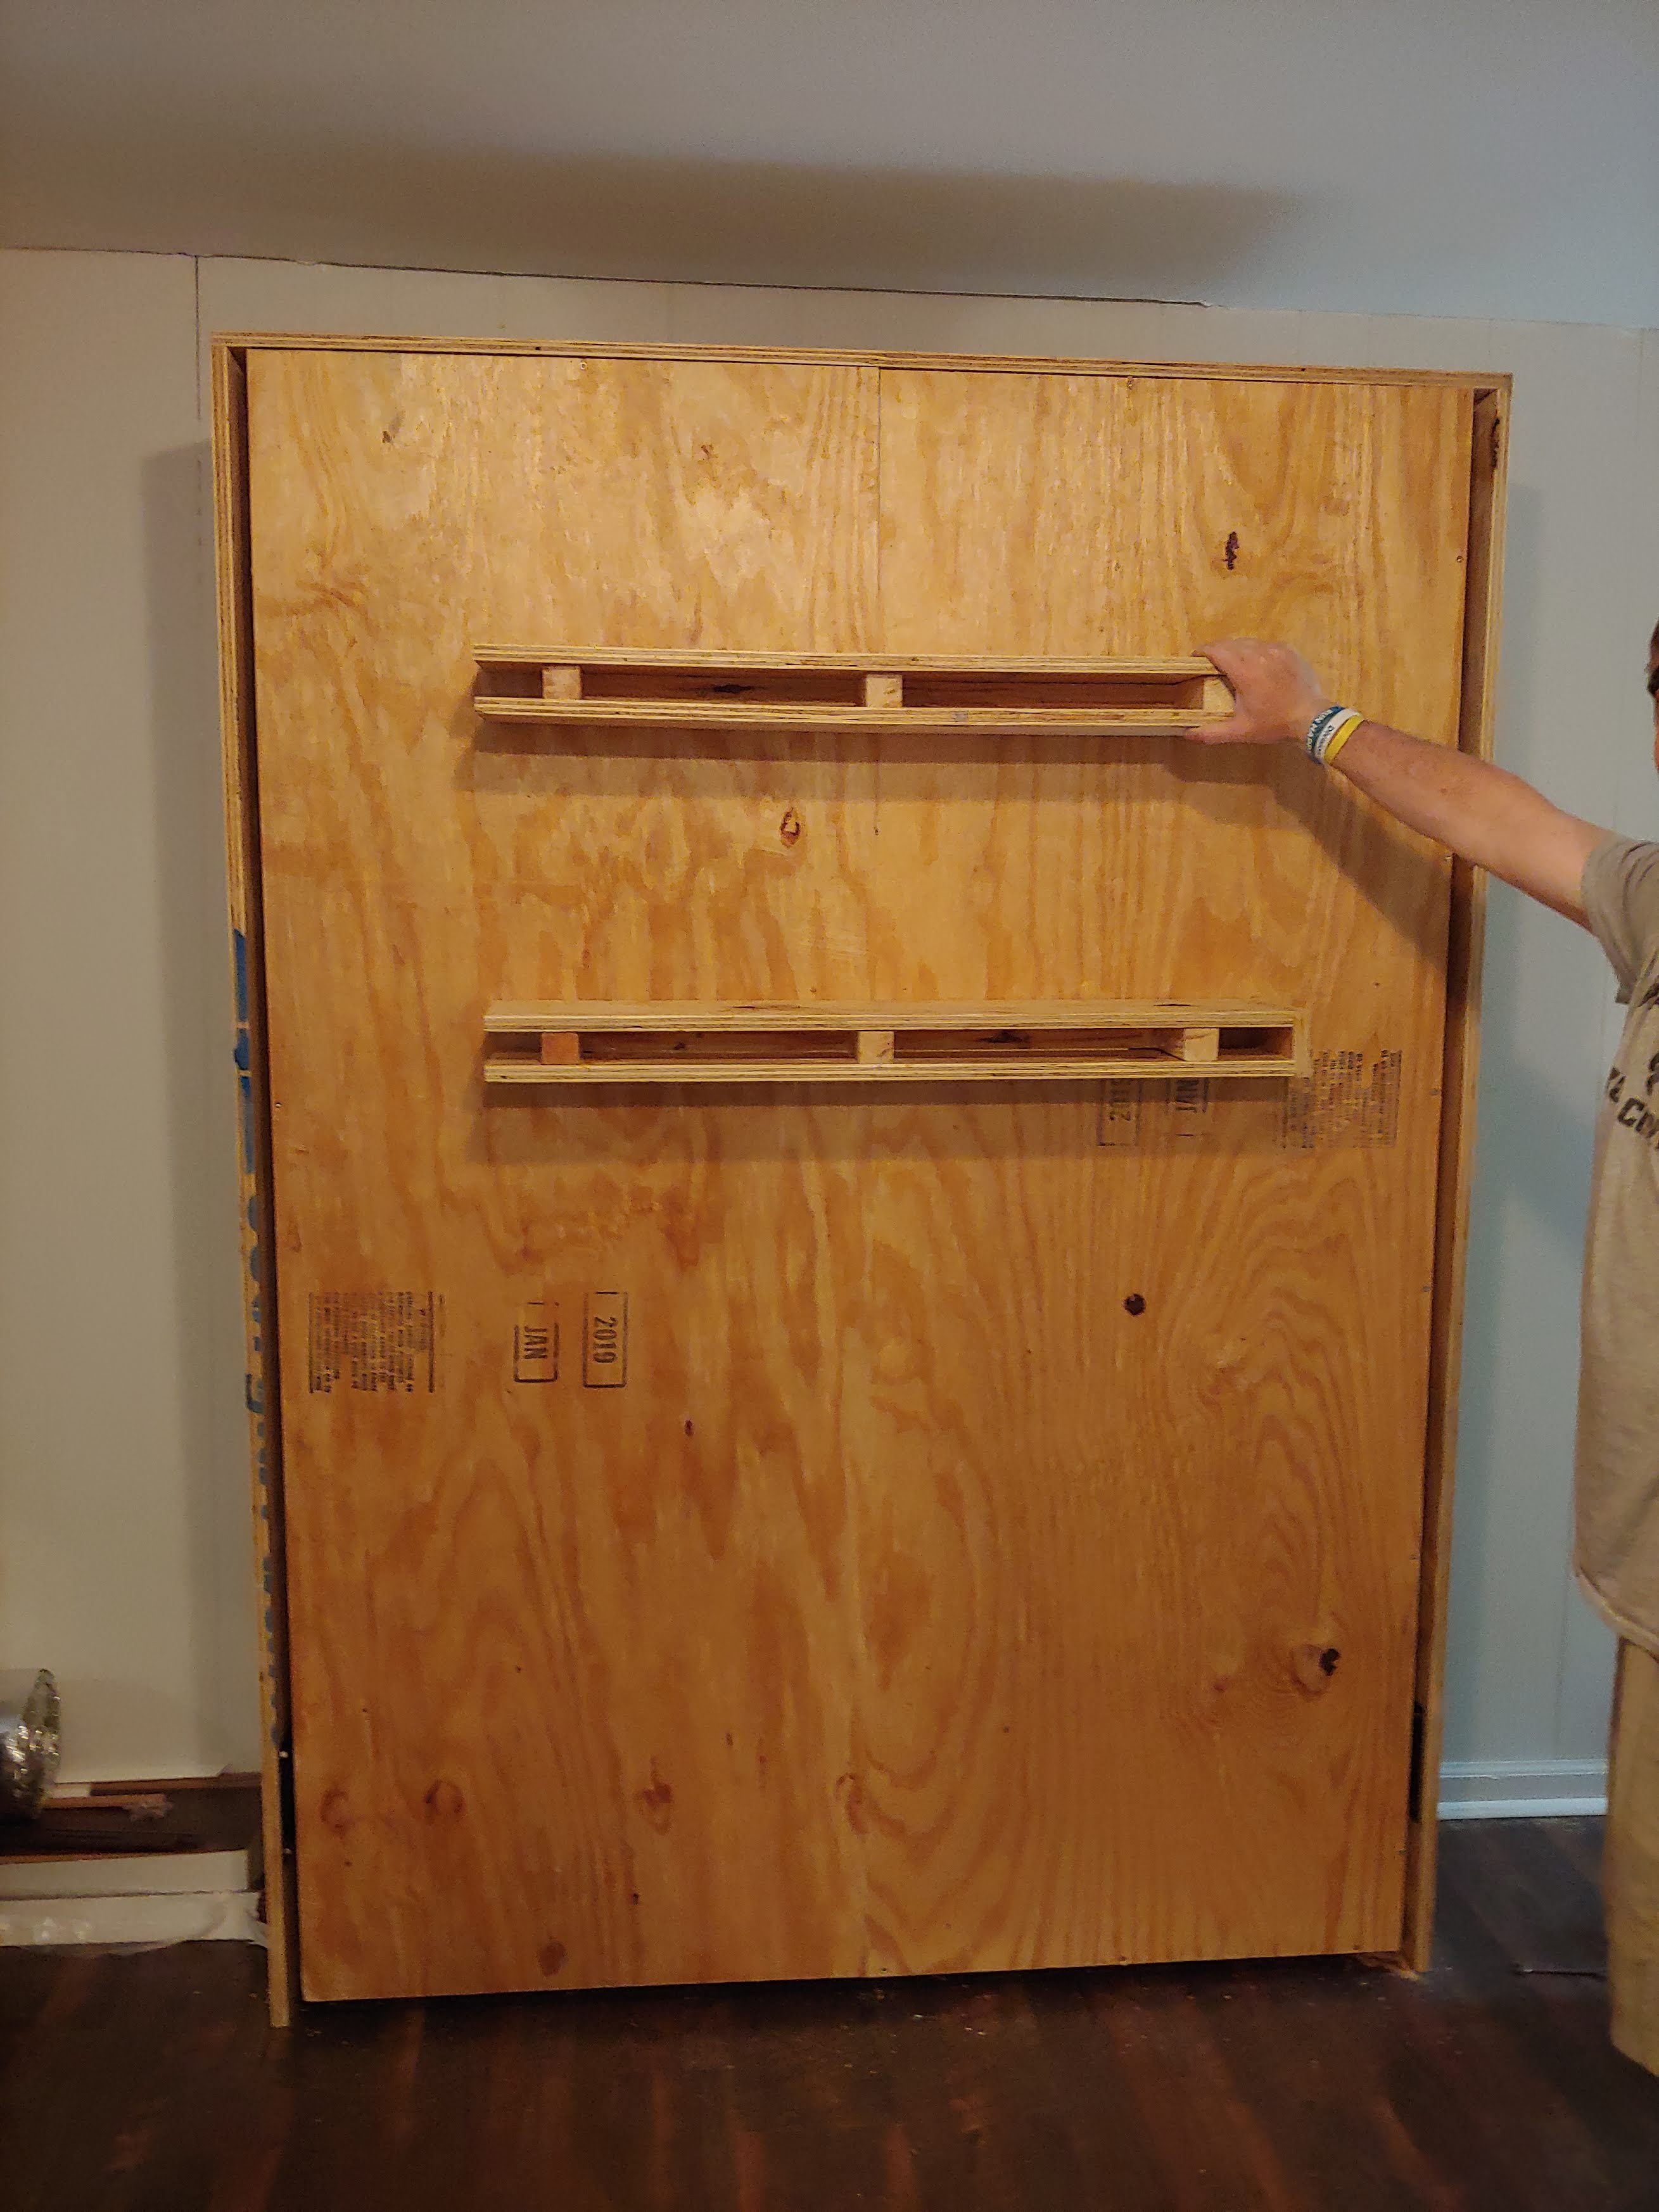
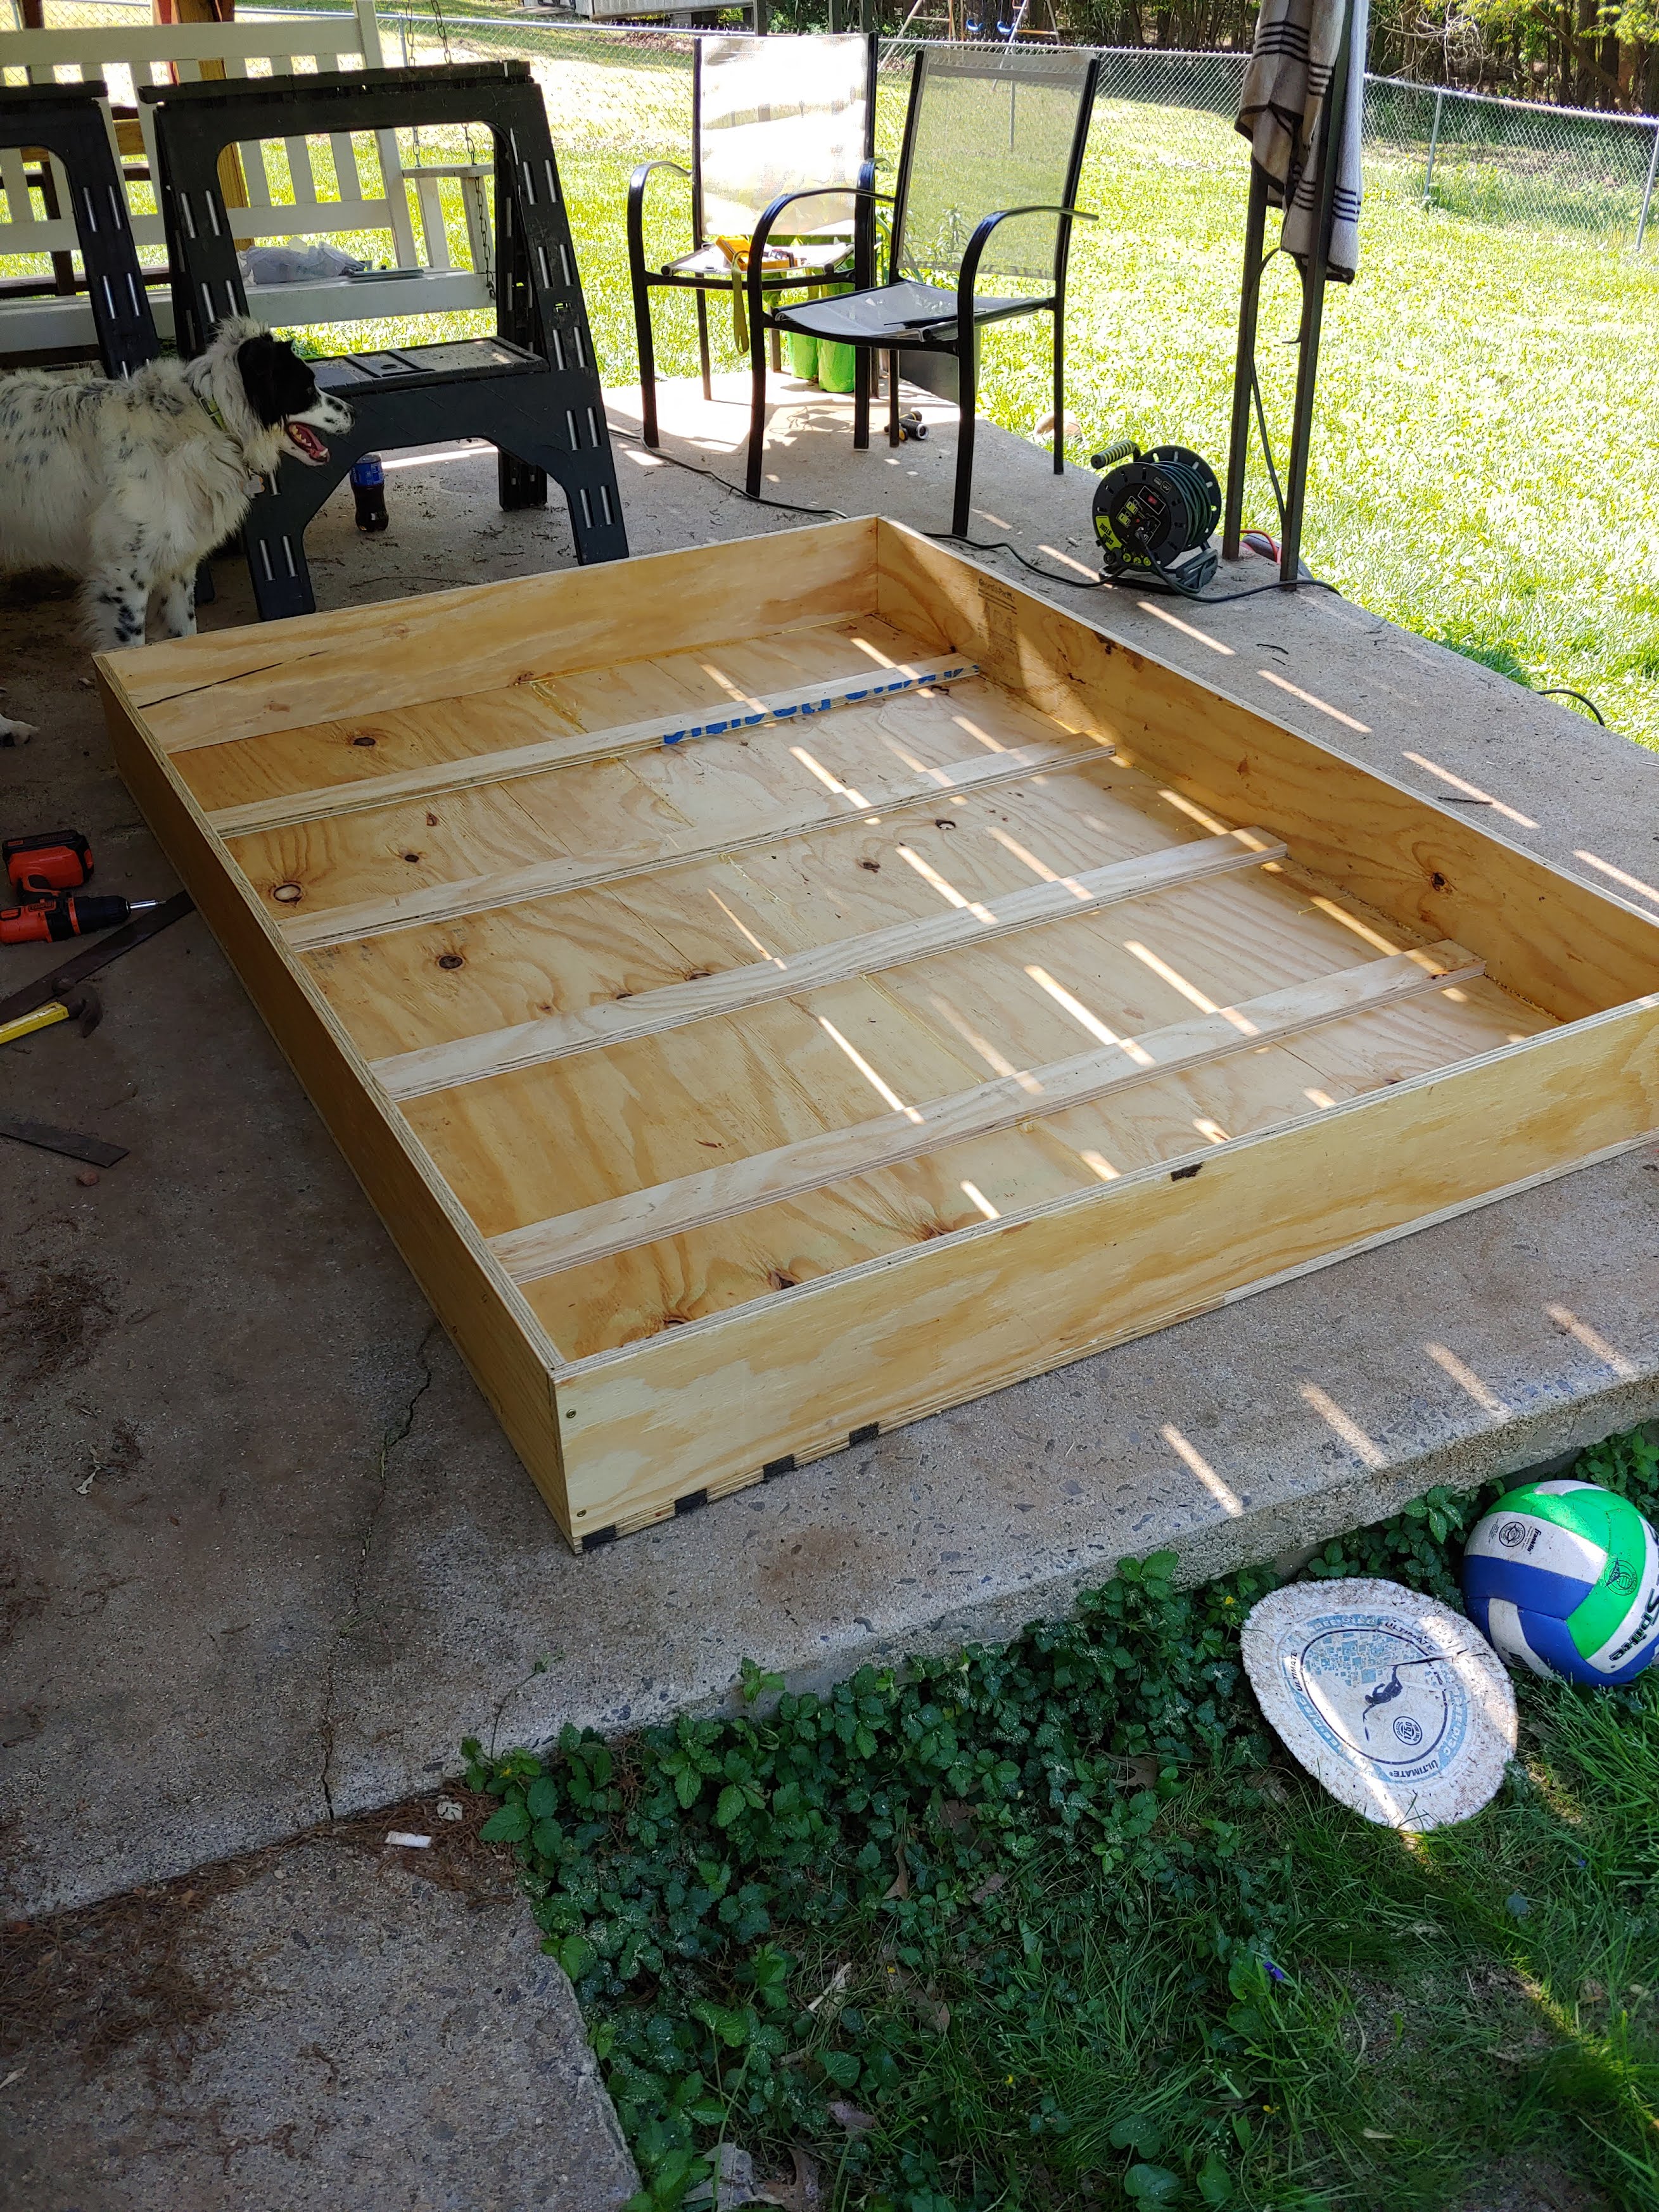
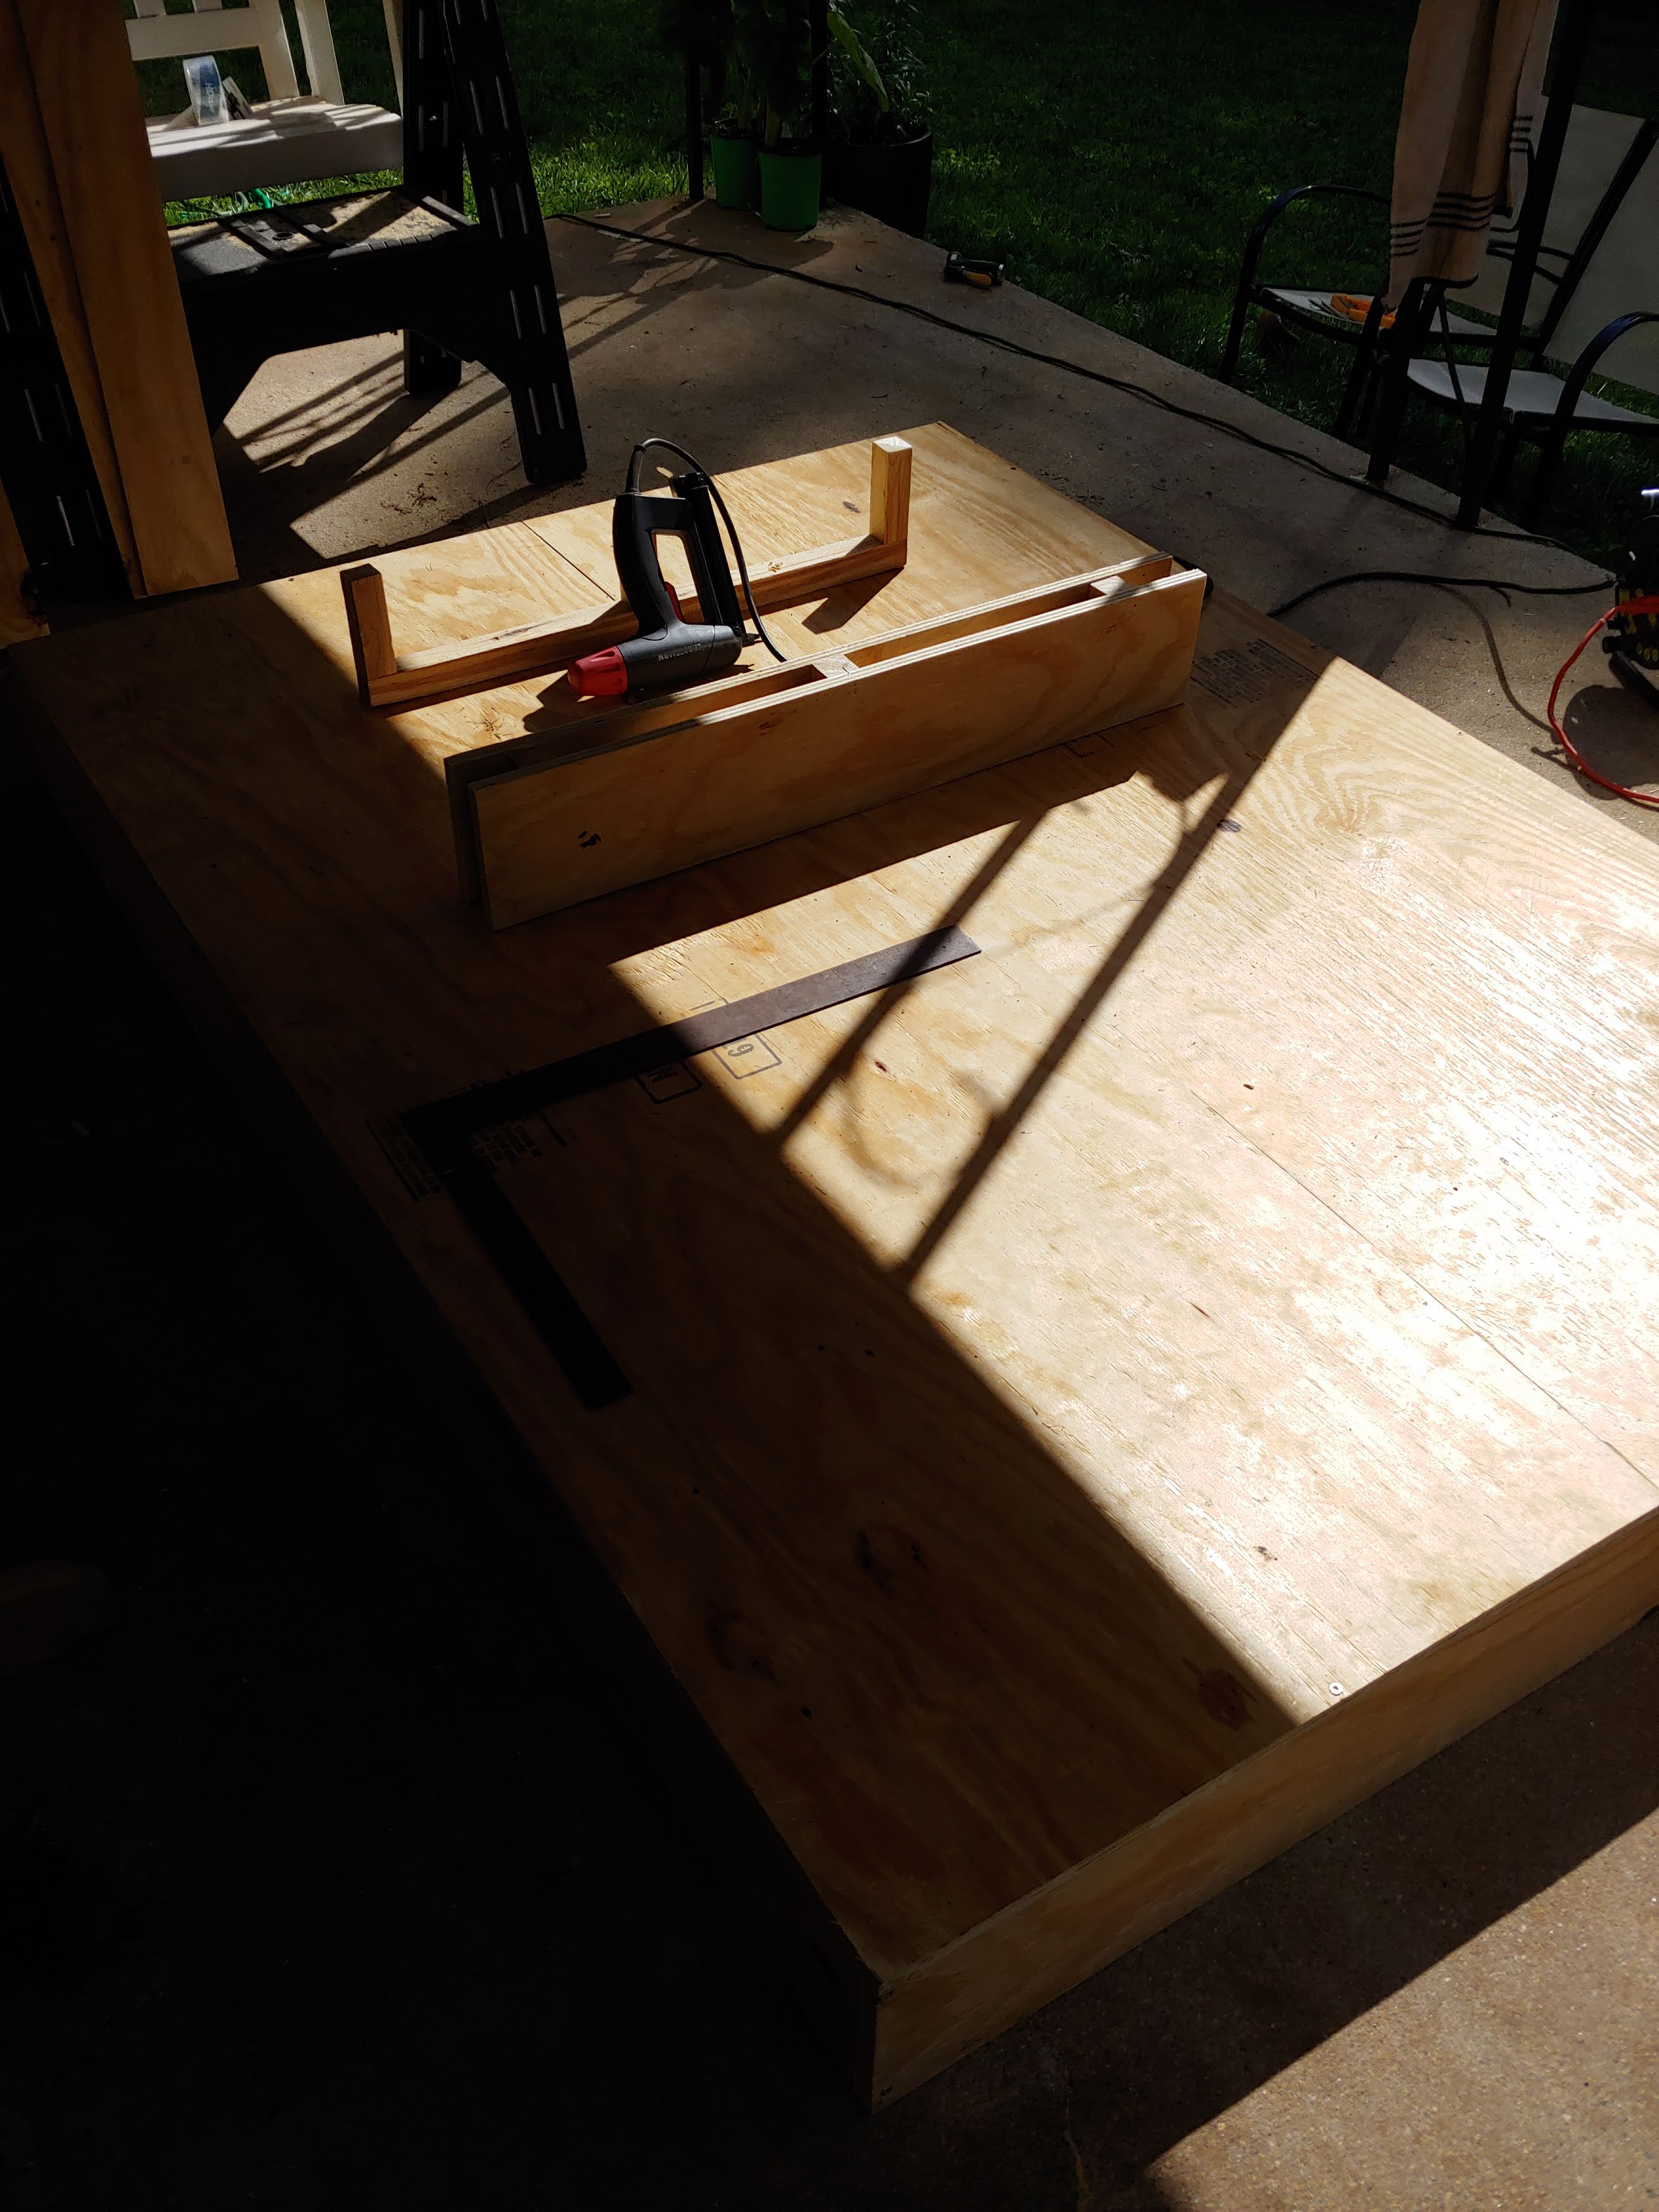
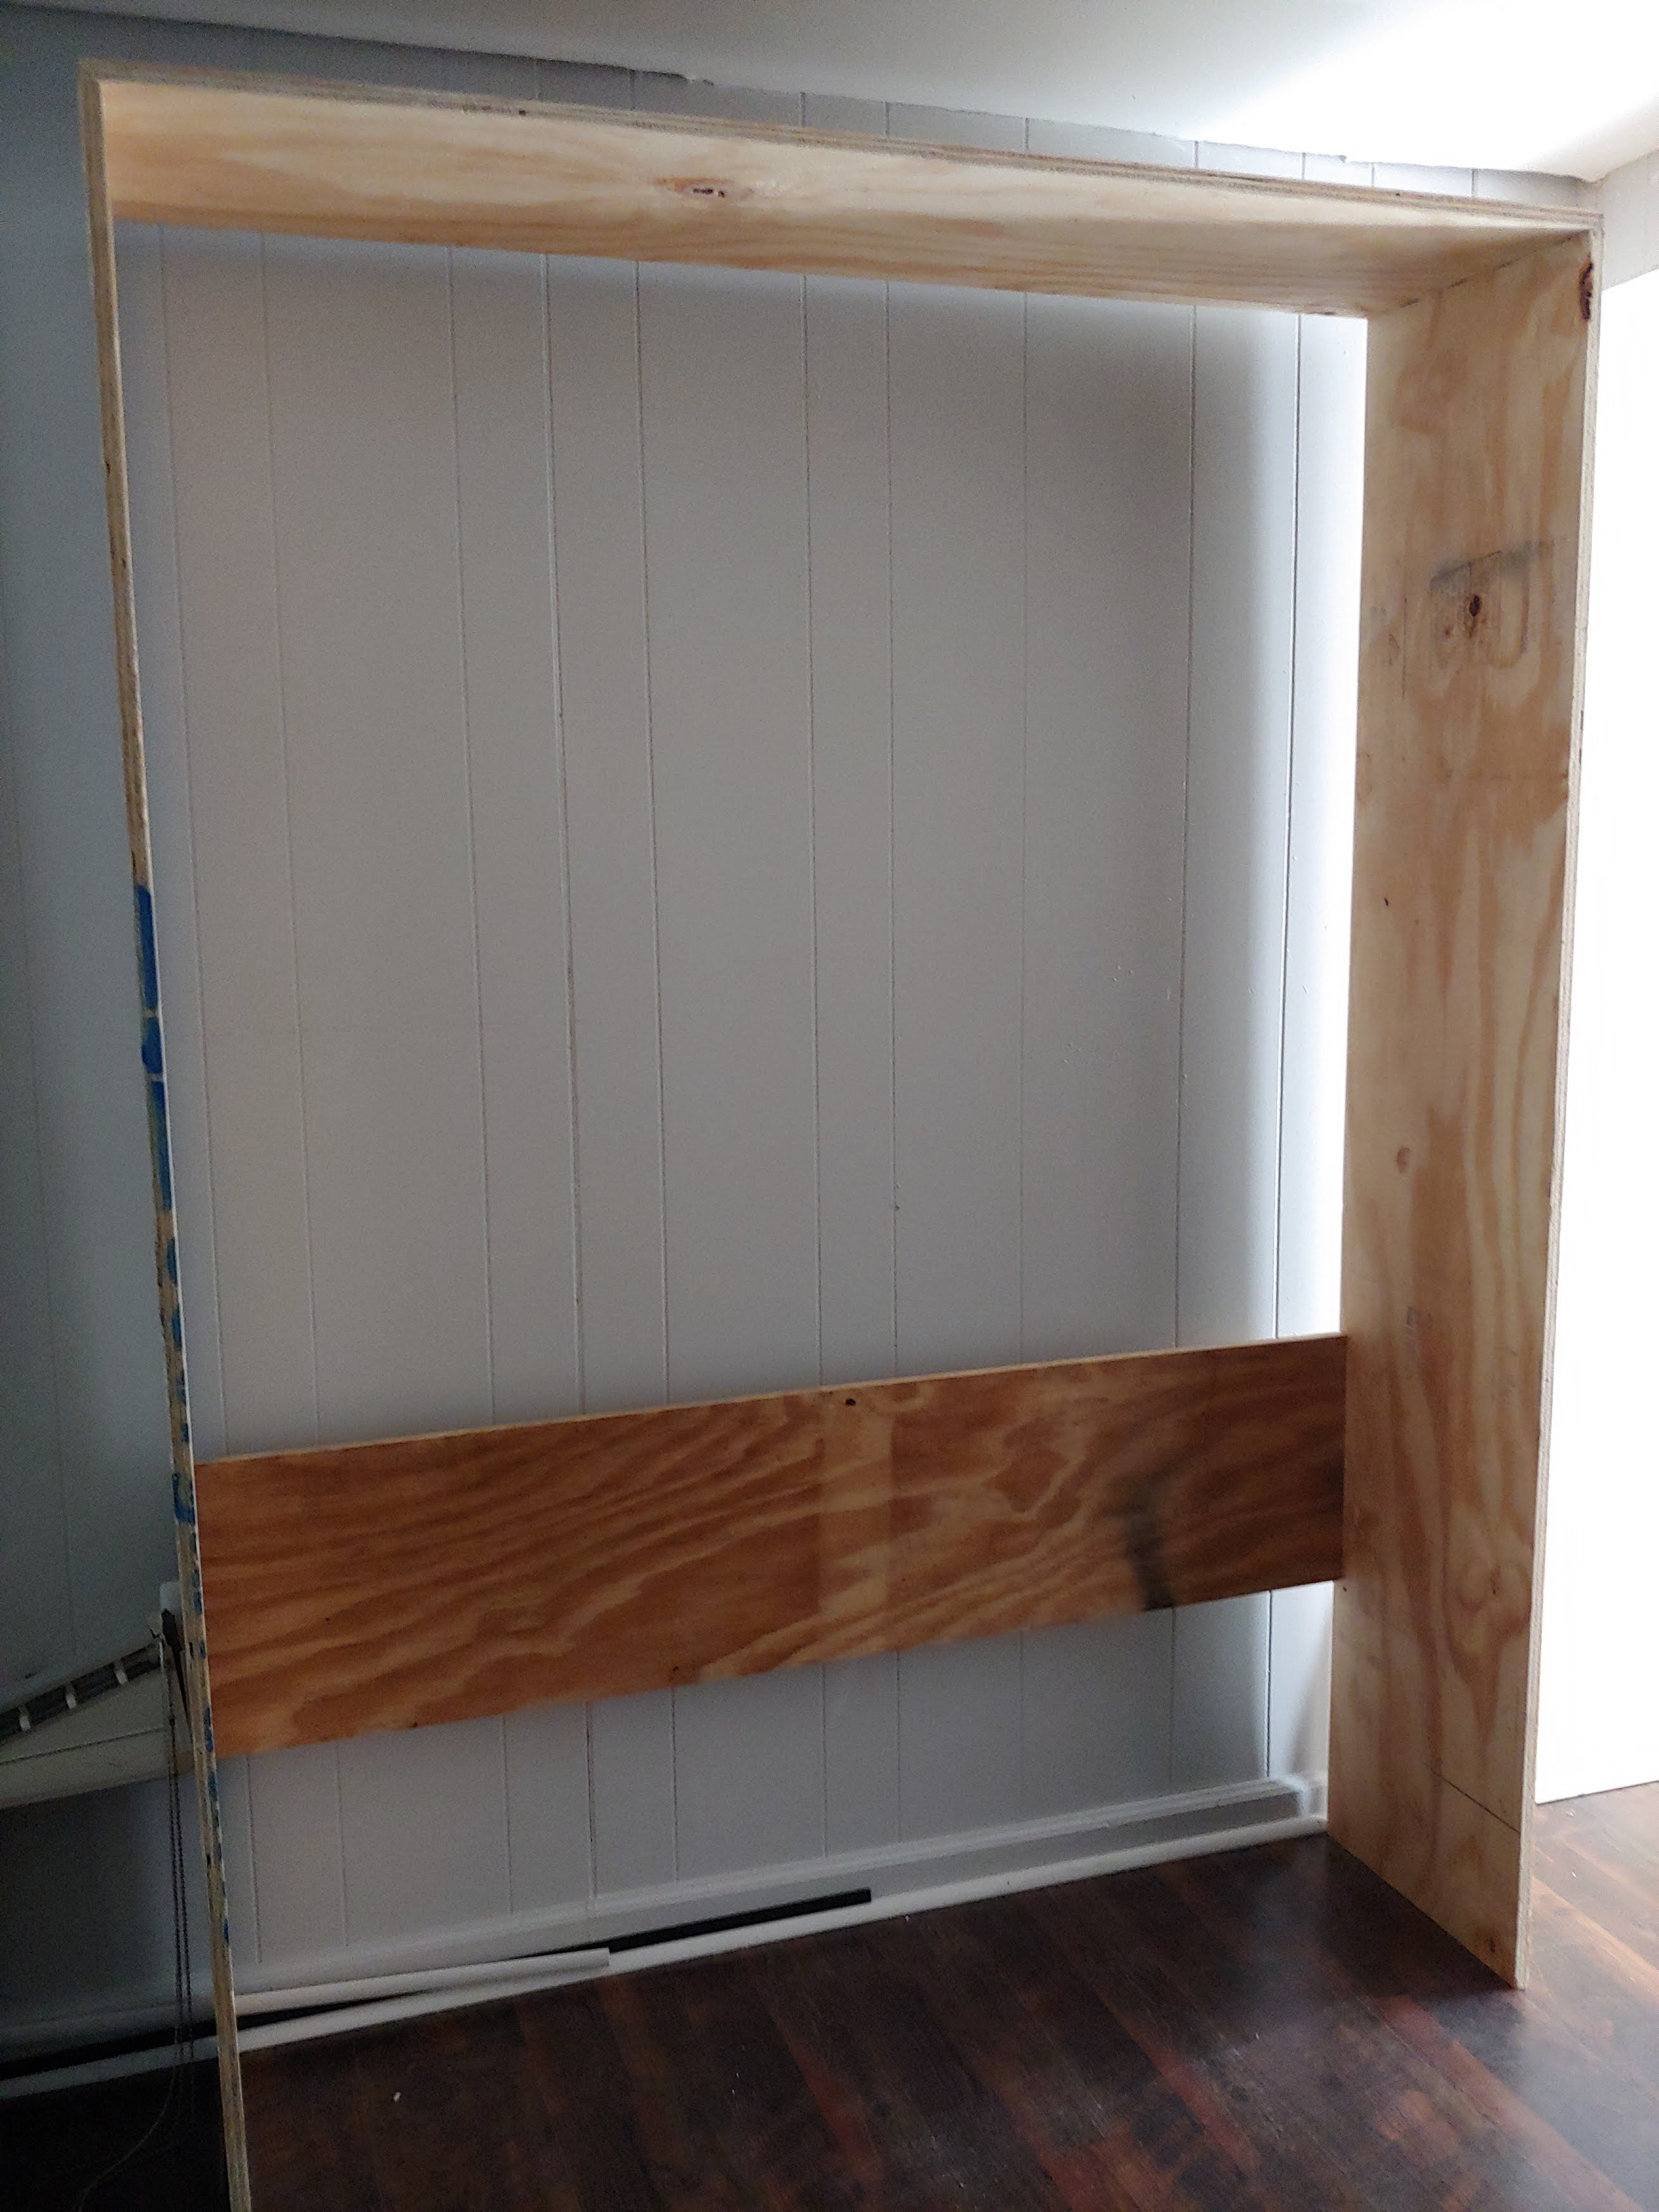
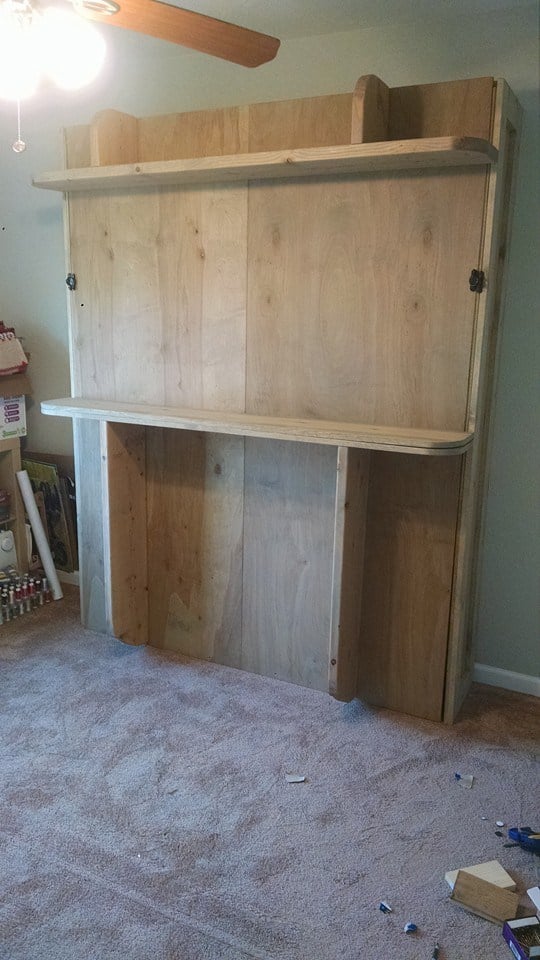
So I've always wanted to build a Murphy bed. And by always I mean since I first came across plans here that made it look so simple. It ended up taking me a while to do because my job has me working 6 days a week so I was only able to work on it for short chunks of time.
I ended up utilizing a few different plans and mashed them together to build a full size murphy bed. The shelves are the support legs when the bed is down. The "hinge" mechanism are heavy duty 360 degree seat swivels.
All-in-all it turned out WAY better than I expected with only some minor issues throughout the construction process.
Next up is a twin xl Murphy bed with a murphy desk attachment that will serve as a craft table when up.

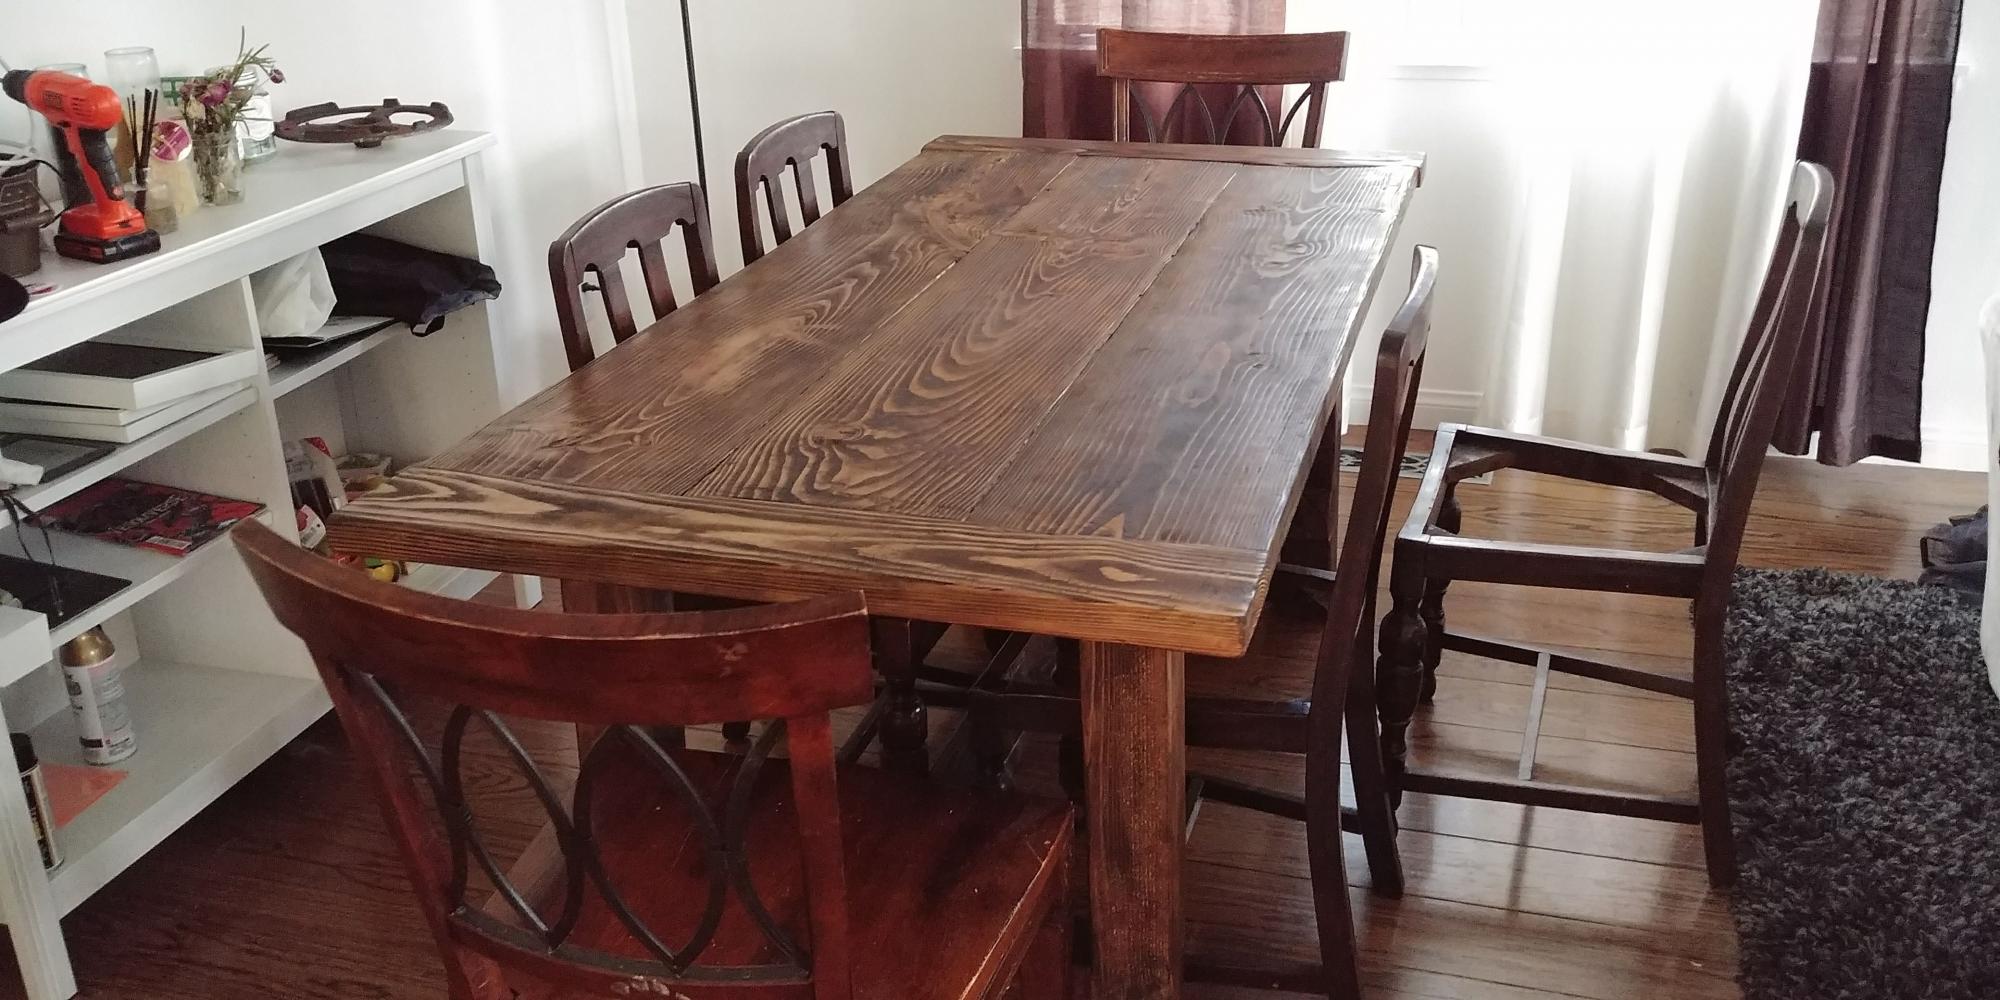
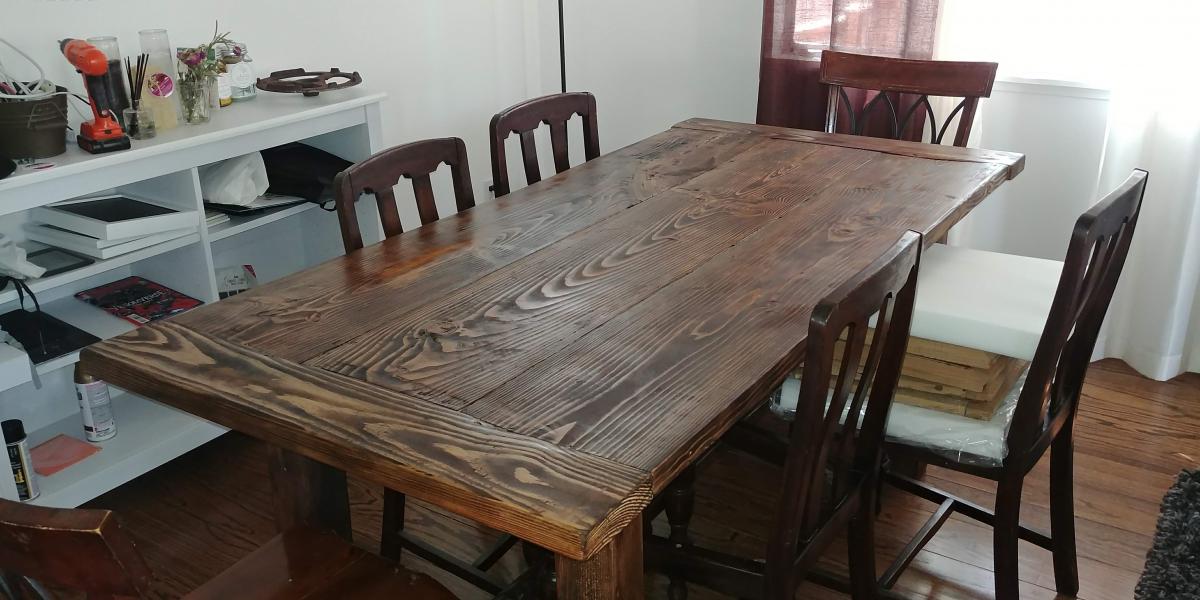
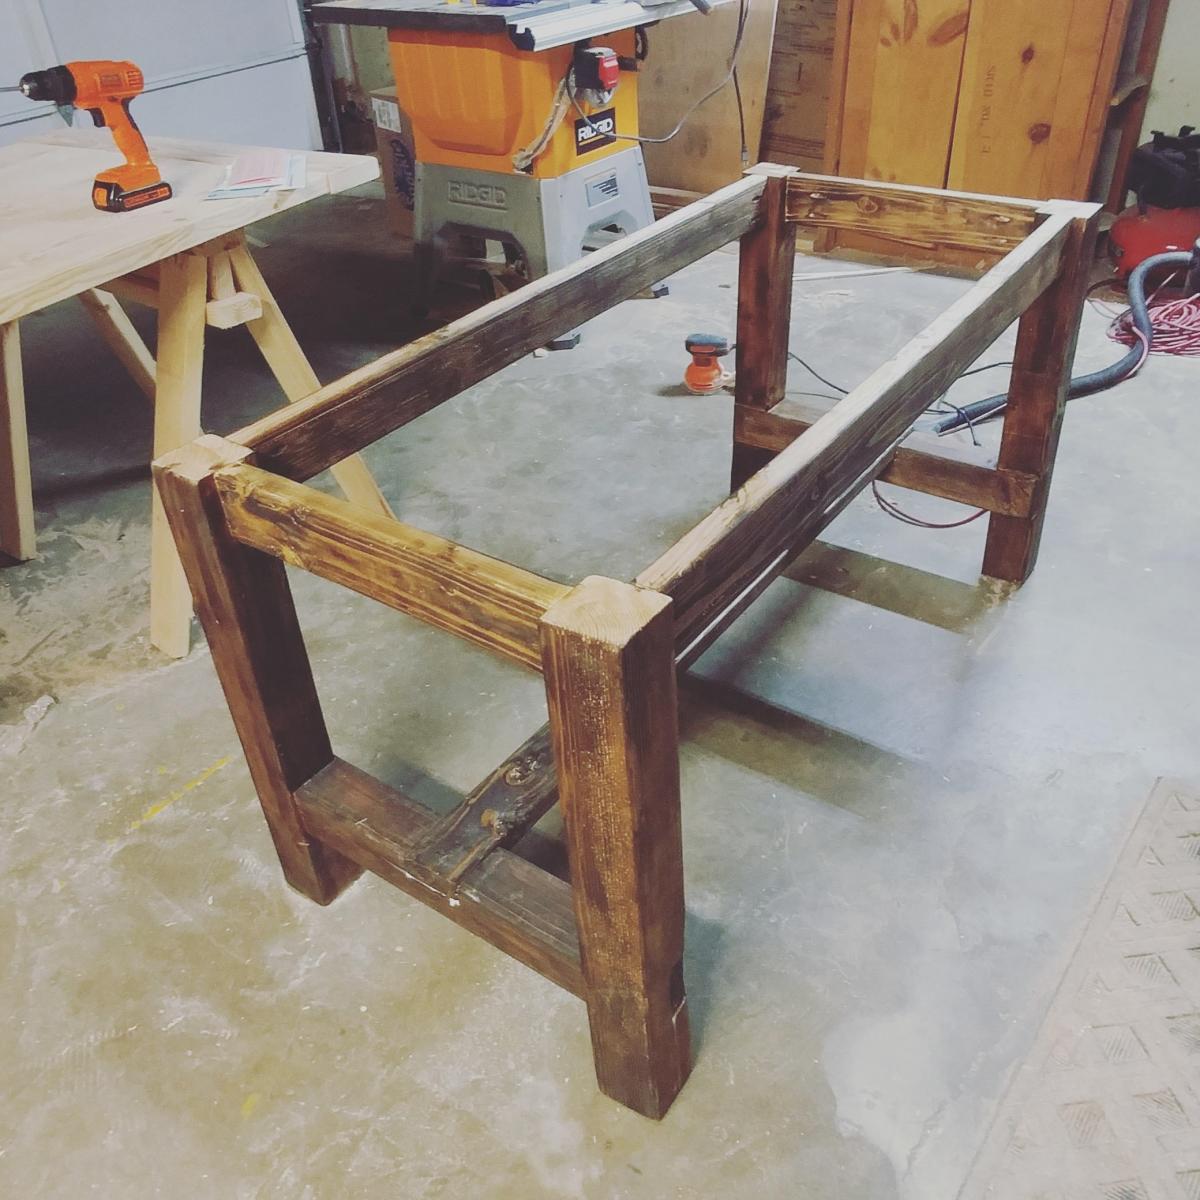
I followed the plans pretty closely. I always wanted to get into woodworking and once I bought a house I finally had the space! My wife wanted a farm house table and rather than spend $500+ on one I told her I could build it. Luckily that turned out to be true!


Wed, 10/02/2019 - 09:49
There's so much character in this table! Love it!
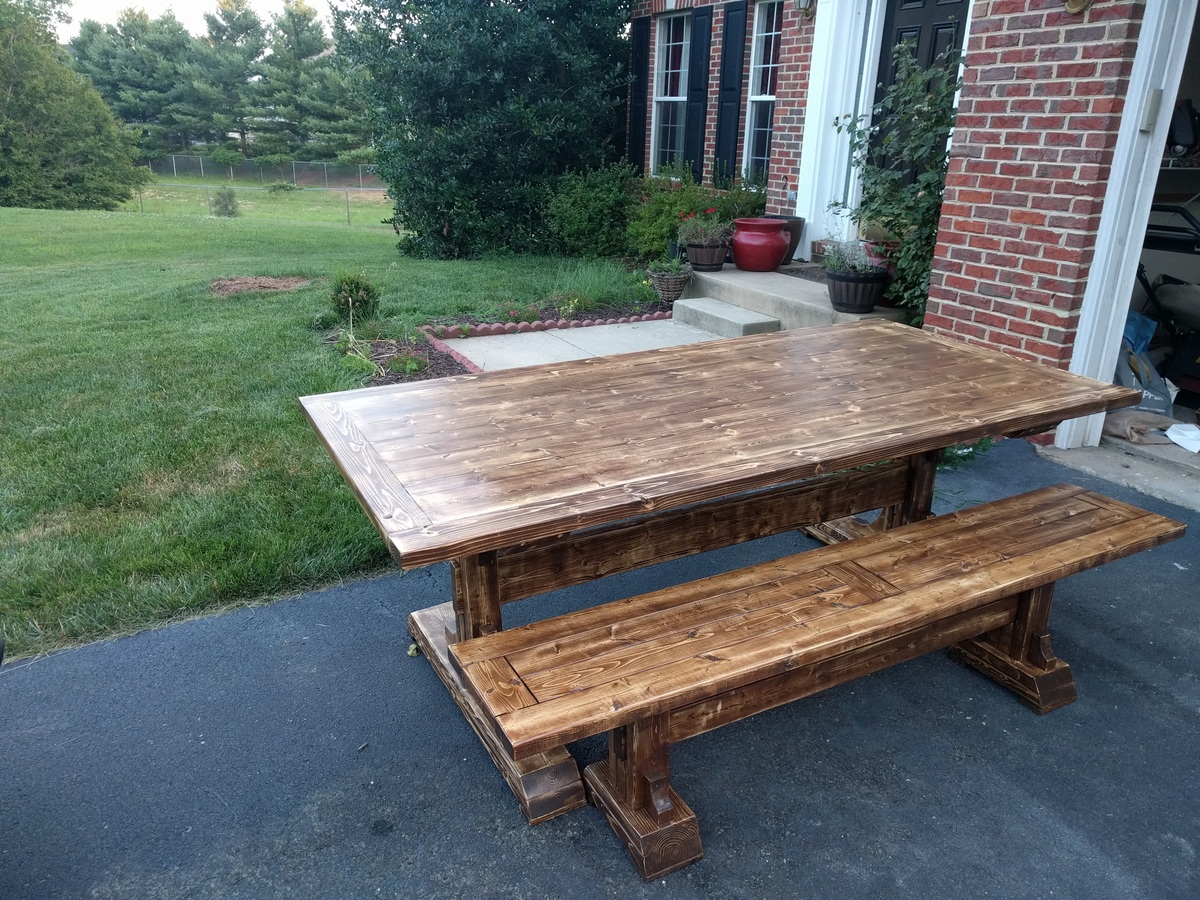
I modified it slightly by leaving off the trim around the perimeter. I also shortened the table to 84" which then only required 2 legs for a custom fit for the mom space. The finish was distressed to conceal heavy use (more like spills :-D) from kids which turned out to be a home run with moms
Check out some tips during my build @ charitybuilds

Entire wall fireplace built-in!


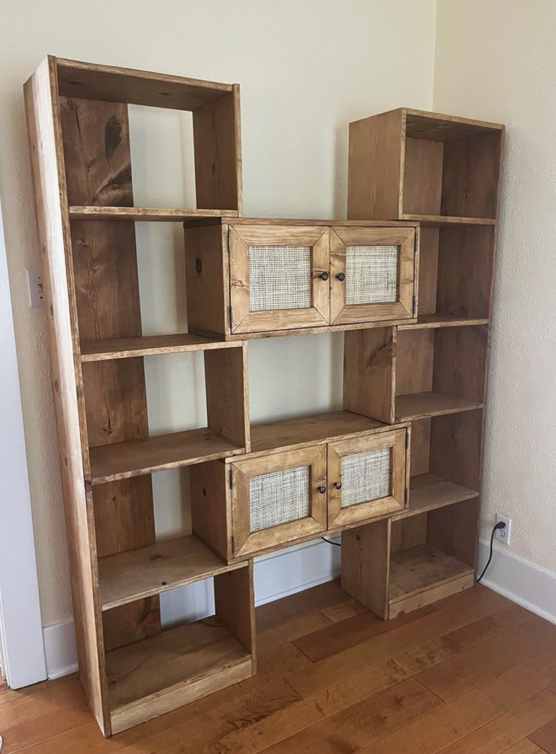
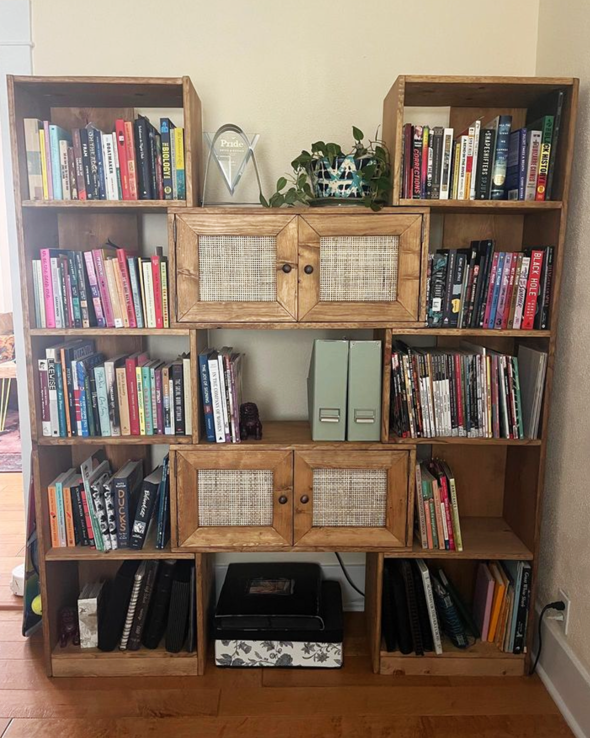
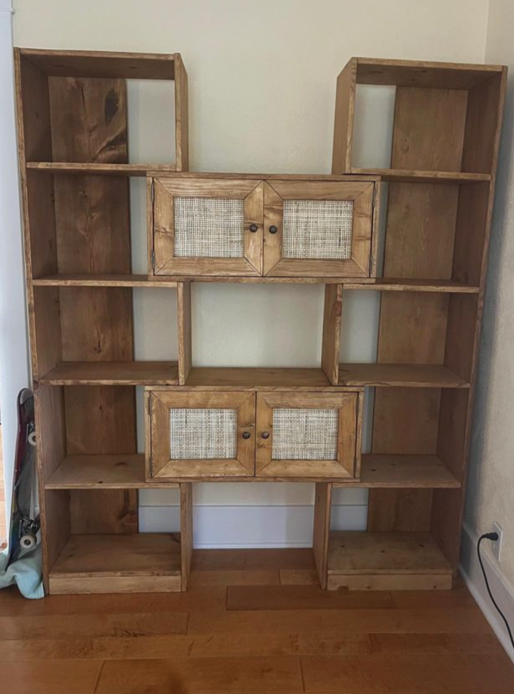
Modern Puzzle Bookcase
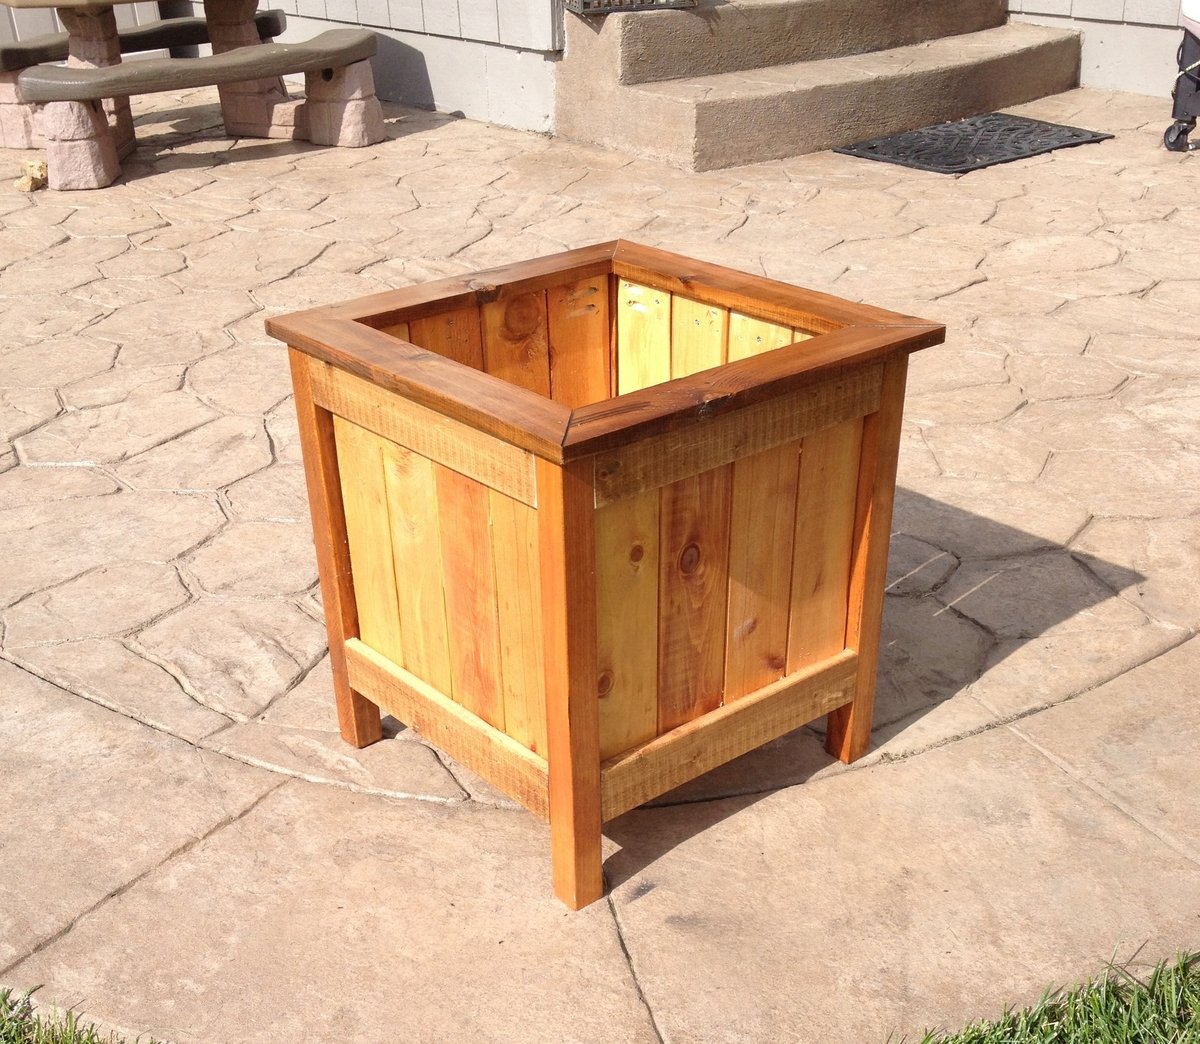
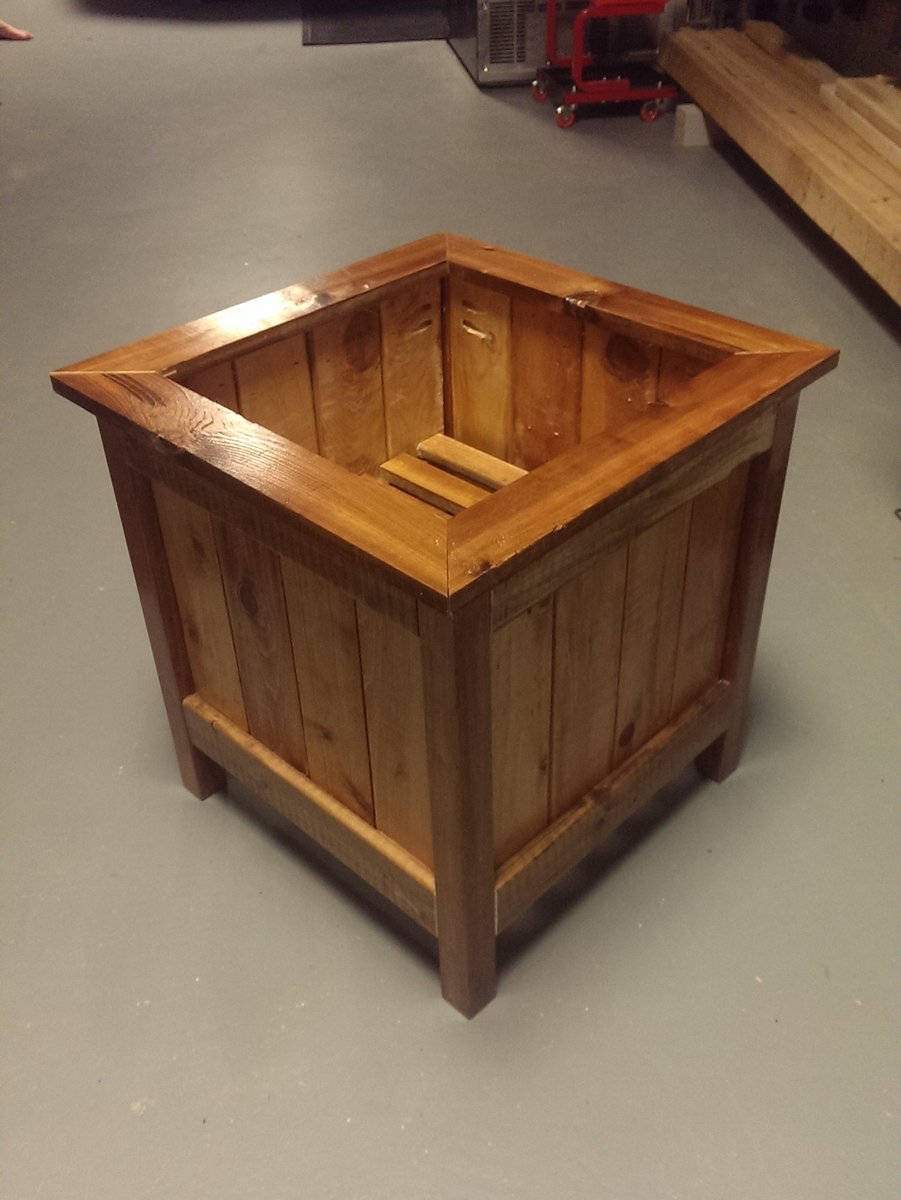
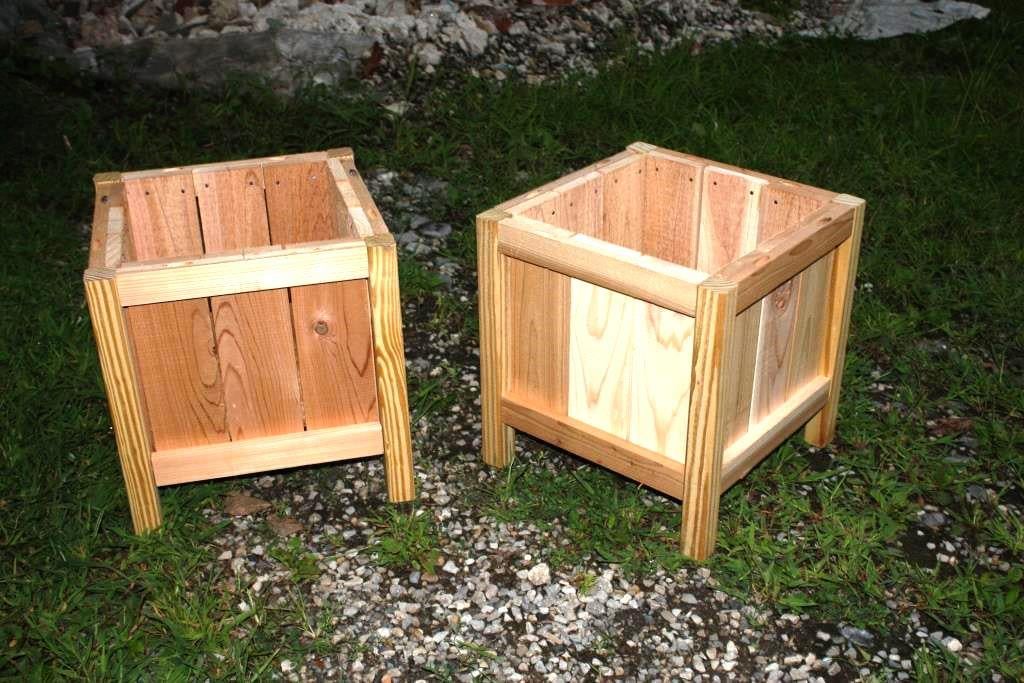
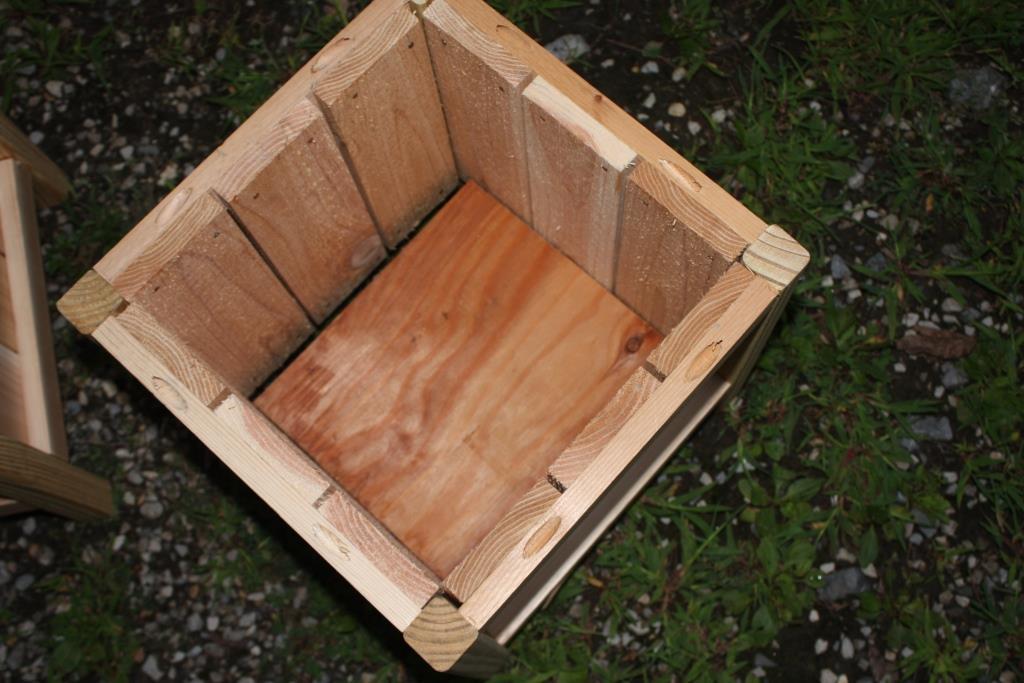
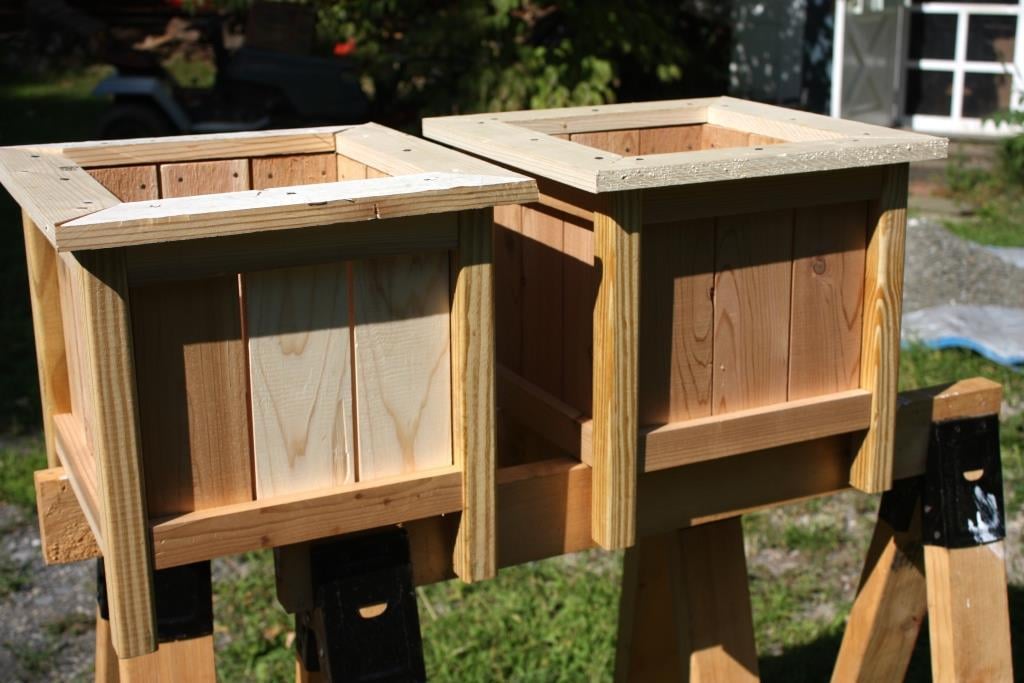
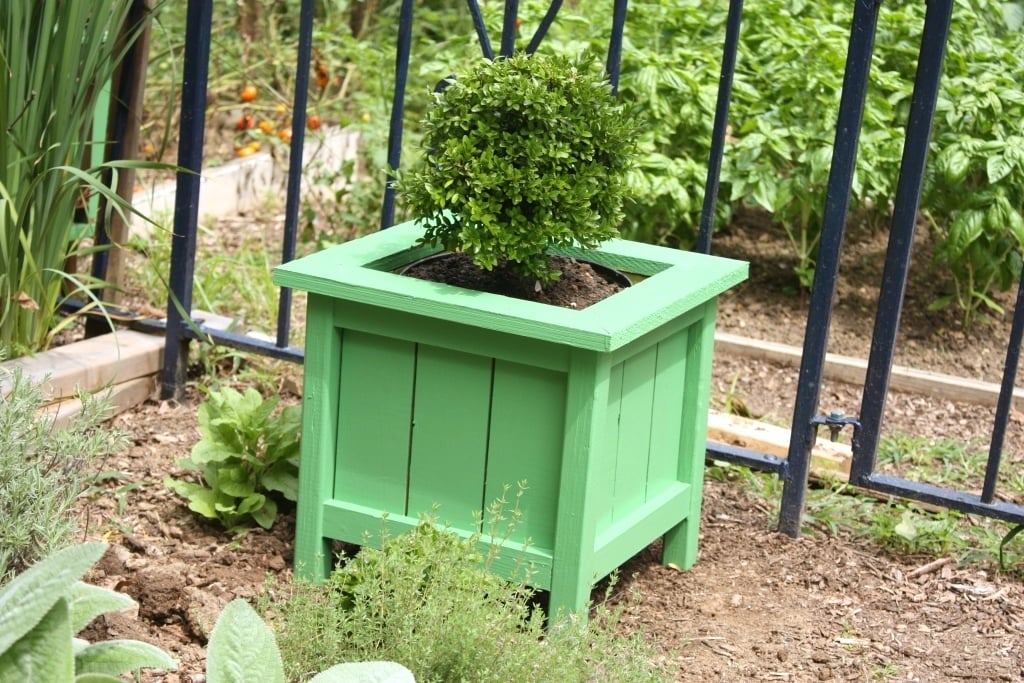
I used the main plan for ideas, but opted to use 3.5 inch pickets instead, which allowed for a smaller planter that wasn't as big. Also chose to miter 1x3s for the top which I think really finishes it off. Sanded everything with a belt sander to 220 grit. Used min wax golden pecan plus three coats of poly inside and out. Finished size was about 17x17. Tile spacers work great to keep the gaps even!
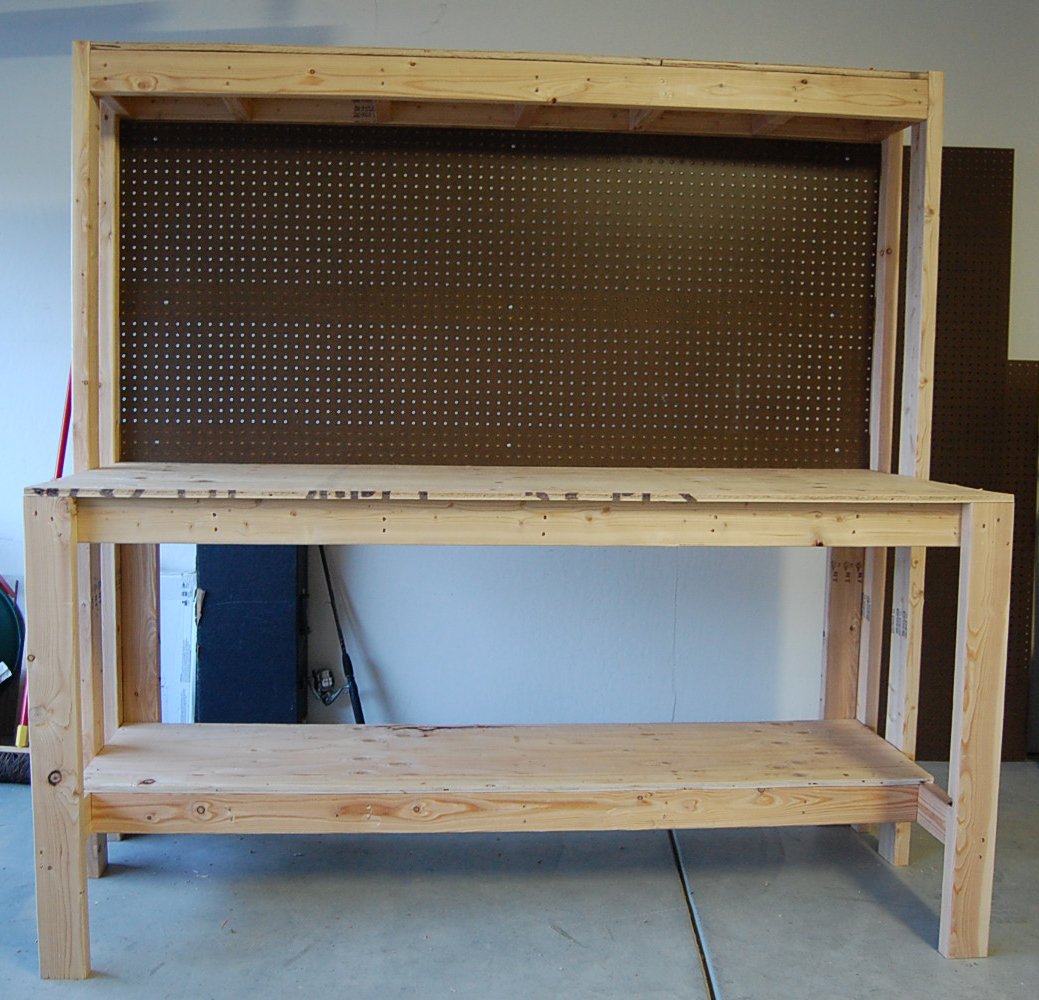
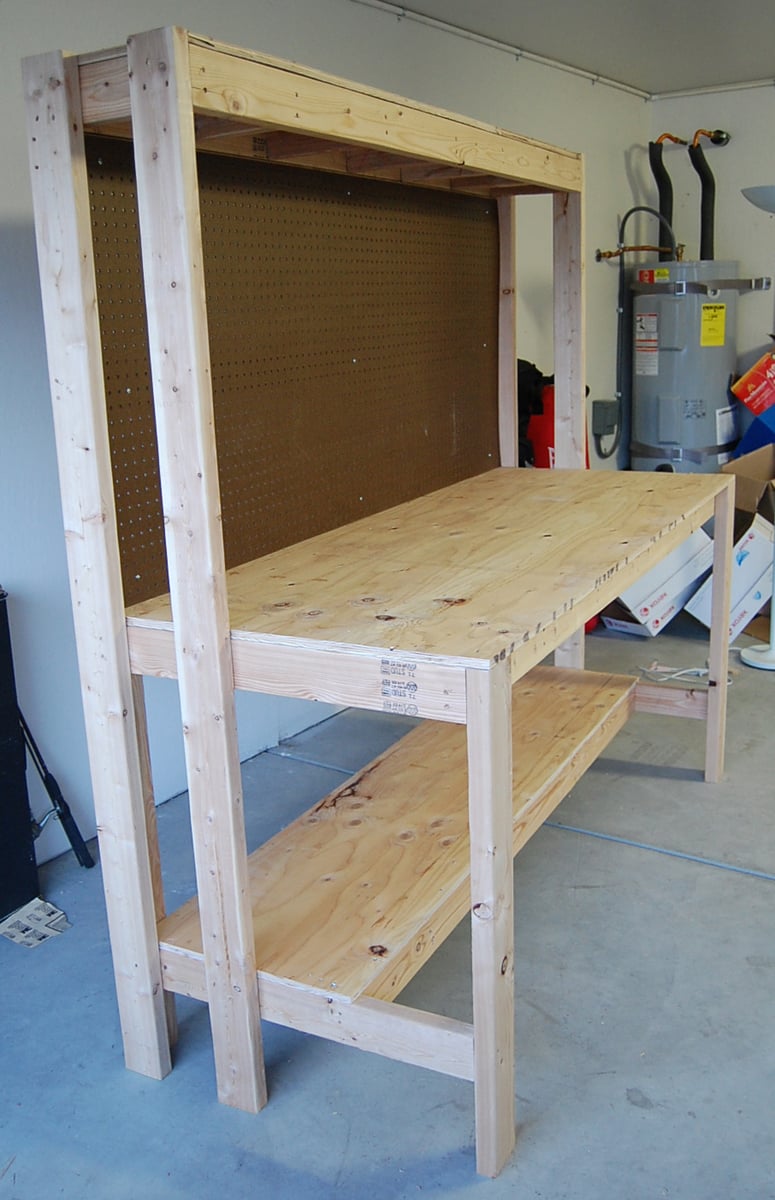
This is our 2nd project - we liked building the bookshelf so much, we decided we're gonna keep going and need a good workbench. Got these plans from the Family Handyman Website (http://www.familyhandyman.com/DIY-Projects/Woodworking/Workbenches/how-…). They claim the cost to be $50, but it was closer to $80 for us - still a GREAT project and easy to put together with the nail gun.
Sat, 04/16/2022 - 07:29
No working link. Cannot find this or the plans.
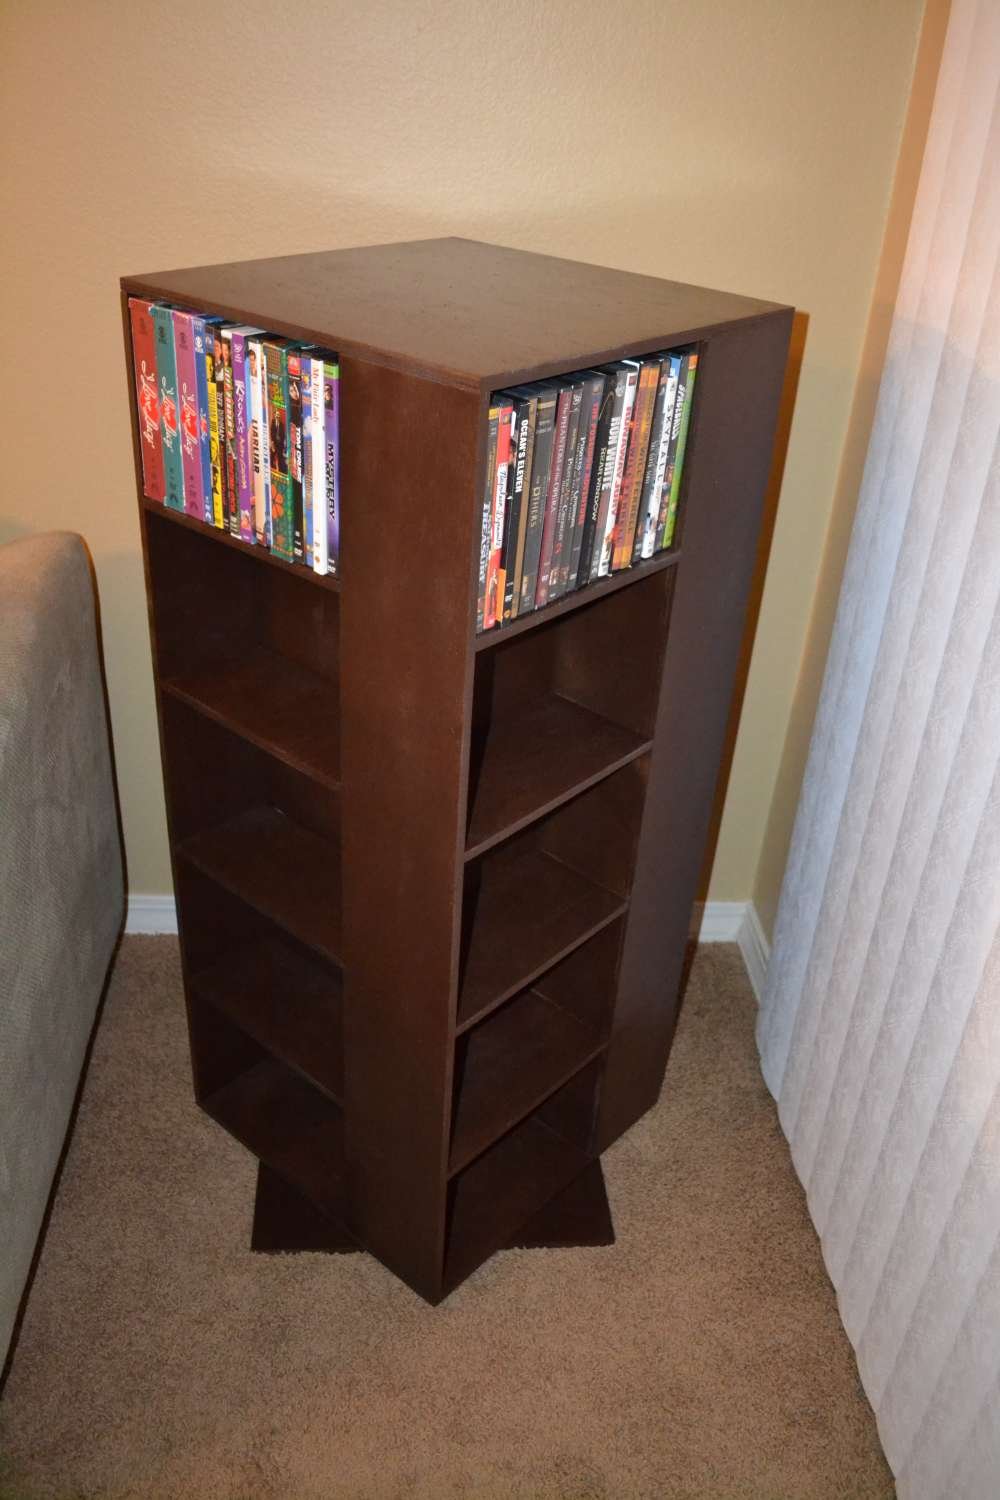
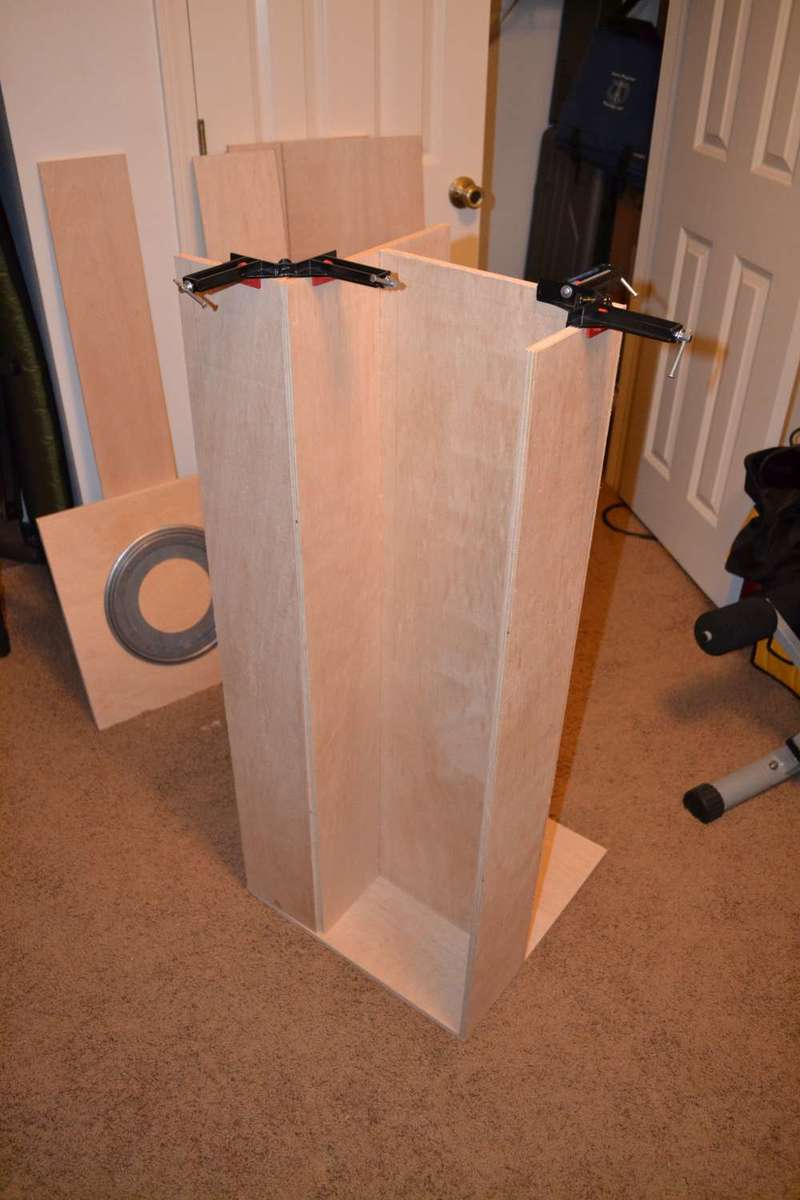
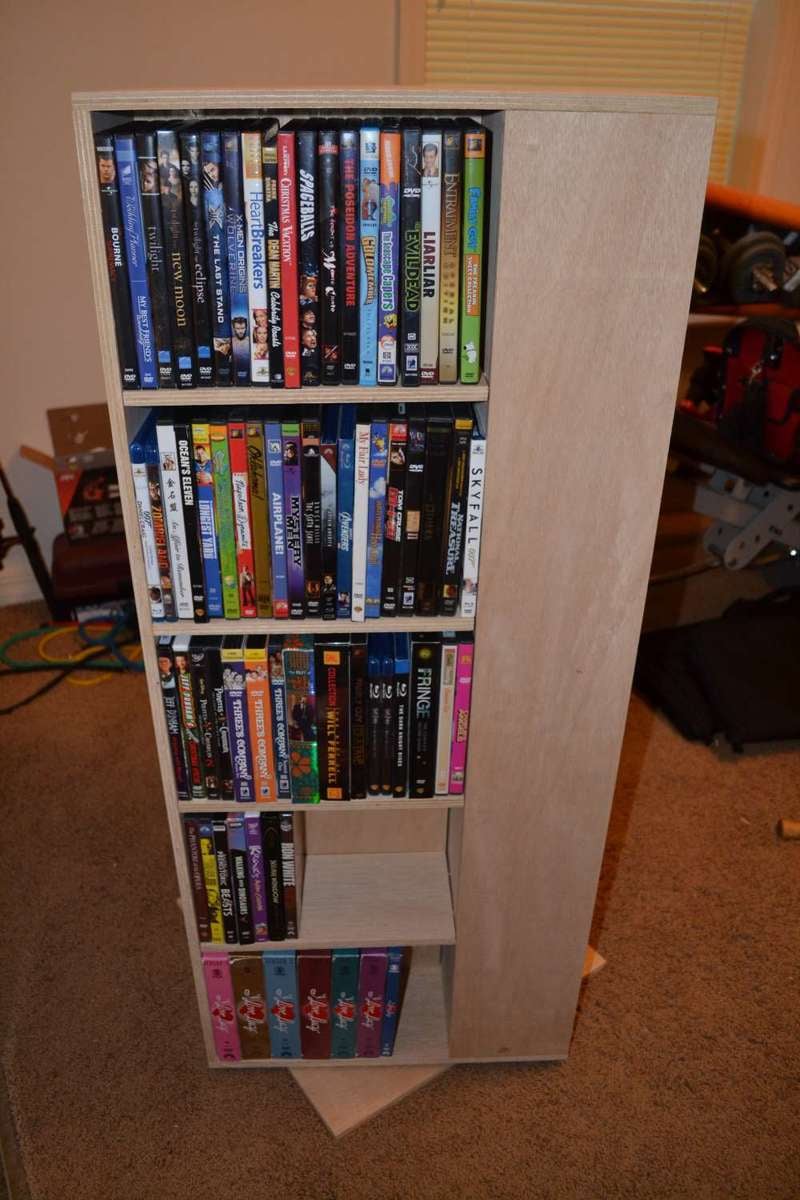
I was looking online for a spinning DVD rack to buy when I stumbled across a picture of a custom built rack. I decided to give it a try and this is the result. This is the first project I've done outside of basic shelves and it was a great learning experience. The overall fit and finish isn't quite where I'd like it to be but overall I think it turned out pretty well. I was able to find a 12" lazy Susan at a hardware store that supports over 300lbs and worked perfectly for this project.
I used pocket holes for the shelves, finishing nails for the top and screws for the bottom and lazy Susan. I also used pocket holes to attach the shelf backs and hid them behind the shelves. One thing I definitely won't use next time is spray paint/enamel. The finish isn't nearly as nice as I wanted and it cost far more than I was expecting.
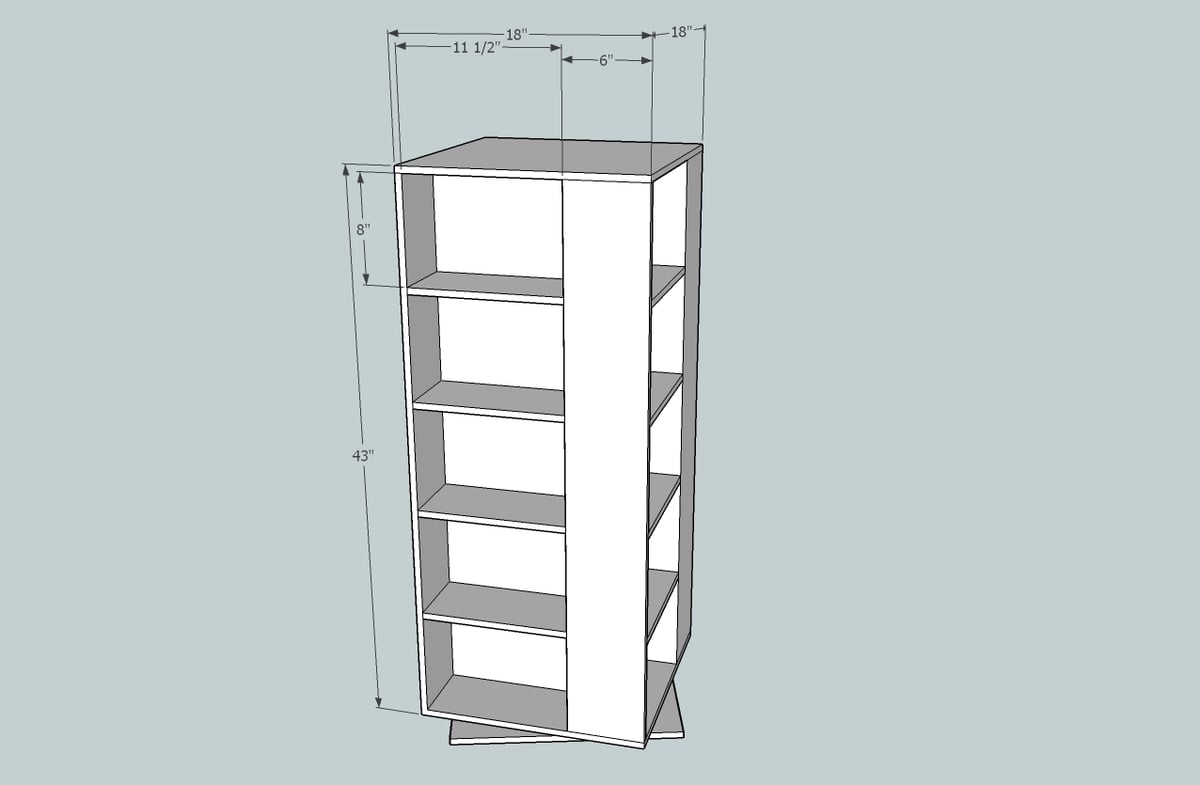
This is also my first time using SketchUp and I'm really impressed with it. I've uploaded a copy of the plans.
Criticism and suggestions are appreciated.
-Dan

Sun, 07/14/2013 - 11:35
I like this spinning DVD unit! Coincidentally, I just finished using spray enamel to redo some cupboard door handles. It's horrible stuff! I ended up sanding it off, and doing it over in flat black. I roughed up the edges with 180 grit to antique them a bit. Looks much better!
Sun, 02/12/2023 - 01:19
Can I get a design drawing for this piece?
Just finished up my Murphy Bed project. Hope you like.

Mon, 03/09/2020 - 20:30
Amazing. I’ve seen these and have been looking for plans. May just have to dive in and interpret from pictures. You did a really great job, nice work.
Wed, 12/22/2021 - 14:06
The plans are for a different bed than the one in the picture.
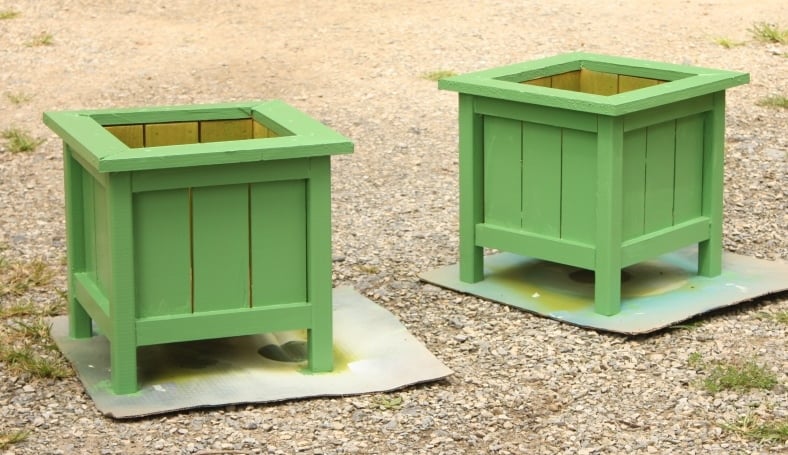
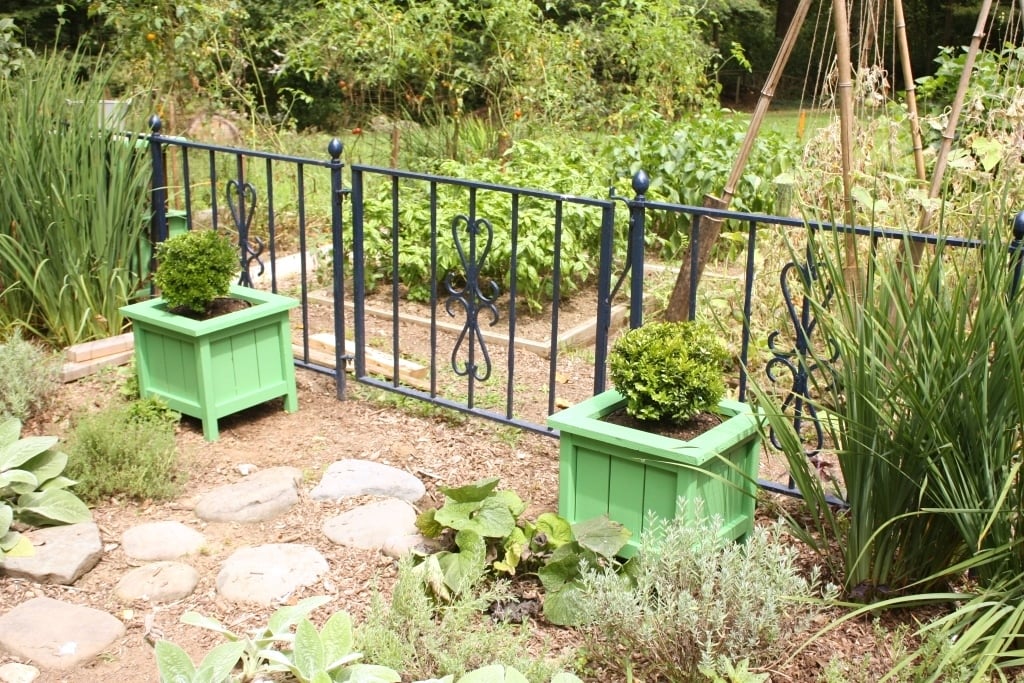
After building a large planter from Ana's plans and my salvaged fence wood I thought 2 smaller planters for the entrance to our kitchen garden would be nice. The complete instructions are on my blog, Let's Face the Music. Jo

I built this for my daughter after Christmas sinse she had the living room covered in toys. The dimensions are 37" x 18" x 20"
Tue, 01/09/2018 - 05:51
HI Anna,
Can you provide more pictures or instructions on how you assembled this toy box? i want to make one just like it!
Thanks!
Wed, 03/10/2021 - 16:31
Looking at the wall panels they look like the long edge of each panel has a small bevel cut on it. This gives each panel edge a more pronounced or well-defined edge? Is this true? Was it done with a router?

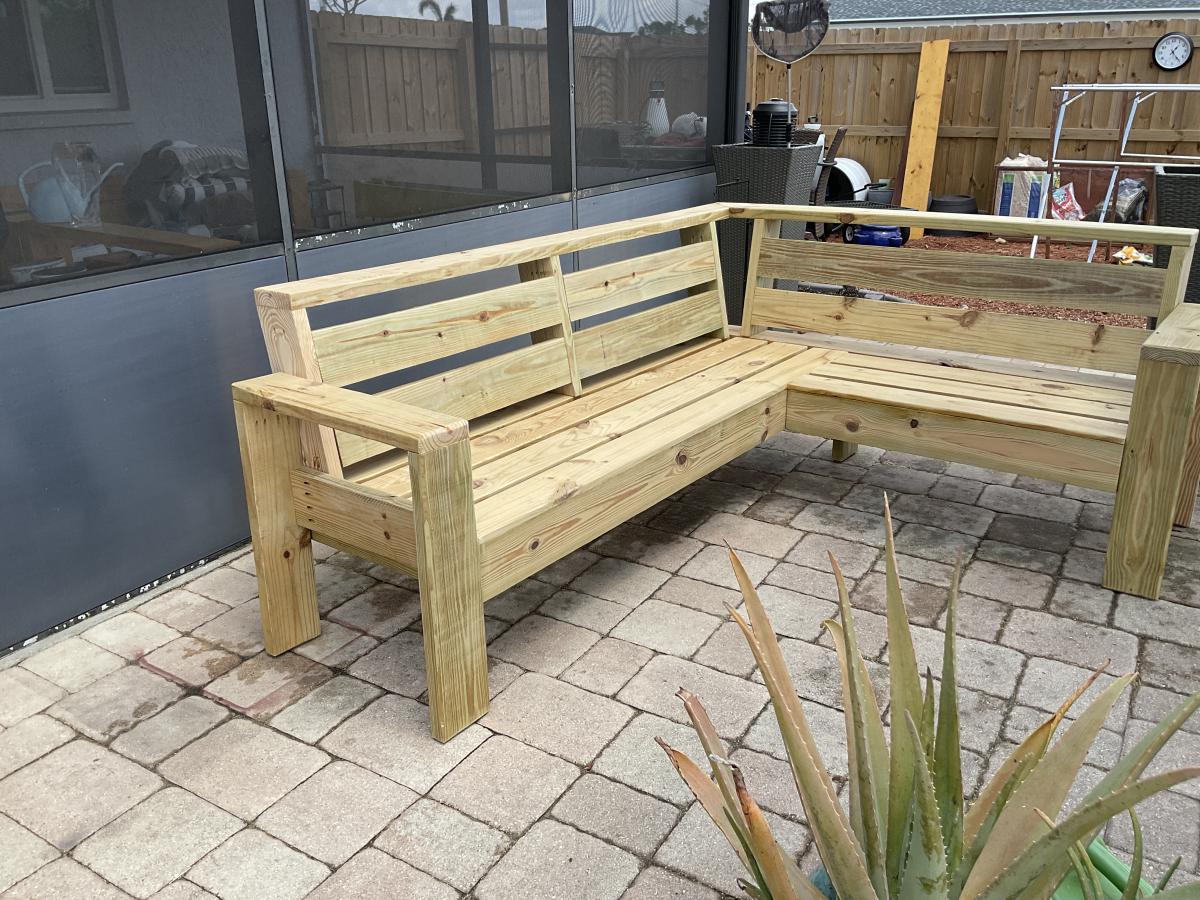
I had to modify these plans to use what I had on hand. I used left over cedar fence pickets (planed down and sealed) and adjusted the size to fit all my outdoor cushions. Overall dimensions are 49" wide x 28" deep x 26" high. I also used 2x4's instead of 2x2's because that is what I had in my shop. I added 1x3's around the top to fit snugly instead of using hinges (again trying to use what I had on hand). We get A LOT of rain in the summer so hopefully the cushions will stay dry. I also added some screen left over from the screened in porch to the bottom before adding the "floor" to keep bugs out. I just stapled it to the frame before adding the floor boards. I did add a piece of treated 1/4" plywood under the top in hopes of keeping the rain out.

Great planter plan. very easy to build
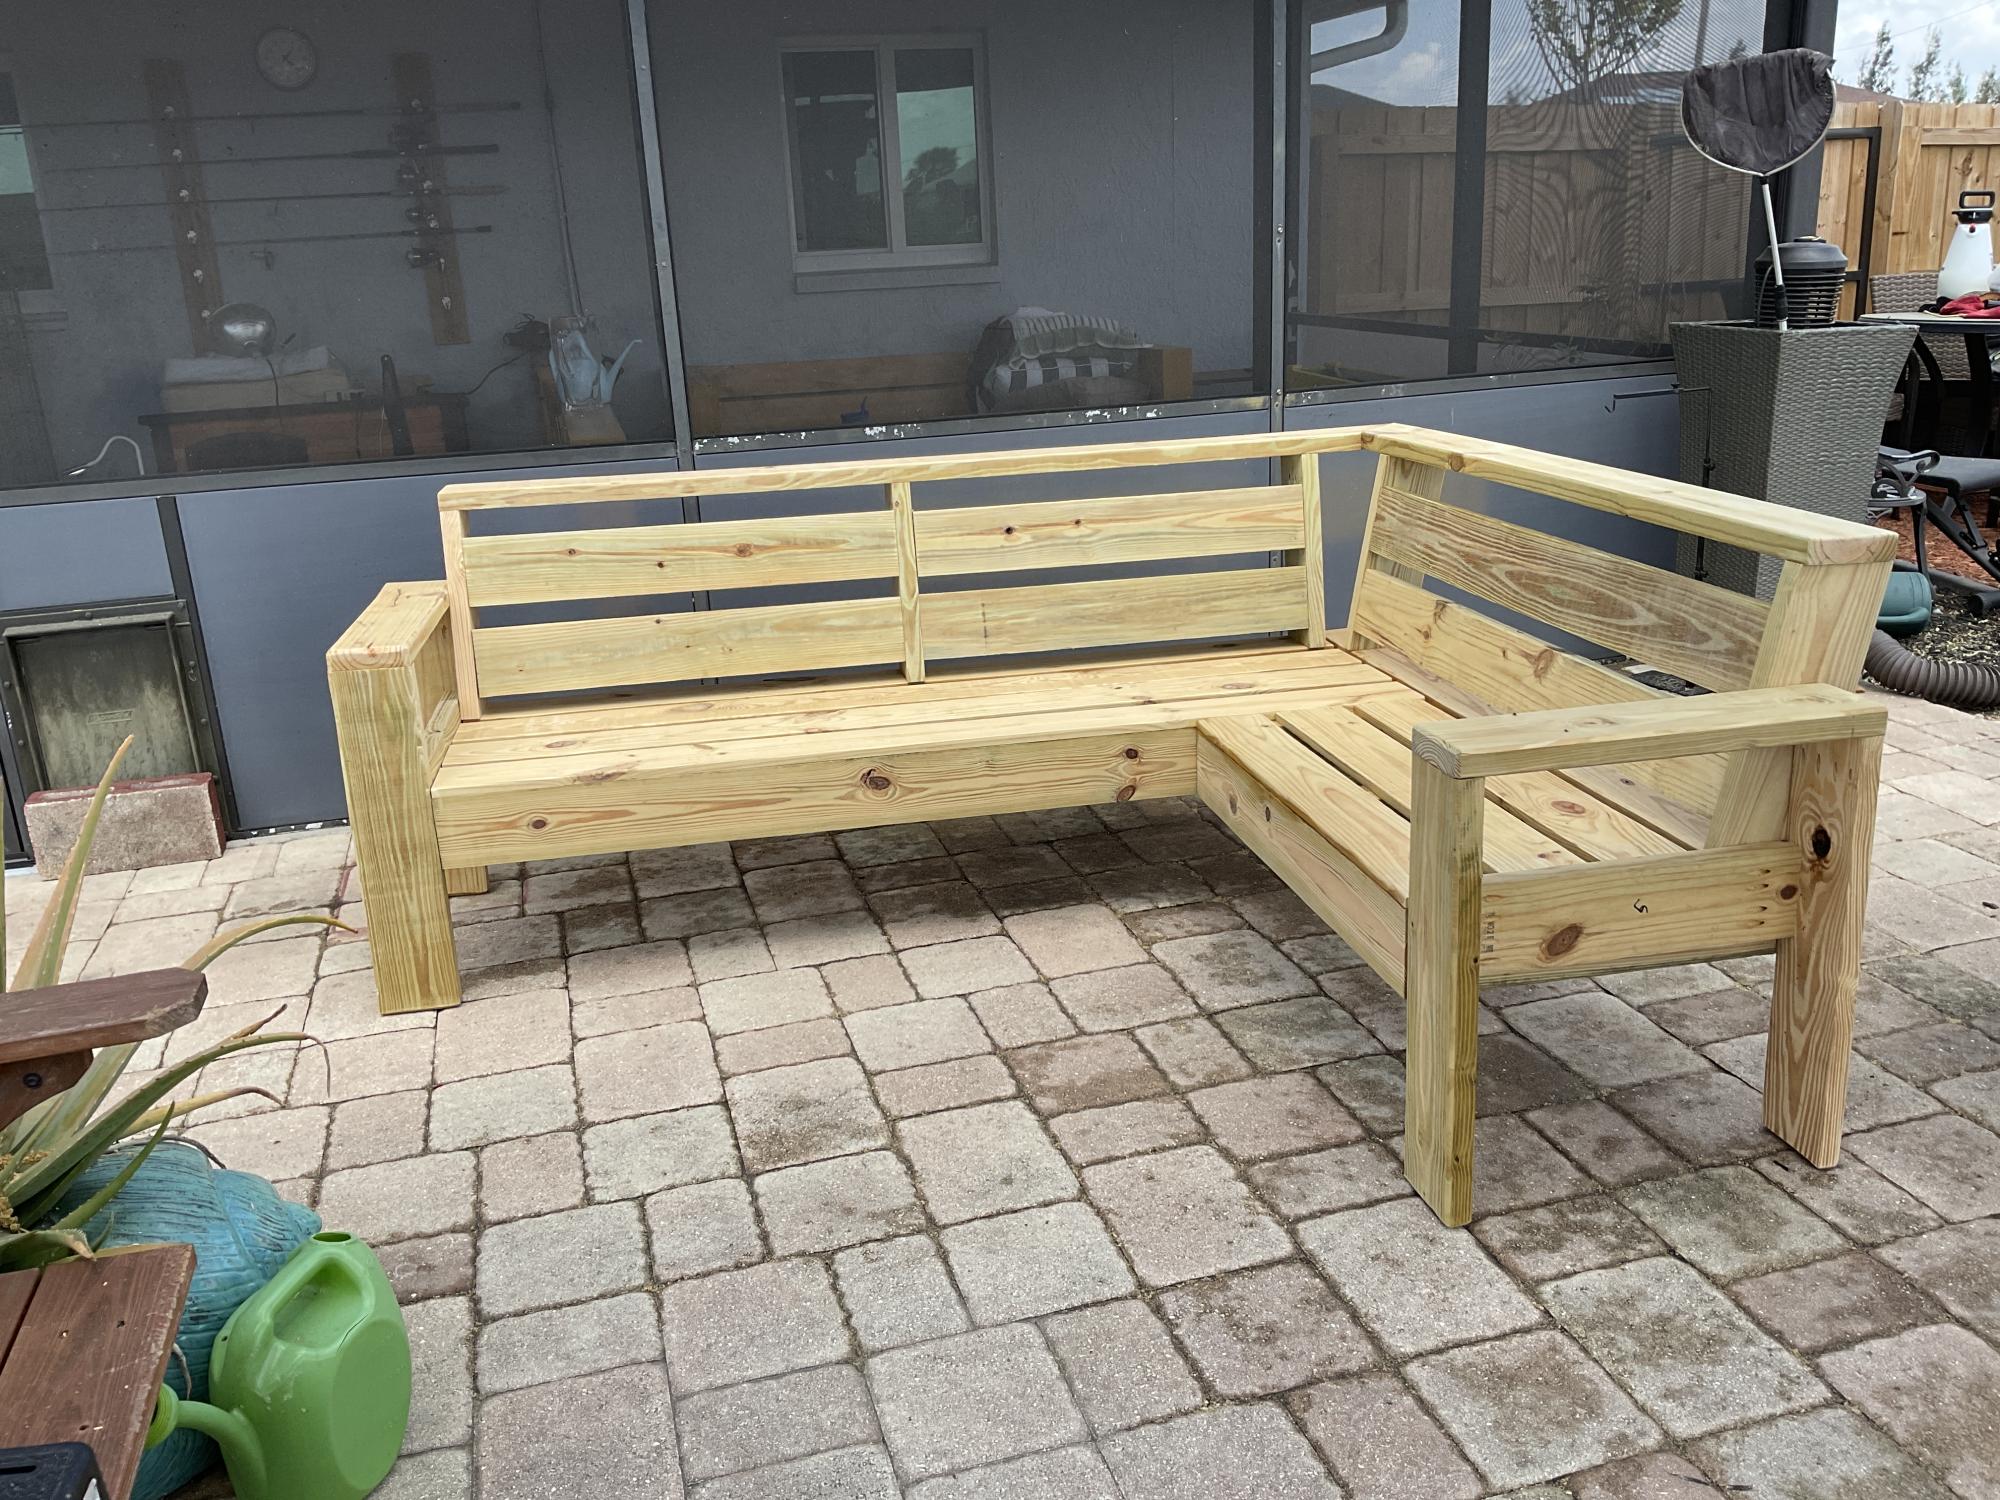
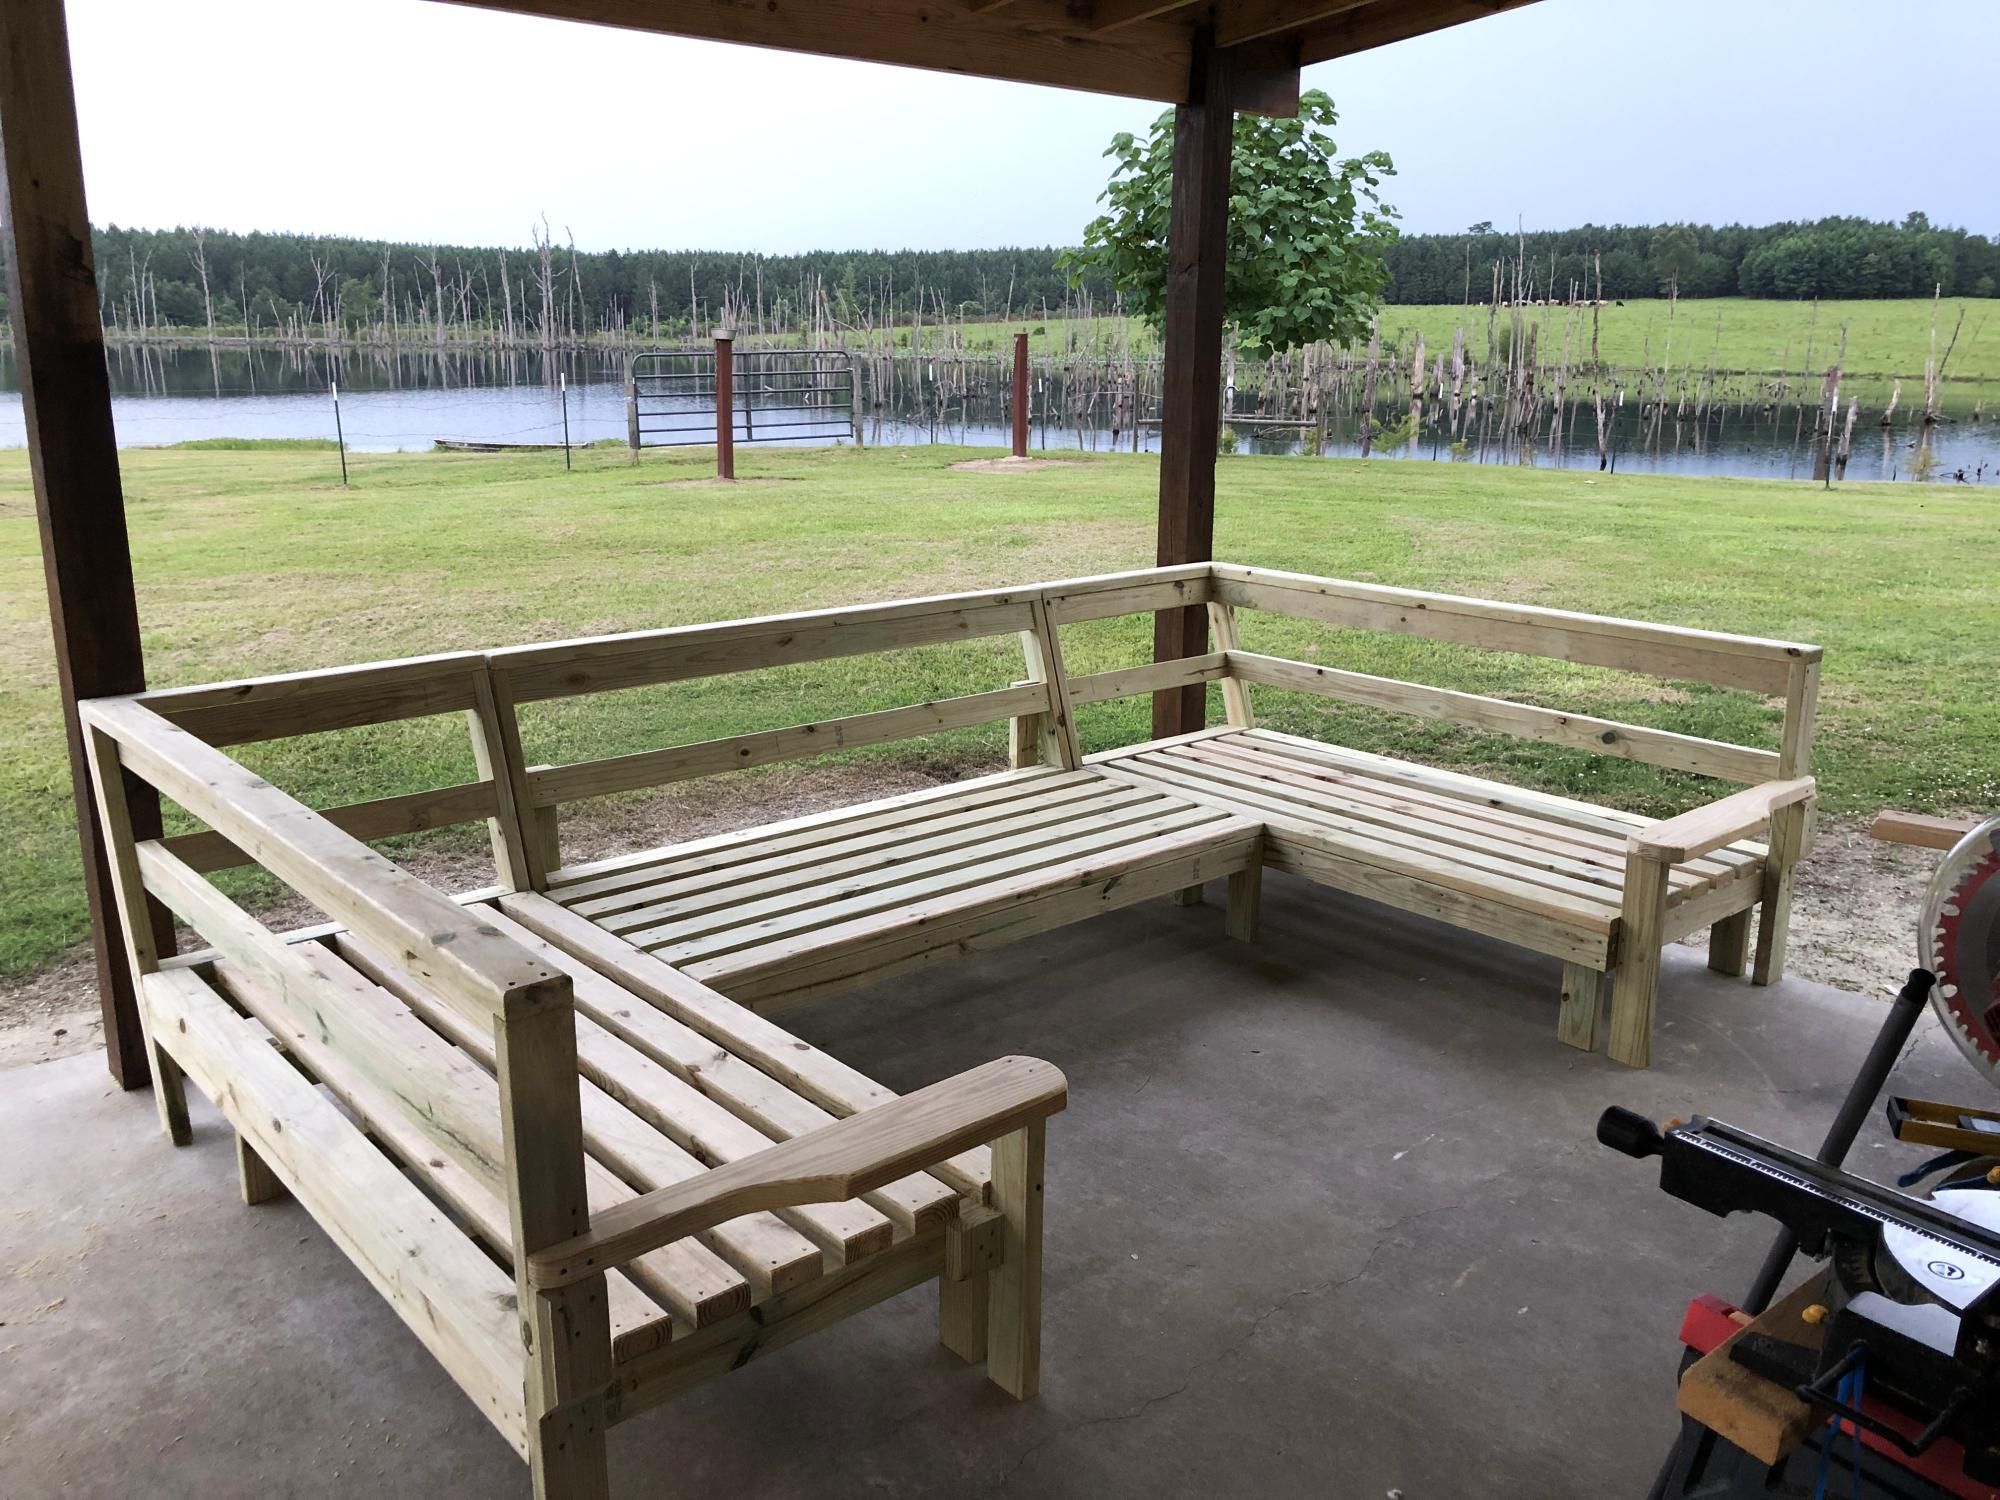
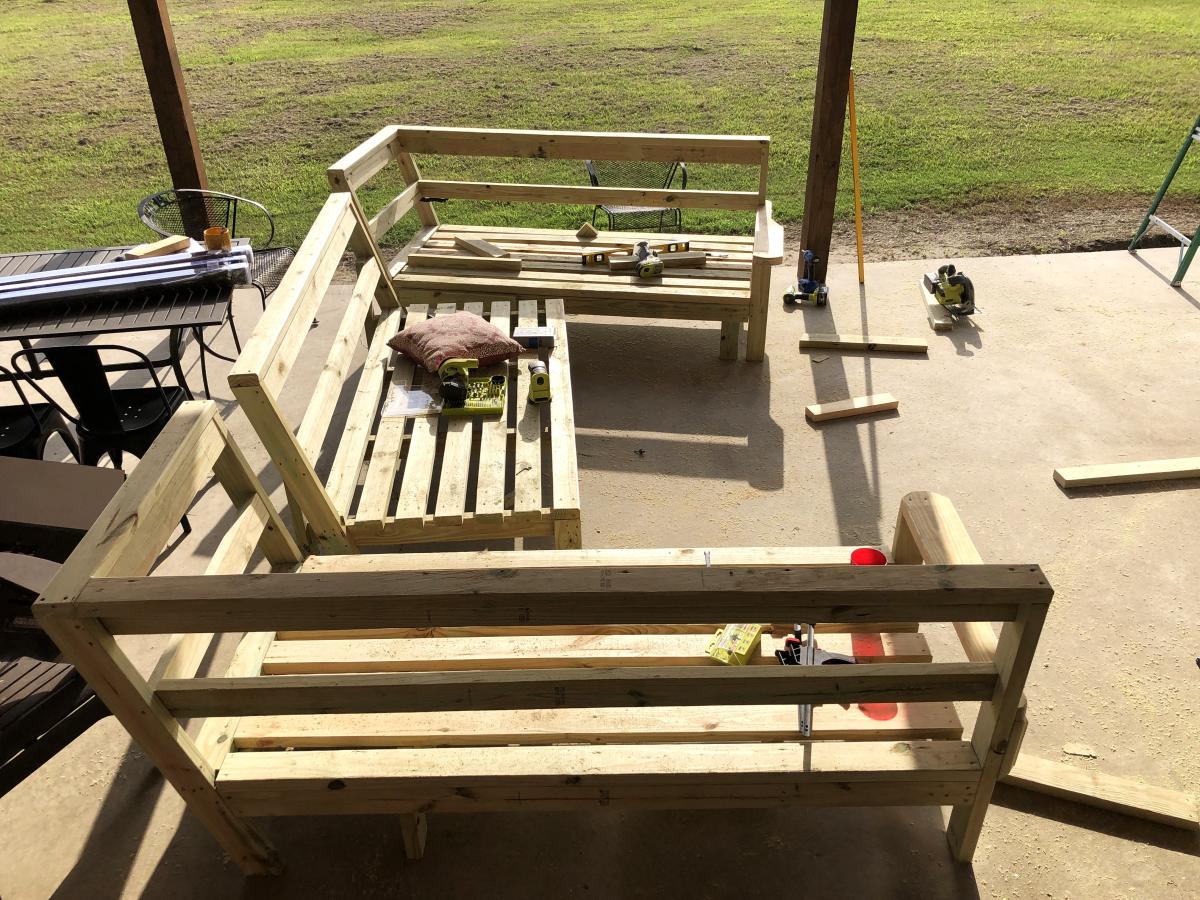
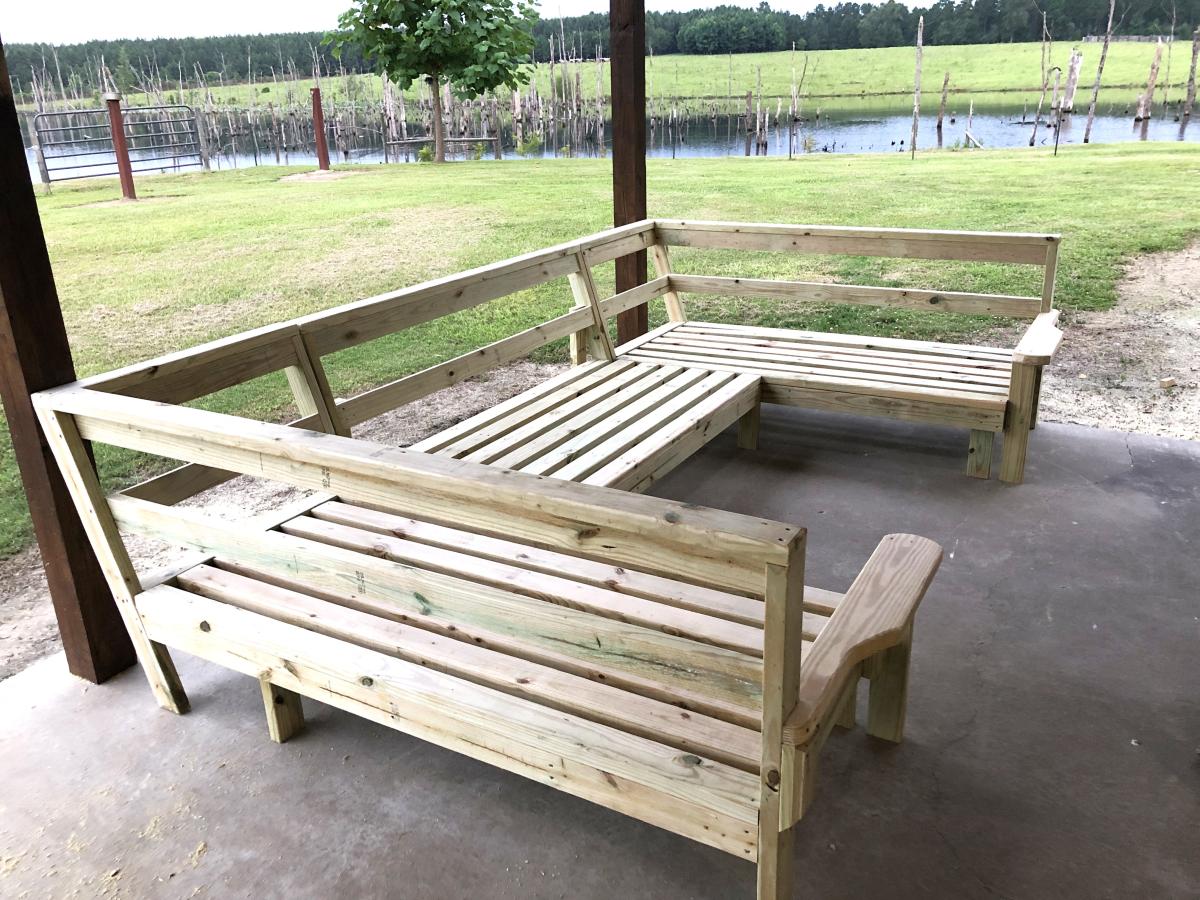
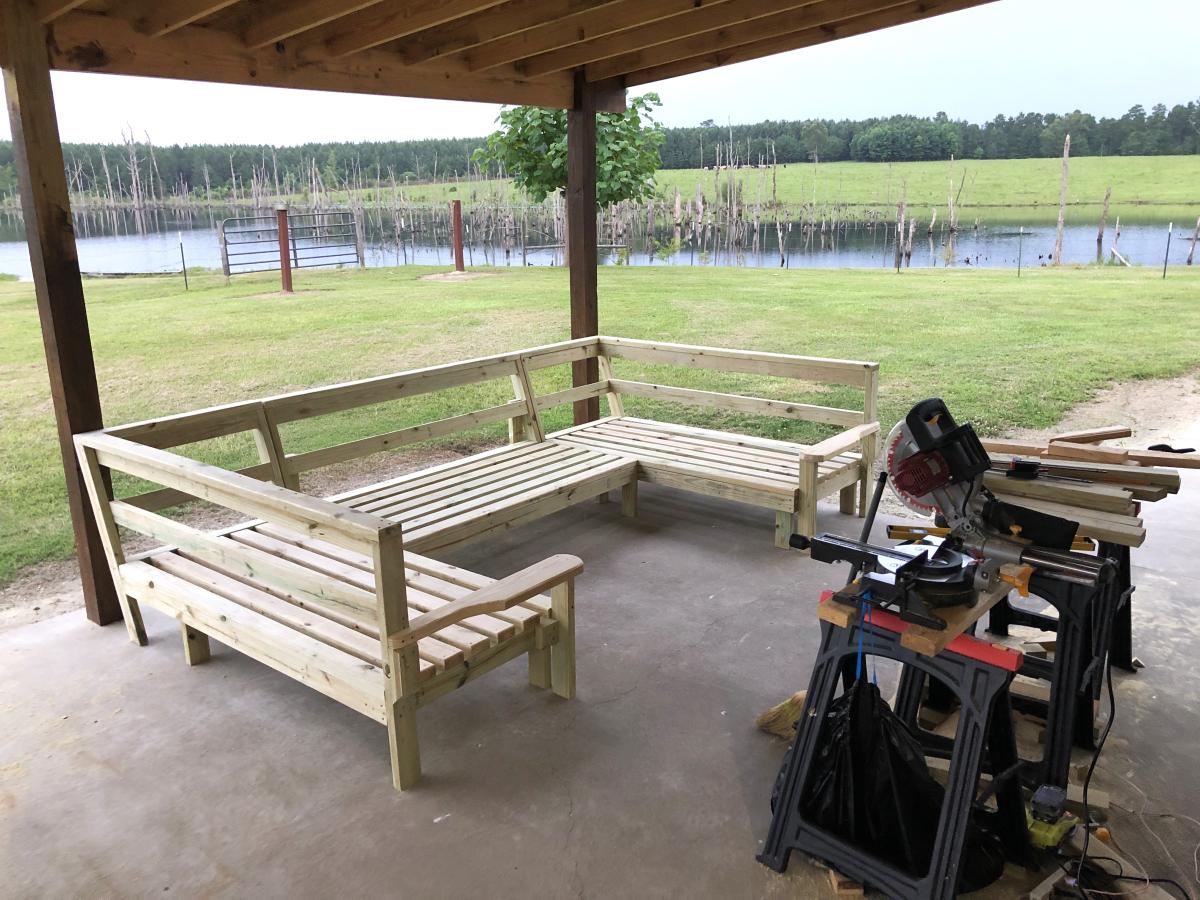
This was my seventh outdoor couch but my first sectional. My very first couches were all inspired by Ana White's plans and I have gotten so much better with my skills that I building other things as well. Thanks Ana for all your inspiration!