Community Brag Posts

Cubby/Bookshelf/Corner Desk Combo

Submitted by Anonymous (not verified) on Wed, 01/18/2017 - 20:40

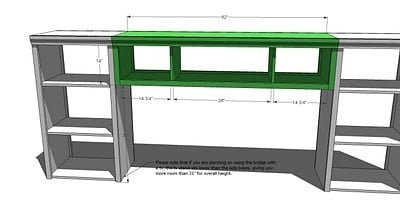
This is a mashup of several plans, combined into one big, bad ass, office desk. I've had a little experience years ago in high school woodworking classes, but haven't really built much since. This reminded me how much I enjoy working with wood. So rewarding to be typing this message at my new office desk!

Estimated Cost
$400
Estimated Time Investment
Weekend Project (10-20 Hours)
Finish Used
Minwax "Early American"
Recommended Skill Level
Intermediate

Comments

treemeagher

Wed, 08/19/2020 - 06:25

This is amazing! So amazing could I ask you to share with me what prices from the collection of plans you used and how? I’m looking at your pic trying to figure out how to incorporate the plans you used. I want to build one for myself lol fantastic job!!!!

Rustic X Coffee Table

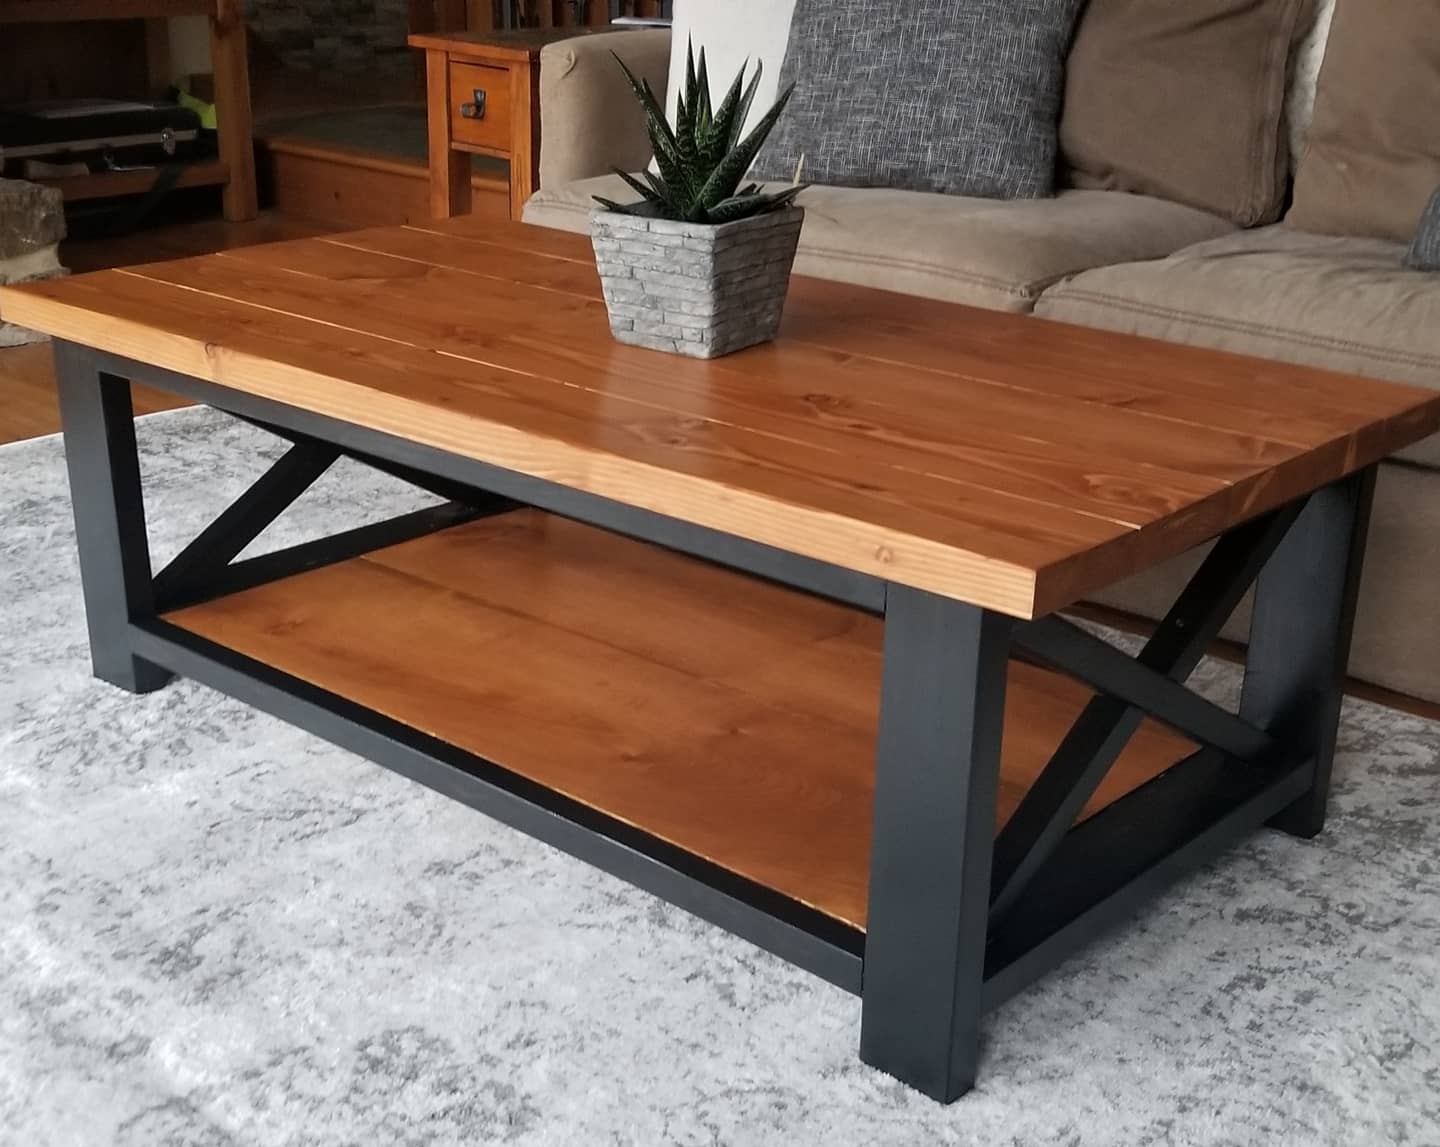
My 1st coffee table and I'm in love with how this came out. Really proud of myself for this one!

Estimated Cost
92.26 in lumber
Estimated Time Investment
Weekend Project (10-20 Hours)
Finish Used
Used gunstock stain and tricorn peppercorn SW paint
Recommended Skill Level
Intermediate

Comments

Side Street Bunks Twin Over Full Modification

Submitted by swpagnani on Wed, 02/25/2015 - 12:52

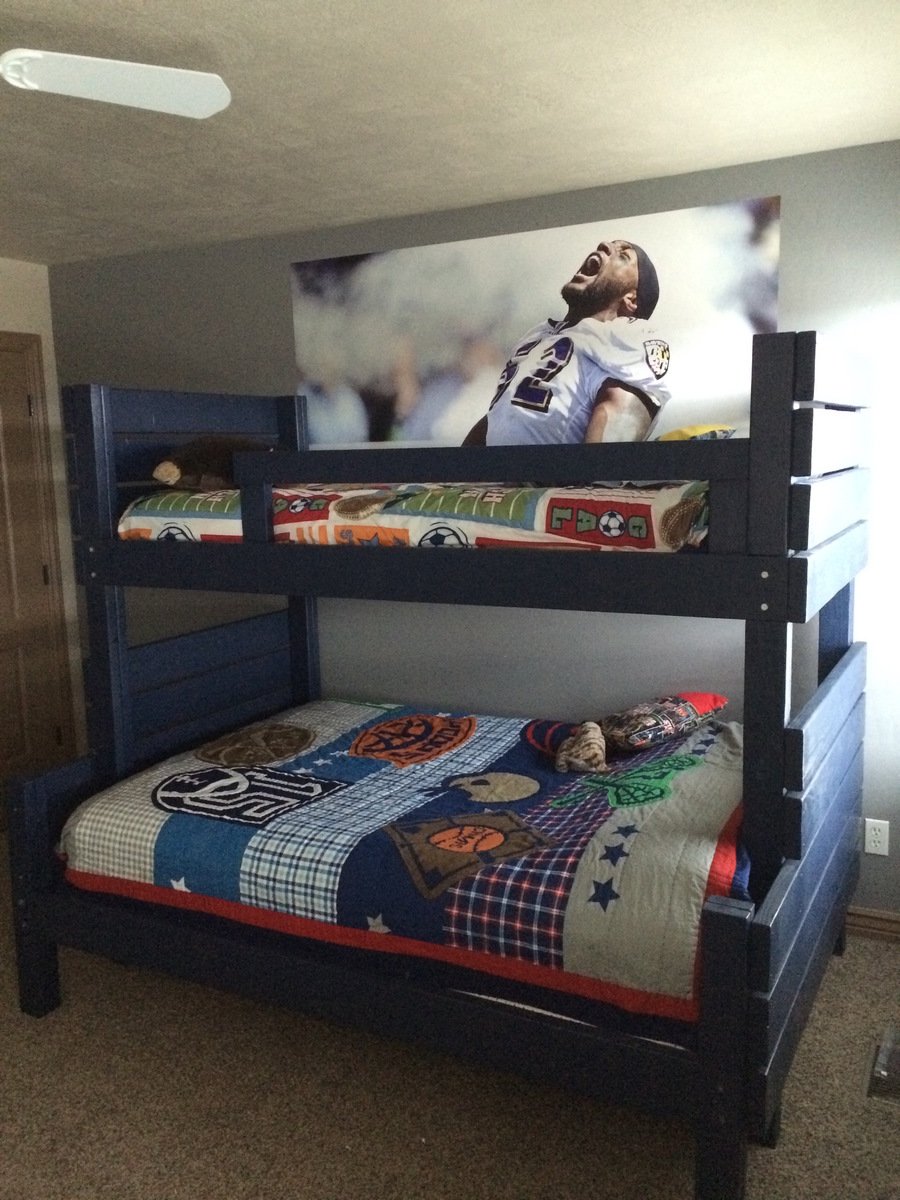
I needed a good sturdy bunk bed for my boys and I didn't want to spend a bunch of money. Every bunk bed I looked at seemed to wobble and cost a fortune so I ventured off to make my own! I came across the Side Street Bunk plans and did a little modifiying to make them work with the mattresses we had. I absolutley LOVE the way they turned out and my boys are so excited to finally have their bunk beds! Thanks Ana!

Built from Plan(s)
Estimated Cost
$165
Estimated Time Investment
Weekend Project (10-20 Hours)
Finish Used
Semi-gloss paint
Recommended Skill Level
Beginner

Comments

Bookshelf Hidden Doors Over Closet

Submitted by Anonymous (not verified) on Mon, 10/23/2017 - 10:13

Hidden door bookshelves hide a furnace closet.  Built by Kraig Faulkner

Built from Plan(s)
Recommended Skill Level
Advanced

Comments

charkue

Thu, 09/17/2020 - 08:01

I'm currently working on a basement renovation project. I'm probably going to incorporate a feature like this for my mechanicals, too.

One important safety note for anyone who wants to do this: It's recommended that your furnace be a minimum of 30" away from any combustible materials. That includes walls and partitions. The image of this project displayed is right next to the furnace, which is not a good idea.

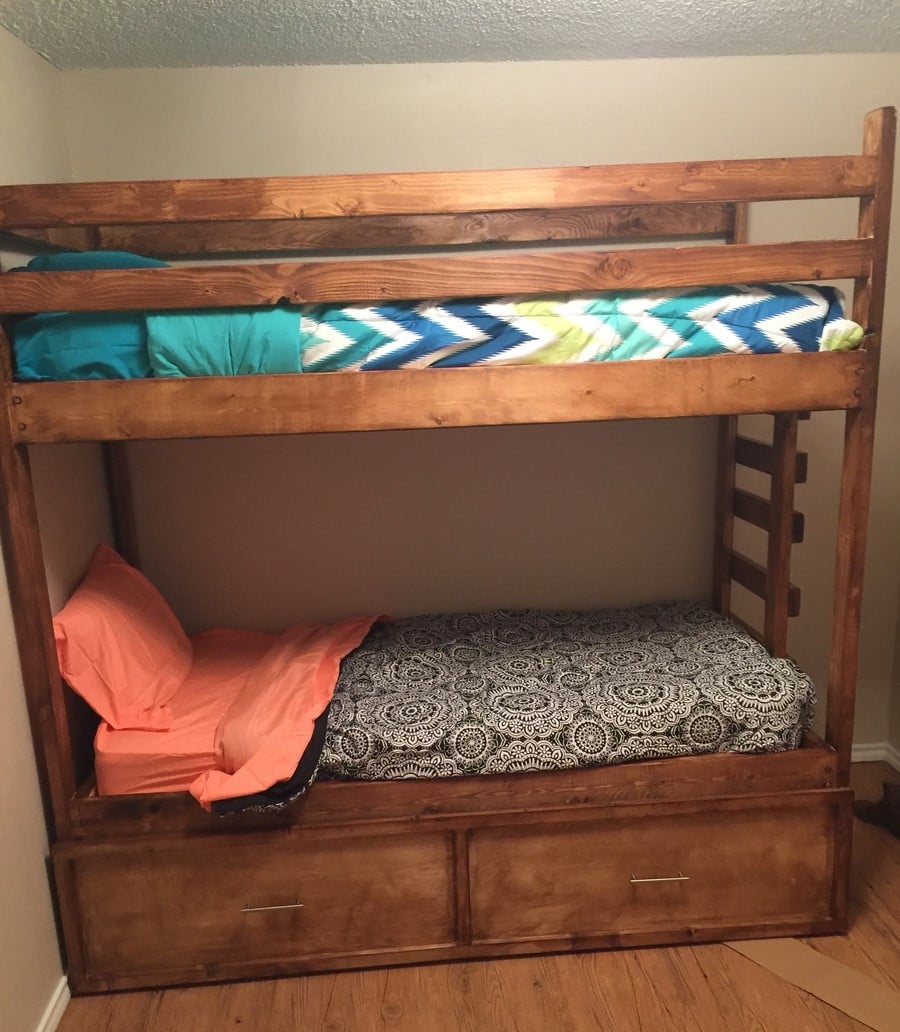
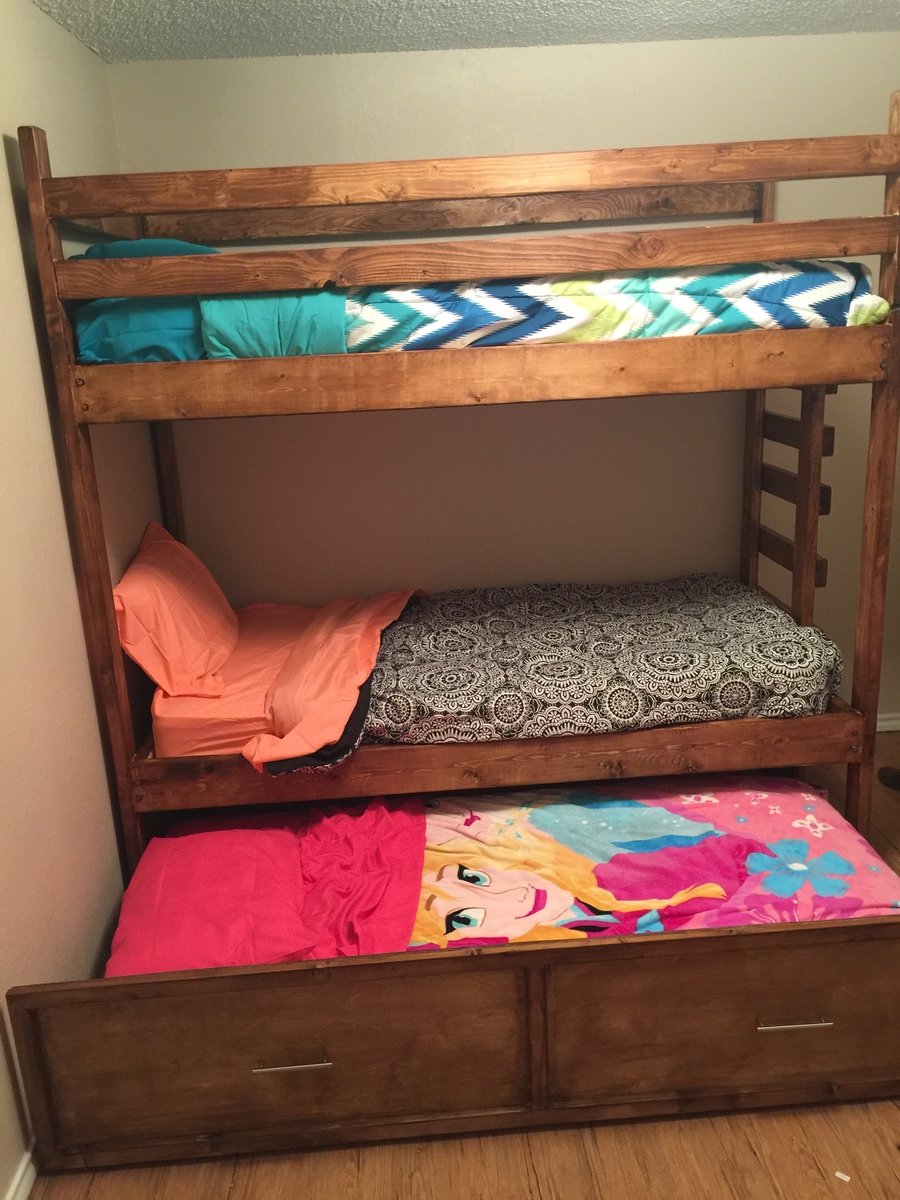
Bunkbed a with trundle

This was a on the fly build no plans  just wanted to post it for ideas for everyone

Estimated Cost
200
Estimated Time Investment
Weekend Project (10-20 Hours)
Finish Used
Minwax American walnut
Recommended Skill Level
Intermediate

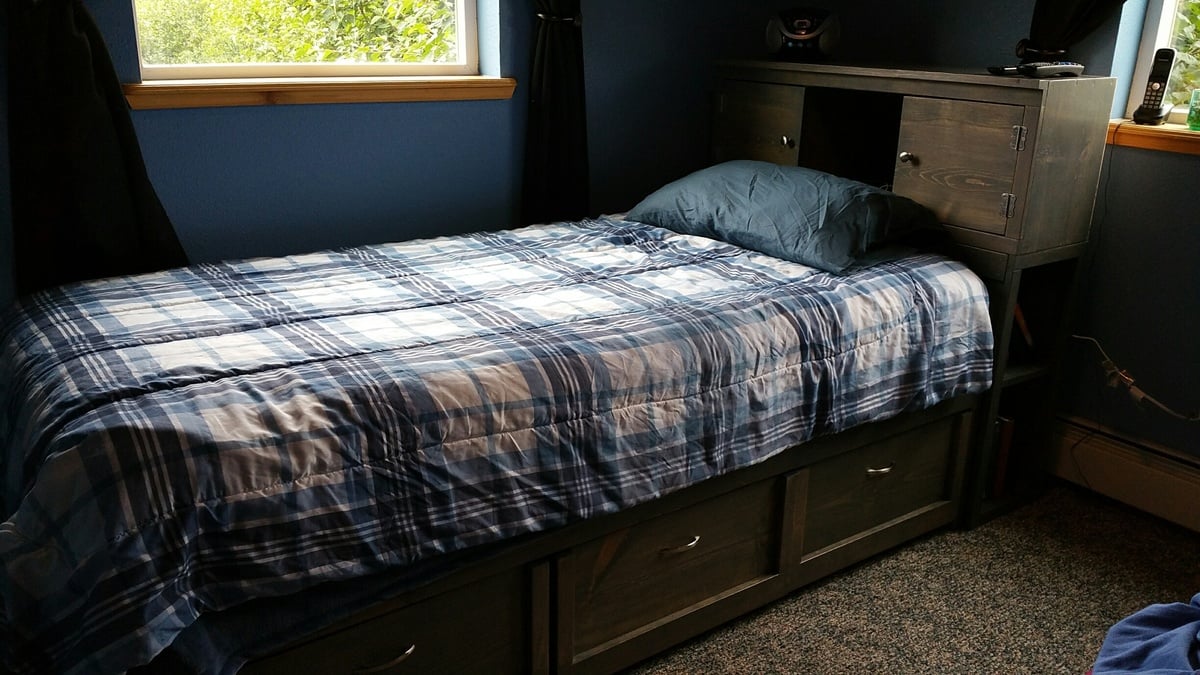
Storage Daybed with Trundle Drawers + Storage Headboard and Hutch

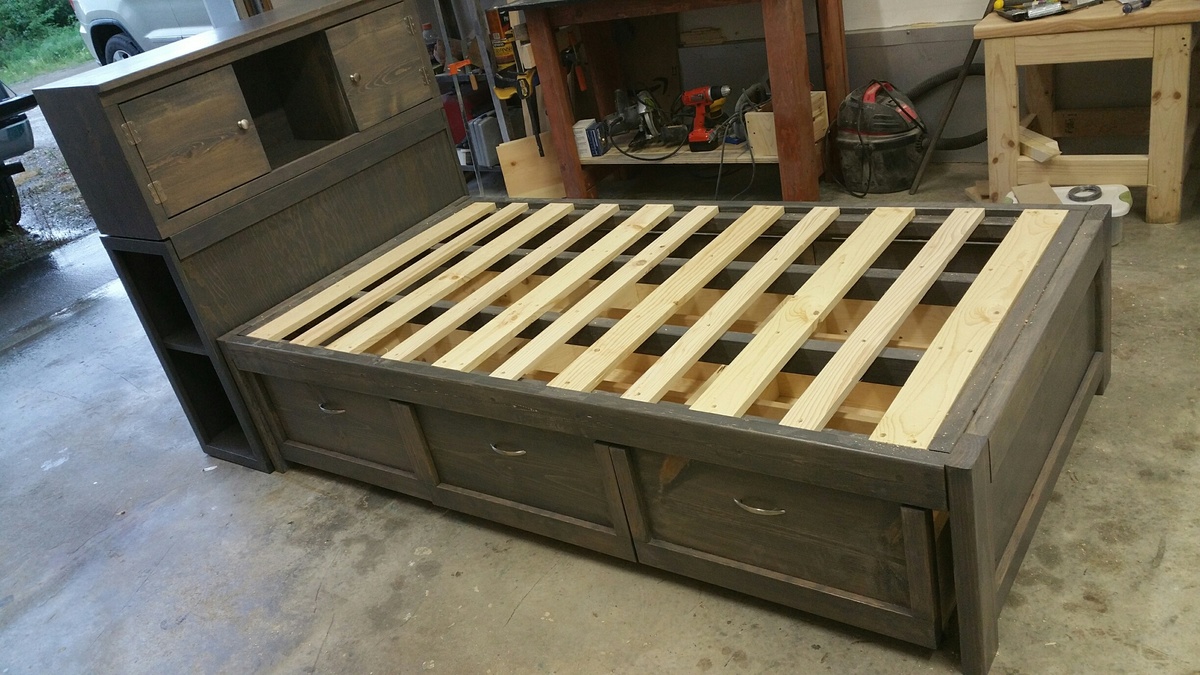
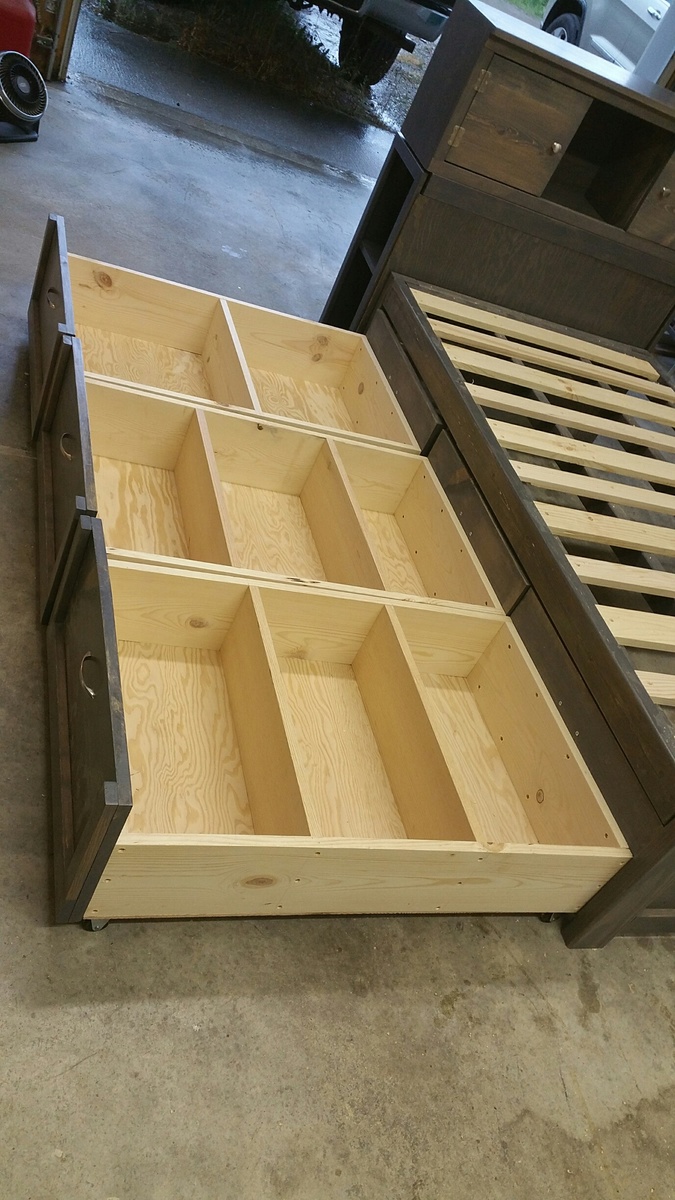
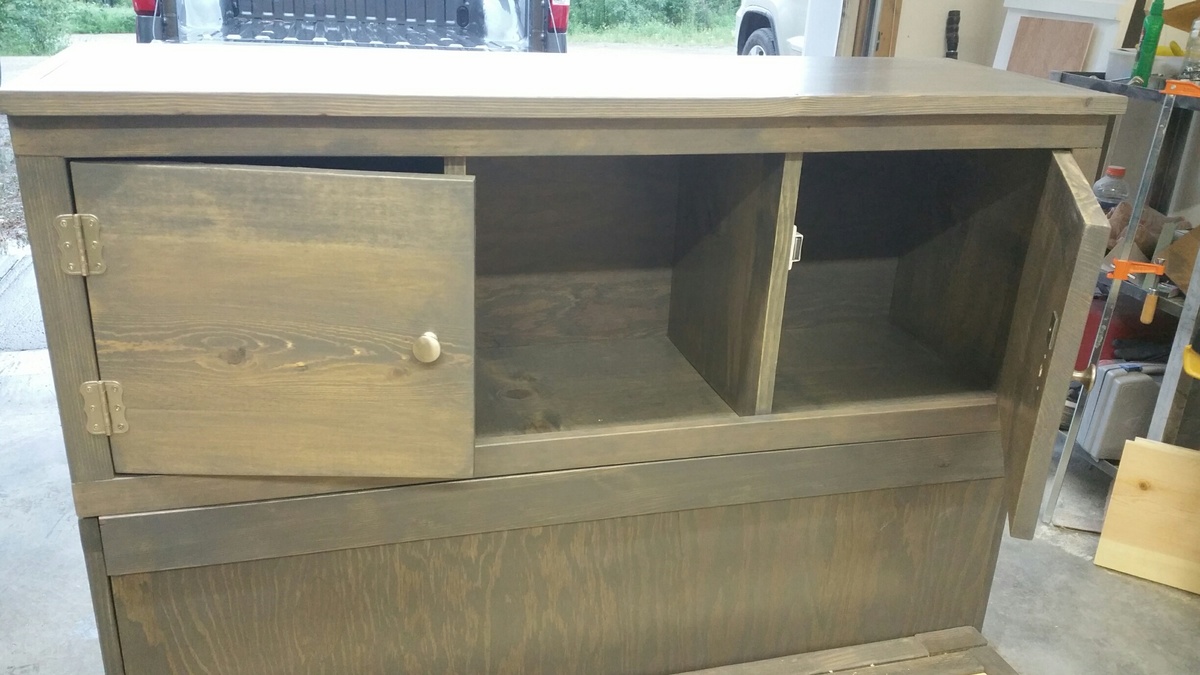
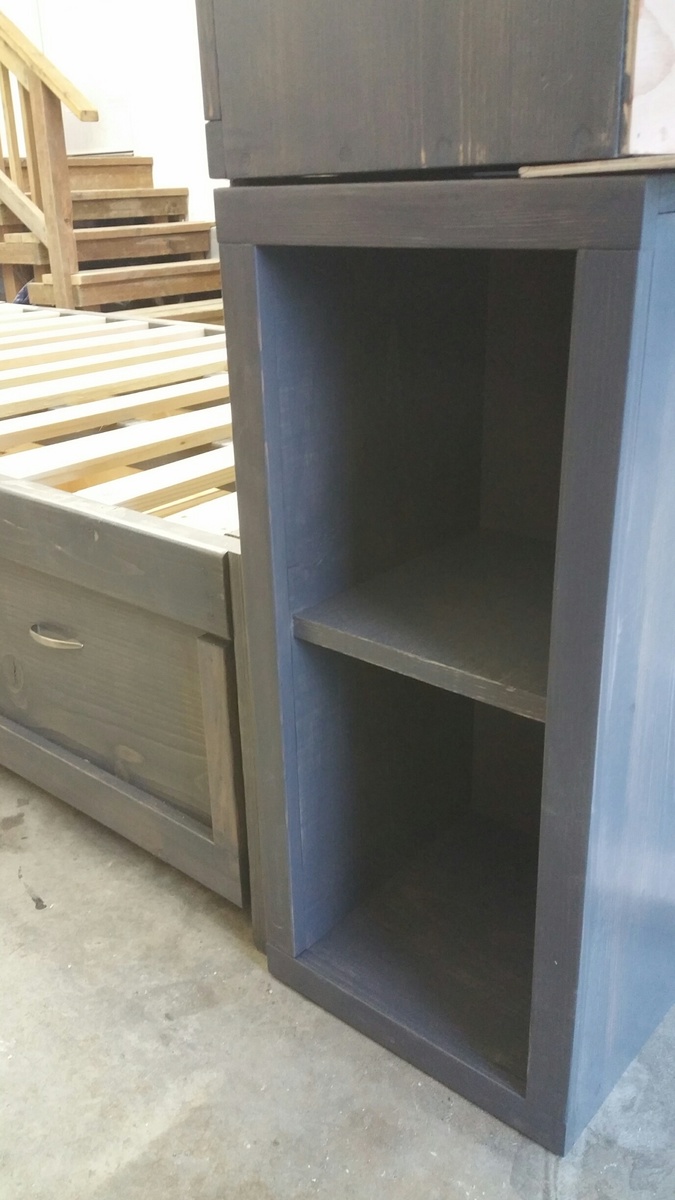
I combined Ana's plans for Daybed with Storage Trundle Drawers and a Storage Headboard with a Small Hutch.

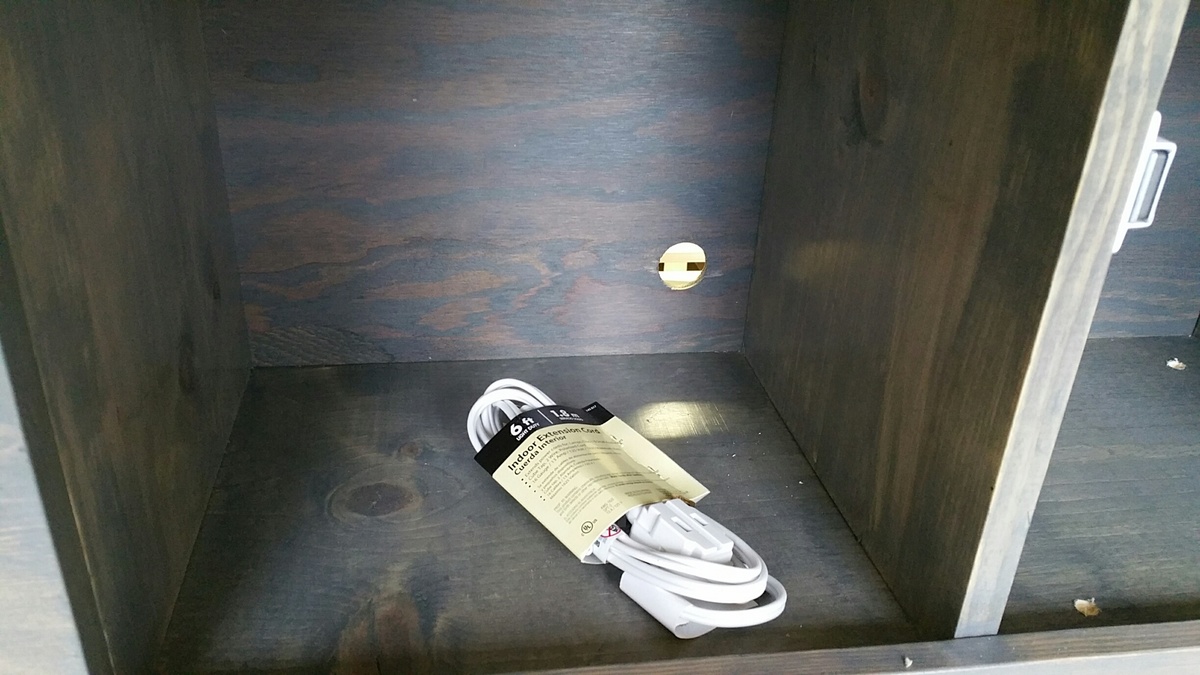
This is my 3rd daybed with storage drawers. It's such an easy build and gives so much extra space. The entire project took about 40 hours. I used Minwax stain in Classic Grey and three coats of polyurethane. For the drawers, I used 1.5" casters. I drilled a hole through the back of the headboard to feed cords through. Then I put the whole thing in the back of my truck and drove 500 miles for the final assembly. :)  In the provided photos, some of the pieces are flush because I hadn't permanently attached them. 

Estimated Cost
$450
Estimated Time Investment
Week Long Project (20 Hours or More)
Finish Used
Minwax Classic Grey
Recommended Skill Level
Intermediate

Outdoor rolling bar top

Submitted by Anonymous (not verified) on Wed, 07/08/2020 - 19:43

We had some leftover granite from an outdoor kitchen build and wanted to maximize the use of it. We loved the look of a rustic table from Pottery Barn and set out to find something that was asking the same aesthetic. I came across the Jilly and Mia workbench console and thought it would work great with some minor modifications. I shortened the overall length and height, went with some heavy duty casters to support the weight of the granite, and reinforced the cross beams that would support the 3/4" plywood sheet and granite. I went with cedar for this build since it was outdoors and I'll finish it with a clear sealant.

Built from Plan(s)
Estimated Cost
$300
Estimated Time Investment
Day Project (6-9 Hours)
Recommended Skill Level
Intermediate

Comments

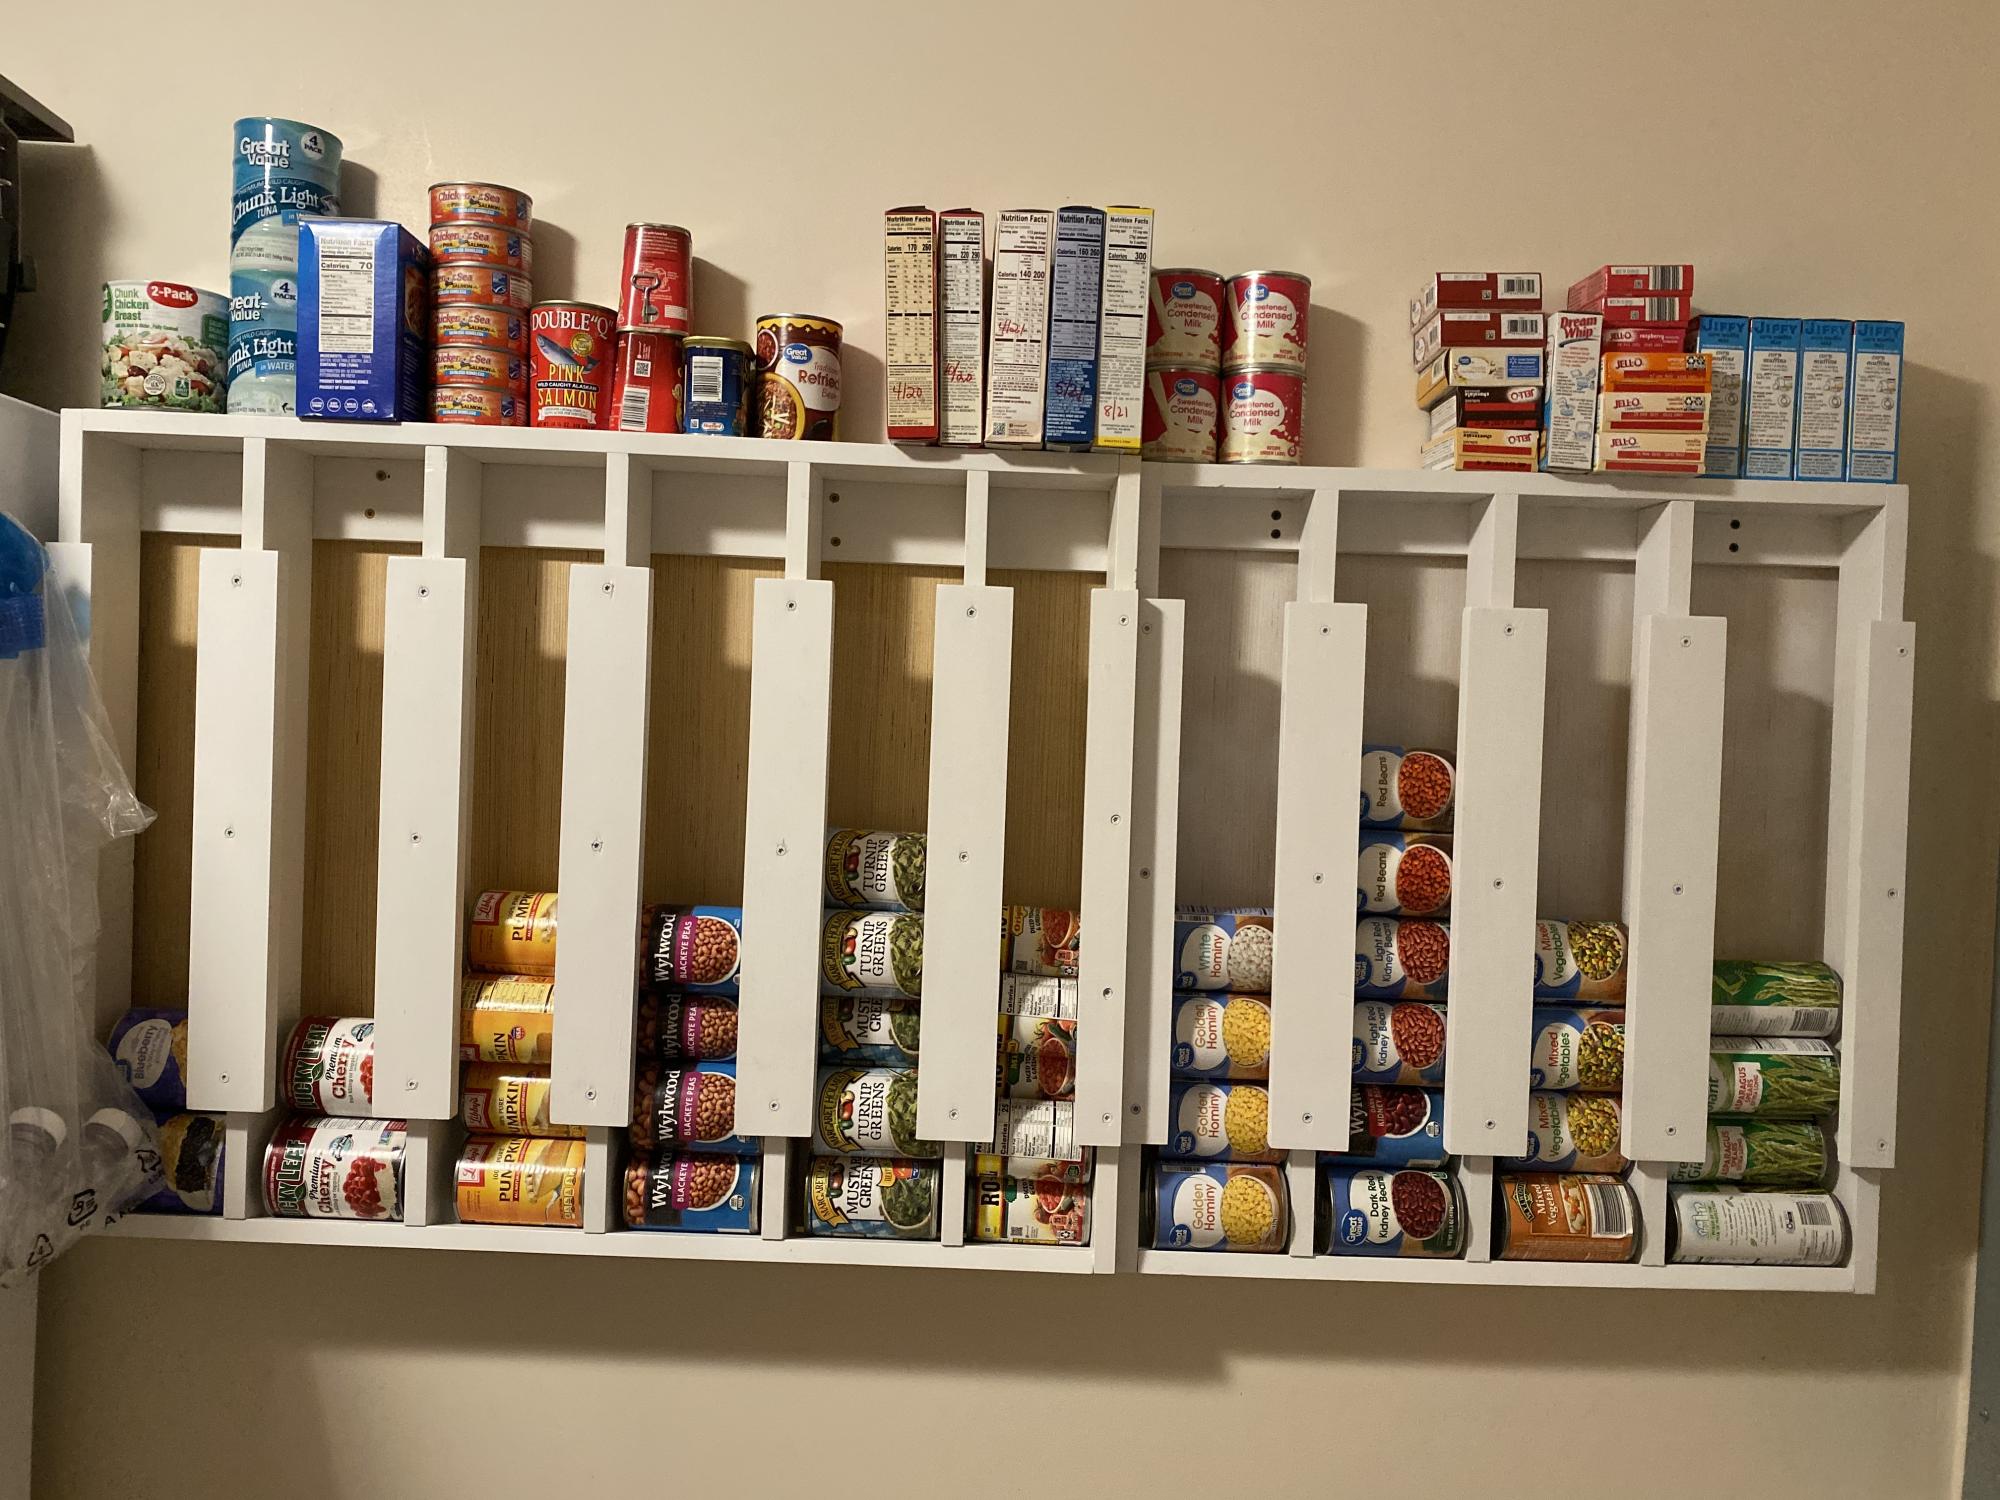
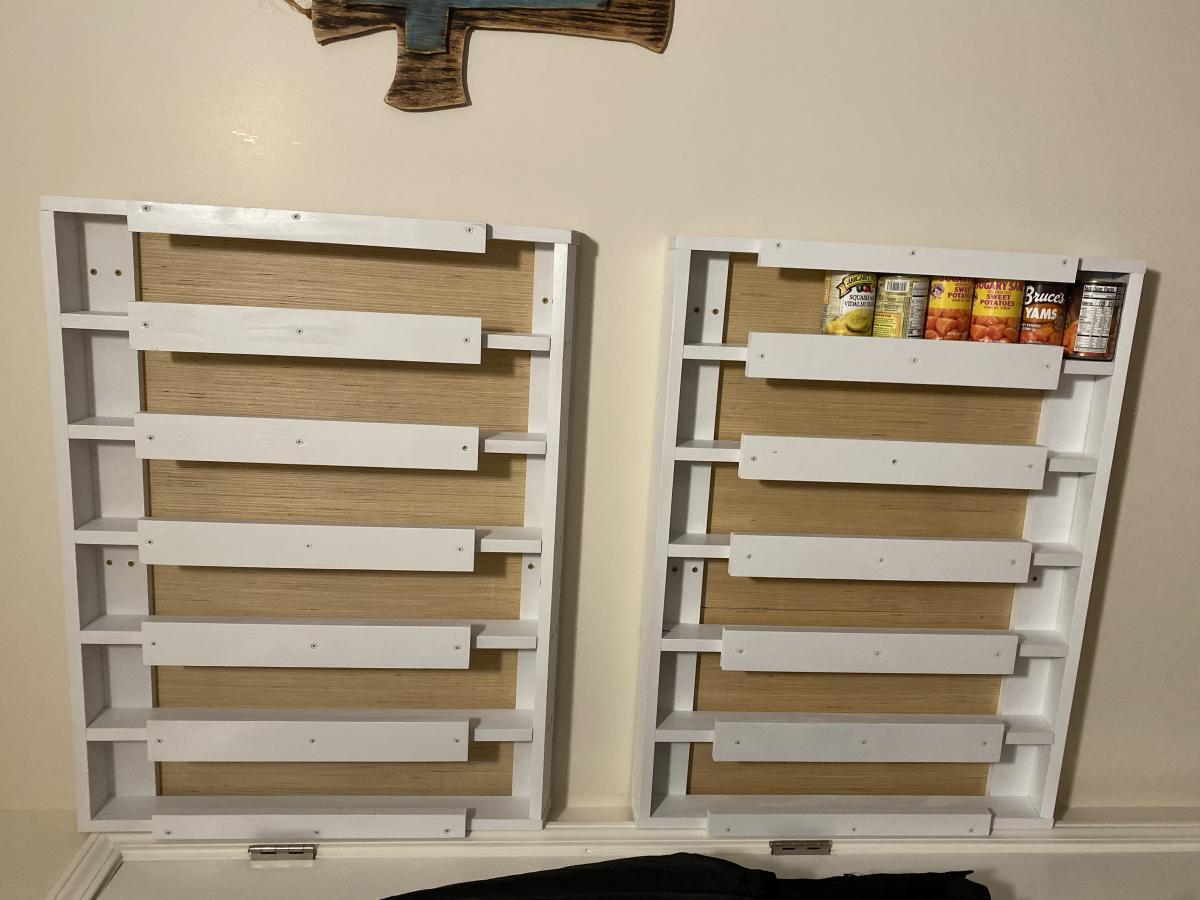
Wall mounted can organizer

Added a backing of thin plywood to prevent the cans marking up the walls. I knew how many types of canned goods I wanted this to fit and adjusted the width to meet our needs. Love how this is going to save space in the pantry and with just a glance I can see what we have on hand.
Thanks Ana for another great plan!

Built from Plan(s)
Estimated Cost
About $150.
Estimated Time Investment
Day Project (6-9 Hours)
Finish Used
Spray paint
Recommended Skill Level
Beginner

Comments

Laundry Station

Submitted by Anonymous (not verified) on Mon, 02/27/2017 - 10:03
We followed these plans, but instead of building two cabinets, we combined them with one side in the middle. We also used pine planks on top. The sides are painted with chalk paint, and the top is finished in dark wax. 
Built from Plan(s)
Estimated Cost
$200
Estimated Time Investment
Afternoon Project (3-6 Hours)
Recommended Skill Level
Beginner

Comments

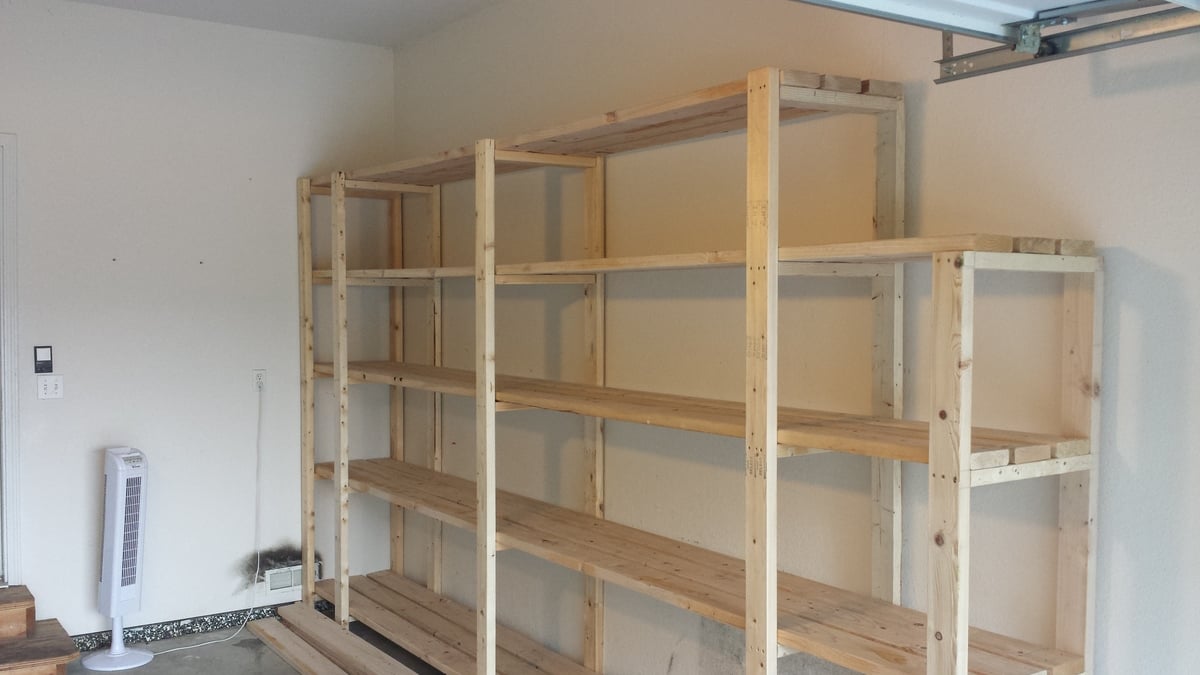
Garage Shelving - Some minor mods to Ana's great basic plan

My father-in-law and I knocked this project out in about 5 hours including the trip to the lumber yard. You've got a great basic design here! A few modifications we made:

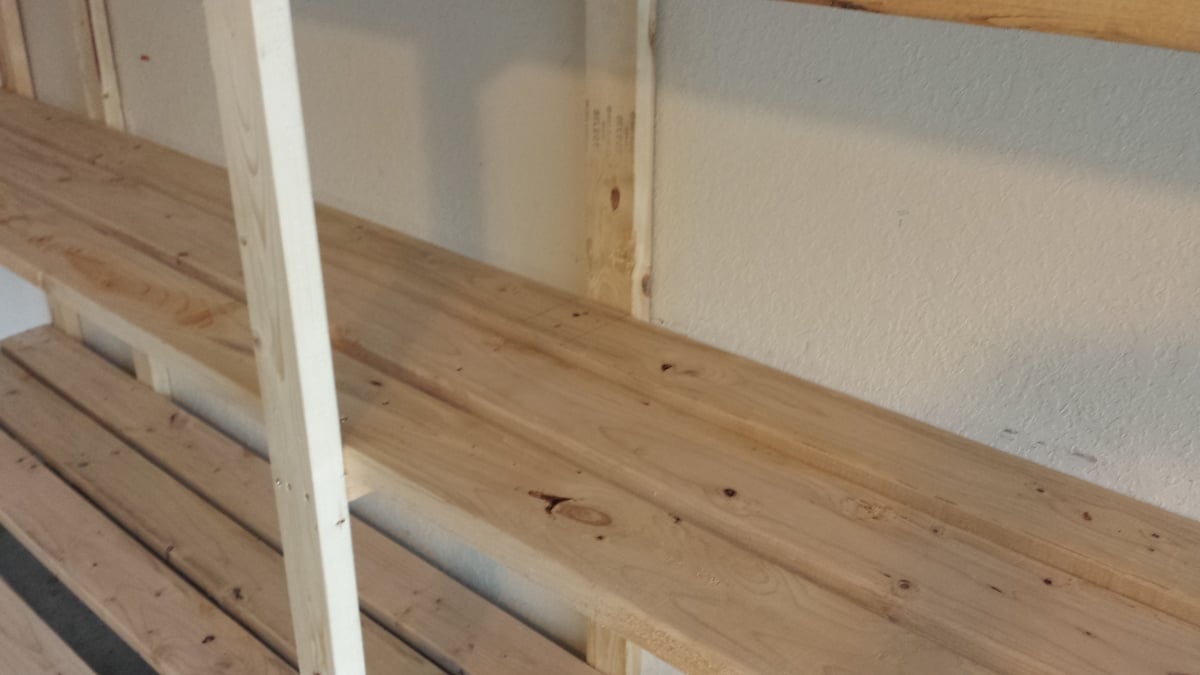
1. I thought the depth of the shelves in the original plan was a little too shallow so I used 3 2"X6"s instead of the 4 2"x4"s. That made the shelves 1 1/2" deeper. Although 2"x6"s are obviously more expensive, the overall cost for the project didn't change much because we only had to use 3 boards per shelf instead of 4. This also reduced the amount of screwing and made it easier to position the shelf boards without taking measurements since we only had one middle board to deal with (instead of 2 with the 2"x4"s). We just eyeballed the spacing of the middle shelf board as we worked.

2. Since our garage has a 10' ceiling, I decided to go 8' tall with the unit. This allowed us to add a 5th shelf.

3. Some oversized tubs can be 18-20" high or more so I varied the height of each shelf -- 24" at the bottom, then 20", 18" and 16". There's approx. 24" available between the top shelf and the ceiling.

4. Due to the position of the garage door track, I had to notch out a couple feet at one side. The end support piece is only 6' high.

5. Since many storage tubs can be 16-18" wide, I made sure that there was at least 54" between 3 of the vertical support structures. This will allow us to store 3 tubs side-by-side and maximize storage. You might notice that I have two vertical supports that appear to be very close together near the back wall. I did this so I would have something on that side to attach more shelving to on that short wall where the garage door opener is. 

The only cuts we had to make for this entire project were for the 18 1/2" 'braces' or support pieces on the vertical ladder structures. The shelves are either 14' or 12' (top shelf only) and the vertical 2"x4"s are either 8' or 6'. Most lumber yards will carry these lengths in either 2"x4"s or 2"x6"s. 

We didn't use any wood glue, and I admit this may come back to haunt me. However, to get a good fit and eliminate gaps, I used clamps I already owned to squeeze the boards together before adding the screws. Everything feels very solid and sturdy to me. 

Because of the extra height compared with the original plan, I was worried about it possibly tipping over (we have a 10-year-old who likes to climb frown) so I made sure that 3 of the supports are lined up with the wall studs. After leveling the entire unit, I plan to anchor it to the wall using 3 1/2" screws.

So for about $187 in lumber and maybe $20 in construction screws, I've got 76 feet of STURDY shelving that should accommodate hundreds of pounds! Not a bad investment at all...
 

Estimated Cost
$187 lumber + $20 construction screws
Estimated Time Investment
Afternoon Project (3-6 Hours)
Finish Used
None right now, but my wife wants to sand it and apply marine varnish to give it a shiny, yet still unfinished, look.
Recommended Skill Level
Beginner

Comments

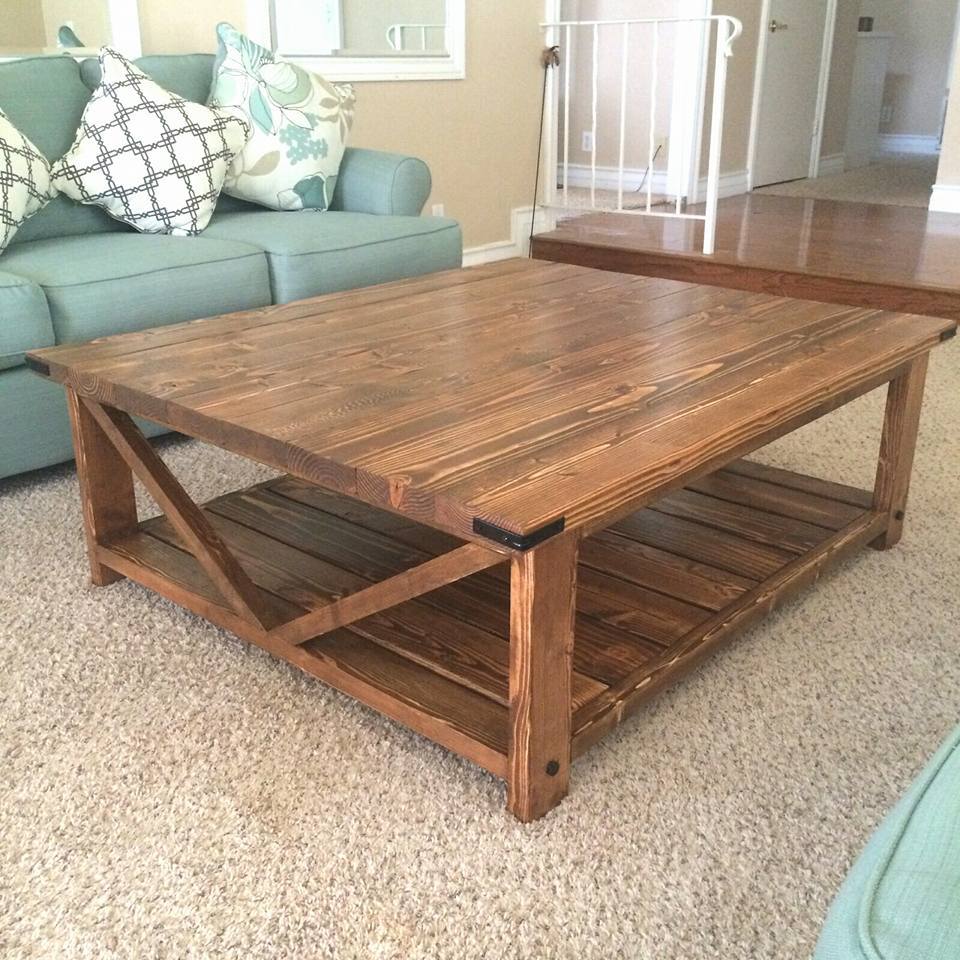
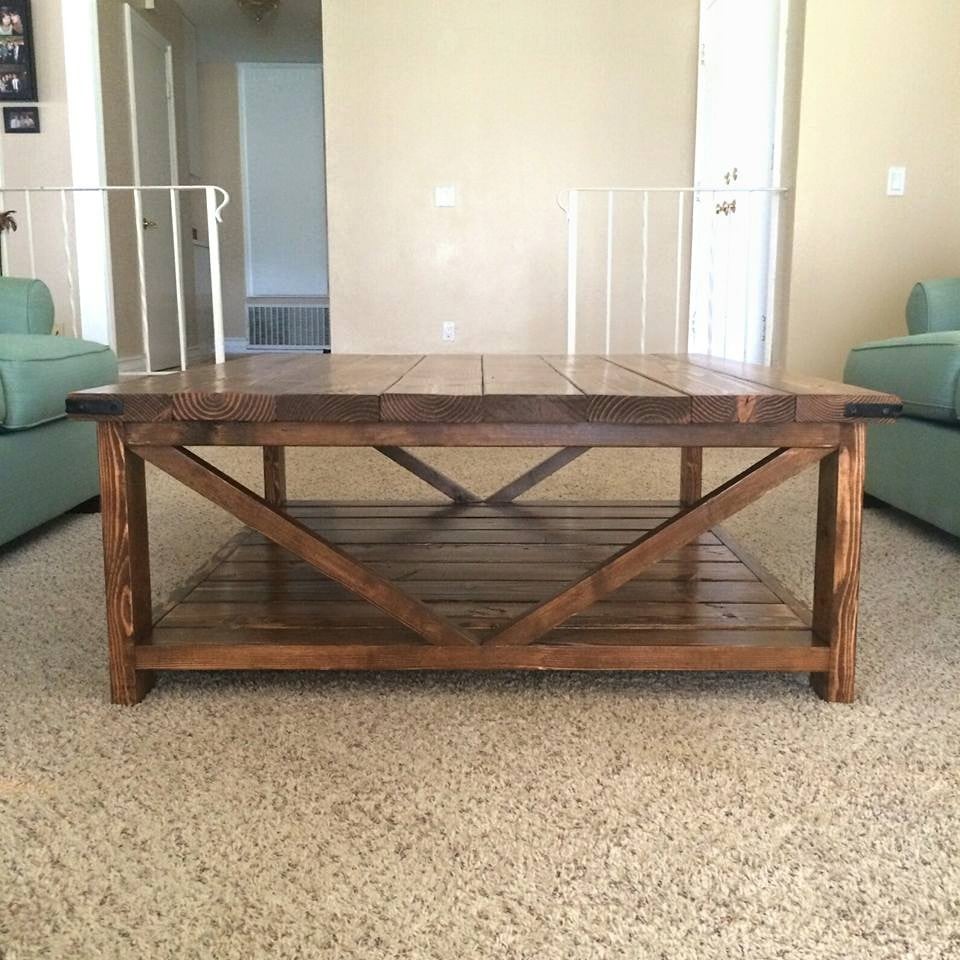
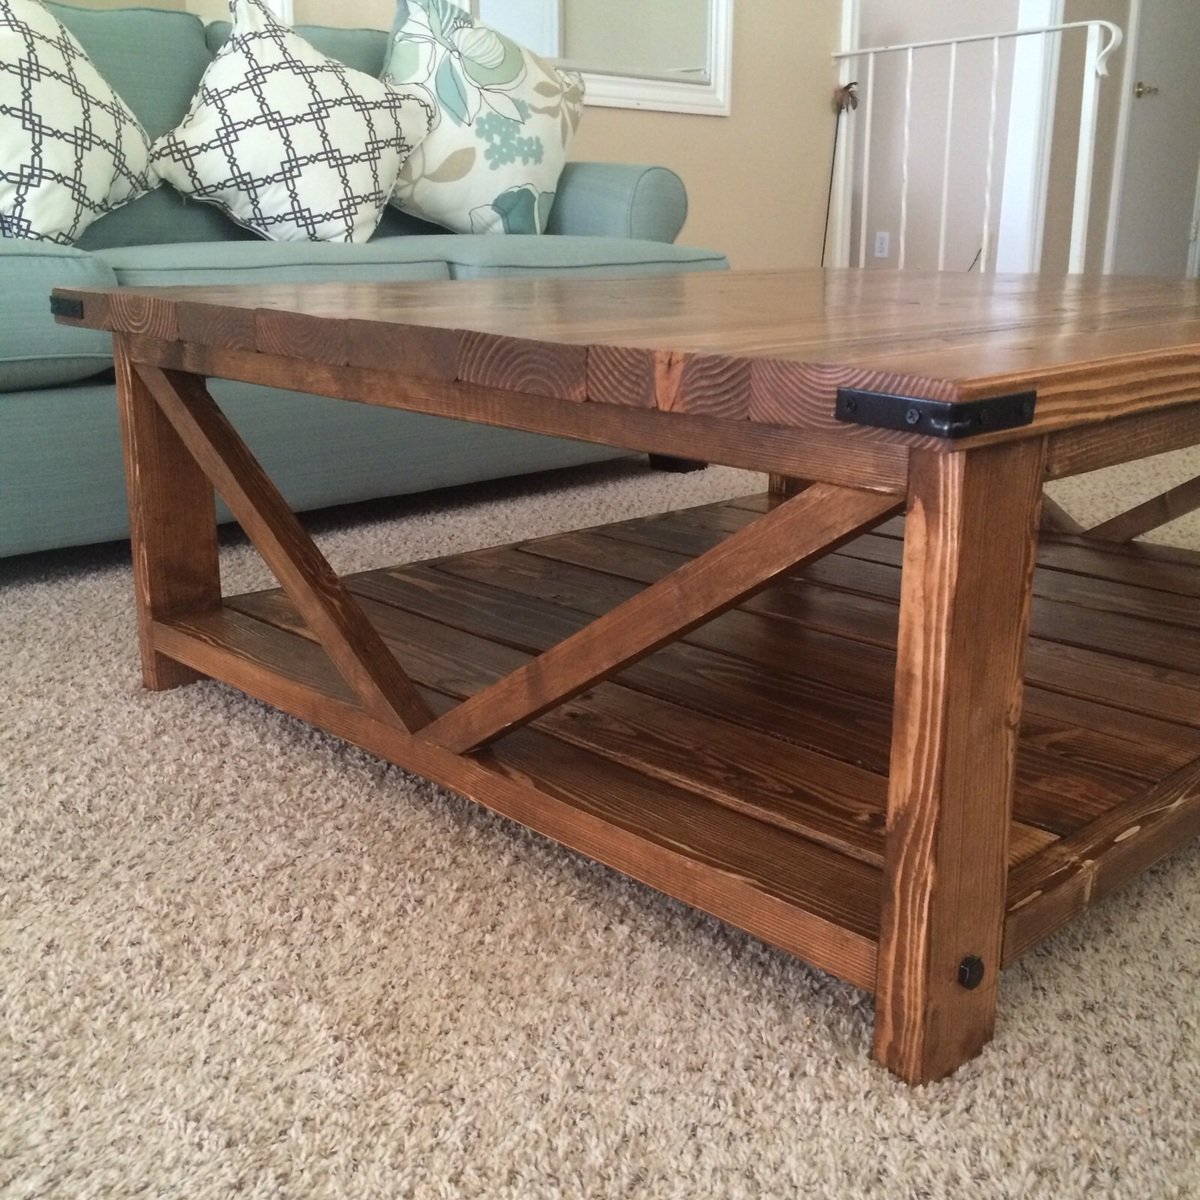
Modified Rustic X Coffee Table

Submitted by PamC03 on Sun, 10/18/2015 - 22:28

As a beginner at woodwork, this table was pretty easy to make. The instructions were easy to follow. I modified the table by adding 2x6 planks on the bottom and changing up the "X" design. The angles are tricky to get right, but i used scrap wood until i got the perfect angles then used my 2x2's for the final cuts. I also changed the finished dimensions of the table to fit in the room I was making it for, so this table was quite a bit wider than the original. It took me about a day and a half/two days to fully build and then I finished slowly over the rest of the week by staining and using a satin poly finish (I gave the top 4 coats so it took a little longer than normal). I'm so happy with the finished table I've already bought the wood to make another smaller one!

Built from Plan(s)
Estimated Cost
$70 for wood and hardware
Estimated Time Investment
Weekend Project (10-20 Hours)
Finish Used
Varathane Early American w/ Satin Poly
Recommended Skill Level
Beginner

Comments

Audrey Wright

Thu, 10/22/2015 - 05:02

For a beginner, you'd done a great job. I'm a beginner too and I can hardly do this in two days.. 

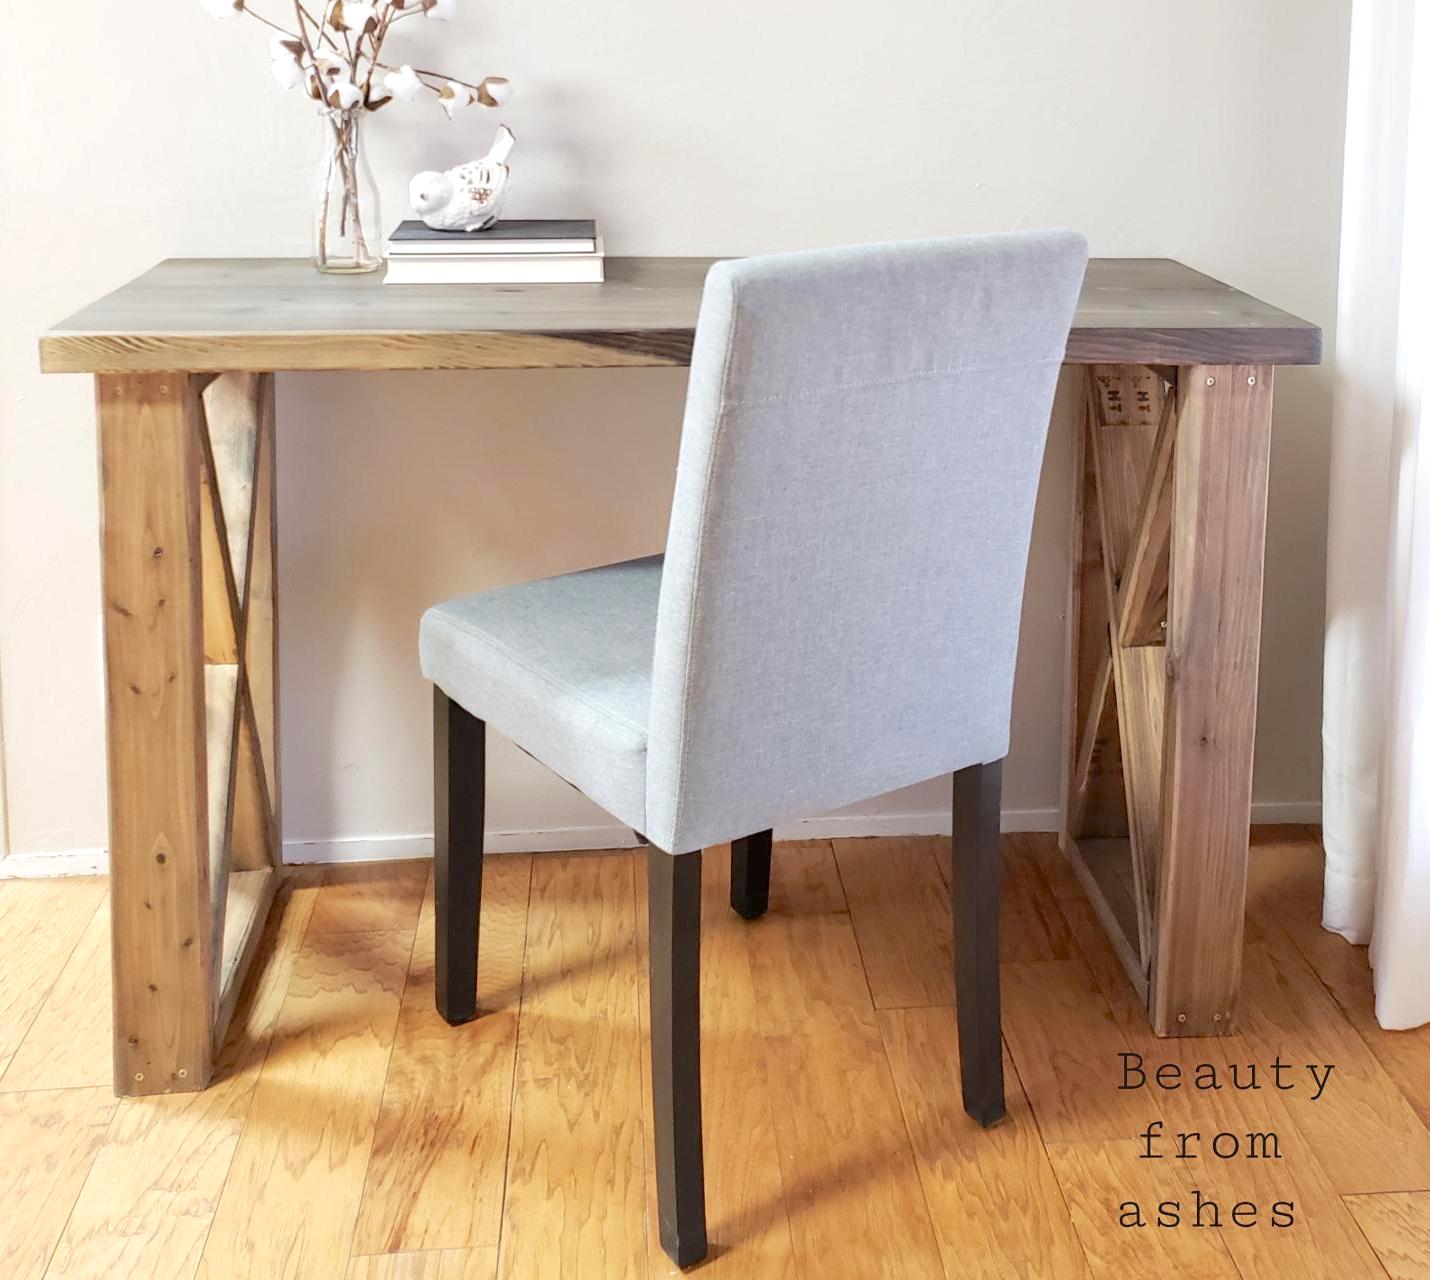
Desk featuring "X" legs - farmhouse style

Submitted by Anonymous (not verified) on Fri, 12/27/2019 - 07:20

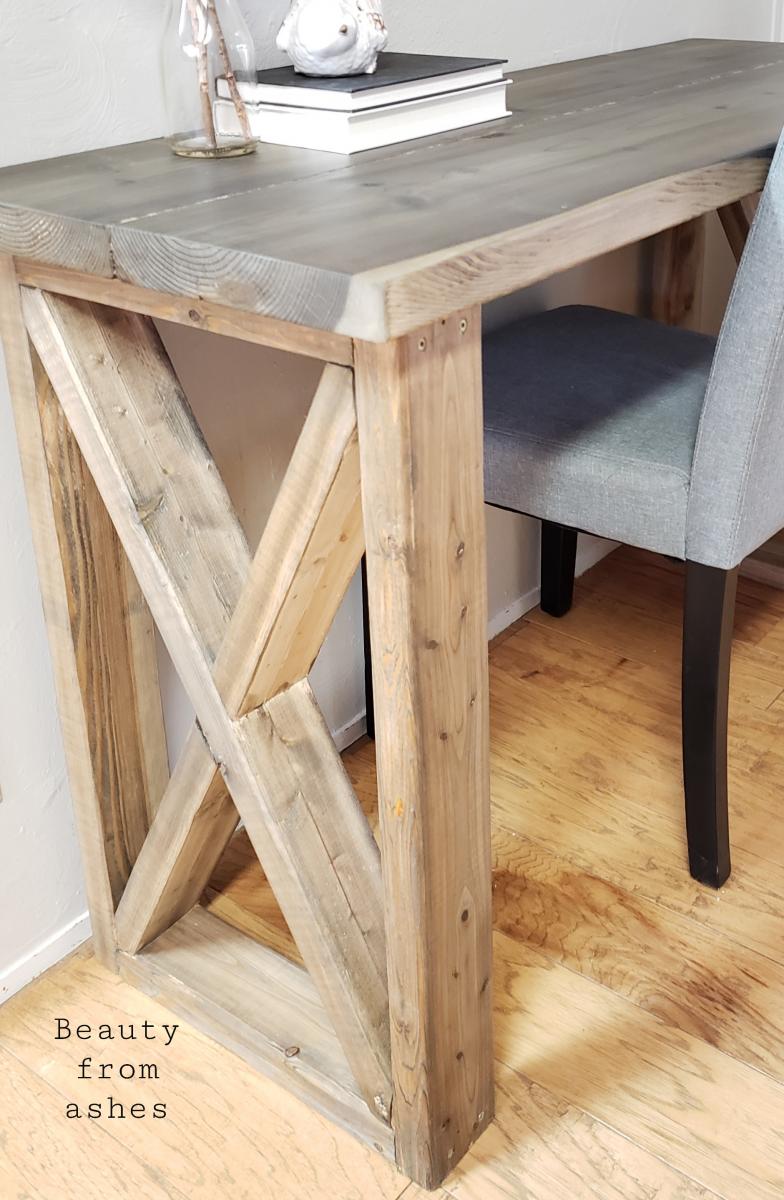
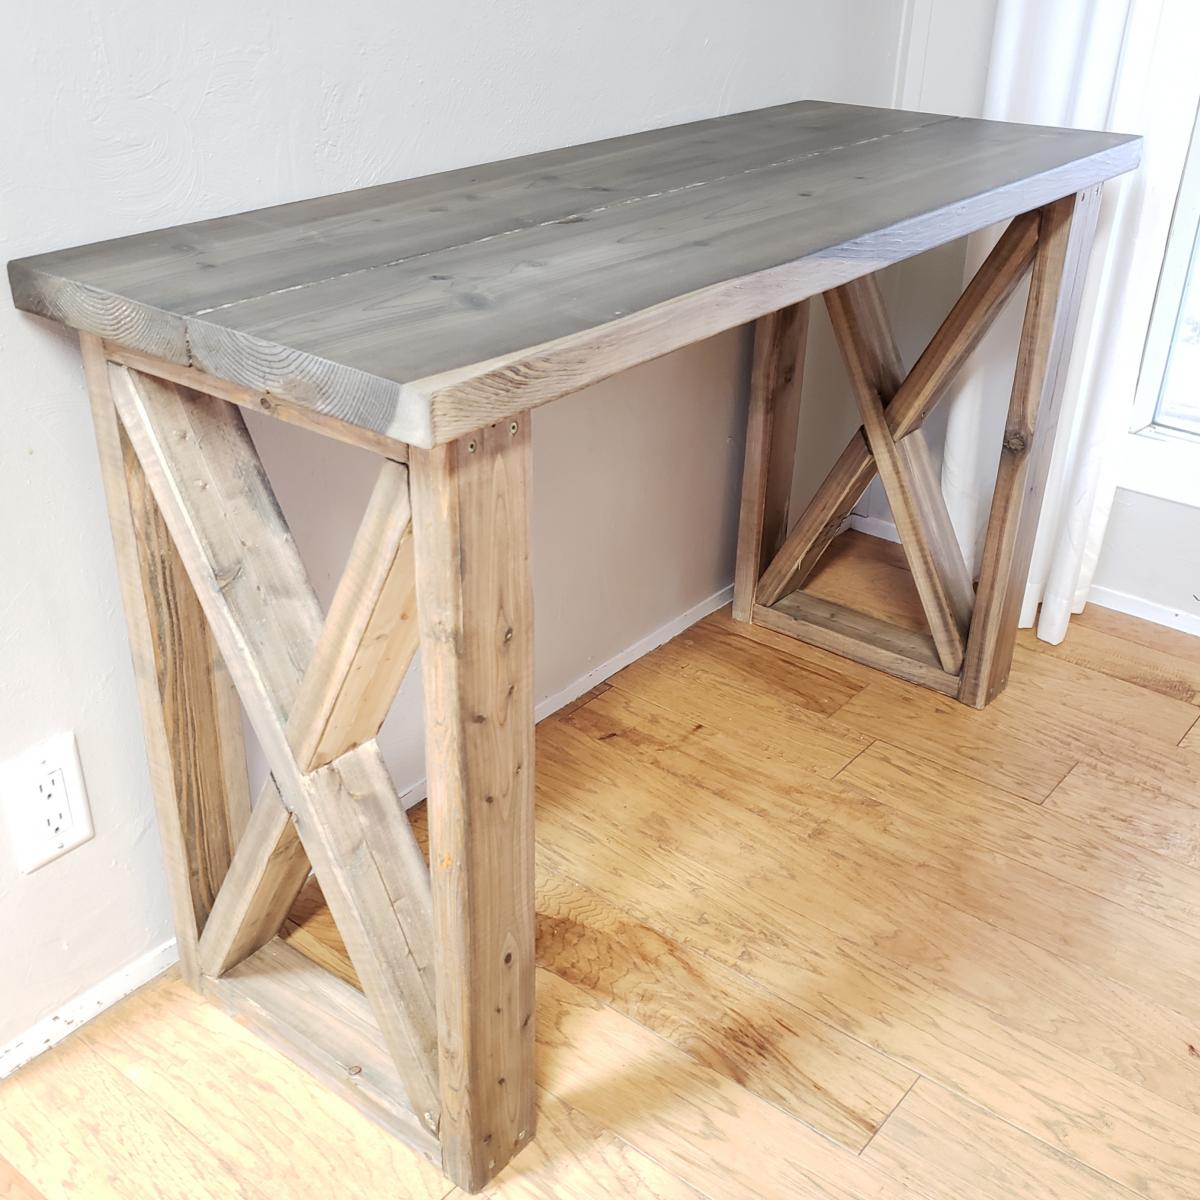
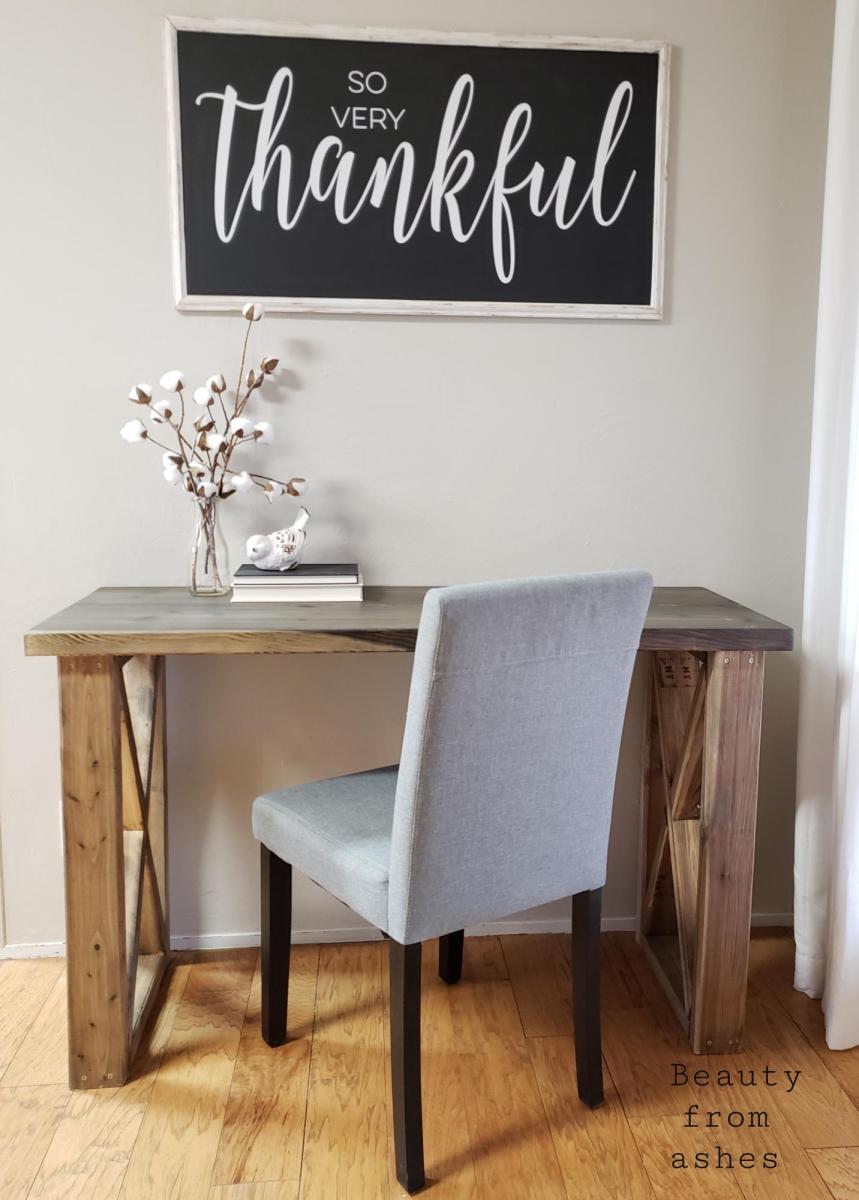
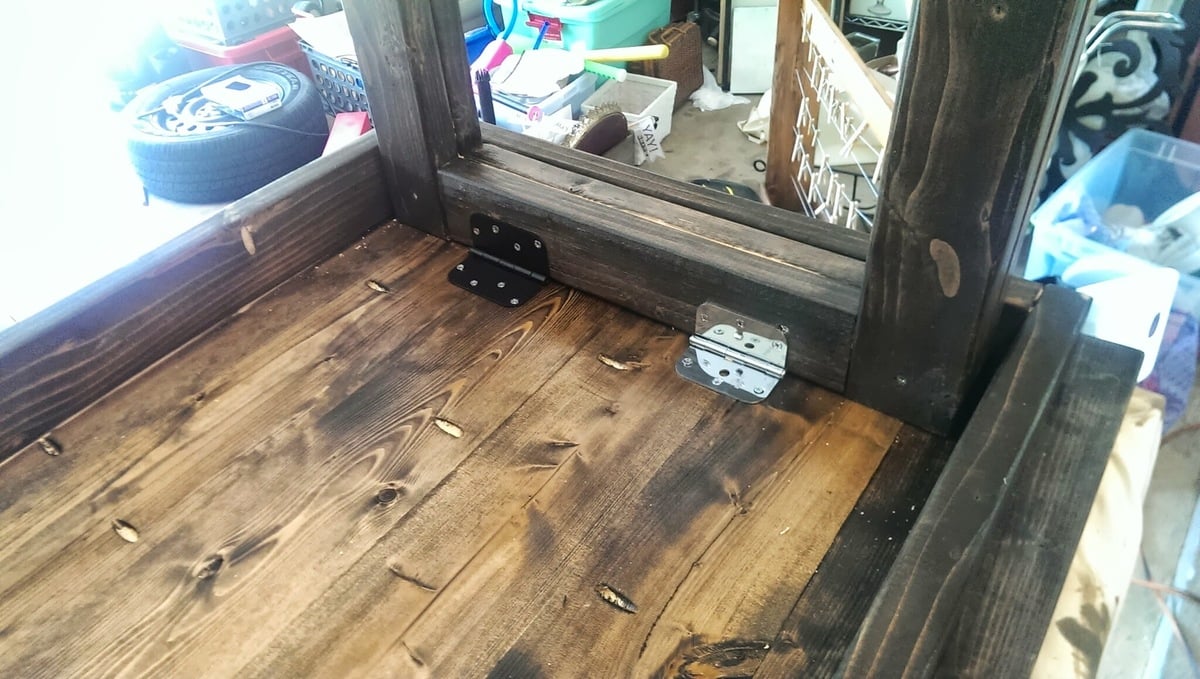
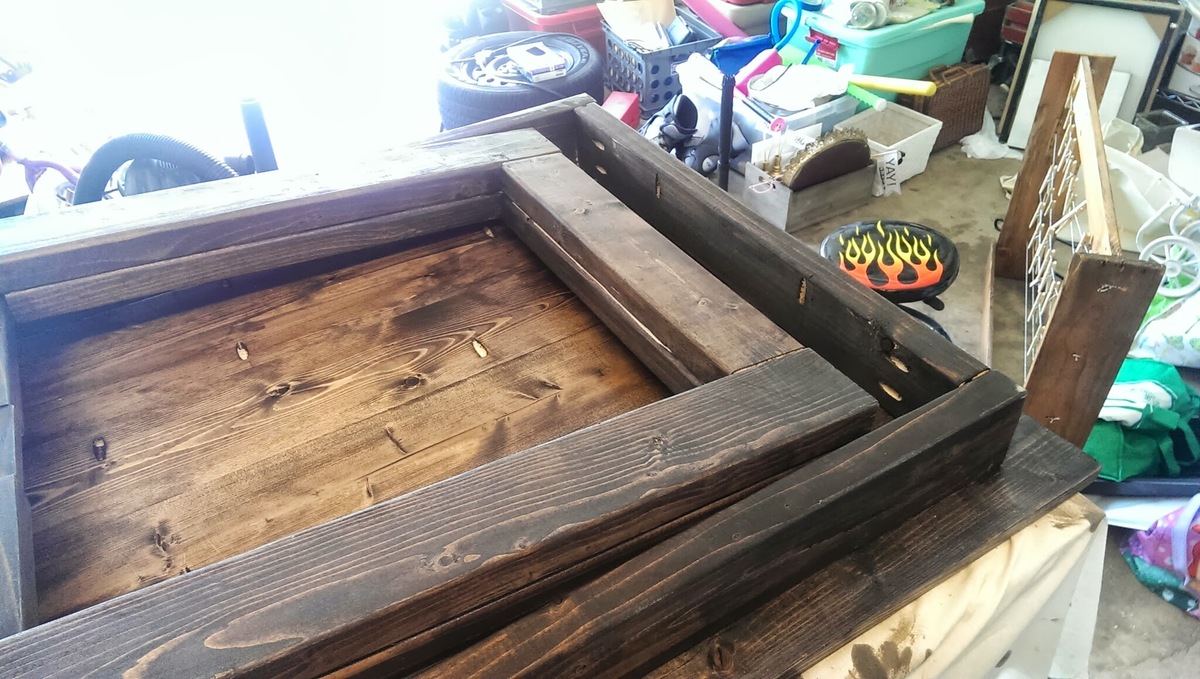
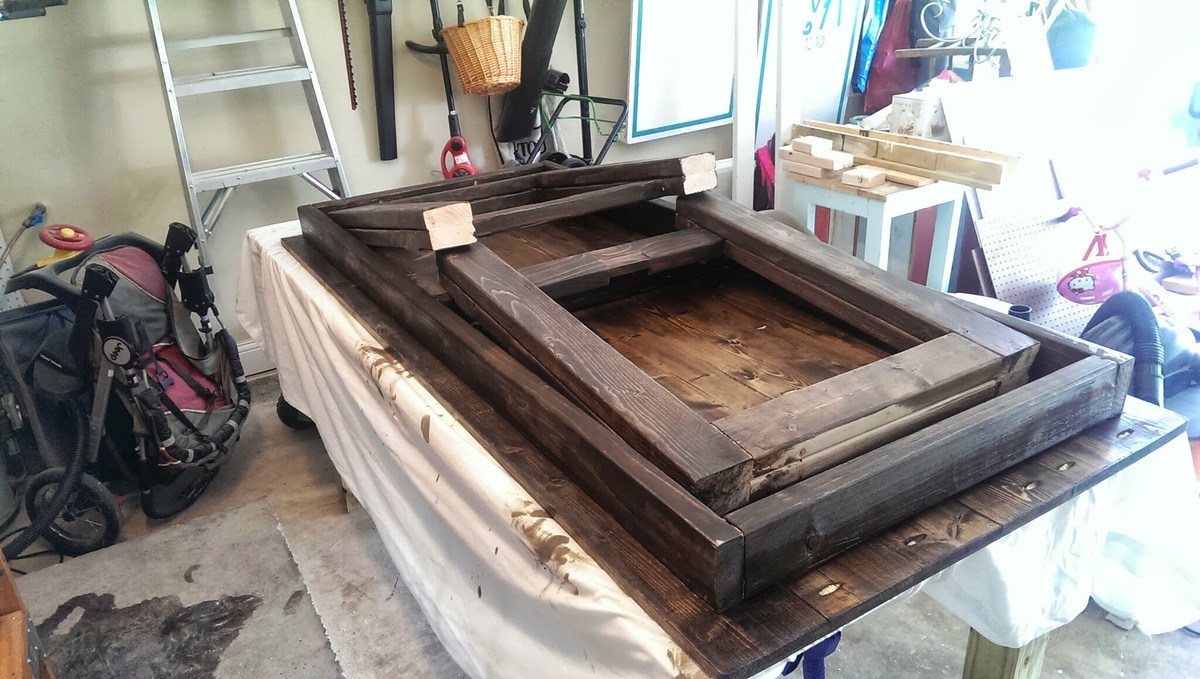
I built this table for my son to use as a "Lego building station" in his room. I made it narrower (18" deep) x 4' long to fit along three wall in his small room. I had some trouble chiseling out the piece for the "X" part to interlock and ended up just cutting the piece through like Anna does with her "$40 farmhouse coffee table", which worked well. I sanded and then stained using homemade vinegar and coffee stain and sealed with water based polyurethane in matte finish.
Built from Plan(s)
Estimated Cost
$35
Estimated Time Investment
Afternoon Project (3-6 Hours)
Finish Used
I mixed up a homemade batch of coffee stain (vinegar, coffee, steel wool) and top coated with Matte polyurethane.
Recommended Skill Level
Intermediate

Comments

Laundry Sorter - LOVE these bins!!

Submitted by Anonymous (not verified) on Sat, 10/22/2016 - 17:40

Laundry Sorter

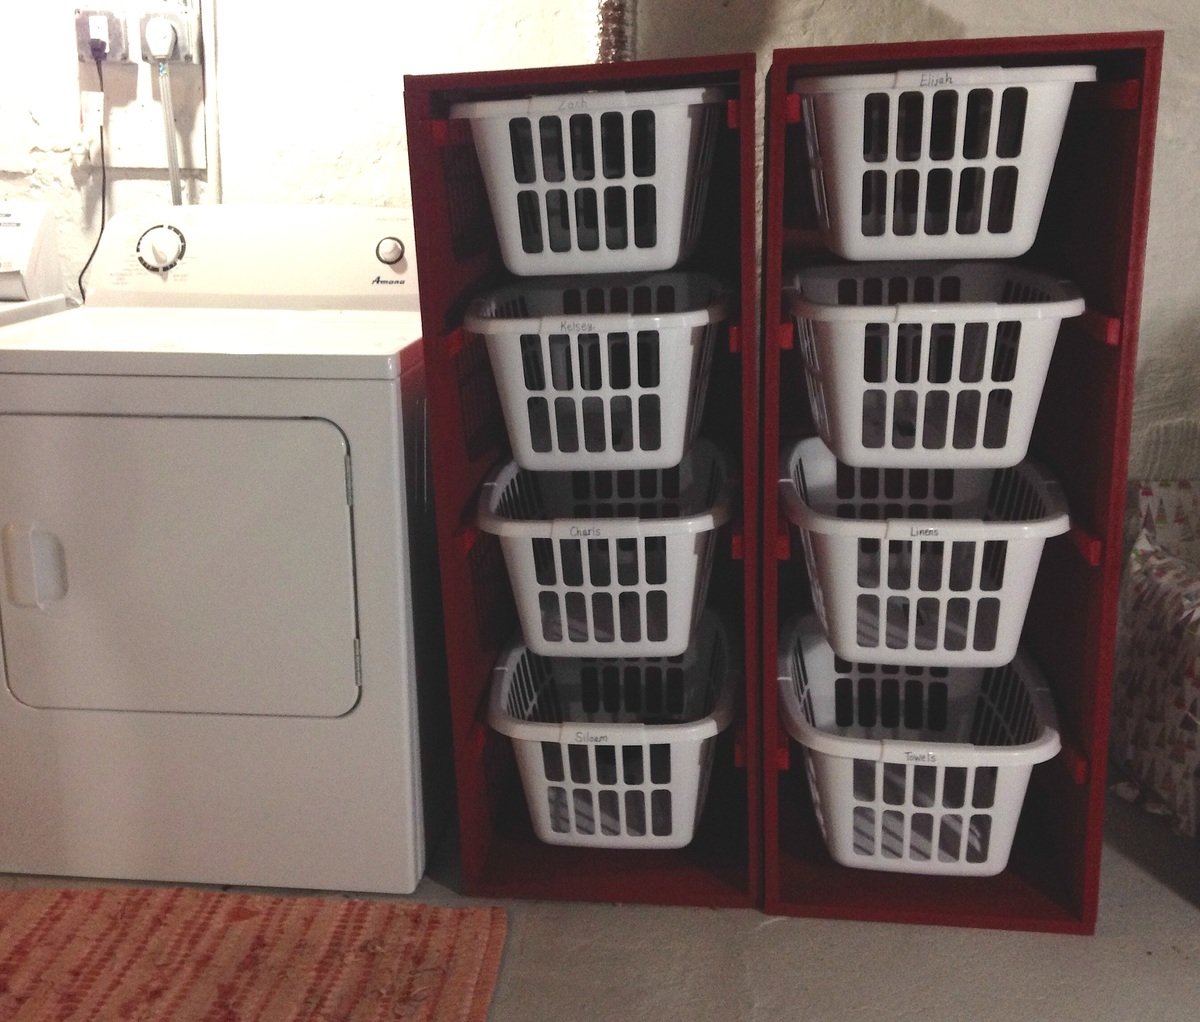
We are expecting baby #4, and I knew we needed to get the laundry under control before we added a new family member. I cannot tell you how helpful these have been for eliminating laundry piles and encouraging our kids to put away their own baskets. And I splurged on a $9 gallon of "oops" paint from Home Depot to make them fun and cheery, too. I highly recommend this laundry sorter project for those who feel like the laundry never ends. It's such a great investment in your sanity!

Estimated Cost
$100 for both laundry sorter cabinets
Estimated Time Investment
Day Project (6-9 Hours)
Recommended Skill Level
Beginner

Comments

Sb1212

Thu, 10/27/2016 - 12:21

I love the paint color!! I plan to build this. I just want it to have doors and look like a dresser almost. Where did you get your baskets?

Sb1212

Thu, 10/27/2016 - 12:22

I love the paint color!! I plan to build this. I just want it to have doors and look like a dresser almost. Where did you get your baskets?

Ladder shelf

Submitted by Anonymous (not verified) on Tue, 10/05/2021 - 08:53

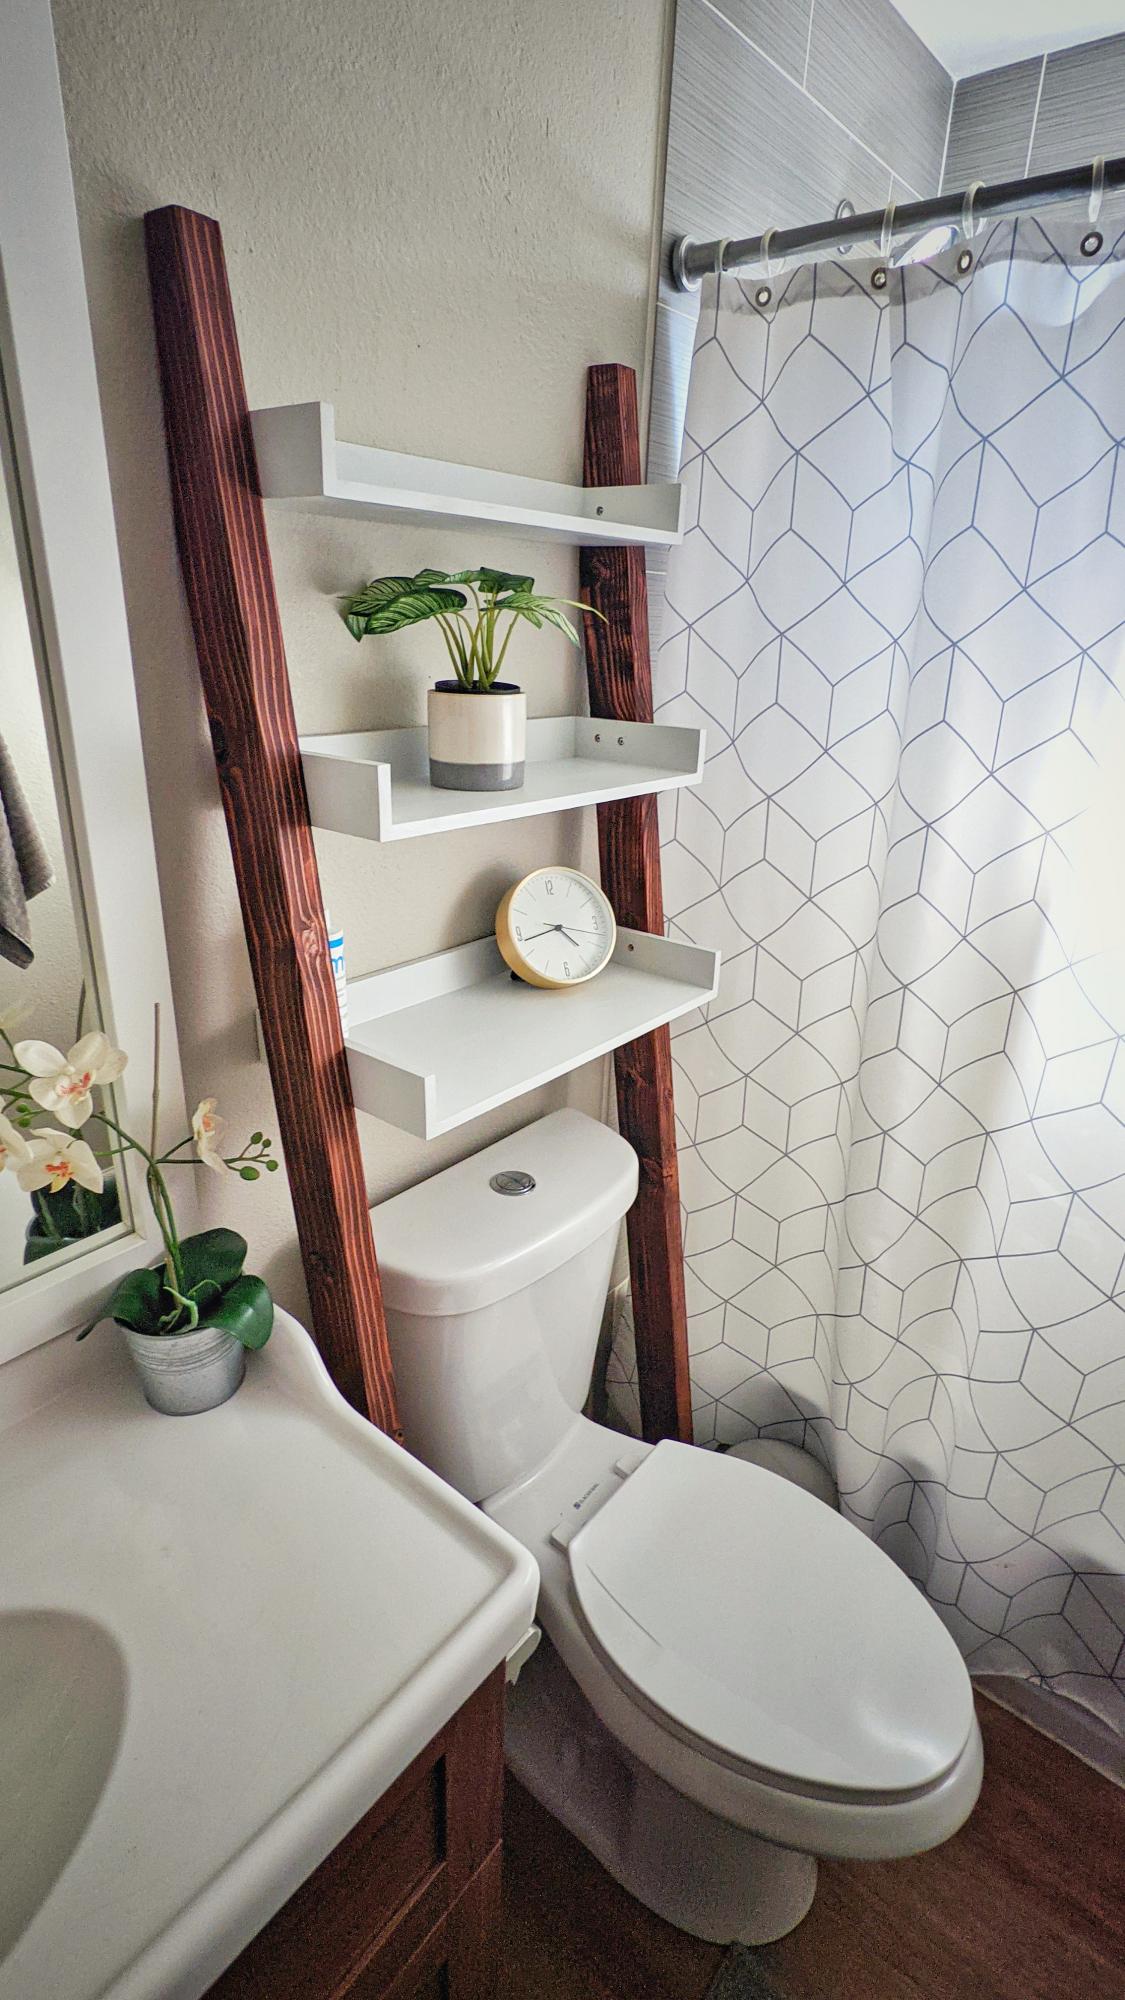
I've made a ladder bookshelf with some leftover mdf board and 2x4's. The plans were very helpful and really happy with how it turned out.

Comments

Foldable Farmhouse Table 2

I recently published my first foldable farmhouse table last week here: http://ana-white.com/2013/06/foldable-farmhouse-table The first one I made was very heavy because I used 2x6 tops and 4x4 legs. I decided to make another one that would be lighter and easier to transport. The plans are basically the same just instead I used 1x6 for the top and put 2x4s together for the legs. I also shorted the length by about a foot. The only issue with making the table shorter length is that the legs don't fold completely flush. You could easily make the legs short enough to fold flush, but then the table was a little too short from the ground up for us. The same as before I simply used kreg joints to join the top boards together. I then made a 2x4 frame and attached it to the bottom. I made each of the legs separately by joining 2x4s together and sanding everything down. Everything was stained before putting the legs on using Miniwax Dark walnut stain. I used 2 coats of Miniwax water based clear coat to seal it. A notch was cut out on each of the bottom 2x4 supports on the legs and I glued in a small piece of wood cut to size. These are so I can put in a 2x4 support board under the table so that the legs do not fold in on themselves when it is standing up. The legs are just attached using door hinges you can buy in packs in the hardware section. Be careful when screwing into the 1x6 top not to use too long of screws or else you will over screw and have them come through into your table top. Table design was by Amber Veatch Designs and photographed by Andi Mans Photography

Estimated Cost
120.00
Estimated Time Investment
Day Project (6-9 Hours)
Finish Used
Sand to finish and then used Miniax dark walnut stain followed by Miniwax water based clear coat.
Recommended Skill Level
Beginner

Comments

Freddyflis

Tue, 07/07/2015 - 06:41

We have built something very similar and we have a good bit of wobble at the top, even though the stretcher down the center of the table is holding solid in there and secred with clasps. Were thinking of some sort of sliding pin into the top of the leg to the apron. Anyone run into this before?

Seasonal And Holiday

Claire's Loft Bed

Submitted by hook Fam on Thu, 08/11/2011 - 10:00

A few months back a friend of my Sister asked if I would build a bed for her 10 year old daughter. I was excited to do it! So I finished up the projects I had already started and then went to work. I had never built bookshelves before. I wanted it clean and "hole-less" on the outside, so we found a Kreg Jig and I started learning. SUPER easy!! I believe it has been painted white. I can't wait to go see it!!
I followed Ana's plans except I used 2*2s for slats and used 16" wide boards for one of the bookshelves and the desk top. I want them to be able to use this for years to come and not out-grow it too quickly.

Estimated Cost
$300
Estimated Time Investment
Weekend Project (10-20 Hours)
Recommended Skill Level
Intermediate

Comments

Cindy from Indiana (not verified)

Sun, 10/23/2011 - 11:08

This turned out fantastic! You did a wonderful job.

judee (not verified)

Sat, 02/25/2012 - 05:56

hello just a quick question about the railing. Is it screwed on or is it just sitting over the wood? Very nice bed.

WannaMakeA LOFTBED (not verified)

Tue, 08/07/2012 - 13:35

How many 2x2s did you use? I think I am going to do the same to make sure that I do not outgrow the bed. Also did you have to change the size of the little bookshelves when you changed the desk to 16" instead of 12" ? I'm trying to build the whole set on my own (im 14)

In reply to by WannaMakeA LOFTBED (not verified)

hook Fam

Tue, 08/07/2012 - 15:09

I think I used around 20 2x2's, and did use a center beam to add strength. I only changed the one bookshelf to a 16" (the one under the desk). The other one I left as a 12". Good luck building your bed!

WannaMakeA LOFTBED (not verified)

Tue, 08/07/2012 - 18:29

Thank you sooo much. I have left questions in the comments sections and you are the only one who has answered. I greatly appreciate it.

jvanhorn

Sun, 05/12/2013 - 19:37

Hook fam, Thanks so much for your work and for the pictures. I really like how you left the lower back side of the big book shelf off and still included the desk behind. Love the 16" too and I think I will go with that for the desktop but leave the 12" for the shelves. Thanks again! This is now my next project!!!

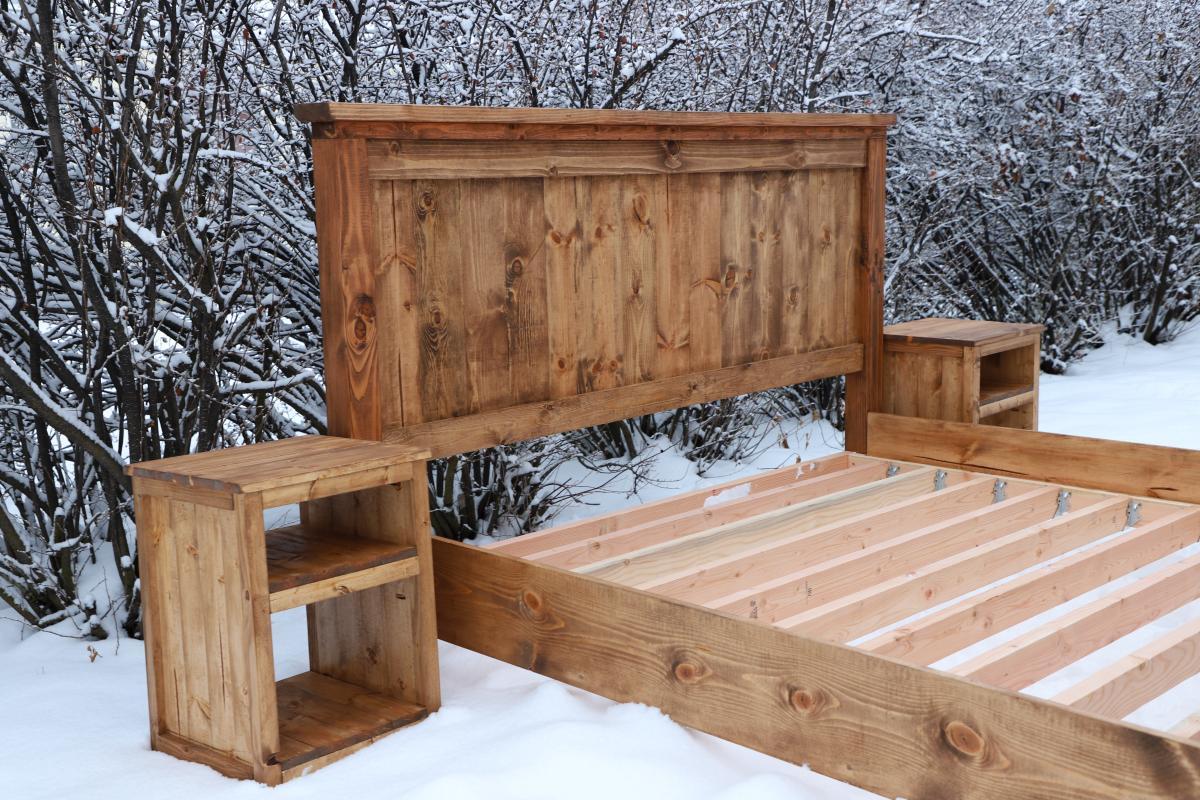
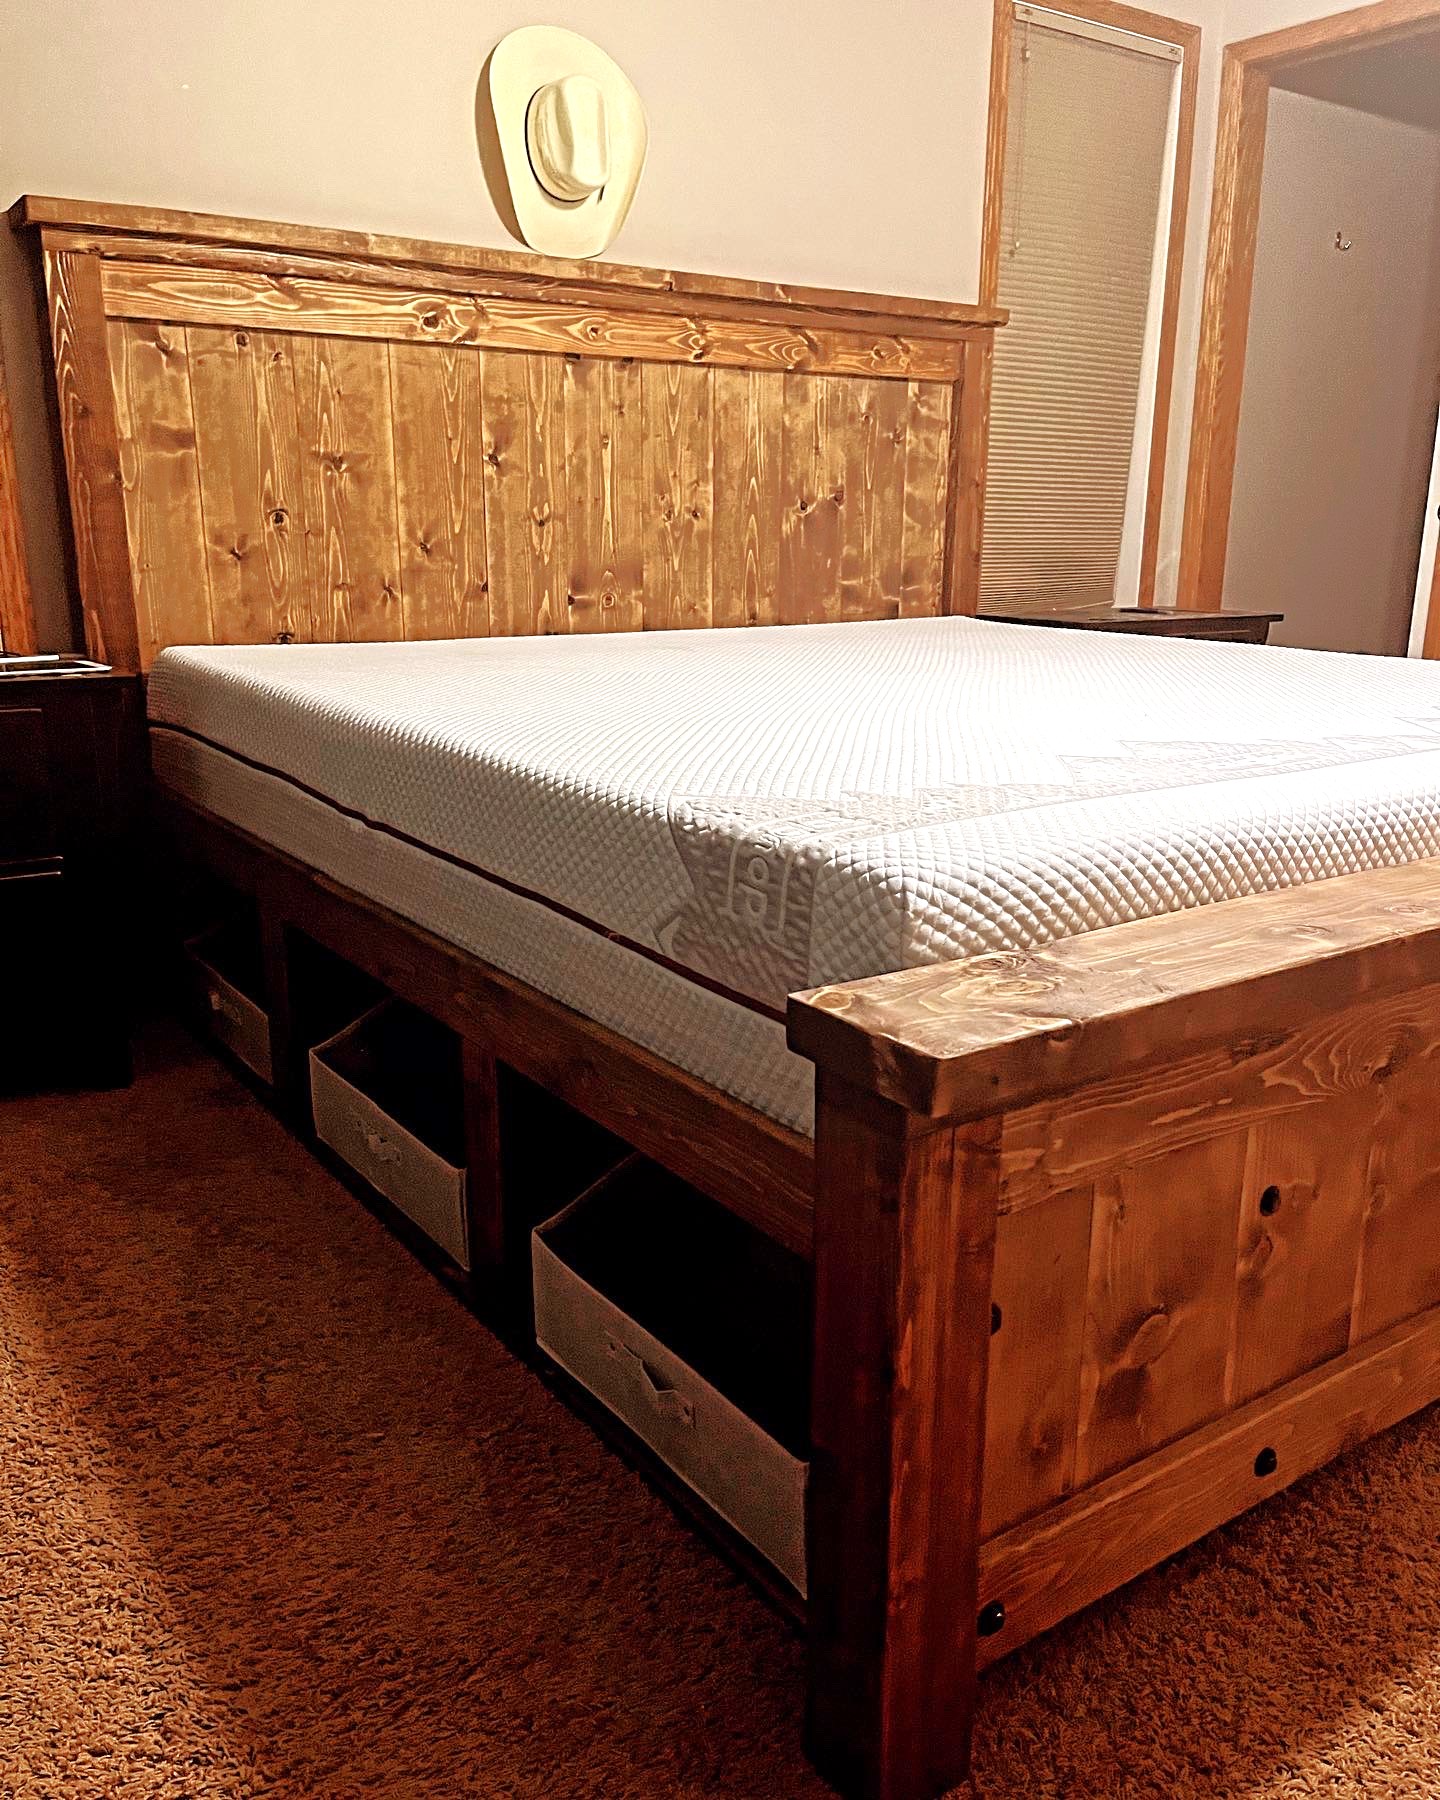
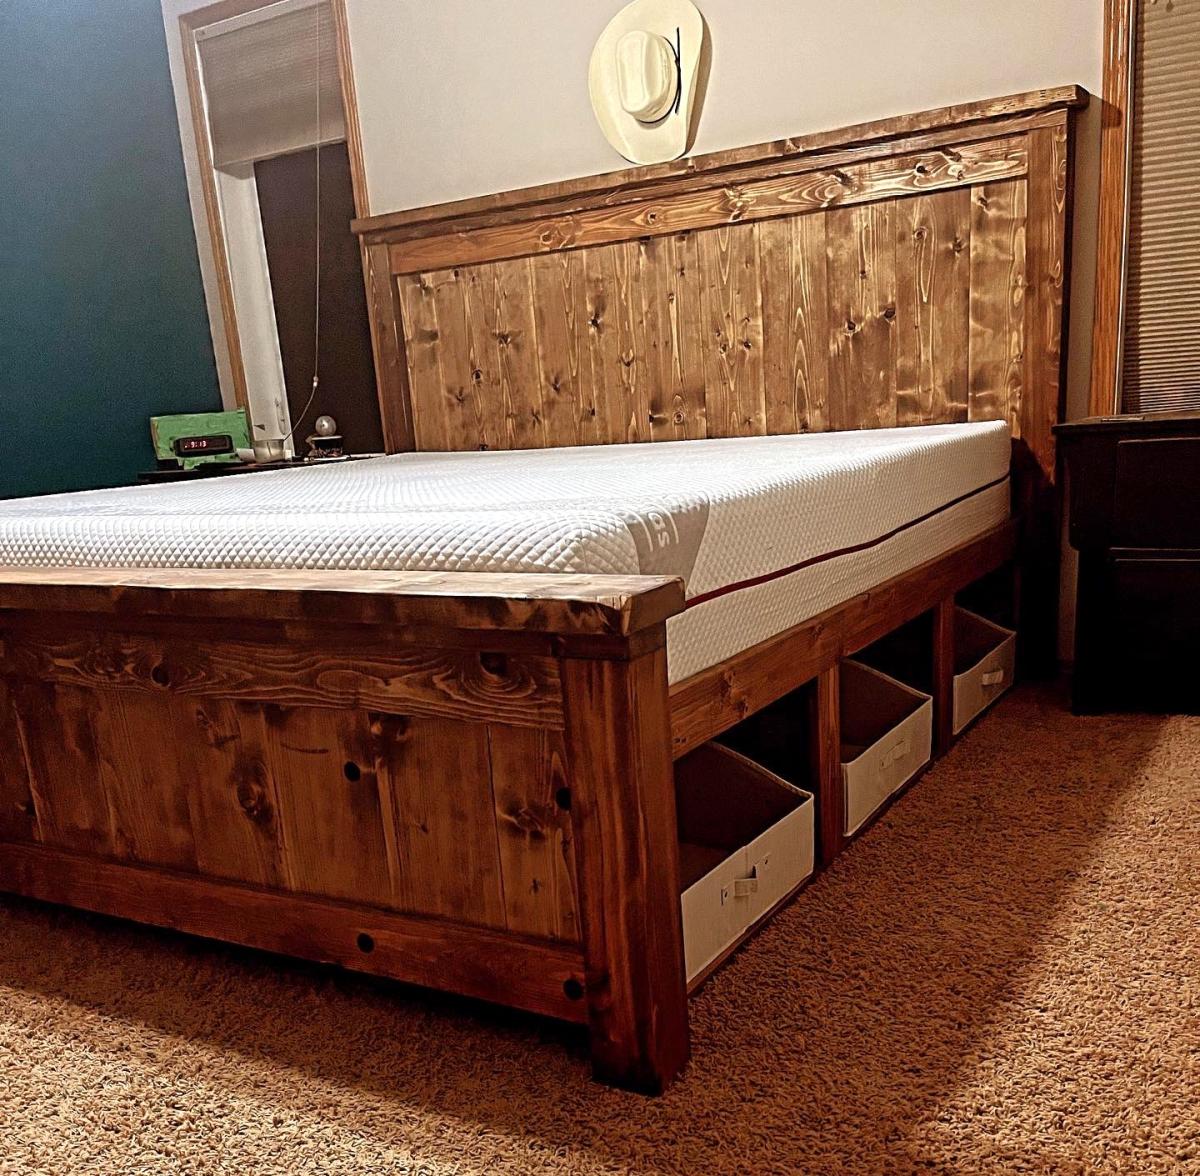
Farmhouse King Bed Frame

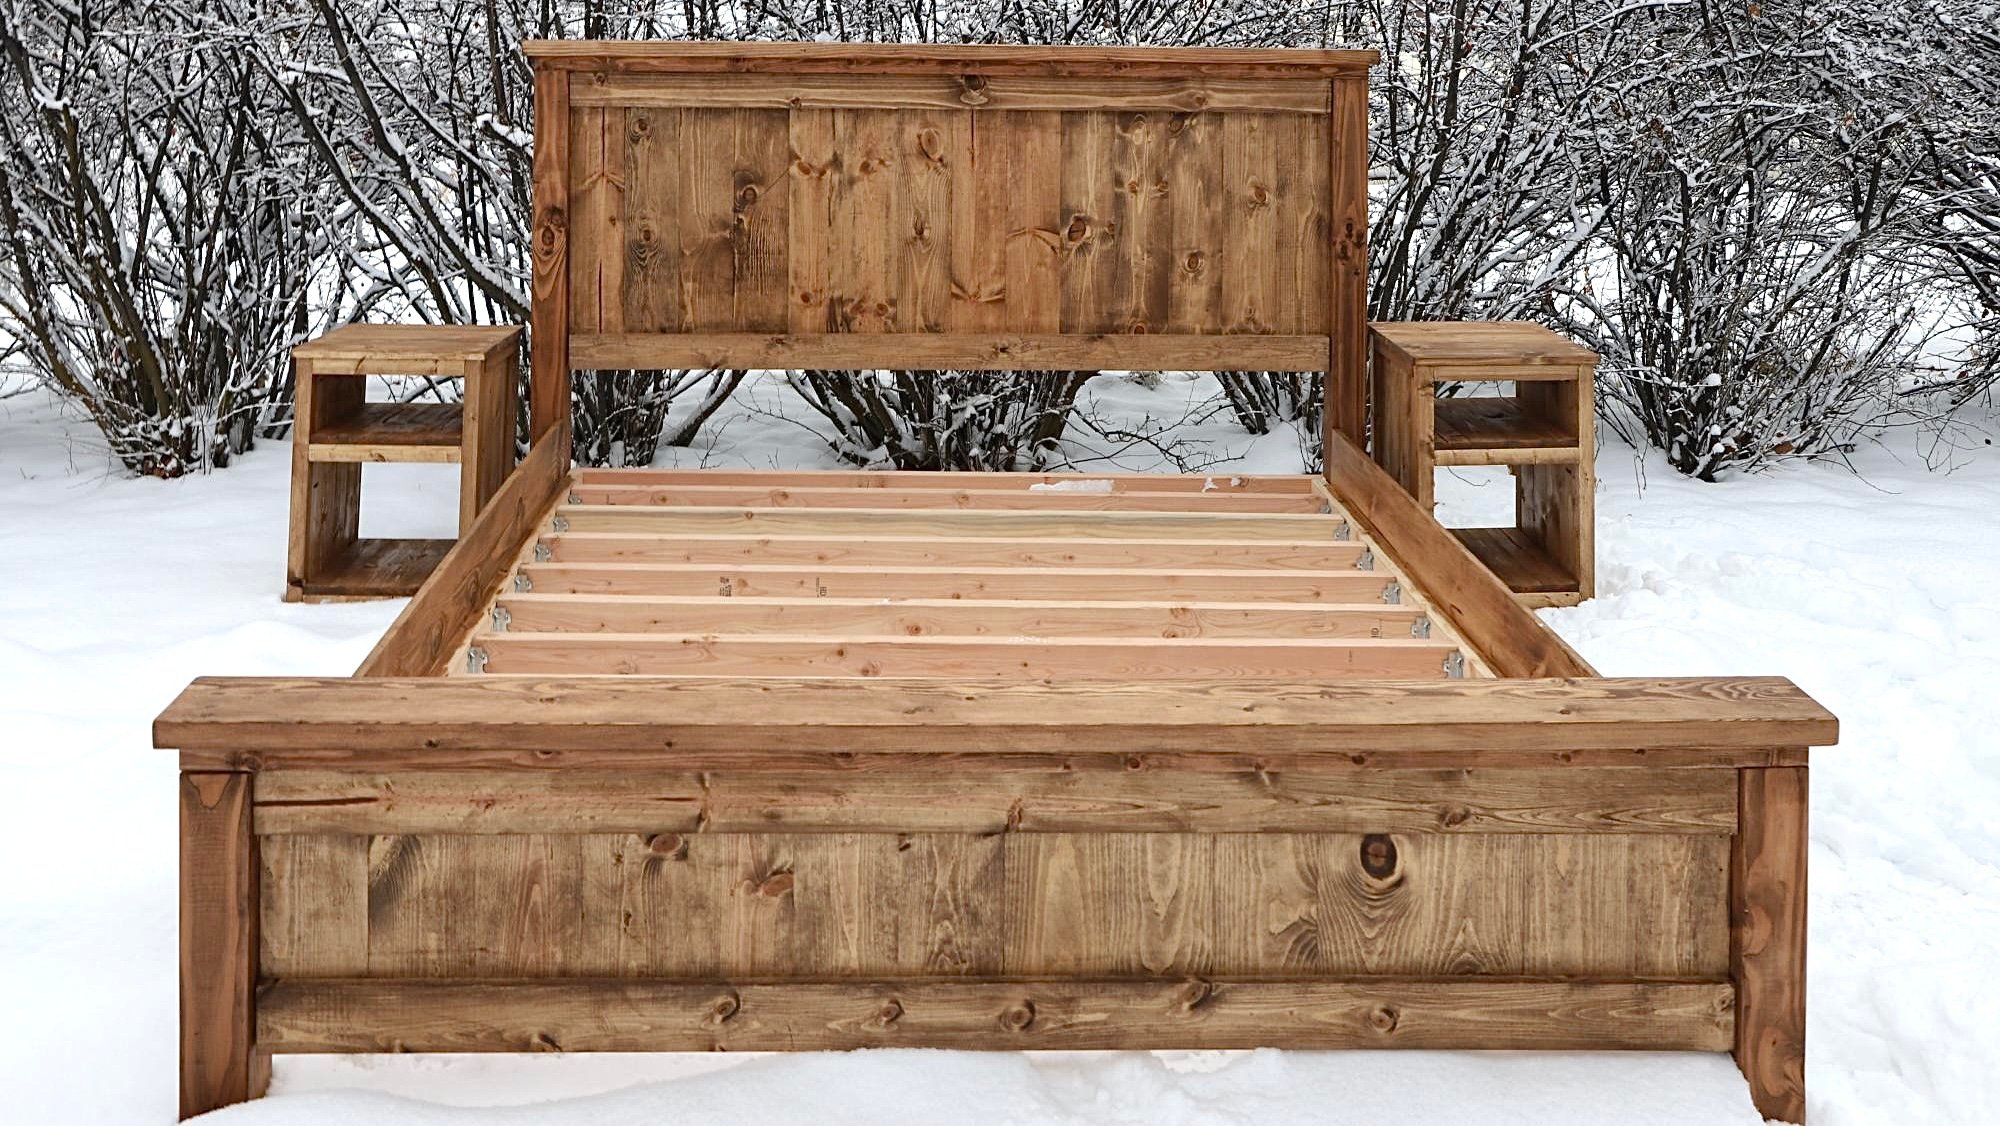
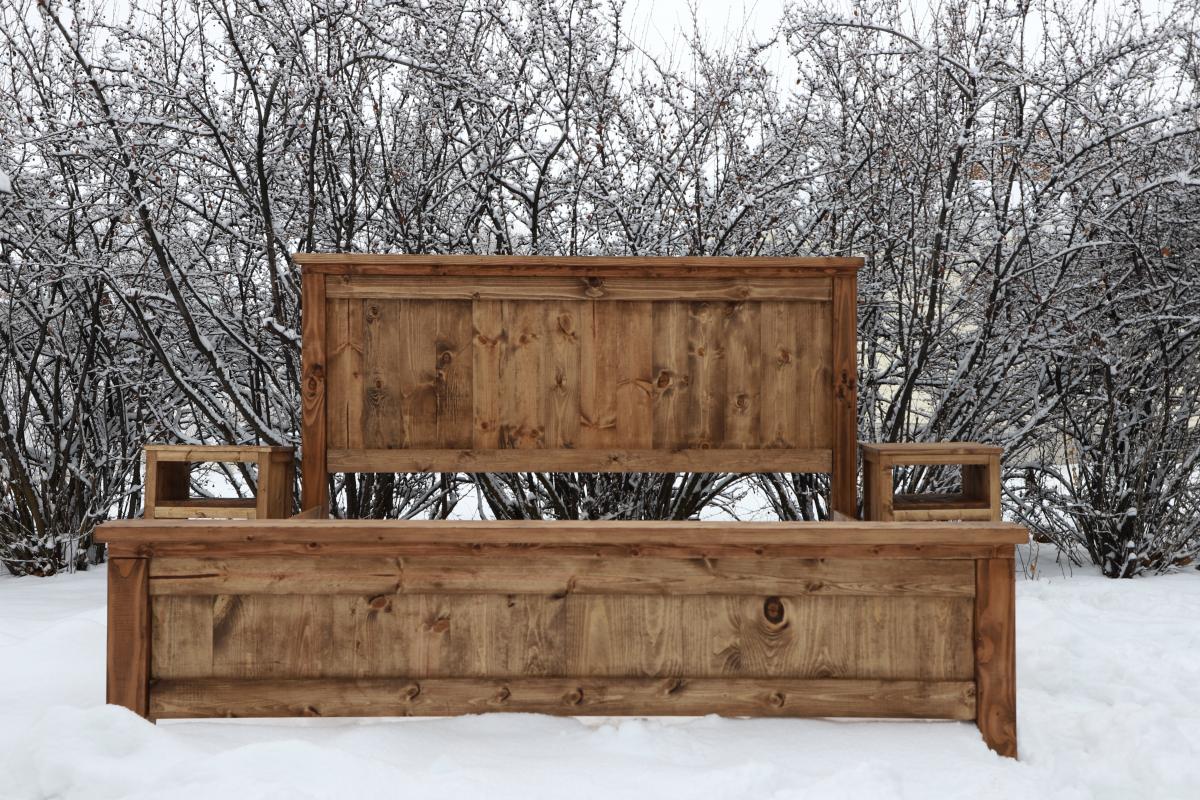
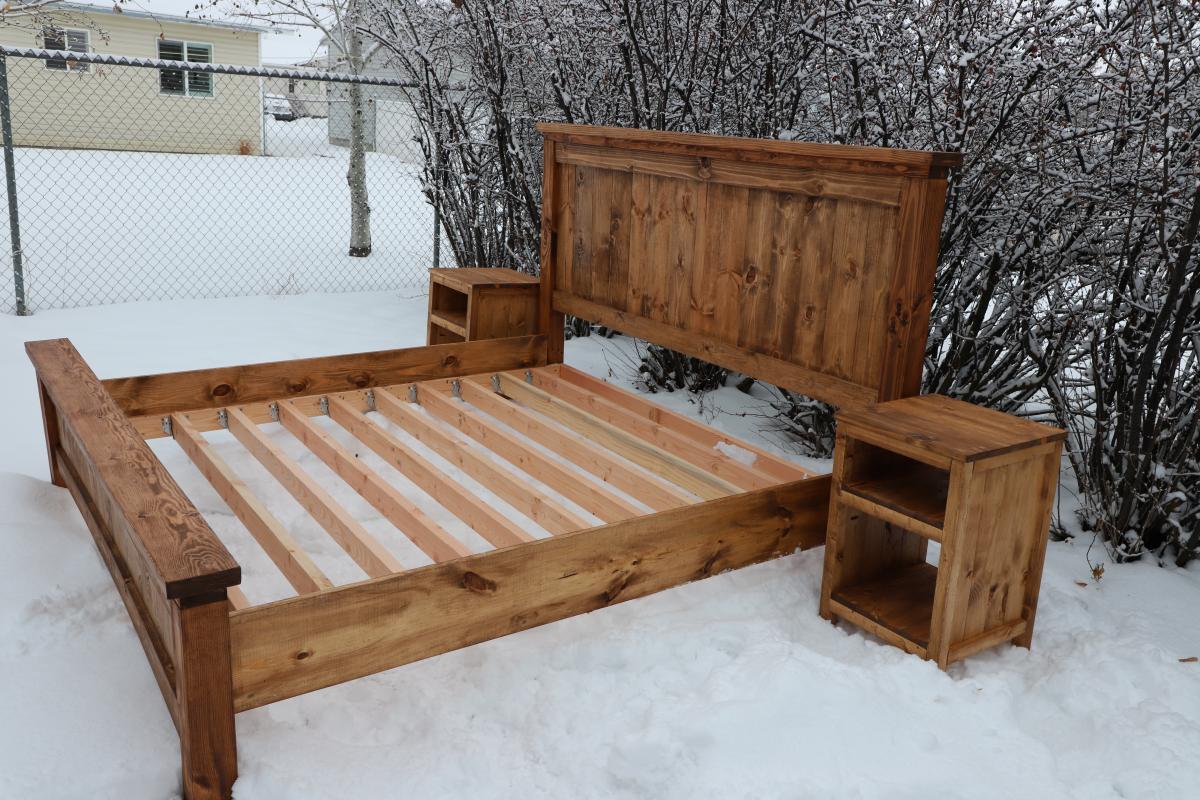
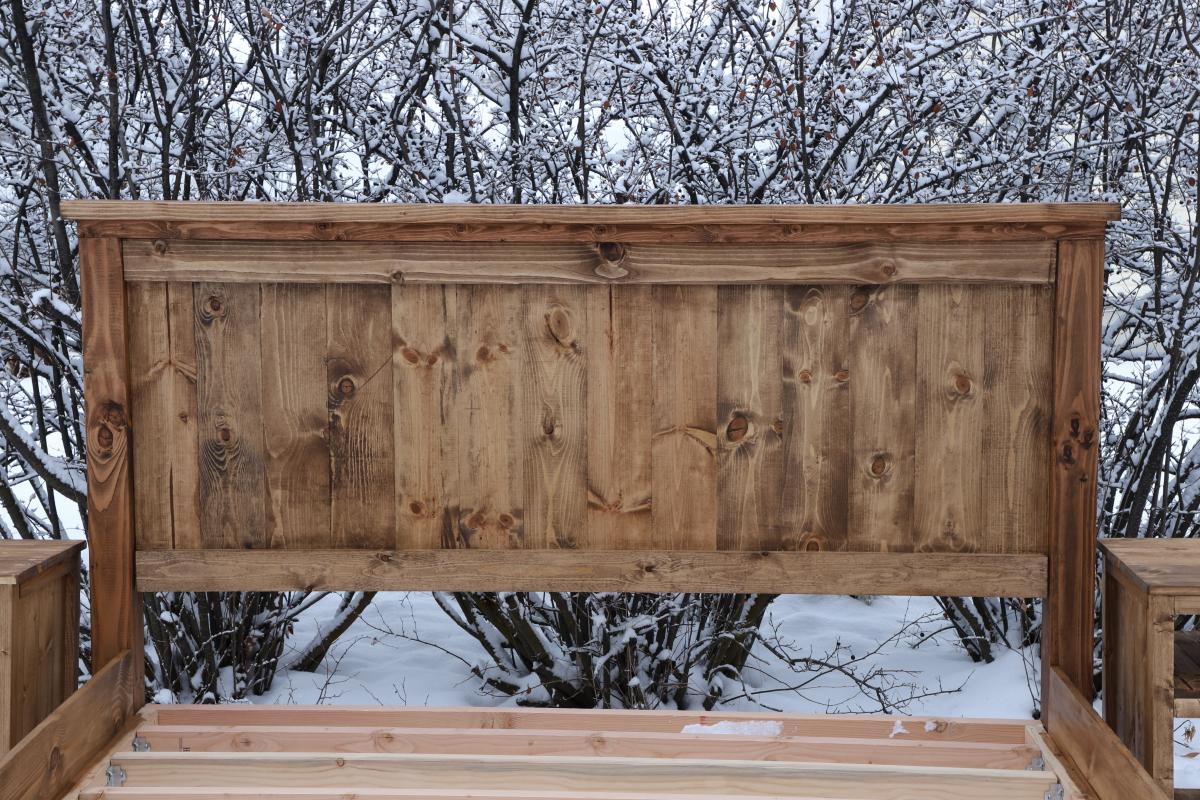
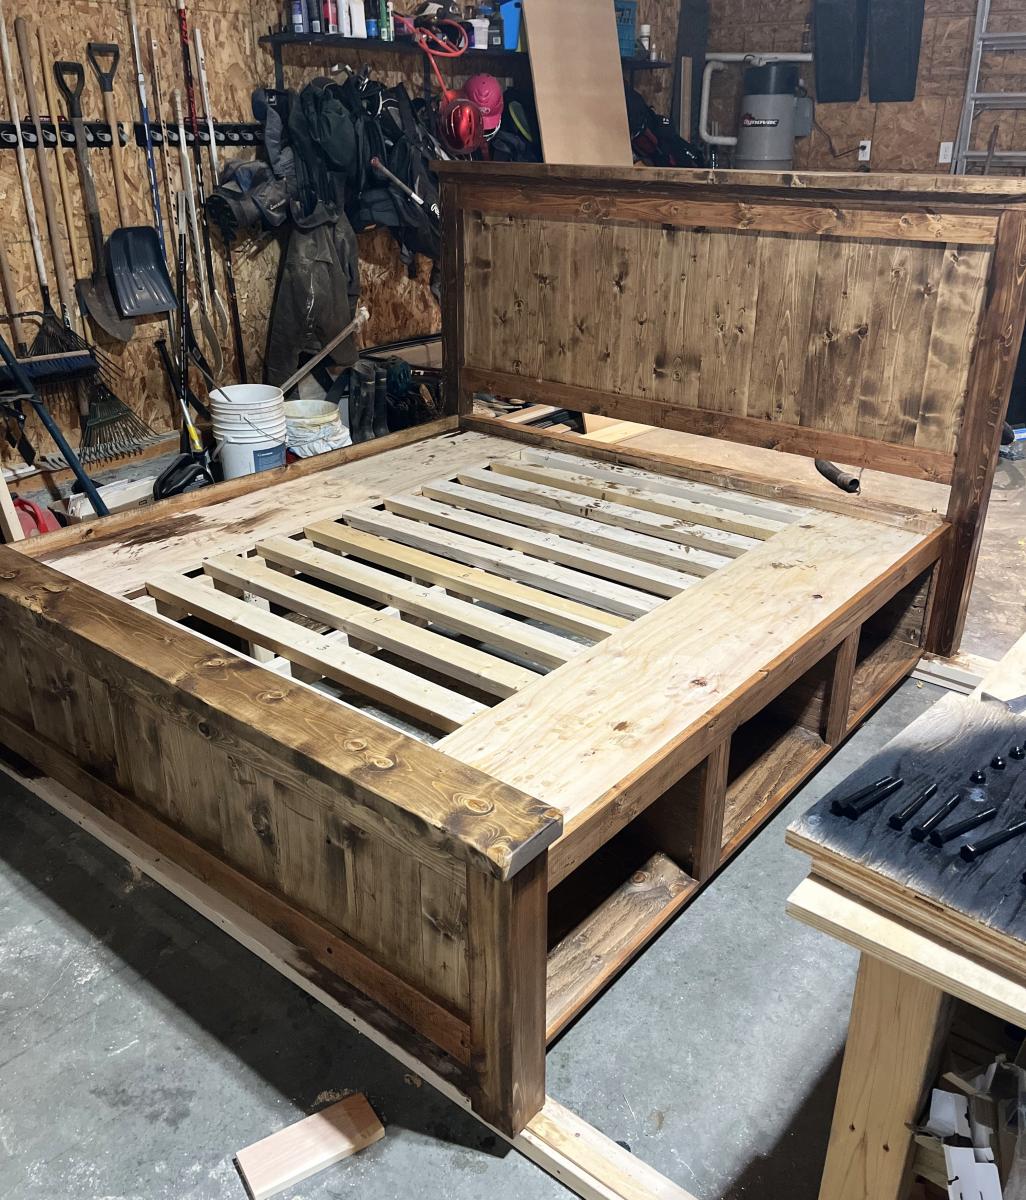
Since developing a love for woodworking I’ve began building things for other people. This particular bed frame I built for a couple who are rebuilding their home after it unfortunately burned down. It’s a beautiful farmhouse home out in the country, and this bed frame fits perfectly in their new home.

Estimated Cost
$250
Estimated Time Investment
Weekend Project (10-20 Hours)
Finish Used
I used minwax pre-stain to prepare the wood. I then stained it using special walnut by Varathane (got it from The Home Depot). Finally, I finished it using a clear satin polyurethane by Minwax.
Recommended Skill Level
Beginner

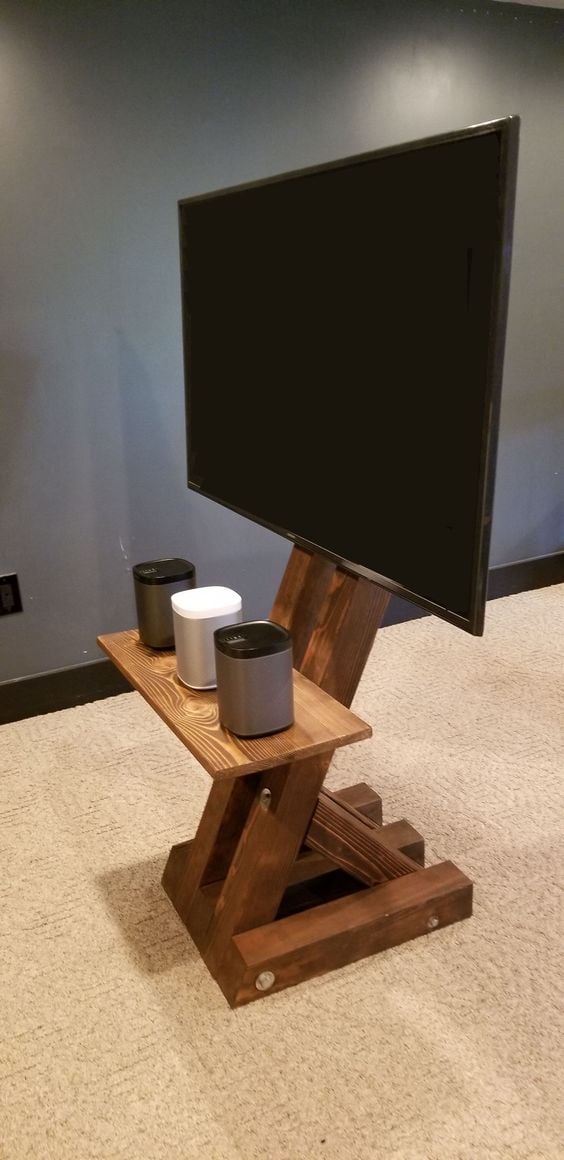
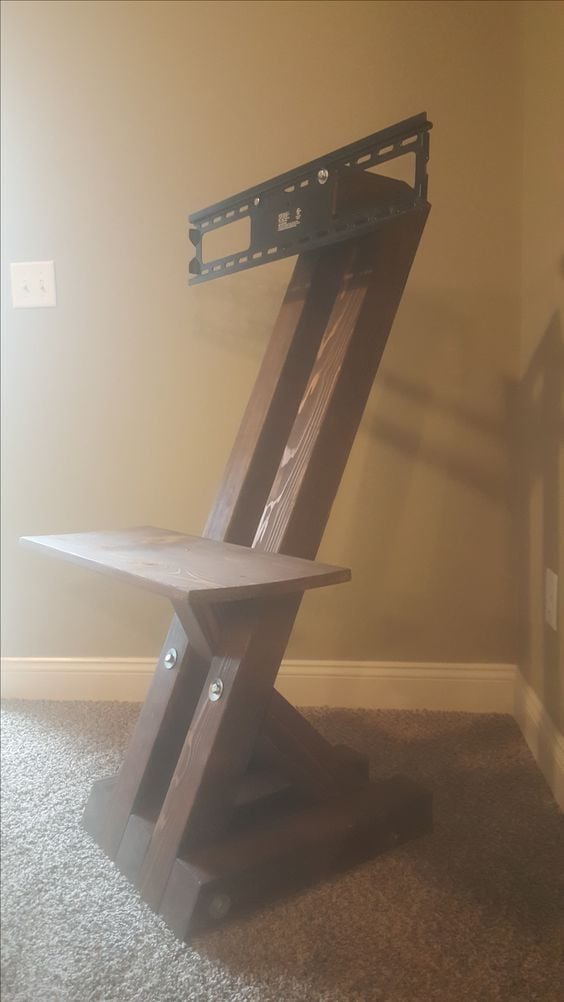
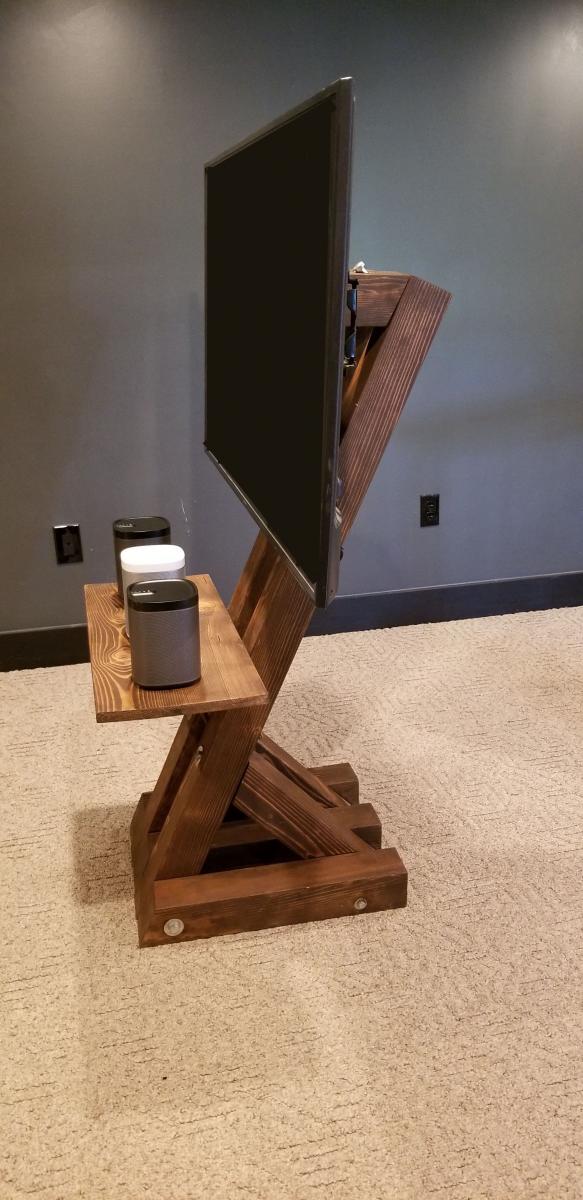
The Gíaffe TV Stand

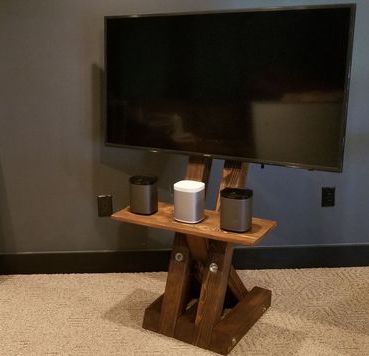
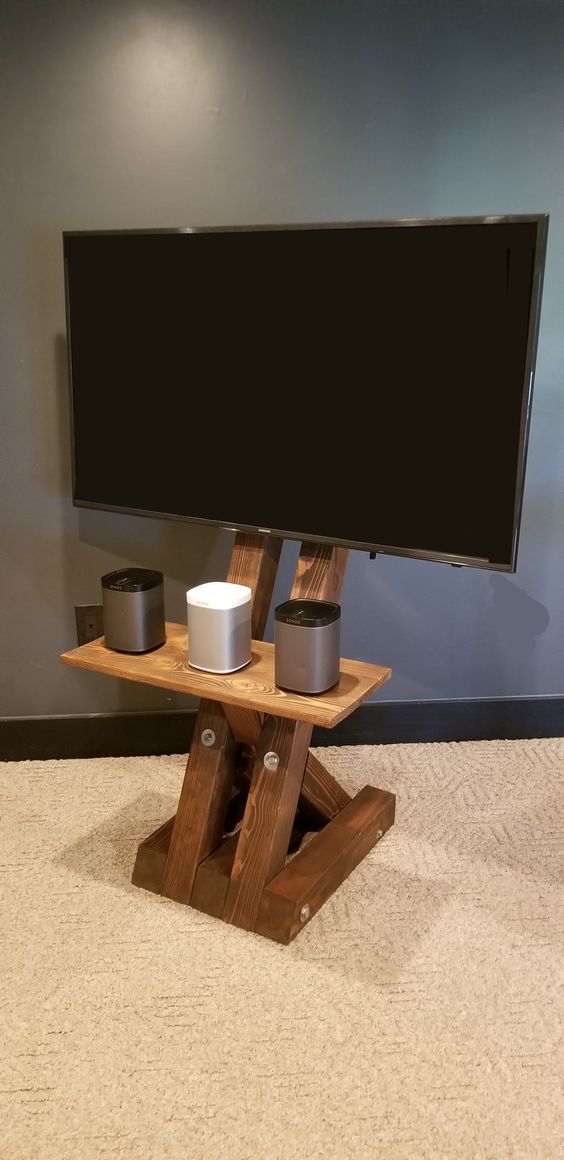
Submitted by Anonymous (not verified) on Thu, 02/06/2020 - 09:55

The Gíaffe Free Standing TV Mount. Handcrafted and engineered to use its center mass to deliver strength and balance for tv sizes 30-60". Display your television without detracting from your home's decor. The Gíaffe Free Standing TV Mount is the perfect solution and its rich finish will be perfect for any house/office room.

Estimated Cost
$109
Estimated Time Investment
Day Project (6-9 Hours)
Finish Used
Stain - Dark Walnut - Varathane - 2 Coats
Finish - Water Based Polyurethane - Varathane - 3 Coats
Recommended Skill Level
Intermediate

Comments

Modern Adirondack Chairs

Submitted by Anonymous (not verified) on Sat, 05/23/2020 - 21:10

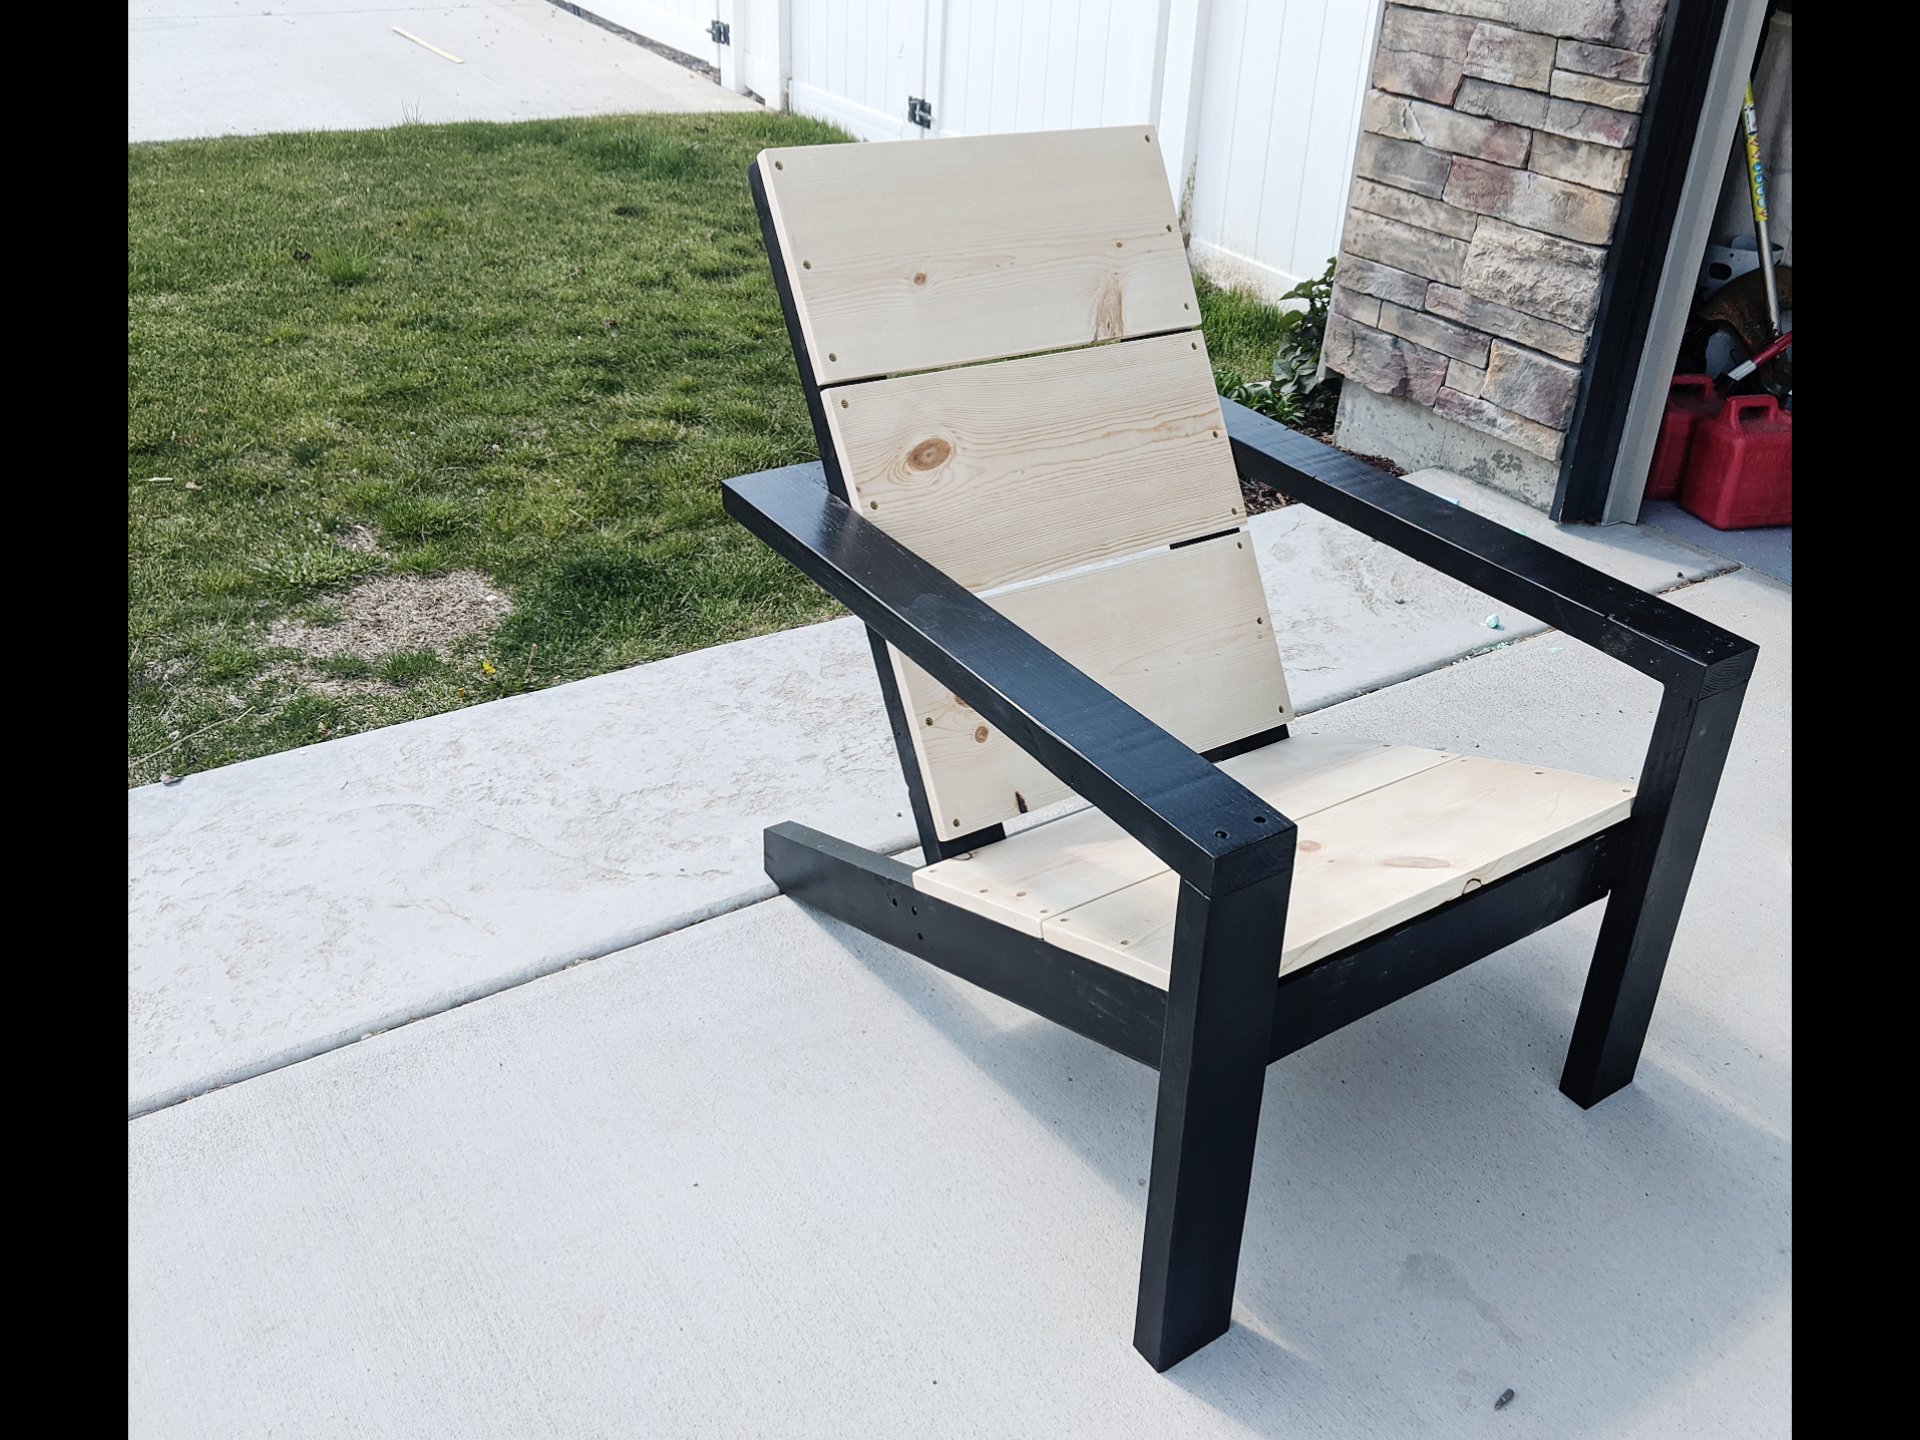
Just followed the plans, and am in love with the finished look!

Estimated Cost
50
Estimated Time Investment
Afternoon Project (3-6 Hours)
Finish Used
Exterior Grade Paint/Sealer
Recommended Skill Level
Intermediate

Comments

Back