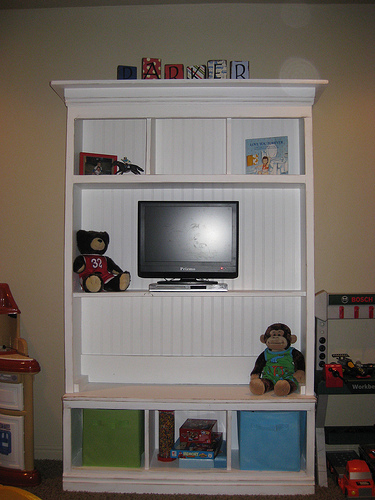
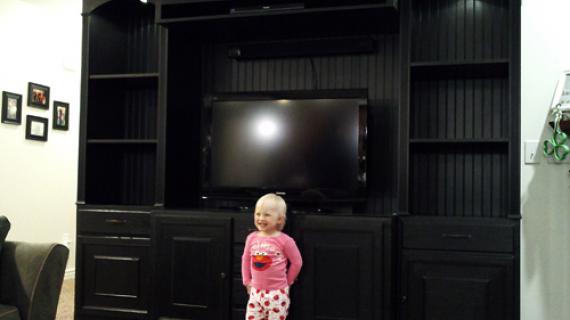
This simple media base is designed for flat panel tvs. It is easy to build and there is an entire collection of plans available here to build a media wall around this console.
Pin For Later!

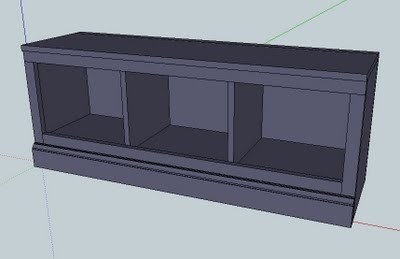
Preparation
2 - 1x12 @ 8 feet long 2 - 1x2 @ 8 feet long 1 - 3 1/2" Base Moulding @ 4 feet long 1 sheet of Beadboard Paneling (wainscotting could work)
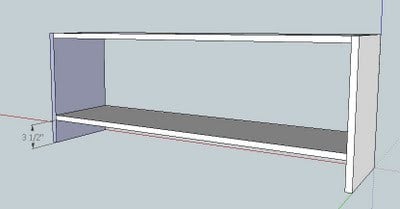
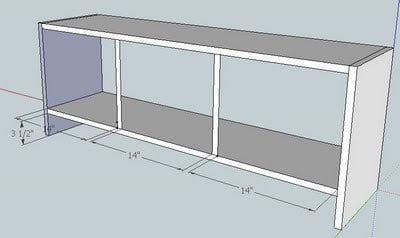
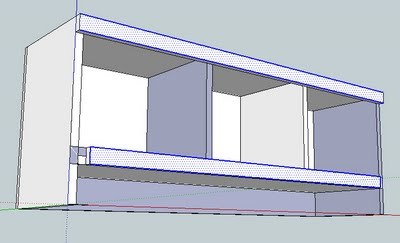
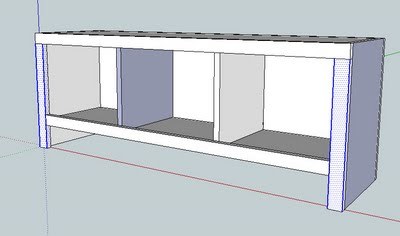
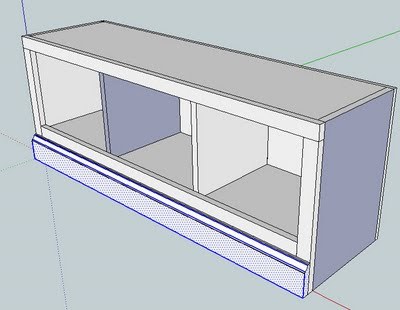
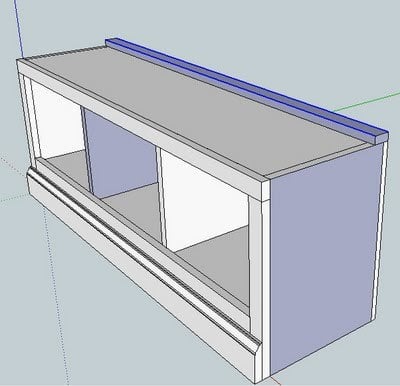
A) 2 - 1x12 @ 16 3/4" (Sides) B) 2 - 1x12 @ 43 1/2" (Top and Bottom of the "Box") C) 2 - 1x12 @ 11 3/4" (Vertical Dividers) D) 1 - 45" x 16 3/4" beadboard (any thickness) E) 2 - 1x2 @ 45" (trim pieces for the top) F) 1 - 1x2 @ 42" (trim piece for the bottom) G) 2 - 1x2 @ 15 1/4" (front outside corner trim pieces) H) 1 - 45" piece of 3 1/2" base moulding I) 1 - 1x12 @ 45" (Top)



Comments
Colleen (not verified)
Wed, 03/17/2010 - 07:33
Quick question: Why, in step
Quick question: Why, in step 6, did you use the trim piece (E) + the 1x12 (I) on the top, rather than just a single solid piece?
Ana White (not verified)
Wed, 03/17/2010 - 07:52
Hi Colleen, I did the double
Hi Colleen, I did the double top for 2 reasons. The double top will add strength for the tv and it gives a nice overhang on the front. Because 1x12 is the widest width board you can buy (commonly), to get a wider width, you add the 1x2 to the back where it will not be seen.
Hope this helps! Ana
Bananas4Bargains (not verified)
Sat, 03/27/2010 - 03:29
We made the rustic media base
We made the rustic media base this week, with a few modifications=) I am more than happy with it...hoping to get pics posted to the Facebook group today!
MARYALICE (not verified)
Mon, 09/06/2010 - 17:38
I love all your designs and I
I love all your designs and I am sure you get overwhelmed with requests. Buy I've never seen a request for a corner media cabinet and I know there are people that would LOVE them.
Ana White (not verified)
Mon, 09/06/2010 - 19:10
Hi Mary Alice, request noted!
Hi Mary Alice, request noted! We have had tons of request for a corner cabinet, and I am listening!
Mary (not verified)
Mon, 10/04/2010 - 10:57
I agree about a corner media
I agree about a corner media cabinet, Mary Alice. I've been trying to figure out how to modify this plan to make a corner cabinet...but haven't been able to figure it out.