
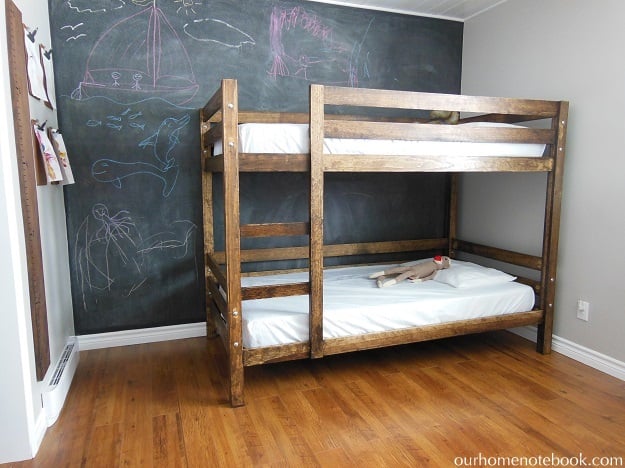

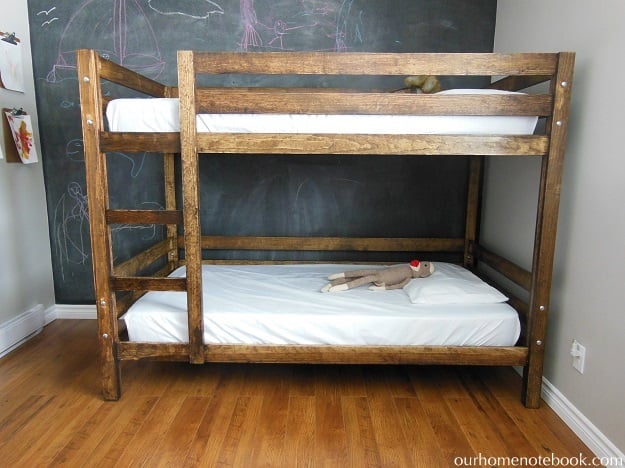
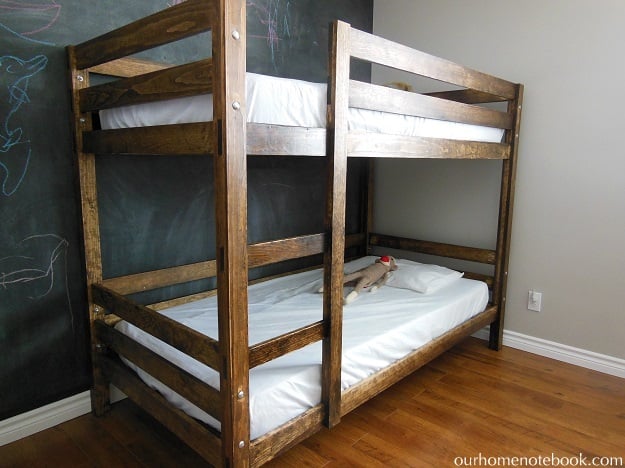
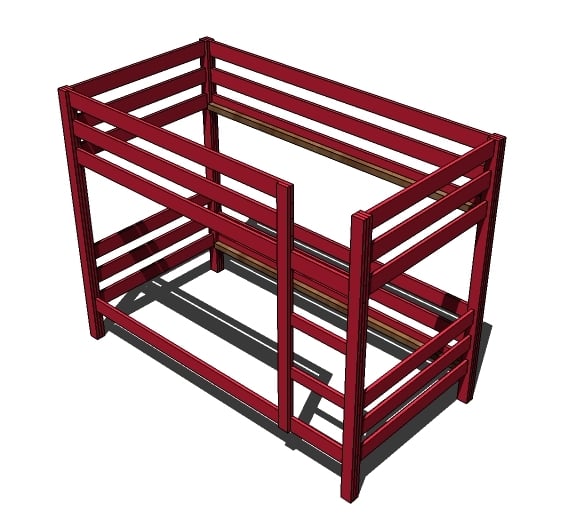
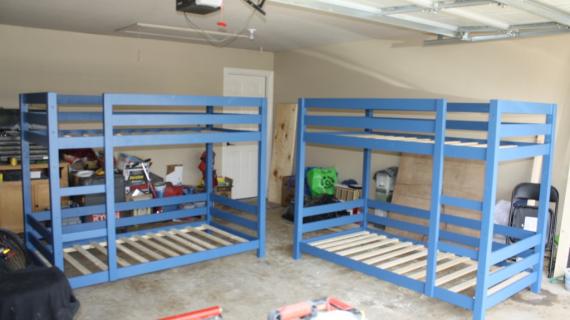
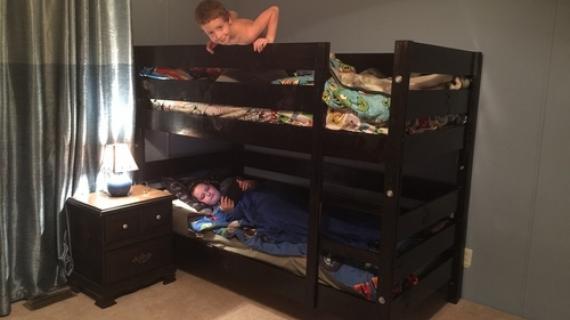
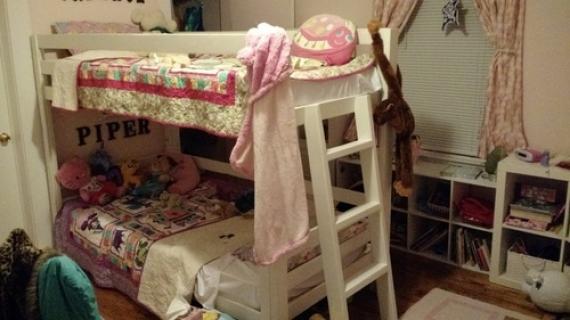
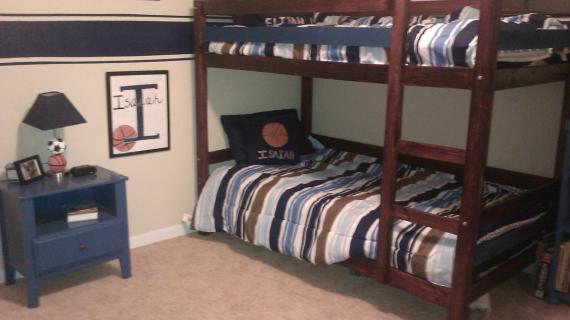
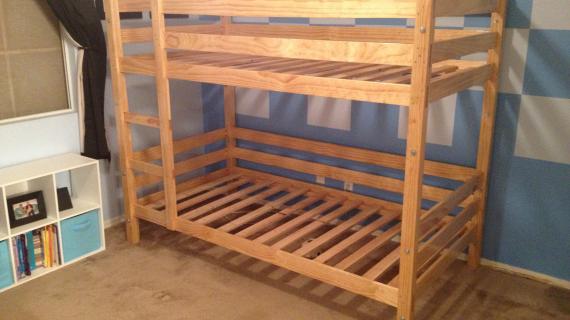
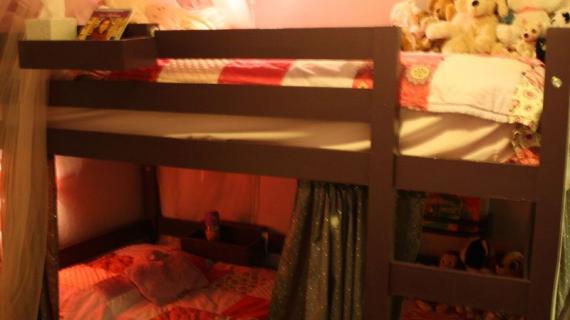
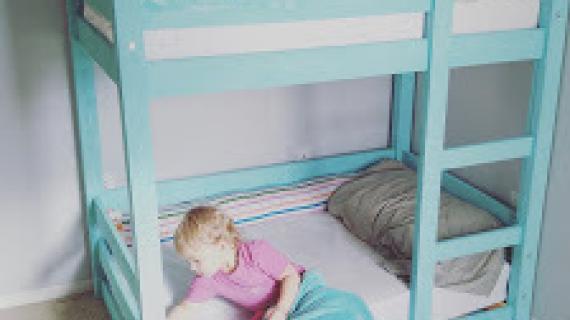
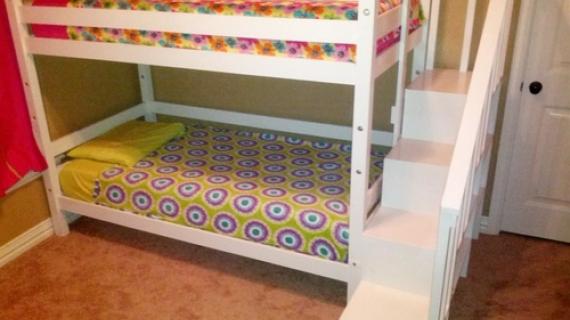
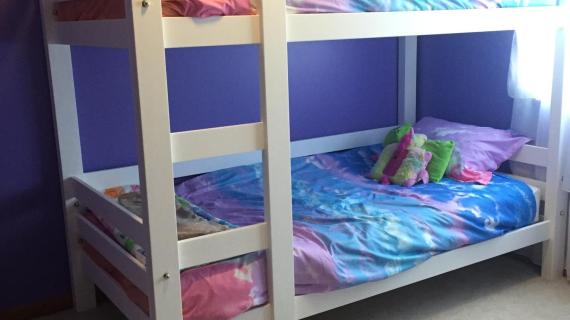
These bunk beds are unique because they are easy to build and can be assembled and disassembled easily. Ladder is integrated into the design.
Preparation
- 11 – 10′ 1×4 Boards
- 4 – 8′ 2×2 Boards
- 9 – 8′ 1×3 Boards (not including wood slats)
- 2″ Self Tapping Wood Screws
- 1 1/4″ Self Tapping Wood Screws
- 1 1/4″ Brad Nails
- Wood Glue
- Wood Filler
- Finishing Supplies
- 16 – 3″ Bolts with washers and nuts
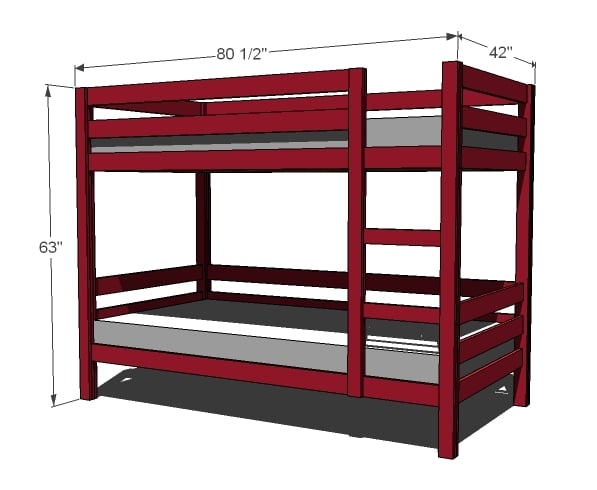
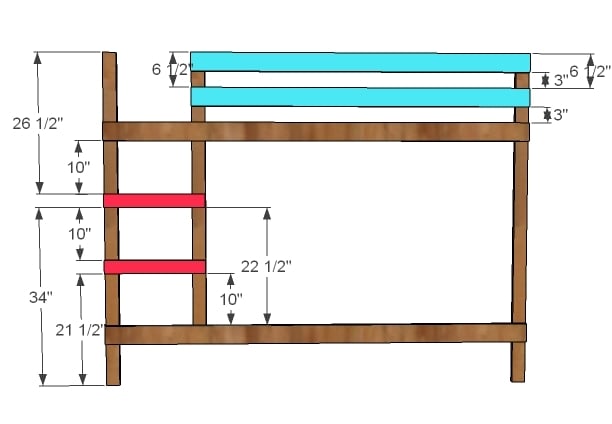
- 12 – 1×4 @ 37 1/2″ (End Rails)
- 8 – 1×3 @ 63″ (Solid Leg Pieces)
- 8 – 1×4 @ 80 1/2″ (Back and Front Rails)
- 2 - 1x4 @ 64" (Front Rails)
- 12 – 1×3 @ 3″ (Trim Pieces between Rails)
- 2 – 1×3 @ 22″ (Trim Pieces between Rails)
- 4 – 1×3 @ 8″ (Bottom Trim Pieces)
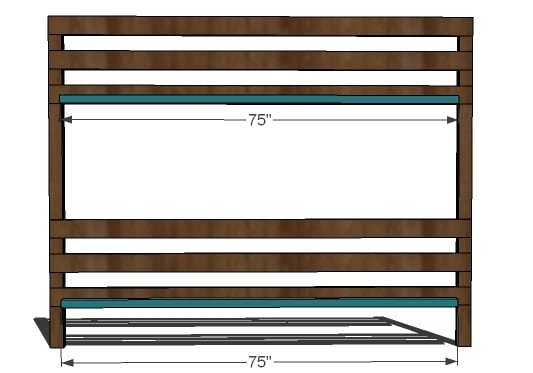
- 4 – 2×2 @ 75″ (Use Metal braces for a stronger bed)
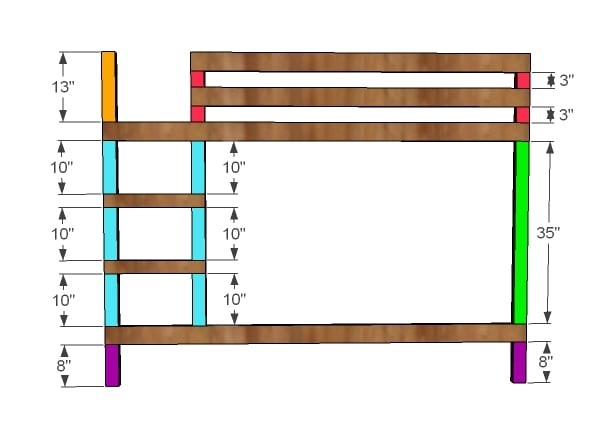
- 1 – 1×3 @ 55″ (Ladder Side)
- 2 – 1×3 @ 19″ (Ladder Rungs)
- 1 – 1×3 @ 13″ (Ladder Front Trim Piece)
- 6 – 1×3 @ 10″ (Ladder Trim)
- 1 – 1×3 @ 35″ (Front Leg Trim Piece)
- 1x3s @ 39″ (Bed Slats, as shown with 34 total slats)


Instructions
Step 1

Build the Ends
Build two of the ends as shown above. Best joining method is to use pocket hole screws from the insides of the rails into the legs. Other option is to use 2″ screws from the outside of the legs, with a countersink bit. Screws are recommended, because bunk bed are going to take lots of movement, and nails joints will eventually separate out.
Step 2

Build the Back
Simply take two of the 1×3 legs @ 63″, and mark as shown in the diagram above. Glue and screw with 1 1/4″ screws the side rails to the legs. On this step it is very VERY important that you check and adjust for square. If the diagonals do not match up, push the outside corners of the longer diagonals together.
Step 3

Trim the Back
After you have built the back, cut 1×3 pieces to fit the legs between the slats. You can nail these pieces on with a finish nailer and glue, using 1 1/4″ nails. TIP: Don’t cut these pieces prior to building – measure and cut to the opening, to get the exact fit.
Step 4
Bed Slat Supports
If your child is heavy or you expect the bed to take a large amout of abuse, I recommend purchasing metal braces, and screwing to the inside of the bed. Otherwise, use 2x2s, 2″ screws and WOOD GLUE to attach the bed slat supports to the back slats, keeping bottom edges flush.
Step 5

Step 6
Rails and Ladder Rungs
Mark the sides and the ladder piece as shown above. Glue and screw with 1 1/4″ the top bunk rails and the ladder rungs to the legs and the ladder side.
Step 7
Trim the Front
As you did the back, trim the front, filling in all the spaces with 1×3 boards. Use 1 1/4″ nails or optionally screws and glue.
Step 8
Assembly Assemble the bed by bolting the four pieces together, using 3″ bolts and washer and nuts, four bolts per leg. If you plan on seldom assembly/disassembly of the bed, you could also use 2″ wood screws from the inside of the end legs into the back/front legs.
Step 9
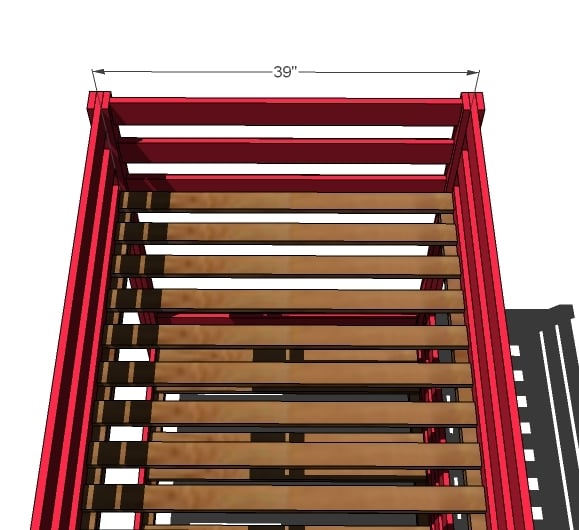
Mattress Slats Your mattress should have recommendations for bed slats. Use 1x3s, cut at 39″, layed on top of the wood slat supports, according to the recommendations of the mattress. Screw down with 1 1/4″ screws.


Comments
degroot
Wed, 05/15/2013 - 11:43
Full over Full?
Can this be made into a full over full? A plan set for both sizes would be great!
kongk
Tue, 05/21/2013 - 03:51
This is very educational
This is very educational content and written well for a change. It's nice to see that some people still understand how to write a quality post!
Sea Navi Website
BayviewBadger
Sat, 05/30/2015 - 07:51
Hard Lesson Learned
While I'm always grateful for free content, this isn't the only set of bunk bed plans on the web.
Just wanted to warn any other husbands/fathers out there...
We were planning on building these with a planned trip to get the lumber later today. Then I started looking at lumber prices...that brought an abrupt end to this project.
All the research I did says to use hardwood, pine/softwood is just going to be a disaster...good luck finding one perfectly straight piece of pine at a home improvement store. Also if you're building this for kids, the only way you'll get a strong enough bed for them is hardwood.
A **single** 1x4x10' piece of hardwood runs $17-$24, putting the price of just the 1x4's at $170-$240. That brought this project to a halt, I only eyeballed the 1x3 and 2x2 prices.
If nothing else, make your list and price it out before you head off to get your lumber. Don't mess with the cheap softwoods, hardwood is the only way to go.
I miss the bunk we had in the 80's...it was bombproof and survived the beating my brother and I gave it from pre-school into our college years.
njmorin
Wed, 09/23/2015 - 20:58
I'm thinking of building
I'm thinking of building these bunk beds but I'm just a little unsure about using 1x boards. Anyone who has built this - is it pretty sturdy?
RajeanaBarker
Mon, 11/02/2015 - 06:02
I was wondering how many
I was wondering how many boards I needed of the 1x4 x 10" long because it says 7 but then it also says I need 8 at 80 1/2" long and then 12 @ 63"and only 7 boards total so I'm just a little confused do I need to buy more 1x4 x 10"
Tjguerin
Sat, 08/13/2016 - 10:14
Double over double?
hey Ana, LOVE this bunk bed plan!! However, I am needing to build a double over double. Plus we have a low ceiling and so this height is perfect. So many other plans and retail bunk beds are just too tall. .... Any chance you might be able to design something to reflect that? A low (like this) double over double bunk??? Or even this exact design with dimensions, and cut list? If so, THANKS!!! appreciate your time and vision SO MUCH!!!
angell001
Wed, 11/20/2019 - 18:43
Is there a way to figure put…
Is there a way to figure put how much weight these will hold?
rarmstrong15
Fri, 02/28/2020 - 13:46
Labor husbands Note
For the husbands building these note: make the 80.5 1x4 cuts first and use the scraps for the slats... I multi cut 12 slats before I figured it out haha now I have to buy 5 more 1x4 and have a great amount of “other” project 1x4. It’s a great bed frame.
lwall12
Fri, 06/26/2020 - 08:04
I love this! How would you…
I love this! How would you convert this to fit crib mattresses???
hthiel329
Thu, 09/10/2020 - 07:06
double full bunk plans
do you have any plans for a full over full bunk?