
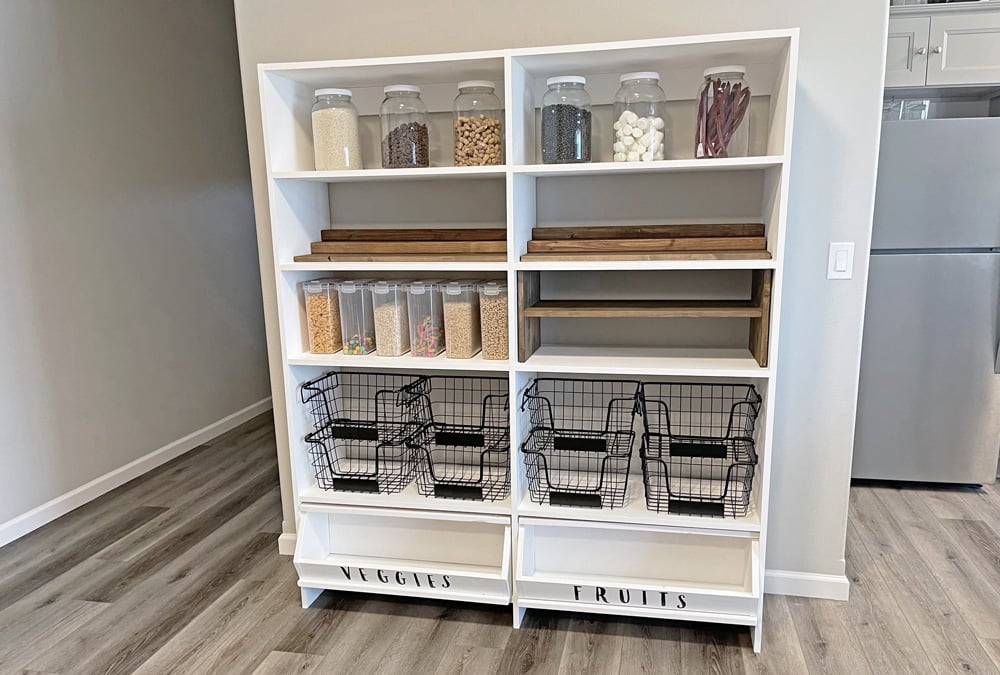

Build your own custom pantry shelf and customize it for your needs! You can have a pantry in plain sight with this beautiful organized system. Free step by step plans from Ana-White.com
Food ... it is a revolving storage and organization challenge that we all deal with. A pantry is a must in new homes. But what happens if you don't have an adequate pantry?
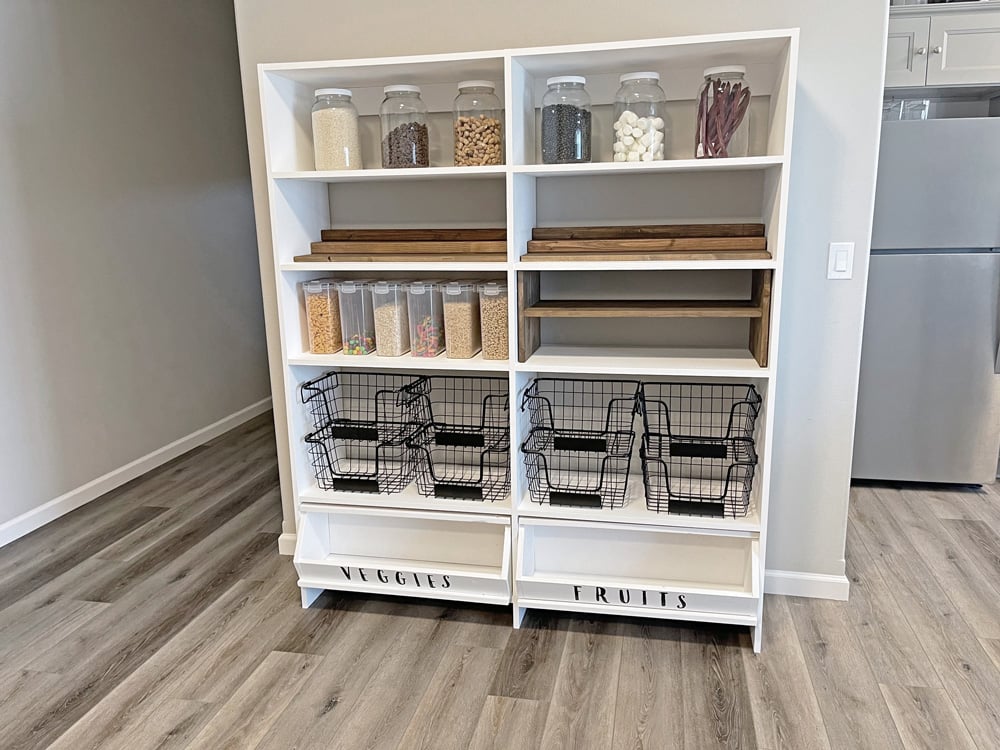
My friend and co-worker Jen, who considers herself a beginner woodworker, solved it by building her own custom sized freestanding pantry!
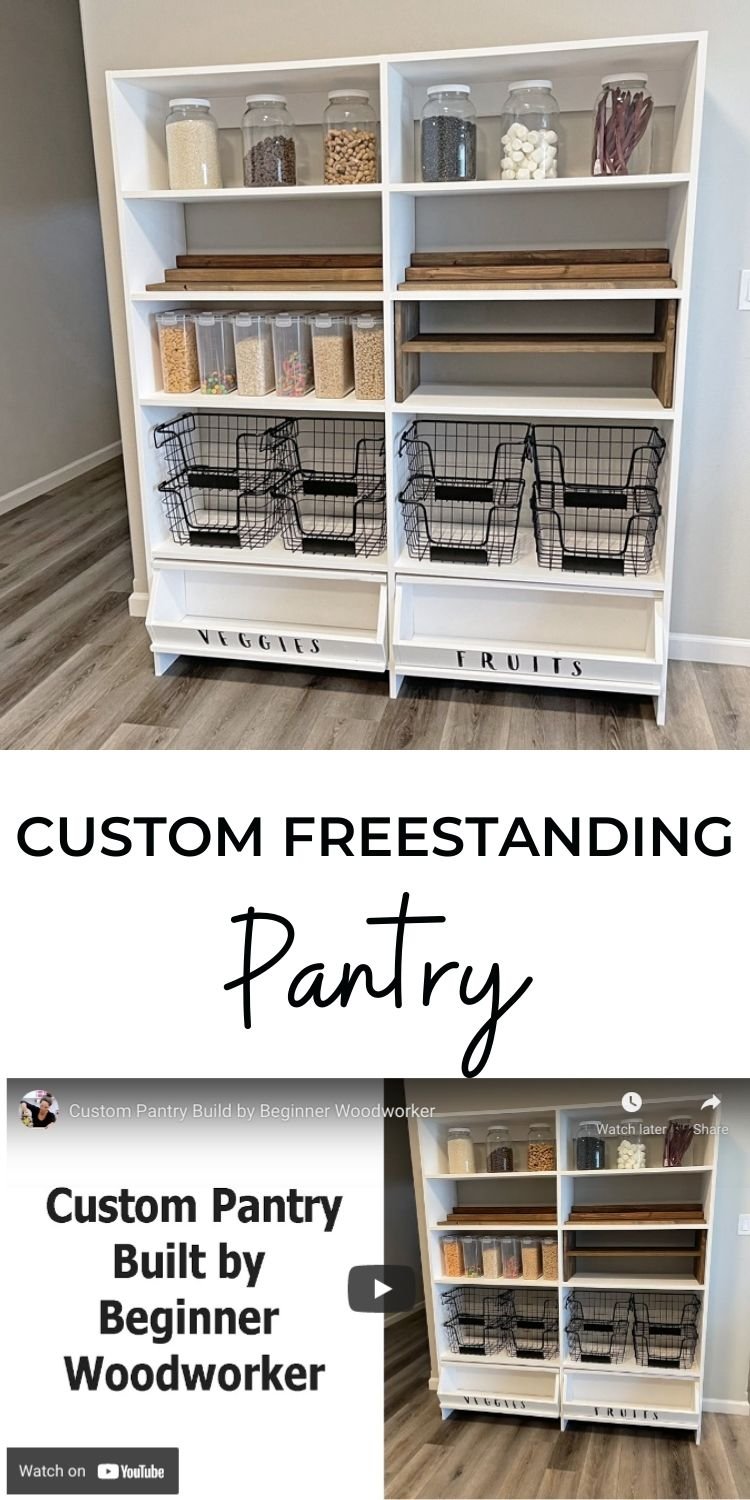
Build Video: Watch it Happen!
Jen was kind enough to film all the steps, so you can watch how she made this happen. Here's the build video for this custom freestanding pantry:
Plan and Product Links
Ready to tackle your own pantry project? Here's the links for all the different DIYS and containers/bins:
- Ana White Custom Shelf Designer - to Create a Custom Size Pantry
- Ana White H Shelf Plans
- Wood Can Tiers (Plans Coming Soon)
- Gallon Jars from Amazon
- Cereal Bins from Amazon
- Stackable Wire Baskets from Amazon
Build this Pantry with Melamine Shelving Boards!
Want to build this pantry quickly with melamine shelving boards? Here's how you can pick up some prefinished shelving boards and make your own pantry in a day!
Pin for Later!
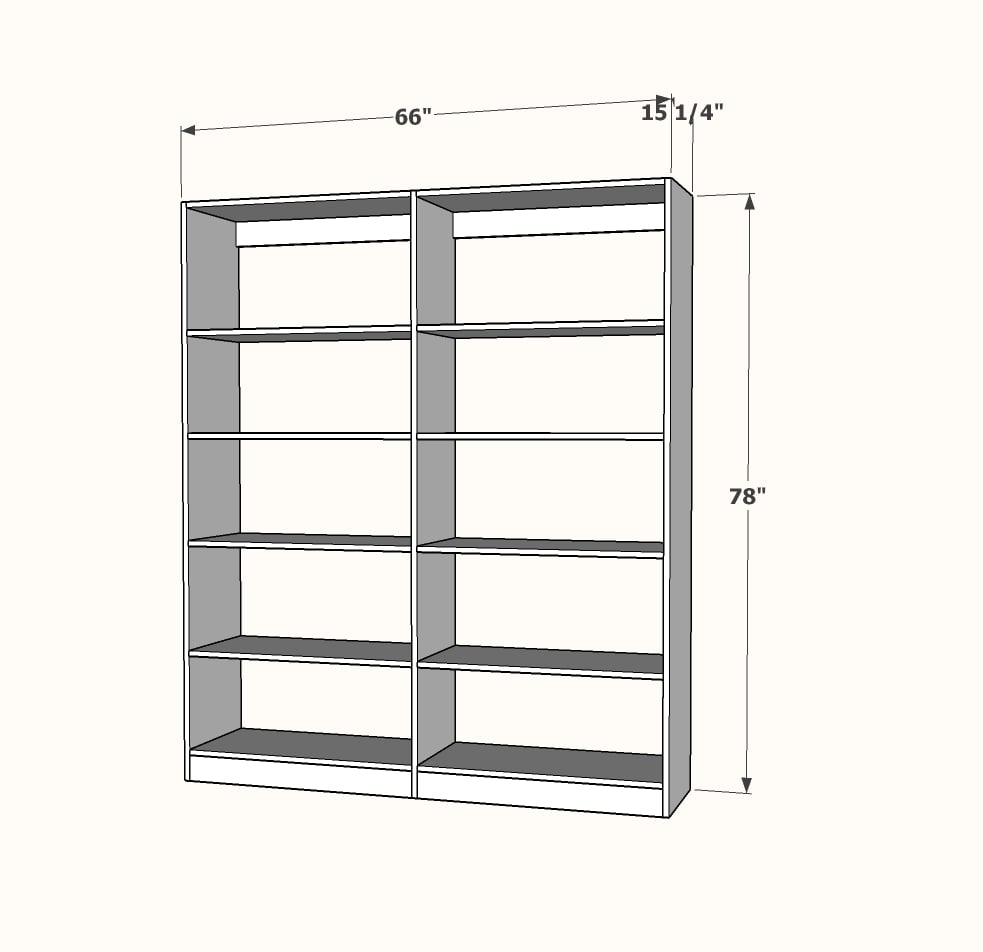
Preparation
- 7 - 3/4" thick by 15-1/4" wide white melamine shelving boards, 8 feet long
- 100 - 1-1/4" coarse thread pocket hole screws
- 3 - 8' long 1x4 boards, prime and paint white to match melamine
- Recommended - 1/4" plywood painted white for back and 3/4" brad nails or staples for attaching
- 3 - shelving boards cut at 78" long - sides
- 12 - shelving boards cut at 31-1/2" - shelves, drill three 3/4" pocket holes on each cut end
- 6 - 1x4 @ 31-1/2" long, drill 3/4" pocket holes on ends and along top edges for attaching to underside of shelves
TIP: When drilling pocket holes on the shelving ends, offset all pocket holes drilled slightly to the right - this way you won't end up with intersecting screws at the center of the pantry.


Instructions
Step 1
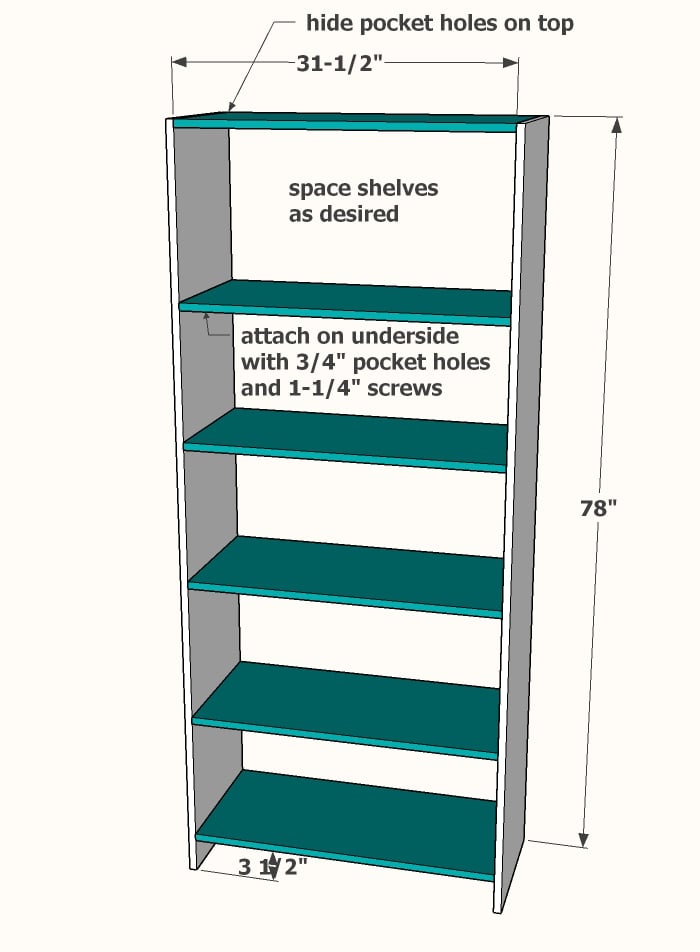
Drill 3/4" pocket holes, three per end, on all shelving boards. TIP: Offest the pocket holes slightly to the right on ALL of the shelving board ends, to avoid intersecting screws at the center in later steps.
Attach shelves at the top and bottom as shown, the center shelves can be placed at different heights to accommodate different storage needs.
Use 1-1/4" coarse thread pocket hole screws for assembly.
Step 2
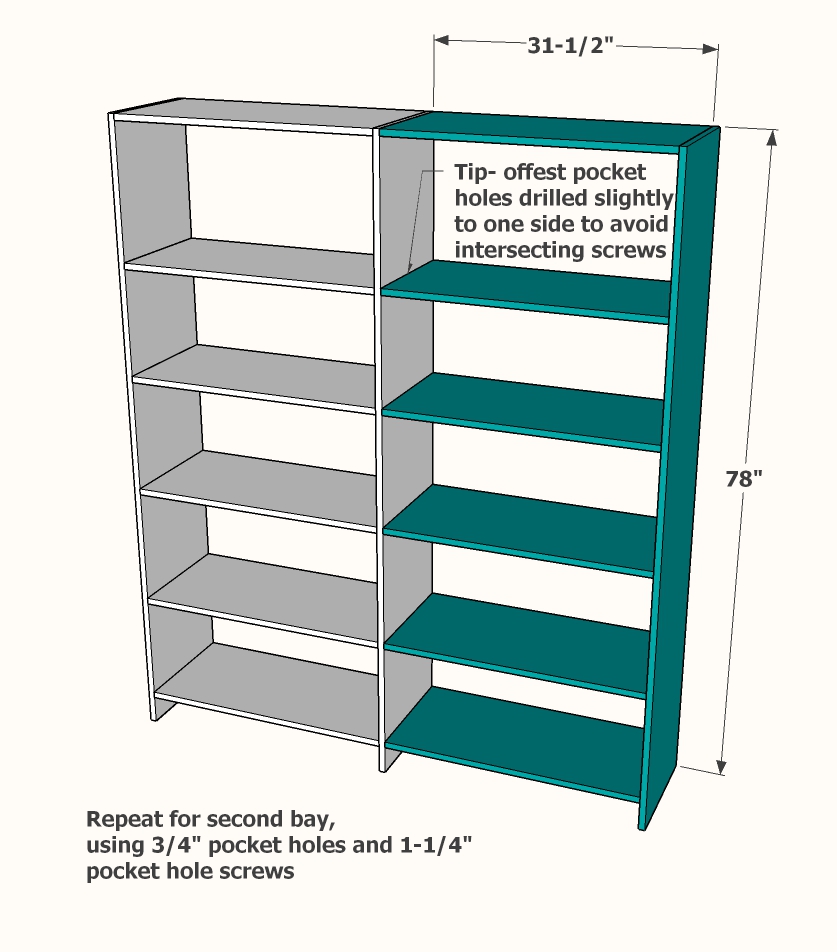
Repeat to add the second bay of shelving.
Step 3
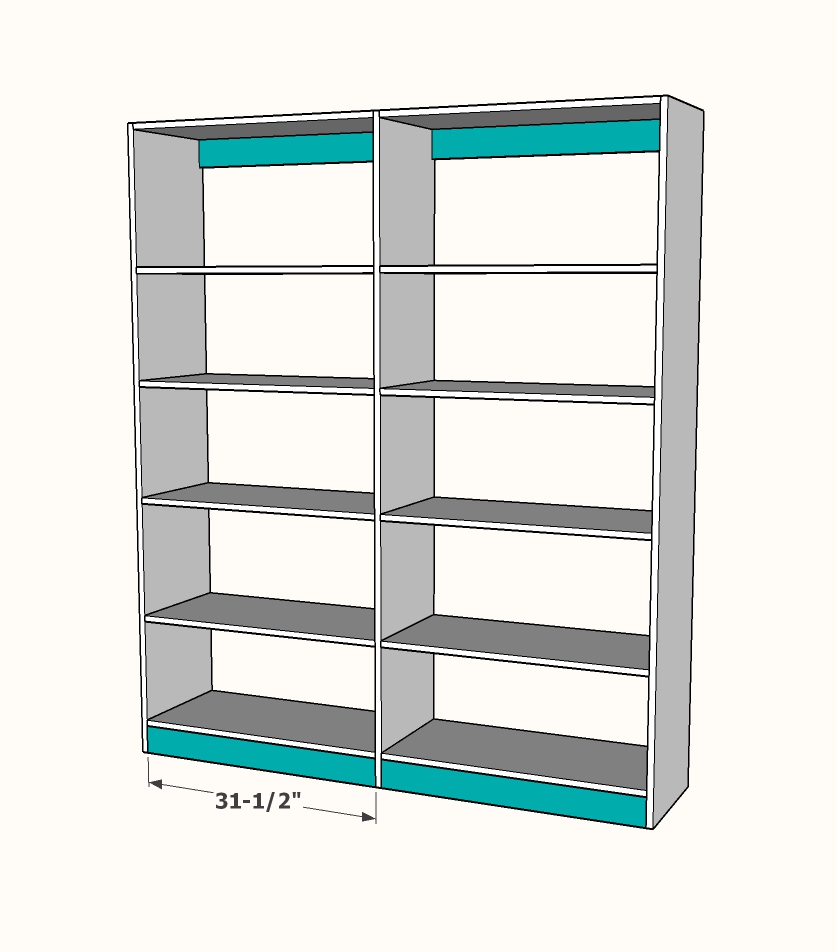
Reinforce the shelving by adding 1x4 "bay supports" under the bottom shelf and at the top. Attach also to the underside of the shelves with 3/4" pocket holes and 1-1/4" pocket hole screws.
For a higher quality project and more support, add 1/4" plywood paneling to the back with 3/4" staples or brad nails.
