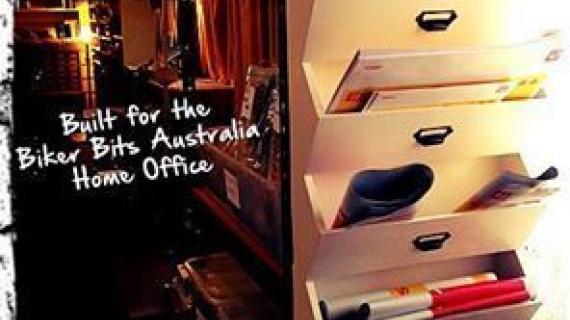
Wood bins perfect for storing accessories, toys and more! Hangs on the wall. Free plans by Ana-White.com
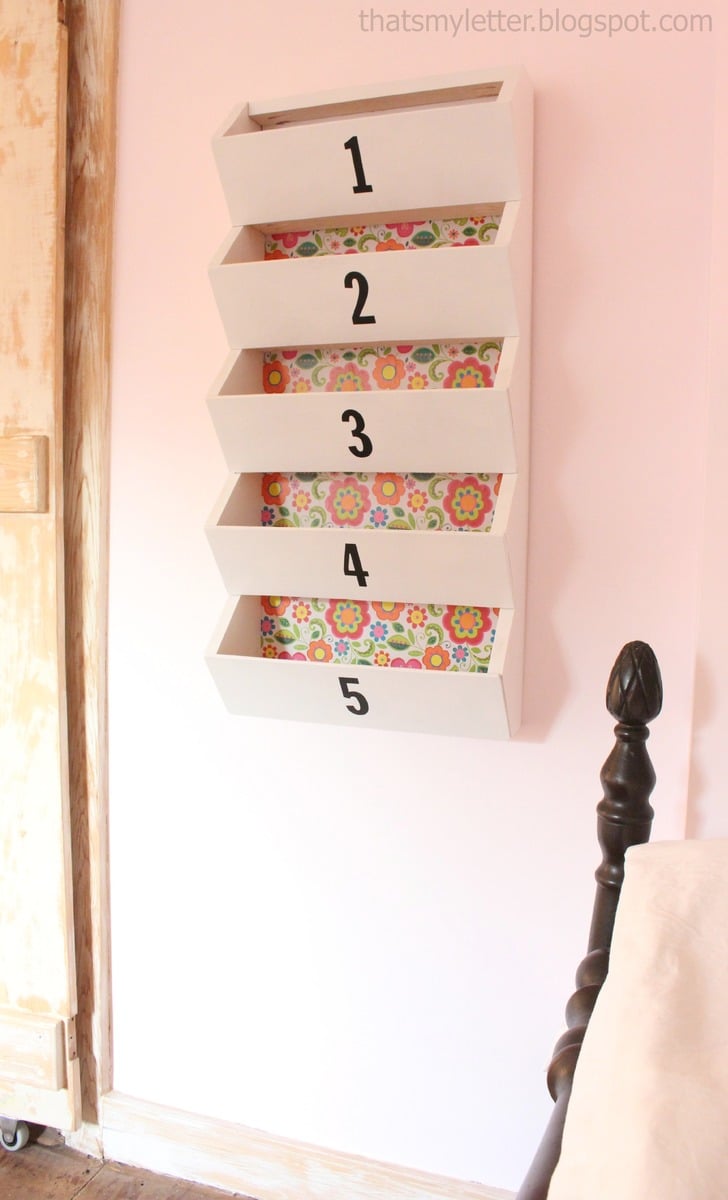
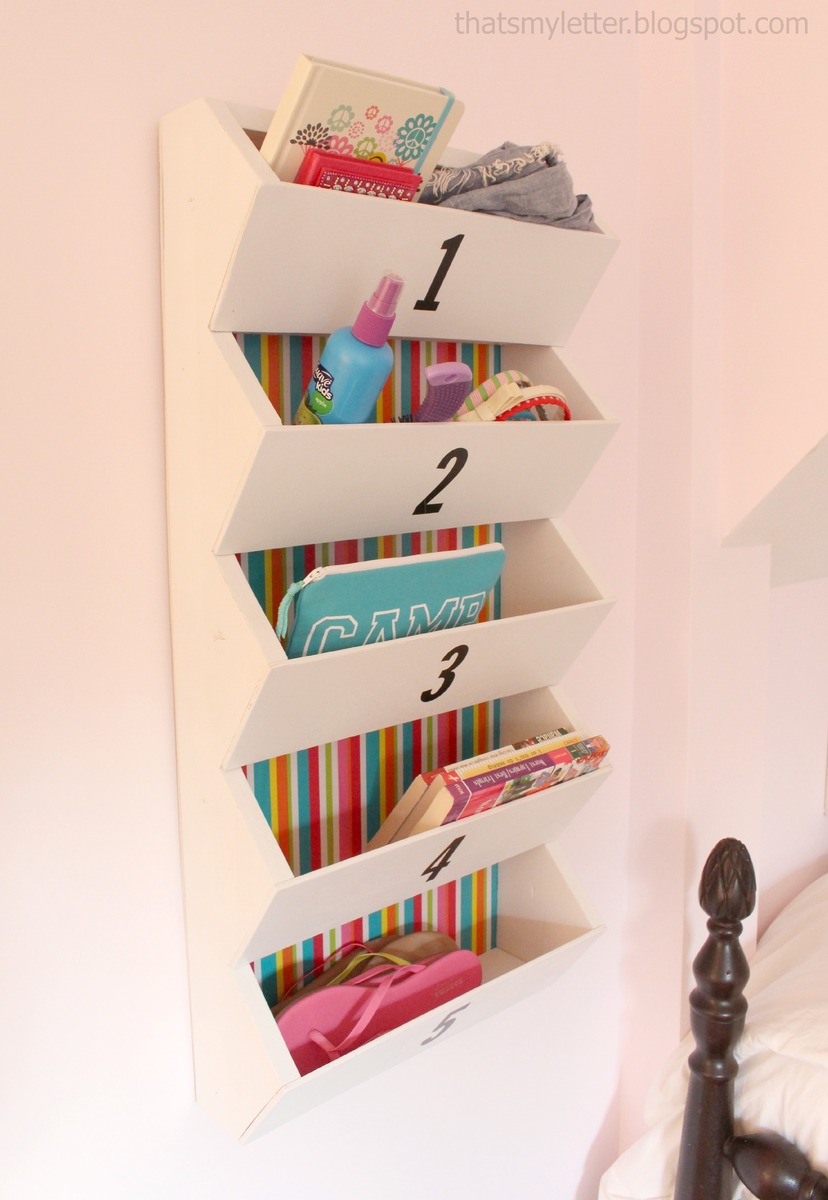
Oh, I can just imagine this one filled with little gifts on Christmas morning!

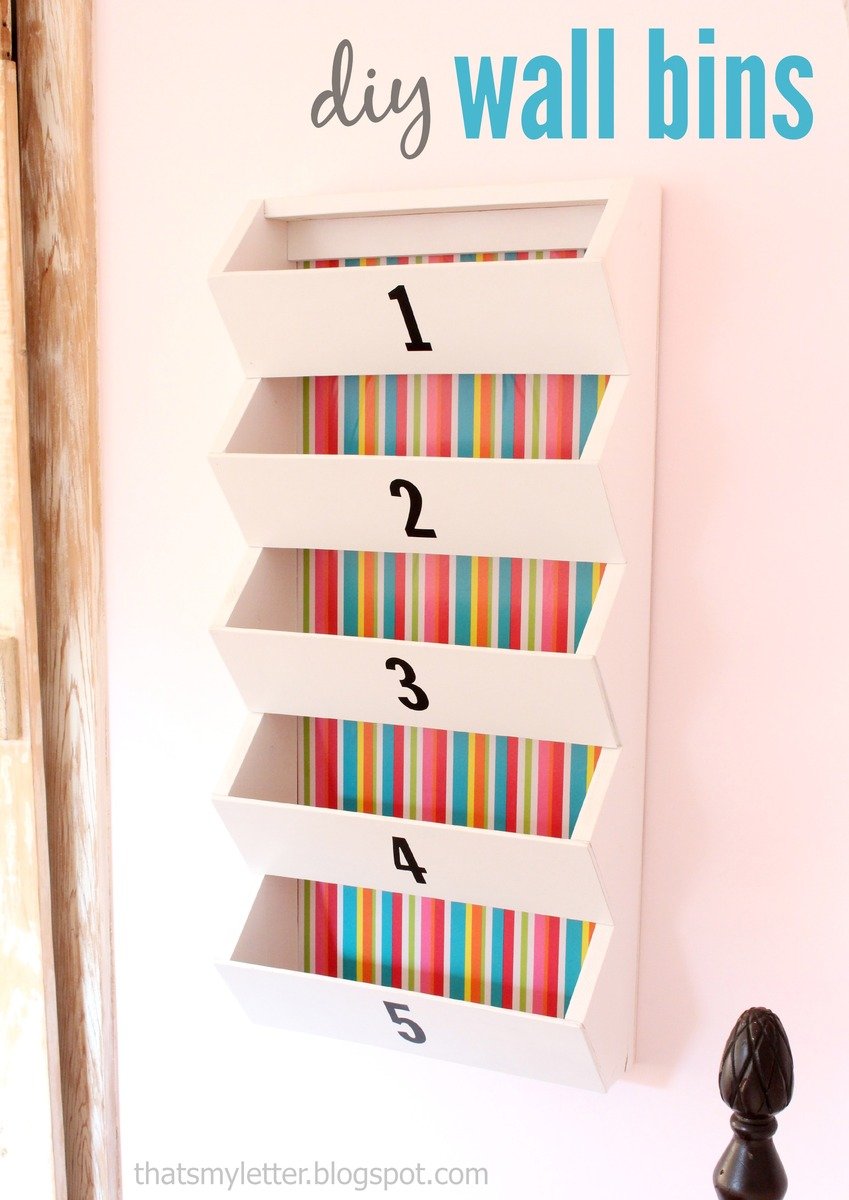
So happy today to get to share new plans with you today for wall bins!!!

It's perfect for toys and books and accessories in a kids room. And there might even be a mom or two out there that would love this in her entryway for hats, scarves and gloves.
As part of our ongoing series for Handmade Holidays -

Jaime from That's My Letter and I are teaming up to get you a new gift plan each Friday until Christmas.
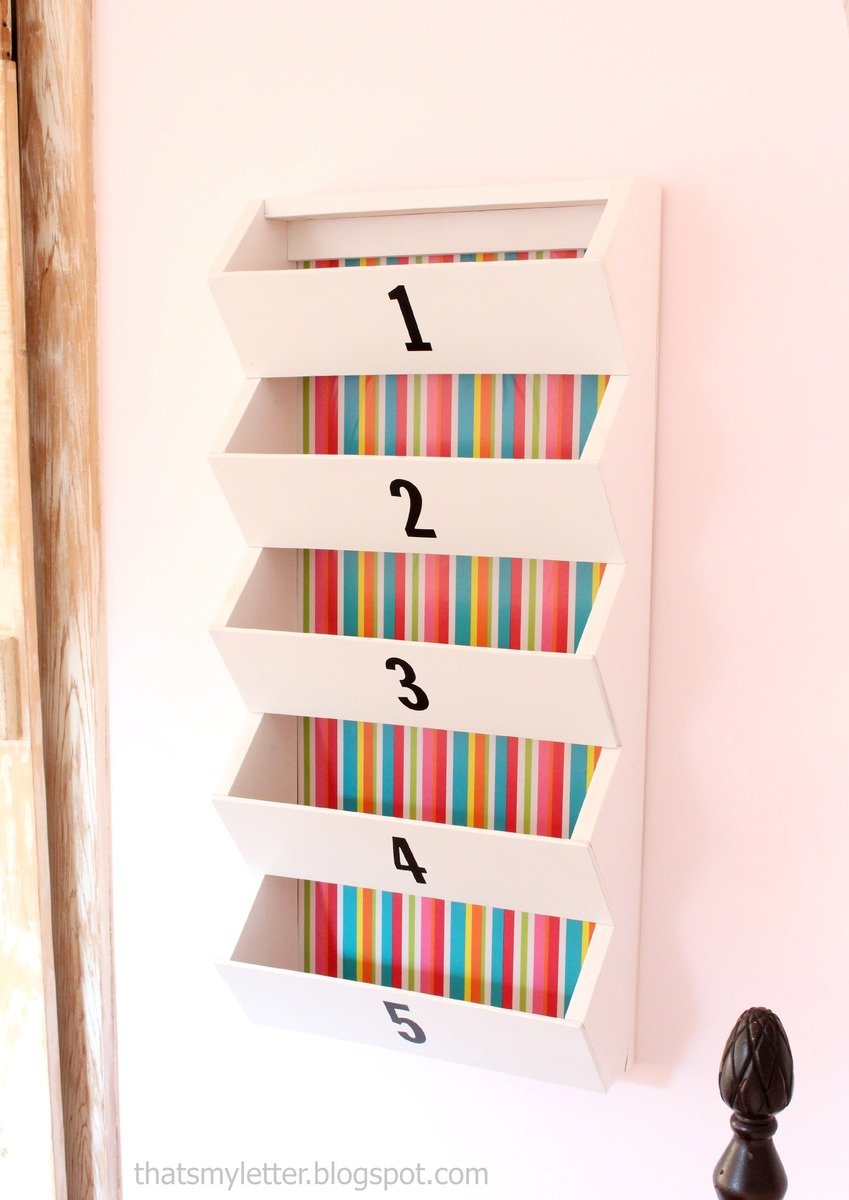
We hope you enjoy these wall bin plans today, and of course, you can check out all the other Handmade Holiday Plans here.
The plans for this project follow, but make sure you check out Jaime's building post here for lots more tips, building photos, and more finished photos too!
See you back here for plans!
Have a great weekend,
Ana

Preparation
1 - 1x6 @ 6 feet long
1 - 1x3 @ 8 feet long
14-1/2" of 1x2 (can also use a 1x3 here)
1 - 24" x 48" piece of 1/4" thick plywood or hardboard
can use 2" wood screws instead of 1-1/4" pocket hole screws
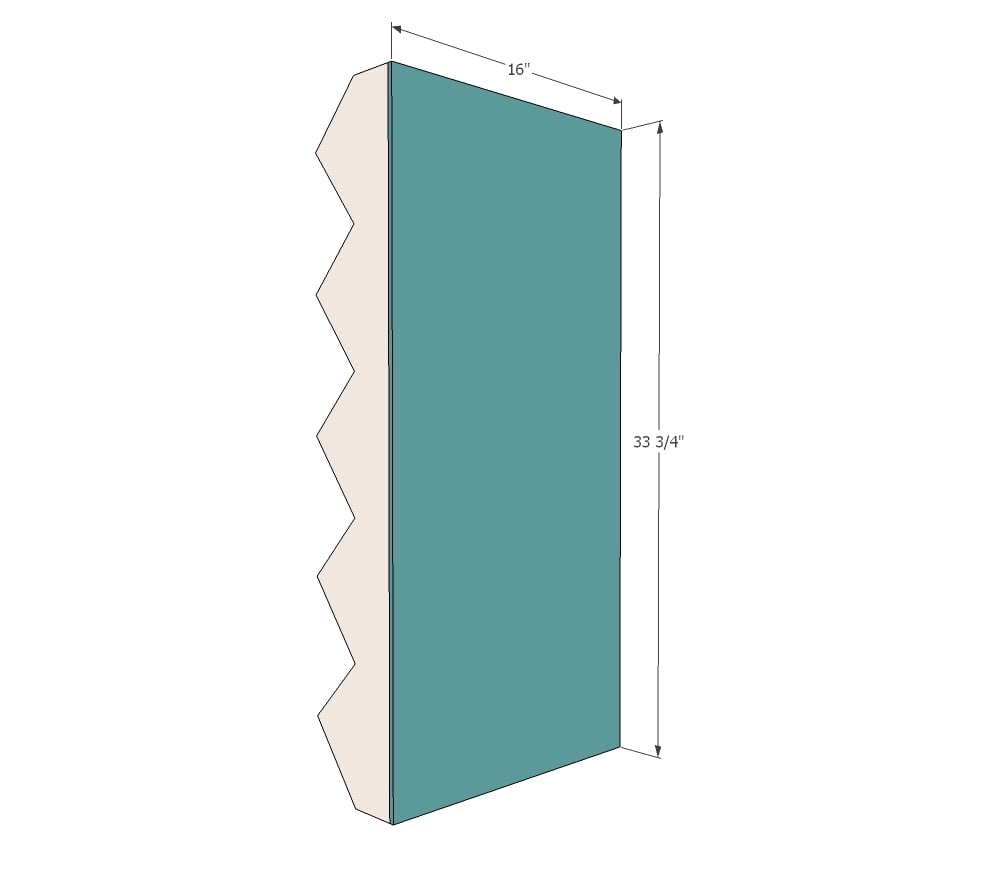
2 - 1x6 @ 33-3/4"
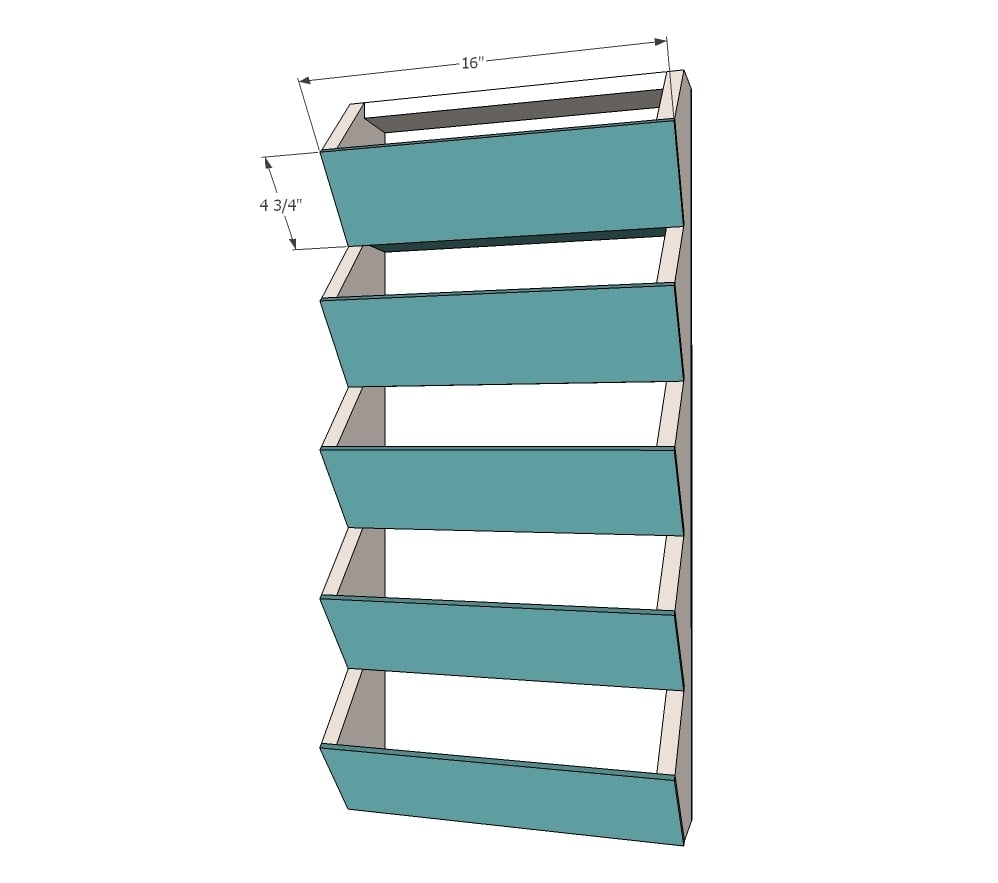
6 - 1x3 @ 14-1/2"
1 - 1x2 @ 14-1/2"
1 - 1/4" plywood @ 16" x 33-1/4"
5 - 1/4" plywood @ 16" x 4-3/4"


Please read through the entire plan and all comments before beginning this project. It is also advisable to review the Getting Started Section. Take all necessary precautions to build safely and smartly. Work on a clean level surface, free of imperfections or debris. Always use straight boards. Check for square after each step. Always predrill holes before attaching with screws. Use glue with finish nails for a stronger hold. Wipe excess glue off bare wood for stained projects, as dried glue will not take stain. Be safe, have fun, and ask for help if you need it. Good luck!
Instructions
Step 1
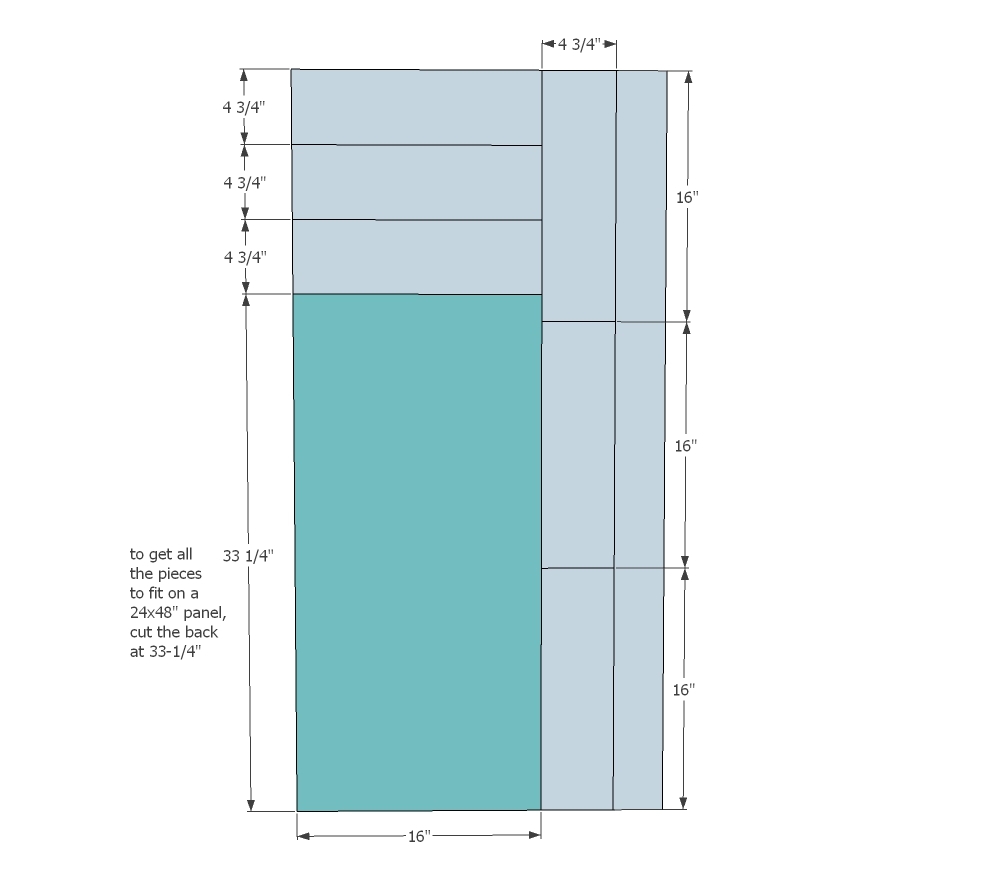
To get all the of the 1/4" plywood cuts on the 24" x 48" sheet, cut as shown here. The back will be a little smaller, but since the 1x2 hanging cleat is there (see step 4) it won't matter.
Use a circular saw or table saw to make these cuts.
Step 2
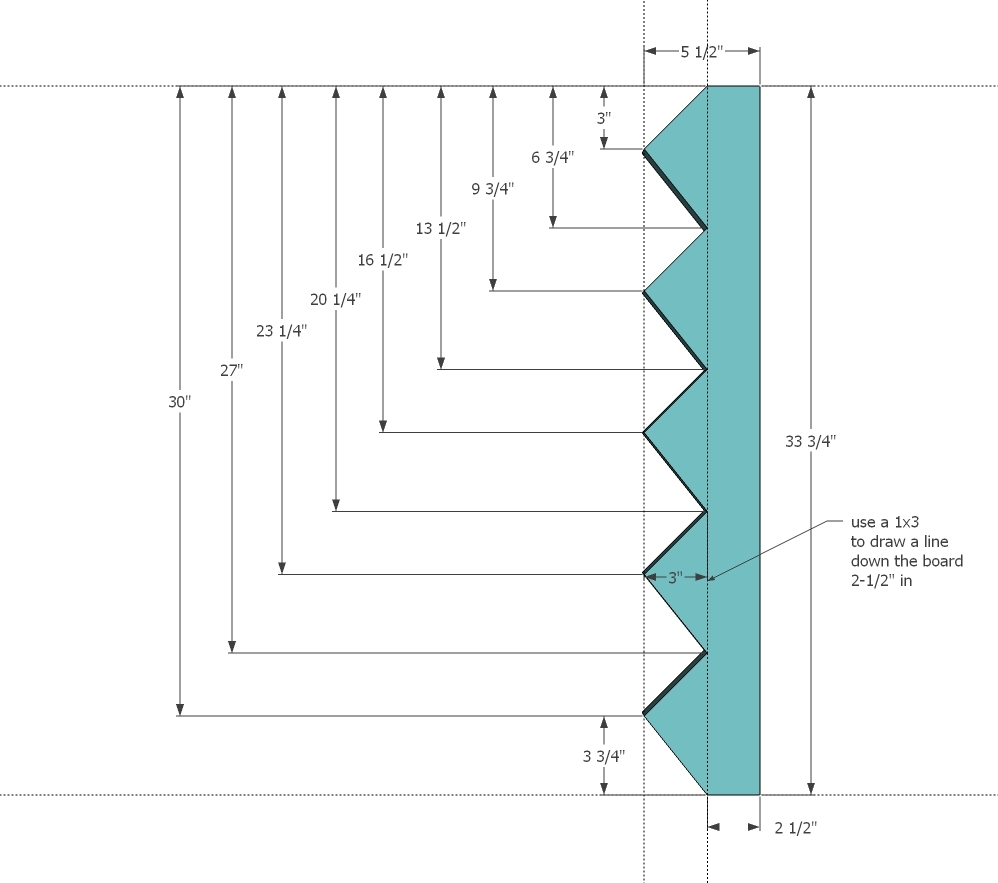
Place a 1x3 board on top of the 1x6 board, with one edge flush. Draw line down the 1x6 board. Then mark the indents in the 1x6 and carefully cut out with a jigsaw. Sand the cut edges smooth.
Step 3

Attach the two sides together with the 1x3 shelf bottoms. Use either 3/4" pocket holes and 1-1/4" pocket hole screws or 2" construction screws.
Step 4
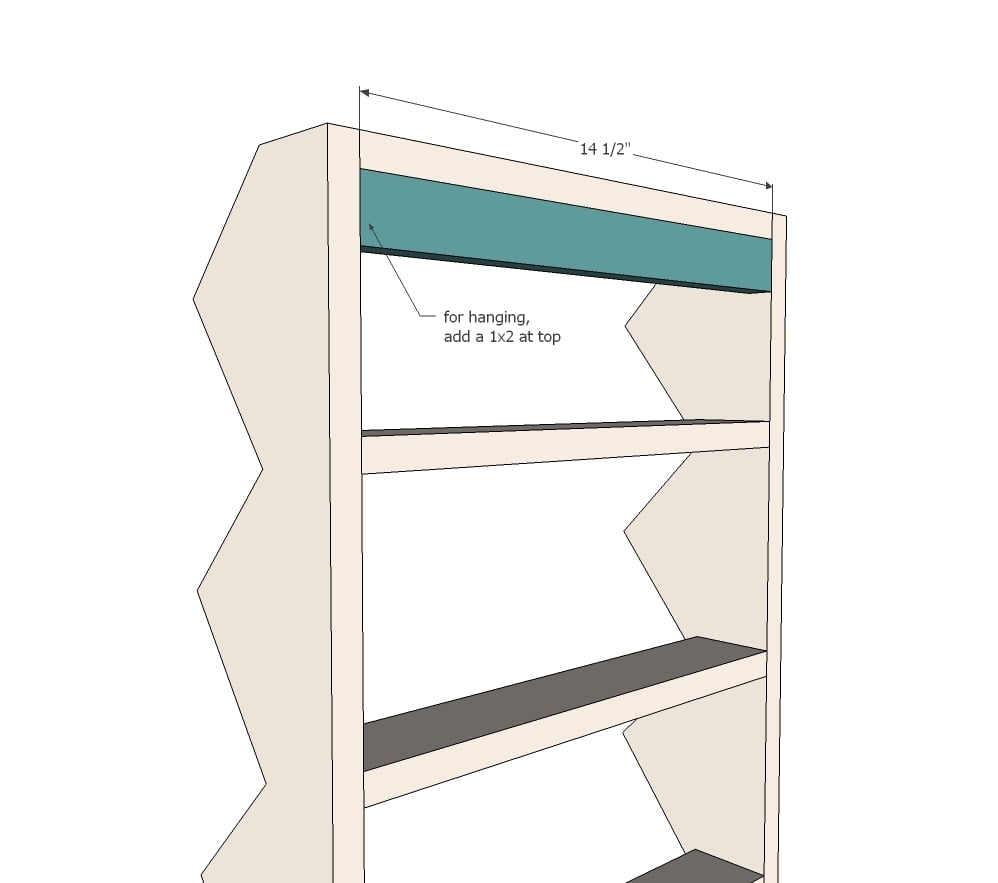
Attach the 1x2 cleat to the top as you did the shelves. Use this cleat later to hang the shelf on the wall.
Step 5
Step 6
Glue and nail the front pieces on with 3/4" brad nails.
It is always recommended to apply a test coat on a hidden area or scrap piece to ensure color evenness and adhesion. Use primer or wood conditioner as needed.