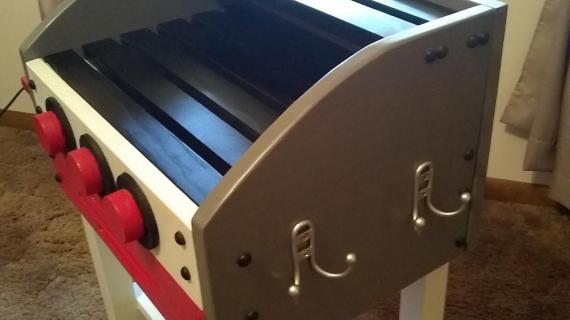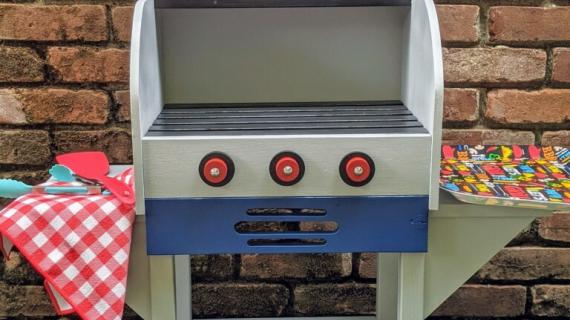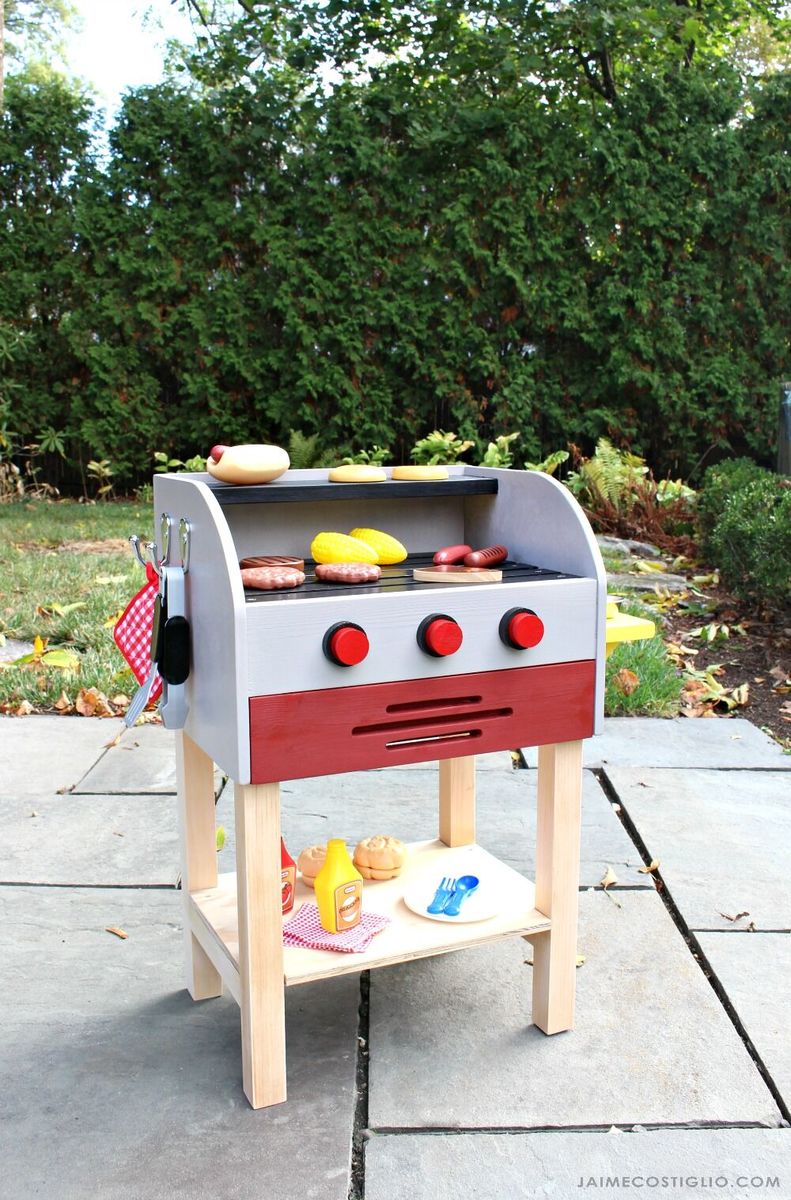
Kids Wood Play Toy Grill

Difficulty
Intermediate
| Print this plan

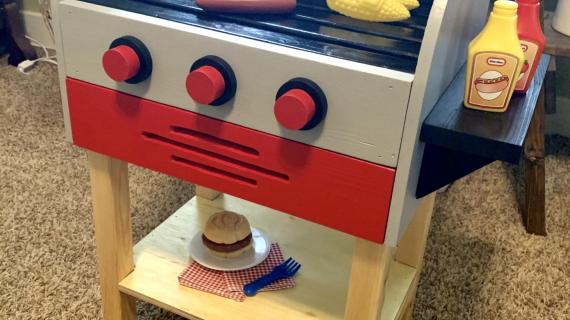
Build this cute kids play toy wood grill!  Free plans by ANA-WHITE.com
Last week, we tackled the kitchen, and this week, it's grill time!

From now until Christmas, we'll be sharing a brand new, free Christmas wood craft plan that is intended for gifting as part of the Handbuilt Holiday series put on by Jaime Costiglio and I.  We've added literally dozens of projects over the years, so do check out all the projects in our Handbuilt Holiday series here.

We are so excited to share with you today a brand new grill plan!

The plans follow, lots more photos and build step pics by Jamie Costiglio here.

Enjoy and do share if you build!

XO Ana


CLICK HERE FOR MORE PHOTOS AND BUILD DETAILS AT JAMIECOSTIGLIO.COM


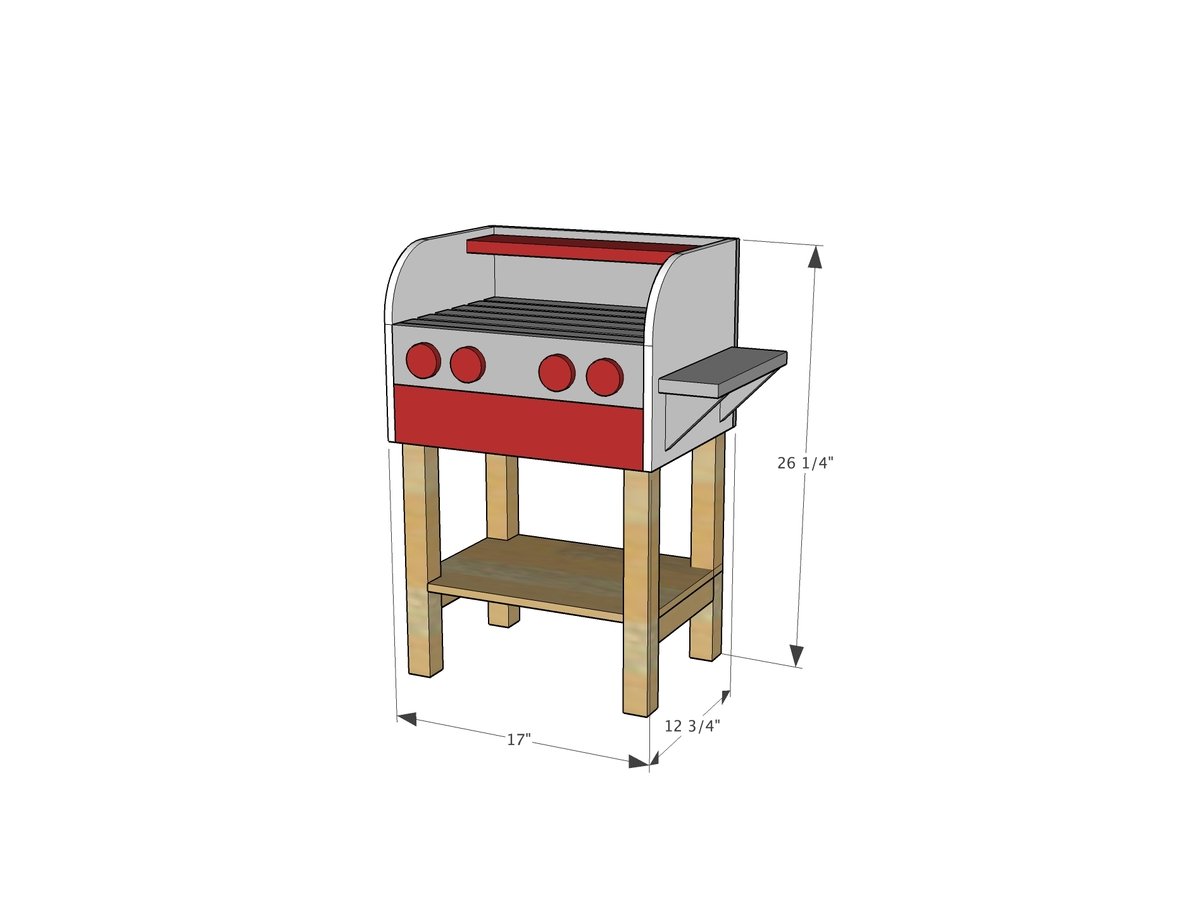
Dimensions
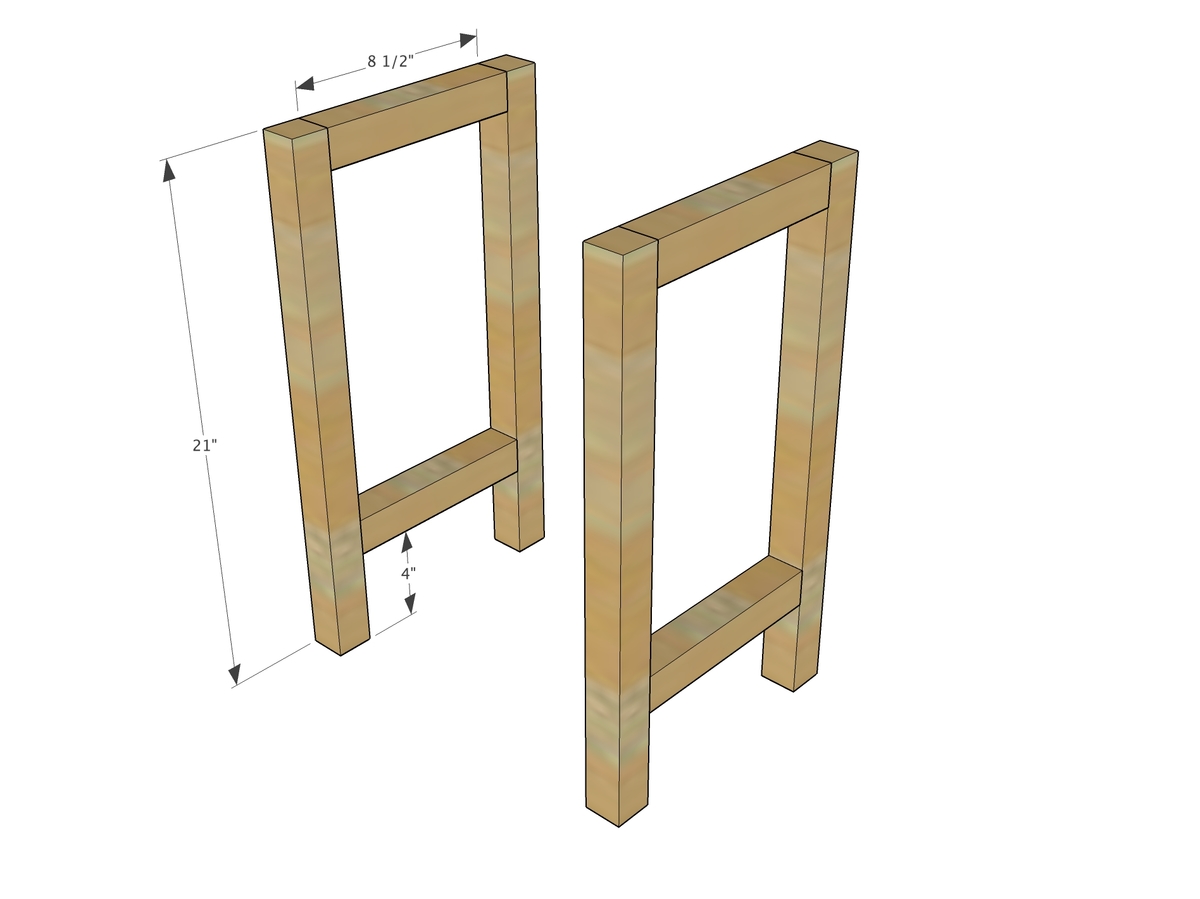
Dimensions shown above, suitable for toddlers/small children

Preparation

Shopping List

2 - 2x2 @ 8 feet long

1 - 1/2" plywood 24" x 48"

1 - 1x2 @ 8 feet long (may need a little more or can cut grill slats to 15-7/8")

1 - 1x4 @ 8 feet long


Screws for attaching 2x2s, either 2-1/2" pocket hole screws or 2-3/4" self tapping wood screws (like SPAX)

Screws or brad nails (depending on type of attachment and tool set) 1-1/4" in length for all other attachment

Wood glue

Cut List

4 - 2x2 @ 21" - legs

4 - 2x2 @ 8-1/2" - leg supports

1 - 1/2" plywood @ 16" x 11-1/2" - bottom shelf

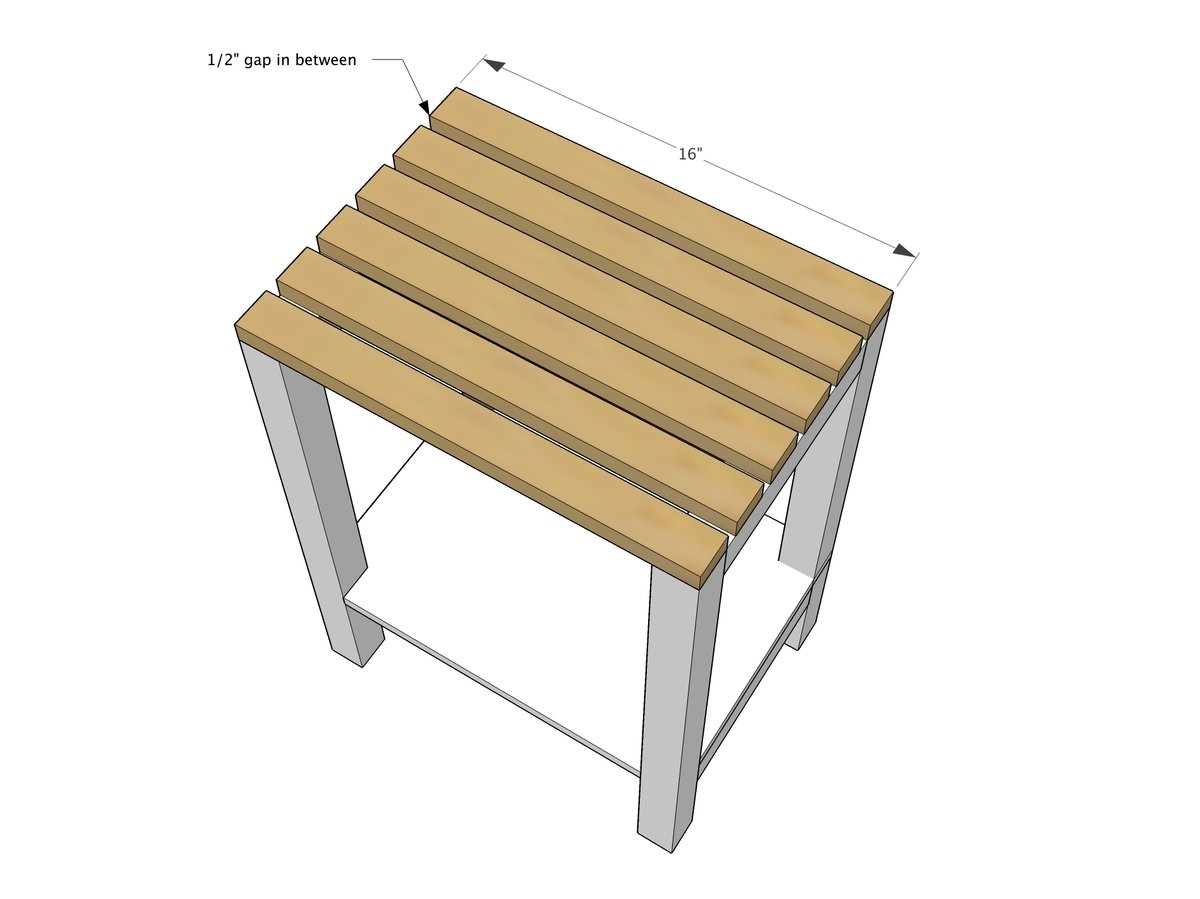
6 - 1x2 @ 16" - grill slats

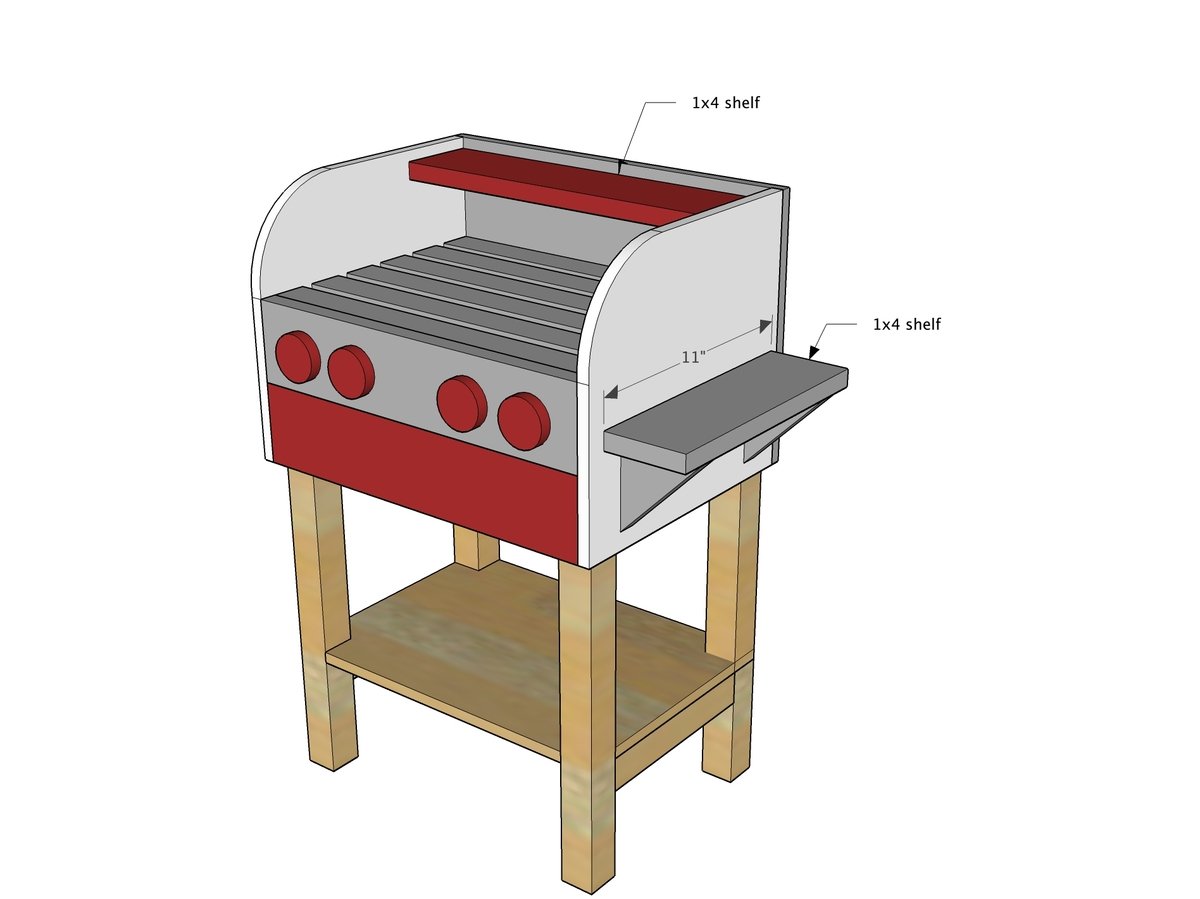
2 - 1x4 @ 16" - front of grill

2 - 1/2" plywood @ 12-1/4" x 11-1/2" - grill sides

1 - 1/2" plywood @ 17" x 11-1/2" - grill back

1 - 1x4 @ 16" - grill shelf

1 - 1x4 @ 11" - side shelf

2 - 1x4 @ 3-1/2" cut at 45 degrees - side shelf supports

Tools
Tape Measure
Speed Square
Pencil
Safety Glasses
Hearing Protection
Drill
Jigsaw
Brad Nailer
Power Sander
Drill Bit Set

Instructions

Step 1

Build the 2x2 sides, use either pocket hole screws set for 1-1/2" stock and 2-1/2" pocket hole screws, or attach with 2-3/4" self tapping wood screws and glue.

Step 2

Cut bottom shelf and notch out for legs with jigsaw.  Attach to 2x2 bottom pieces with either nails or self tapping wood screws (like SPAX), screws or nails should be at least 1" long.

Step 3

Attach top grill slats to the top with screws or nails at least 1-1/4" long and glue.

Step 4

Attach front grill aprons with screws or nails at least 1-1/4" long.

Step 5

Step 6

Nail or screw accessories on and paint and finish.

Project Type

Comments