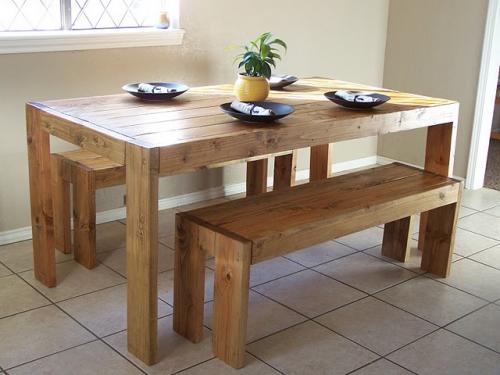
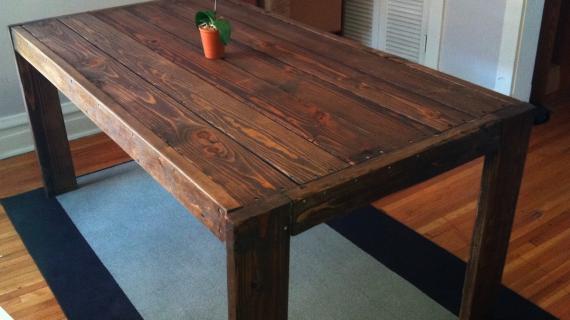
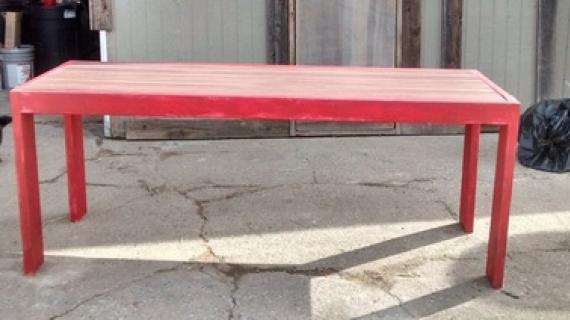
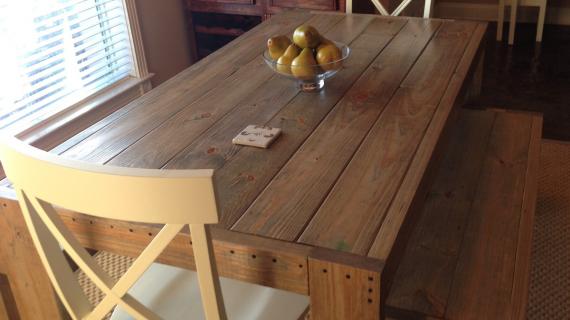
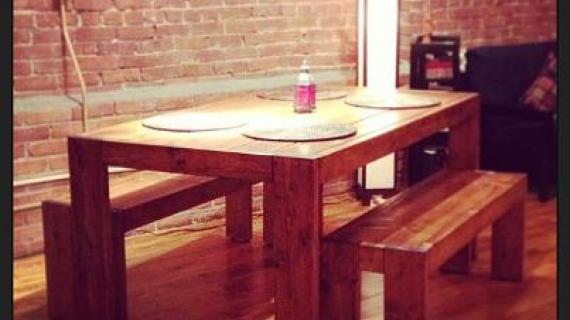
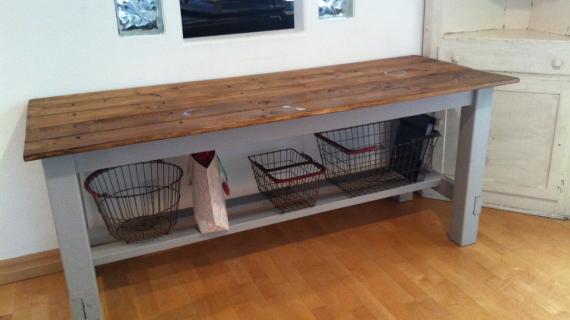
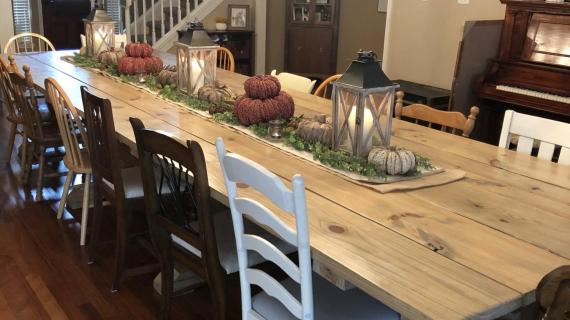
This easy to build modern farm table plan will add that touch of rustic modern to your contemporary space. Plans also available for matching modern farm bench and square modern farm table. By Ana-White.com Reader submitted photos.
Preparation
6 - 2x6 boards (make sure these boards are VERY straight) (about $2.50 each)
5 - 2x2 board (under tabletop supports) (about $1 each)
2 - 2x4 boards (about $1 each)
2 1/2" wood self tapping screws
Sandpaper, ranging from coarse to fine
Wood Filler
Stain or Paint of choice
A) 4 - 2x6 cut at 30" (Legs)
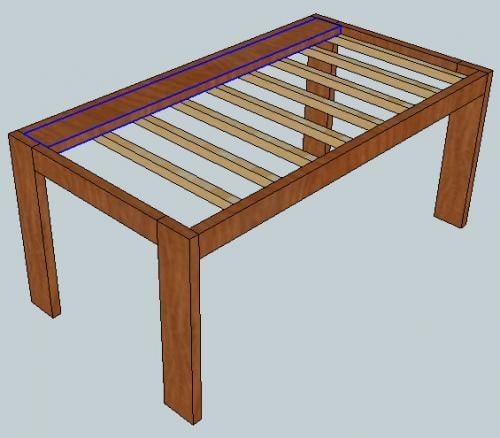
B) 2 - 2x2 cut at 33" (Inside End Supports)
C) 2 - 2x4 @ 63" (Side Apron)
D) 2 - 2x4 @ 25" (End Apron)
E) 7 - 2x2 cut at 33" (Under tabletop supports)
F) 6 - 2x6 cut at 63" (Tabletop pieces)
It is very important that you measure the width of your boards and make sure they are 5 1/2" wide (tabletop boards) otherwise, your aprons could be short or long. See the Square Modern Farm Table Plans for a tutorial on how to build the tabletop first with pocket hole screws, and then attach the legs and aprons. That way you can adjust your aprons as necessary.
Instructions
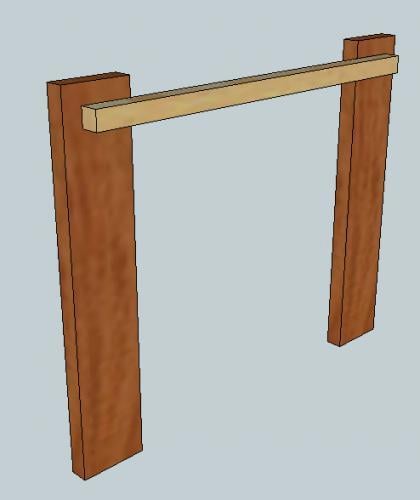
Step 1
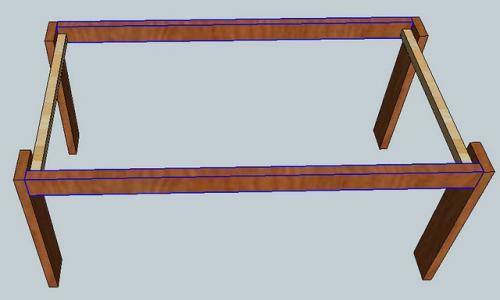
Step 2
Step 4
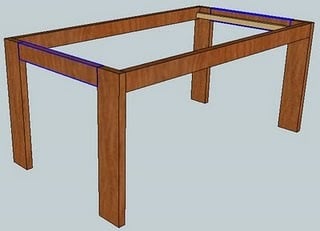
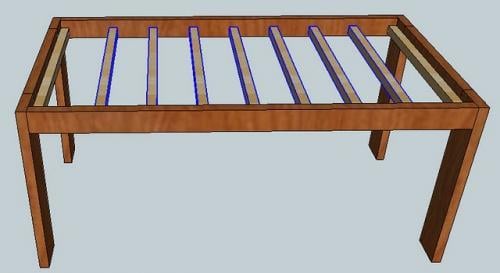
Measure down 1 1/2" down from the top of the side apron, and mark all the way down the length of the apron. This will be the top side of the tabletop support pieces, E. Then mark every 6" and place a board E, keeping the top edge 1 1/2" below the top of the table, as shown above. Do not worry about the last support piece not being exactly 6" from the end - this does not matter. Make sure your project is square.




Comments
Jeff (not verified)
Thu, 06/14/2012 - 14:02
Question about the cut
I'm going to try my wife into letting me make this. But I do have one question that I can't seem to figure out.
The plans calls for six 2' x 6' board. On the cut list, A 4 - 2 x 6 cut at 30" so that leave four 2' x 6' boards left. But cut list F, it calls for 6 - 2 x 6 cut at 63" for tabletop. I can't quite figure out the match here. How I get six pcs cut at 63" each with only four 2 x 6 remaining? I know I'm missing something here. Can someone help?
Thanks
Jeff
Jeff (not verified)
Thu, 06/14/2012 - 14:40
Question about the cut
I think I just answered my own question above, can't believe I didn't see get it.
Tiffany n (not verified)
Wed, 07/04/2012 - 17:58
I am looking for the
I am looking for the dimensions to change the table to seat 8 people. Where can I find that? I can't wait to get started!
Brian Dysart (not verified)
Fri, 11/23/2012 - 17:40
Wood Thickness
I was wondering, what is the thickness are you using for the 2x6, 2x2, 2x4 boards? 1"?
Thanks
Kamilyn
Mon, 01/21/2013 - 21:04
help & reassurance
I'm as beginner as they get as is my husband. We've been attempting to build the Modern Farm Table. Those instructions lead me to use the SQUARE Modern Farmhouse Table to build the table-top first with the kreg jig (I bought the kreg jig jr). I've struggled as I really need things spelled out for me.
Here are my questions so far:
I've been confused going between the 2 instructions. Modern Farm Table materials list had me buy 2-1/2" screws, but Sq. Mod table uses 2, 2-1/2, & 3" screws. Can I just stick with the 2-1/2" screws?
Any idea how many screws I will need for a project like this? I only bought a small amount and now realize I need much more.
When using the Kreg Jig Jr to join my 2x6 table top pieces together...how many screws should I use...& about how far apart? I have the Kreg's adjustable sides as far as they adjust (1-1/2")...will 2-1/2" screws be good?
And last question is about attaching the aprons to the table top. Is that also done with the Kreg Jig Jr from the under-inside of the table (bottom of the table top pieces into the aprons)? I'm having a hard time figuring this part out and have this image in my head of about 24 visible screws drilled in from the outside of the apron into the table top pieces, which is how I understand it from Step 5 in the Modern Farm Table instructions. That doesn't seem like it would look normal though, so I'm sure I'm confused.
Which screws should be "visible" from the outside of the table?...Maybe just the 4 screws in each leg?
We did make a bench first...and it's a lovely first project with all sorts of noticeable mistakes & lessons learned, but still happy with it!
crafty girl
Thu, 02/07/2013 - 07:02
Do I need Kreg Jig to make this table?
Hello, I'm in love with this table and really REALLY want to make it. Our friend is going to let us use his garage and his tools because we live in an apartment and don't have the space or tools to do it with. The only thing is he doesn't own a Kreg Jig. I'm just wondering if this is something we just absolutely HAVE to have or if any of you have made this table without one. Any advice or suggestions would be greatly appreciated because my husband and I are both furniture-making virgins:) Thanks!
jessicarenae_21
Mon, 04/15/2013 - 20:26
bench
I can't seem to find the plans for the bench to go with this??
Choco Labrador
Tue, 07/09/2013 - 12:37
Bench
Where are the plans for the Bench???
In reply to Bench by Choco Labrador
JoanneS
Tue, 07/09/2013 - 16:50
Modern Farm Bench plan
Hi Choco Labrador,
Here's the link to Ana's plan for the modern farm bench:
http://ana-white.com/2009/11/modern-farm-benches
Happy building!
johnnywharris
Sat, 04/05/2014 - 05:51
Wood
Hi there. Very excited to try this. What kind of wood did you use? Is the Kreg Jig totally necessary (meaning are the pocket holes necessary)?
Thanks!
Johnny
johnnywharris
Sat, 04/05/2014 - 06:33
5.5 inches wide?
Hello,
You say "It is very important that you measure the width of your boards and make sure they are 5 1/2" wide " But if these are 2x6 boards. How will they be 5.5 inches wide. Clearly I am missing something.
Thanks!
Johnny
In reply to 5.5 inches wide? by johnnywharris
JoanneS
Sat, 04/05/2014 - 07:12
5.5 inches wide boards
Hi Johnny,
Most of the standard sized lumber you find is actually a little bit smaller than the measurement it is "tagged" by. For example, a 2x6 is actually going to be about 1 1/2" x 5 1/2" wide. The 2x6 number is the size of the wood before drying, but it shrinks down from the drying process. In this plan, if your 2x6 happened to be a little different in width it would impact the width of the table, and you would need to adjust your measurement slightly on the end aprons and the support pieces that go underneath the table top.
This link (Ana's 'getting started' page) has a good explanation about what you'd find in the standard lumber sizes.
http://ana-white.com/2011/03/how-do-i-get-started
Good luck with your project!
:) Joanne
monicadcooper
Wed, 06/11/2014 - 13:55
bench plans
I am also looking for the bench plans and can't seem to find them. Can you send me the link please?
Thanks a million,
Monica
monicadcooper
Wed, 06/11/2014 - 14:03
bench plans
I am also looking for the bench plans and can't seem to find them. Can you send me the link please?
Thanks a million,
Monica
In reply to bench plans by monicadcooper
JoanneS
Wed, 06/11/2014 - 15:04
Modern Farm Bench plans
Hi Monica, Here's the link to the plan for modern farm benches:
http://ana-white.com/2009/11/modern-farm-benches
Happy building! :)
Ambrosia_07
Sun, 11/30/2014 - 08:49
How do you hide the screws? And where do you use the kreg jig?
Ana,
I know this May sound silly, but how do you hide the screws? And where do you use the kreg jig? I am BRAND NEW to wood working and did not see where the plans said to use the kreg jig. I am determined to do this plan and show my husband that I can do this!
earthbybike
Sun, 11/30/2014 - 10:20
Screws/Kreg Jig
The Kreg jig drills pocket holes that you place the screws in which hides the screws. All pocket holes are inside/underneath the table. Watch this ana-white video to understand the Kreg Jig and how it is used. And BTW you are right - You CAN do this! : https://www.youtube.com/watch?v=IrIFHMEPkXs
Cbrides
Sat, 01/17/2015 - 11:41
Changing legs to 4x4
Hi i am going to build this this weekend and was wondering if i changed the legs to 4x4 what would be my new measurements for plans. Thank you any help would be greatly appreciated.
inouryellowhouse
Mon, 07/06/2015 - 07:40
Gaps between slats??? HELP!
We recently finished building this table and two matching benches and are working on finishing. Now, we are certainly not experts by any means and are just proud to have a piece of furniture that stands and holds weight! LOL!
Our current problem: we had a lot of issues finding lumber to match the required dimensions exactly (small town Texas hardware stores, y'all....not the best) so we ended up with small gaps between almost all of our slats on the tabletop and bench seats. What that means is food and dirt will collect in those crevices. We thought the poly would most likely build up and seal the gaps but that is not working. We tried putting painter's tape under the cracks and pouring poly down into them but that is not working either.
Does anyone have a solution for filling the cracks??
Raygan
Tue, 10/27/2015 - 13:34
Jig and Pocket Holes
Why is a Kreg Jig listed on the tools list? Maybe I'm missing something, but I didn't see any pocket holes in the plans. Do I actually need this, or is the Jig just on the tools list for everything they do?
reedmccashland
Tue, 11/17/2015 - 09:36
Slightly Confused
Hi Ana -
In looking at these plans, it looks like there are three screws being put through the top and two more through the bottom? Wouldn't putting two screws through the bottom per undertable support work just as well? It would save from having holes in the top that need puttied and sanded. Thanks!
cgswafford
Fri, 04/01/2016 - 20:04
Plans for bench
Hi. I am wanting to build this table with benches. Where can I find the plans for the bench?
In reply to Plans for bench by cgswafford
Ana White
Tue, 04/05/2016 - 11:30
http://www.ana-white.com/2013
http://www.ana-white.com/2013/10/plans/modern-farm-bench-newupdated-poc…