


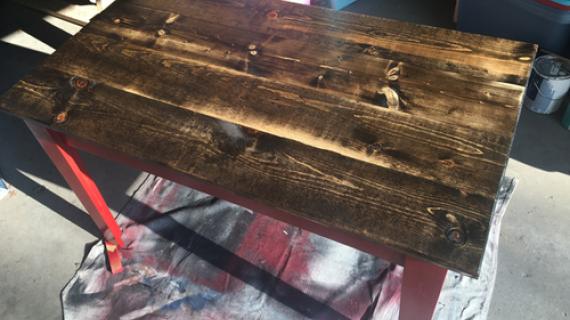
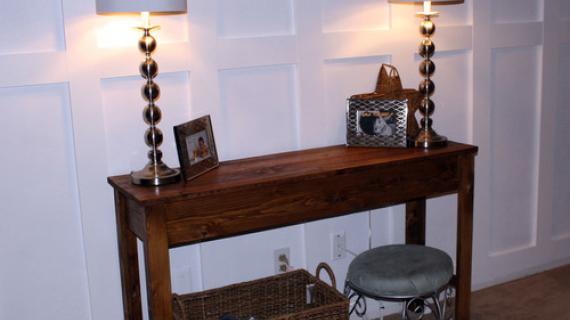
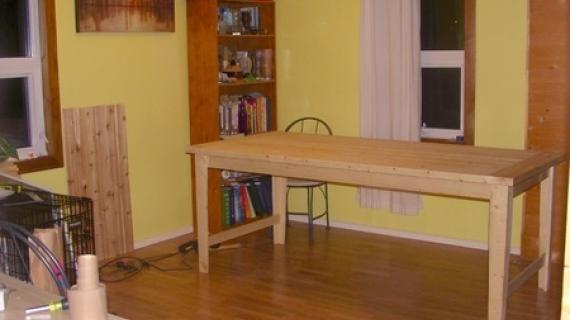
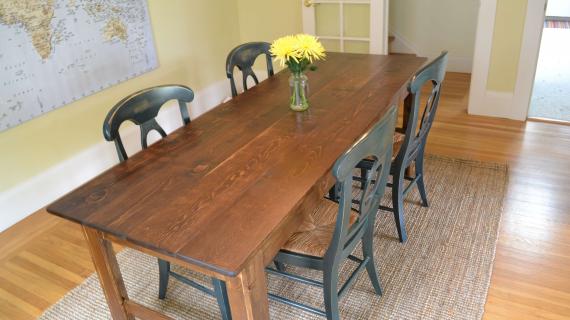
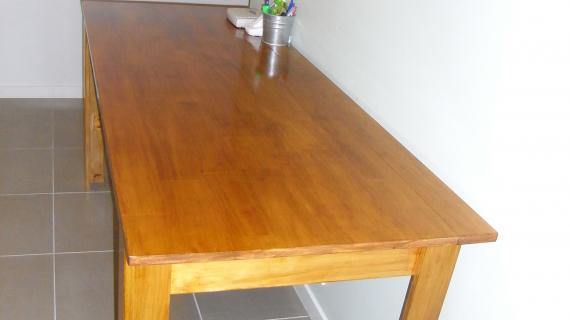
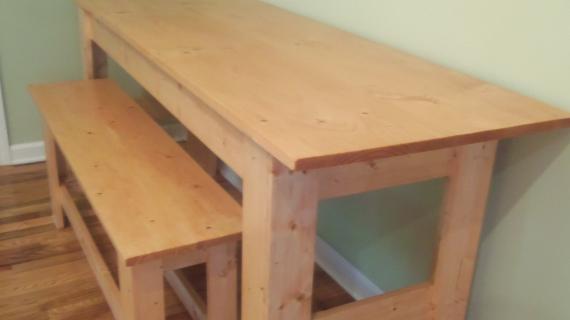
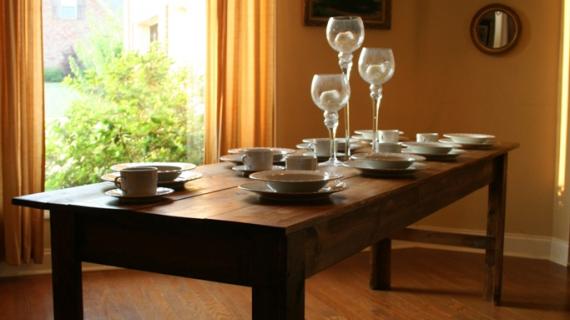
Some dining spaces (or even work spaces) require a long thin table. This rustic simple table is easy to build, yet sturdy and stylish.
Special thanks to Deux Maison for sharing their amazing photos. Make sure you stop over to see more photos and read about their building experience.

Preparation
2 – 2×2 Boards, 8′ Long ($2 Each for pine)
4 – 1×8 Boards, 8′ Long ($7 Each for pine)
2 – 1×3 Boards, 8′ Long ($1.50 Each for pine)
1 – 1×4 Board, 10′ Long ($4 Each for pine)
2 – 1×6 Boards, 10′ Long ($6 Each for pine)
1 1/4″ and 2″ Finish Nails
2″ Wood Screws (about 100)
2 1/2″ Wood Screws (about 20 screws)
Wood Glue
Wood Filler
Sandpaper
Finishing Supplies
4 – 1×3 @ 29 1/4″ (Table End Legs)
4 – 1×4 @ 29 1/4″ (Table Side Legs)
2- 1×6 @ 88″ (Side Aprons)
2 – 1×6 @ 23 3/4″ (End Aprons)
2 – 1×3 @ 23 3/4″ (End Stretcher)
8 – 2×2 @ 23 3/4″ (Under Tabletop Supports)
This table is highly customizeable to fit your needs. Note that the tabletop expects your tabletop boards (the 1x8s) to be 7 1/2" wide. If your 1x8s are not 7 1/2" wide, adjust accordingly.


Work on a clean level surface. Check for square after each step. Use straight lumber. Measure and confirm your cuts before cutting. Dryfit your boards before fastening. Always use glue. Predrill and countersink screws. Use saftey precautions and protective eye and hearing gear.
Instructions
Step 1
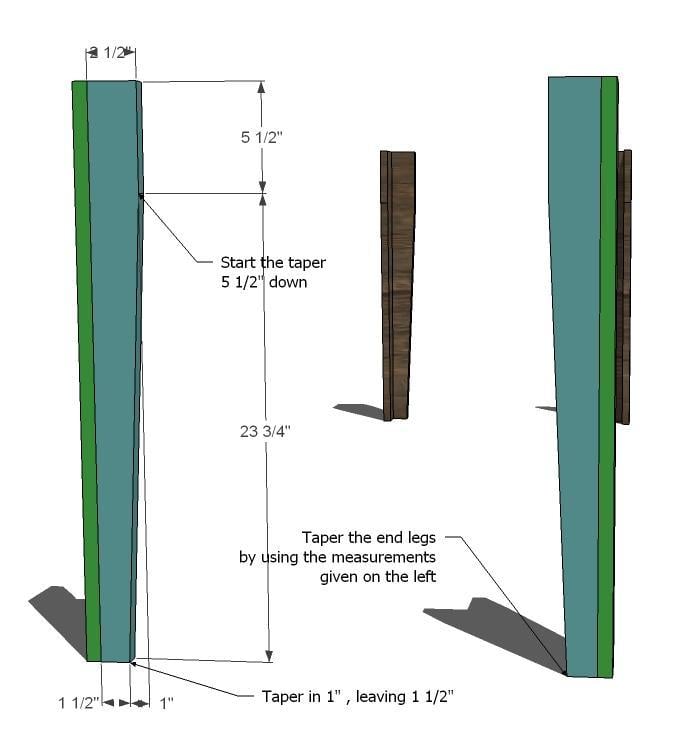
End Legs. Taper your end leg pieces as shown above. Cut the taper in a straight line, starting 5 1/2″ from the top, and tapering in 1″ at the bottom. This is shown above. Do this on all four legs. The end legs are made of 1×3 boards.
Step 2
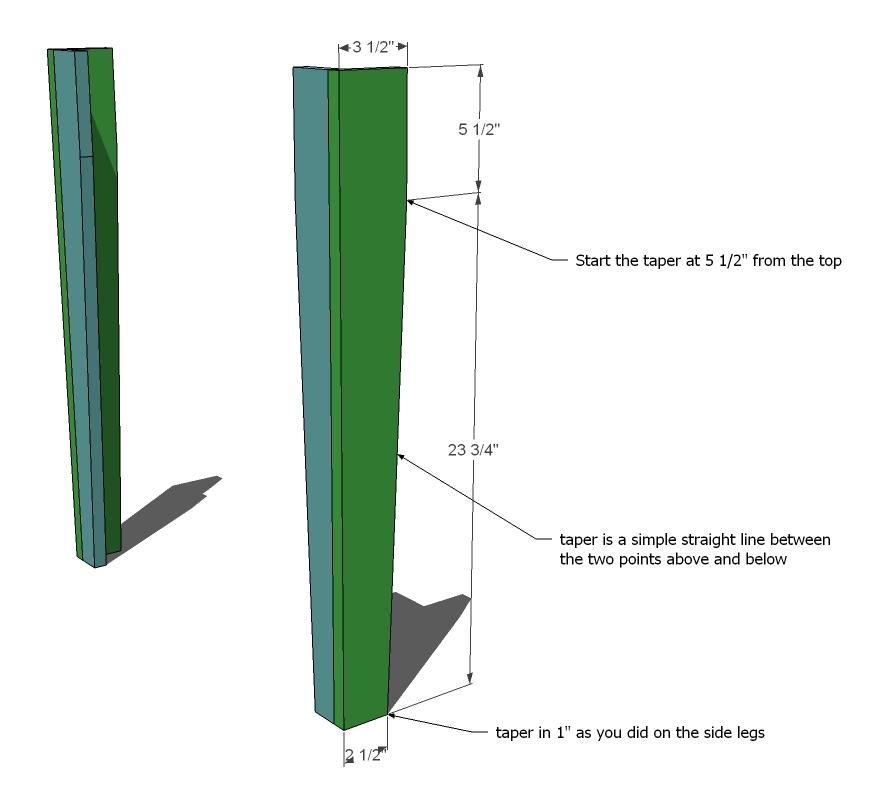
Side Legs. Taper the side legs as you did the end legs from step 1. The side legs are made of 1x4s . Use the measurements above to guide you.
Step 3
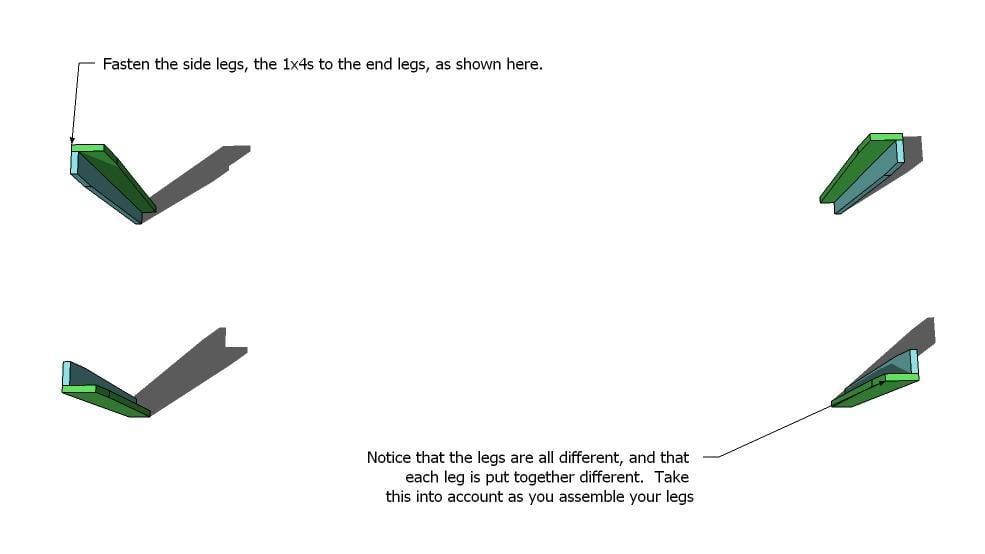
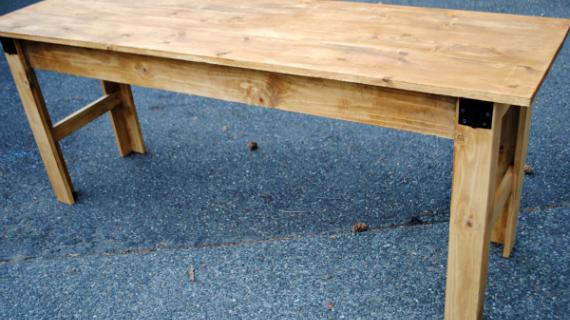
Leg Assembly. Assembly your legs as shown above. Be aware of the leg postion on the table as you assemble, as the legs will be assembled different depending on the position. Remember, the 1×3 leg sides are on the ends, the 1×4 leg sides are on the sides of the table. This is shown above.
Step 4

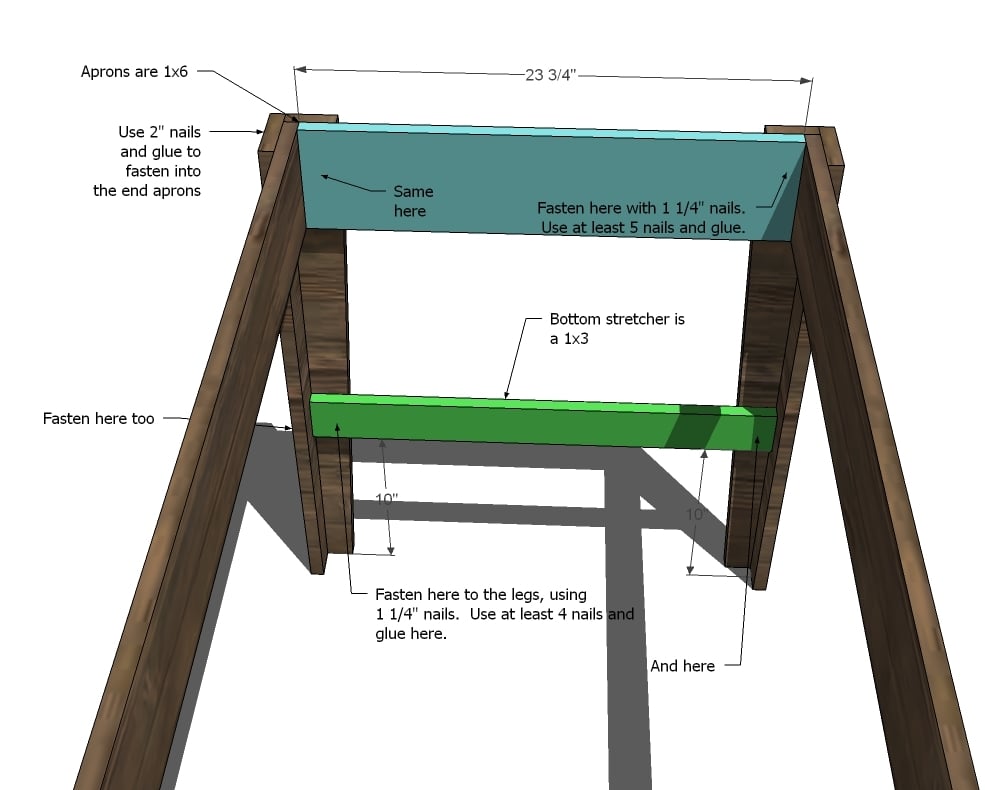
Side Aprons. Fasten the side aprons in place as shown above. Make sure you take a square of the legs as you do this. This is shown above.
Step 5
Step 6

Under Tabletop Supports. Attach the tabletop supports as shown here. Use the measurements above to guide you.
Step 7

Tabletop Pieces. Start by finding the center of your table. Mark and place your table top piece, using the center mark for your first boards. Only attach on the ends in this step, using the screw pattern above. DO NOT ATTACH IN THE CENTER. Attach the remaining tabletop pieces on the ends only.
Step 8

Tabletop Pieces. From the underside, fasten through the under tabletop support pieces into the tabletop pieces. Start with the middle boards and work your way out. Minimize any gaps between the boards. Predrill and countersink your screws. To further strengthen the table, you can add simpson strong tie corner brackets to the corners.

Comments
StevestonSurfer
Tue, 03/03/2015 - 20:16
Chunky
Hi. My wife likes chunky. I am not, but I was wondering if these plans would work if everything was switched from 1" to 2". I am a carpentry noob by the way, but have done a lot of other practical handywork so think I will pick it up fast. Picked this for my first project, to use as a breakfast table in our new home.
Ana White Admin
Wed, 03/04/2015 - 10:45
Modification
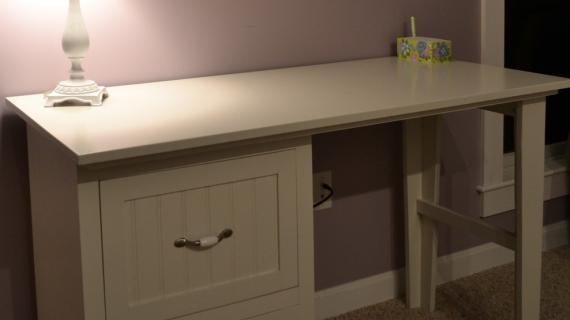
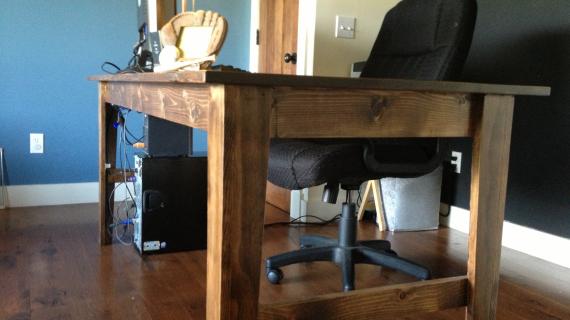
Sure! Be sure to plan based on new lumber dimensions for your space. Take a look at this for added inspiration http://ana-white.com/2013/02/plans/casual-2x4-desk
keepgrowing2
Sun, 01/14/2018 - 14:05
Narrow Farm House Table
Ana,
Can this table be made without the stretchers (and be structurally sound)? I'm looking to build a table that is about 7' long by 30" and want to be able to push chairs in at the ends. Thanks for your expertise!