
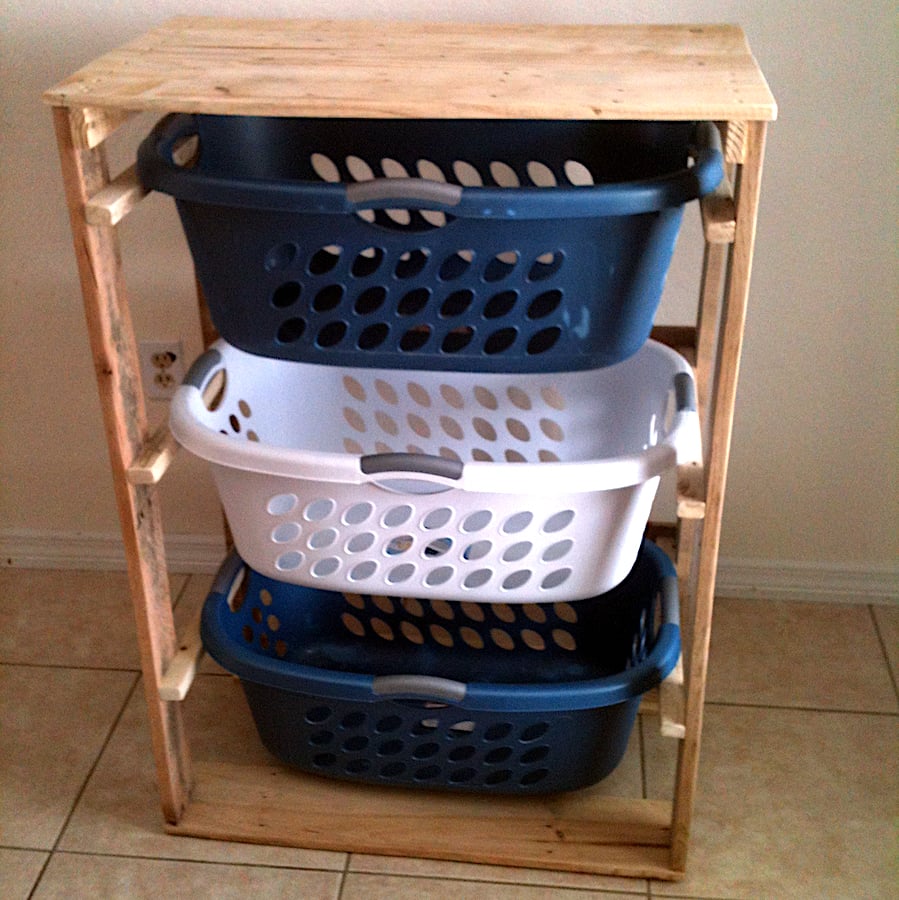

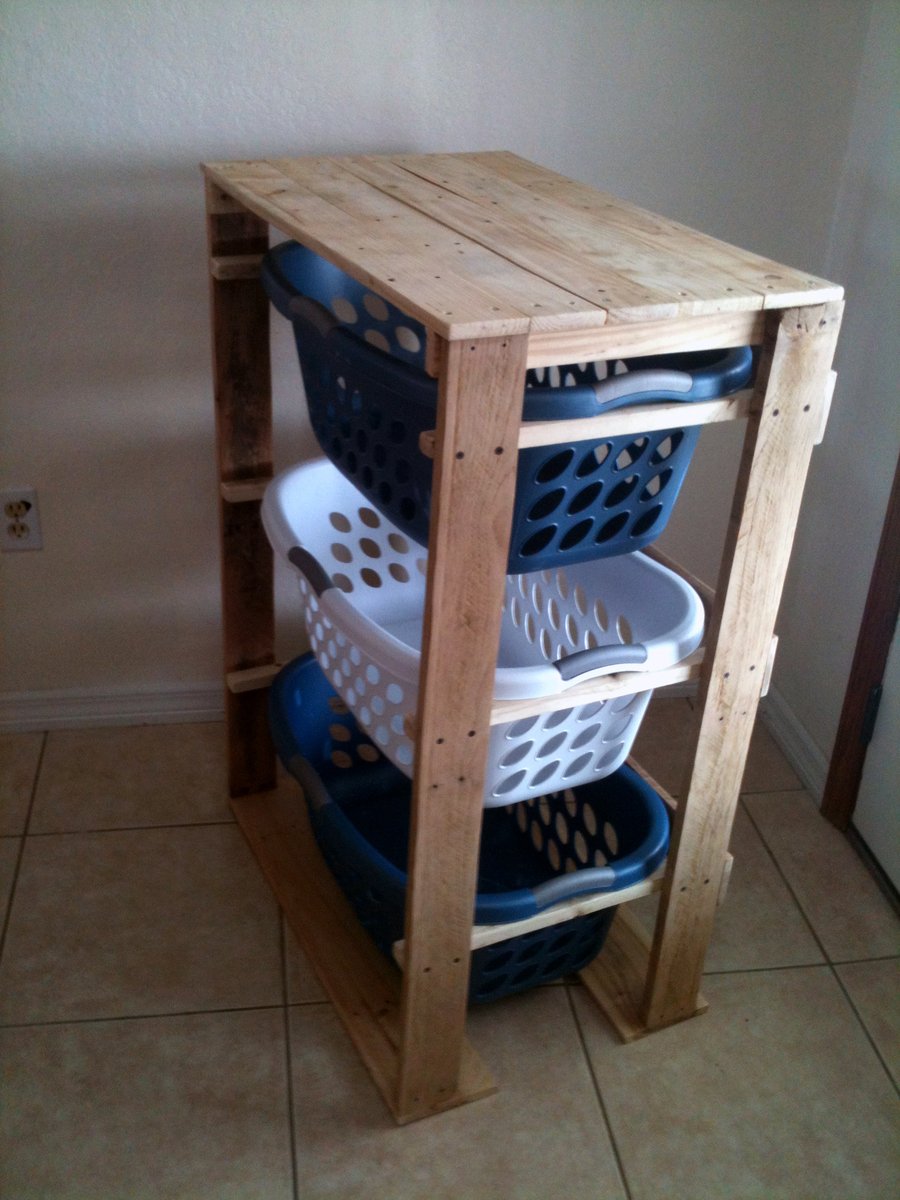
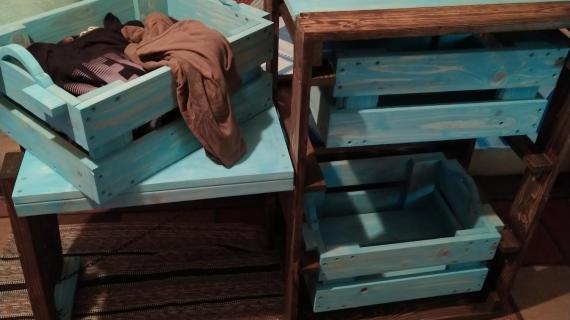
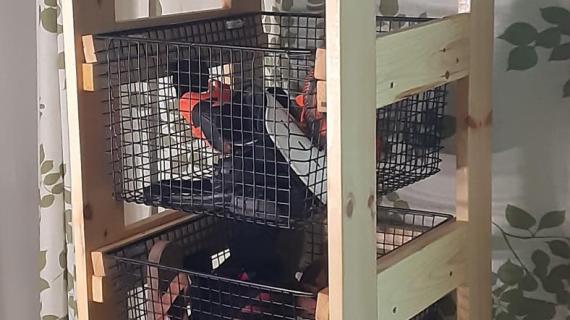
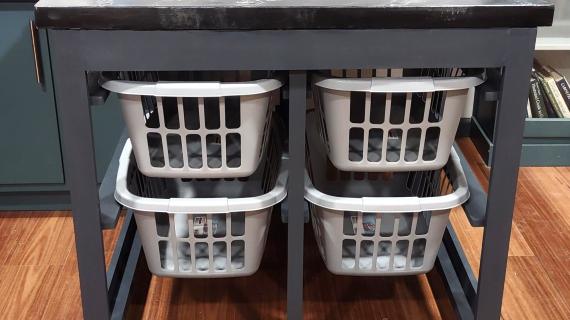
DIY Laundry basket organizer made from 2x4 boards - this universal plan helps you design and build just the right size organizer for your laundry baskets. Free step by step plans from Ana-White.com
So ALOT of you have been requesting diagrams for Pallirondack's Pallet Wood Reclaimed Laundry Dresser Organzier.
Preparation
- 2x4 boards
- 1x4 or 1x6 boards for top
- 2-1/2" self tapping wood screws
- 1-3/4" self tapping wood screws
- wood glue
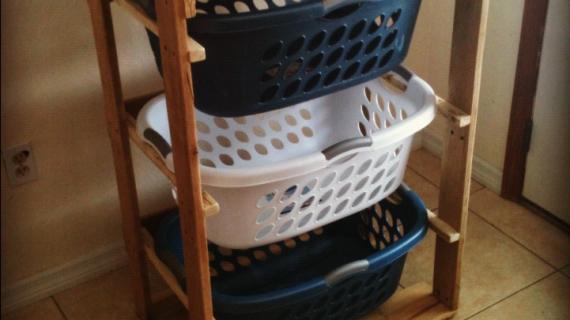
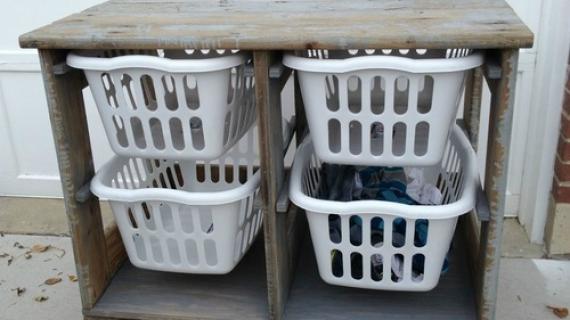
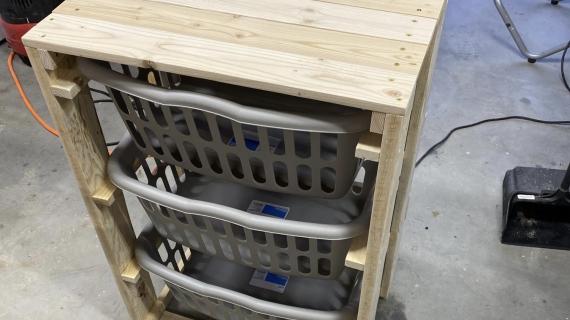
- Laundry baskets (recommend the sterilize bushel series)
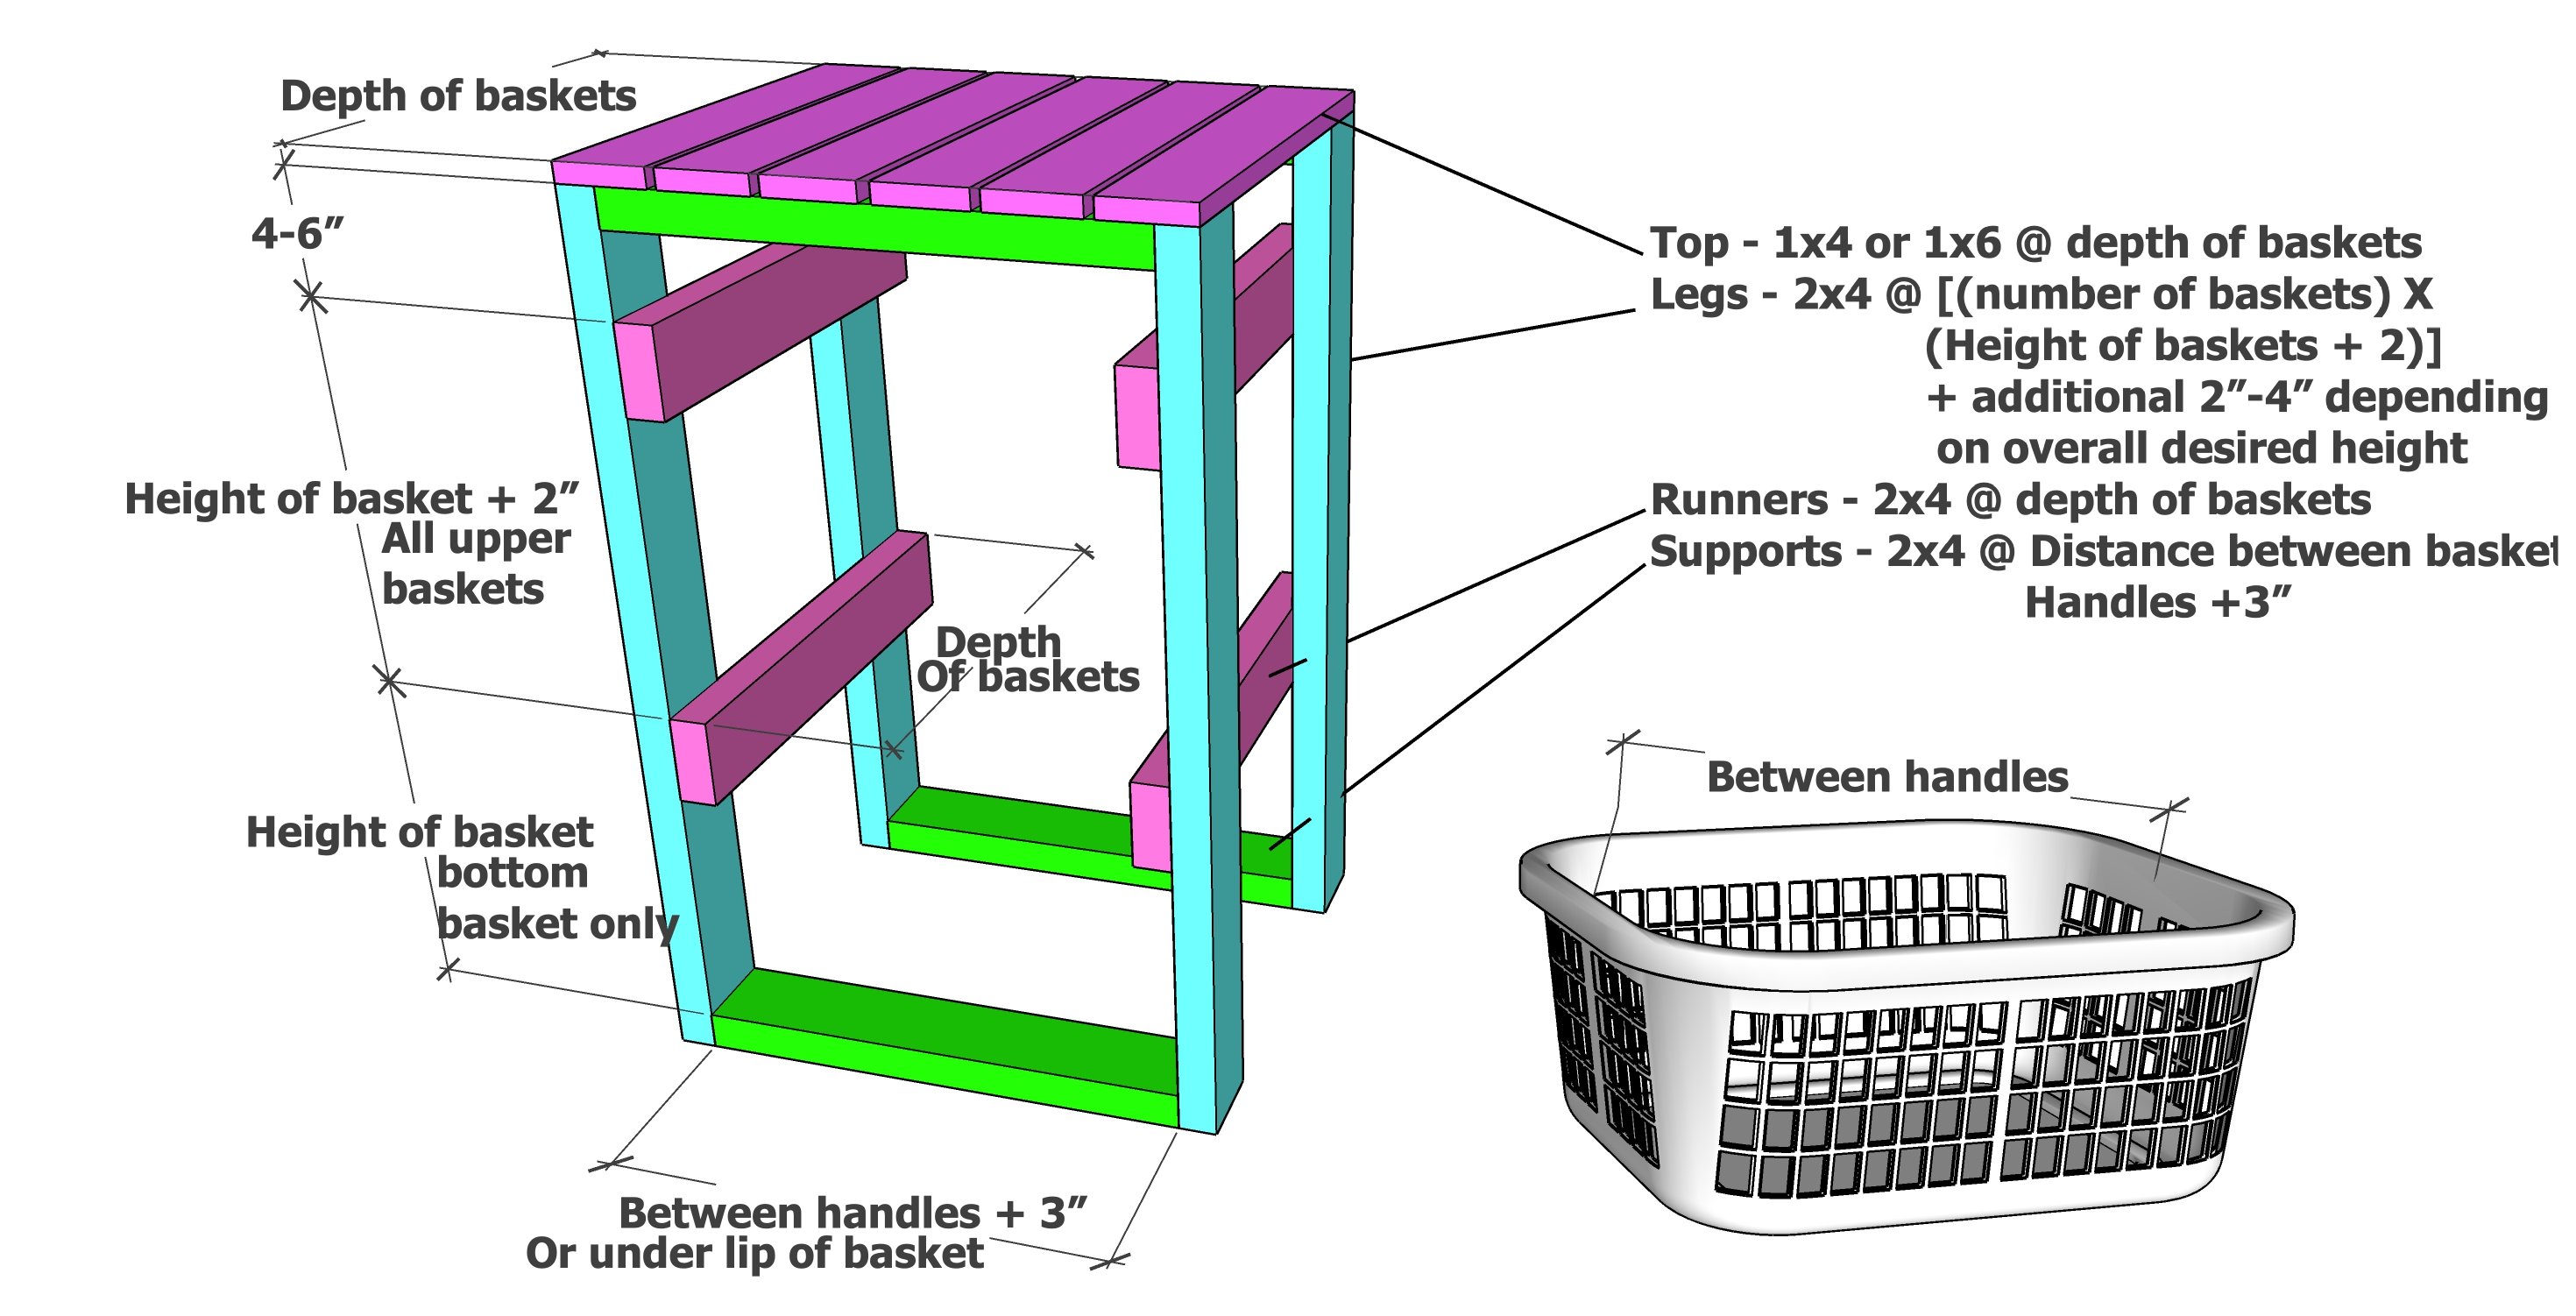
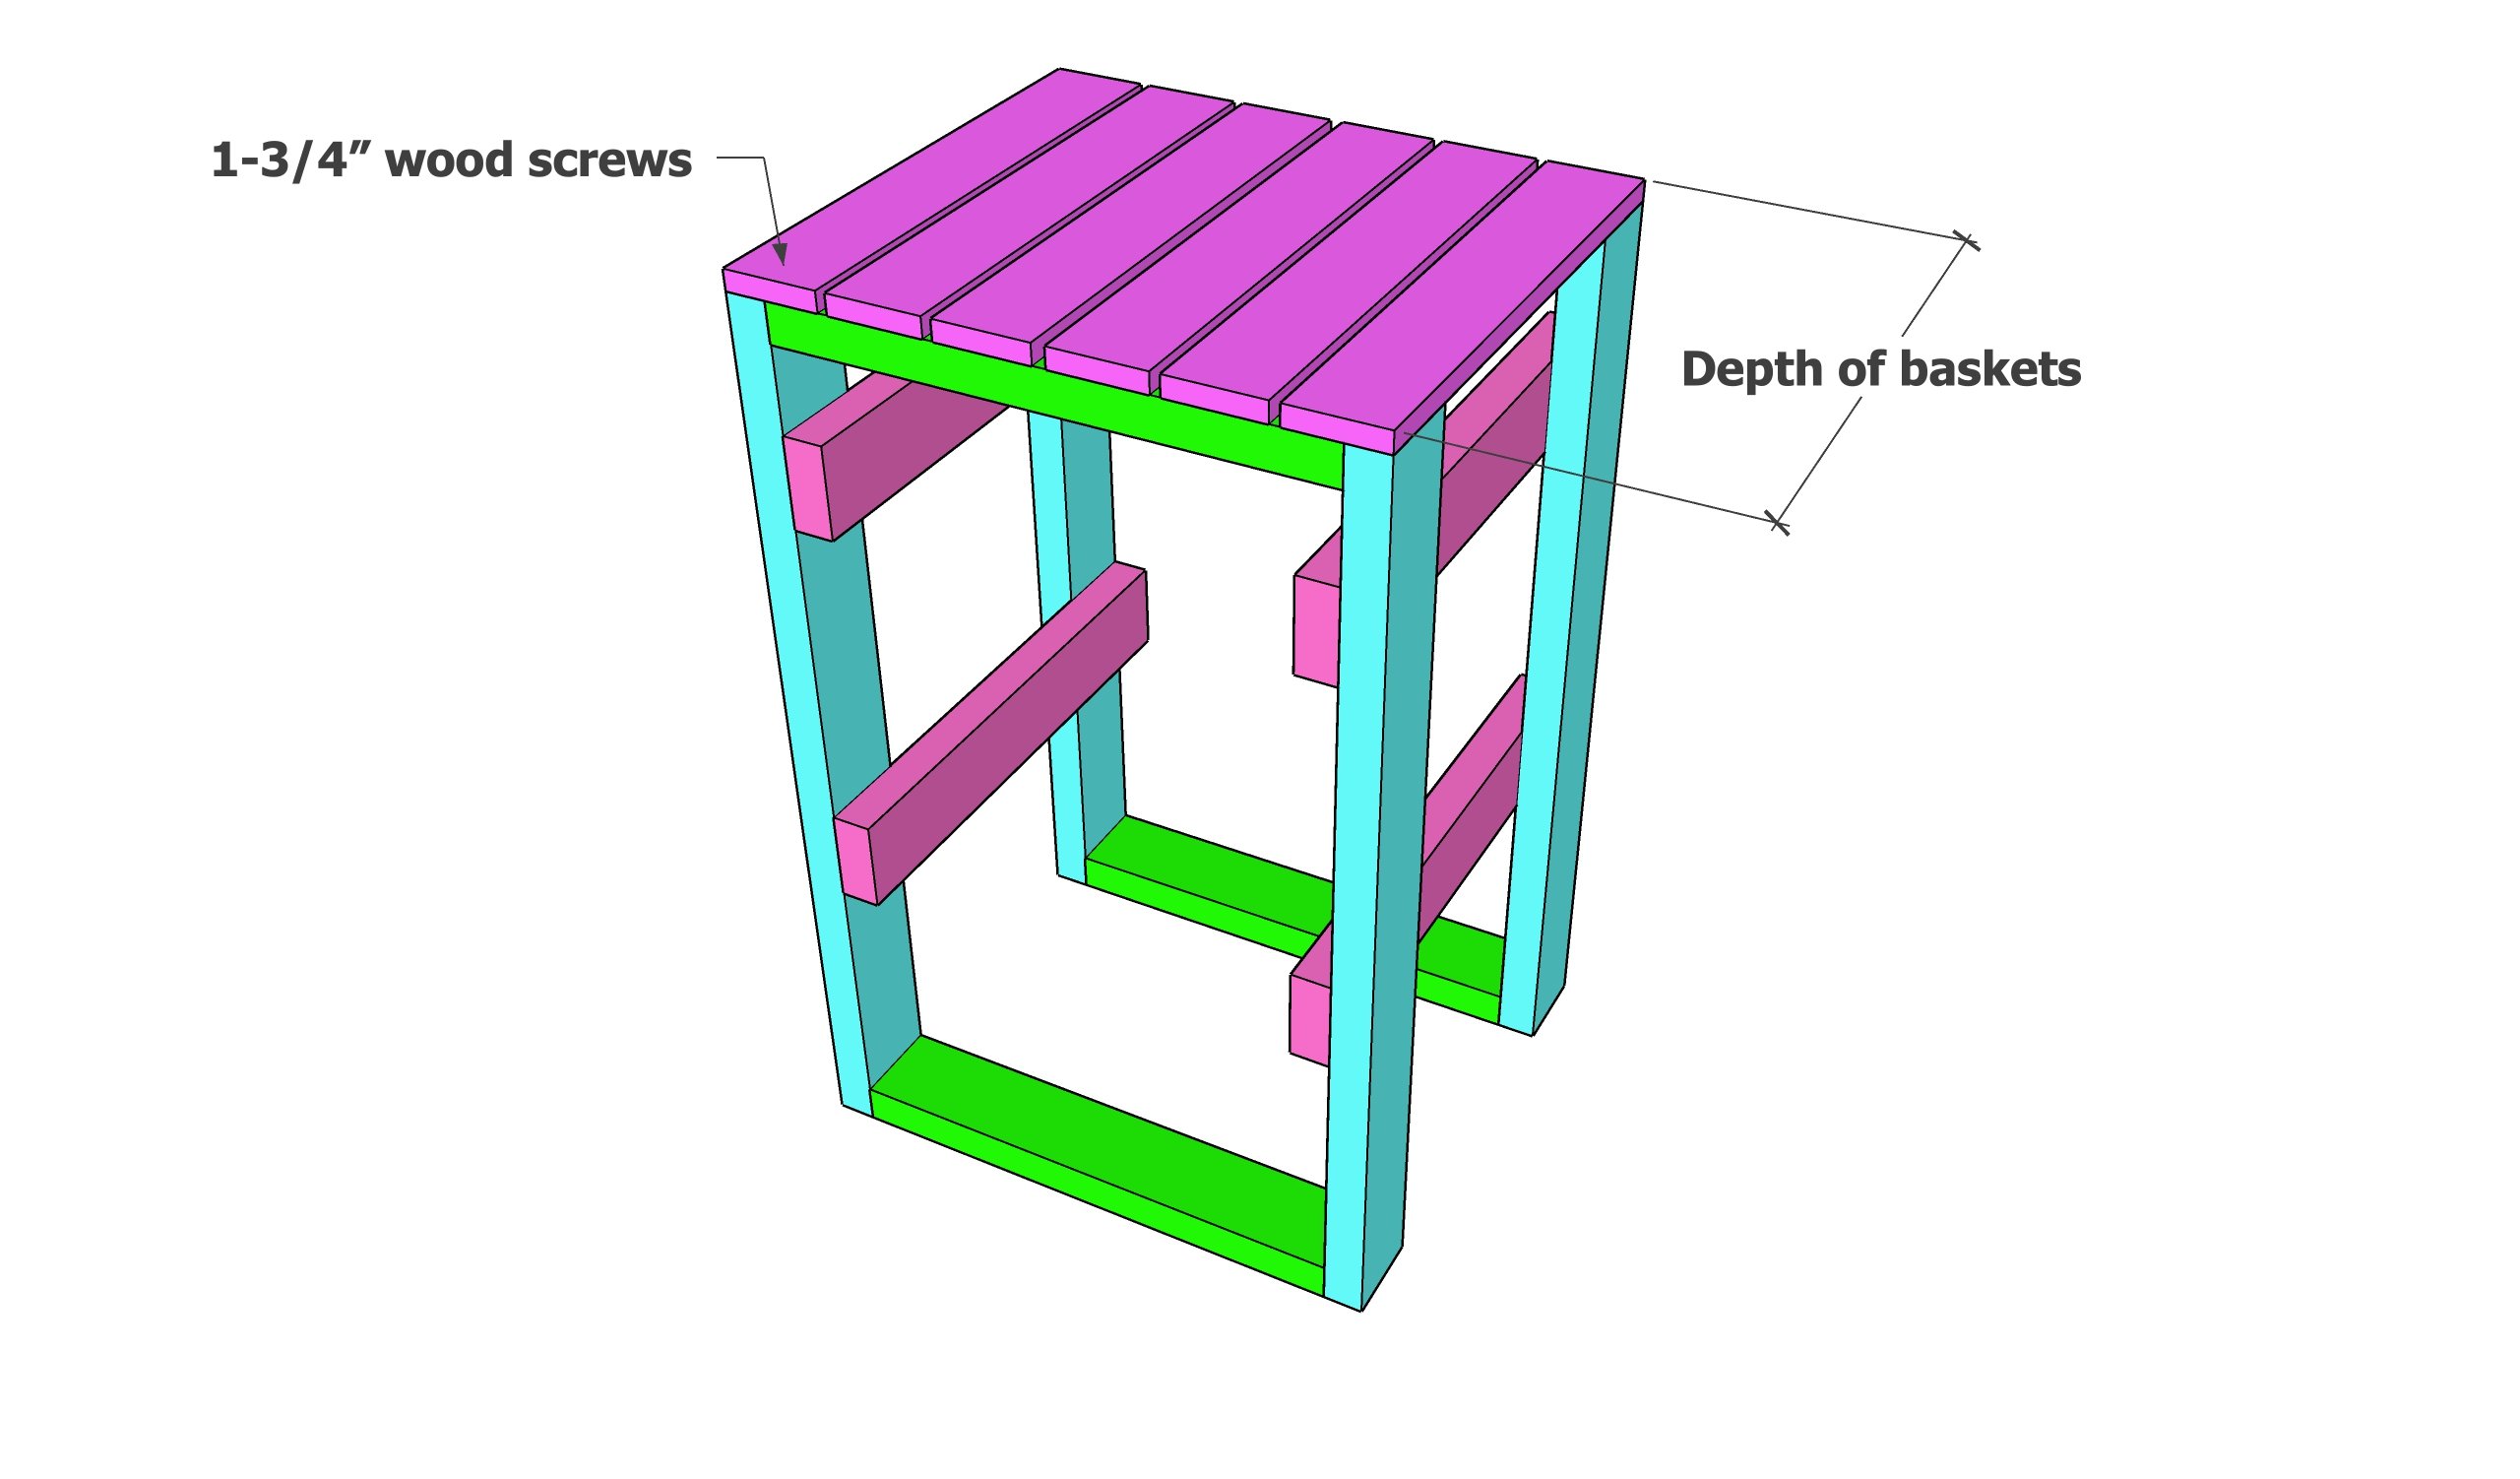
Figure the cuts based off of the dimensions of your laundry basket.
- 4 - 2x4 LEGS = [Number of Baskets X (Height of Baskets + 2")] + 2-4" additional clearance as desired
- 2x4 RUNNERS = Depth of Baskets, 2 per basket
- 4 - 2x4 SUPPORTS = Width of baskets under the lip + 3"
- 1x4 or 1x6 TOP = Depth of Baskets, quantity depending on top size


Instructions
Step 1
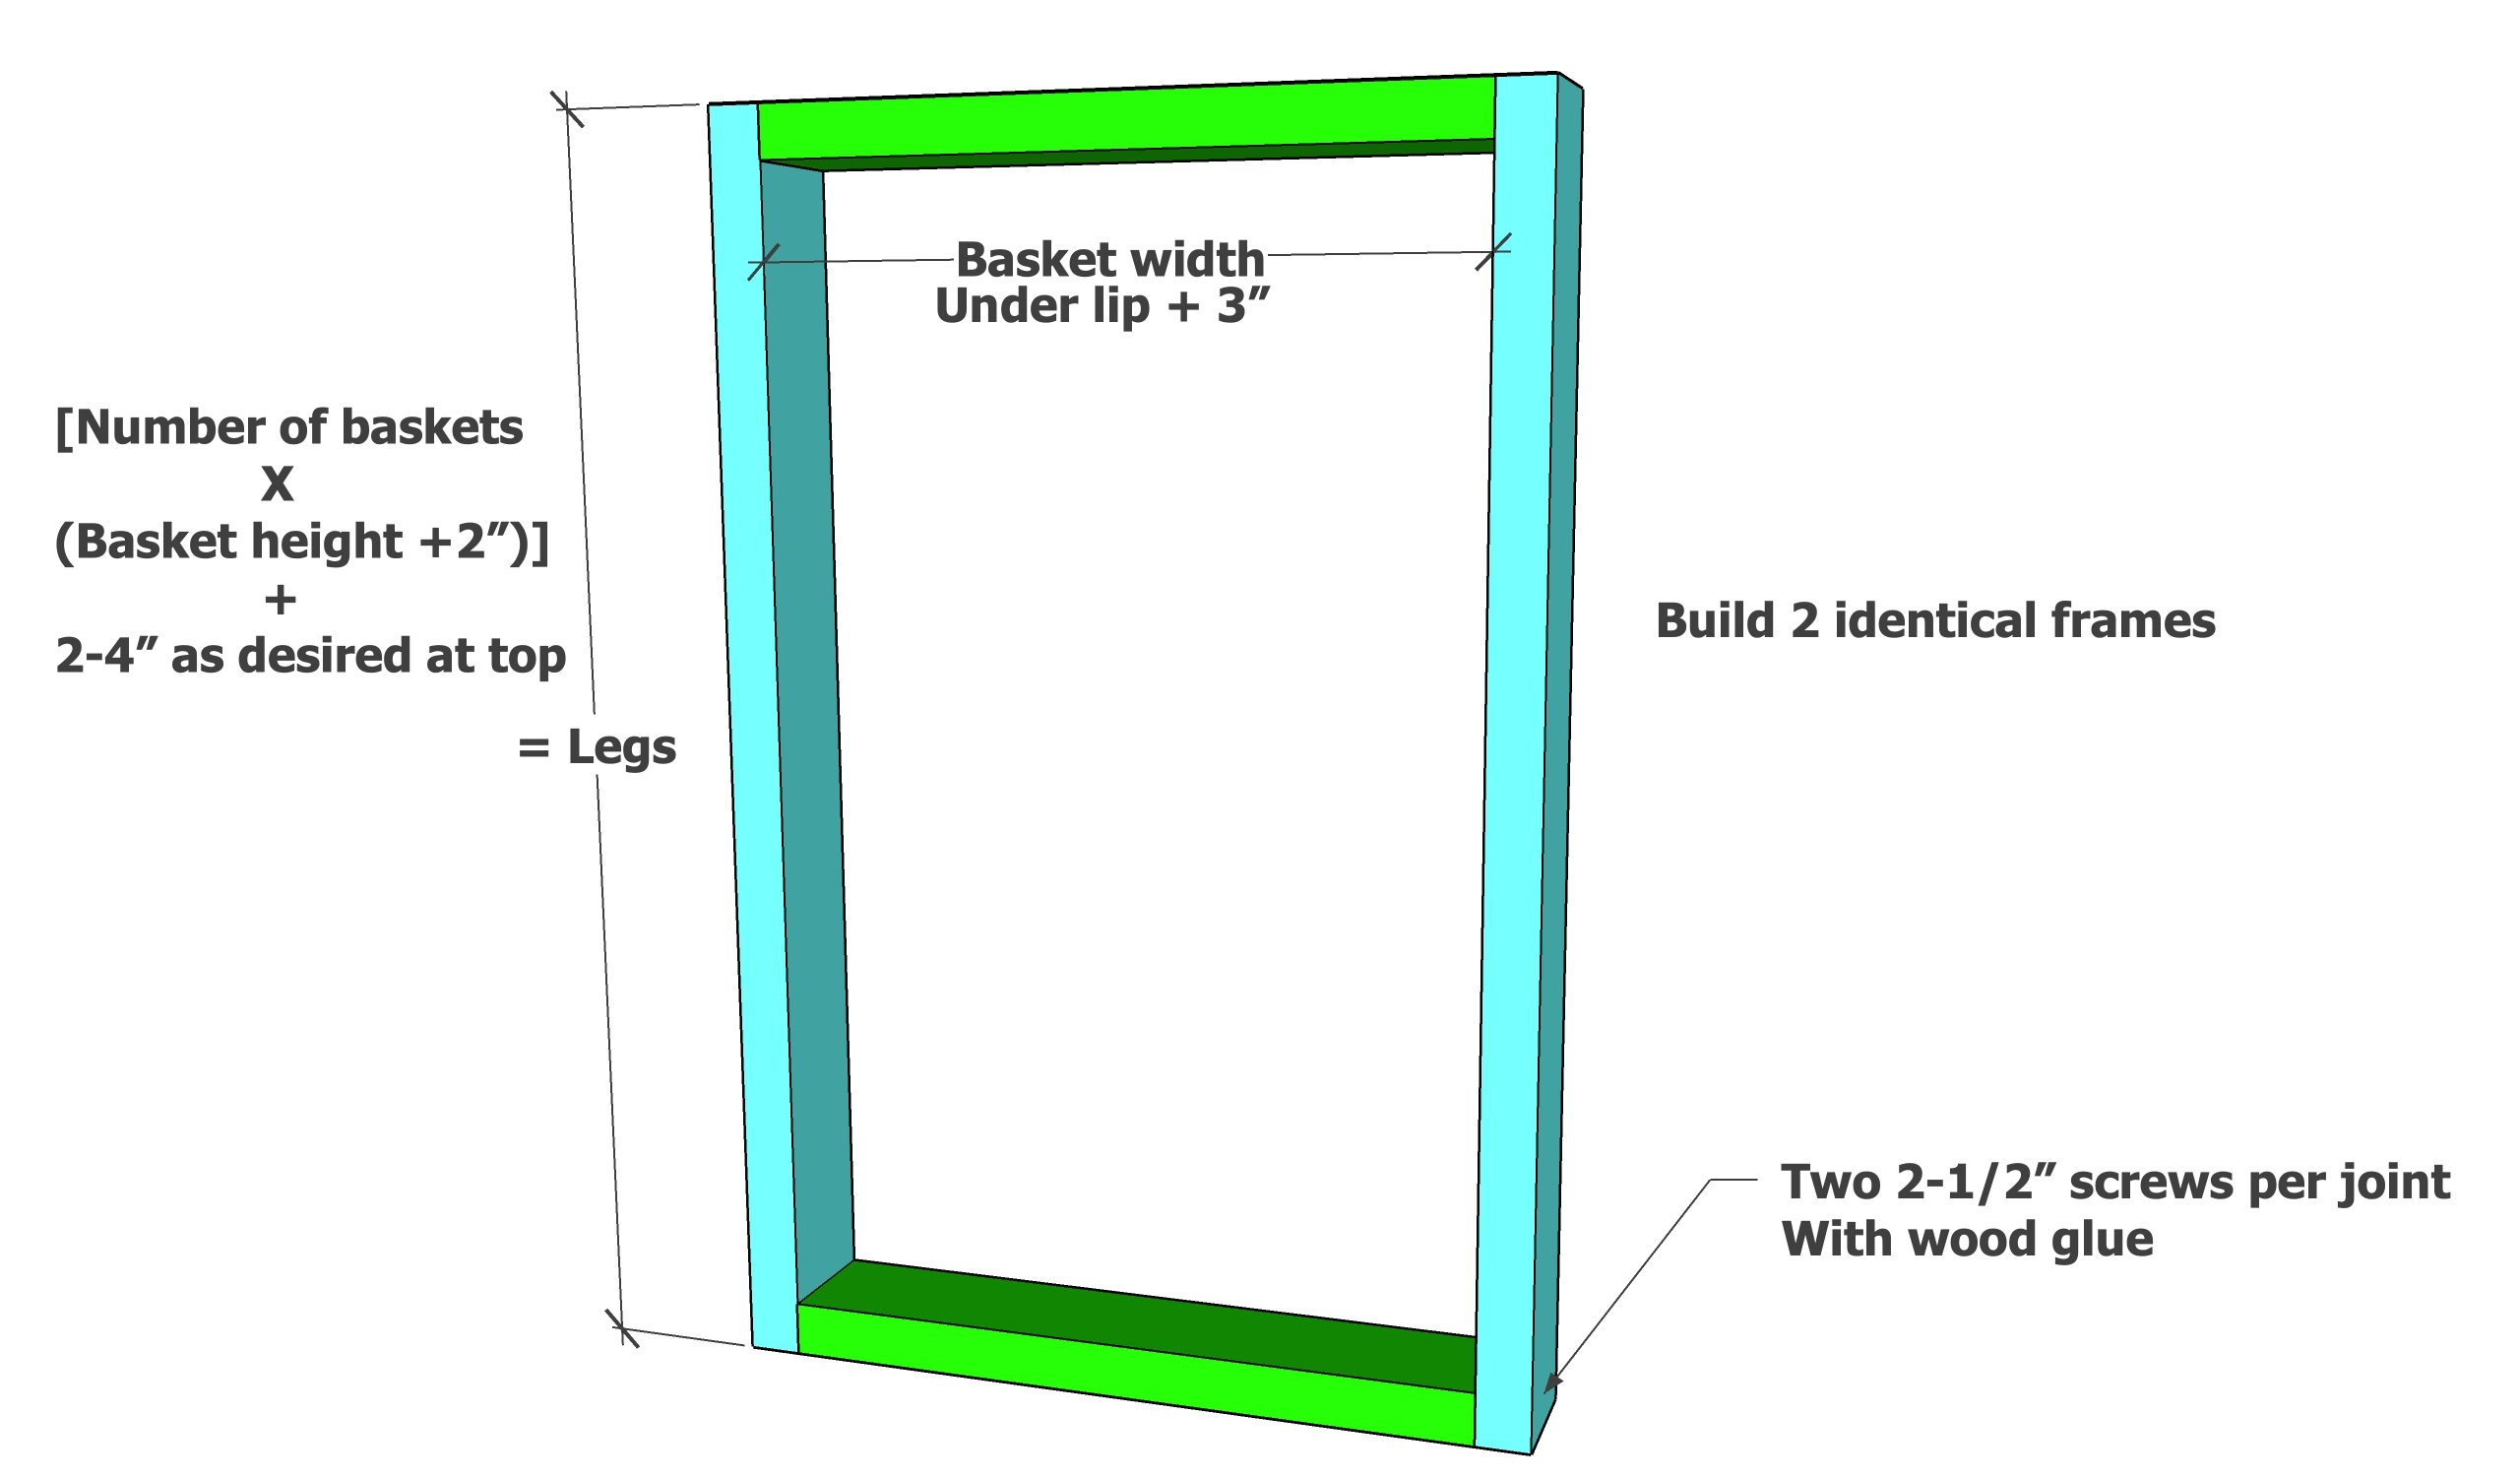
Figure the length of the legs and cut four legs from 2x4s.
Figure the length of the supports and cut four from 2x4s.
Attach together with the supports inside the legs with 2-1/2" screws.
Build two identical frames.
Step 2

Measure and mark out the location of the runners.
The bottom runner will be spaced the overall height of the laundry basket (including the lip) to the top edge of the runner.
ALL other runners will be spaced above the bottom runner by the overall height of the laundry basket plus 2".
Attach with 2-1/2" screws and glue.
Step 3
The top can be 1x4, 1x6, or other tabletop material. Leaving space in between will allow for air flow and could be used as a drying surface.
Evenly space the boards and attach with 1-3/4" self tapping screws.
Step 4
It is always recommended to apply a test coat on a hidden area or scrap piece to ensure color evenness and adhesion. Use primer or wood conditioner as needed.


Comments
drochmady
Fri, 10/10/2014 - 22:25
Awesome Laundry Basket
thank you for the idea,
This will make my dirty clothes are supposed to be stored in place
www.drochmady.com
olds1368
Sun, 12/28/2014 - 19:41
easy
Saw this and made it tonight in roughly 3 hrs. Very simple directions and this was a lot of fun to build for my first project!
Chris soule
Wed, 03/25/2015 - 13:39
laundry basket
What did you use for a laundry basket?
Nicorae_24
Mon, 05/11/2015 - 09:01
I can't wait to make this
Love that the top can be used as a folding table as well!
Tmartin7
Mon, 01/11/2016 - 23:45
Laundry basket
Cannot find a laundry basket to fit the build as listed above.
bmwarren
Sun, 01/17/2016 - 23:56
Laundry Baskets
Here are the baskets in the pics.
http://www.walmart.com/ip/Sterilite-1.5-Bushel-Ultra-Rectangle-Laundry-…
bmwarren
Sun, 01/17/2016 - 23:58
Laundry Baskets
I was mistaken these are the ones in the pics.
http://www.walmart.com/ip/Sterilite-1.25-Bushel-Hiphold-Laundry-Basket-…
bmwarren
Mon, 01/18/2016 - 00:08
Laundry Baskets
These are the ones in the pics.
http://www.walmart.com/ip/Sterilite-1.25-Bushel-Hiphold-Laundry-Basket-…
they are an inch wider than 25 1/4 inches
These are the ones I used.
http://www.walmart.com/ip/Sterilite-1.5-Bushel-Ultra-Rectangle-Laundry-…
These come closer to fitting but still had to make dresser a little wider so they would fit.
striker32422
Thu, 11/05/2020 - 12:33
has anyone put the long 2"…
has anyone put the long 2" screws in from other direction so whey wont be visible from outside
apickle
Sat, 08/14/2021 - 15:22
Be careful when making these…
Be careful when making these plans as the laundry baskets shown are 26 and 3/8inches long, while the inside deminsions shown are 23 and 3/8inches. And they don't make laundry baskets that will fit inside the current plans demensions, that I can fond anyways. So you will need to adjust the plans accordingly.