
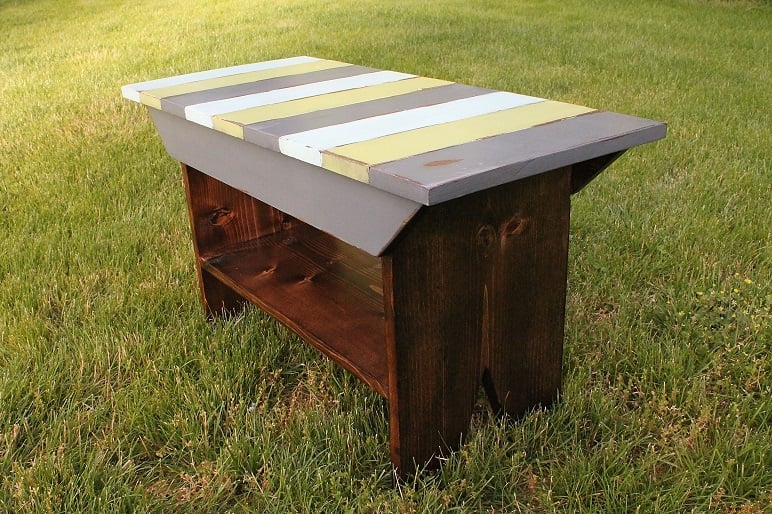

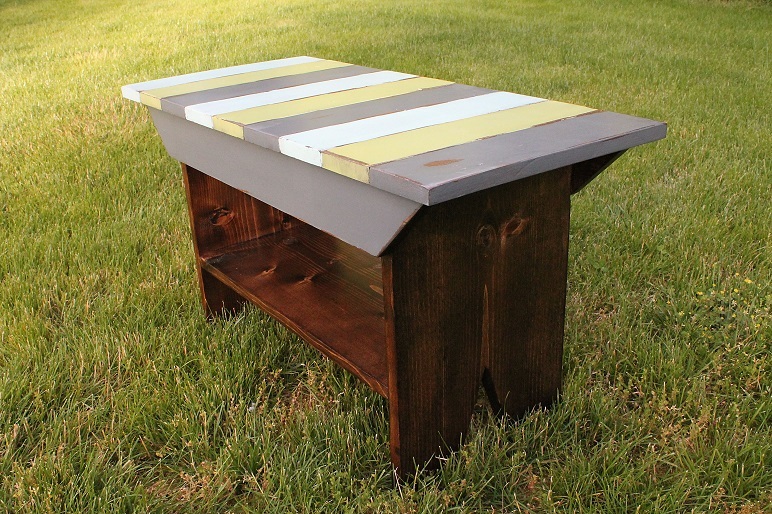
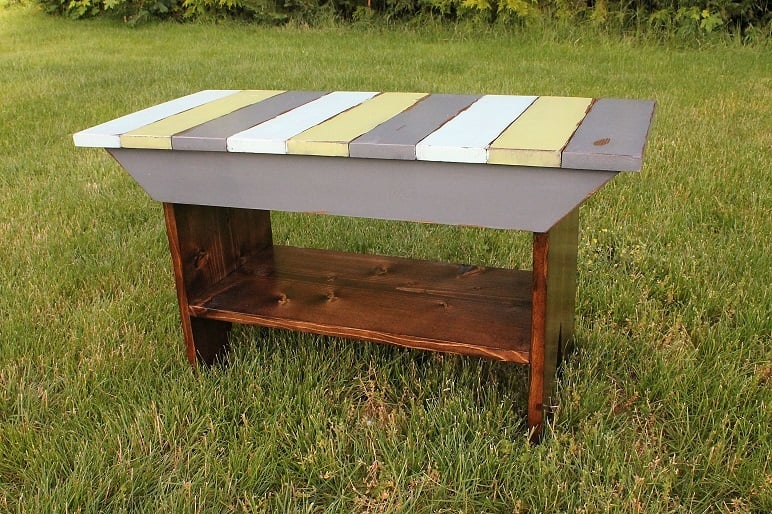
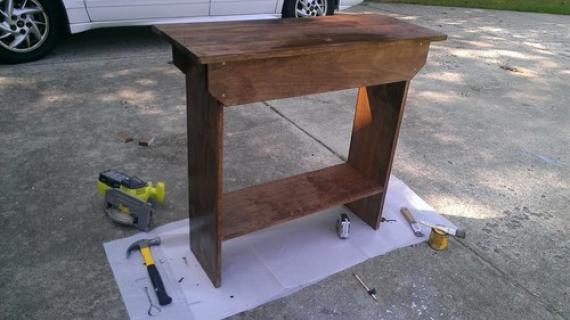
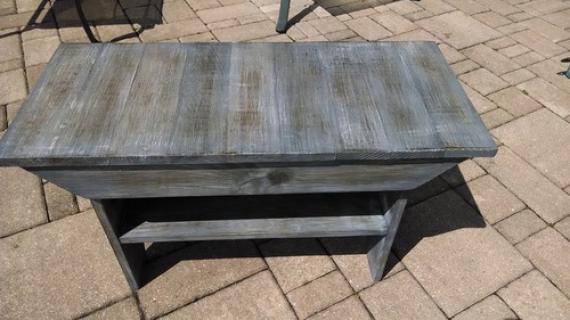
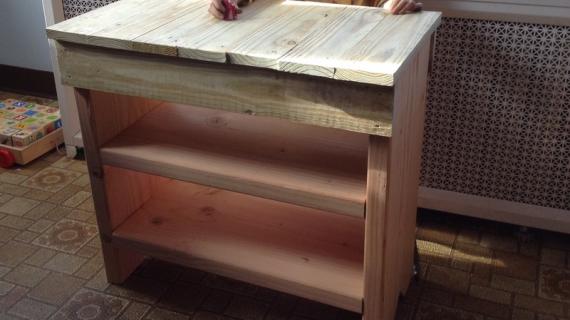
Build your own wood benches with a shelf - you can use pallet boards for the tops! Free plans from Ana-White.com
These benches are perfect as extra seating, a nightstand, a plant stand, an end table, or in the entryway. Easy to customize too.
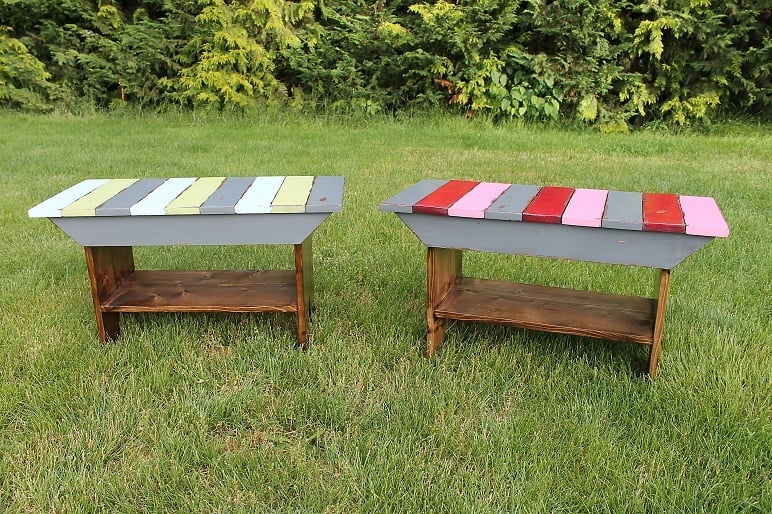


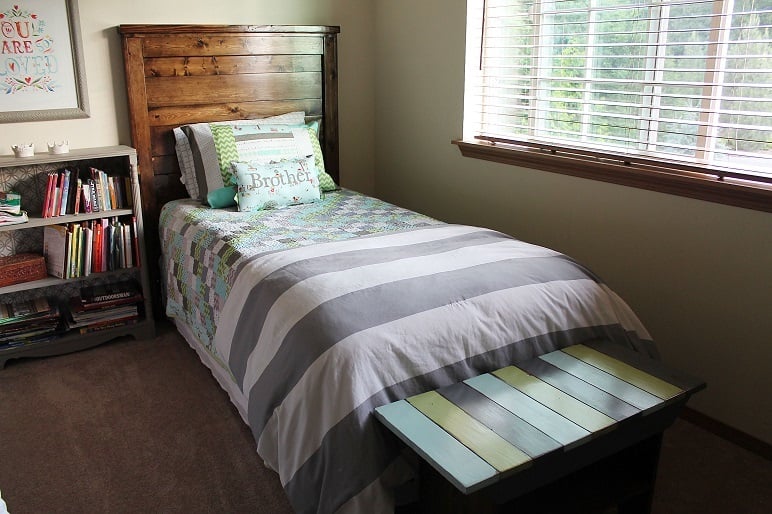
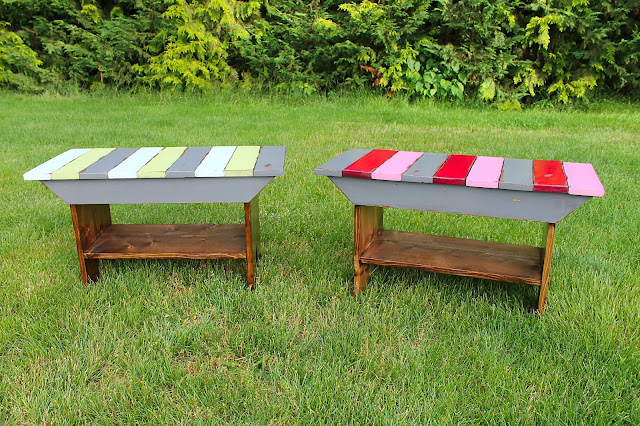
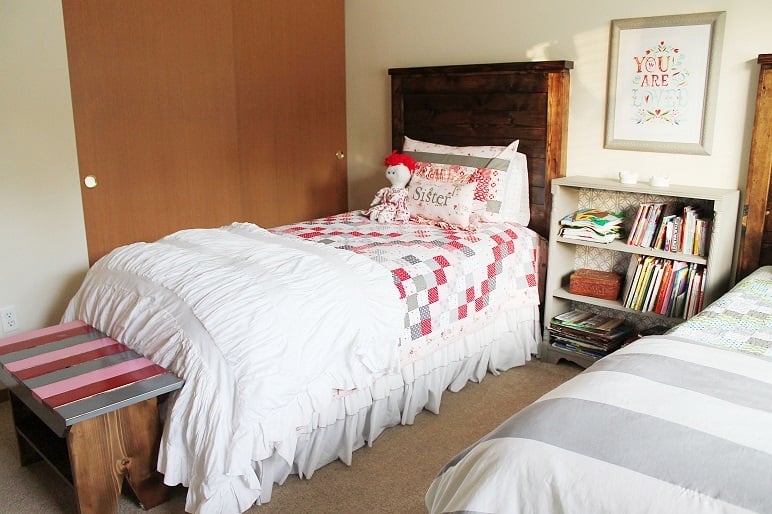
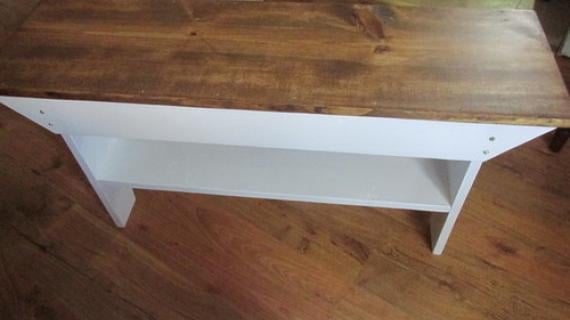
Brook made these benches for the foot of her children's beds.

I love how Brook matched the paint to the quilts, but kept the wood stain of the DIY headboards the same as the wood stain on the benches!
Brook has lots more photos including construction photos in her post here, so please take a second to go visit.
Free Plans to Build Your Own Bench
Preparation
- 1 - 1x12 @ 6 feet long
- 2 - 1x4 @ 8 feet long
- Can be built with 1 1/4" pocket hole screws or 2" self tapping star bit wood screws
- Nail top on with 1 1 4" brad nails and glue
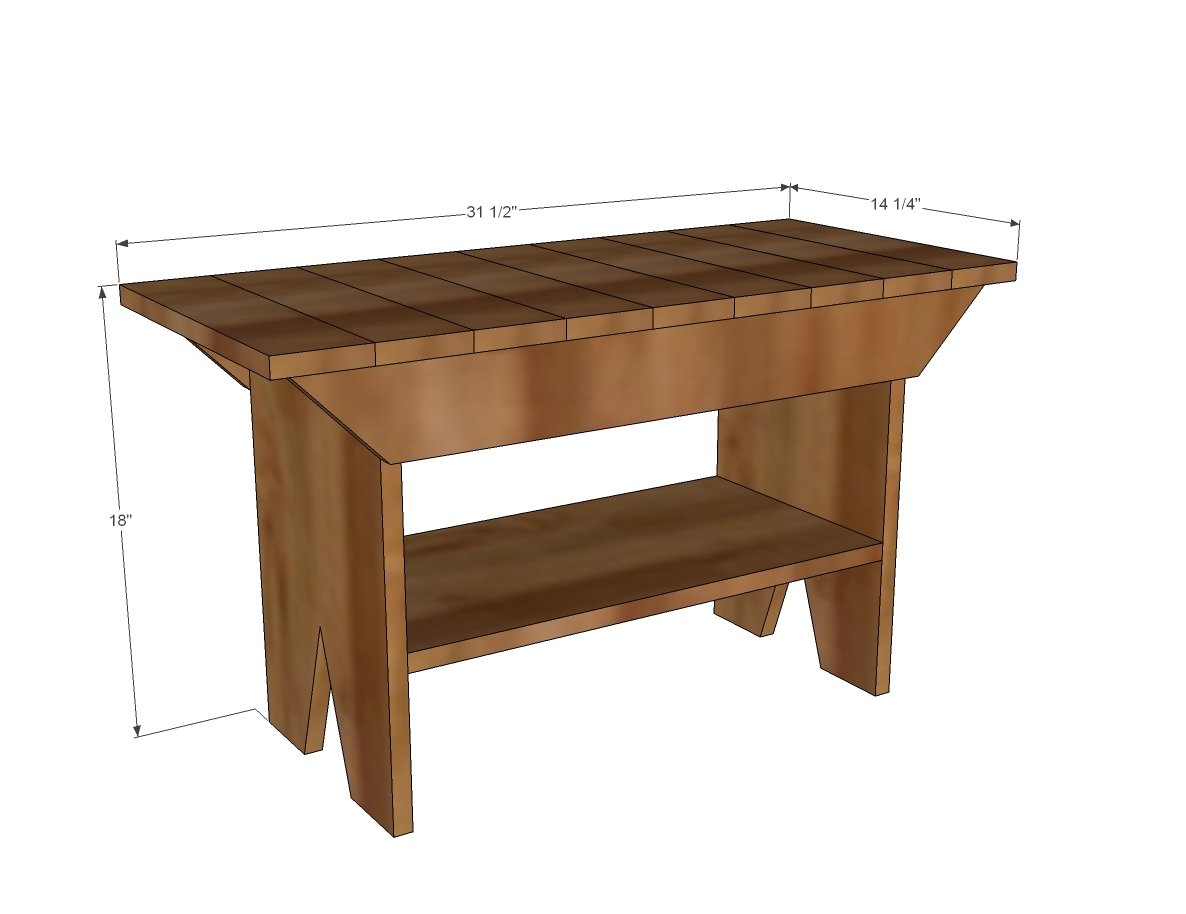
- 2 - 1x12 @ 17 1/4”
- 2 - 1x12 @ 21 1/2”
- 2 - 1x4 @ 30” (both ends cut at 45 degrees off square, ends NOT parallel)
- 9 - 1x4 @ 14 1/4”


Please read through the entire plan and all comments before beginning this project. It is also advisable to review the Getting Started Section. Take all necessary precautions to build safely and smartly. Work on a clean level surface, free of imperfections or debris. Always use straight boards. Check for square after each step. Always predrill holes before attaching with screws. Use glue with finish nails for a stronger hold. Wipe excess glue off bare wood for stained projects, as dried glue will not take stain. Be safe, have fun, and ask for help if you need it. Good luck!
Instructions
Step 1
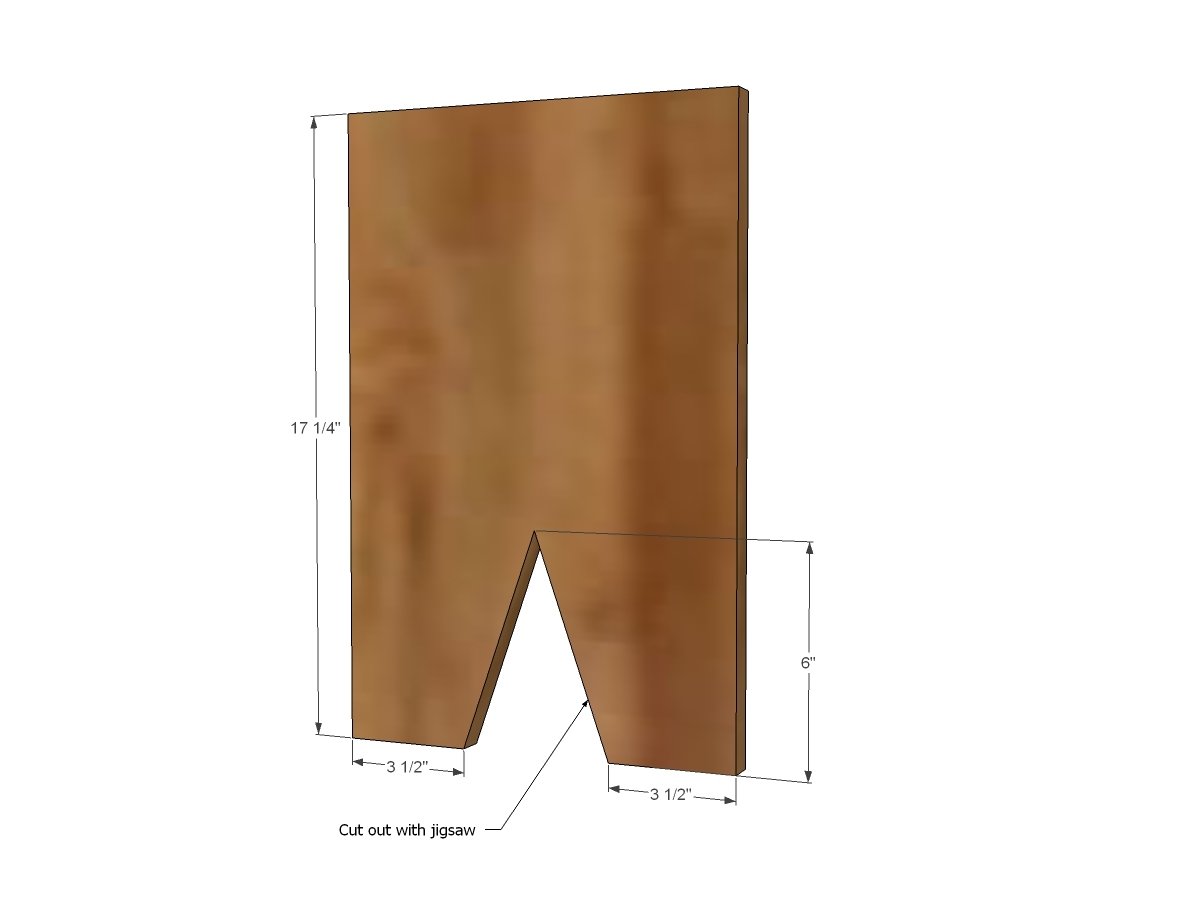
Cut your legs out of the 1x12s as shown in diagram with a jigsaw.
Step 2
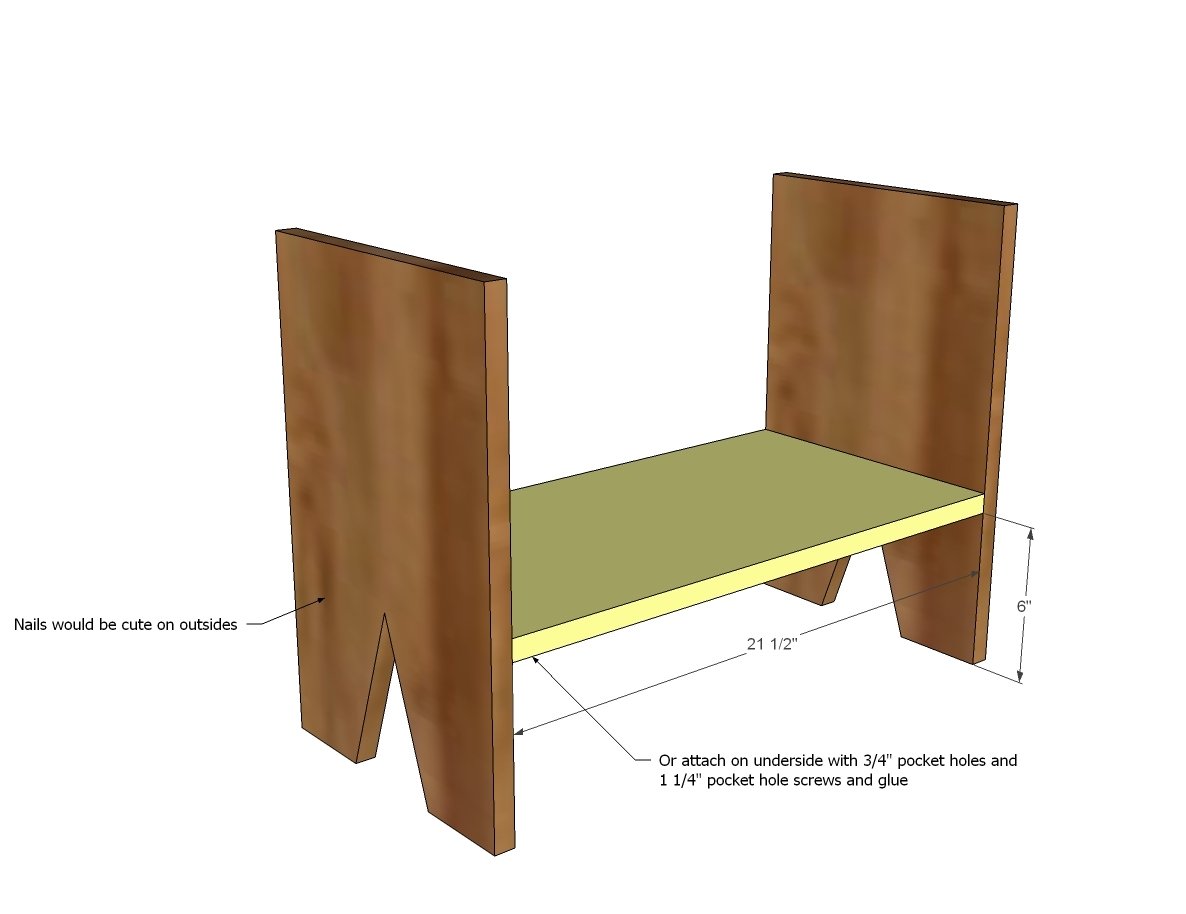
Add bottom shelf to the bench legs.
Step 3
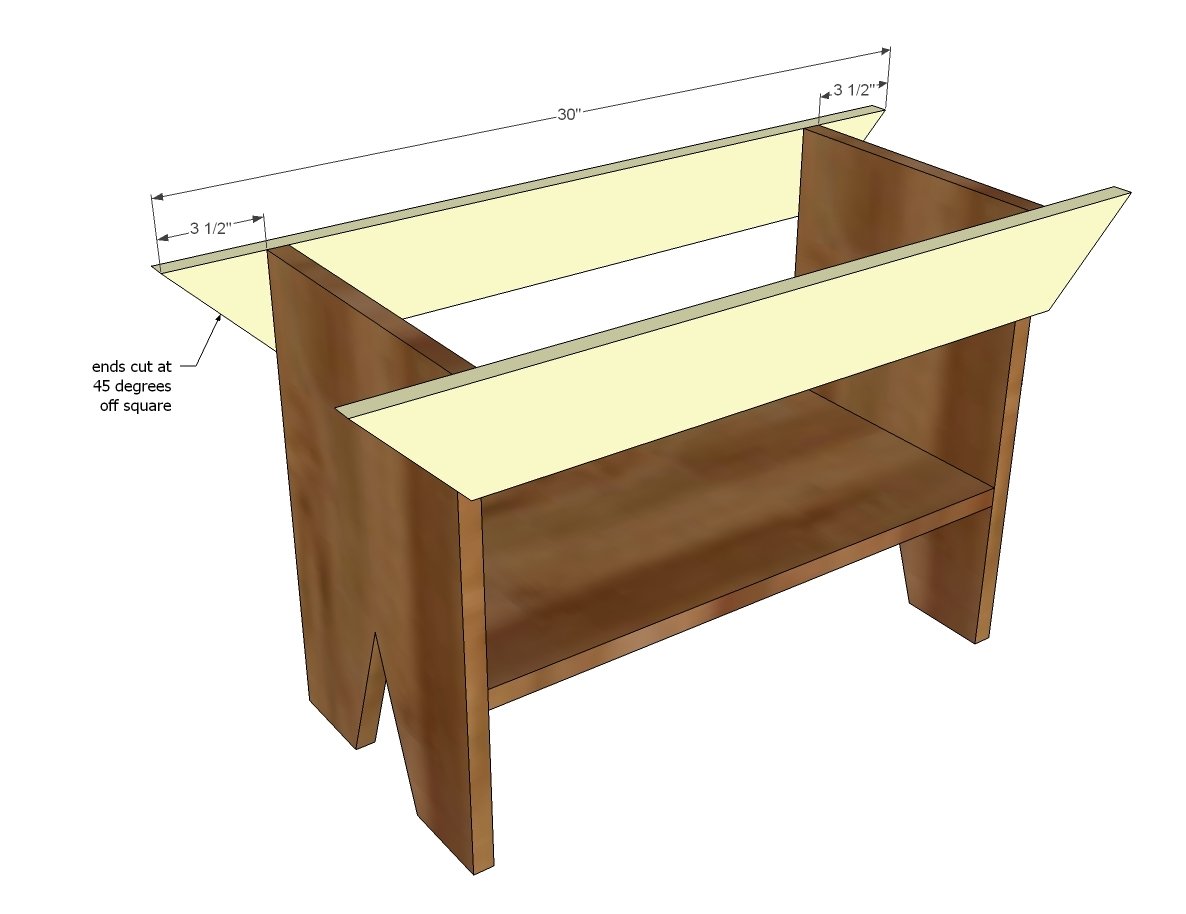
Attach side aprons to shelf legs.
Step 4
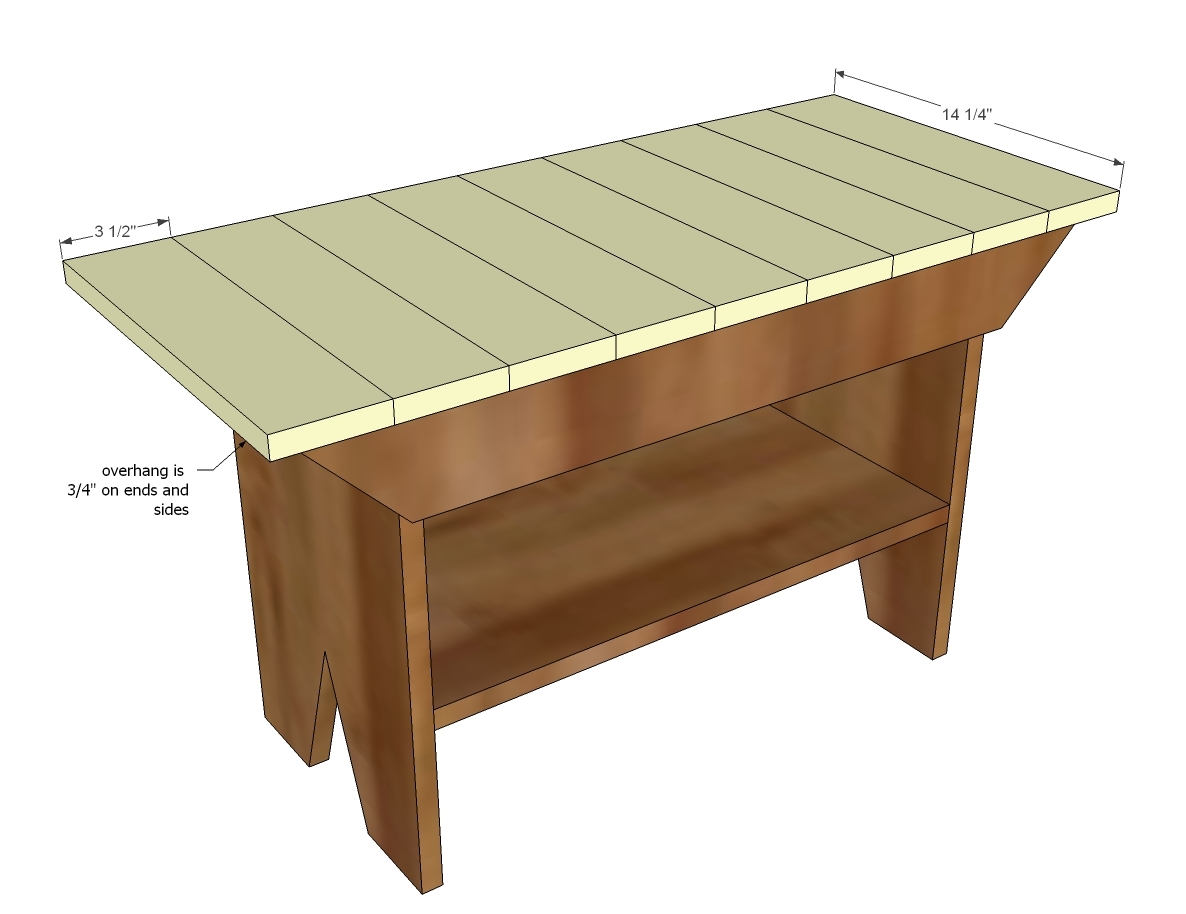
Attach seat boards to aprons and you are done!
It is always recommended to apply a test coat on a hidden area or scrap piece to ensure color evenness and adhesion. Use primer or wood conditioner as needed.

Comments
birvine
Tue, 08/13/2013 - 18:14
21.5" pieces
Why are two of these boards listed in the cut list?
papabear
Sat, 08/09/2014 - 03:39
I saw it to
must be a mistake lol
DakotaMoe
Tue, 10/28/2014 - 02:52
Good Design
I've built many benches and the multi colored design is a great inspiration to my room decor. Very easy to build.