
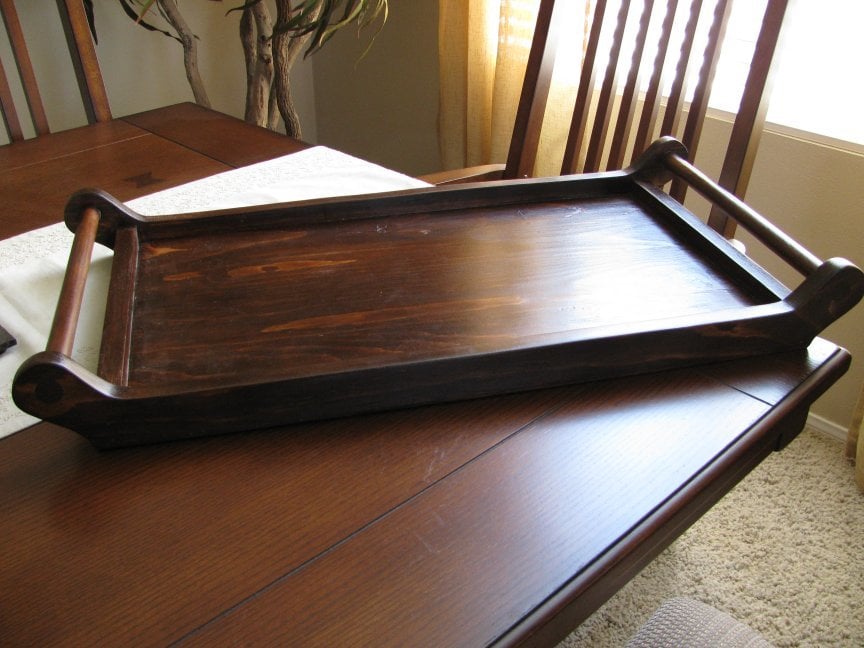

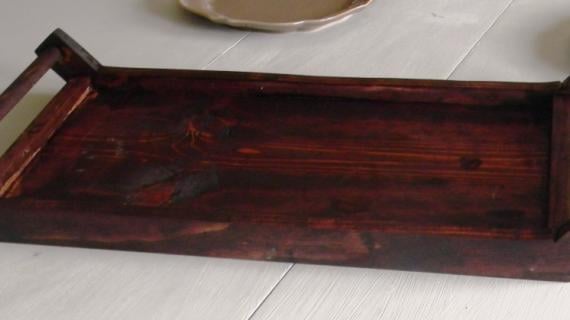
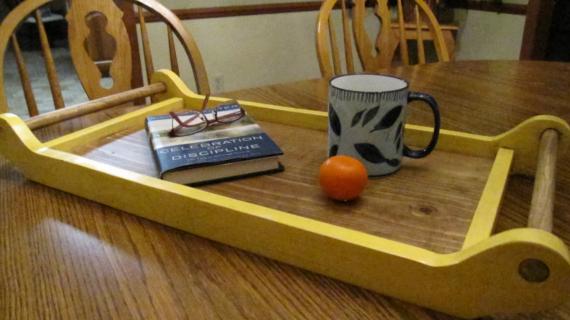
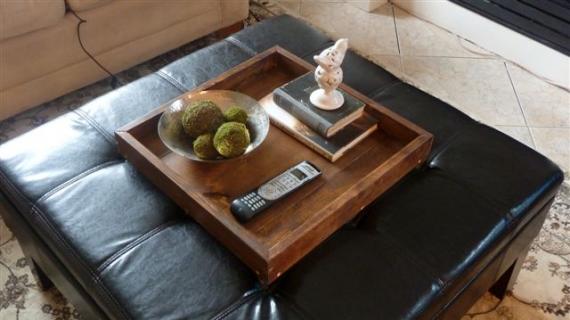
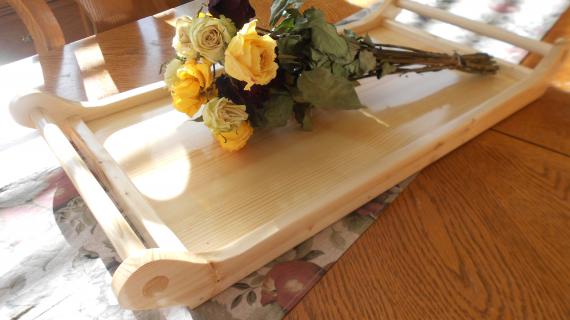
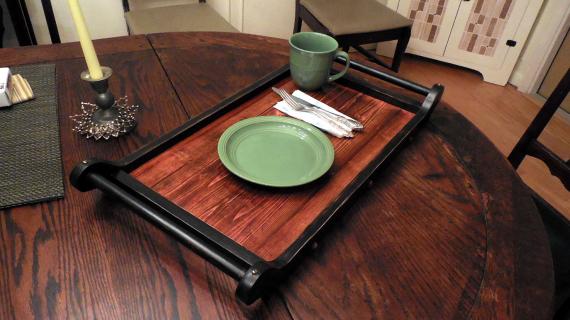
This is a serving tray that I made. Fairly simple to make. It has come in very handy. This tray is perfect for breakfast in bed on Mothers' Day or for birthdays. It is also helpful when grilling outdoors to carry out all the seasonings, meat, utensils, etc.

Preparation
1x12 - 2' (srap)
1x4 - 6'
1x2 - 2' (scrap)
.75" dowel = 26"
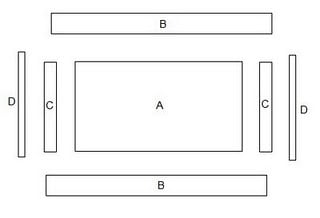
Cut List:
A – Qty=1-(bottom of tray from 1 x 12 board): 11.5” x 21” x .75”
B – Qty=2-(sides of tray from 1 x 4 board): 27” x 3.5” x .75”
C – Qty=2-(ends of tray from 1 x 2 board): 11.5” x 1.5” x .75”
D – Qty=2-(dowels for handles): .75” dowels cut to 13” length
Please read through the entire plan and all comments before beginning this project. It is also advisable to review the Getting Started Section. Take all necessary precautions to build safely and smartly. Work on a clean level surface, free of imperfections or debris. Always use straight boards. Check for square after each step. Always predrill holes before attaching with screws. Use glue with finish nails for a stronger hold. Wipe excess glue off bare wood for stained projects, as dried glue will not take stain. Be safe, have fun, and ask for help if you need it. Good luck!
Instructions
Step 1
1. Transfer handle pattern to ends of side boards (B)-handle pattern on a one-inch grid shown below
2. Drill .75” holes in ends of side boards (B) per the pattern – tip: put a piece of scrap wood under the board that you are drilling to minimize “tear out” to the other side of the hole you are drilling.
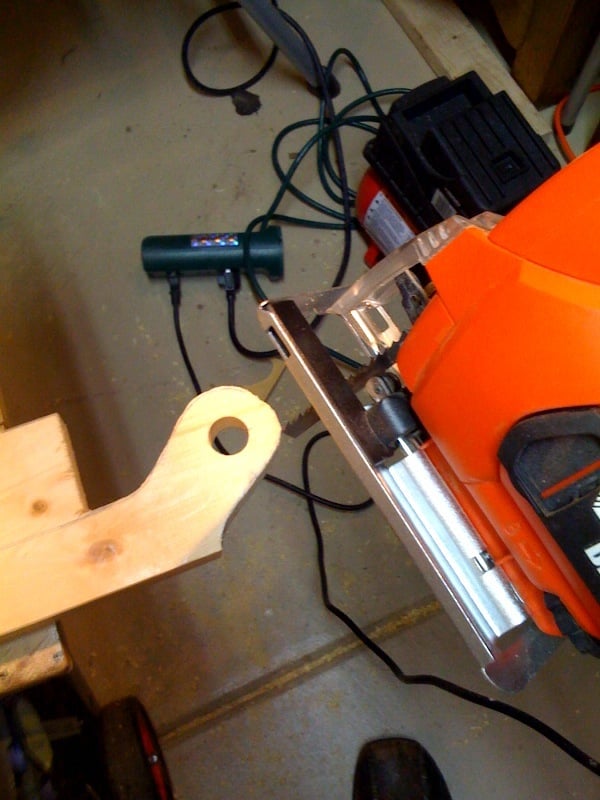
3. Cut side board (B) to shape by using a jig saw
4. Thoroughly sand the board to smooth the edges that were cut in step 3
Step 2

5. Attach end boards (C) to bottom of tray (A) using glue and 1.25” nails make sure edges are flush.
Step 3
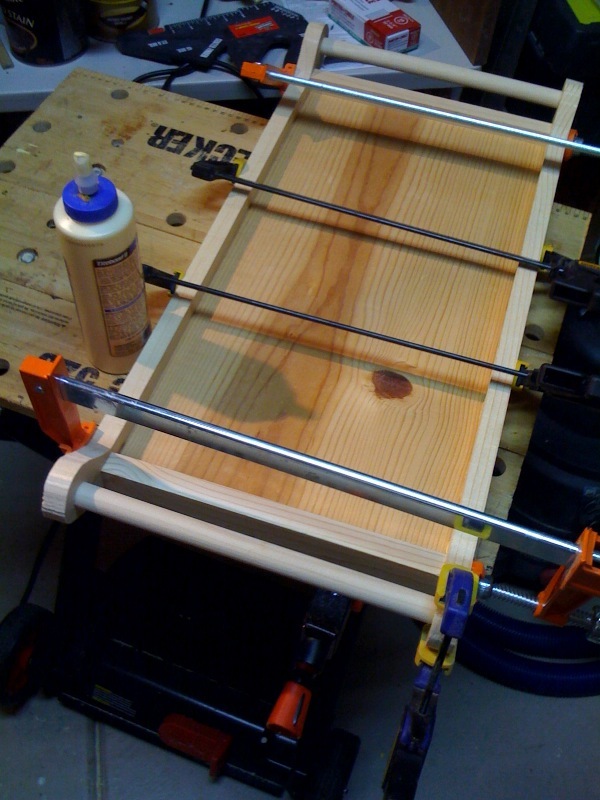
6. Glue dowels (D) into holes in side boards (B) and quickly glue and nail to the bottom (A) using 1.25” nails – tip: you should dry fit this together to make sure all is going to fit well before you apply glue. You want to attach dowels first, then attach to the bottom, but don’t let the glue set on the dowels so that you can make sure everything is squared up and flat before you nail to the bottom. (Clamps help, but glue and nails should be adequate)
7. Remove excess glue before it hardens – it sometimes helps to let the glue set for 15-20 minutes so you can remove it while it is still a bit rubbery.
9. Add stain or paint

Comments
thisgirlkim
Fri, 04/08/2011 - 20:21
Thanks!
I love this!! I've wanted a serving tray forever...so now it looks like I should make one!
Dianne (not verified)
Sat, 04/09/2011 - 05:11
Beautiful
This is beautiful! Great job! I've been thinking about making a tray and now I don't have to create a plan. :) Thanks for sharing!
Guest (not verified)
Sat, 04/09/2011 - 16:01
Wow that really is gorgeous!
Wow that really is gorgeous! I think this is going to be my next plan!
Guest (not verified)
Mon, 04/25/2011 - 19:00
Tray
This is perfect. I have wanted to make a tray and inset 9 tiles I bought in Mexico. I have looked at buying one for 7 years and could never find the right size. By making a few adjustments on the size of this tray, I will be able to have the perfect size tray. My project can be completed after all this time. Thank you for sharing these plans
chjaway2
Sat, 06/11/2011 - 17:20
Oh Yes -
Well, "hello Christmas" for everyone on my list!
In reply to Oh Yes - by chjaway2
spiceylg
Thu, 07/21/2011 - 11:15
I agree!
I think I'm going to recruit my hubby for this so we can knock out 10 or more of these for Christmas gifts this year! Gotta love it!
Larry (not verified)
Sat, 12/08/2012 - 14:31
Great project, great plans
thanks for posting this, very elegant version of a serving tray, yet simple, I plan to make several with either exotic woods of different colors or standard woods using colored stains, blues and reds.
eariejohn
Sun, 12/06/2020 - 20:09
Handle Template
Where is the handle template?
eariejohn
Sun, 12/06/2020 - 20:12
I'm anxious to try to make…
I'm anxious to try to make this serving tray. But where is the template for the handle?
E