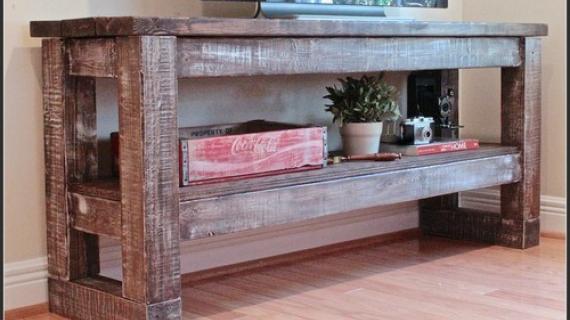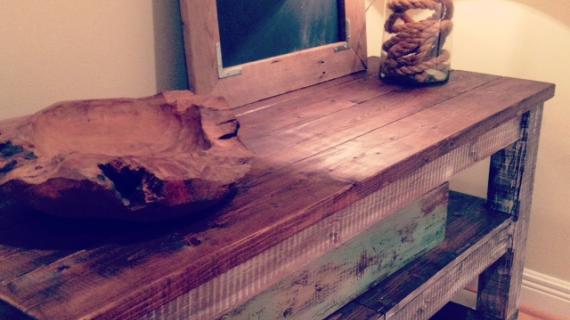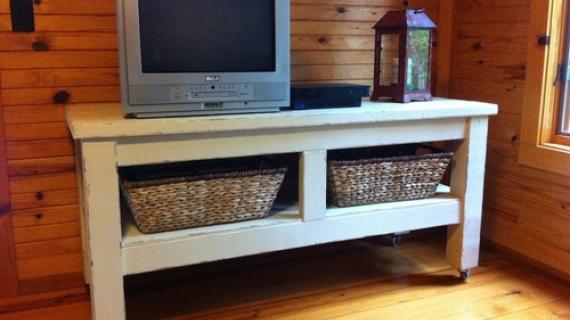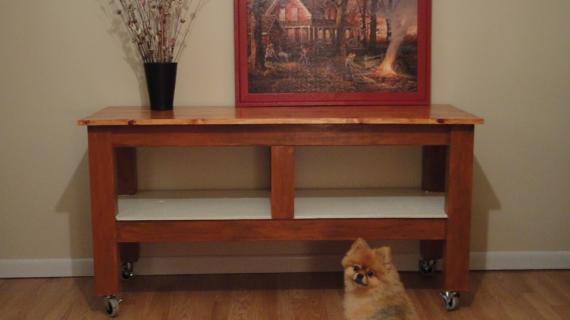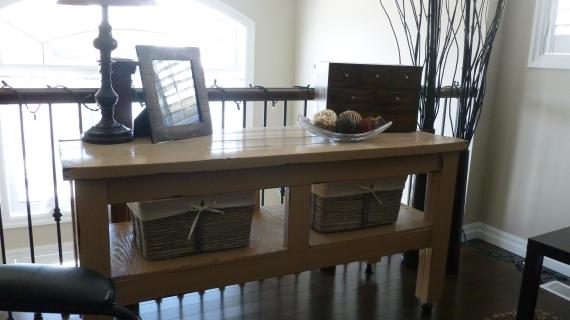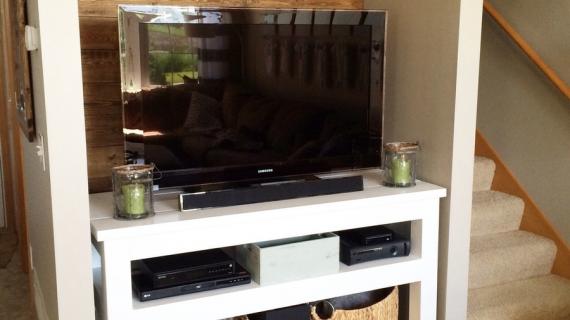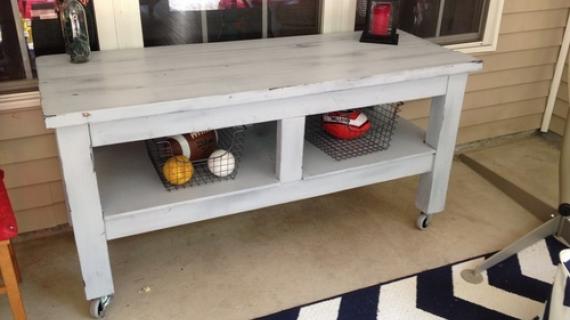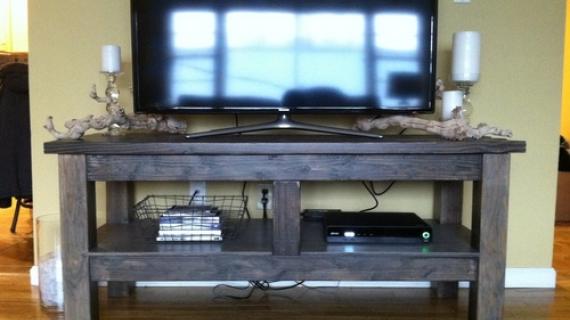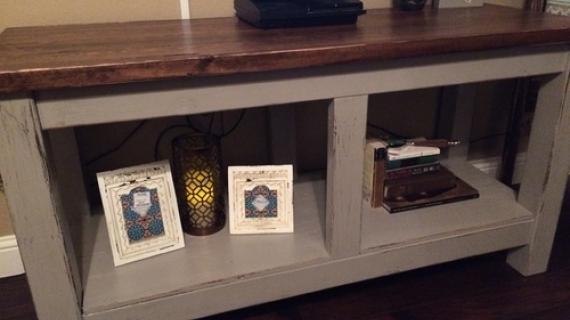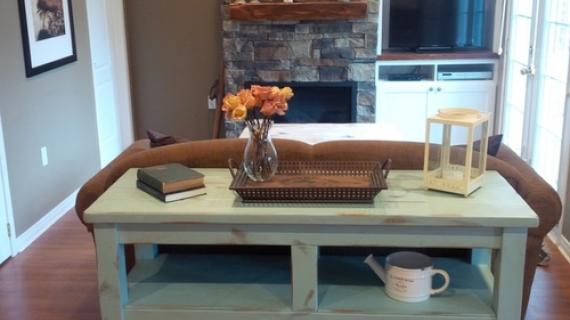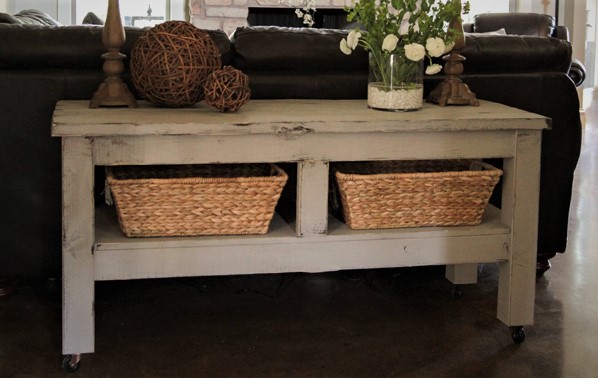

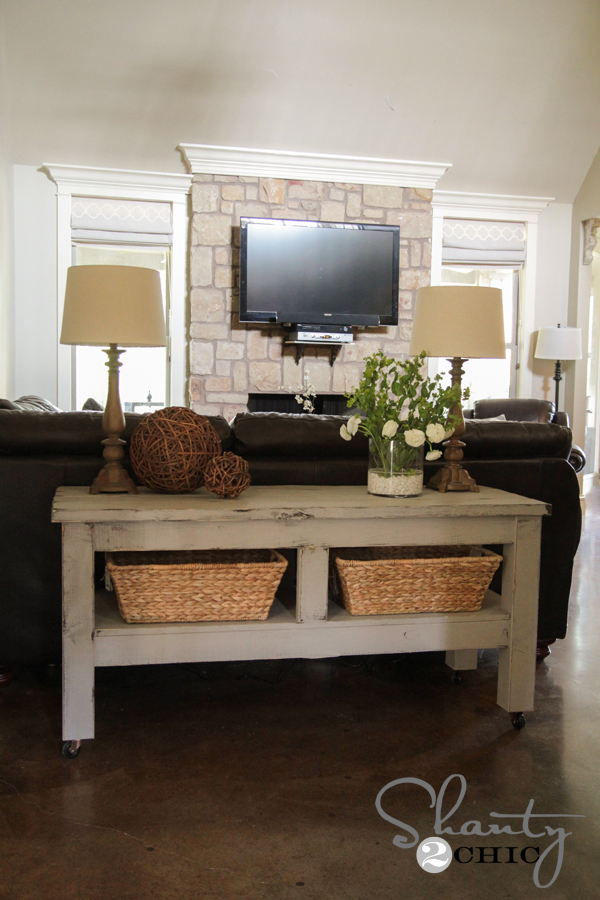
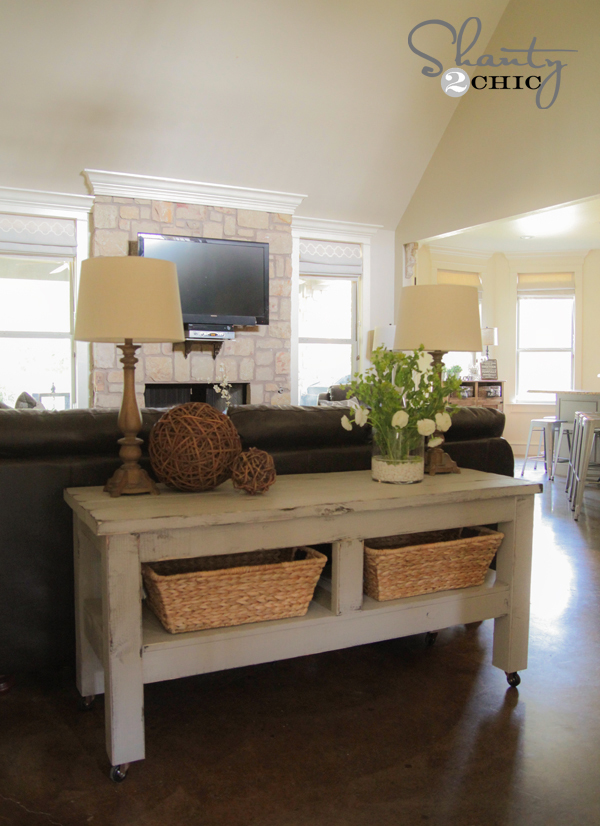
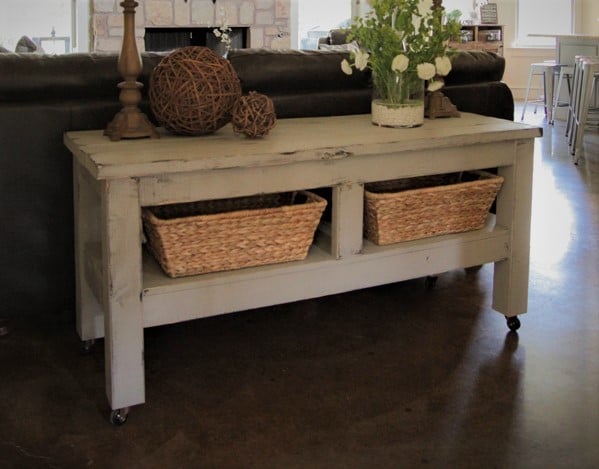
Free woodworking pattern to build a substantial, rustic console. This console table can be used under a tv, behind a sofa, as an accent table, or even as a bathroom vanity. The 4x4 legs give it a high end look, but you can DIY it with our free plans for much less.
Built by Whitney from Shanty2Chic

FAQ
What finish was used? Please visit Whitney from Shanty2Chic for more details
Do I have to use caster wheels? No, of course not. If you skip the casters, just make the legs 28-1/2" long instead.
Can I use 2x4s instead of 4x4s? Yes! It will affect the dimensions, so I'd advise cutting as you go.
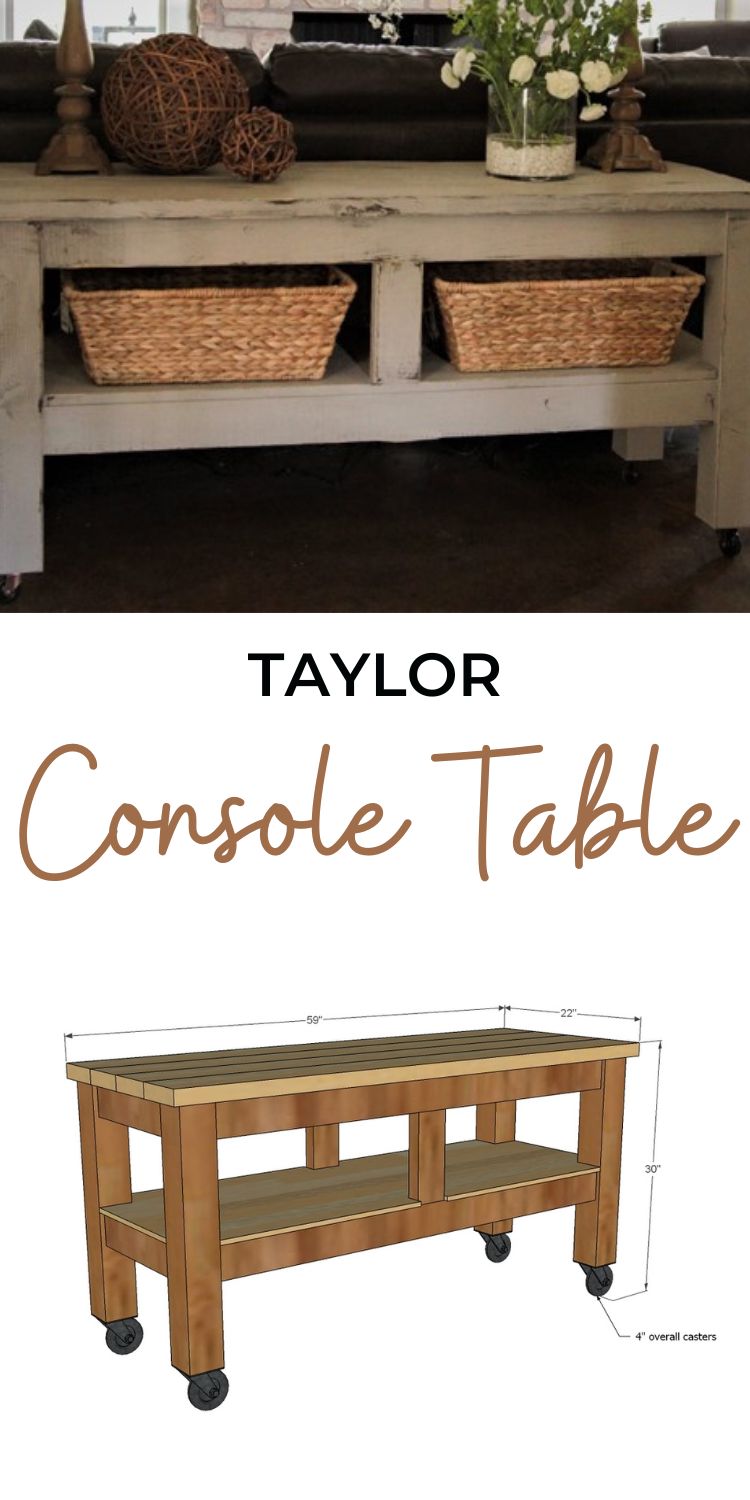
Pin For Later!
Preparation
- 2 - 2x6 @ 10 feet long
- 1 - 4x4 @ 10 feet long
- 1 - sheet 1/2” plywood for bottom shelf, or substitute 3 - 1x4 x 10' boards
- 4 - 2x4 @ 8 feet long (cut 50” cuts first)
- 2 1/2” pocket hole screws
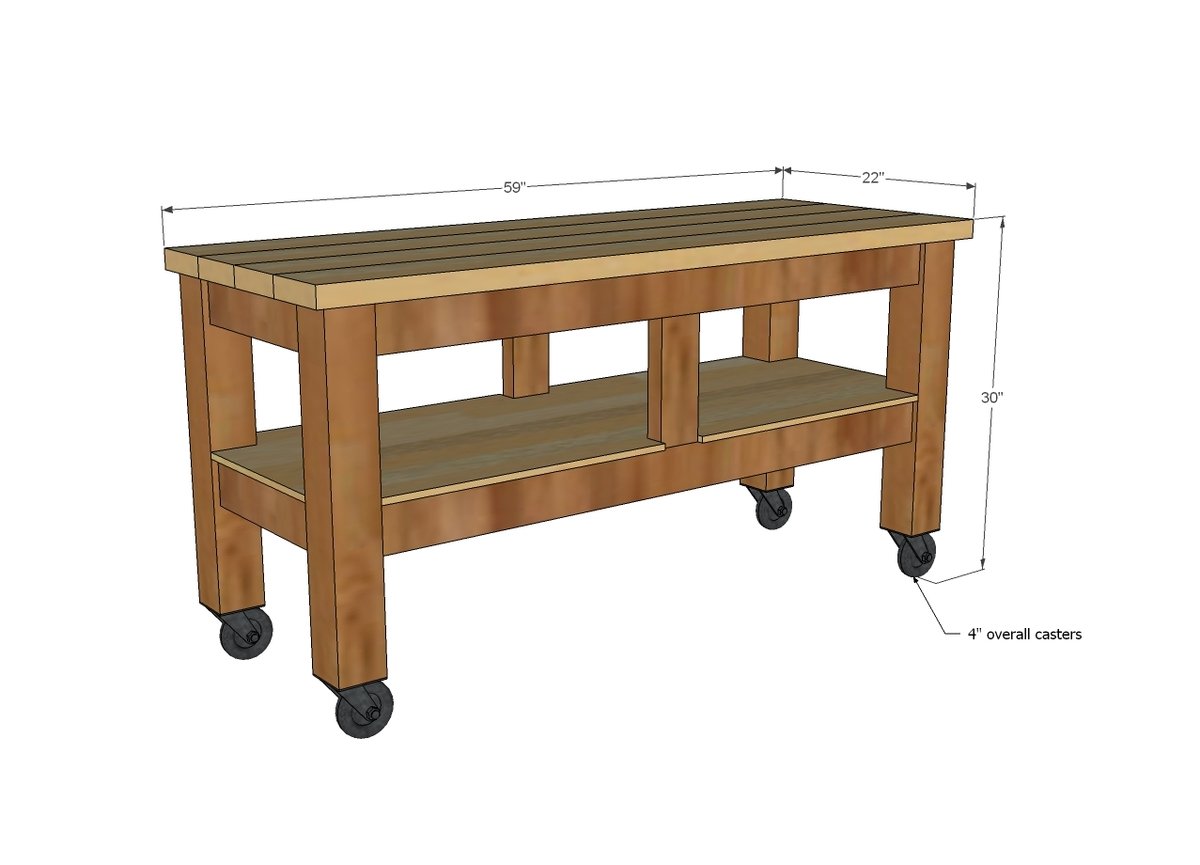
- 4” overall clearance caster wheels
- 1-1/4" brad nails
- 4 - 4x4 @ 24 1/2” (extend length to 28-1/2" if not using caster wheels)
- 4 - 2x4 @ 50”
- 4 - 2x4 @ 14”
- 3 - 2x4 @ 17”
- 1 - 1/2” plywood @ 21” x 57” (or 1x4 boards, see step 4)
- 2 - 2x4 @ 9 1/2”
- 4 - 2x6 @ 59”


Please read through the entire plan and all comments before beginning this project. It is also advisable to review the Getting Started Section. Take all necessary precautions to build safely and smartly. Work on a clean level surface, free of imperfections or debris. Always use straight boards. Check for square after each step. Always predrill holes before attaching with screws. Use glue with finish nails for a stronger hold. Wipe excess glue off bare wood for stained projects, as dried glue will not take stain. Be safe, have fun, and ask for help if you need it. Good luck!
Instructions
Step 1
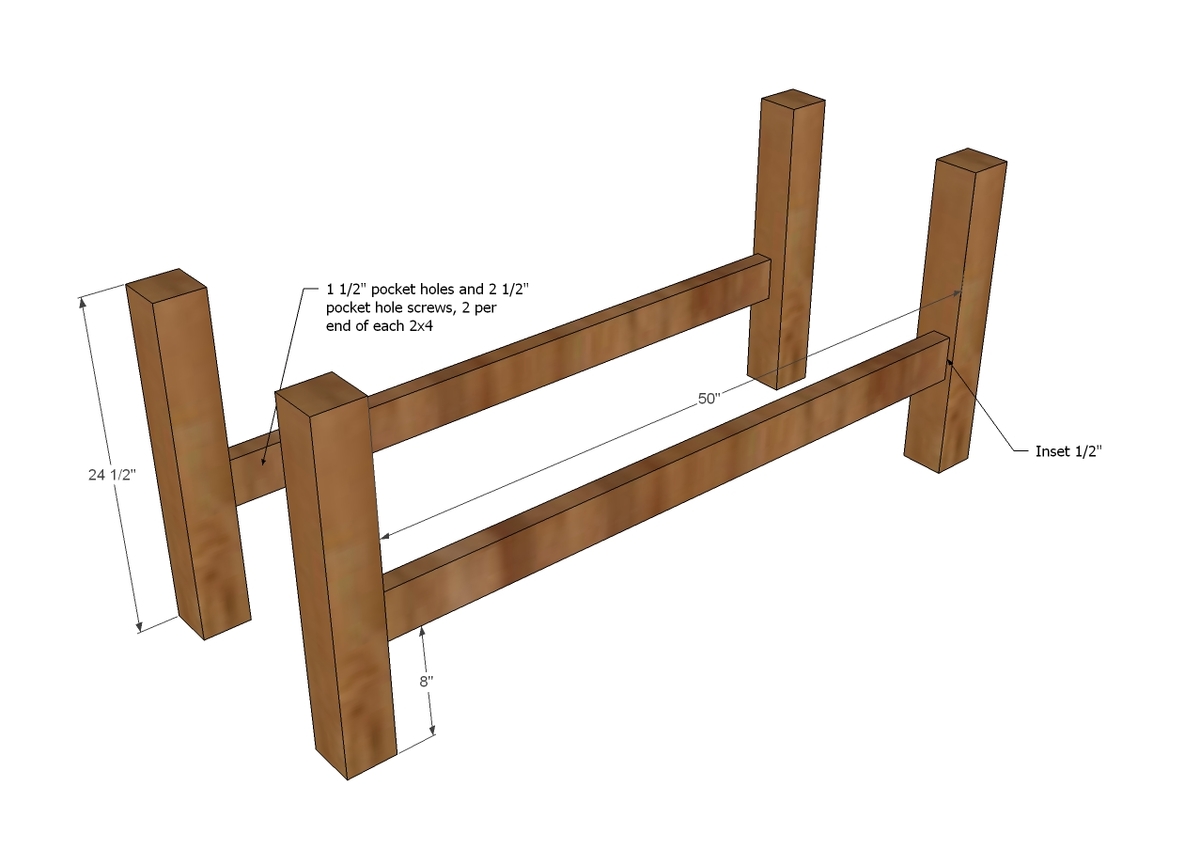
Attach aprons to legs using pocket holes.
Step 2
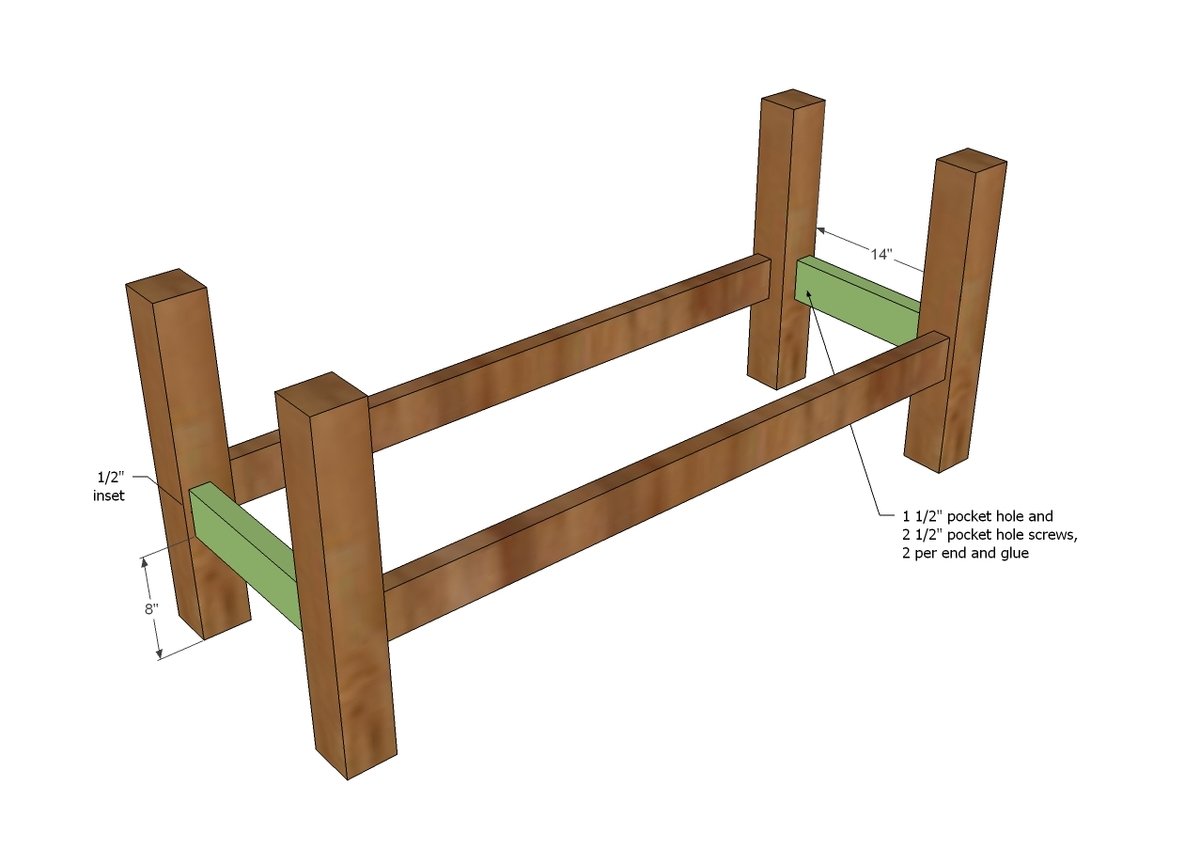
And then attach side aprons to legs - it will start looking like a console here!
Step 3
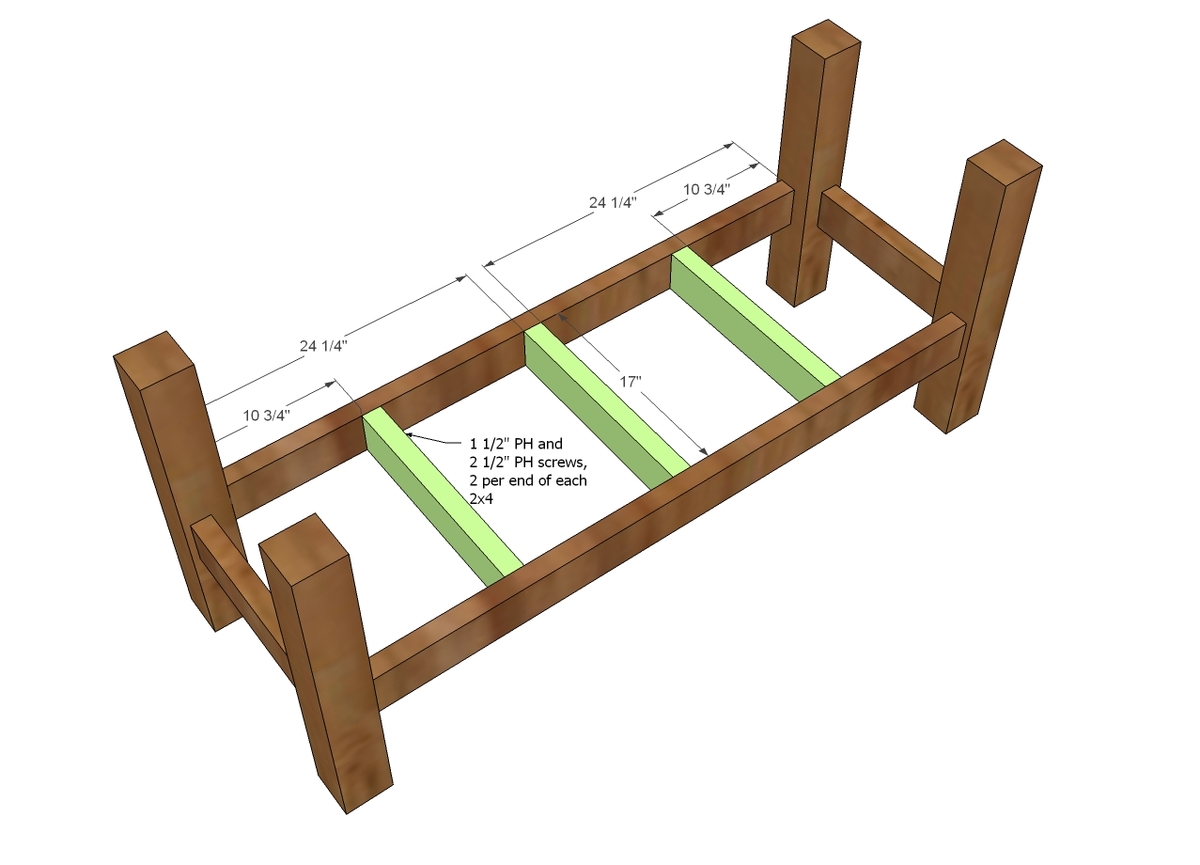
These supports will keep that bottom shelf from sagging - not essential if you are storing blankets though.
Step 4
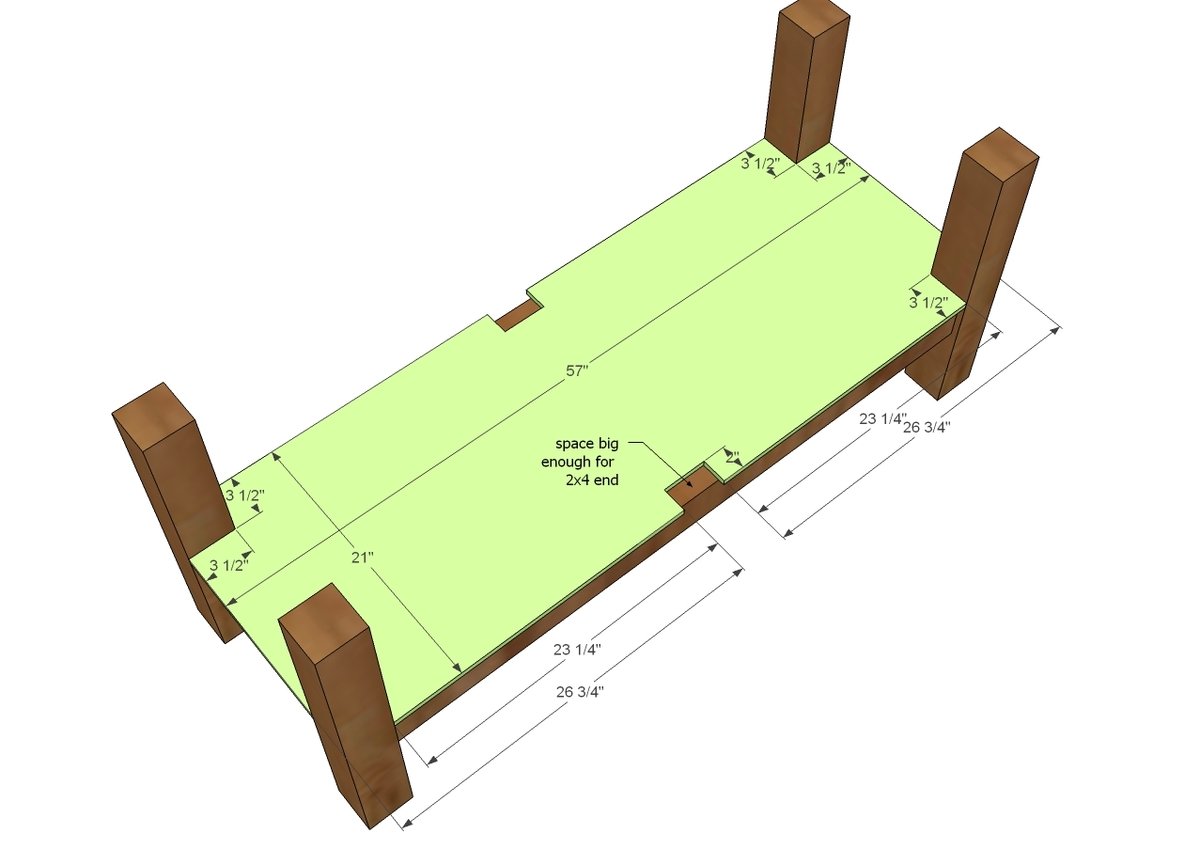
Once the top goes on, you won't be able to get the plywood in, so best to do that now. You could also use 1x boards on top for a planked look, or cut the plywood in 2 pieces down the center - it will get hidden by the center supports.
1x modification: 2 - 1x4 @ 50" and 4 - 1x4 @ 57" Notch out the 2 1x4 @ 50"
Step 5
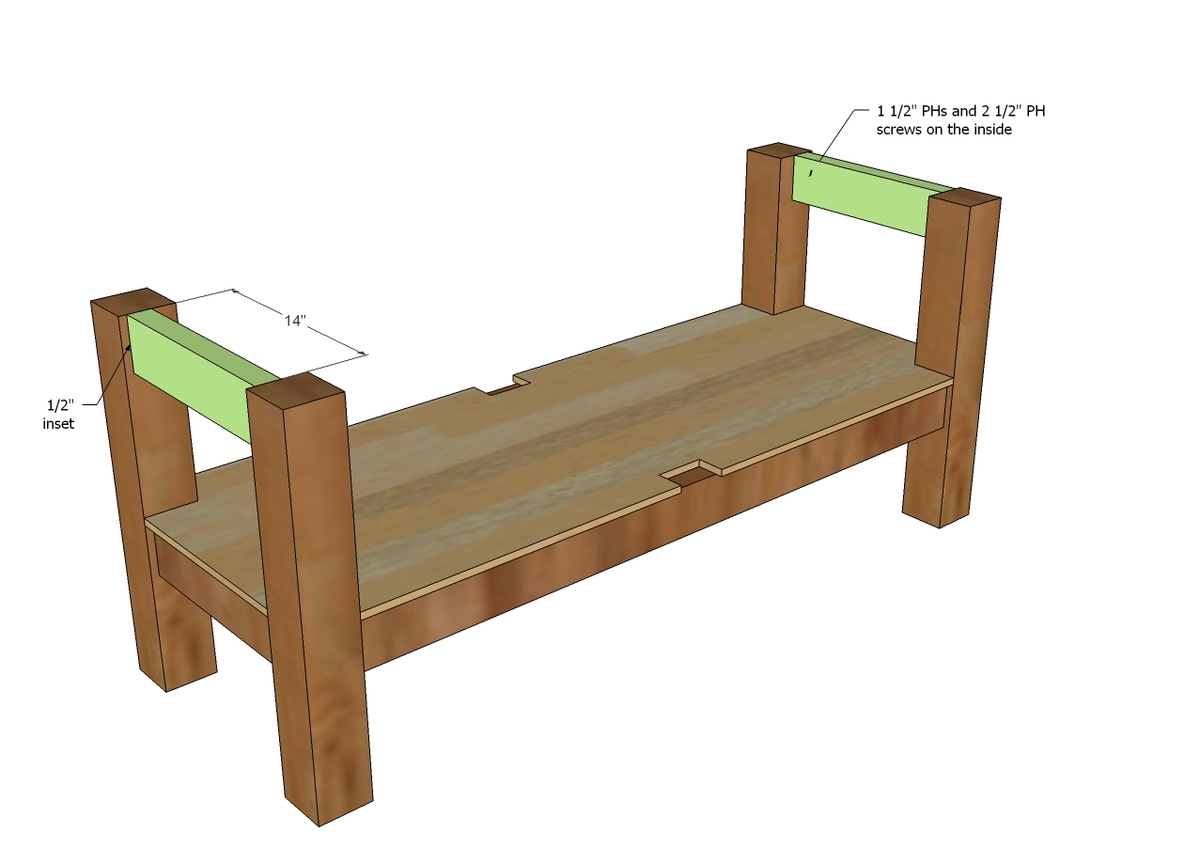
Attach the top sides to the legs with pocket hole screws on the inside.
Step 6
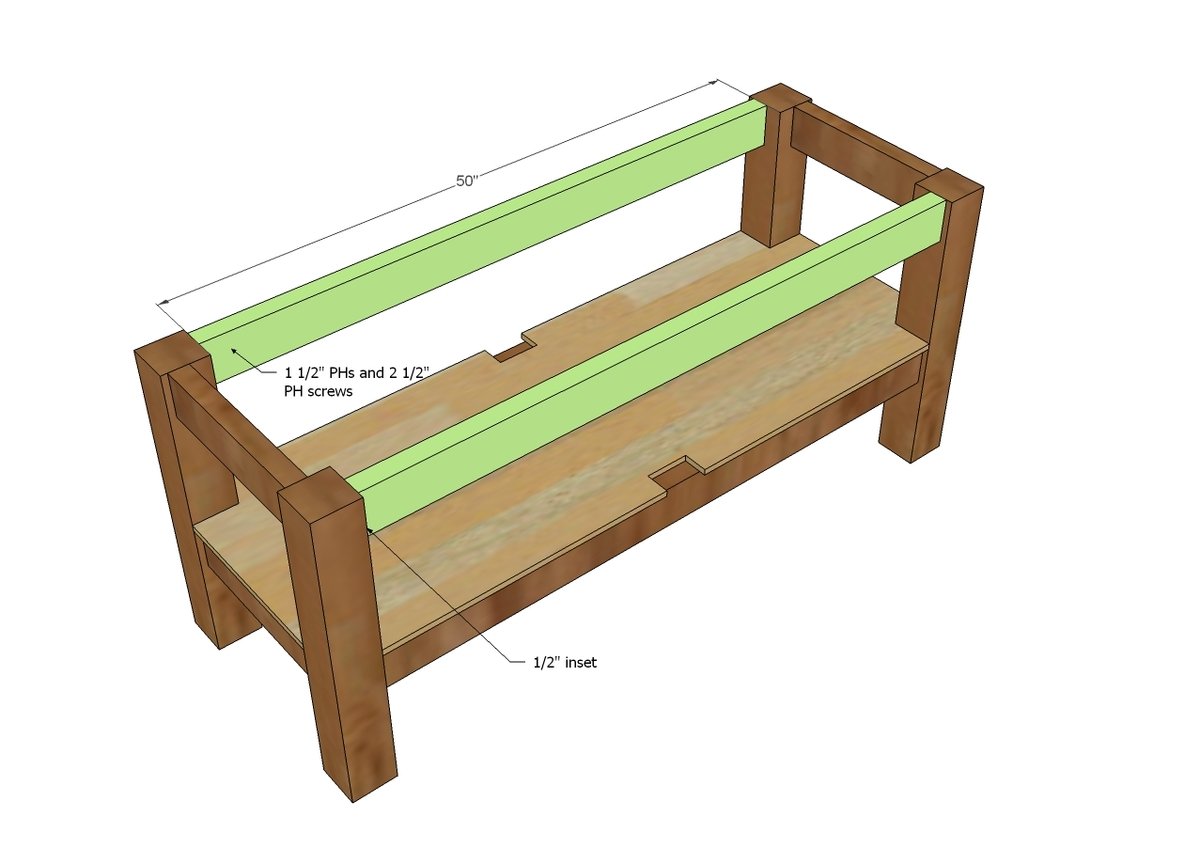
TIP: Drill 1 1/2” Pocket holes on insides of front/back aprons, facing upward, for attaching the top in later steps, prior to attaching aprons to legs. TIP: If you don't have a right angle drill, you may wish to do the next step (step 7) first as you may run out of room for your drill to fit. Followed by the front and back aprons.
Step 7
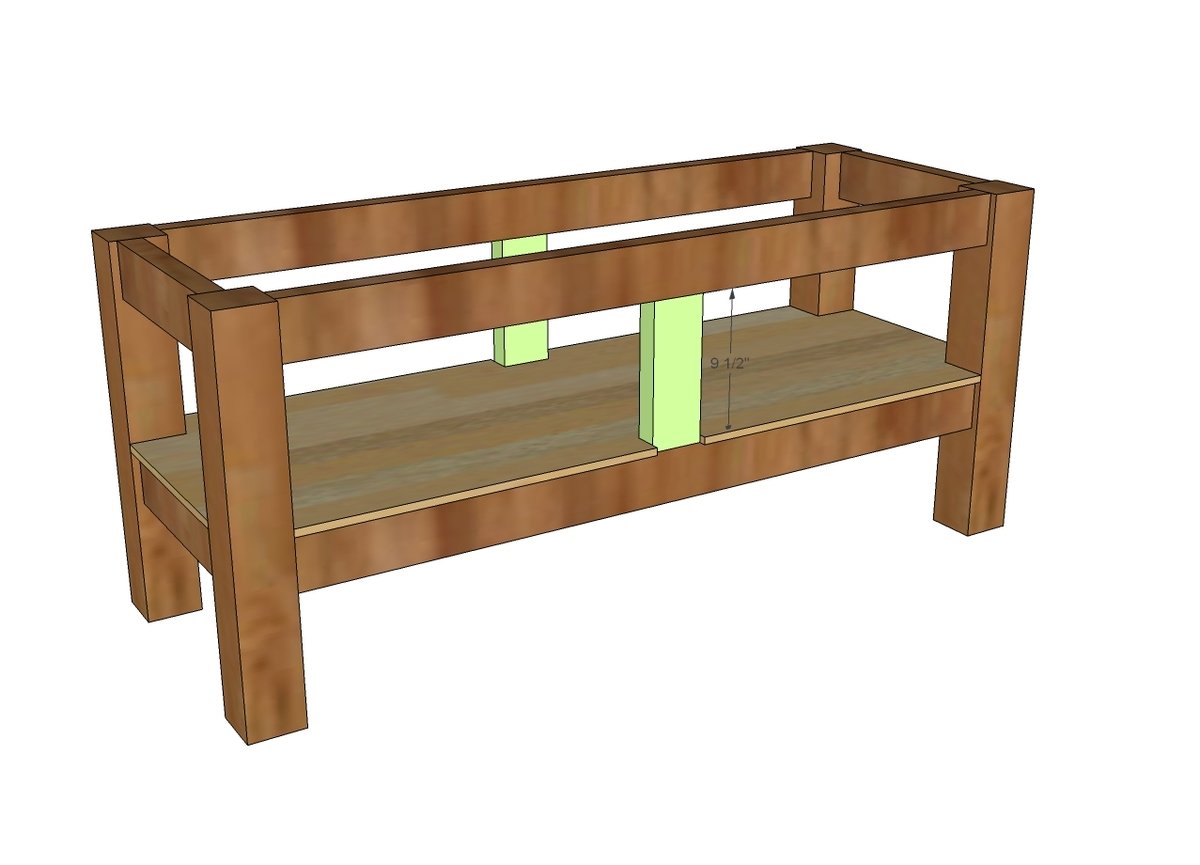
And then add these guys in the middle with 1 1/2" pocket holes and 2 1/2" pocket hole screws and glue.
Step 8
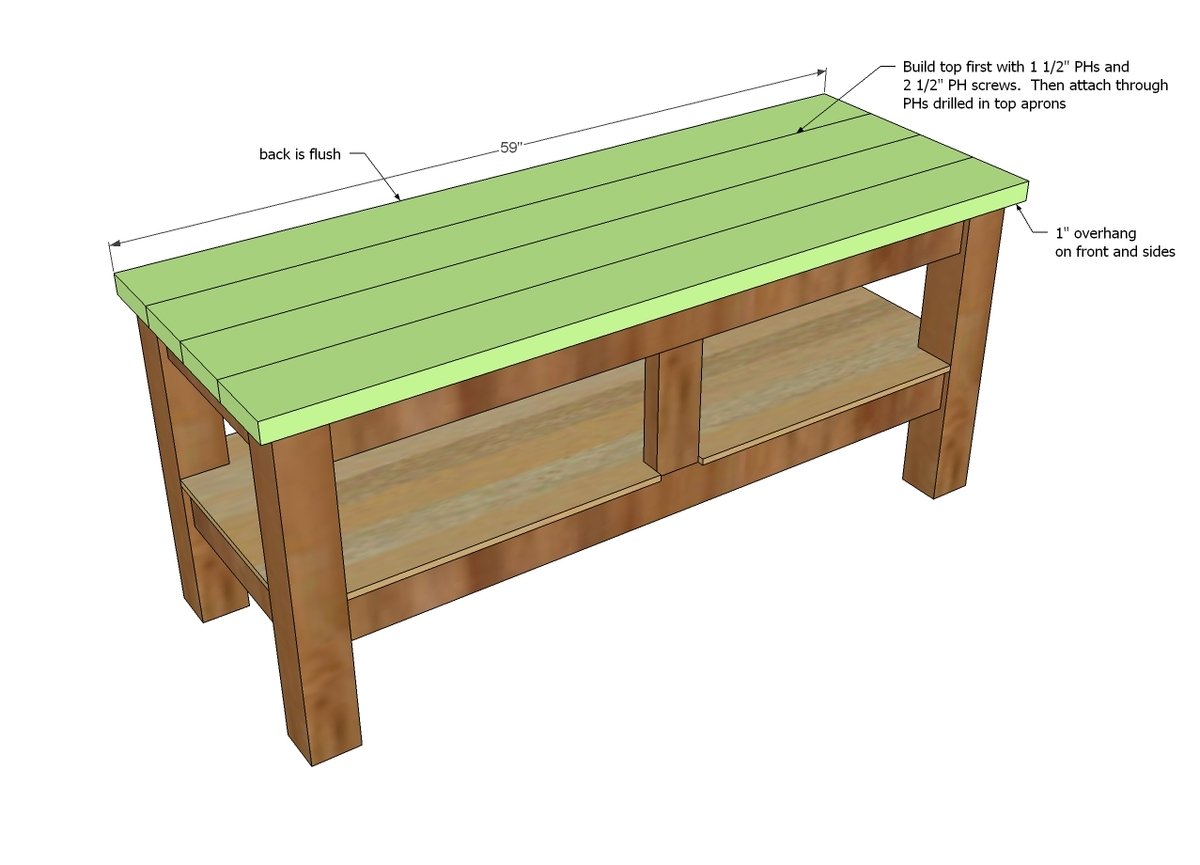
Build the top first, and then attach through the aprons with 2 1/2" pocket hole screws and glue.
Step 9
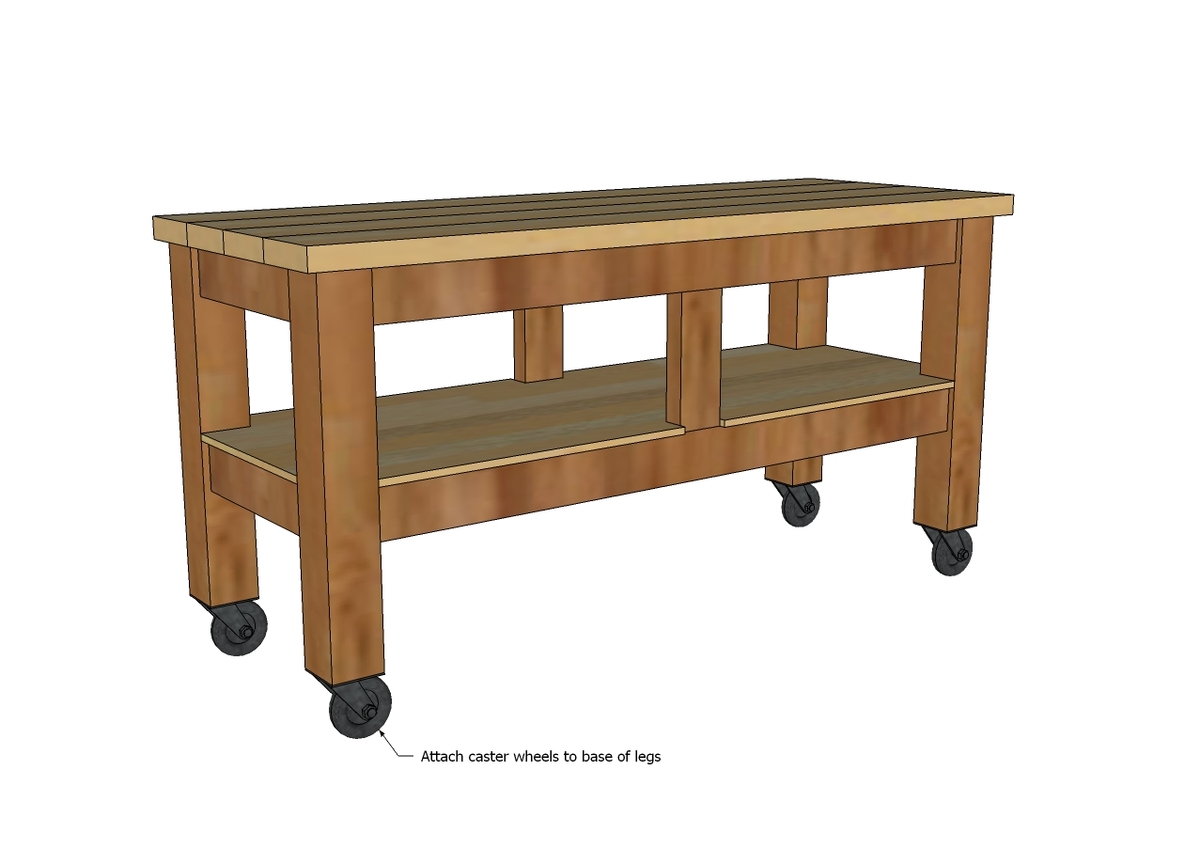
Add caster wheels to the base - all done!
It is always recommended to apply a test coat on a hidden area or scrap piece to ensure color evenness and adhesion. Use primer or wood conditioner as needed.