
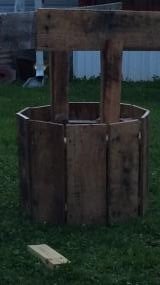

Wishing Well made out of reclaimed pallets
Preparation
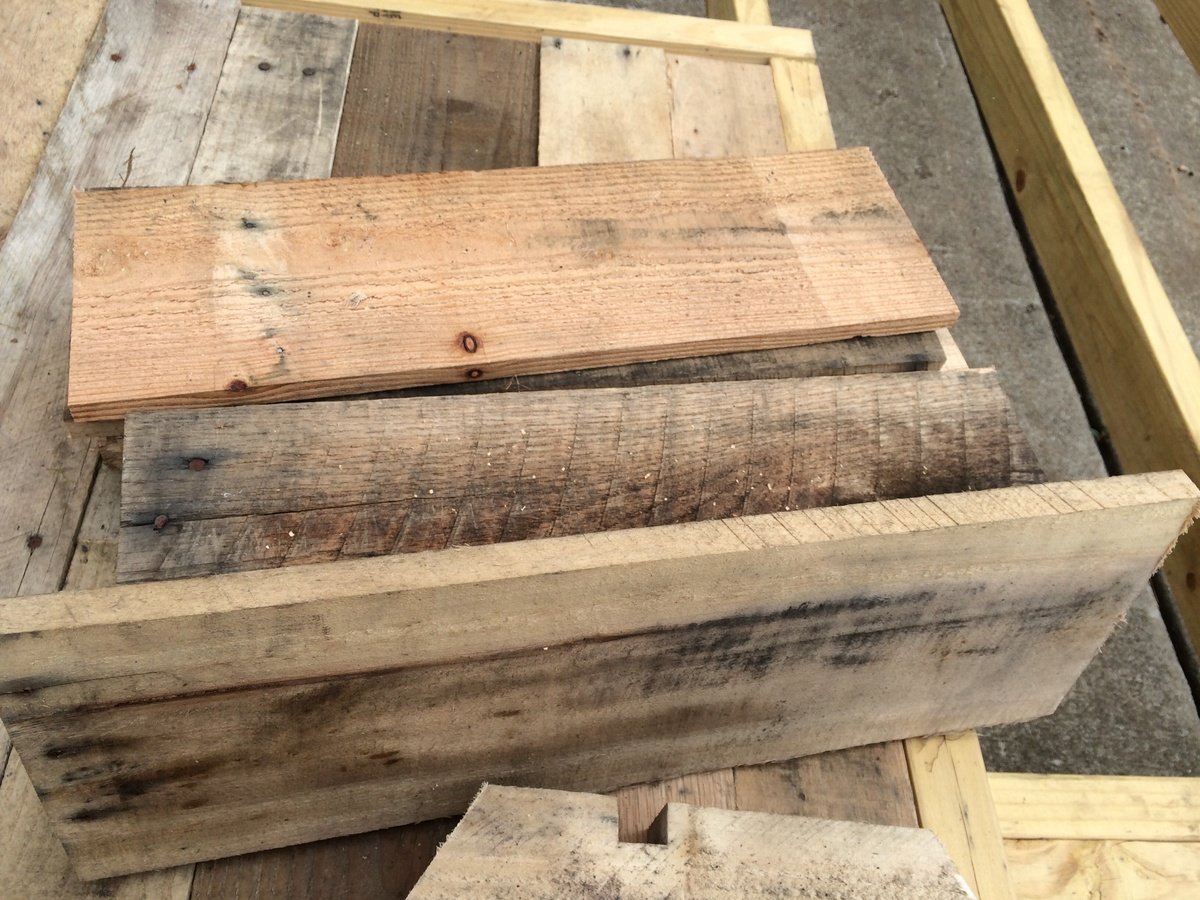
•reclaimed pallets I apologize for not knowing what to buy It is made from 1x8s (10@22", 10@18") 1x10s (2@36") 1x4s (4@36") 2x4s (20@ 77/8 ) I think I have these right and they are approximate measurements since they are reclaimed and not exact other then what I cut •21/2" screws (smaller could be used I am sure) •wood glue •clamps •measuring tape •brackets (if you choose metal) •protective gear (gloves, safety glasses ect) •miter saw •saws-all (if using pallets, it is the easiest and fastest way to disassemble them) •miter blade that can cut wood/metal (you will hit nails or one you don't care will get chewed up if you use pallets) •paint or finish (if you choose to cover it to protect the wood, I was told by the recycling company the pallet wood was insect treated and meant to withstand weather so it may be okay with out being finished, but I would not want to put work into something and not finish it with something) > I am sure I am missing something Sorry
I think I did it all in the upper areas sorry
Formula for angles 180* divided by number of sides= angle to cut Then take the width and that is the long side This will be your cut for any circle So for 10 sides it's 18* Width of 8" (actually 77/8) that is my long side This is my measurement for my 20 supports (2 for each side panel one top one bottom) Hope this makes it easy for anyone that wants 8 sides or 15 or however many you have to adjust to!!! Cutting the height is up to however tall you want your well base 22" seemed to be a good height for the boards I had 18" was the length I cut the roof boards to this gave a little hang over from the diameter of the well but not too much For the roof panels I did make sure they were all the same width I wanted no gaps (I wasn't going for water sealing or no leaks it was for appearances. The side panels however, I liked the gaps the different widths gave. I am using this as landscape and placing a flower pot in mine so I want to make sure water doesn't collect and settle in the base, personal preference Here is another option which I may do (girls were helping and this is the first plan I made myself) Cut 10 more 2x4s same size as the supports same angle (or however many/angle you used for the supports) Place them around the top of the well as a shelf (sorry for the after thought >when laying out the supports long side is always out, I am sure most of you know this but some may not so I thought I would add it and save someone the confusion) •any of the side posts or roof supports don't need cut However if you are going for a clean cut project instead of the rustic look you can always use a table saw/circular saw and adjust the widths to be the same >and of course if you aren't using pallets they will need cut to length!
Please read through the entire plan and all comments before beginning this project. It is also advisable to review the Getting Started Section. Take all necessary precautions to build safely and smartly. Work on a clean level surface, free of imperfections or debris. Always use straight boards. Check for square after each step. Always predrill holes before attaching with screws. Use glue with finish nails for a stronger hold. Wipe excess glue off bare wood for stained projects, as dried glue will not take stain. Be safe, have fun, and ask for help if you need it. Good luck!
It is always recommended to apply a test coat on a hidden area or scrap piece to ensure color evenness and adhesion. Use primer or wood conditioner as needed.

Comments
Lu7997
Wed, 07/30/2014 - 06:40
Grumble
I realized after I posted that I should have done the instructions in a come rely different section
I am so sorry
This is my first project I have ever done with out plans
I will learn
I was so excited to share (Like a little kid lol)
Please forgive me lol
My girls and I had worked on this yesterday until dark and any mom trying to not only do a project from scratch but do it with a 9 year old and a 12 year old can hopefully understand Lol (at one point my nine year olds solution to one problem was pink glitter......lmao)
I love these mother daughter projects but I love them with prewritten plans more Lmao I do apologize for any and all confusion in my post
I promised the girls I would post this and I was as excited as they were we figured this out!!!!
In reply to Grumble by Lu7997
Lisa Strickland
Mon, 11/03/2014 - 09:46
very cute
I thought it looks great. I also find it adorable that you have your girls working on it with you. I too am trying to get my daughter in to doing projects. She's 10 and I'm a newbie to this who DIY. Hope this will work out as great as your's did. Cross fingers we can complete a project. I wanted to start being more self-reliant and I want to teach her to do the same. Great project! Good Job Girls!
In reply to Grumble by Lu7997
Lisa Strickland
Mon, 11/03/2014 - 09:48
roof
Maybe you can try an A frame roof?
In reply to Grumble by Lu7997
Lisa Strickland
Mon, 11/03/2014 - 09:48
roof
Maybe you can try an A frame roof?