


build a mail sorter from a 1x10 board - plans from Ana-White.com

Hi everyone! I'm so thrilled today to debut a new friend and her project!
Meet Candace who blogs at Vintage News Junkie!

You may recognize some of Candace's projects ....

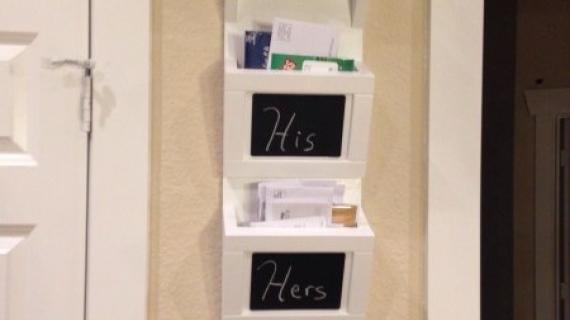
Shutters from IKEA bed slats (or 1x3s if you prefer!)

Or her pallet wall ... not made from pallets.
And today, Candace is sharing a brand new project with you!!!
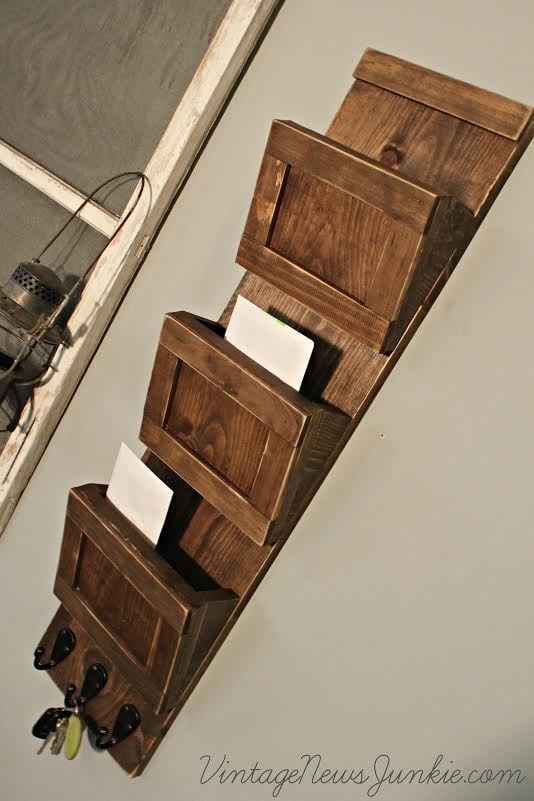
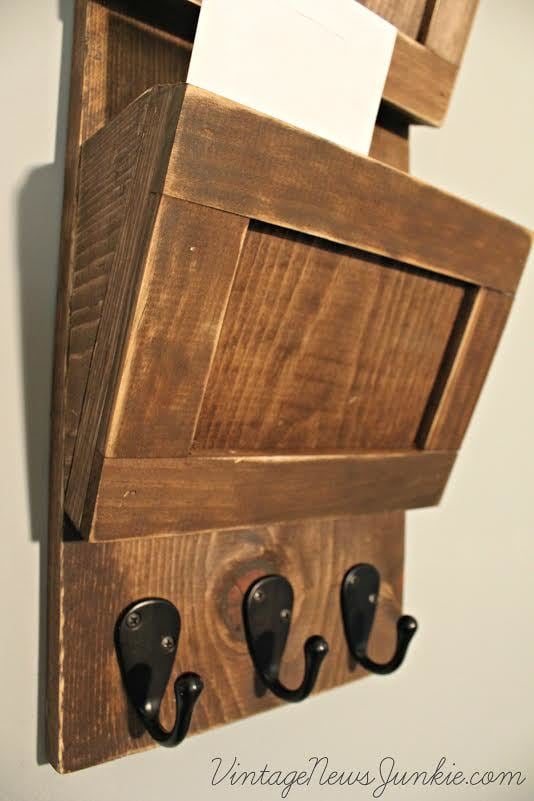
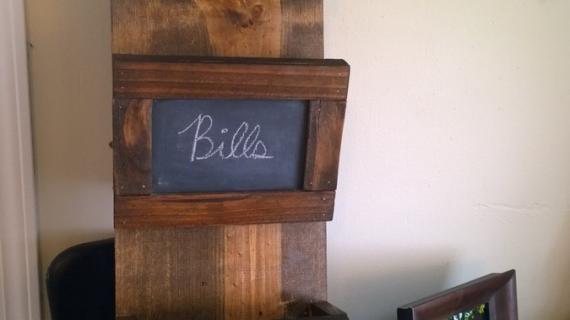
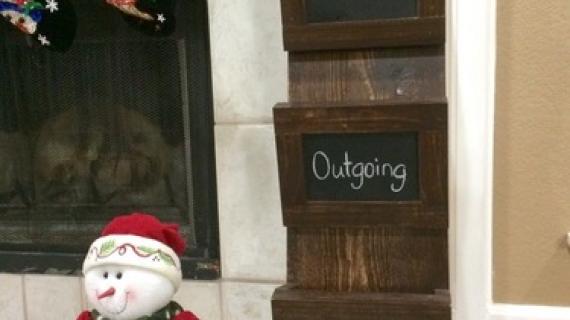
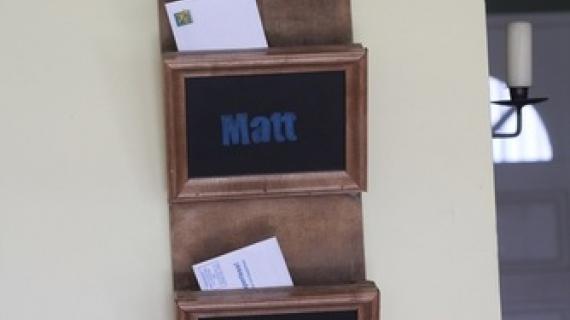
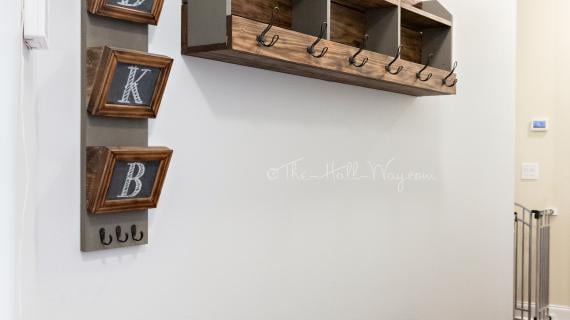
It's a mail sorter!!!

Complete with key hooks!
All made from a 1x10 board! How sweet is that?
Here's from Candace:
I searched high and low for a mail sorter to meet my needs and couldn't find one! I scoured the web before deciding to venture out and build my own! While I was able to build the sorter rather easily, and even do a VIDEO TUTORIAL, putting together a plan that others could follow wasn't so easy! That's when I emailed the pro for a set of easy to follow plans!
This mail sorter is perfect for any style! It's distressed and worn, which works well for a vintage rustic style... and yet it has the shape and feel of a modern Pottery Barn piece. It's the perfect catch-all for mail and even has a cute spot for your keys!!
And not only did Candace make a very stylish and useful mail sorter - Candace put her Emmy to use and made a video tutorial - Check it out!
The plans follow, but before you get to the plans, please take a second to visit Vintage News Junkie and read Candace's building post and get all the details from her!
Thanks Candace!
Enjoy the plans!
XO Ana + FAM
Preparation
1- 1 x 10 x 8' whitewood board
3- 3/8" x 2" x 36" whitewood strip or wood lath
3 coat hooks
1 sawtooth hook (hanger)
Stain
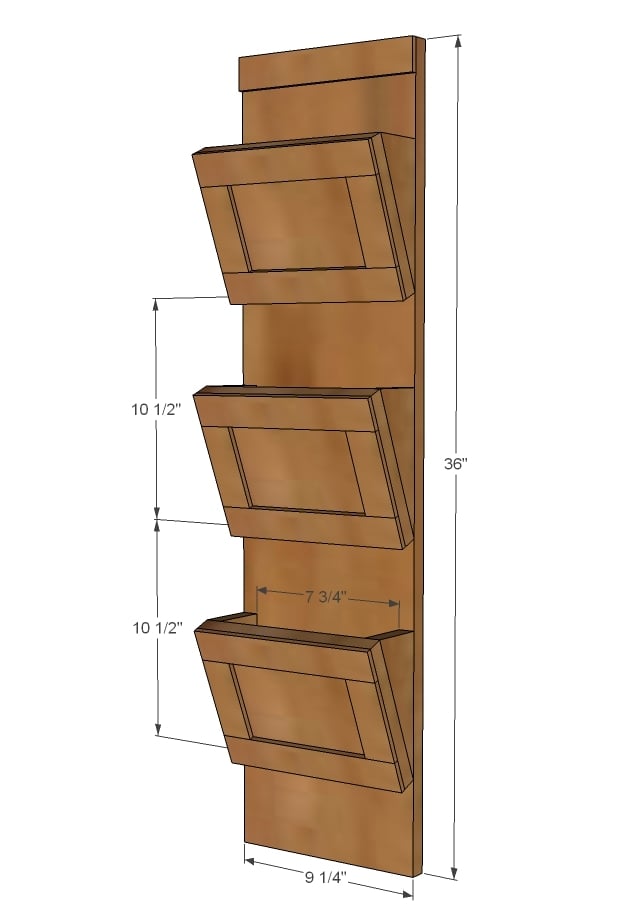
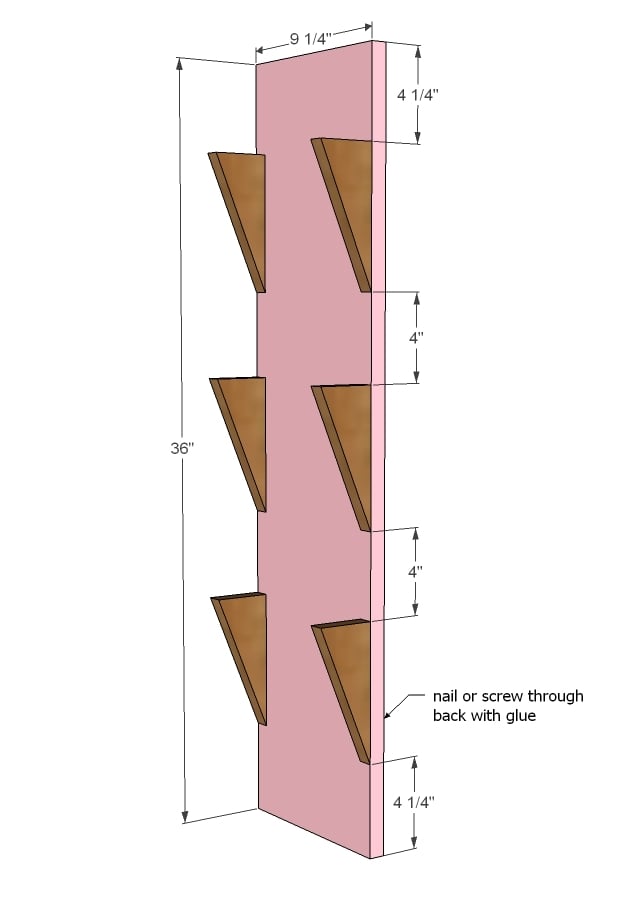
1 - 1x10 @ 36" (back of sorter) 3 - 1x10 @ 7" (front facing) 6 - 1x10 cut at 22-1/2 degrees - see step 1 (triangle braces) 7 - 1-1/2" wide wood lath or other wood @ 9-1/4" (long trim) 7 - 1-1/2" wide wood lath or other wood @ 4" (short trim) 1 - 1-1/2" wide wood lath or other wood @ 9-1/4" (top trim)


Please read through the entire plan and all comments before beginning this project. It is also advisable to review the Getting Started Section. Take all necessary precautions to build safely and smartly. Work on a clean level surface, free of imperfections or debris. Always use straight boards. Check for square after each step. Always predrill holes before attaching with screws. Use glue with finish nails for a stronger hold. Wipe excess glue off bare wood for stained projects, as dried glue will not take stain. Be safe, have fun, and ask for help if you need it. Good luck!
Instructions
Step 1
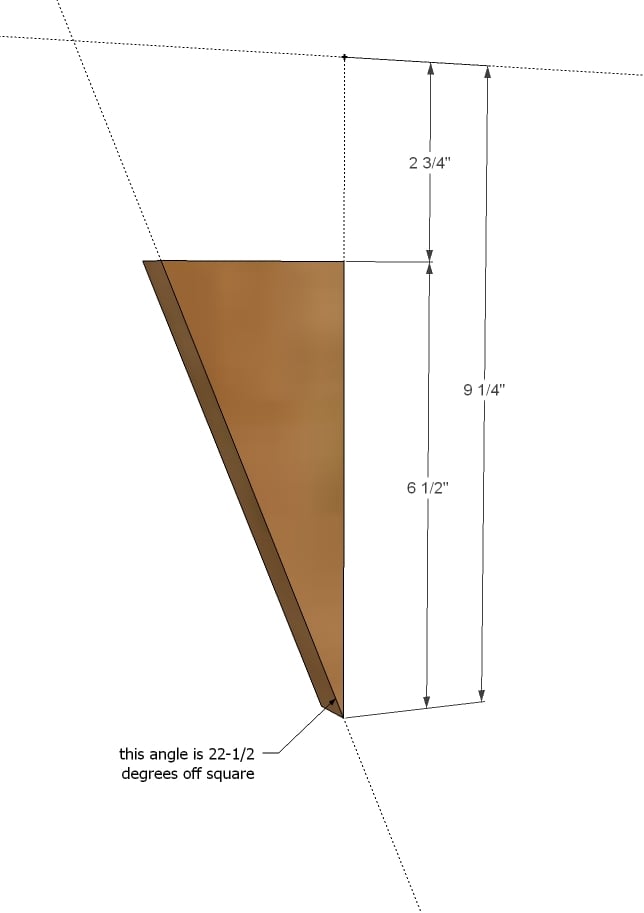
From the 1x10 angled boards, trim off as shown in diagram to get the angled pieces.
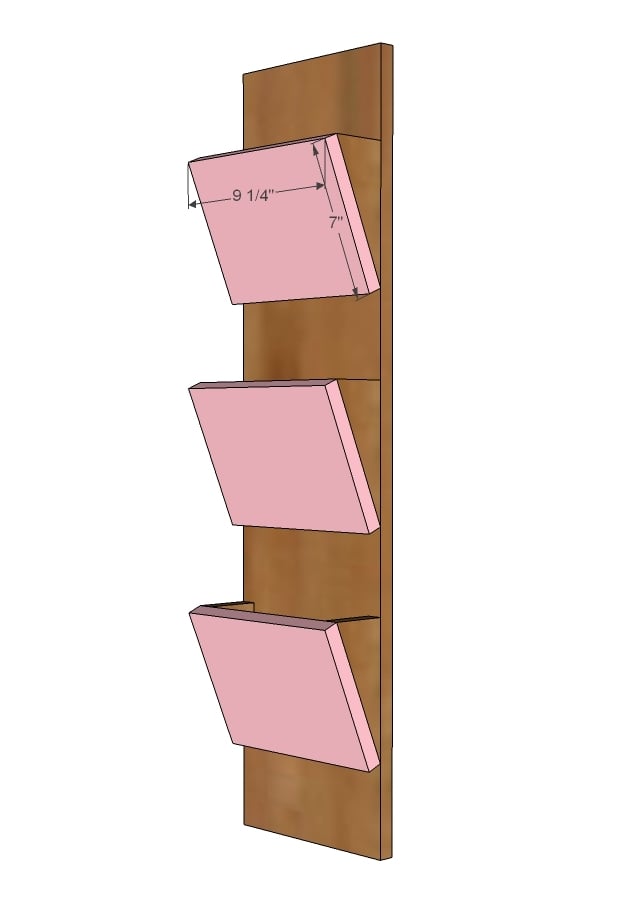
Step 2
Attach the triangle braces to the back of all of the facings. These will be the mail slots. Attach using wood glue and nailer.
Step 3
Attach framing to the front of each mail slot. Again, with wood glue and nailer.
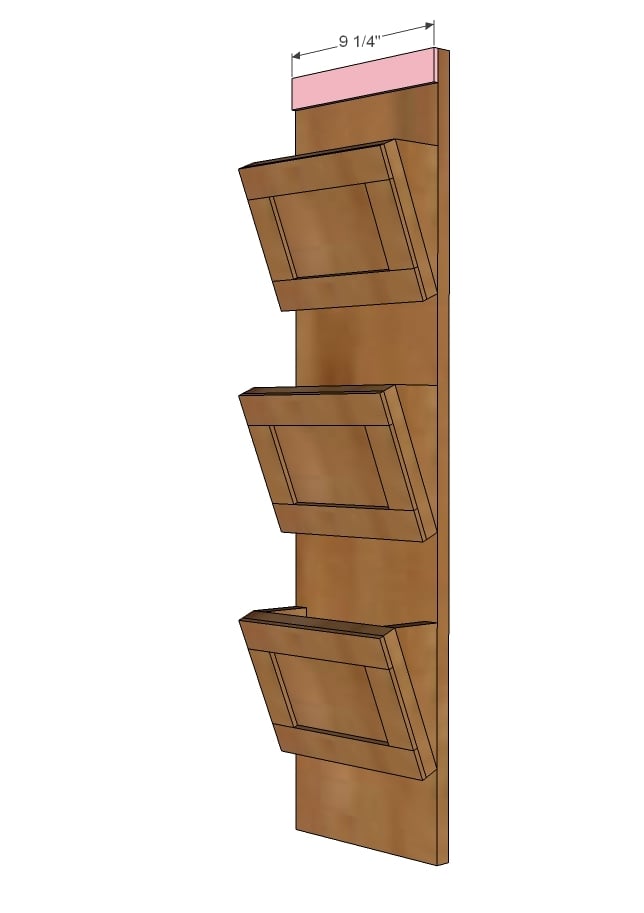
Step 4

Attach wood lath with short nails to front pieces. Attach longer pieces first, and then measure and cut to fit the shorter pieces.
Step 5
It is always recommended to apply a test coat on a hidden area or scrap piece to ensure color evenness and adhesion. Use primer or wood conditioner as needed.

Comments
balloongal247
Tue, 03/04/2014 - 09:08
Typo in Shopping List
1- 1" x 8' x 10' whitewood board
^^I'm guessing this is a typo in the shopping list, and it's not an 8ft by 10ft board that is needed? From the description it might be 1- 1"x10"x8'?
In reply to Typo in Shopping List by balloongal247
AmJoy37
Wed, 03/05/2014 - 09:53
Agreed!
I actually bought a 1x8x10, then got home & realized (after I read through the plan... which I should have done before buying wood lol) that I needed a 1x10x8.... Back to Lowe's I go!
bhoppy
Tue, 03/04/2014 - 10:21
Awesome!
I can't wait to build one!!
mybartmart
Fri, 04/01/2016 - 19:32
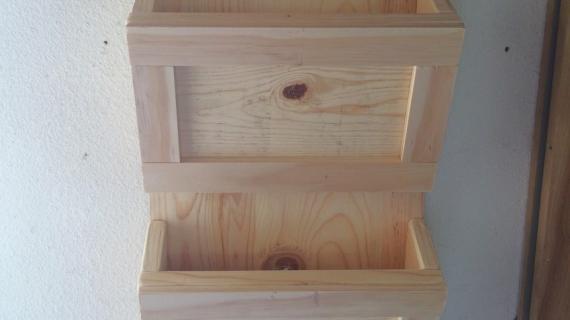
space at the bottom of each cubby
I have built two of these, but there is a space at the bottom so the mail falls out. I ended up ripping down a strip of wood then stripping that at a 22.5 degree angle, stained it then lightly glued it in. I put the angles supports on first then attached the pocket to the back piece, I think this is why there is a space?