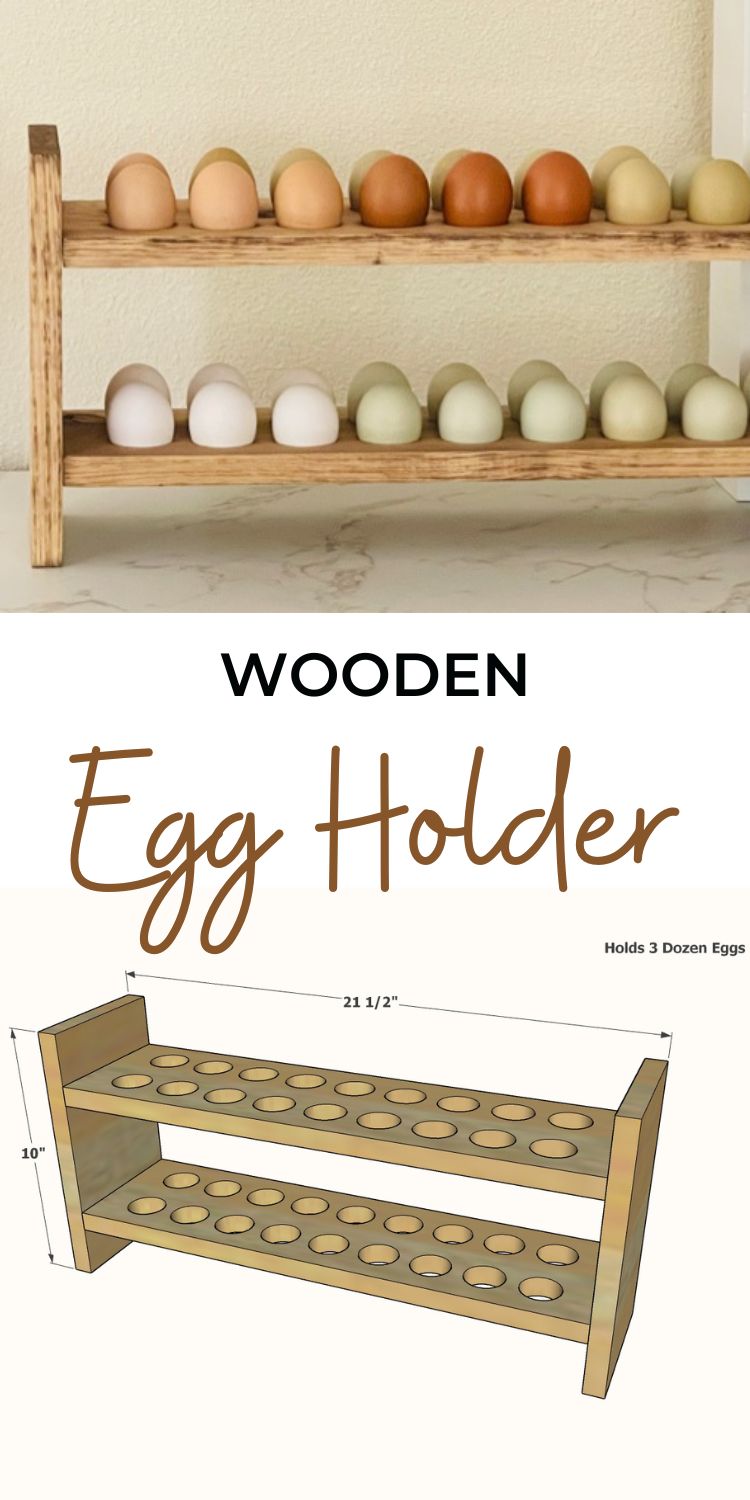
EASY DIY wooden egg holder! Free plans inculde step by step diagrams, shopping and cut list. Basic tools and simple techniques, build this today!
Designed and built by Family DIYnamic
Pin For Later!
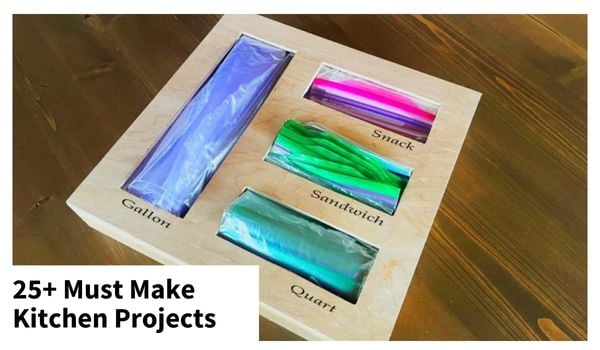
MORE DIY KITCHEN PROJECTS
Want even more do it yourself kitchen projects? Here's a round-up of some of our favorites!
Preparation
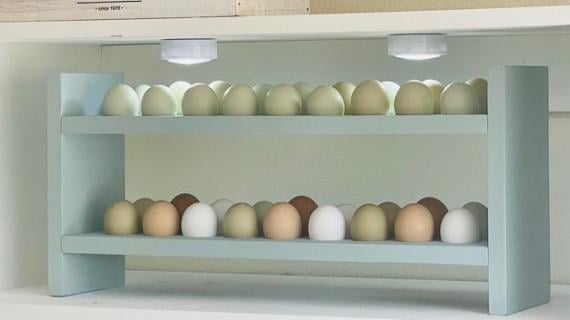
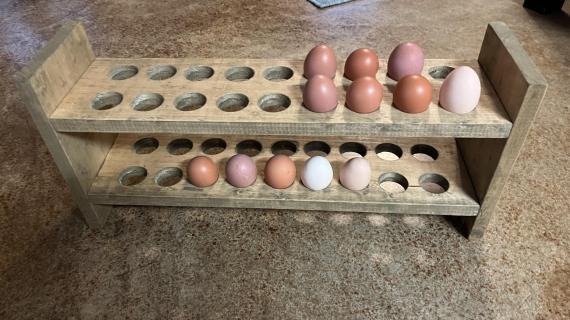
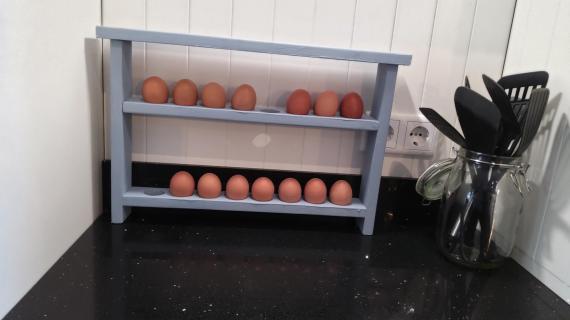
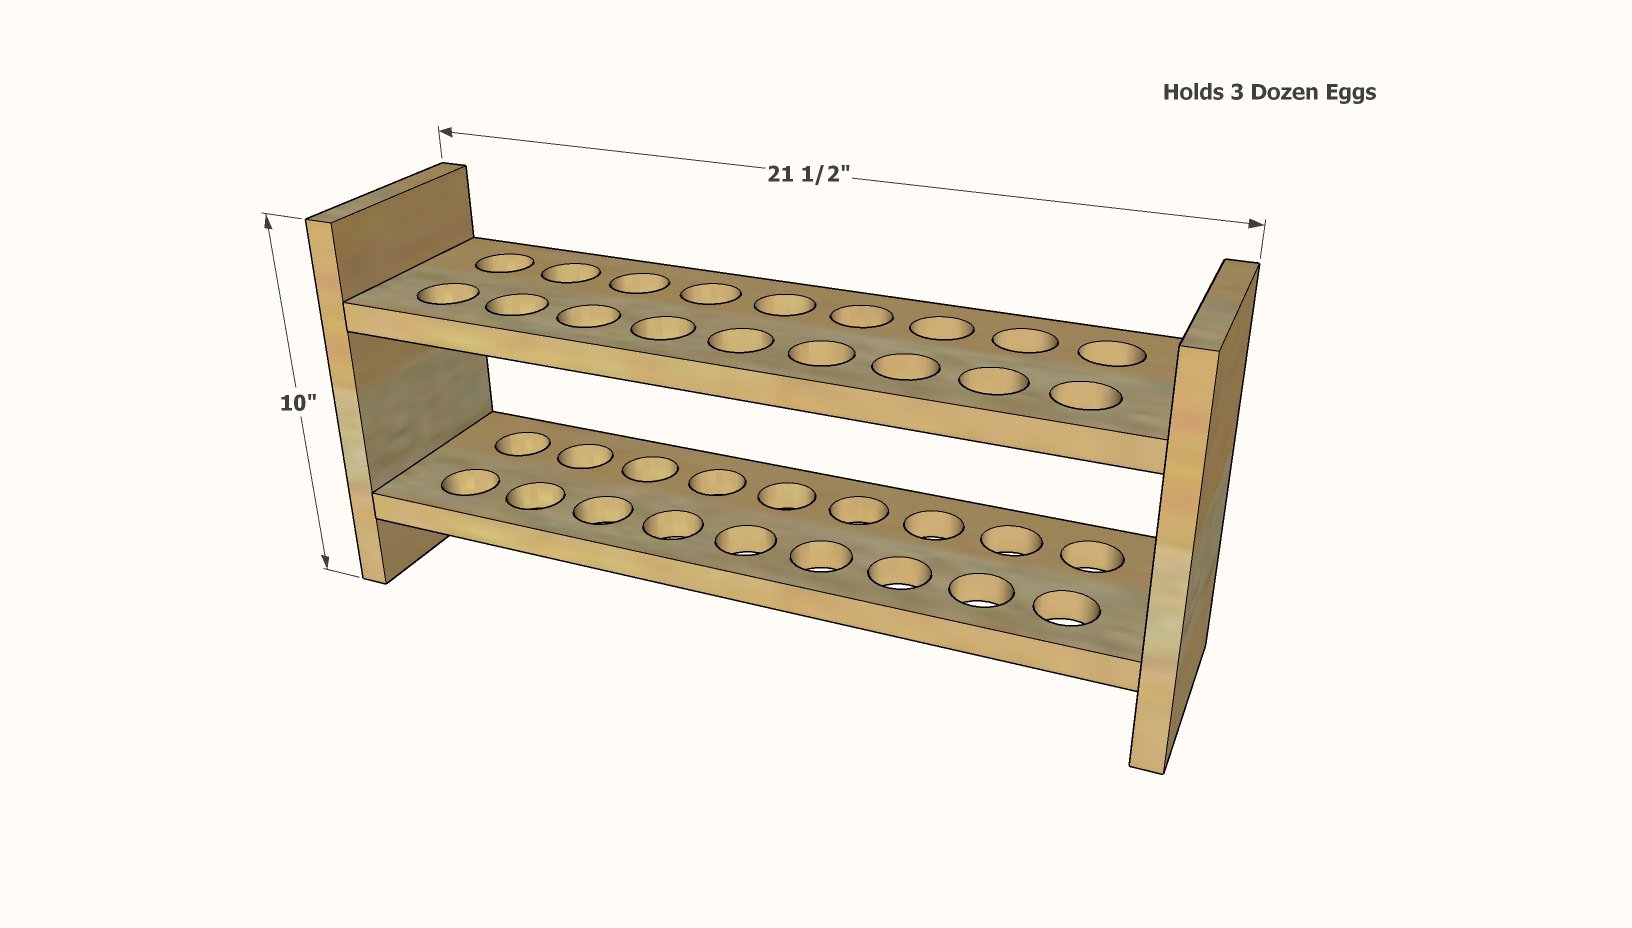
1x6 Double Wide Wooden Egg Holder
- 1 - 1x6 @ 5 feet long
- 8 - 2" long self tapping star bit screws (spax brand or similar)
- 1-1/2" hole saw or 1-1/2" spade bit and forstner bit
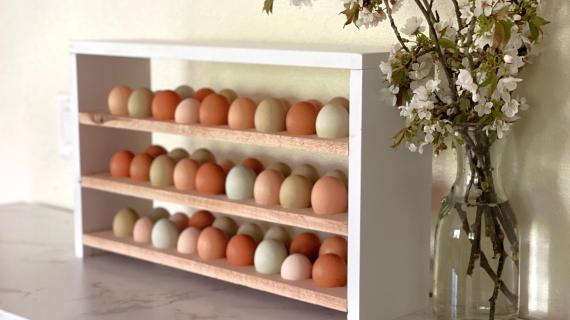
1x4 Single Wide Wooden Egg Holder
- 1 - 1x4 @ 10 feet long
- 16 - 2" long self tapping star bit screws (spax brand or similar)
- 1-1/2" hole saw or 1-1/2" spade bit and forstner bit
1x6 Double Wide Wooden Egg Holder
- 2 - 1x6 @ 20"
- 2 - 1x6 @ 10" - if you need to cut both of these at 9-3/4" to get all cuts on the same board, you can. Just make sure they are both the same.
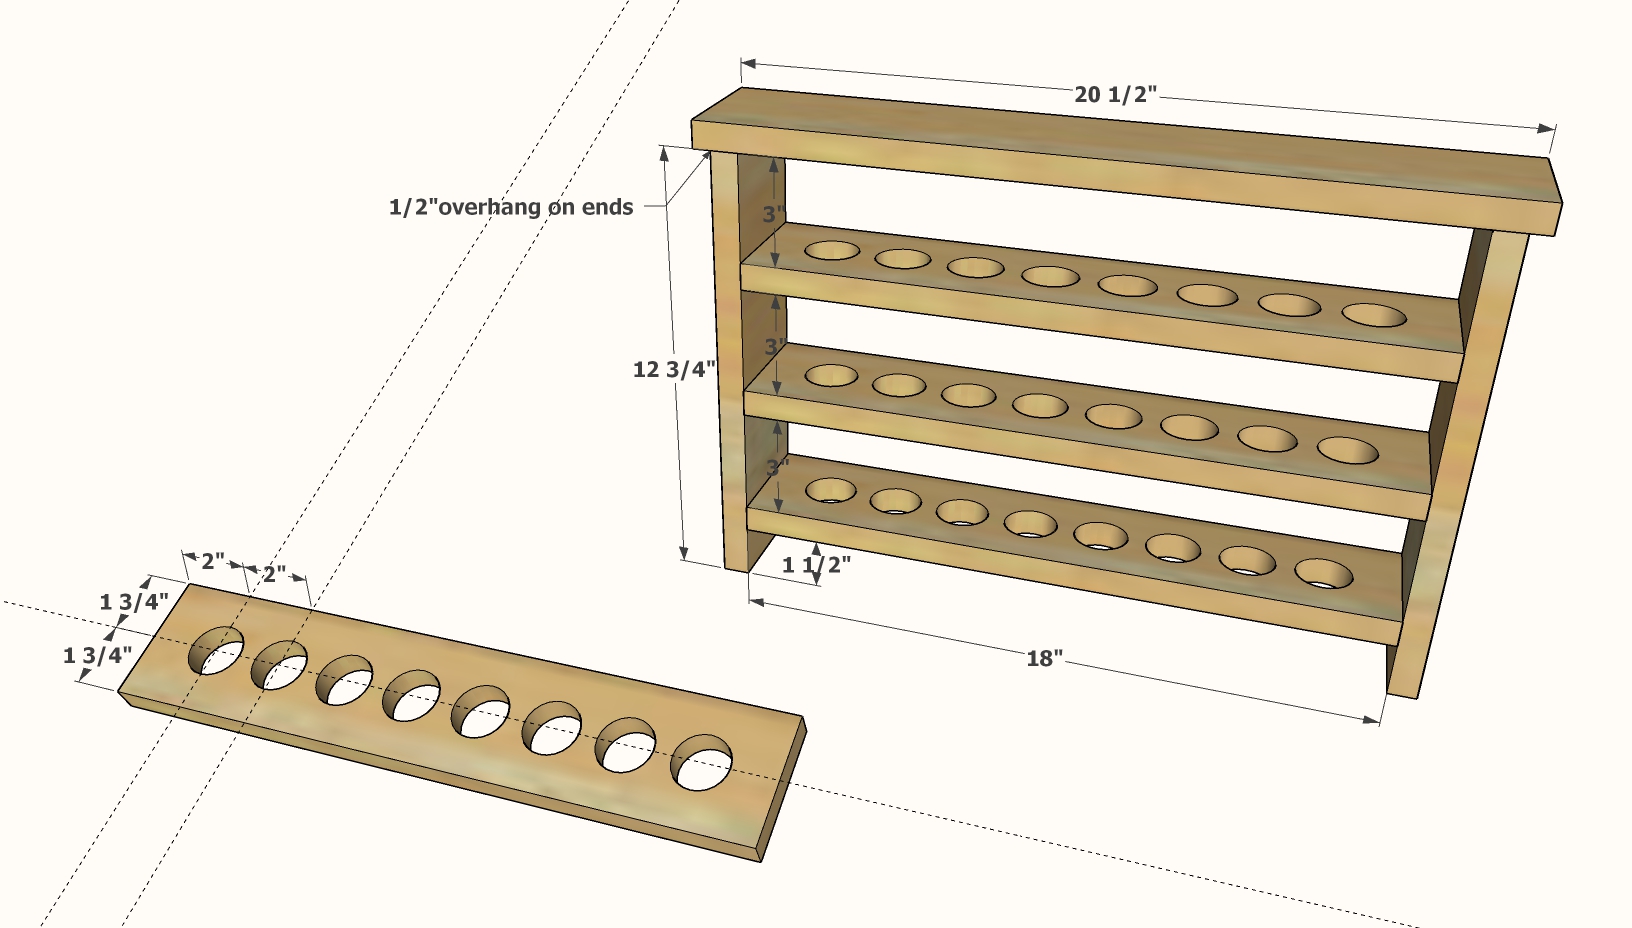
1x4 Single Wide Wooden Egg Holder
- 2 - 1x4 @ 12-3/4"
- 3 - 1x4 @ 18"
- 1 - 1x4 @ 20-1/2"


Instructions
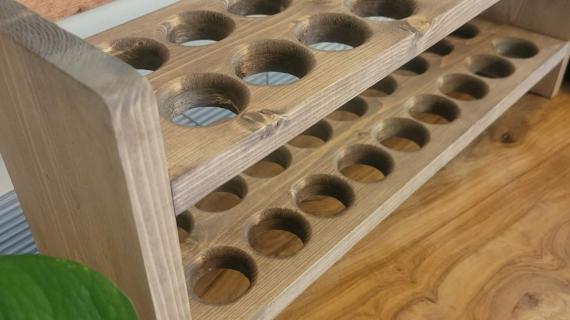
Step 1
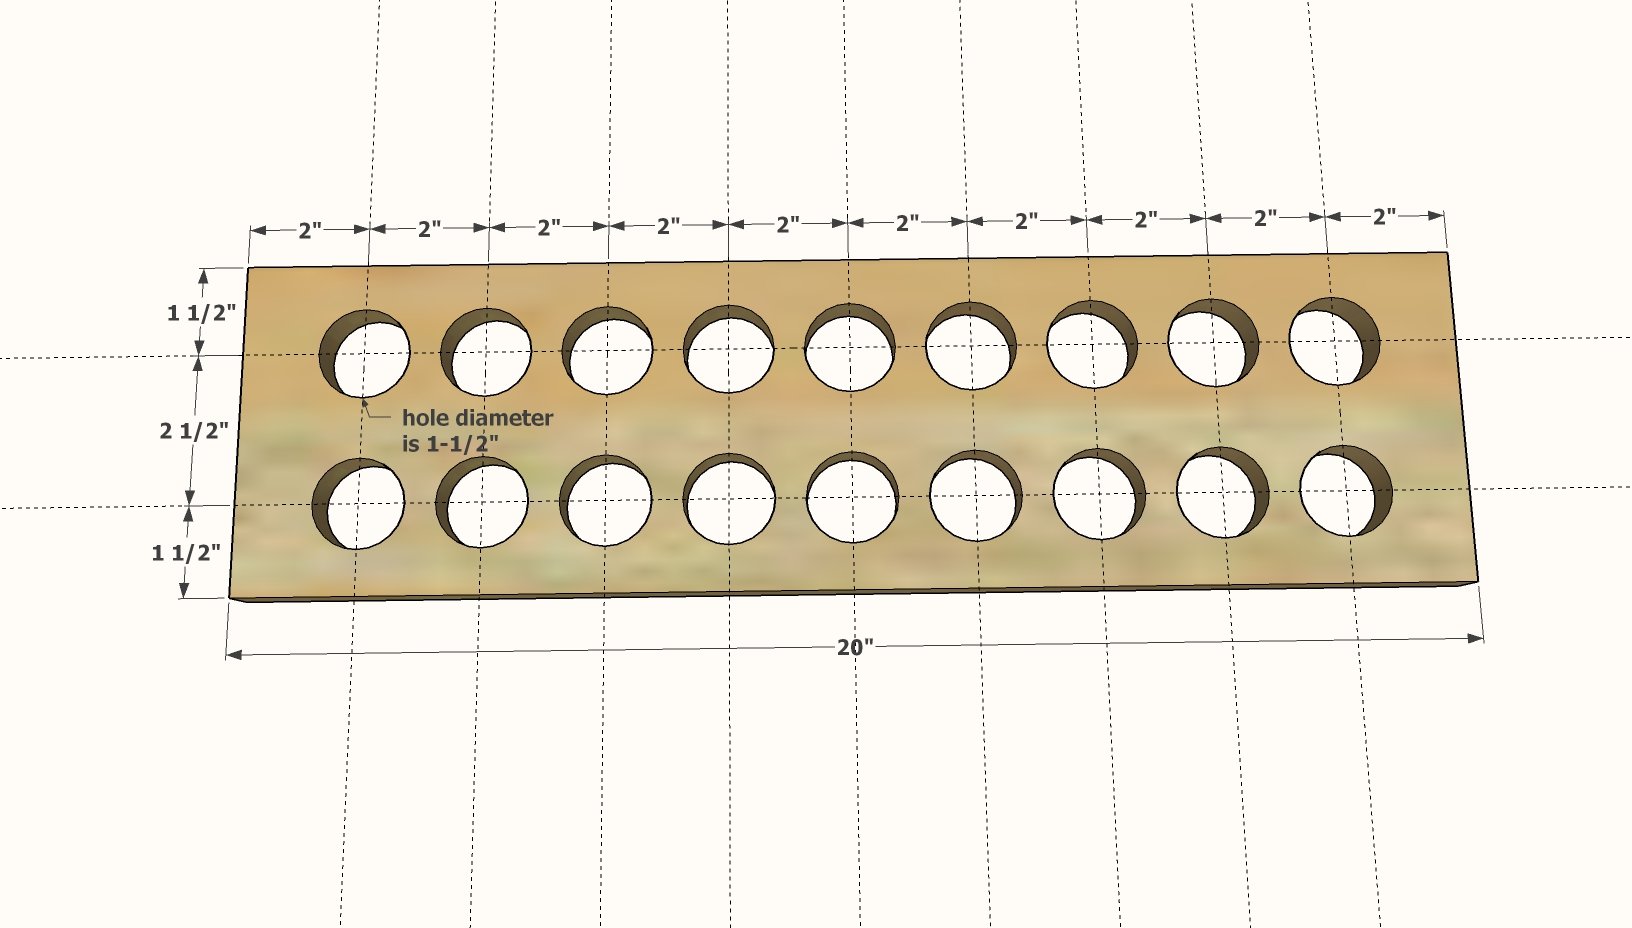
On the two longer boards, mark out the center points for the holes to drill as shown in the diagram.
Drill holes the holes.
TIP: First drill a few practice holes to make sure your technique is works.
Clamp the board down securely.
A hole saw bit is the preferred method to drill out, if you have a hole saw kit.
A spade bit can be used, but you have to be careful to not blow the wood out on the back side. One way is to mark both sides, and then drill halfway through on the top side, flip over and finish drilling out on the back side.
Another way is to use the spade bit to drill half way, then finish with a forstner bit.
You can also use the forstner bit all the way, but this will be time consuming.
Once holes are drilled, lightly sand the edges for a smooth feel.
Step 2
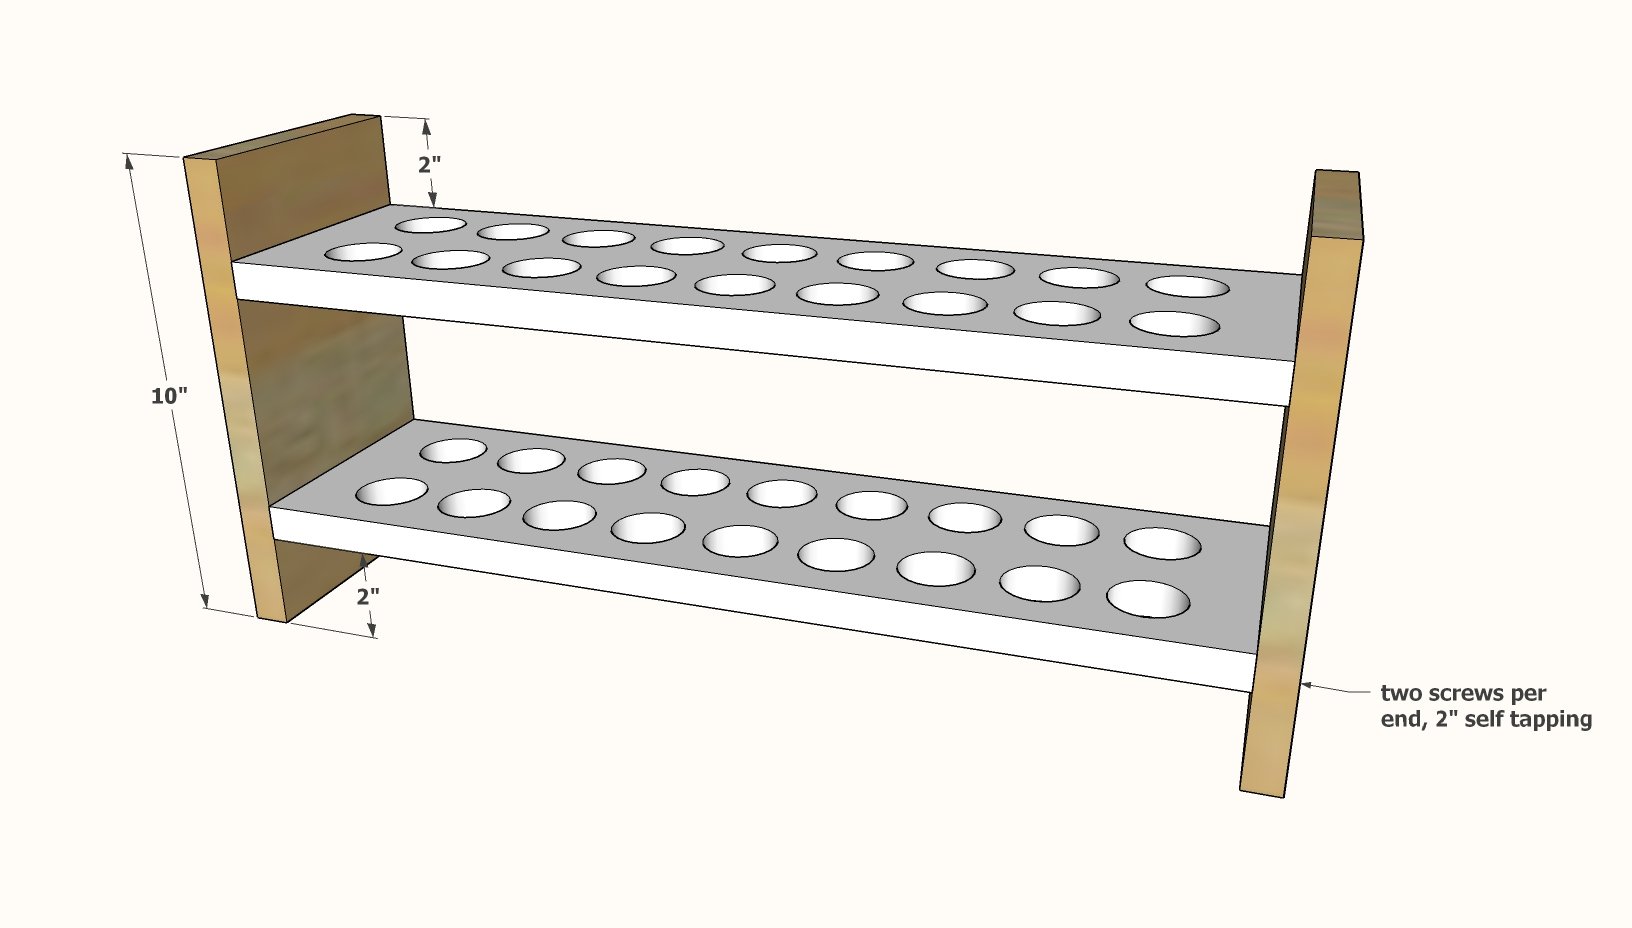
Attach the sides to the egg holder sections as shown.
Use two screws per joint.
You can alternatively use brad nails and wood glue, or 1-1/4" pocket holes on the 3/4" setting.
If using pocket holes, attach the top shelf first from underneath, then attach the bottom shelf from underneath, so you can fit your drill inside the project.
Step 3
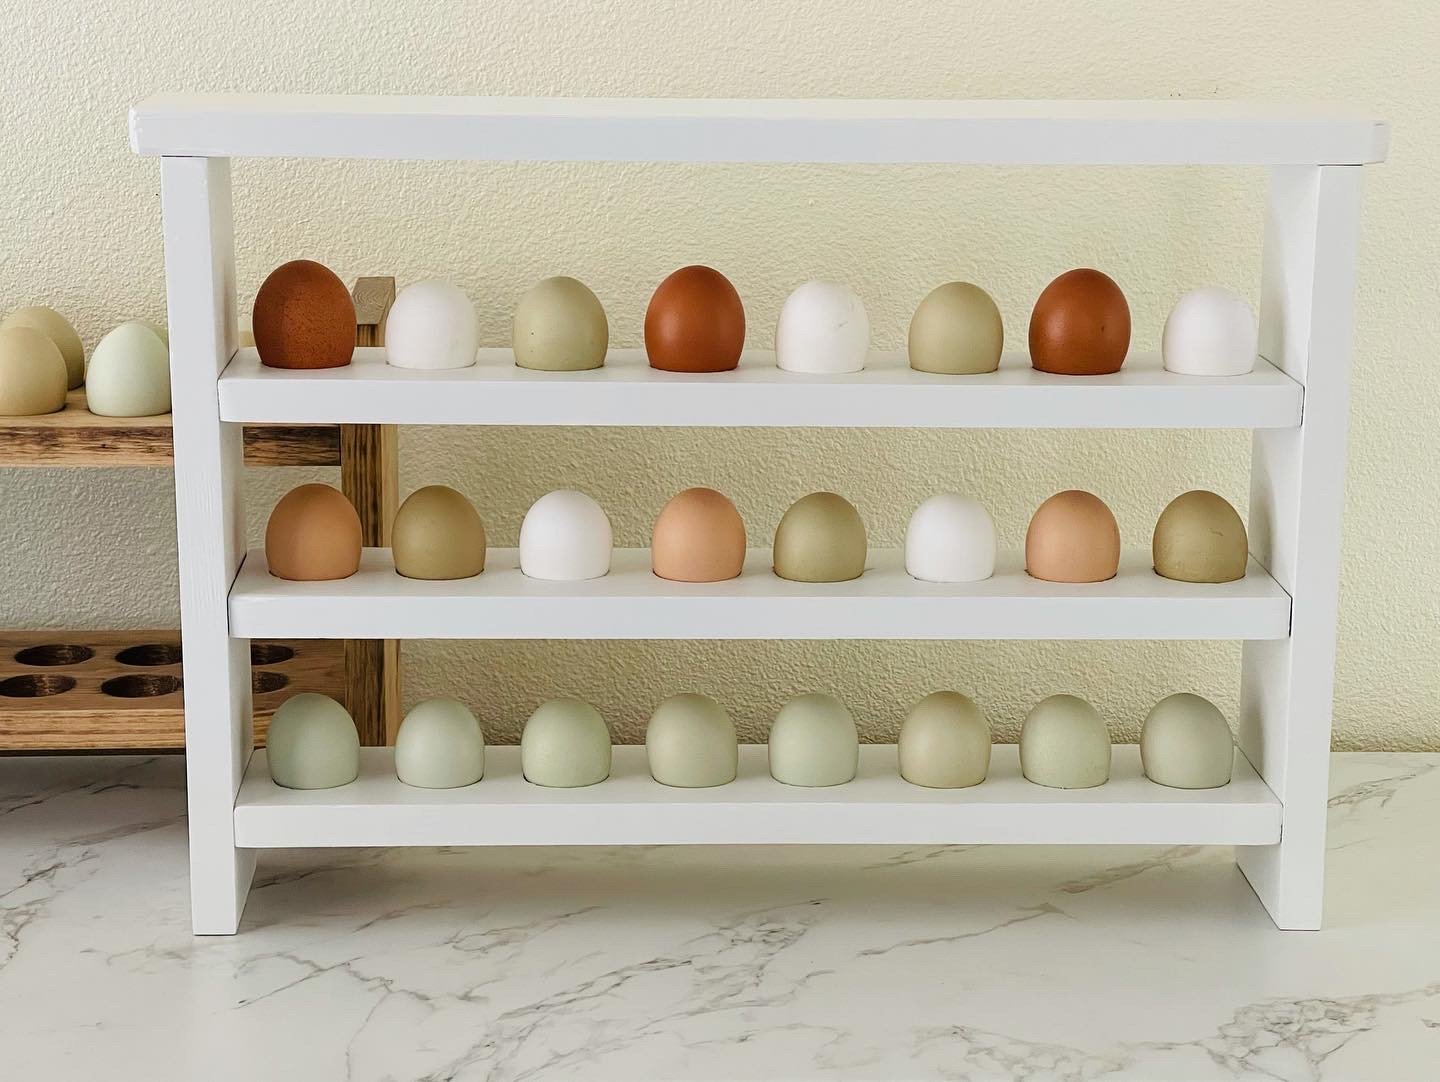
Taller, narrower wooden egg holder option, using 1x4s and holds two dozen eggs. Since the legs are narrower, this size may be less stable. We recommend attaching to the wall. Follow the same instructions.