Wood Potting Bench
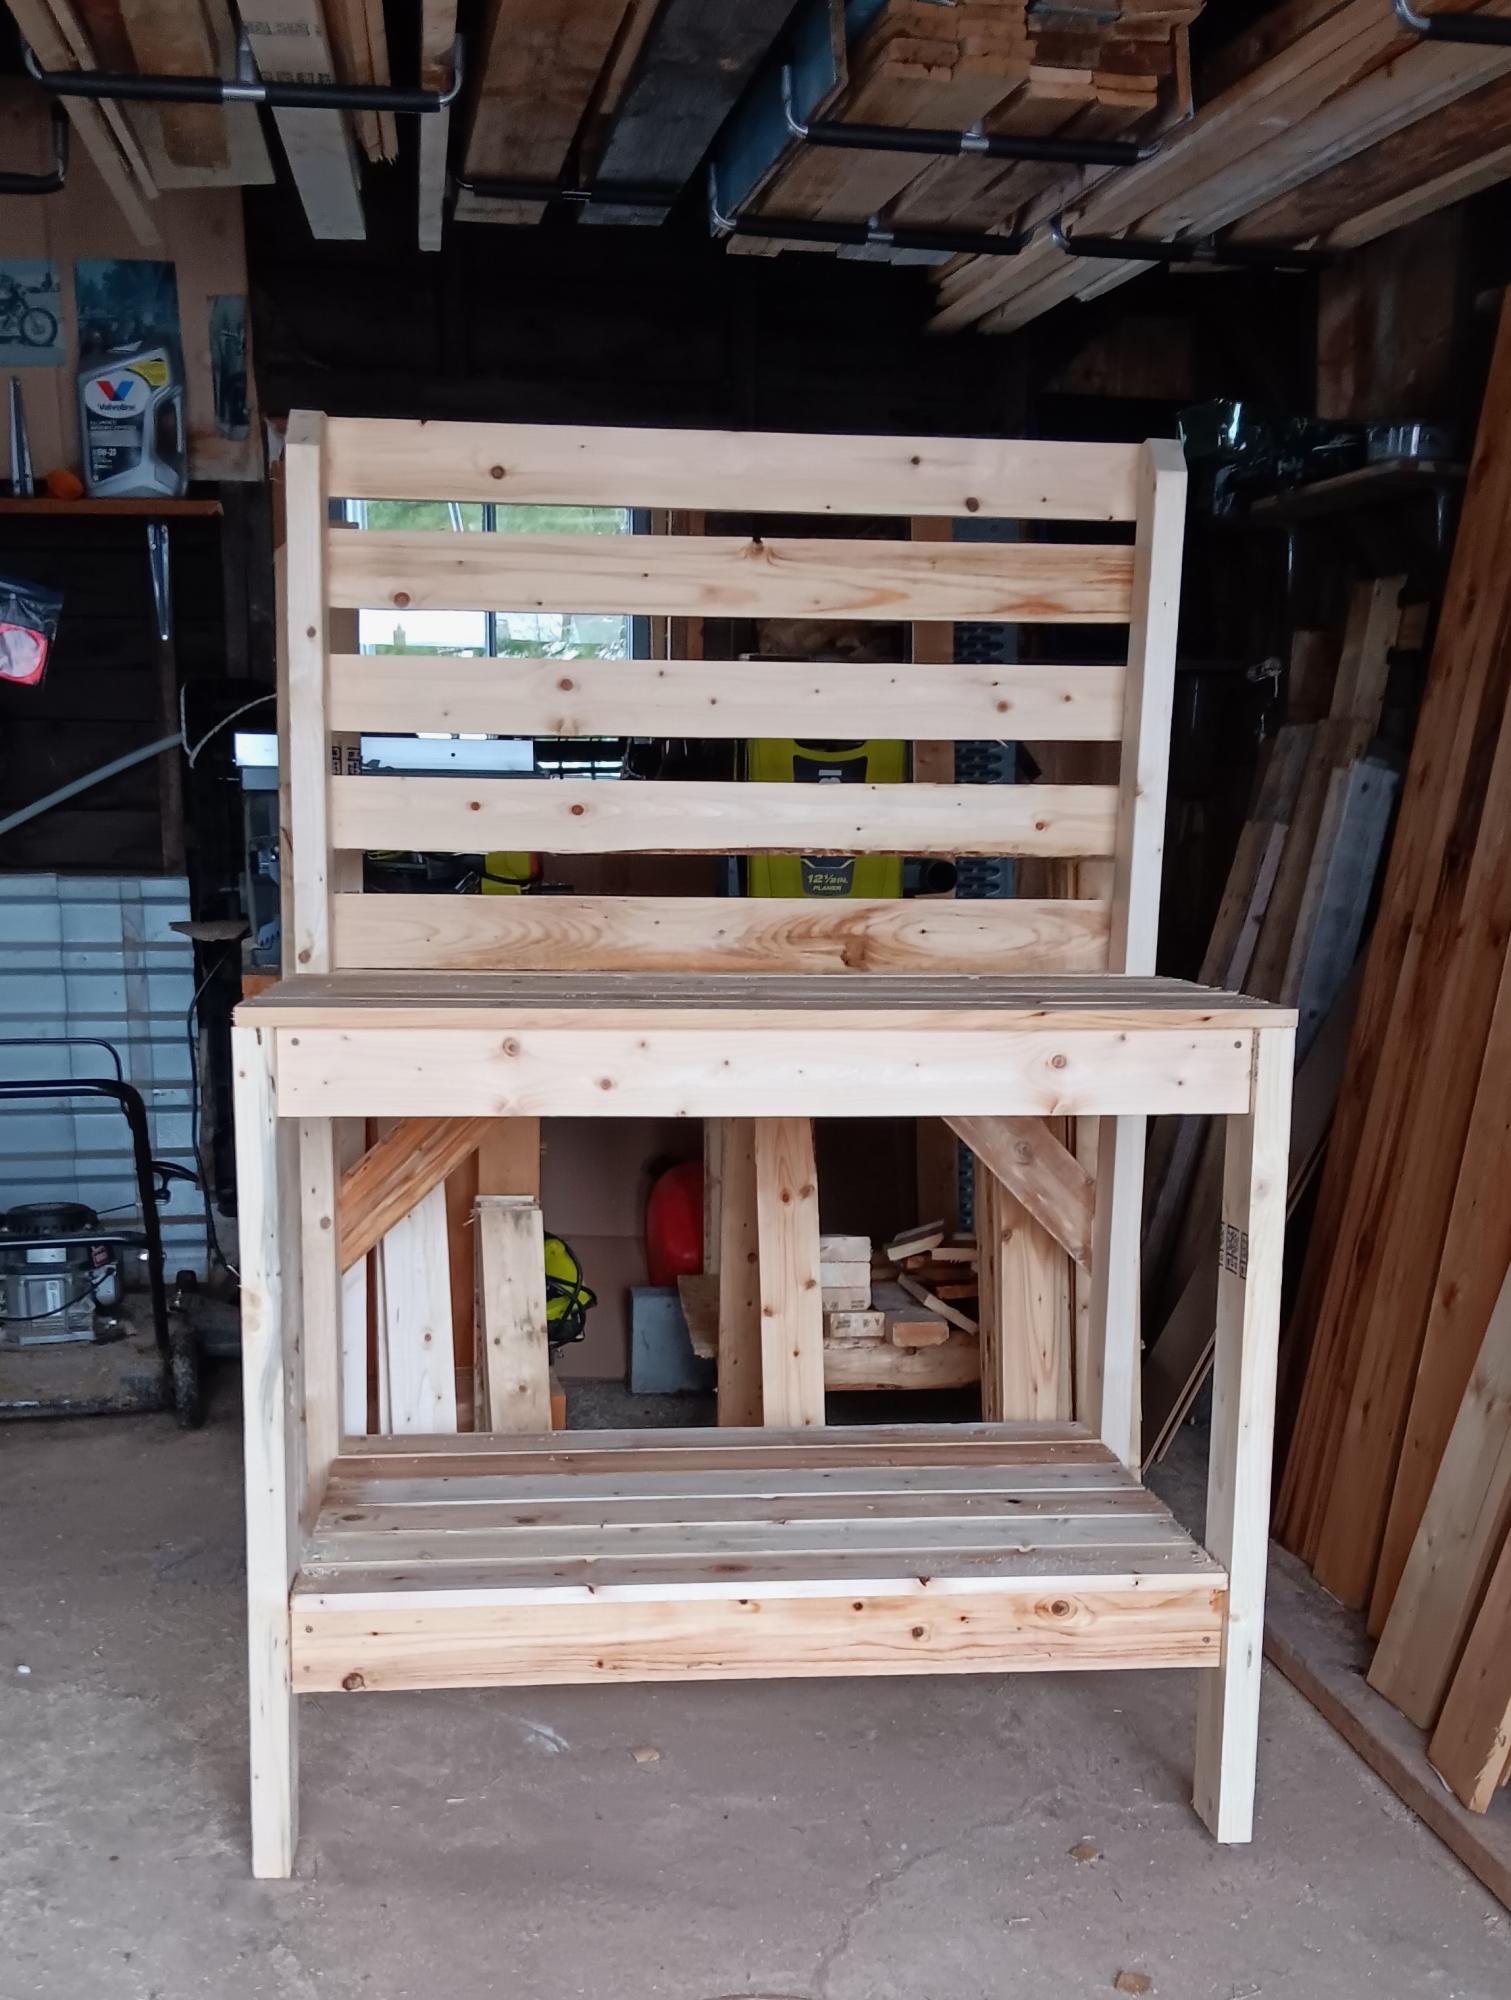
Loved this build. Straightforward so requires little skill.
Of course my ryobi tools make it easier.
Built from Plan(s)
Loved this build. Straightforward so requires little skill.
Of course my ryobi tools make it easier.
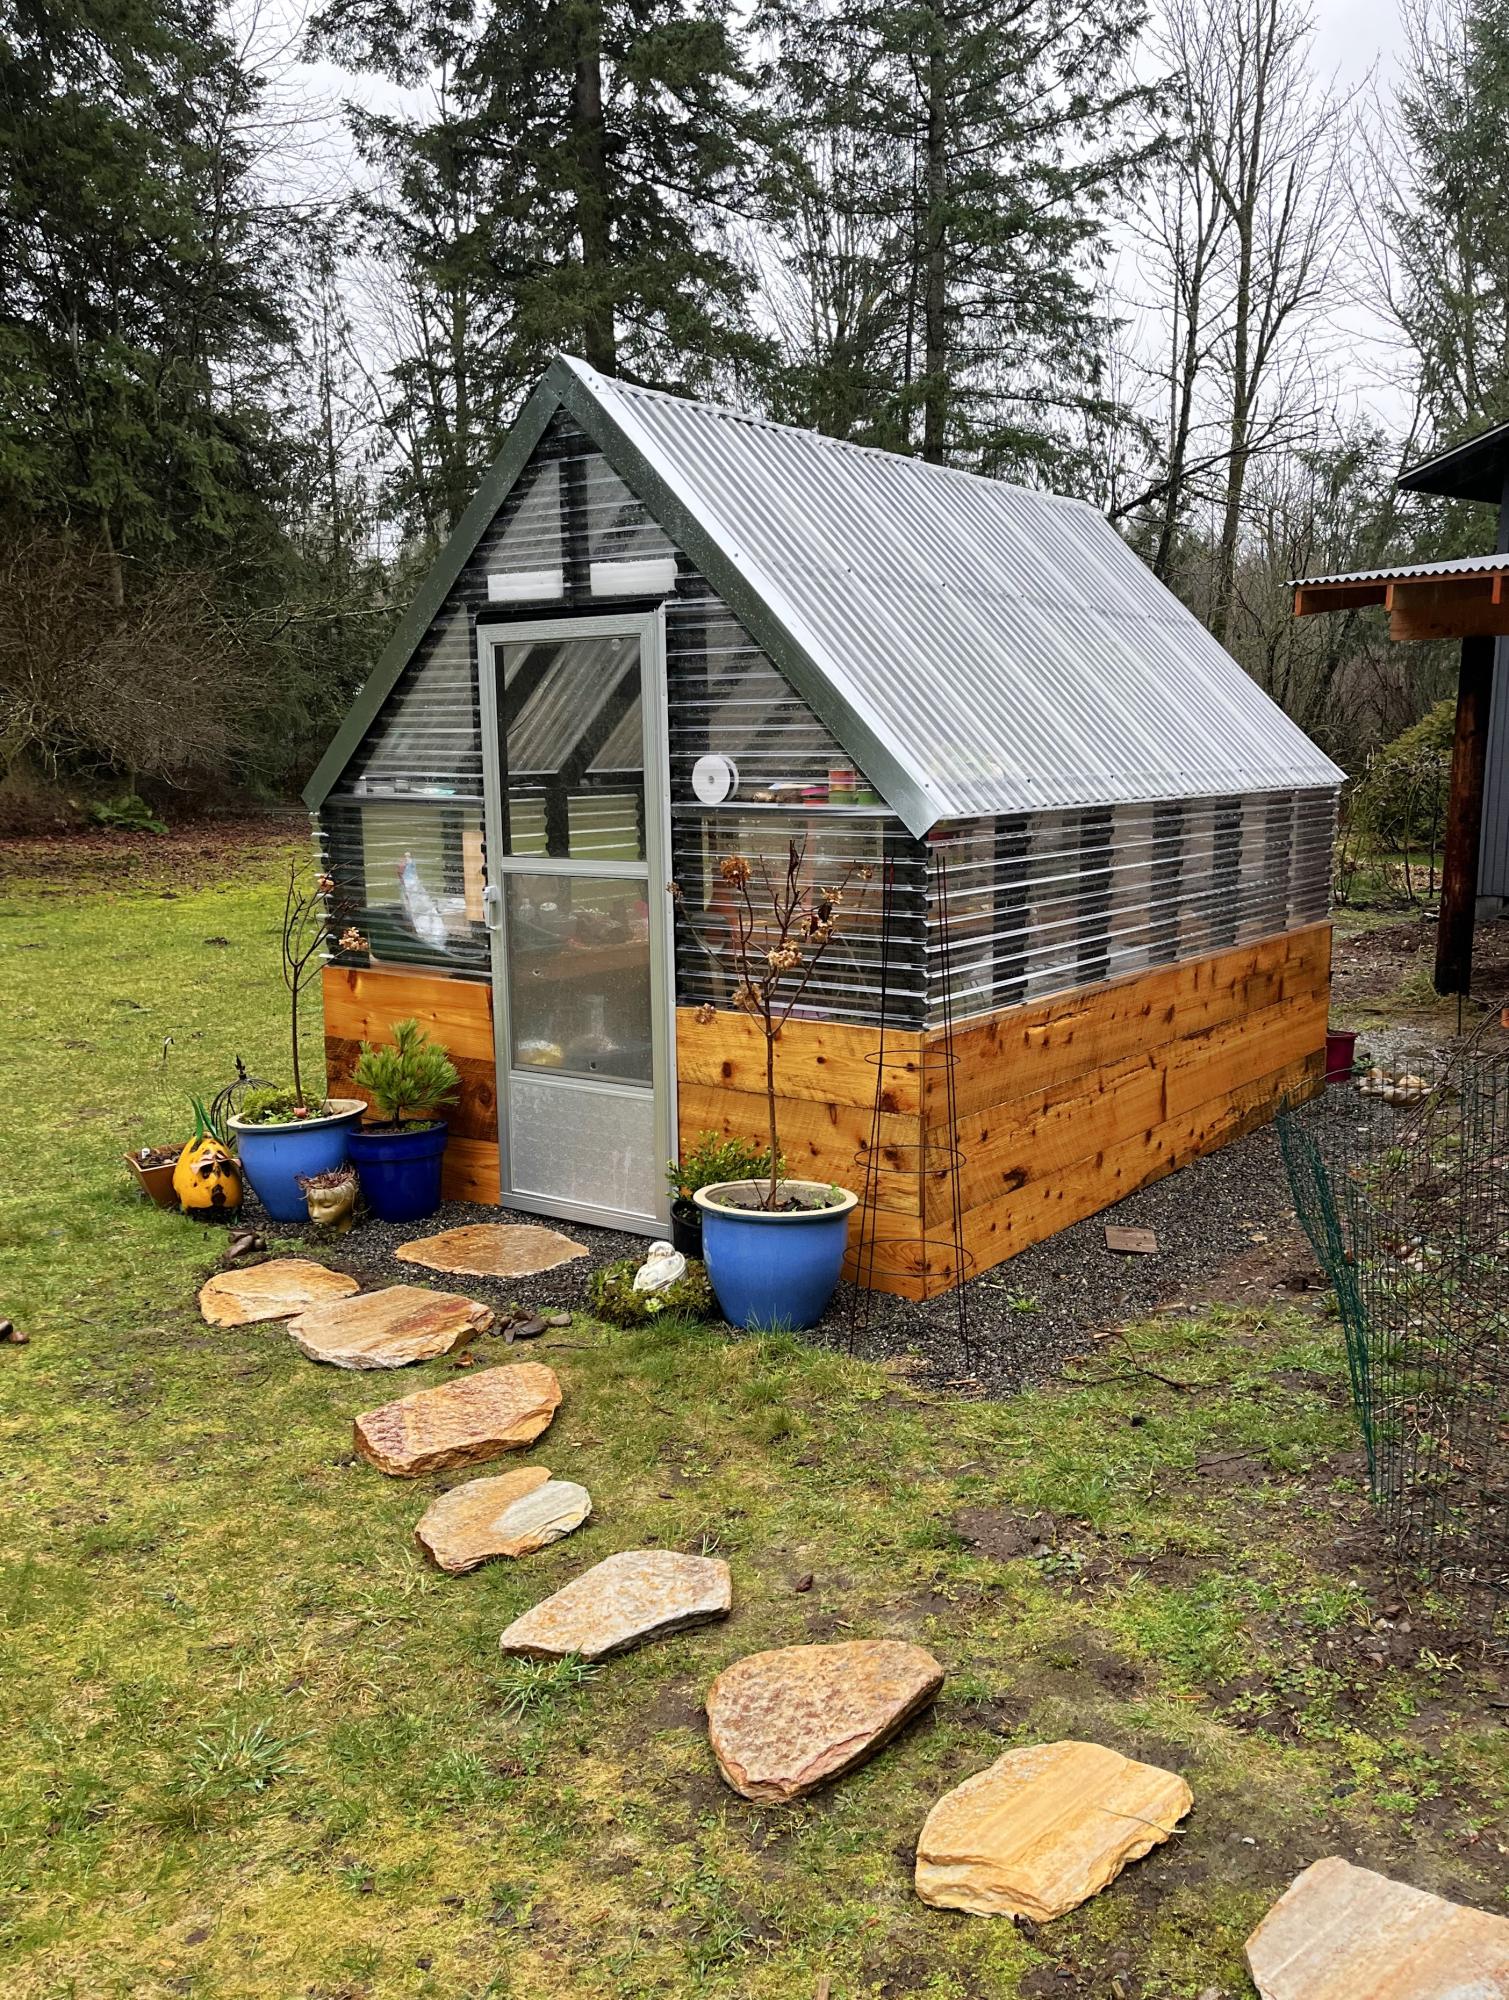
Best looking greenhouse and great size!
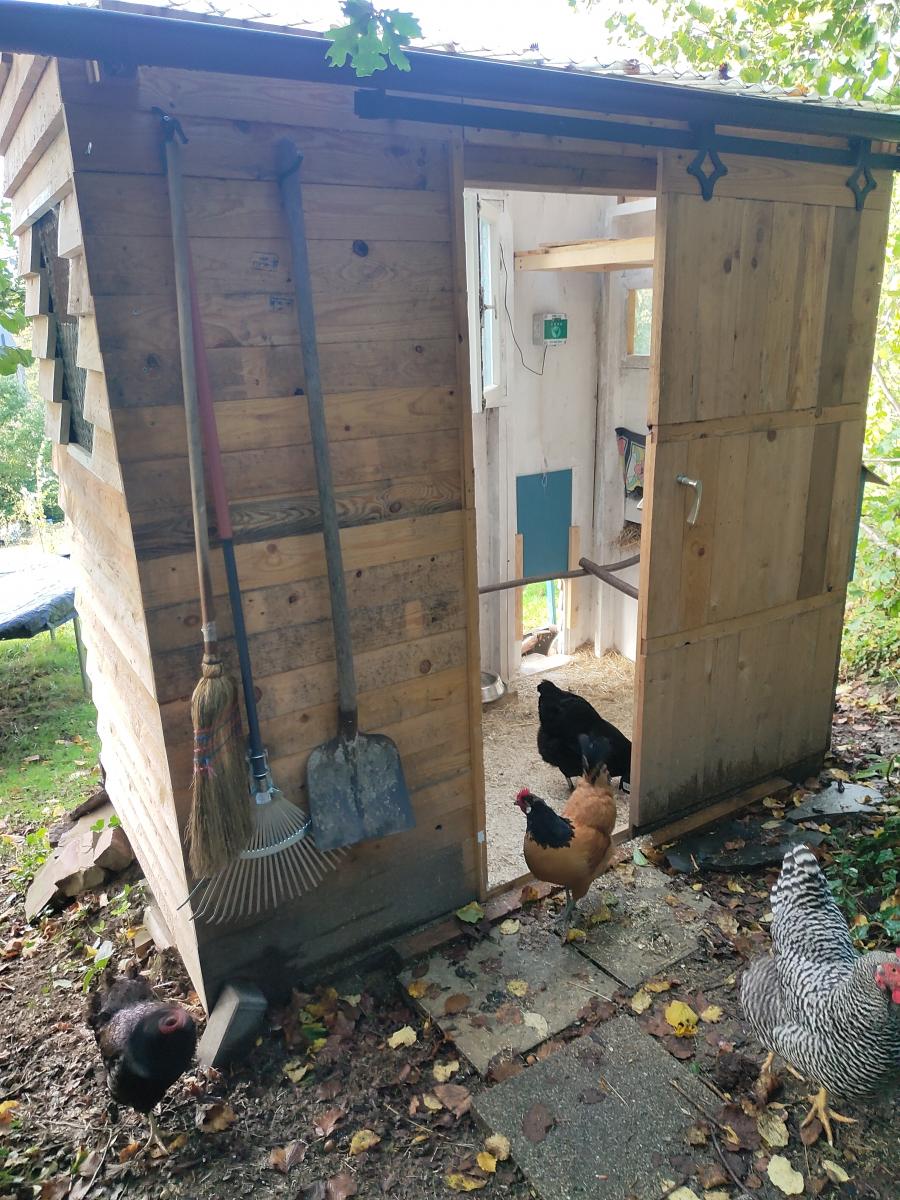
Mary McLachlan
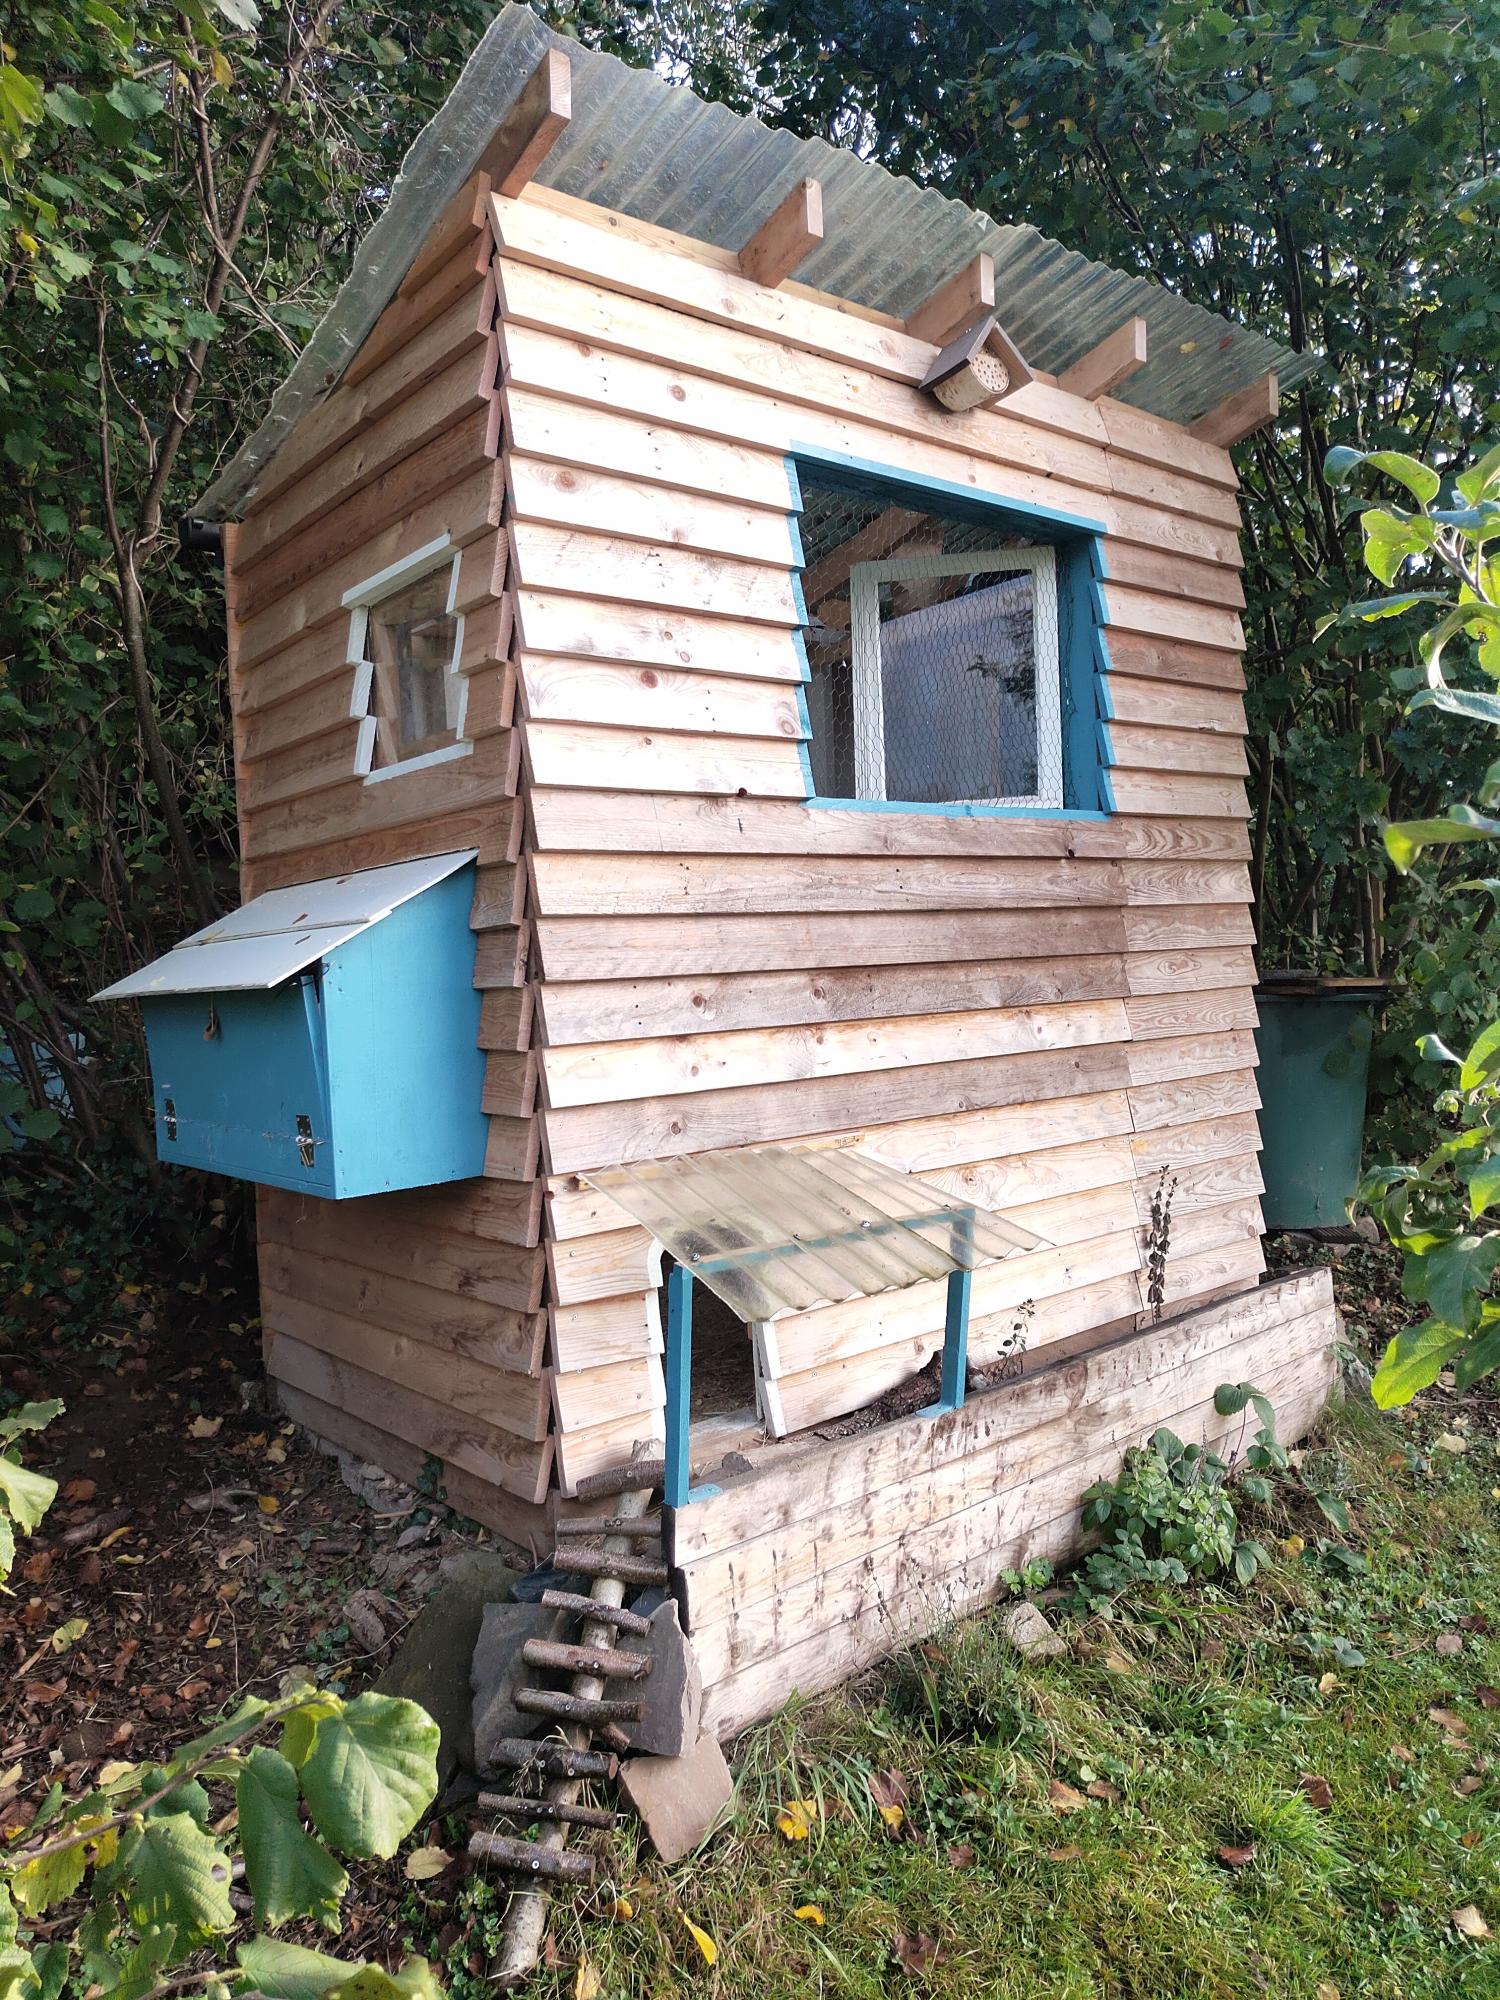
I had started this project last year in September and finished it finally 2020 in March because I get my chicken then.
I did modify the chicken coop a little bit due to the material I got.
The instructions and most of all the cutting list I like best!
Antje
This is my first piece of furniture I've ever made from a plan. I would recommend this for someone who is new to the craft. I also sanded each board before I put it together. I just find this easier to do than sanding it afterwards. Plus, it gives me the chance to look at the grain and see where I might want it. Both the stain and clear coat I used can be washed out of your brush with soap and water.
Wed, 02/13/2013 - 10:54
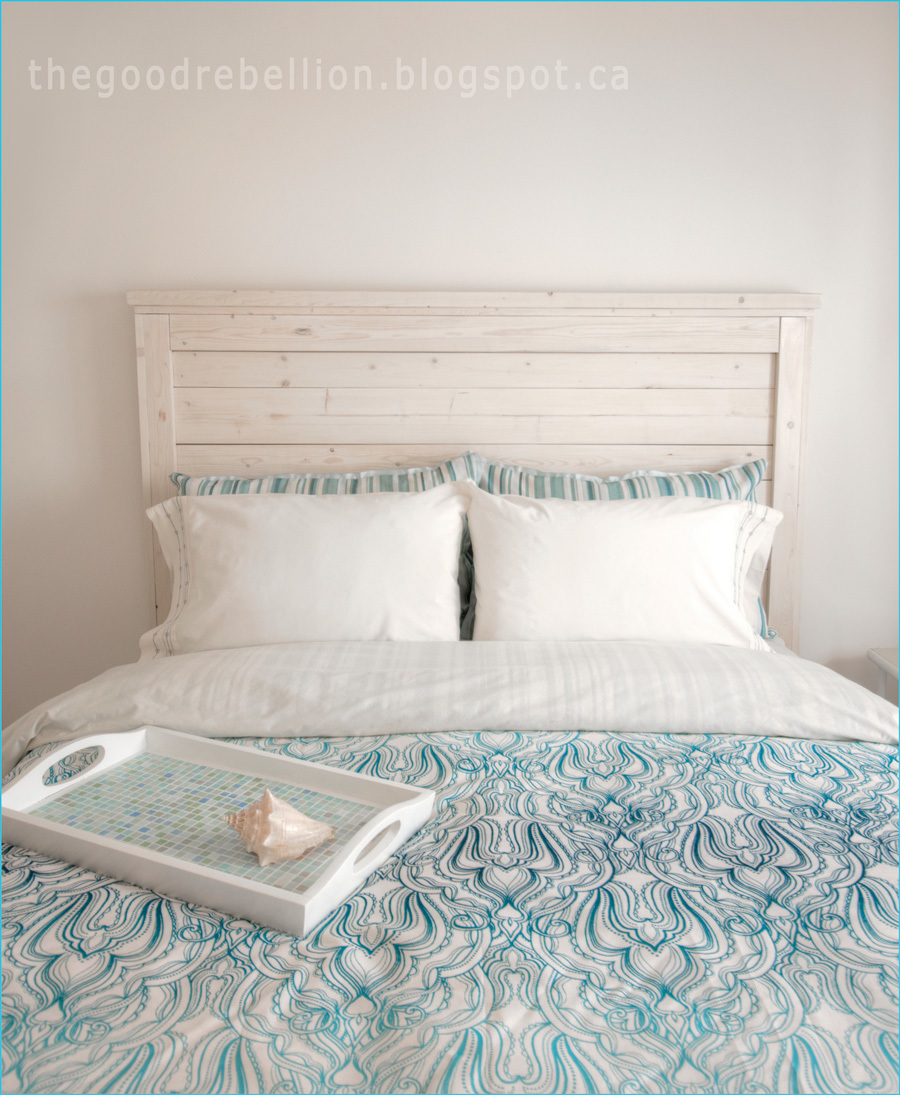
Hey, thanks so much for your comment, totally made my day (0: The tray was originally brown (no I didn't make it) but I did paint it white and put a paper mosaic on it. You can read about that here if you want to see how I did it: http://thegoodrebellion.blogspot.ca/2013/01/paper-mosaic-tray.html
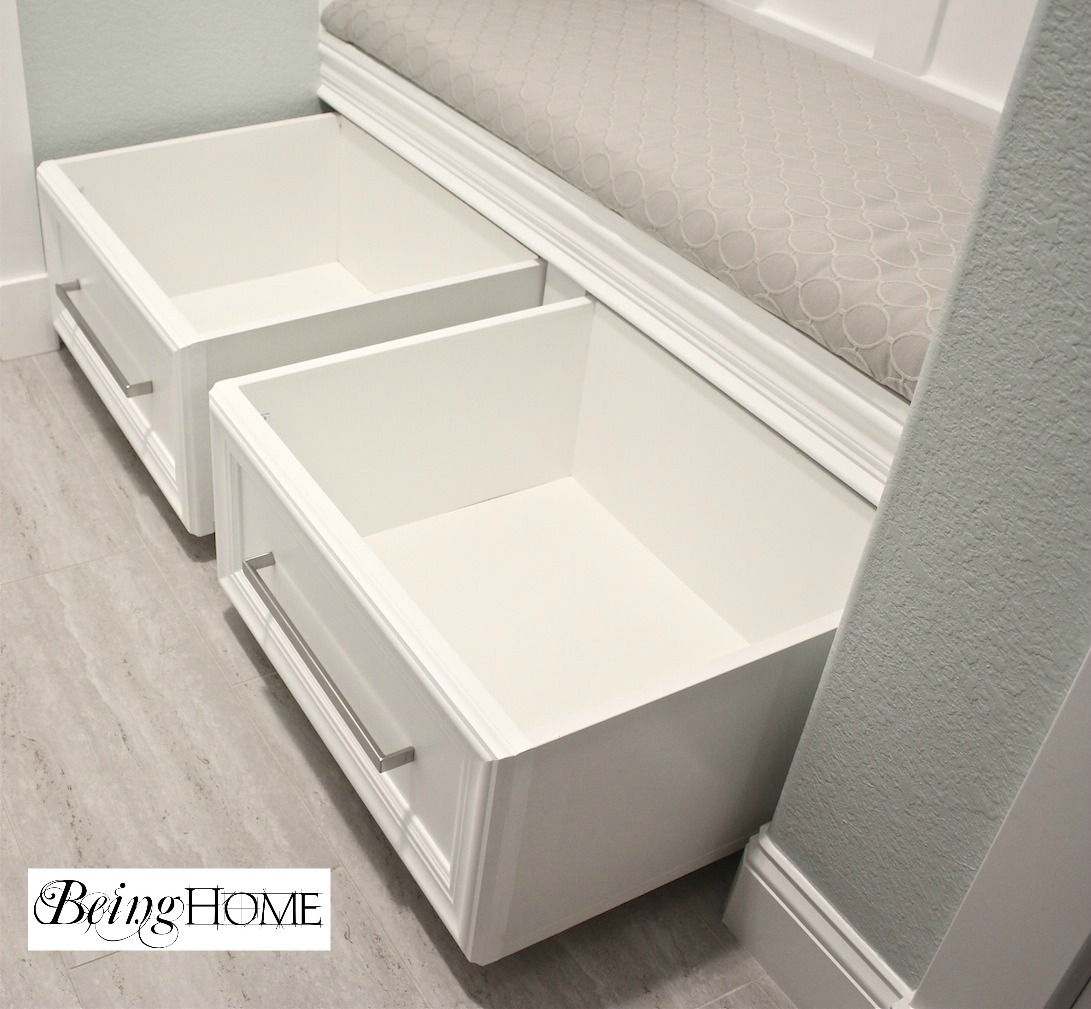
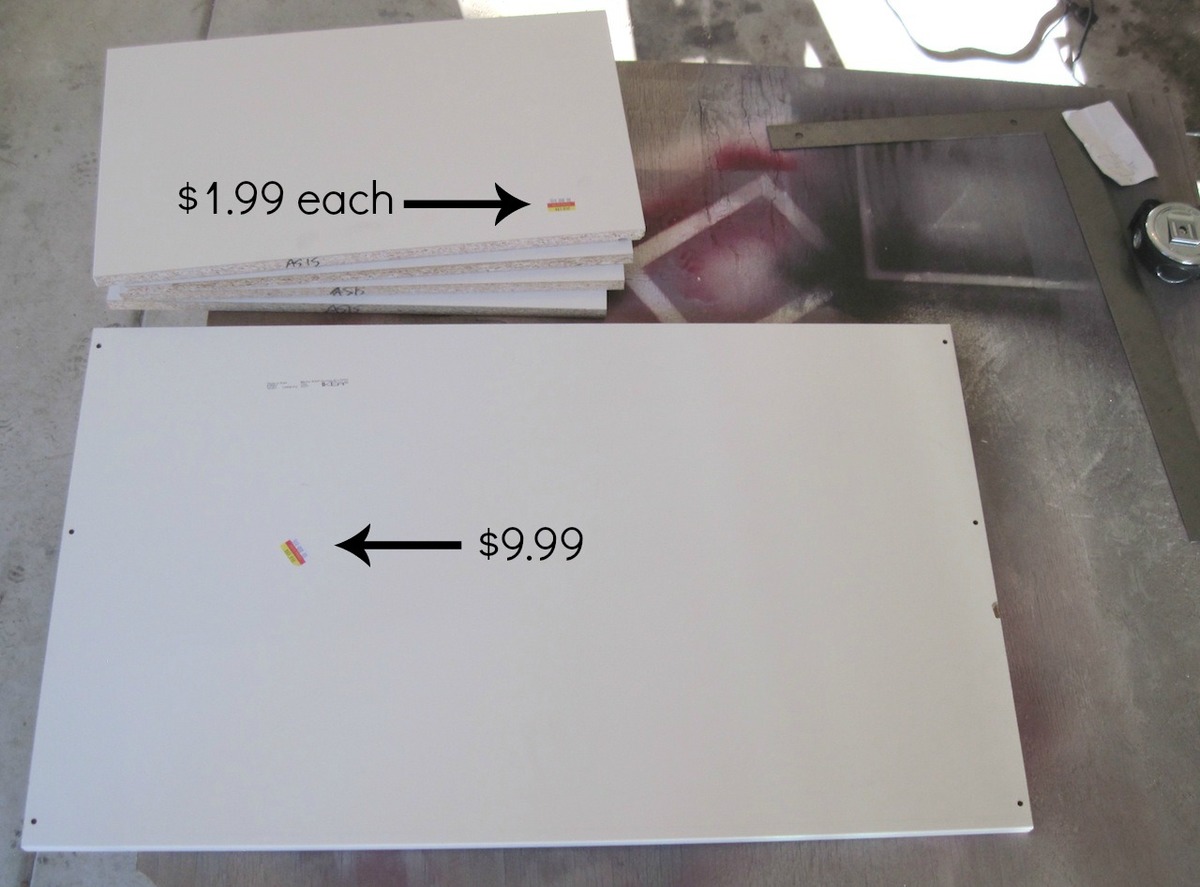
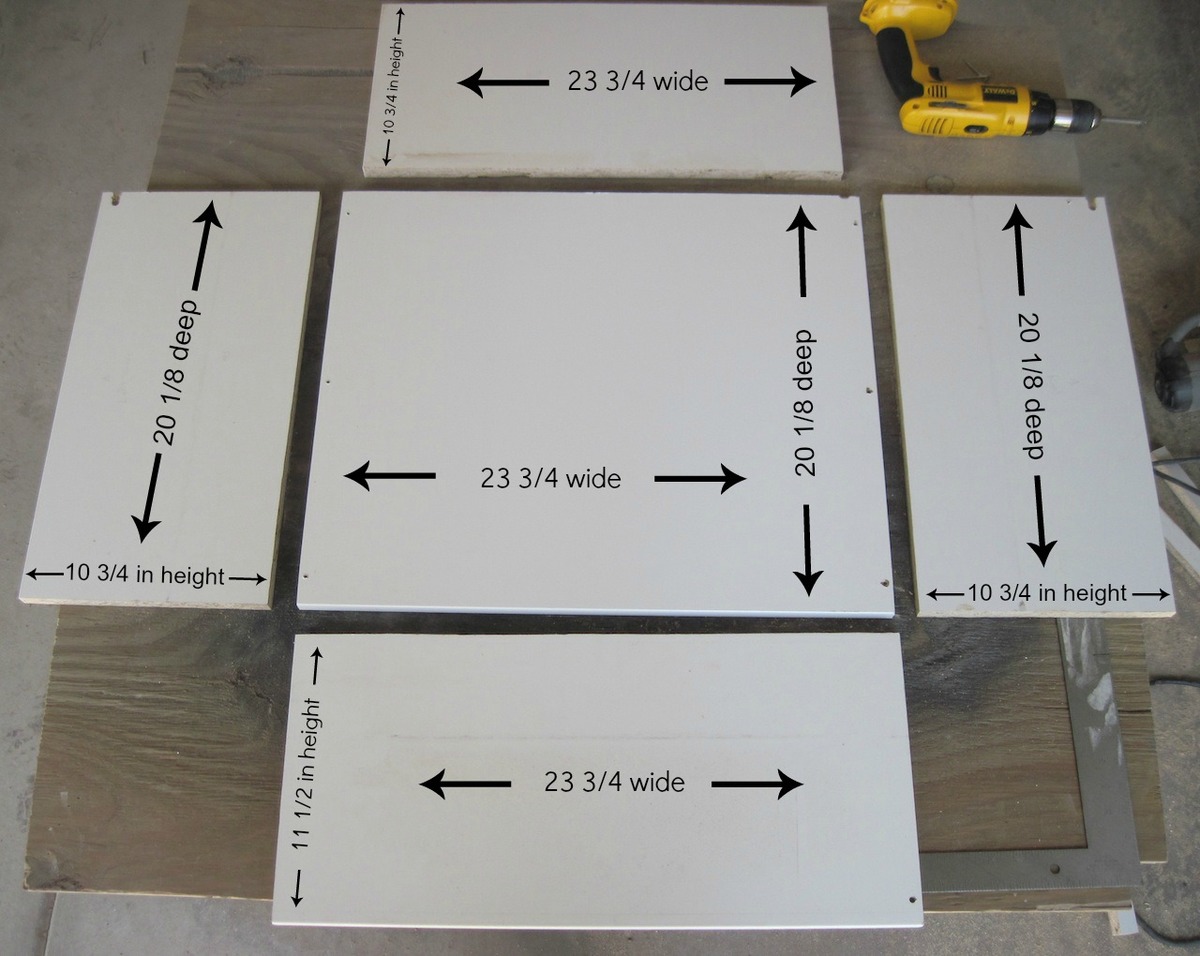
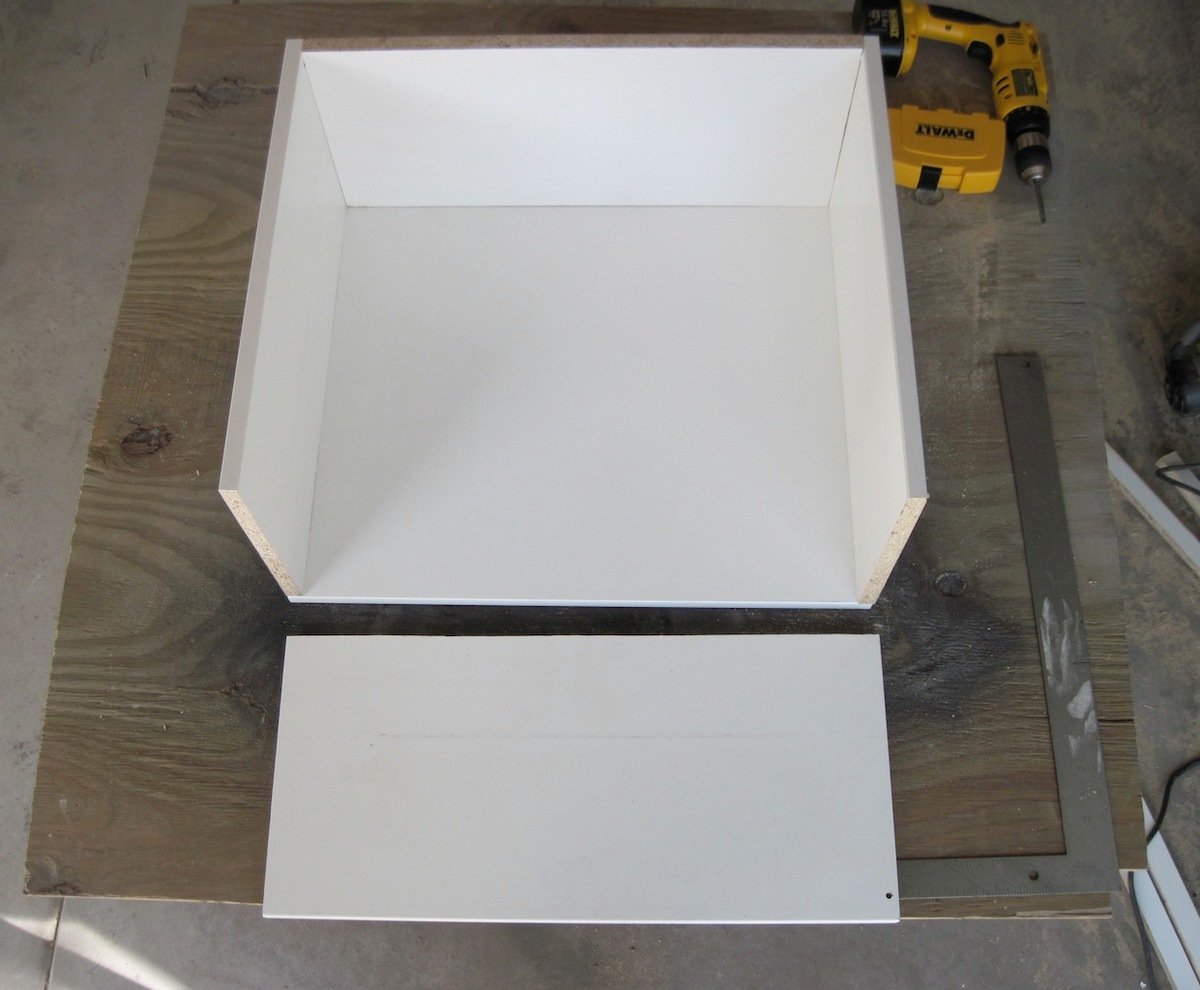
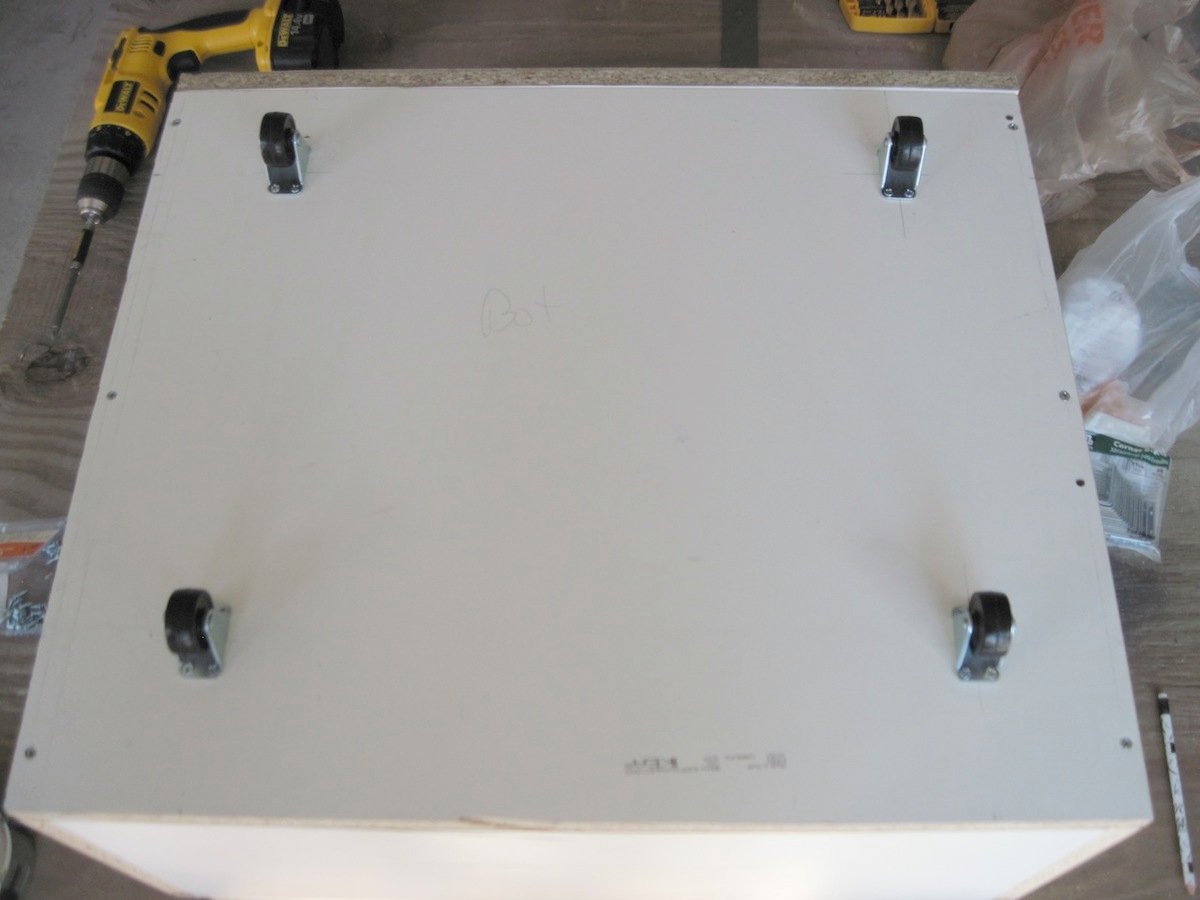
After building the mudroom bench I knew I would need something to store our shoes. After being inspired by images of unused dresser drawers with casters added on, I decided to and base my idea off of this. However, I knew that our shoe drawer would need to be much bigger to nicely fit under the mudroom bench.
Ironically, this rolling shoe drawer is made out of unused shelves and bookcase sides that I found at the as-is section at Ikea! The handles on the drawers were found there, as well. For .50 cents each, I could not pass that up. :)
This was a fun project. Easy instructions great piece of furniture. It is very sturdy. I'm a beginner at DIY wood projects so this was a rewarding project.
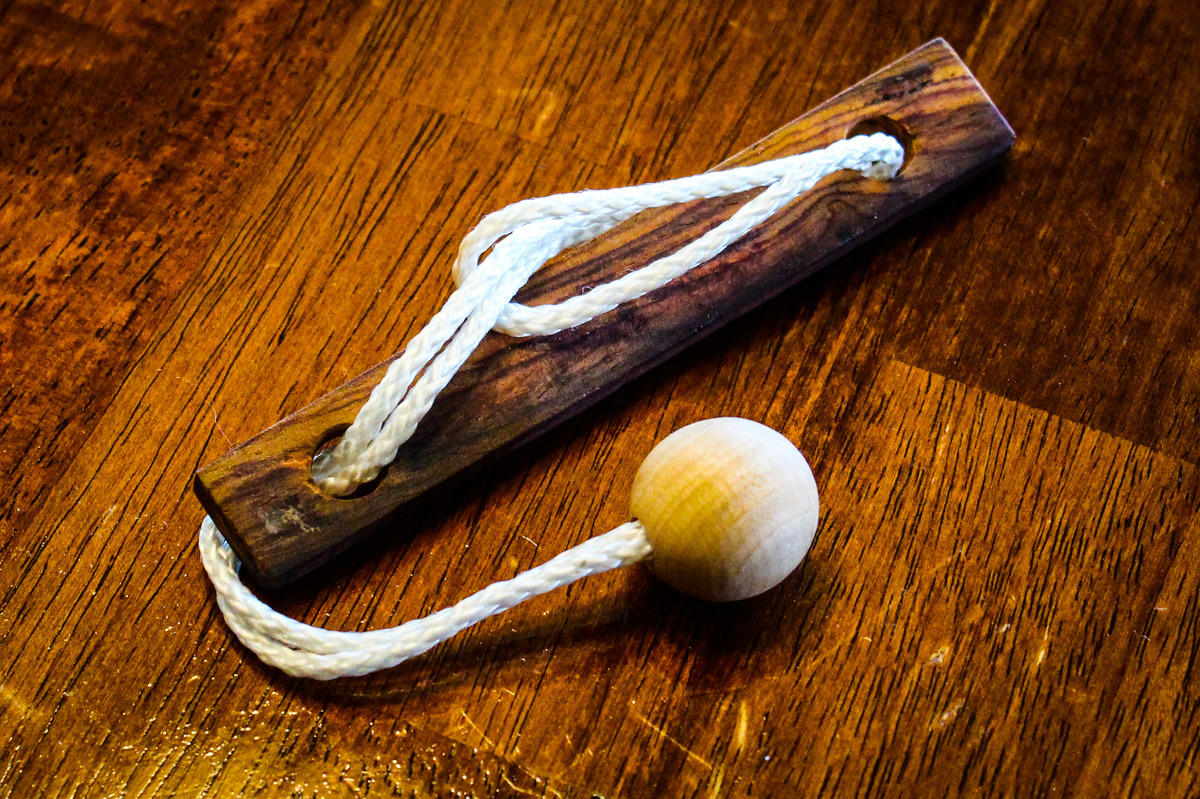
This puzzle is similar to the other puzzles I posted over the last year. The goal is to remove the rope/ball from the piece of wood. With very little parts, it was really easy to make – less than 15 minutes. Go to the video for the solution if you cannot mentally figure it out from the pictures.
More Info: https://www.instructables.com/id/Simple-Rope-Puzzle/
Solution: https://youtu.be/NmcurEs-BIA

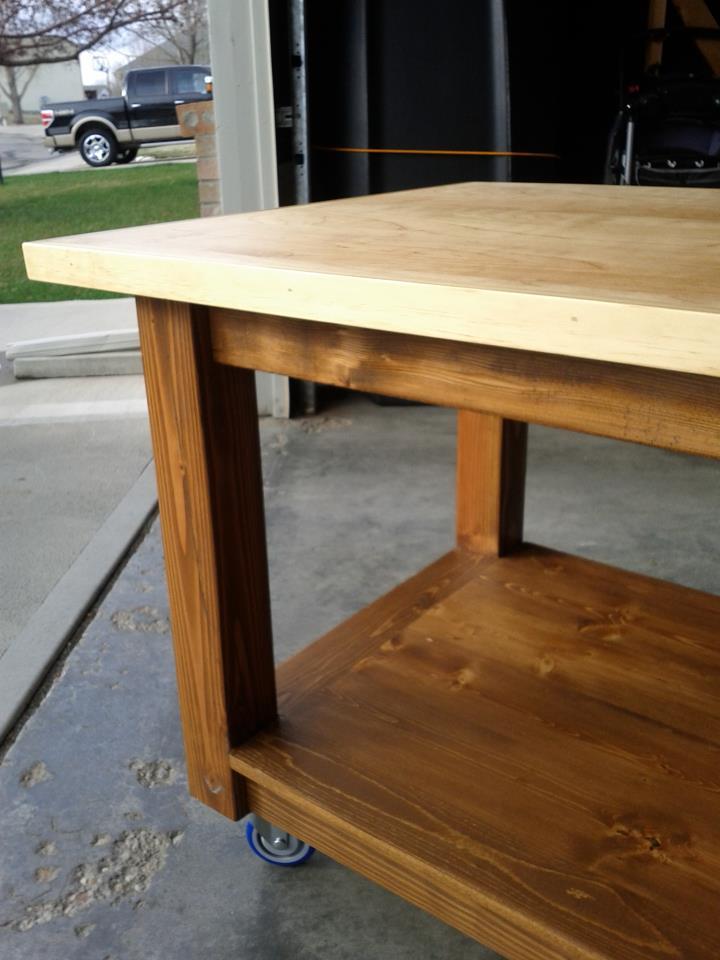
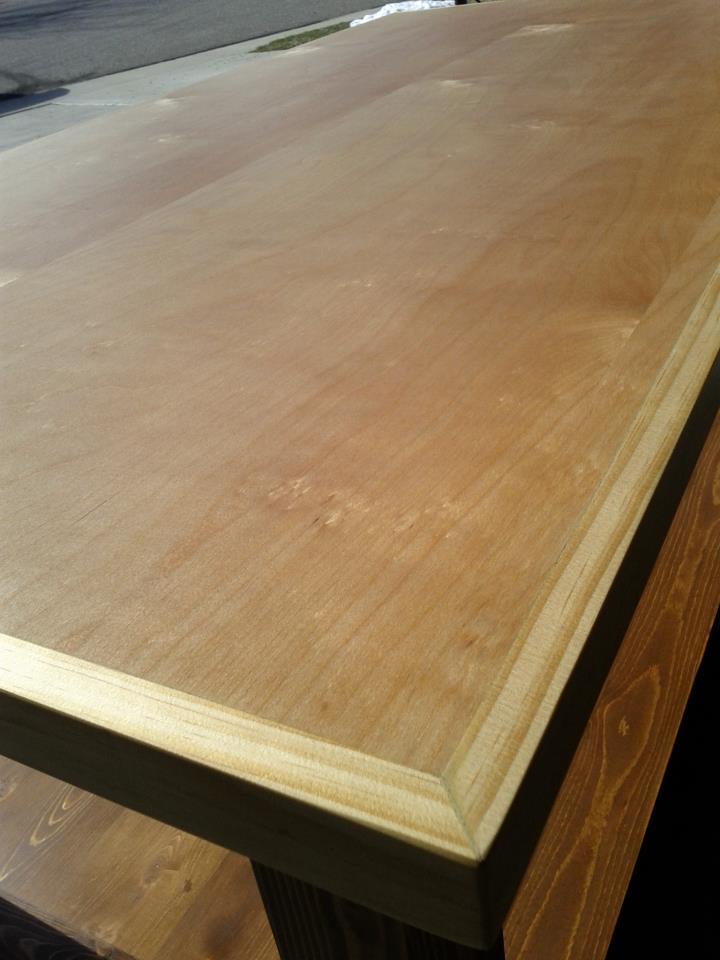
I needed a workbench to be able to create all of these wonderful plans. I used one of Ana's table plans and modified a little. I followed exactly, then I added a second top made out of birch pure bond plywood. I then put 1x2 edging to hide the edges. I used some pretty heavy duty casters with the double locking feature, I had to buy this off the internet.
This was my second build, the first being a 10 dollar ledge.
The plan is from Ana's book, the kitchen island. I can't seem to find it online.
This took me a long time due to limited time, because of work and kids. About 4-6 hours per week, for 2 1/2 months.
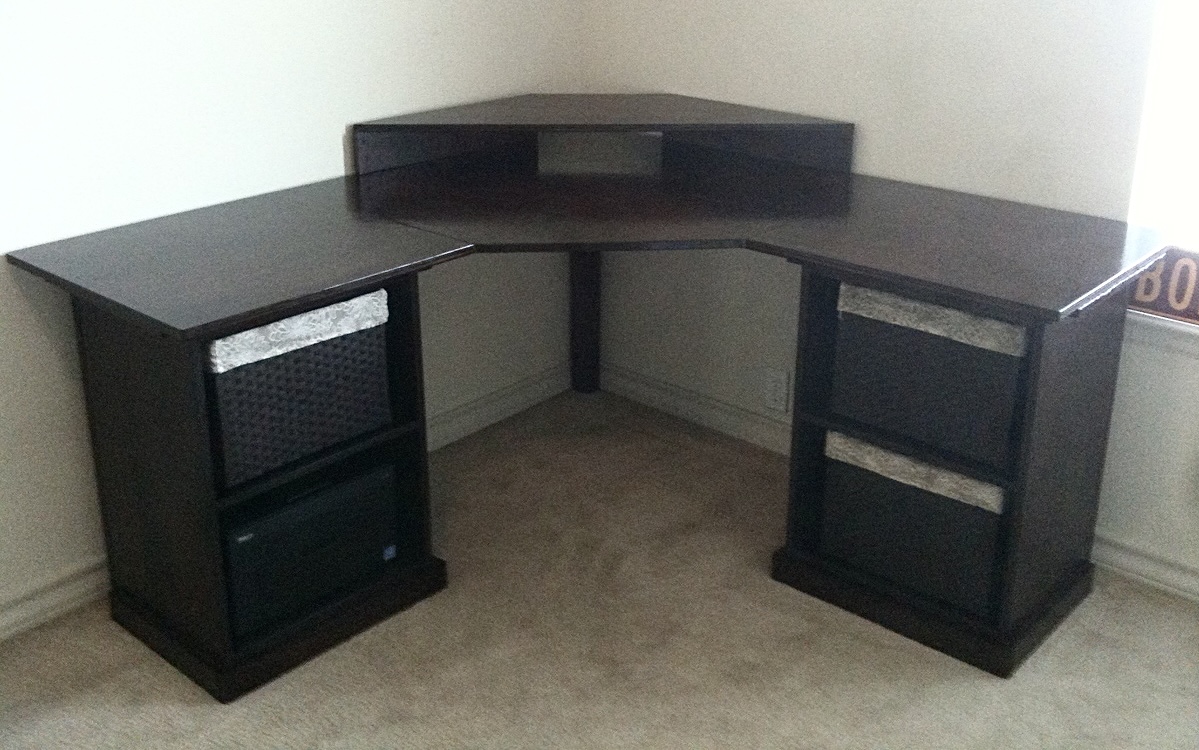
a variation of the corner desk plans. for more pictures visit: http://www.facebook.com/media/set/?set=a.10100136762454037.2548324.2960…
Fri, 02/24/2012 - 22:02
Hey i love the elevated platform, can I get you to post dimensions & Cuts?
Wed, 08/11/2021 - 04:20
Immersing yourself in your own area significantly improves productivity and motivates you when you decide and select best design of corner table admin should allow everyone to share their best comments for help to find best experenice
This is great topic
I recently made the end table and console table from the "Rustic X" collection and those were my very first wood projects that I have EVER done. I think I am addicted now! I have had NO experience in working miter saws, kreg jigs and barely drills before this. If I can do it, anyone can do it :)
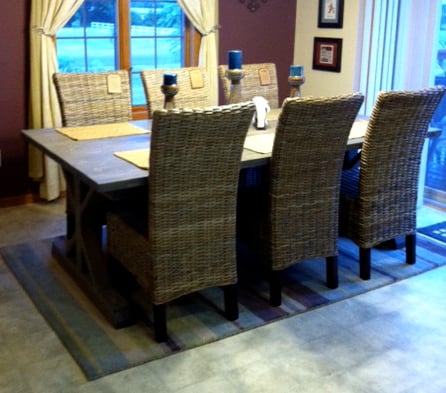
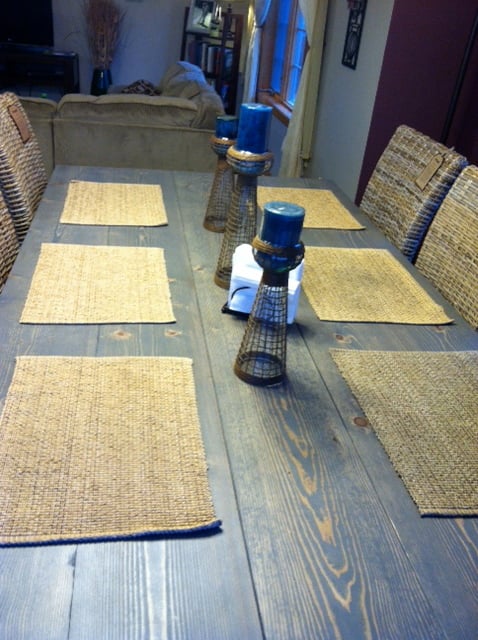
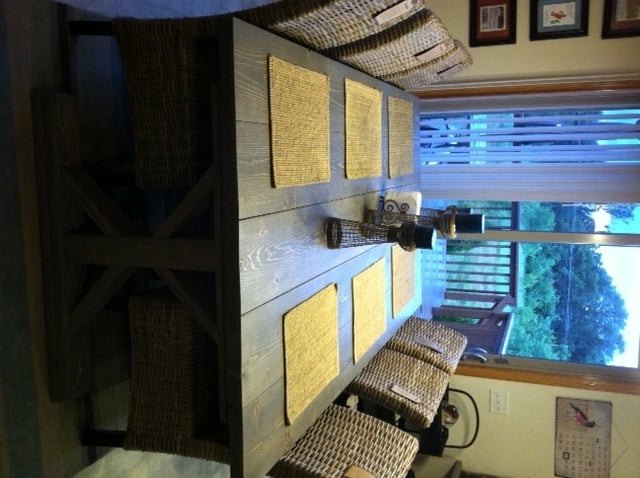
My husband and I made this table over a weekend and I am very excited about how it turned out. I was inspired by the color and size (and chairs!) of Sawgrasshomegirl "weathered grey fancy x farmhouse table with extensions" and I used the classic minwax stain. Thank you so much to Anna White and Sawgrasshomegirl for their plans, ideas, and inspiration!
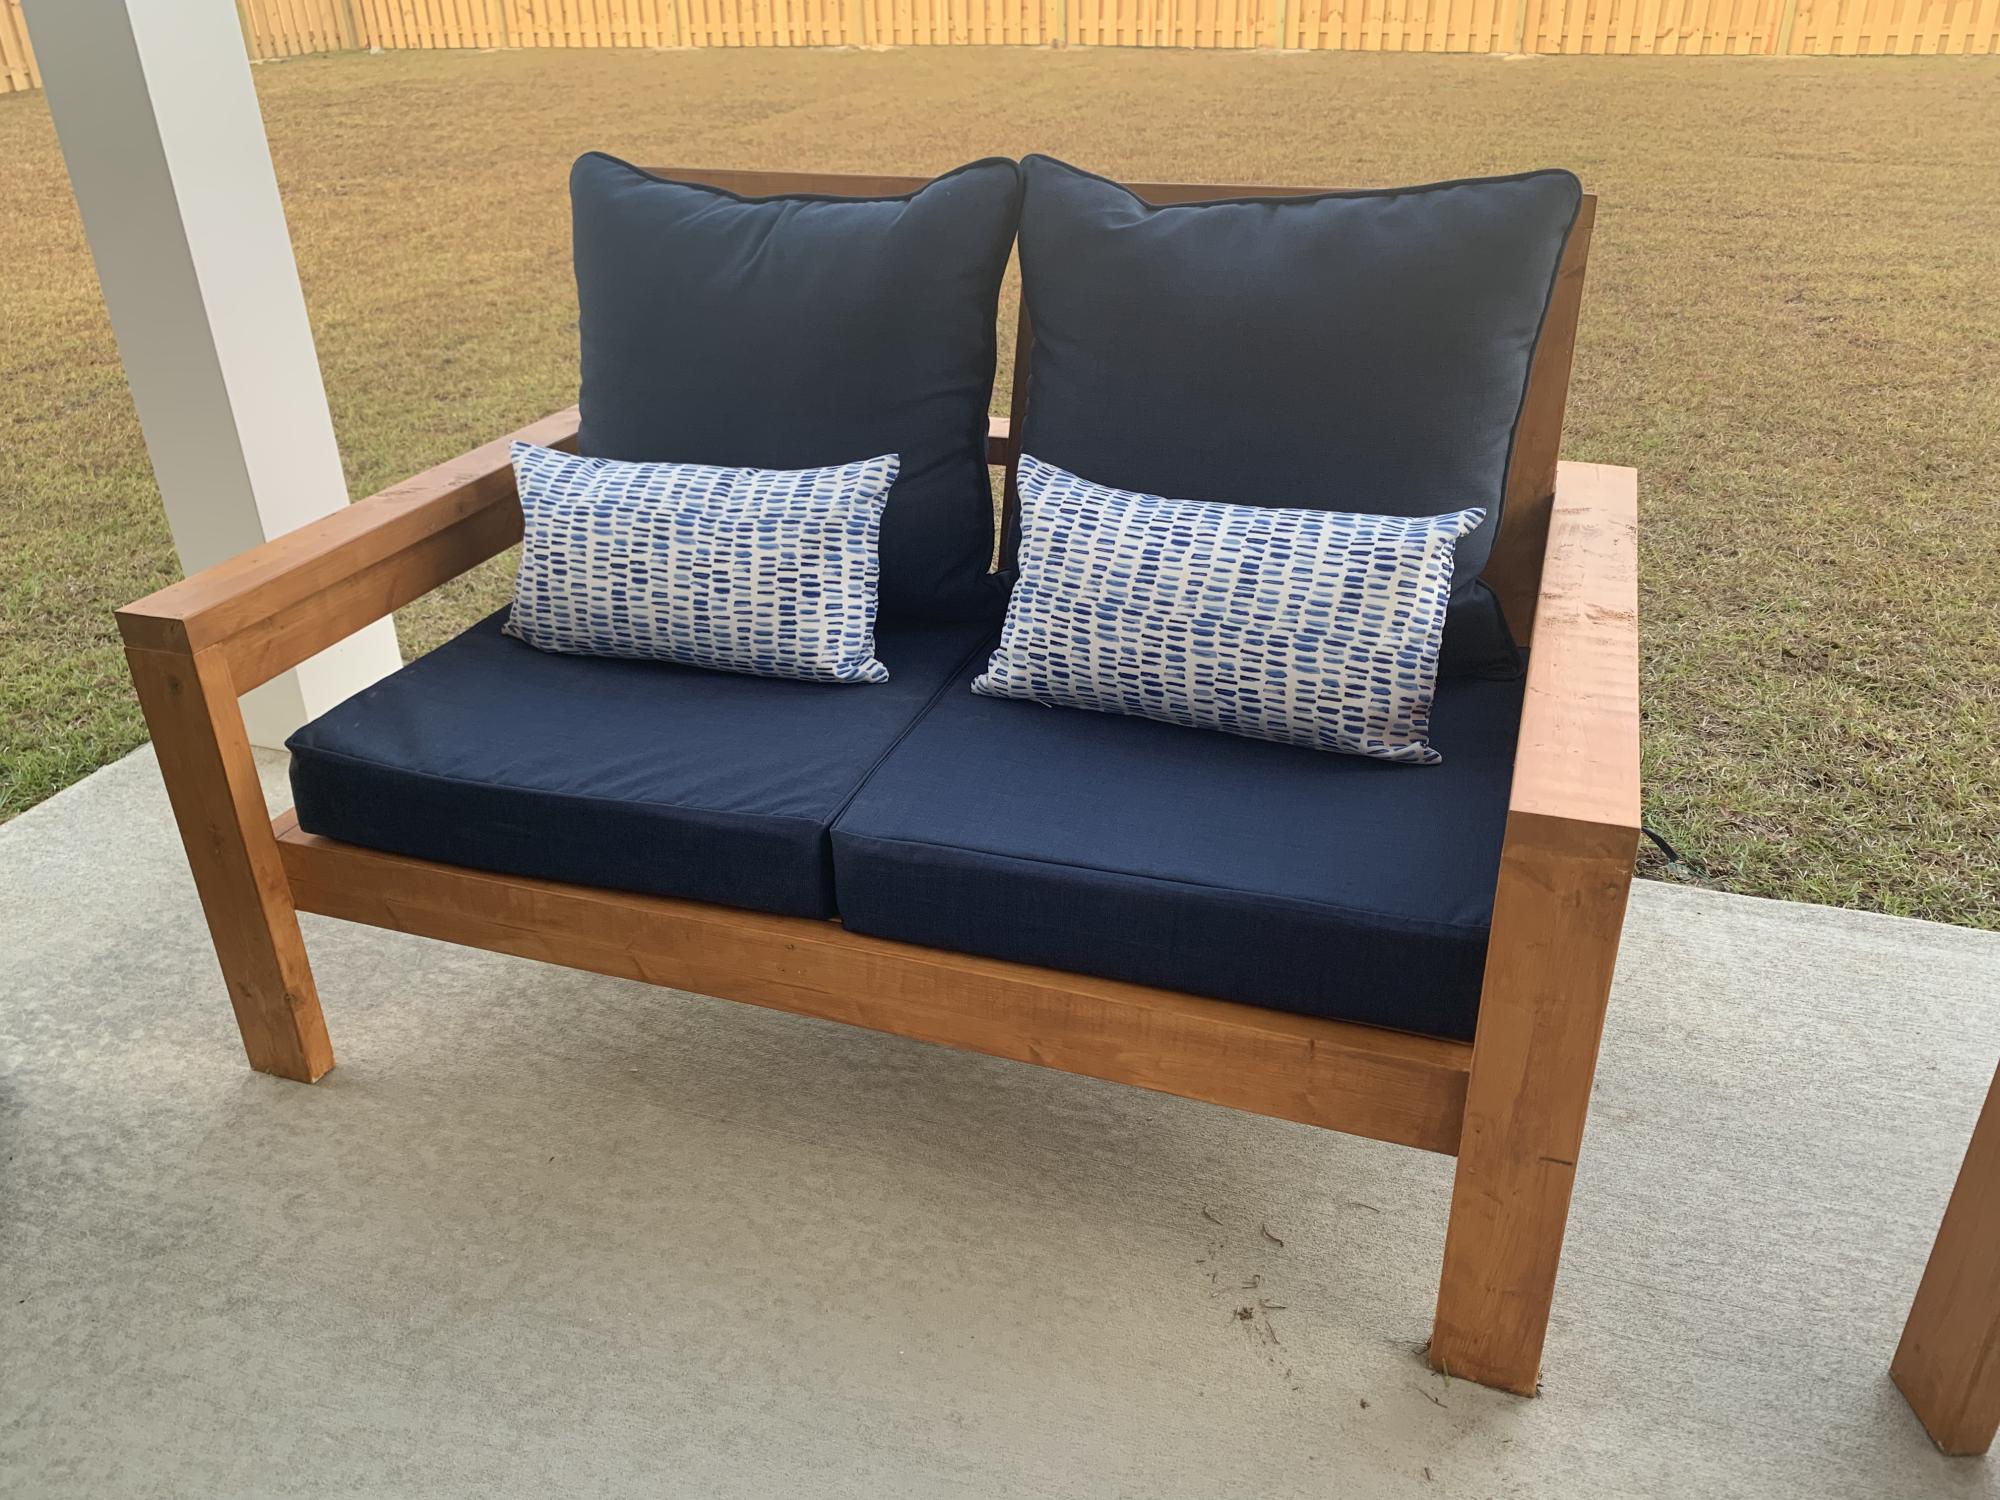
Super easy and fun project! We altered the original plans to build a loveseat and had zero issues. We did add some extra support below.
I did not find 25”x25” cushions within our price range so I settled for 25”x22.5” and they work but ultimately 25x25 works best.
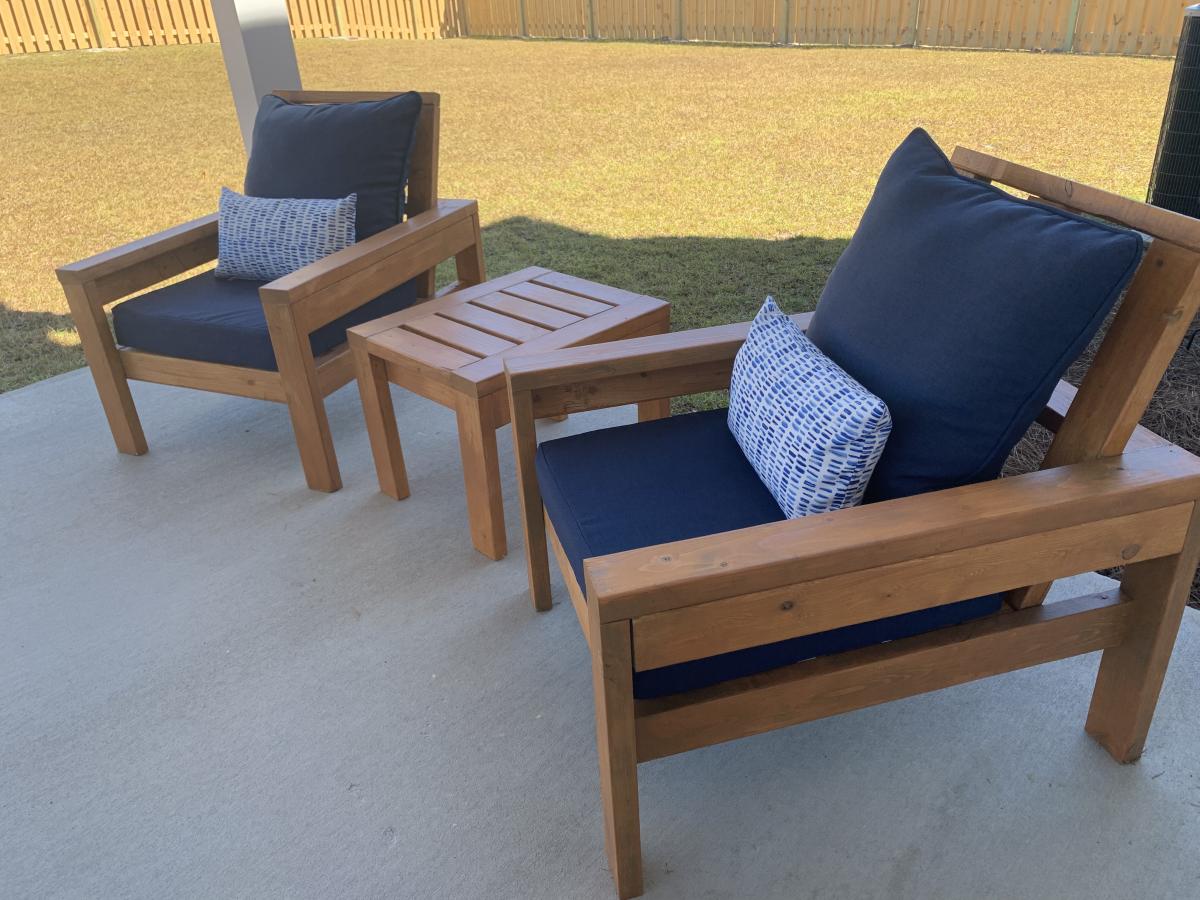
Thanks for sharing. Added a smal table to match!

Mon, 06/03/2019 - 11:35
These are gorgeous chairs! Thank you so much for building from our plans!
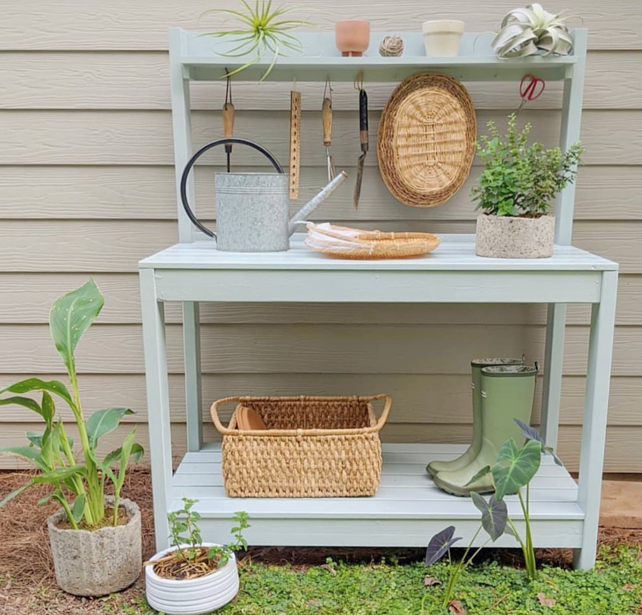
DIY Potting Bench by At Home with Xin on Instagram
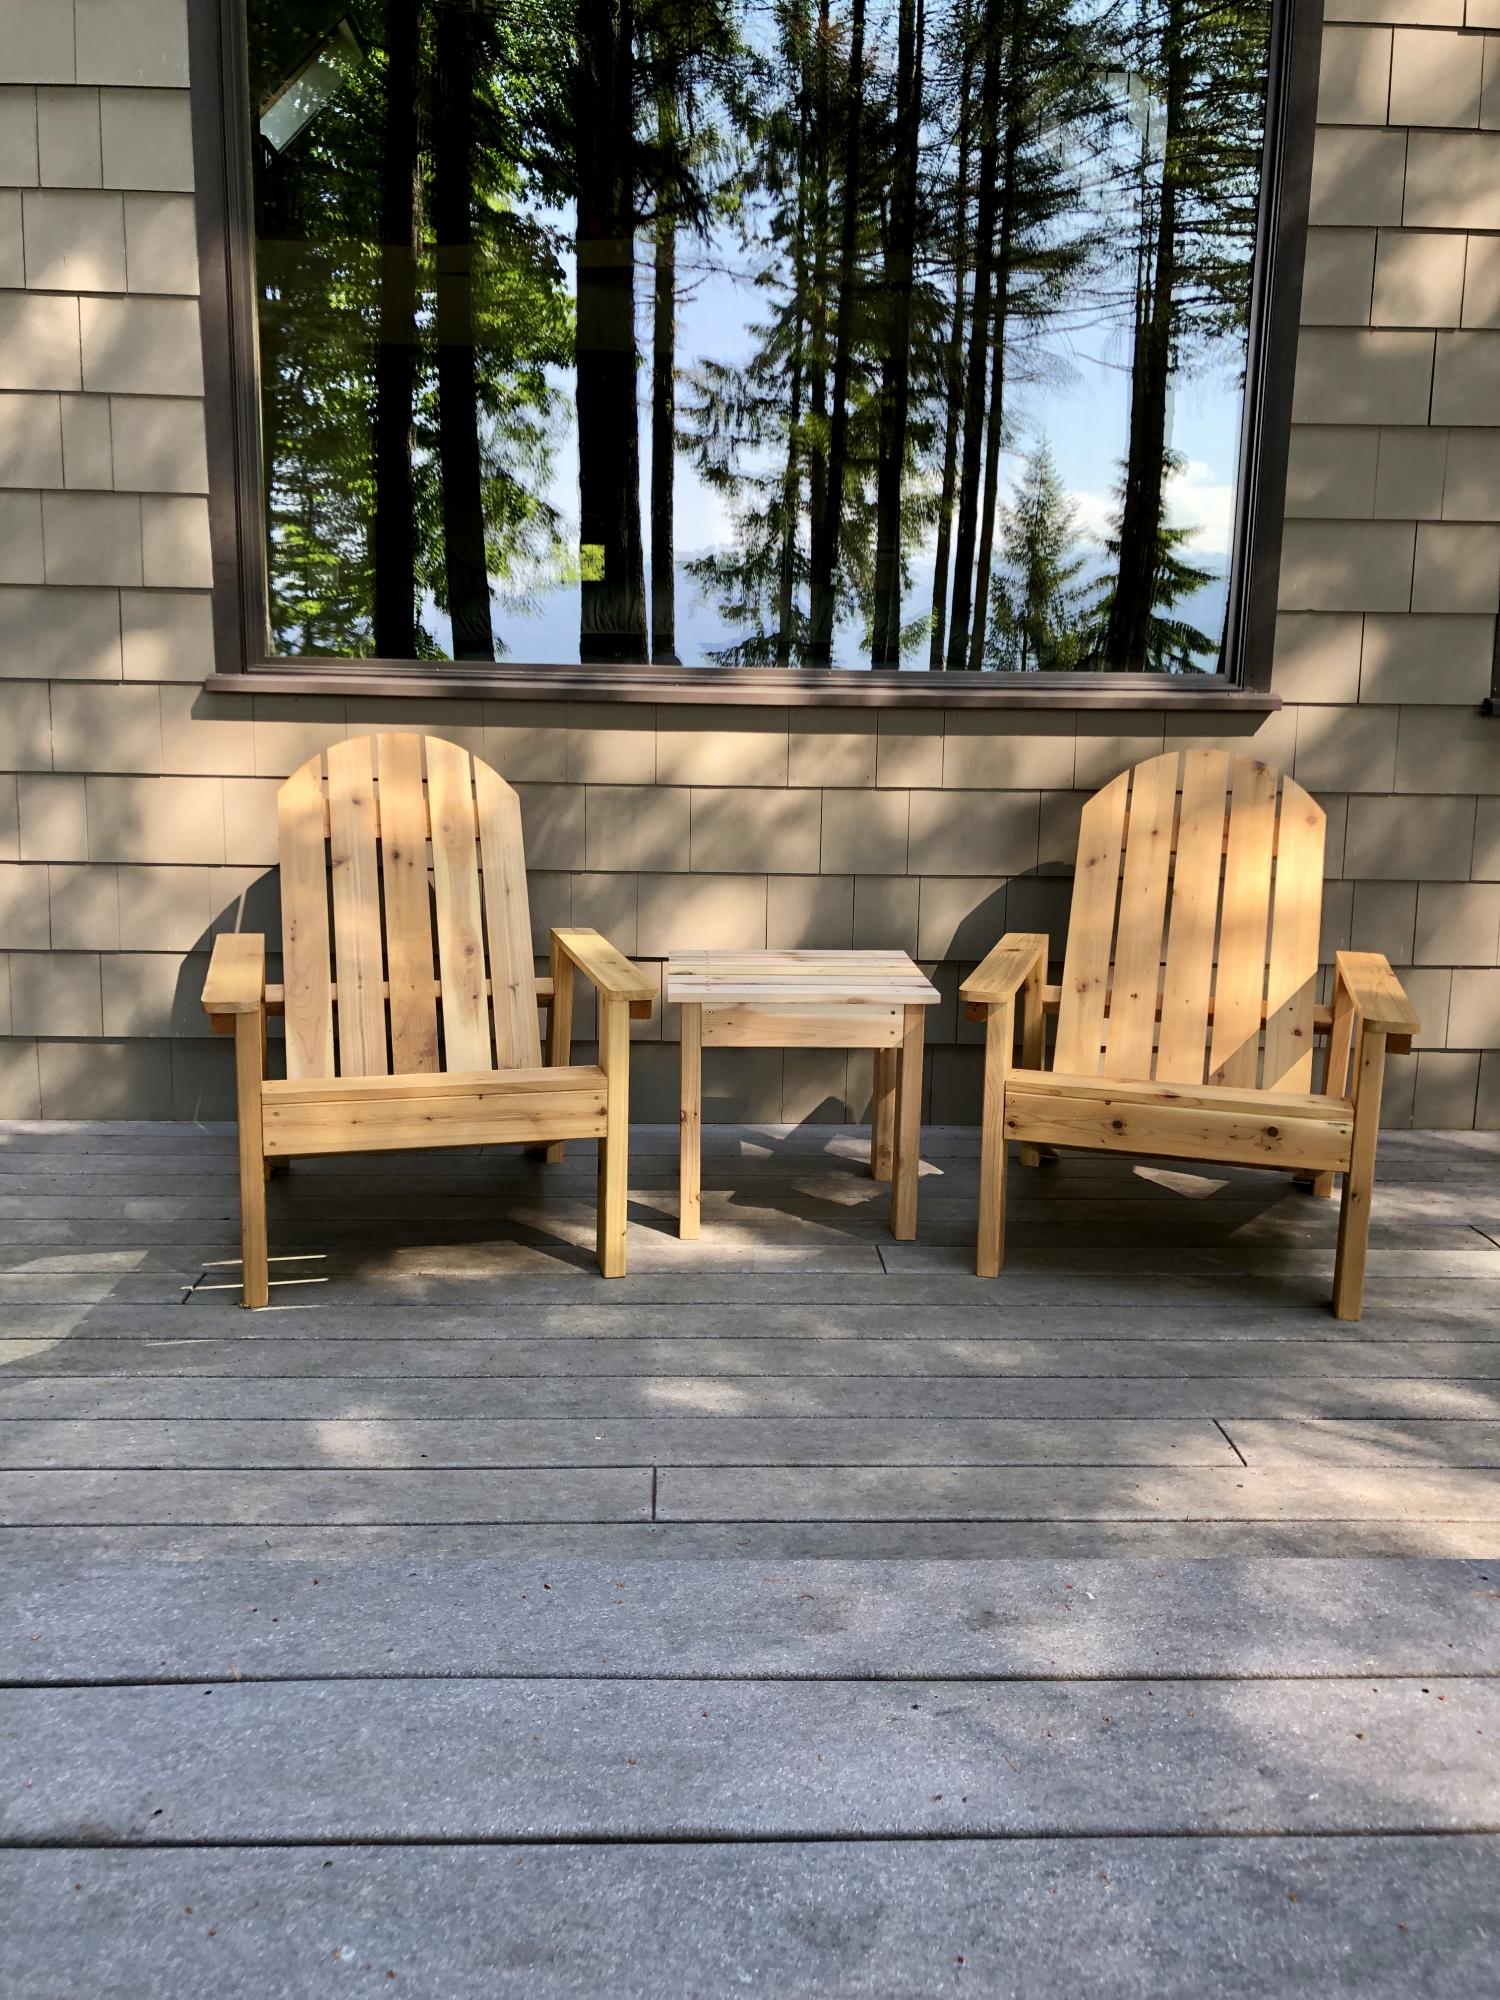
Beautiful chairs by a reader of the site
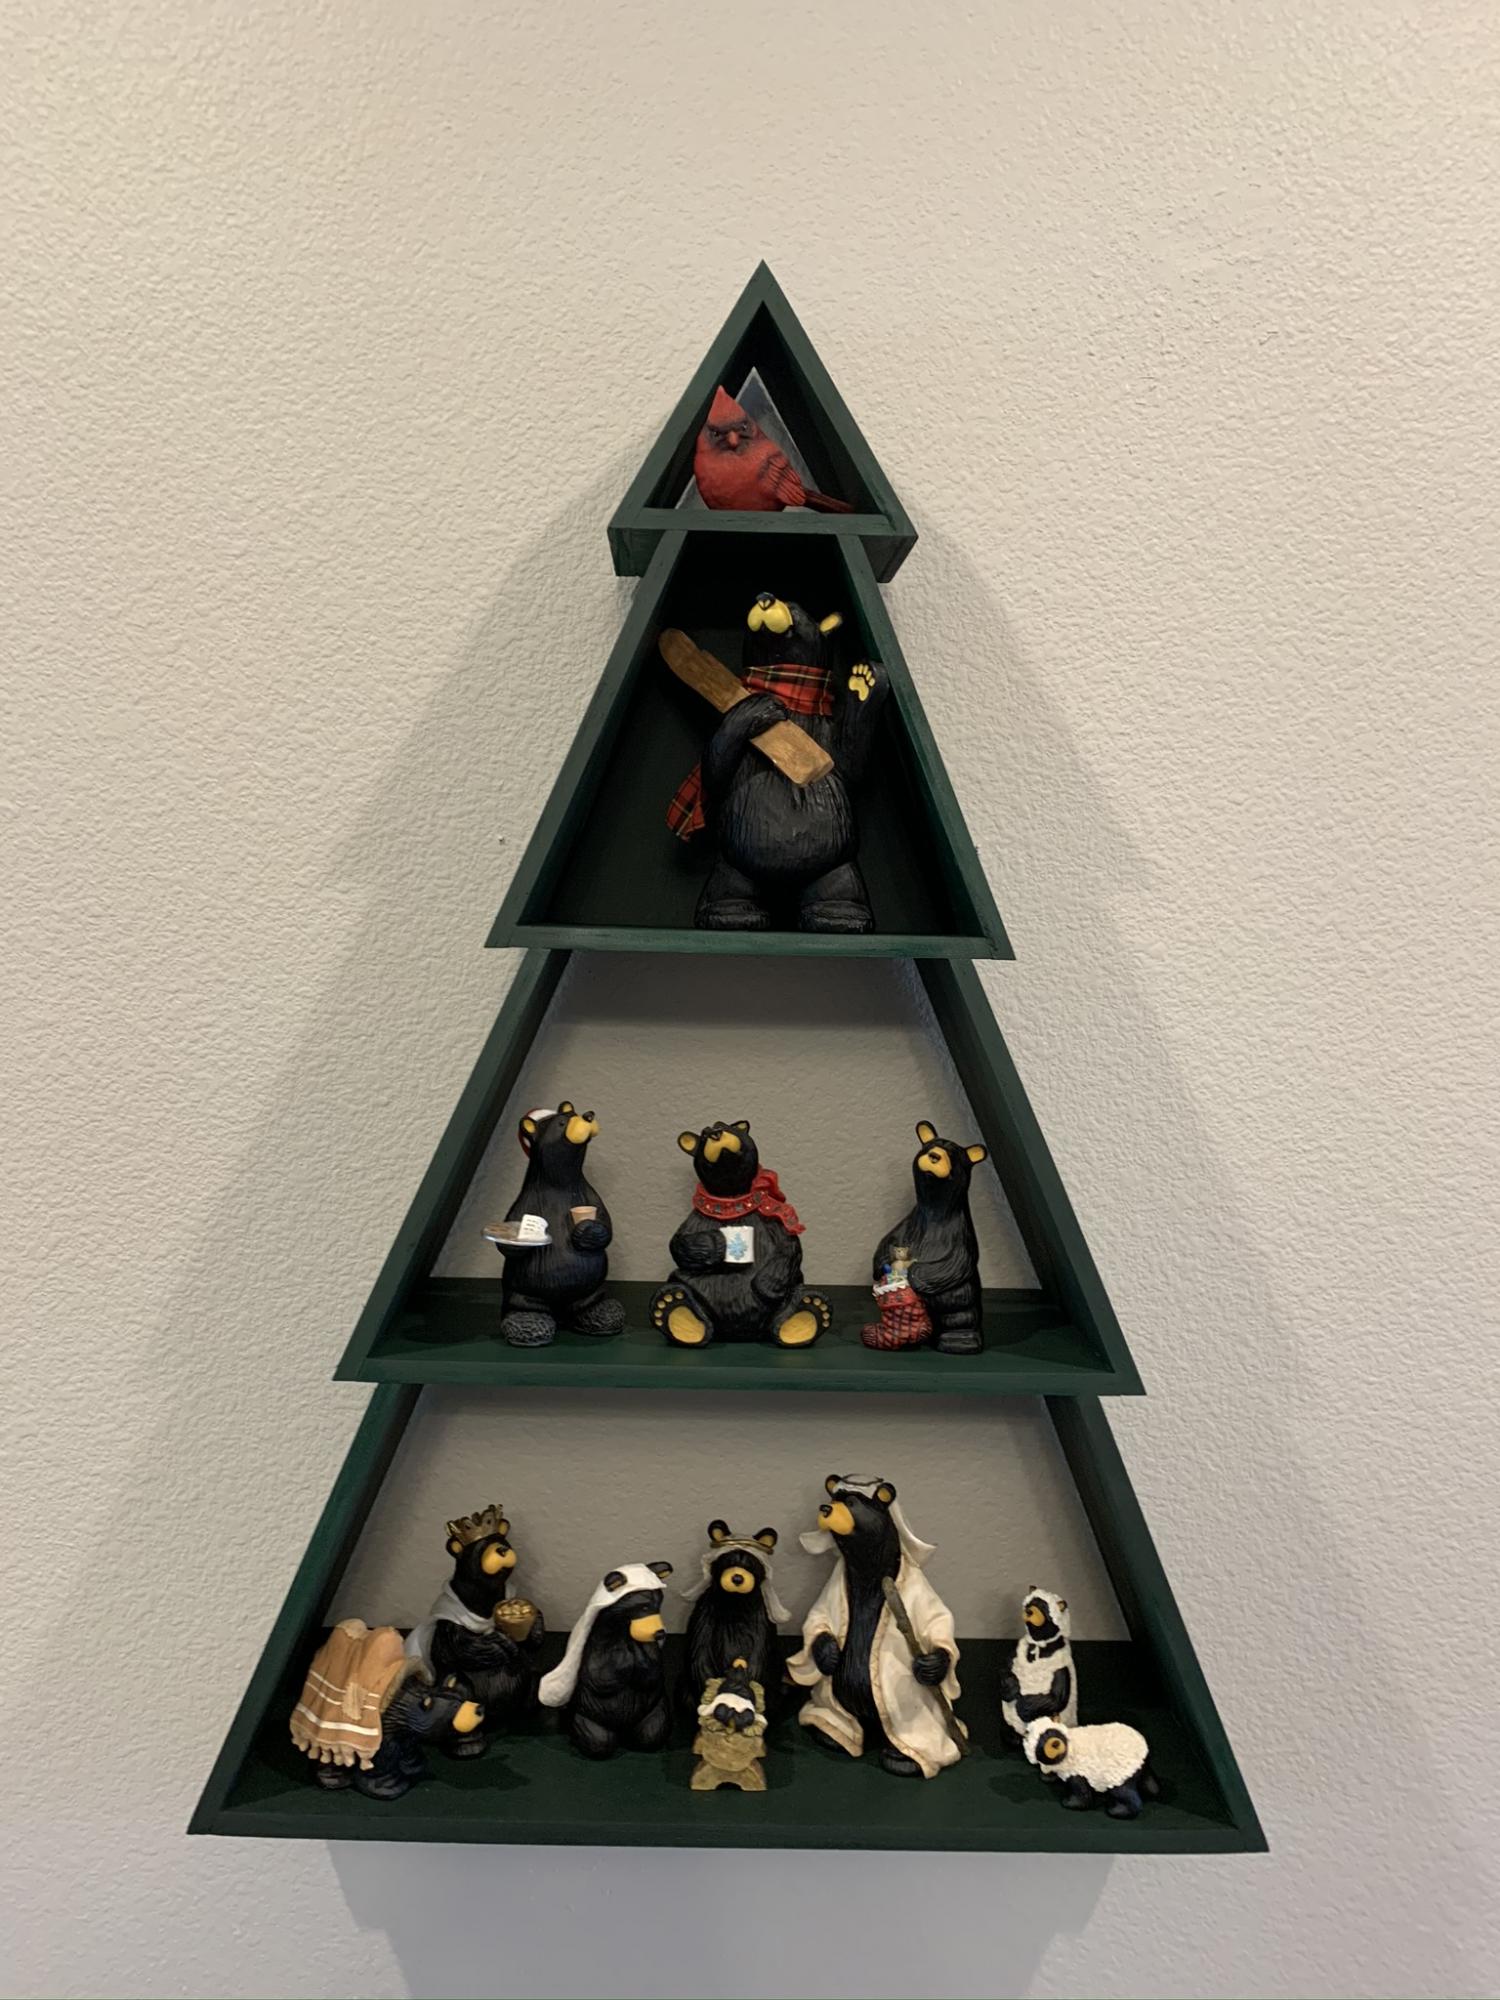
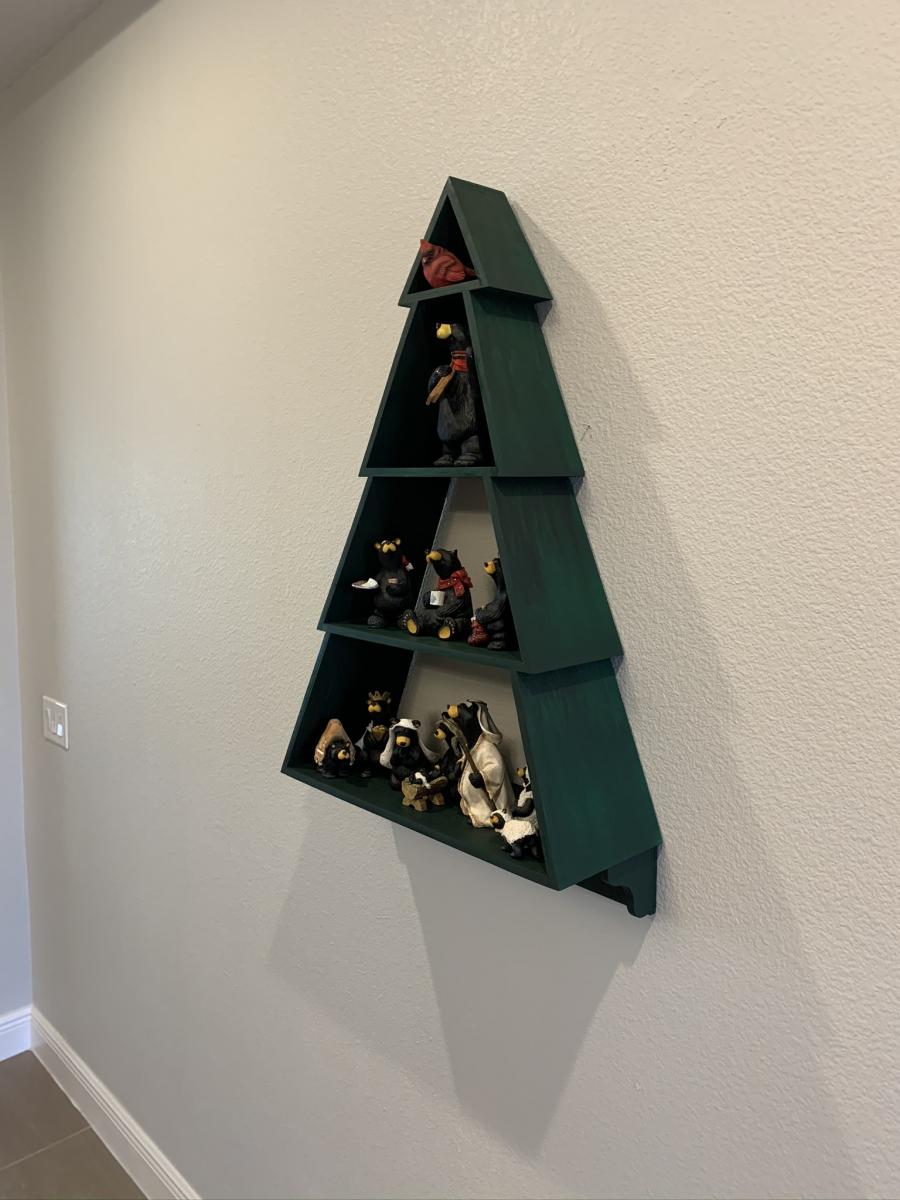
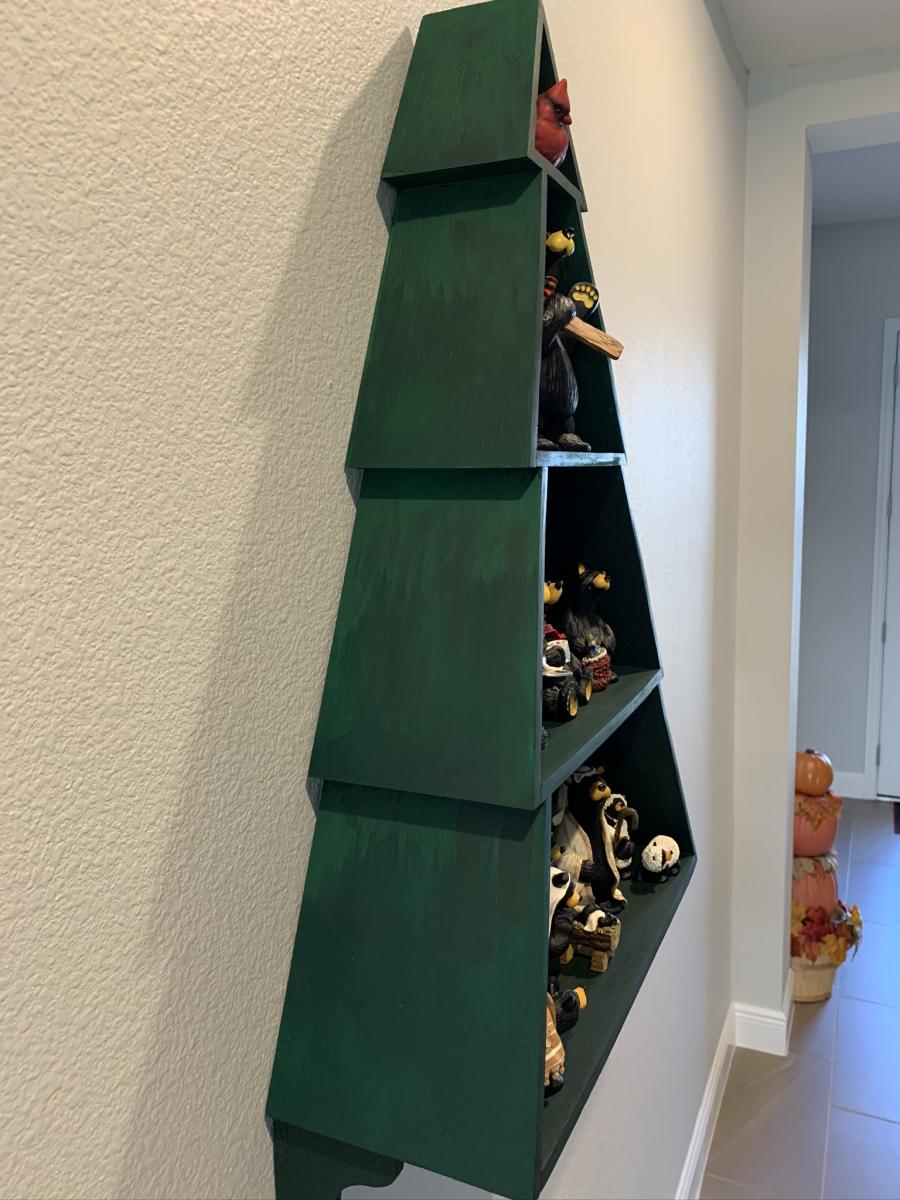
My wife and I loved the original plan, but we needed the shelves to be wider.
So, I adjusted the plan to taper like a tree.
I used plywood and my wife painted it up.
The dimensions changed to 9 inches between shelves.

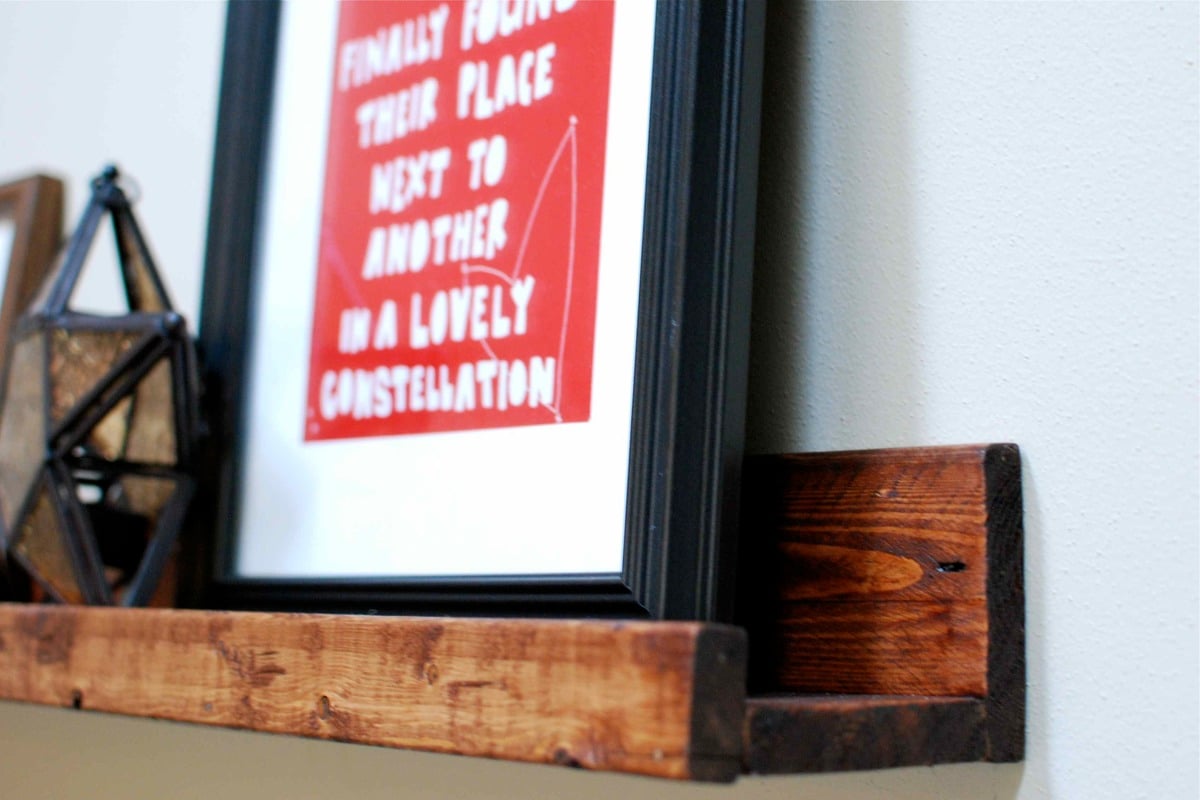
Our take on the 10 dollar ledges. We definitely wanted a rustic look. I love them!

Mon, 10/08/2012 - 00:37
Hello, these are gorgeous! What kind of stain/finish and in what color was used on these shelves? Really love it and would like to know how to make them look liek this.

I just finished my first project with a Kreg Jig, I used the colors from another kennel project that we found on the site because we thought it would go well with our living room. I adjusted the plans to fit our furniture and dogs, so it is shorter and not as deep as the the original plans show.
Thu, 05/31/2012 - 18:35
This is a fabulous idea. We live in a small space and this is a two for one idea. I think we will be making this soon. Thanks so much for the idea. I would have never thought of this on my own.
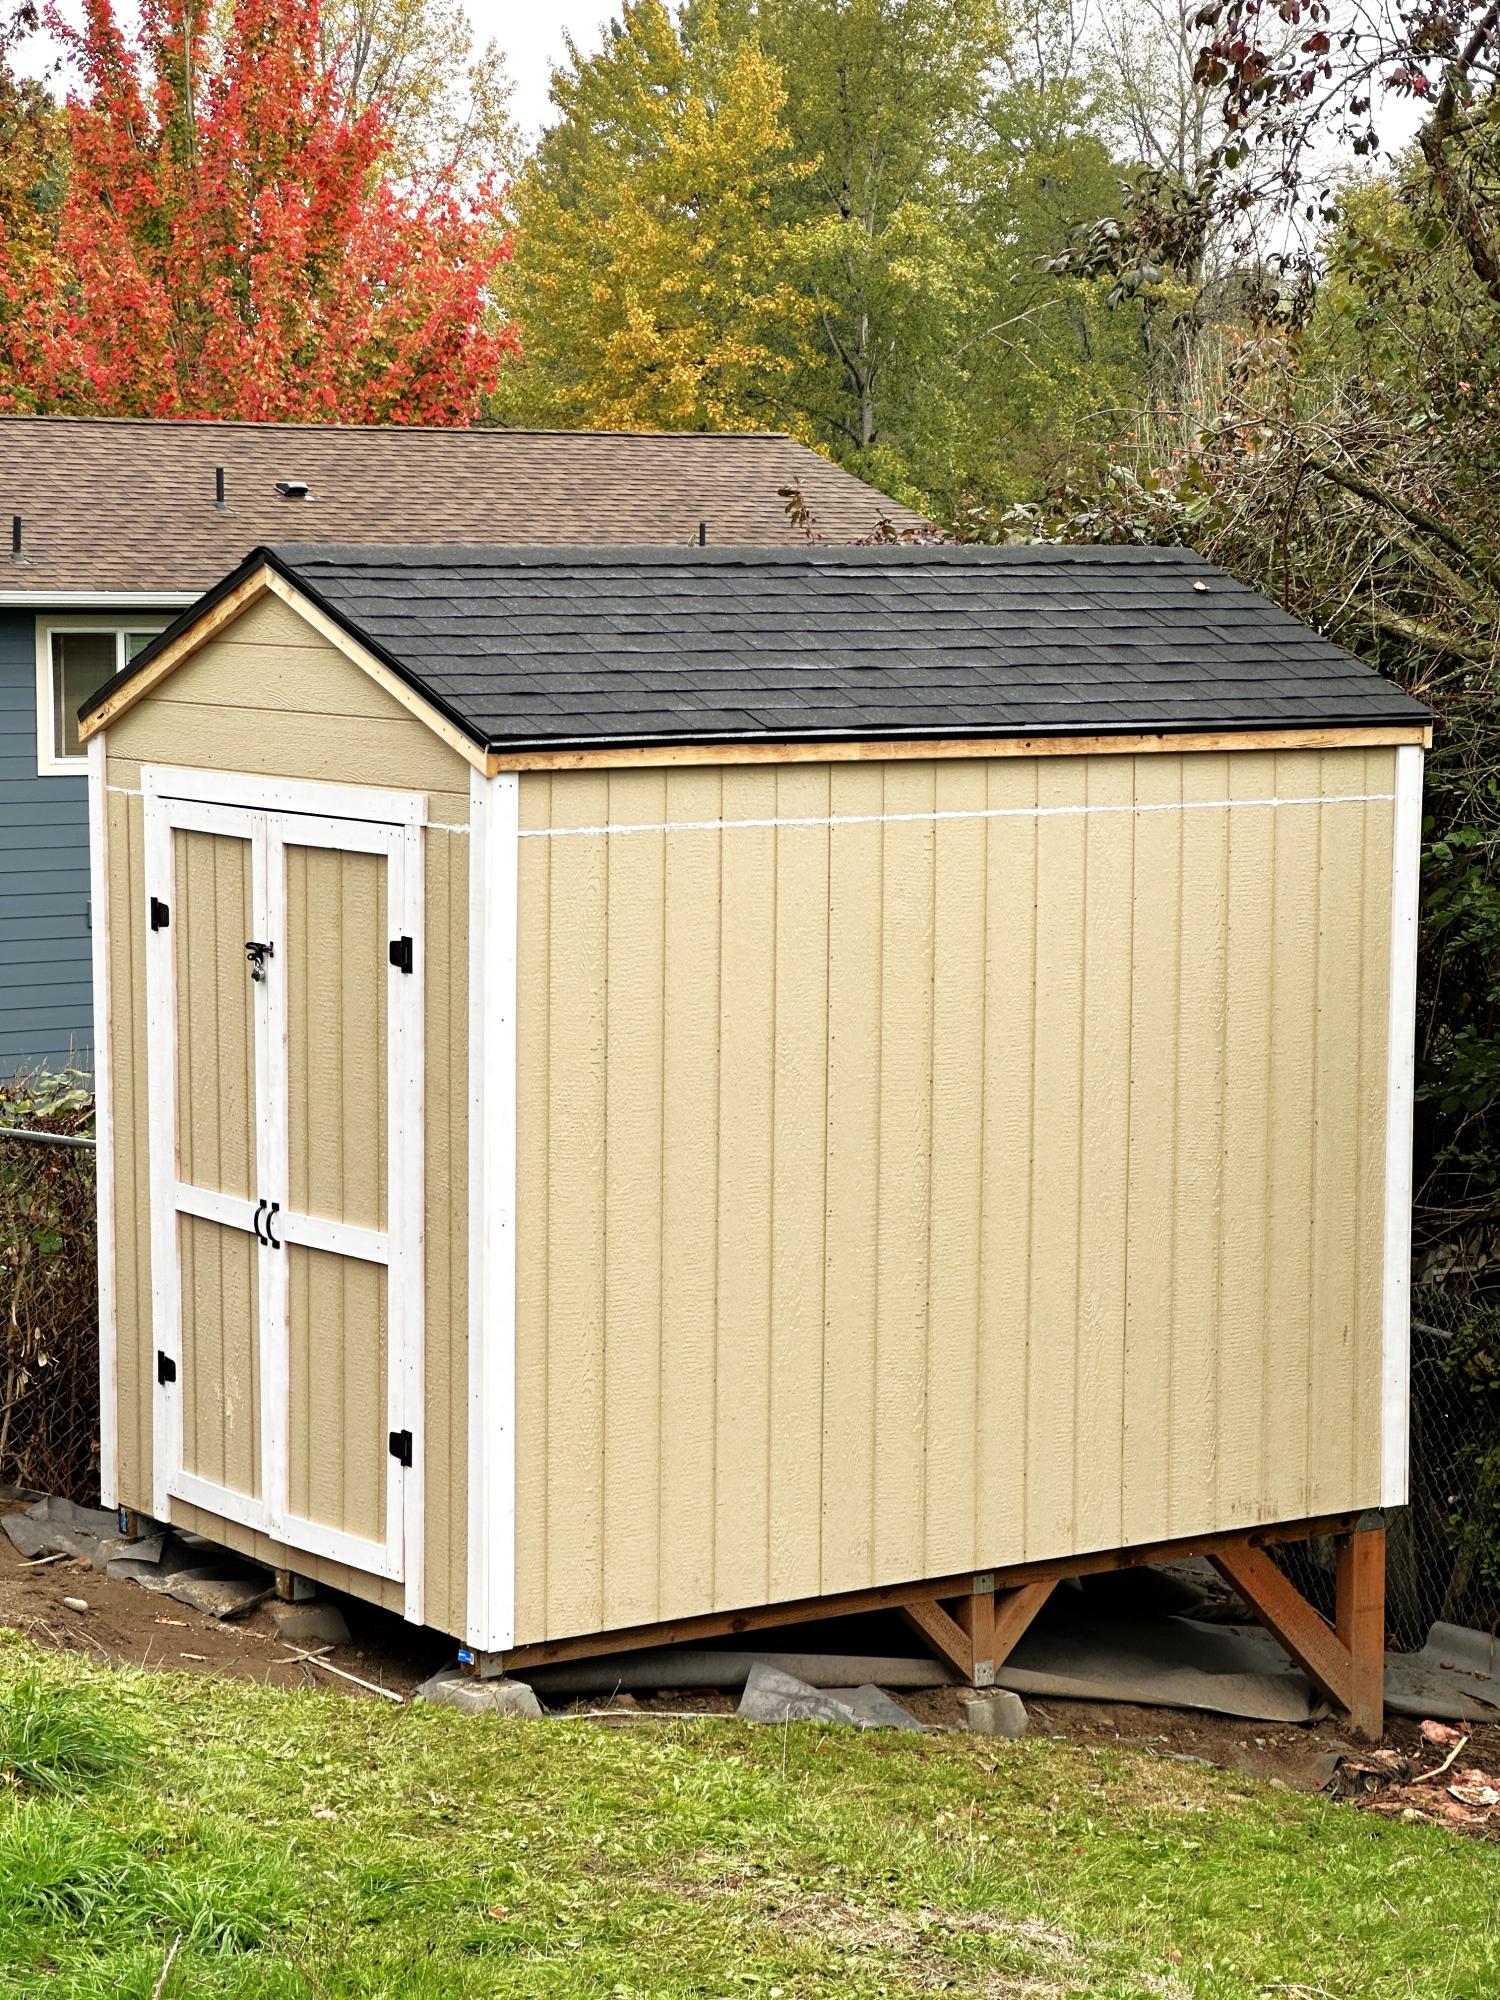
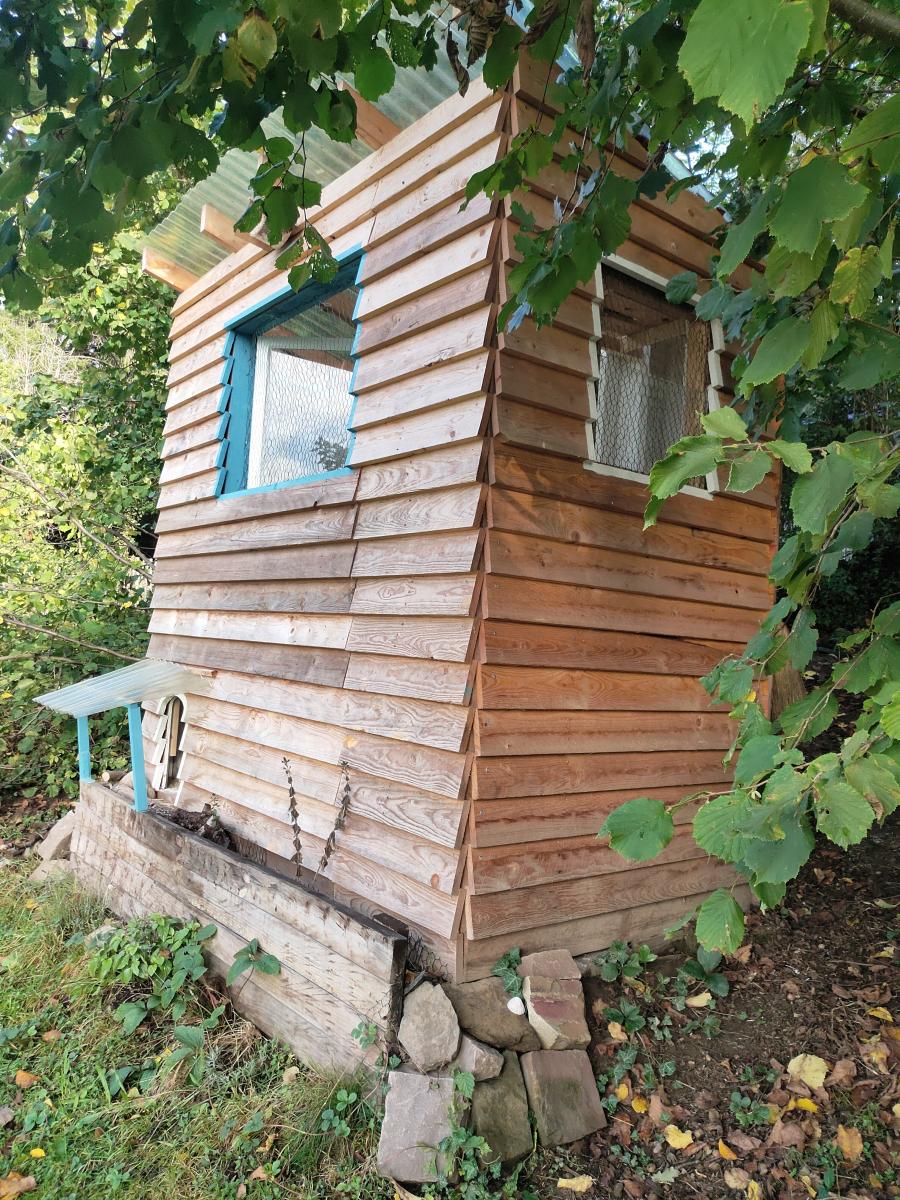
8’ by 12’ shed with extra 15” of height. Thanks for the plans!
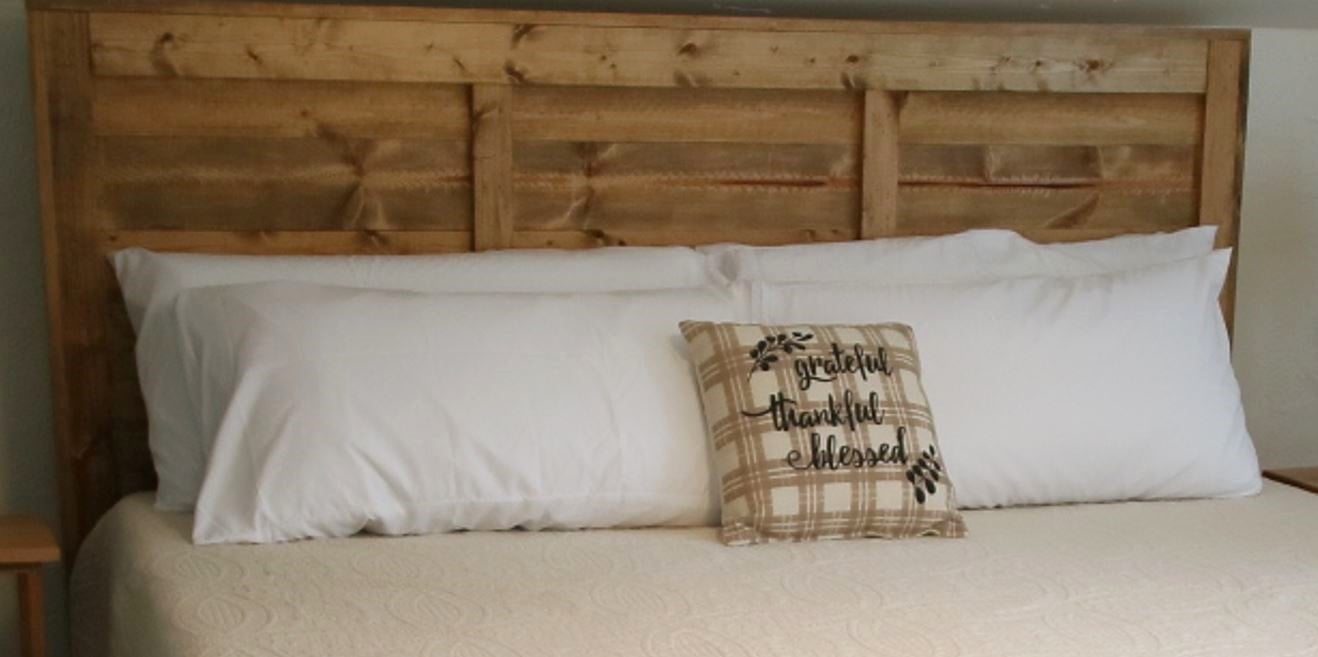
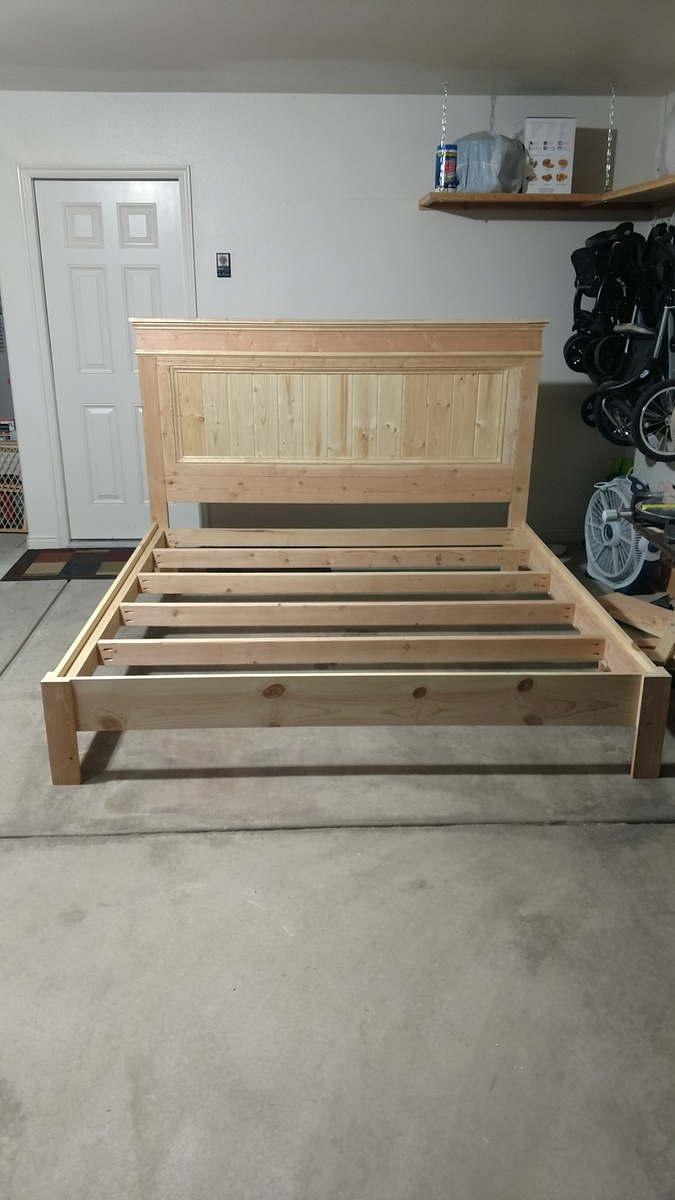
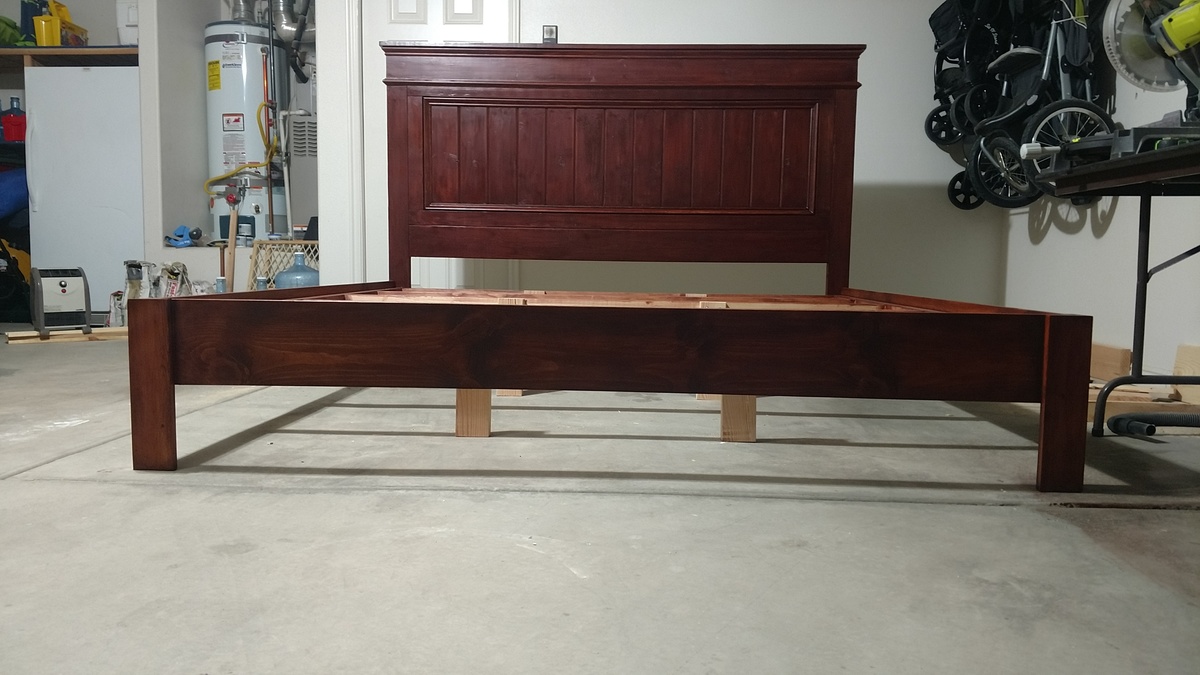
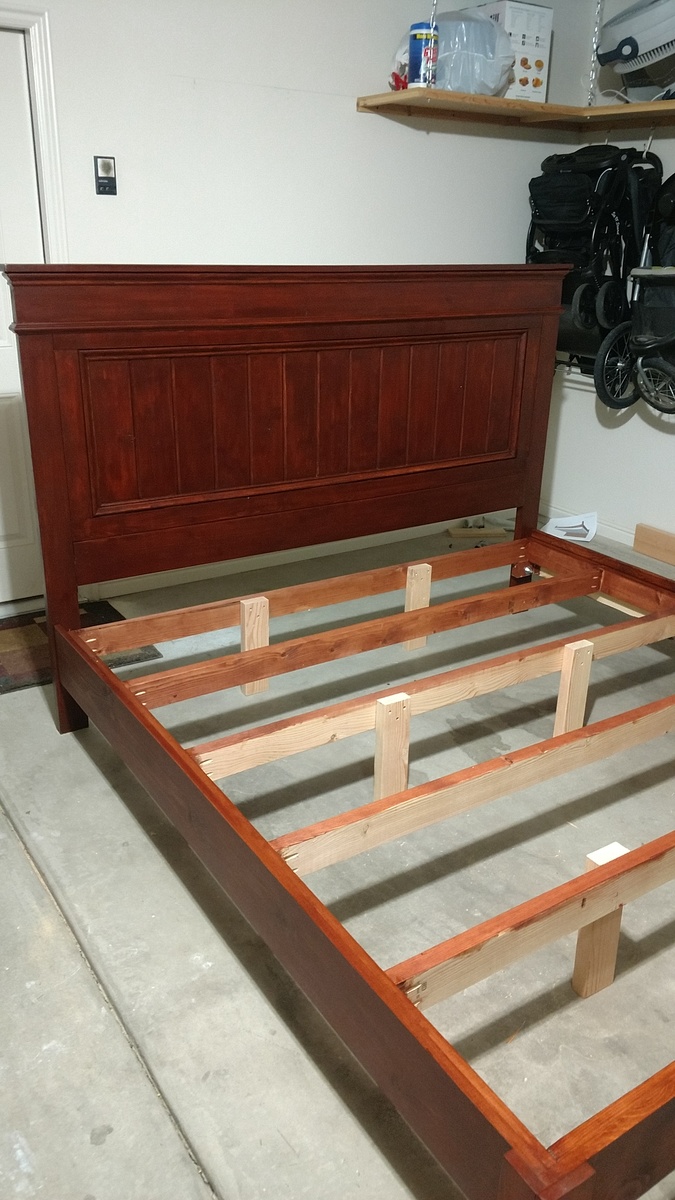
We had to build a king-size headboard in our 2nd floor bedroom, because the stairway clearance was too small to fit a headboard up the stairs. We added a couple vertical stabilizer boards.
airbnb.com/h/cozycornercottage-millersburg
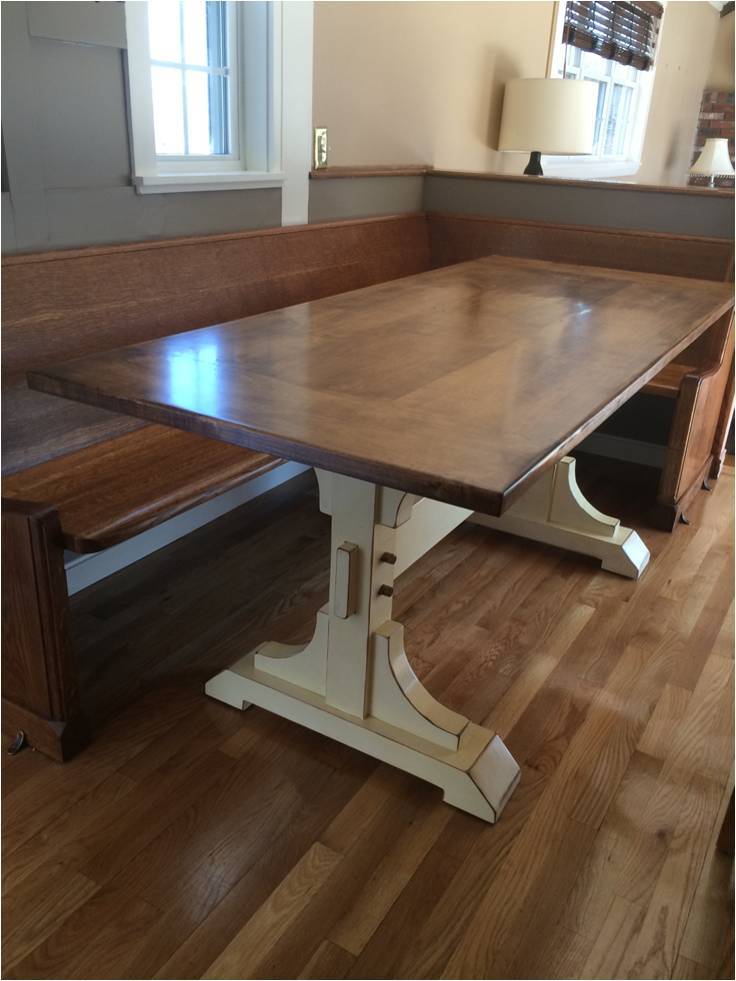
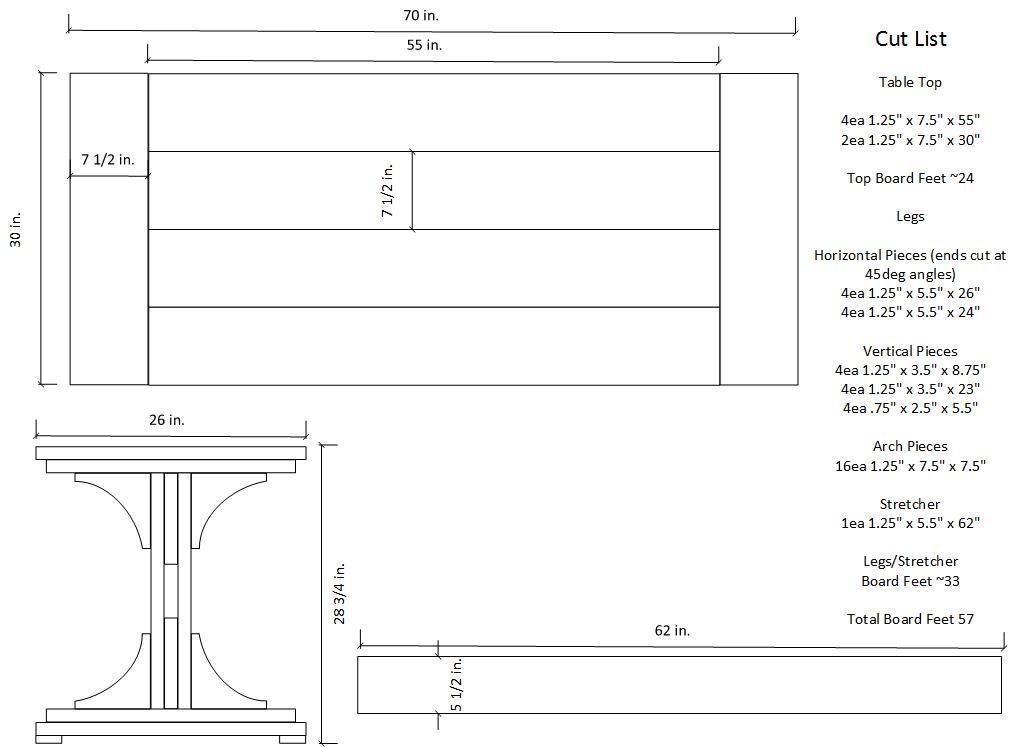
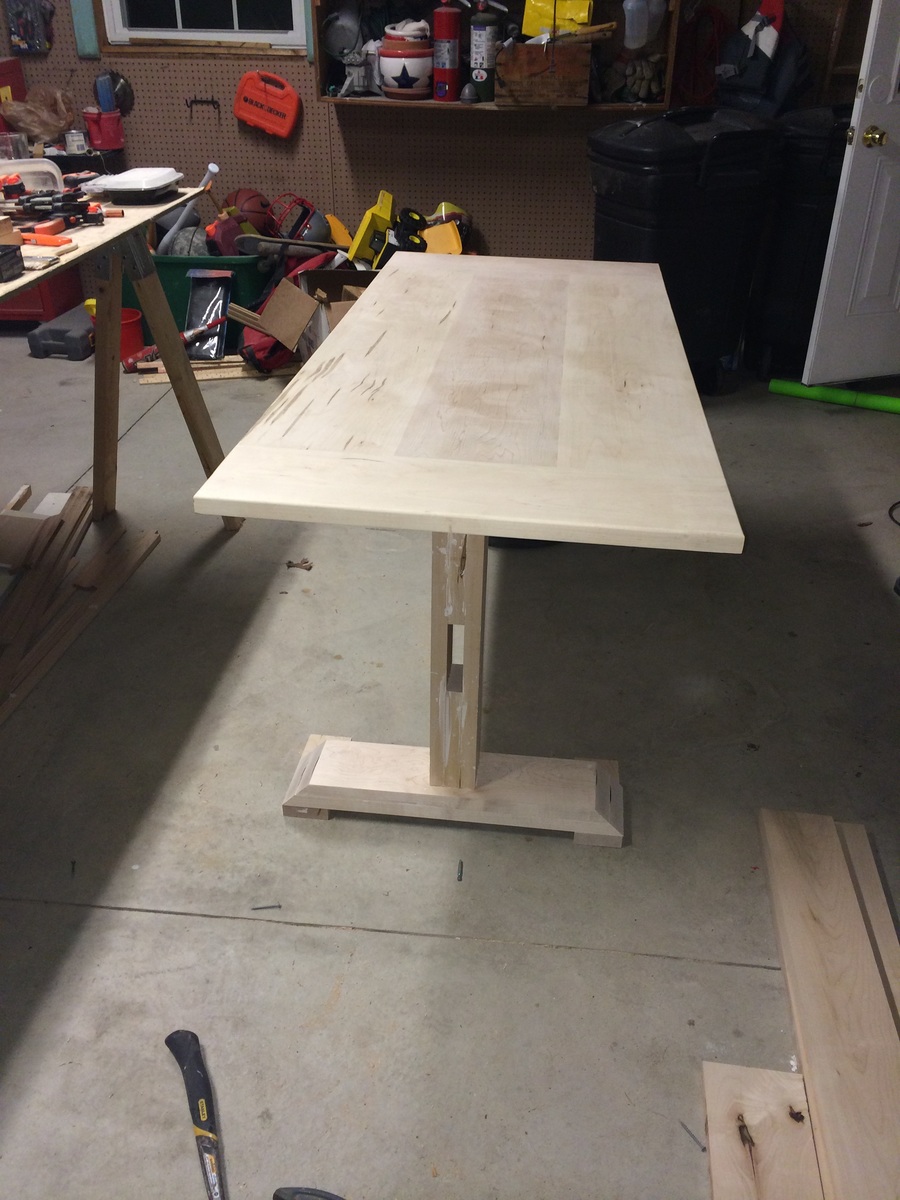
Farmhouse table made from distressed (worm hole) maple.
My neighbor was able to get me the 5/4 distressed maple for about $2/bd ft - I ended up buying 100 board feet and had plenty leftover. The finished board feet for this project was about 60 if I remember correctly. So the $200 was the bulk of the expense. The only other costs were sand paper, I bought a Kreg Jig, screws, Minwax Marker, paint, stain and urethane (much of which I already had).
It came out better than I anticipated. The antique white finish was not difficult at all.
Tip - When following the instructions for the finish here, I applied the first coat of urethane with a brush almost immediately after applying the Minwax marker to all of the sanded edges. I did this in haste, but ended up with some unexpected results that really added a nice touch. The stain from the marker incorporated a bit into the urethane as I brushed it giving it an antique, yellow hue. At first I thought I made a big mistake, but it turned out to add a really nice look.


Mon, 05/19/2014 - 07:29
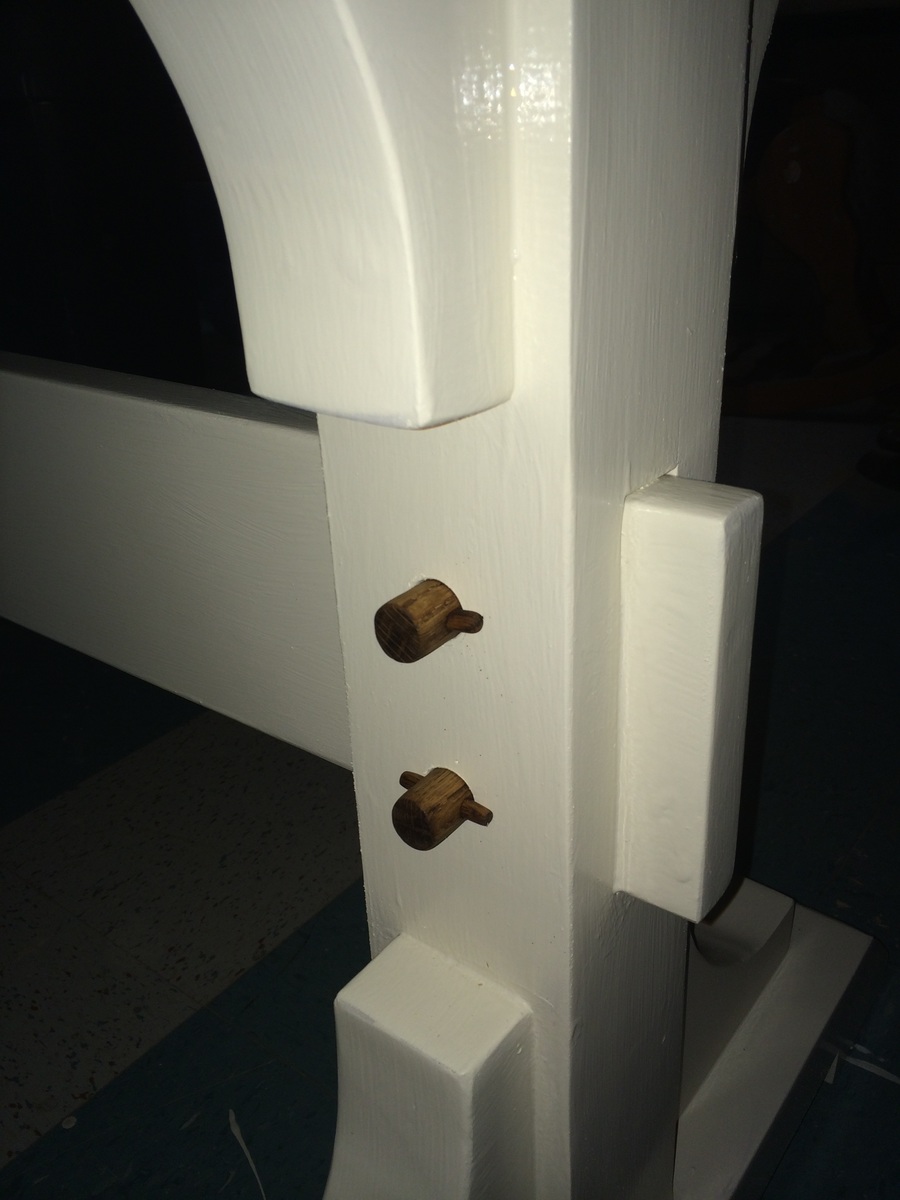
CSaintD - The top can be removed as I did not glue it. I set 3 dowels on top of each of the 2 legs so that the top would always lign up correctly if disassembled and reasembled. The stretcher could be removed, but would probably cause some damage to the finish as it was a tight fight when I finished it. The stretcher would be removed by removing the dowel pegs that I fabricated on each leg.

In reply to Disassembly by g82martin
Mon, 05/19/2014 - 08:21
Thanks. I really like the dowel pegs on the legs/stretcher. Very nice top finishing as well. Did you square the boards to get them to be so smooth when joined?
Mon, 05/19/2014 - 08:26
I cheated a bit on the top. My neighbor who got me the wood works in a furniture reupholsery shop. He planed and joined the boards for me, which saved me a good amount of time. I'm confident I could have done this at home with my table saw, miter saw and hand plane, but what he did in 2 hours probably would have taken me 10.
Fri, 08/05/2016 - 20:35
Love the dowels you added! Planning on building this exact table pretty close to your dimensions and have a very long church pew as well! Trying to decide between L-ing my pew and cutting to straigjy 6'. Do you mind sharing the dimensions of your pew? And how did you miter the pew?
Tue, 01/21/2020 - 09:40
Beautiful table. I love the pegs added to the legs and stretcher, they add a historic detail lost in a lot of today's building techniques


