2x4 Outdoor Sectional Sofa
![](/sites/default/files/1D8B363B-3C91-4427-93CA-FCE1E28CE66B_0.jpeg)
Great Plan! Loved how easy it was to build and how little the cost was.
I did your same couch but made the back lean in the middle parts 15 degrees. Love your website. I'm 3 years sober and to try to sell this on facebook marketplace.
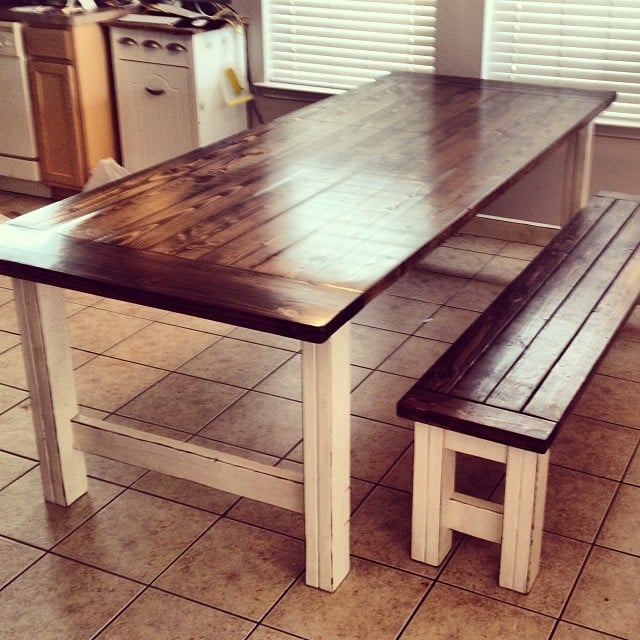
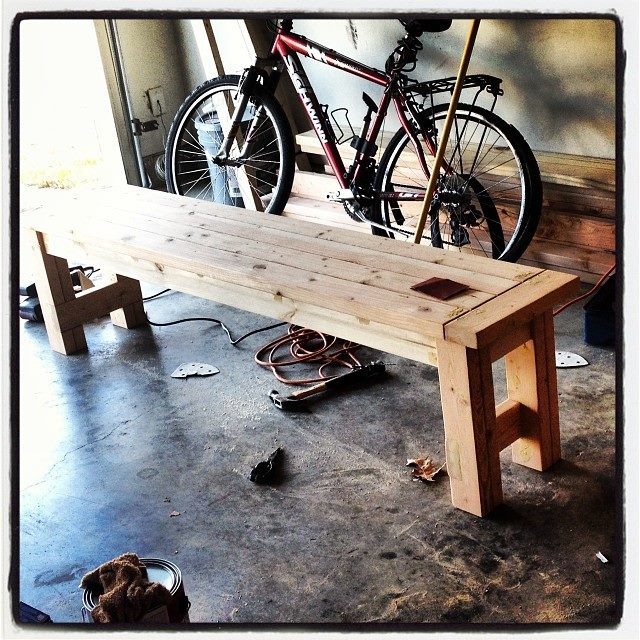
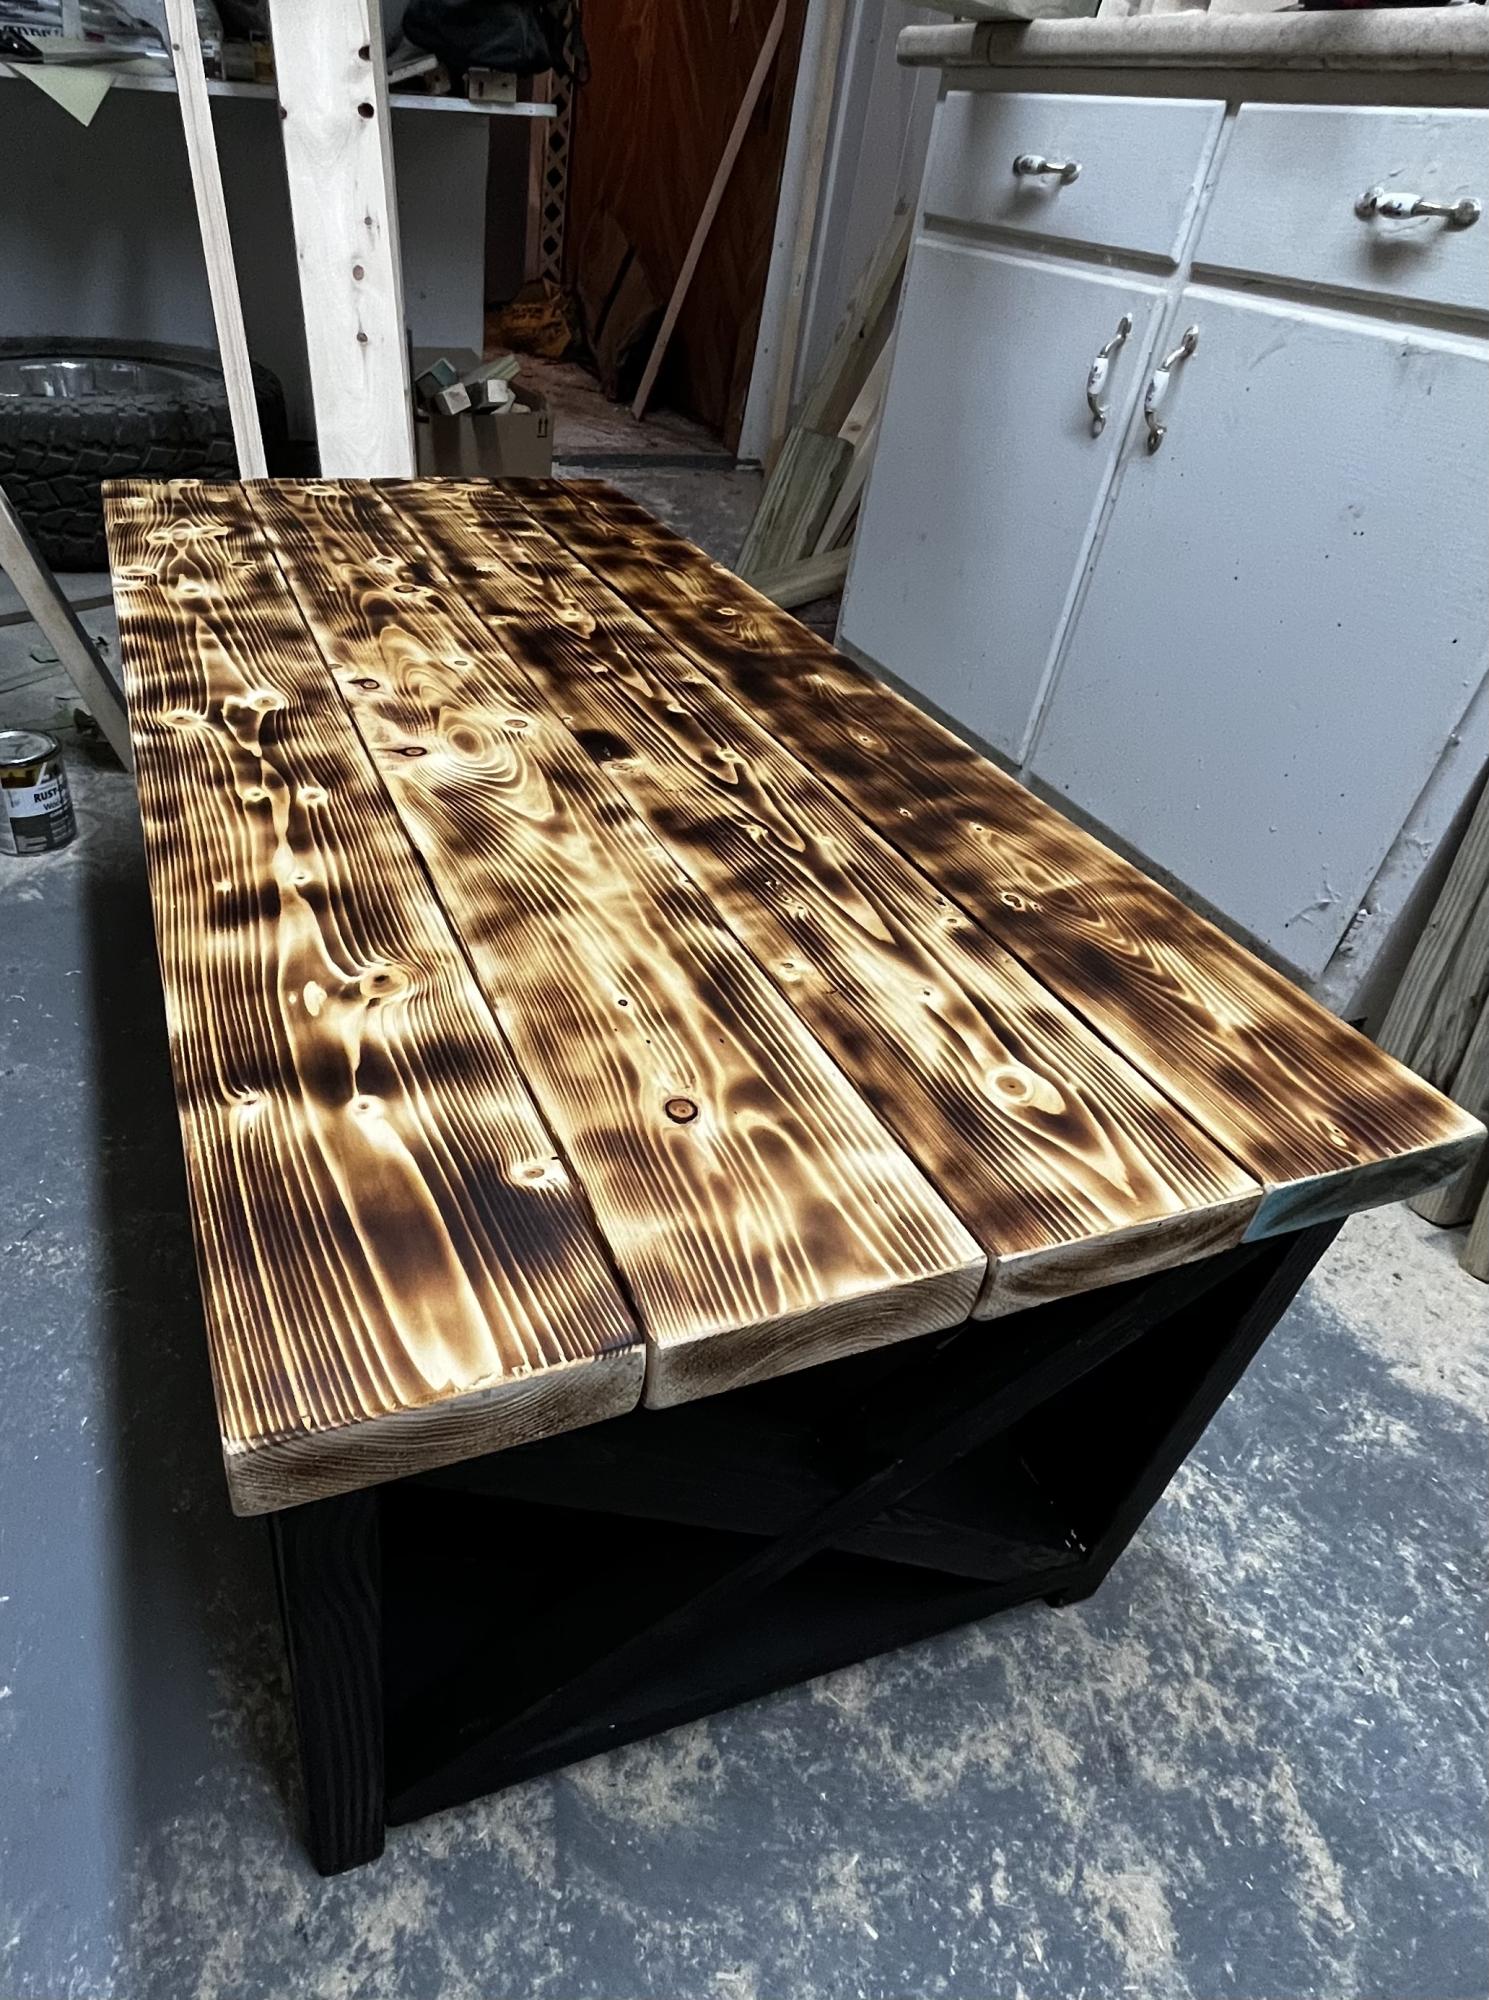
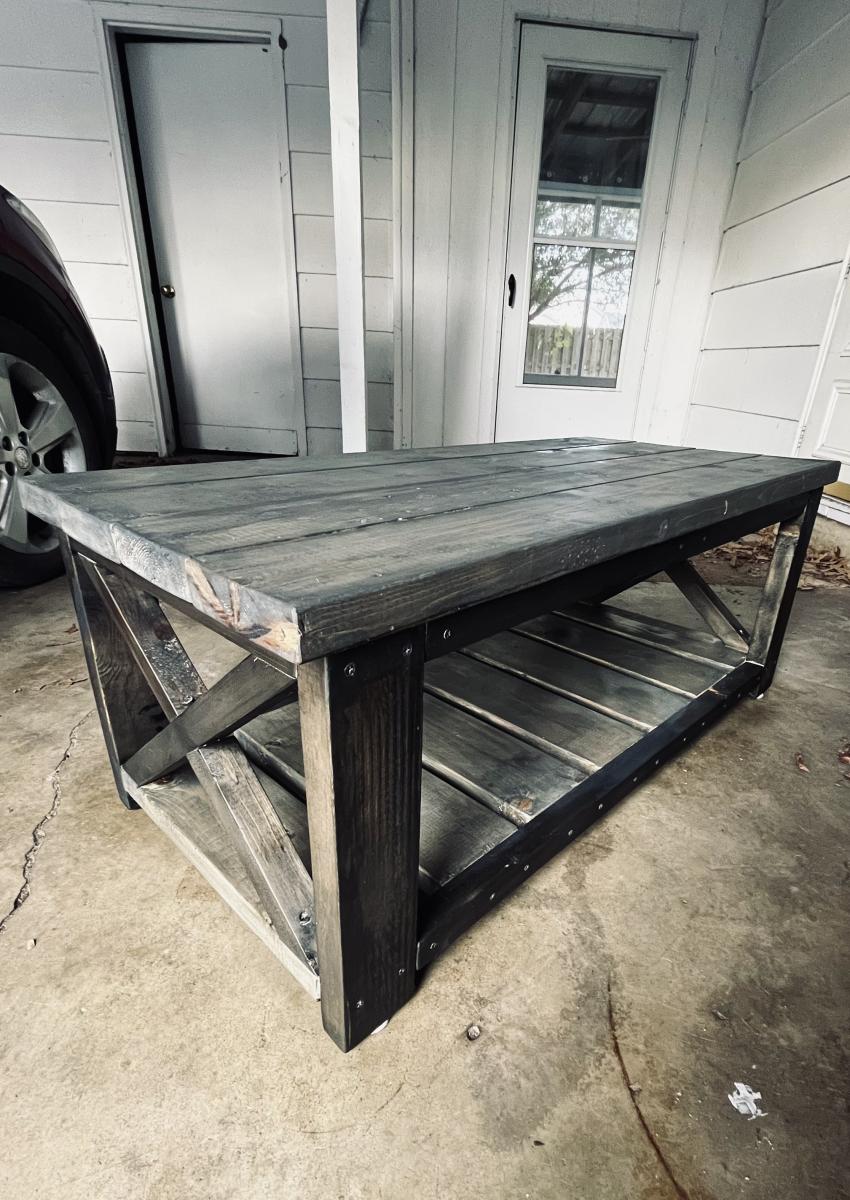
We followed Ana's plans almost exactly. We decided to do without the slower board that ran the length of the table and it is still super sturdy and we love it. When we were finished building, we filled all the cracks in the table top {between boards} with wood filler and then stained the top. I wish I would have filled the cracks on the bench too because there is a LOT of food that gets stuck in the cracks with little ones. I also wish I had done a self-leveling resin on the top right away too because when we moved the table, it did crack some of the wood filler that was in-between boards. It is still much better than having cracks that food can get stuck in, but I will for sure be doing the resin in the near future to make it more of a solid surface and make it so the soft wood can't have writing marks in it from my kindergartener.
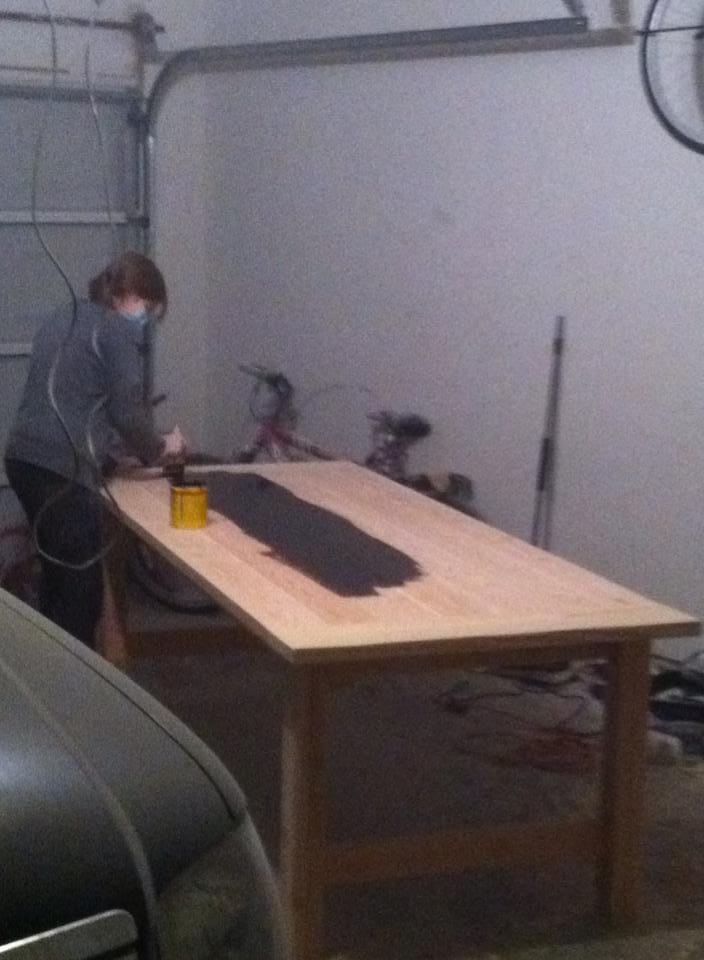
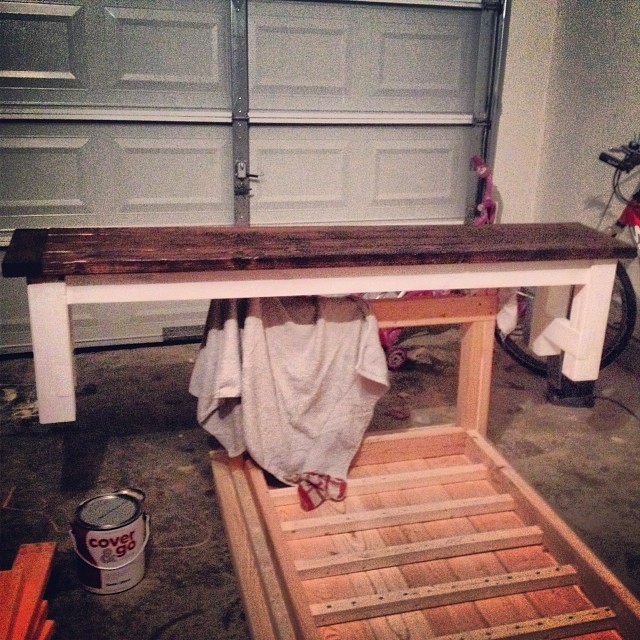
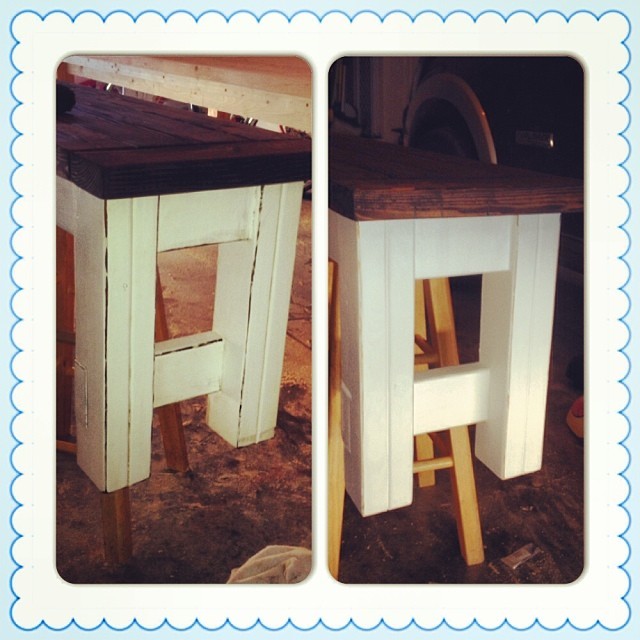
We painted the legs to make it two toned. Once I had 3 coats of white paint on it, I sanded the edges and then rubbed the whole surface down with the same stain that we used on the top. This made the edges that we sanded stand out but also made the white paint not so white. It is exactly how I wanted it to look. It came together so perfect
We put 4 coats of clear coat on it too and its shiny and beautiful. This was the first big project that my hubby and I built and I am quite impressed with how well it turned out. The finishing is what took the longest. We had the table built in a day or two but it took me all week to get it painted and clear coated.
With all the wood, paint, stain and clear coat this cost us about $225 for both the table and bench.
When I told my husband we were going to make patio chairs instead of buy them - he thought I was crazy!
I started looking for chairs during the tail end of the pandemic’s stay-at-home order, but after looking for something that was a nice quality yet reasonably priced, we soon realized the options just weren’t there. In my 20’s, I had made a dining room table when I could really afford anything nice! Man I loved that table! So I decided to google DIY patio chairs and found your site! OH. MY. GOODNESS. I want to make all the things. In addition to these beauties, we’ve also made counter height garden boxes, and are getting ready to start on the Farmhouse Potting Bench. Your videos are great - and make everything look incredibly easy. I stained and polyurethanes before assembly, but in hindsight might have opted to wait until the end! All accessories, including cushions are from at home. Make these chairs! You will love them!!
I have used your plan, to build several of the 2x4 Adirondack chairs, made a few modifications here and there but basically the same frame.
Grill station
My wife needed a bigger desk for her home office so built one. I used the modular office desk designs. I had to modify it, my wife wanted the 90 degree cut in where the two desk to meet. I built two open shelves and fastened then together and built one narrow shelf with drawers. Built mostly out of MDF with the top being melamine. Waiting on the edge banding to ship. Also, installed some rope lighting for indirect light.
Great plans allow for versatility and easy customization. Put the whole thing together in a day w/ one other person. My set up is 16' long - 5' on the side shelves and 6' for the workbench. Added a pegboard and fluorescent light under the top middle shelves. I'm also designing a slim drawer to go under the workbencheck area. Thanks a bunch!
My husband and I built this table as our first project. We followed all of the dimensions from Ana's "Small Sewing Table" project here: http://ana-white.com/2010/10/plans/sewing-table-small-spaces?page=1 The only thing we changed was the size of the table top and the legs. We were worried about putting my heavy sewing machine on top of the leaf called for in the plan, so we created gate legs to support the leaves. Since the legs were going to be folded up in between the base and each leaf, we extended the center portion of the table top to accommodate the change. After it was assembled and stained, I decided that I didn't like the solid color, so I stenciled on a pattern with white latex enamel paint (what I had on hand) and continued to paint the base. After lightly scuffing it up with the sander, I layered 3 coats of poly on top. It has held up well, even after many large quilt projects! I just LOVE my sewing table!
Fri, 08/05/2016 - 13:41
Hi there. Could you please tell me what the brackets are you used with the gateleg? Do you remember where you got them? Thank you!!!
Fri, 05/26/2023 - 16:59
Hello I was wanting to know how to make the Gate-Legs for this project? Like the measurements and such. Thank you.
Sun, 05/12/2024 - 08:40
How heavy of sewing machine can this hold? My machine is 32 lbs. Would it be able to sit and be used on the “leaf” side of the table ?
I have built some other stuff before, but not with paint and sanding and such. It was definitely a great learning project. There are imperfections, but it's a toy, so kids will be having fun and that is all that matters.
Mon, 02/07/2022 - 20:12
Did you attach the landscape fabric to the bottom of the side boards? Looks great.
Gave the plans to my father-in-law who built it for our daughter. Turned out great with no real issues with the plans! I love having the lid/seats built into the design.
Thu, 05/09/2013 - 13:06
I love seeing all the toys in there. There's no denyin' that's gettin' some good use!
Project was super easy to build, and fits a TON of books and toys. Perfect for our nursery. Stained in Minwax Classic Grey with a satin poly finish.
My daughter loves her new bed! The plans were easy to follow and didn't take very long to build. It took me about 2 weeks to finish. I suggest measuring your mattress first and adjusting dimensions accordingly. My daughter's mattress is a bit longer than usual, so I added about an inch to the length. I added drawers to one side and left one side as open cubbies. I also added a 2x4 base below the storage boxes for support. Ana has plans for this in one of her kitchen cabinet plans. I'm so glad I did, as I've already found 3 kids hiding on the cubby side, and one of them is 14! I didn't run the 2x4 base all the way to the head/footboard, so it wouldn't show. This changes the height where the storage boxes attach by 1/2 an inch. The bed may suprise you at how high the mattress sits, but I think that is normal with a storage bed. My daughter loves sleeping up high. Thank you so much for this wonderful plan! I love Ana's website and have learned so much!
This sandbox has been around for some time BUT it is still a great project to build The plans were simple to follow and would be an excellent project for beginners. We built this for our grandson and future grandbaby. Was easy to complete in one day, including painting
Sat, 07/11/2015 - 20:31
It makes me happy, every time I see someone build this sand box. LOVE the color you chose! Great job!
We built these before we saw these plans, but they are pretty much the same... We added the chicken wire to keep the rabbits (and our dog) out of the garden. We added the owl to keep the birds out. We've gotten a ton of tomatoes, onions, and bell peppers so far. Next year, we'll add a few more beds. We also added the verticle garden to take up less space, but its not deep enough. We'll make the next one deeper.
Sun, 07/10/2011 - 14:19
Love the vertical garden! What a wonderful idea! Did you line the boxes with plastic??
Thu, 11/17/2011 - 07:59
We ended up getting a ton of tomoatoes and green peppers from the garden boxes. We've actually built a couple more. We'll probably double again before next spring. We're looking at adding more veggies.
We now have ton of stuff planted for the fall...
Tue, 04/03/2012 - 06:19
i love the vertical boxes. I am just trying my hand at the world with a green thumb and could use as much advice as possible about how to make as well as to line the boxes or not to line them. All advice appreciated!
Fri, 11/23/2012 - 21:53
Hi, my name is berman. I found you pin from my pinterest and your box garden is so great. I am a newbie in this field and so interested to build garden in my house. If i can ask you some question, could you please to answer that?
cheers,
berman
Tue, 03/10/2015 - 21:19
Hello! Do you mind sharing the Vertical Box Instructions? I absolutely love this idea!
Sun, 05/31/2015 - 21:00
Came across this beautiful design while searching for my next diy garden idea. Wondering if there are blueprints available
Working a full time job, I was still able to finish each table within a week (taking a couple hours a day to cut, build, sand, burn, stain, ect). These are my second and third tables that I’ve ever built and looking forward to making more.
After building my workbench and some shelves to organize my makeshift wood shop, I went online to find practical first projects. Stumbled upon the Ana White site and really liked the simplicity of the pieces and the thoroughness of the plans (cut list, pictures, etc). Had the wood dimensioned at a local lumber yard and started building. Upon completing the first bench - sealed with a tinted Thompson’s water seal - found a local upholster to make the cushions. Now to find a place to put them that the wife approves. Build already approved by the pup (see last photo).
I love this project. My dogs Goldie and Chloe love their new house. They are sisters who just have to sleep with each other. They had their own metal crates but when Chloe was a puppy she would always go in with Goldie and they would snuggle. It was a tight fit for them as Chloe got older but they still had to snuggle. Now they are in heaven with their new bedding and house.
Thu, 02/09/2012 - 09:42
This is beautiful! Trying to convince my husband that we should do this so I can get that grey plastic dog crate out of our living room. Maybe this will show him how much better it would be to build one.
In reply to Plans by Guest (not verified)
Wed, 02/22/2012 - 16:34
Click above where it says "From plans" - that is a link.
Thu, 07/03/2014 - 12:43
Your post inspired me to pursue this project with some left over walnut and it turned out great! I think my post is on page 10 if you're curious. Thanks.
Thu, 07/31/2014 - 03:41
I'm going to try to make mine larger as my fur baby is Grt Dane/Lab mix & needs a bit more room. My idea is to put it at end of my king size bed like you would a cedar chest/hope chest. Wish me luck!
This was the second piece of furniture that my husband and I ever made. We had built a coffee table that had a lift up top so that we could eat dinner on the couch and store all of our board games. Once we tackled that, I thought we could conquer the world (even though the table was pretty basic). So when my now-husband was about to move into his first apartment without a roommate and I saw it as an opportunity to decorate my own place (even though I wasn’t living there). Luckily,he agreed it was time to get rid of his tiny Ikea TV stand that was probably 2ft off the ground and not a great height for a TV, and agreed to build this awesome TV console with me. To this day, it’s still my favorite piece of furniture in our house.
Sat, 11/09/2019 - 14:12
Love this, needing one in my front entry way. How long did it take?
Outdoor couch is a delight.
Damian
Comments
caradavis
Tue, 07/28/2020 - 09:52
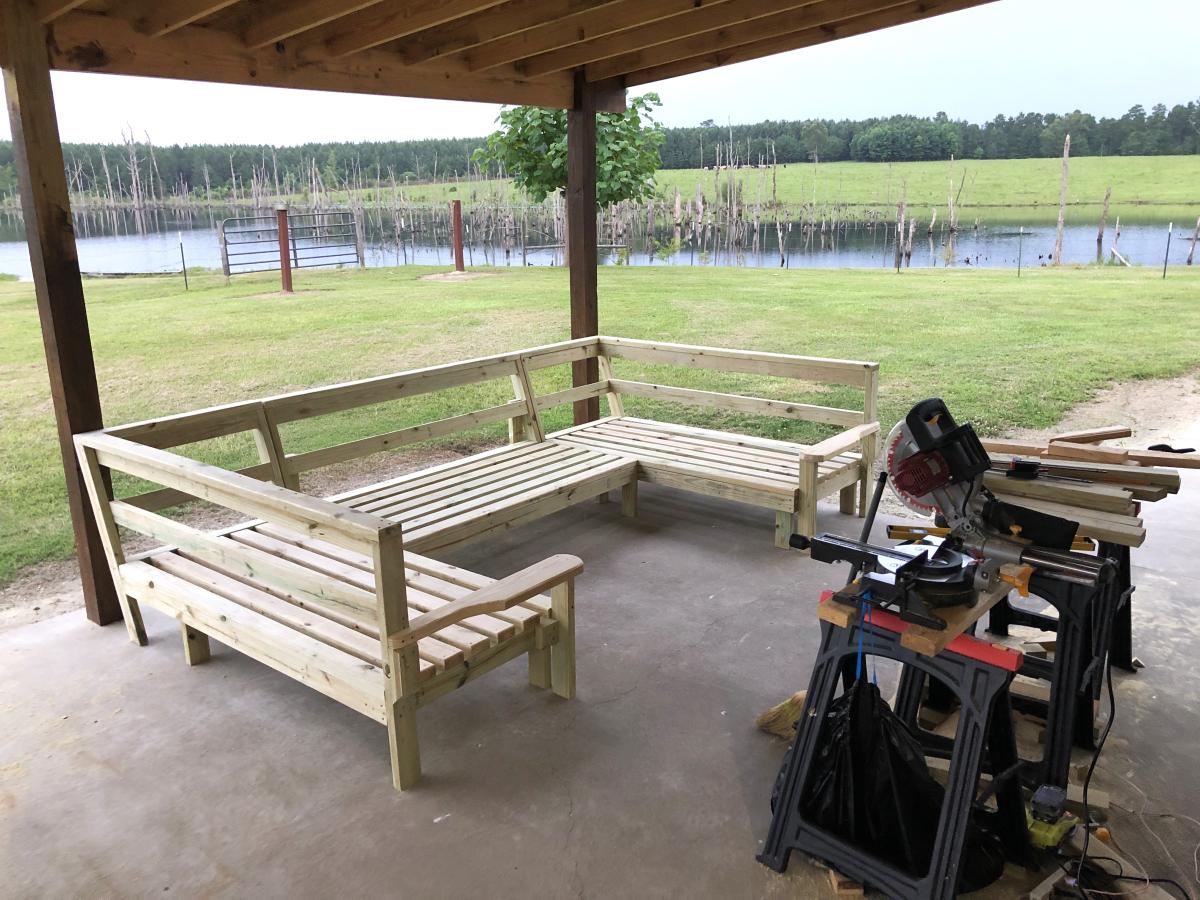
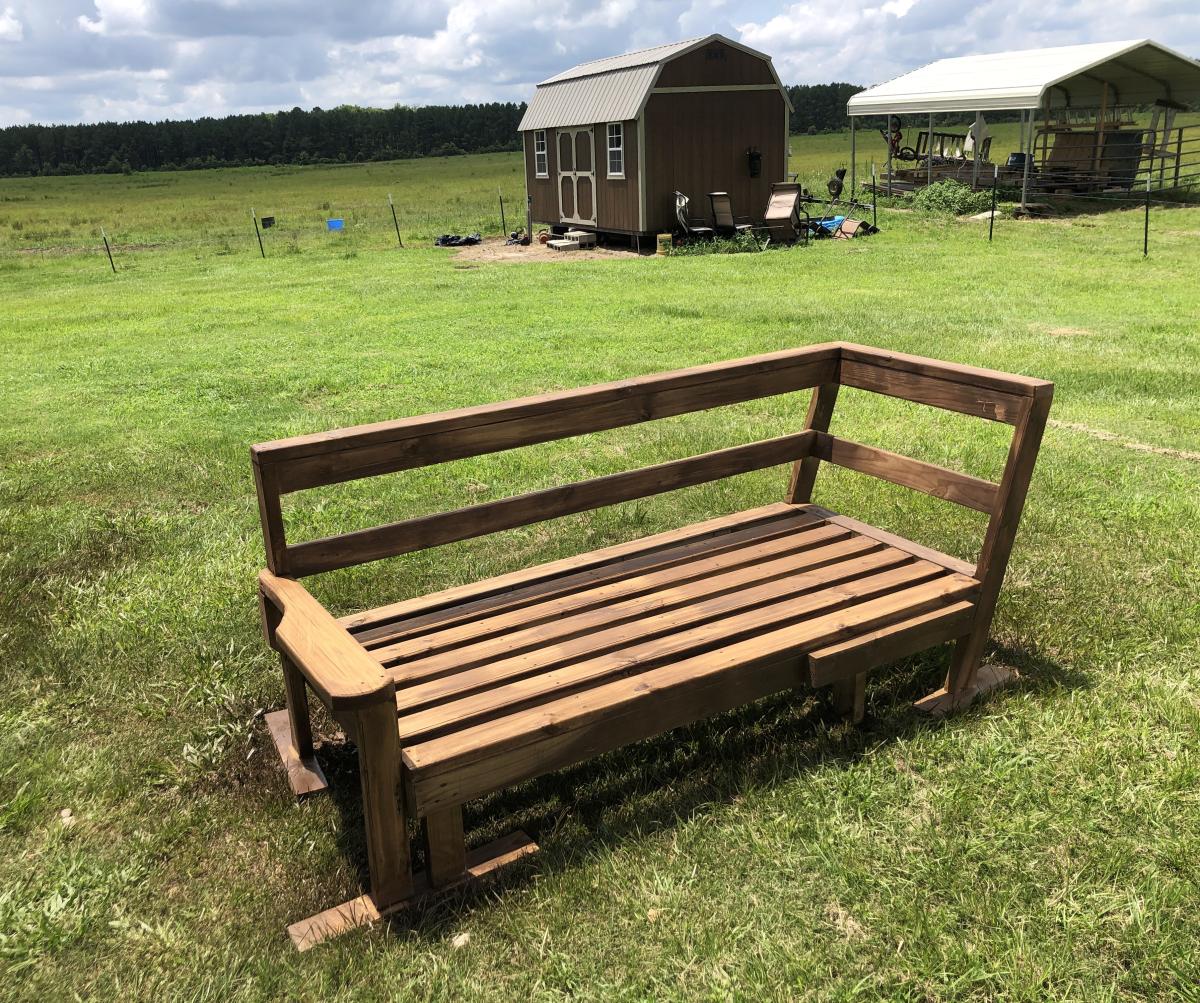
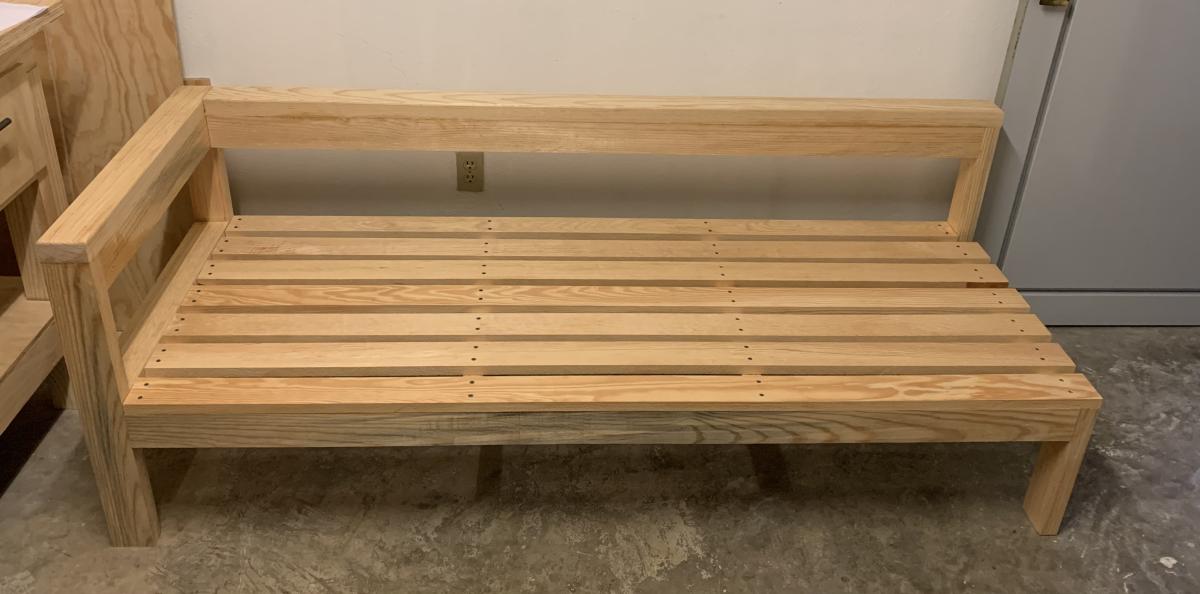
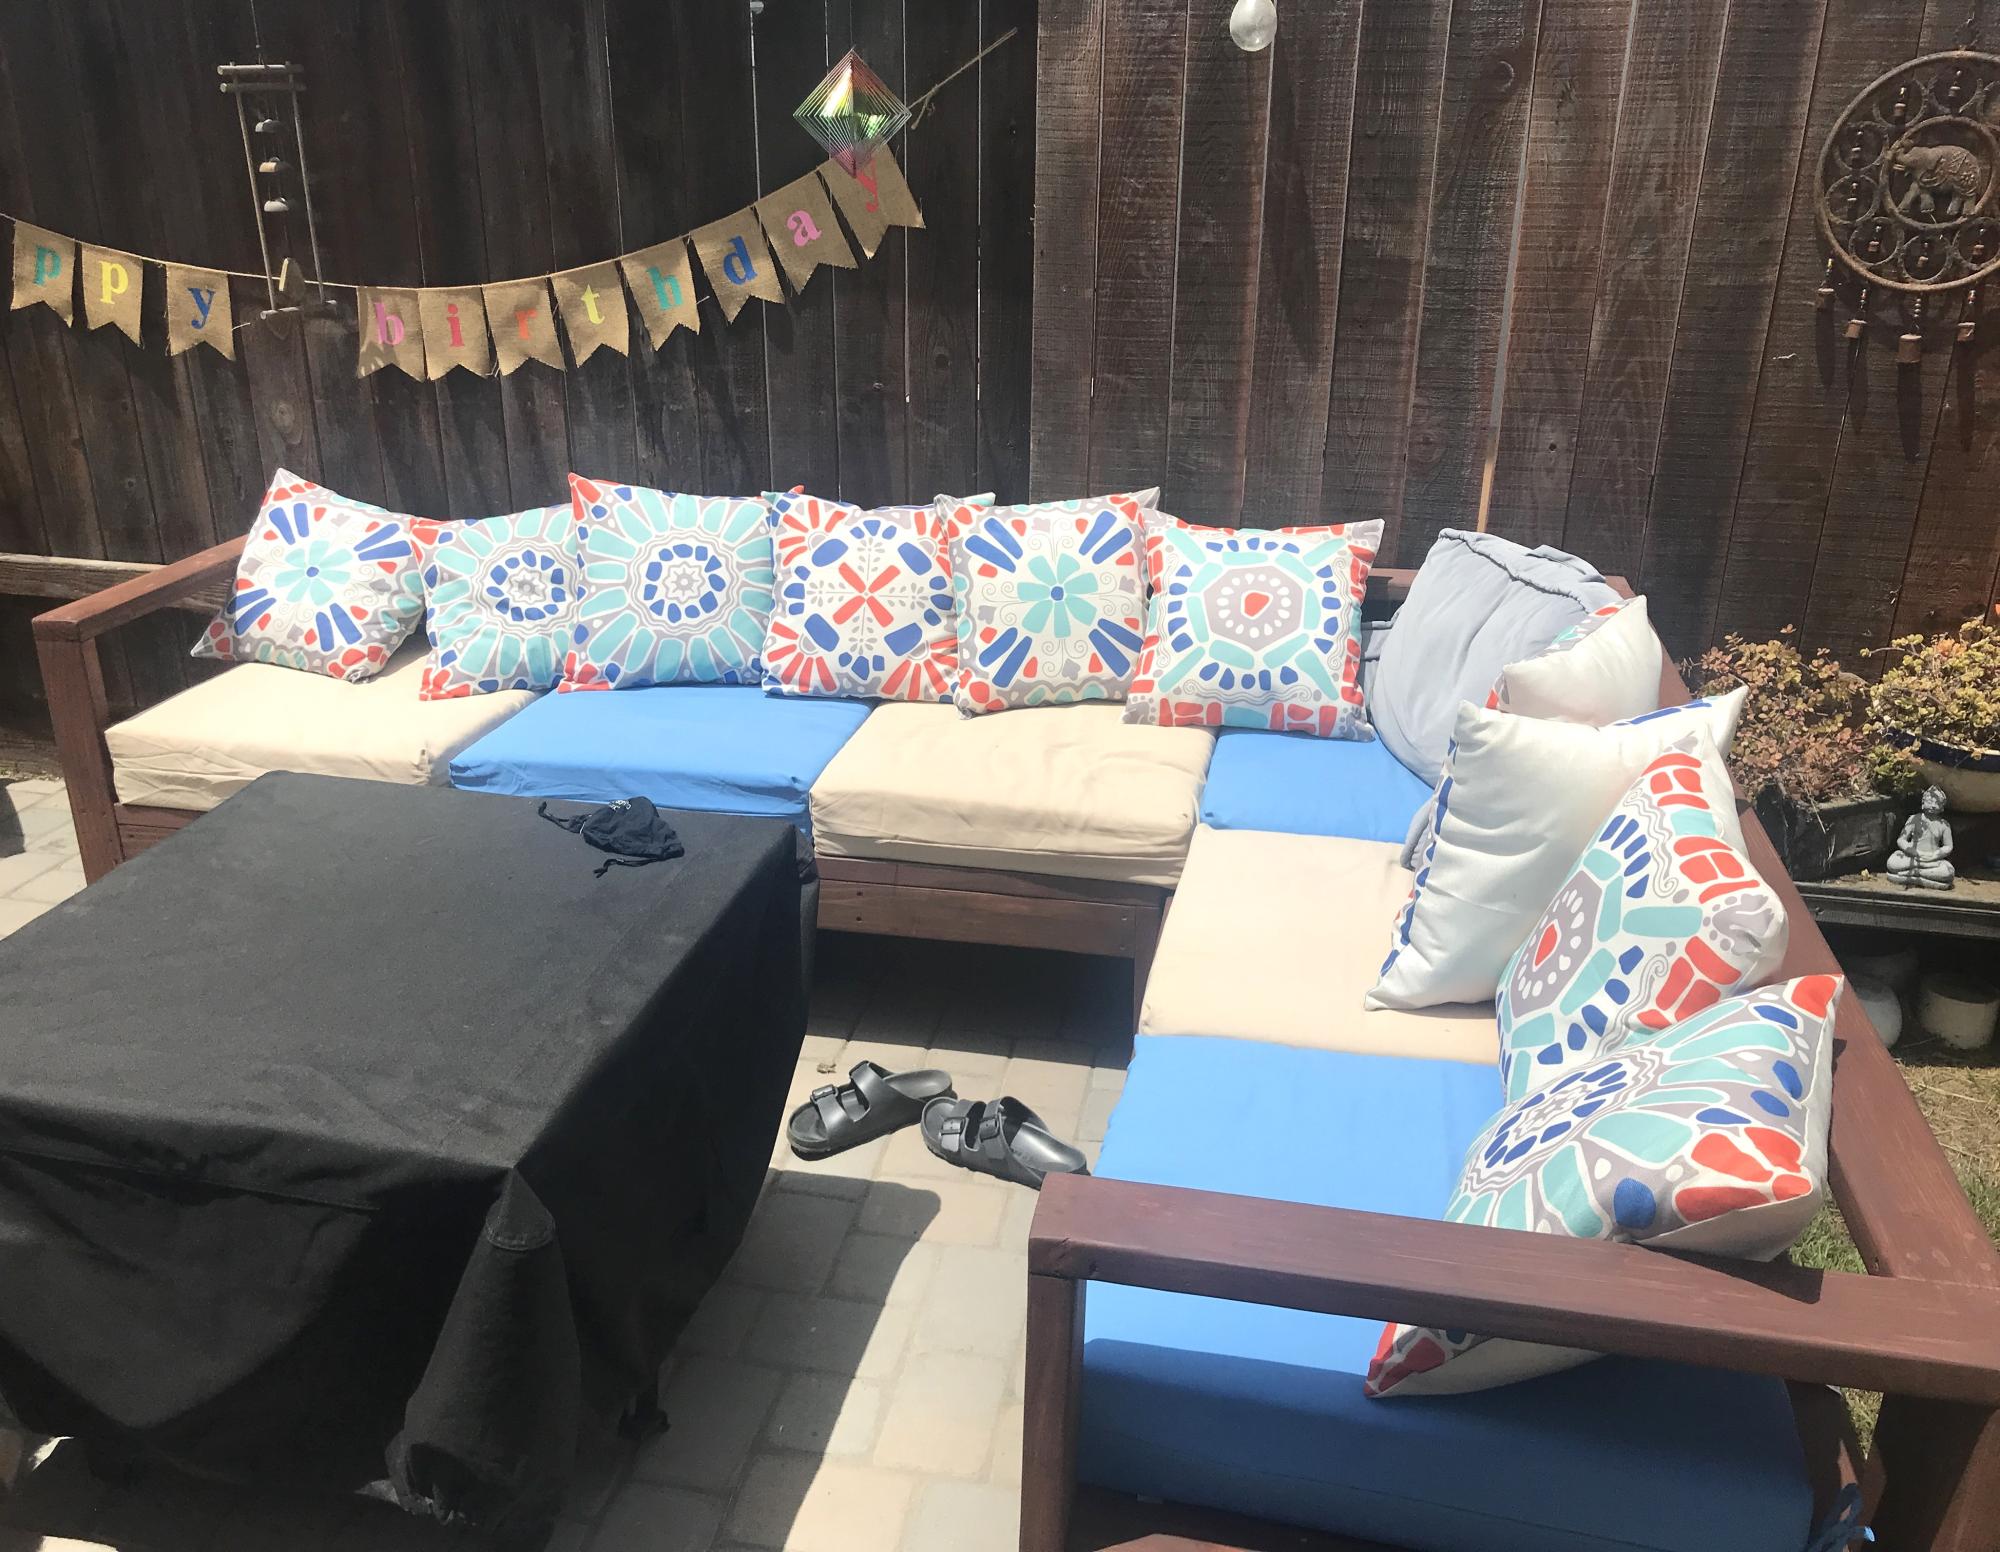
Joints - Deck Screws or Pocket Holes.
Did you use decking screws or pocket holes for the visible portion of the couch?
jwood4
Sun, 08/01/2021 - 18:40
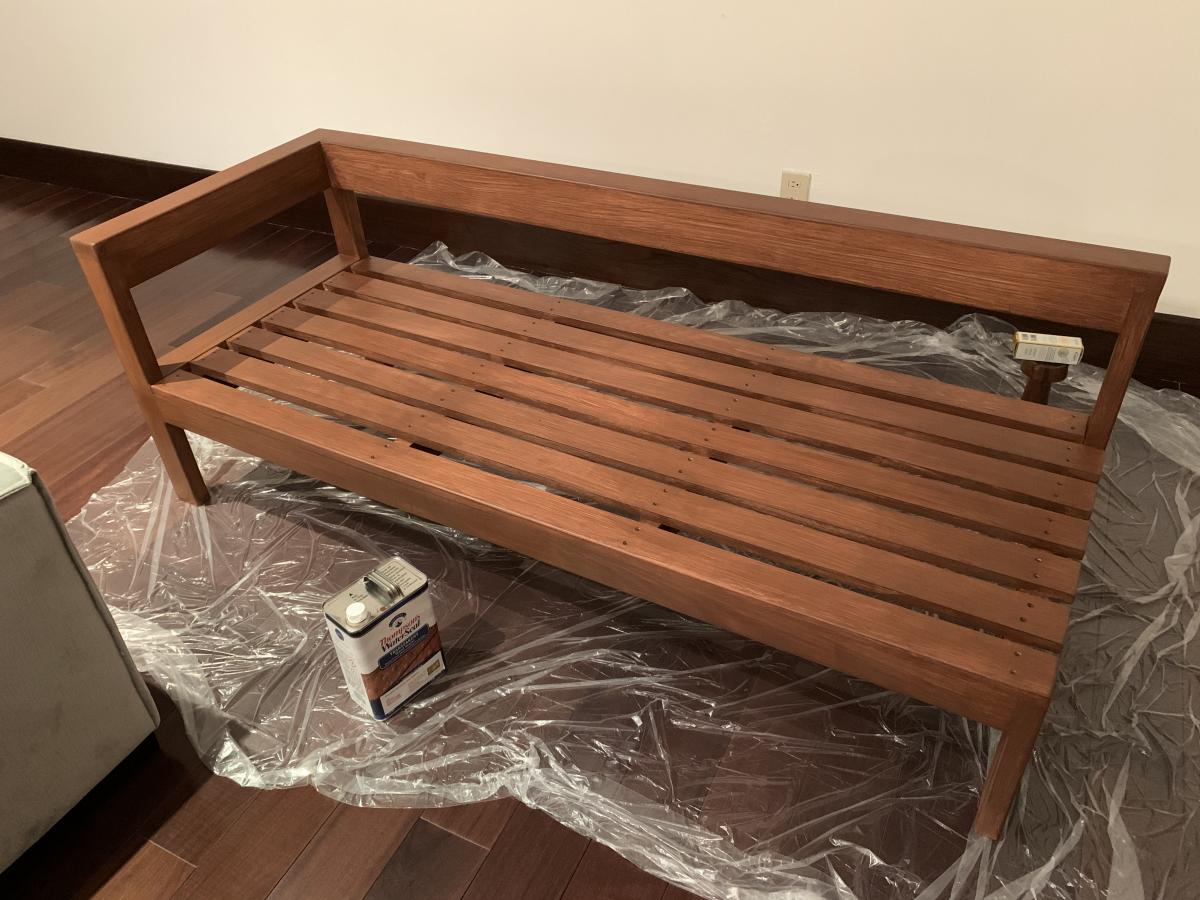
Joining method?
Looks amazing! What method did you use (pocket holes, dowels, deck screws, etc) to join the visible portions like the arms?