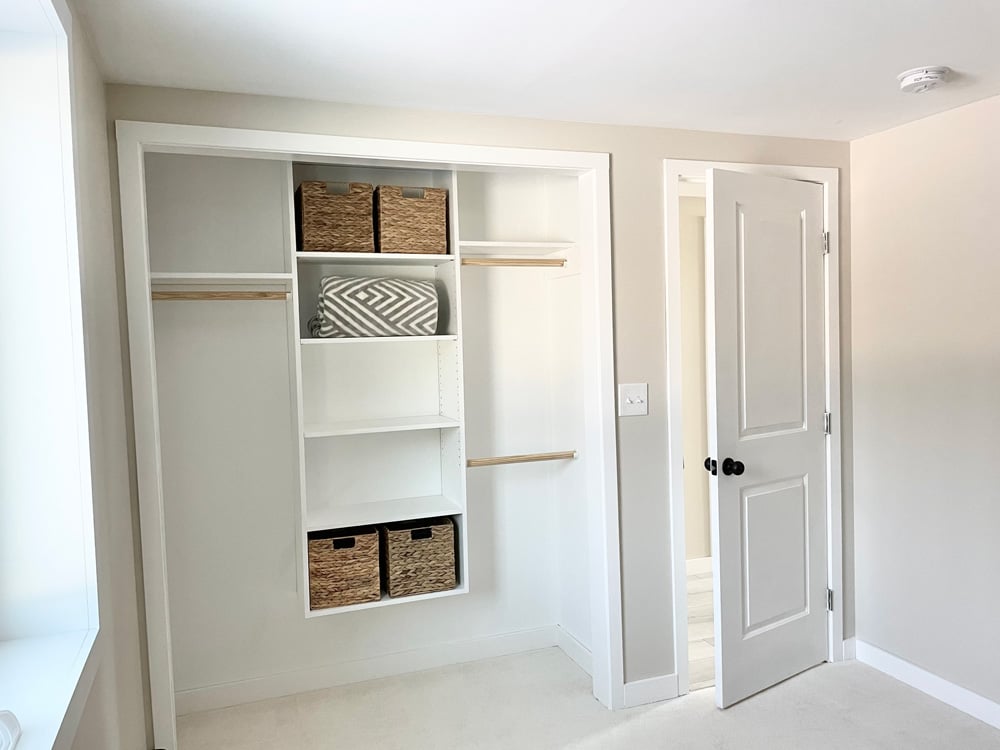
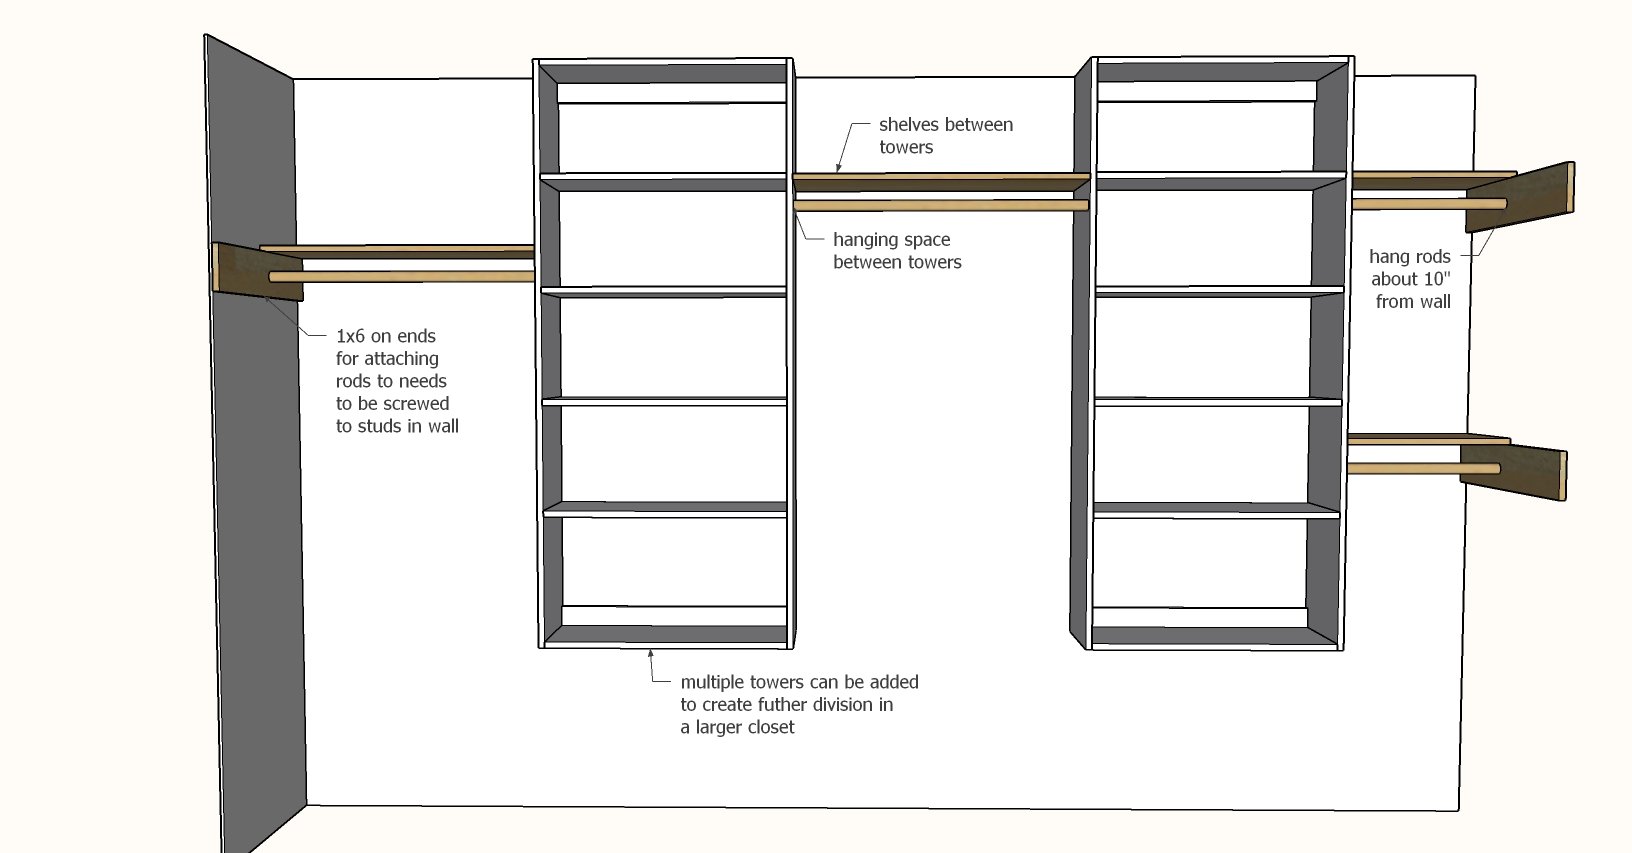
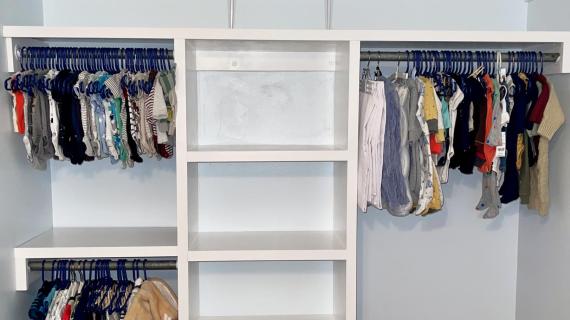
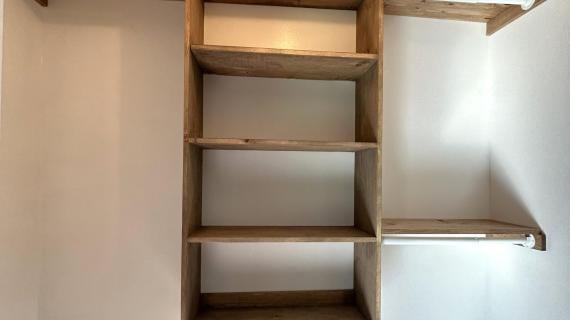
Good closets make clean houses! Here's how you can build your own custom closet towers to create a dream closet system! Use just one tower for a small space, or many towers for a large master closet. Free tutorial by Ana-White.com
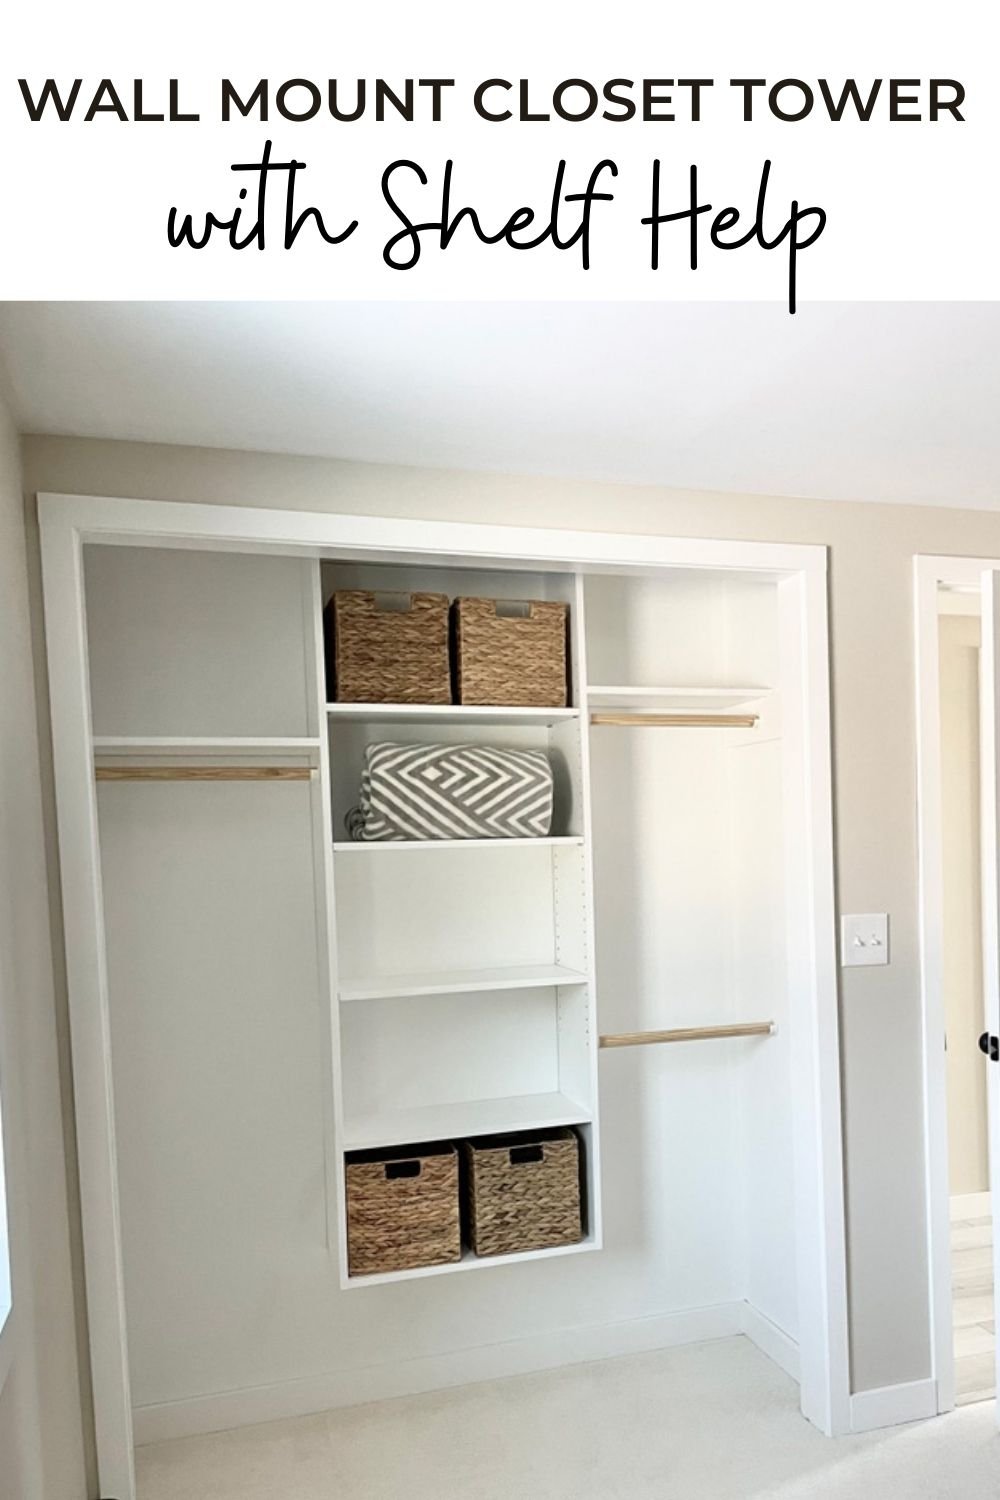
Pin For Later!
Preparation
- 3/4" plywood ripped to 15-1/4" width and front edges finished
- 1x3 pine furring strips or similar used to create bay supports for hanging the closet on the wall
- Shelf pins matching the shelf pin jig
- 1-1/4" coarse thread pocket hole screws
- 3" self tapping wood screws (for hanging the closet)
- Closet rod dowels and sockets
Instructions
Step 1
Designing the Closet Tower
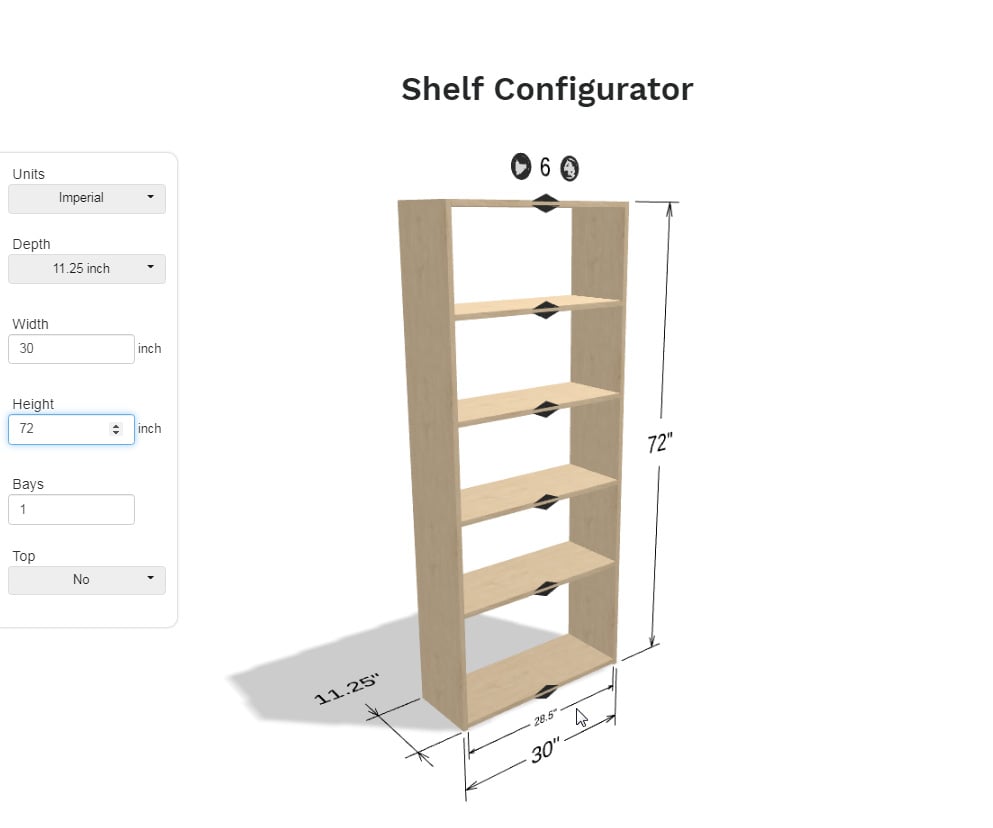
Use my free Carcass Design Tool to create the design plans and cut list custom for your project.
- Depth should be either 11.25" or 15.25" , I recommend 11.25" for users with shorter heights, 15.25" for taller users (so folded pants and shirts fit on the shelves)
- Height should be between 72" and 84" for 96" ceilings, but could be shorter or taller depending on needs and space
- Keep shelves less than 36" wide to avoid sagging shelves
For blanks for shelf sides, simply set Bay=0 and you can order shelf blanks.
Step 2
Building the Closet Tower
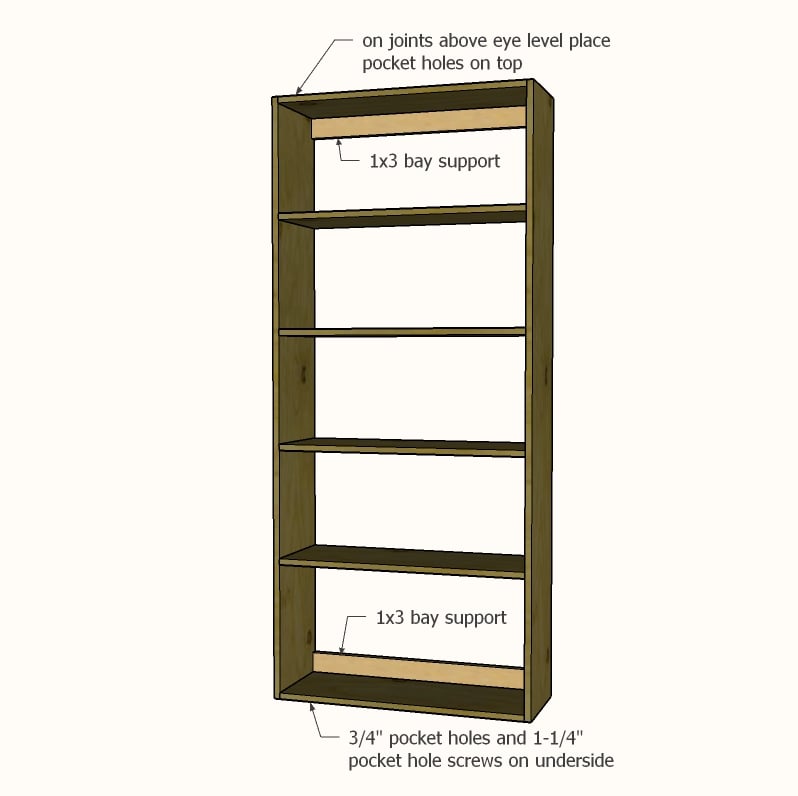
Build the closet tower is pretty simple - just drill two (three for 15.25" width) pocket holes on each end of all the shelf (horizontal) boards.
Attach to the vertical side pieces with 1-1/4" pocket hole screws. You can also use shelf pins as done in the video for middle shelves, but at least two shelves, possibly three for taller closets, need to be fixed.
1x3 bay supports need to be added at the very top and on one other fixed shelf to give the closet lateral strength and also a cleat to hang on the wall. Bay supports are the same length as the shelves and are just attached with pocket holes on the back side.
Step 3
Hanging the Closet Tower
Typical wall framing might make it hard to hang a narrow closet organizer - you might not even have a stud in your desired location to hang the organizer.
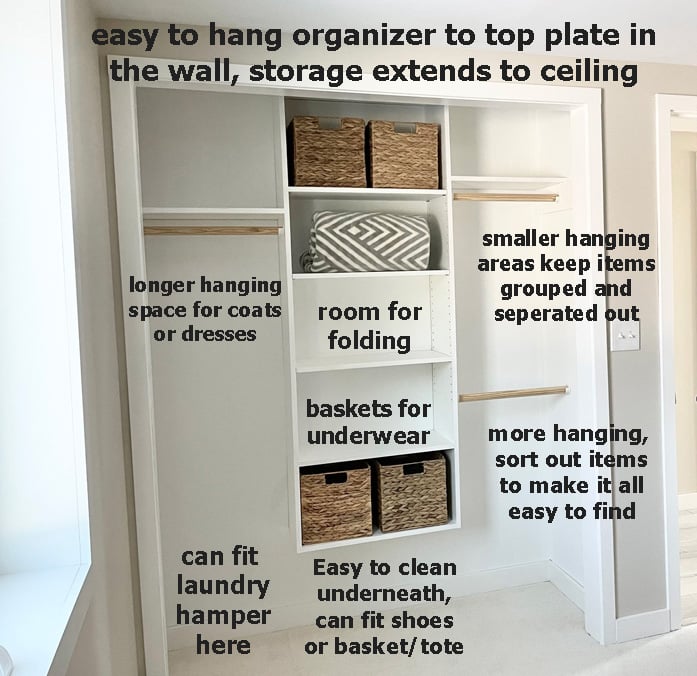
What I like to do is hang my organizers to the top plate in the wall, at the very top of the wall, using 3" self tapping screws. That way I can place the tower wherever I want it, and know it is hung solid. This also give room below for baskets and totes, and makes it easy to clean under the tower (and you don't have to remove baseboard mouldings). You should also anchor at the bottom to a stud in the wall (if possible) or use a drywall anchor, to keep the closet secured at the bottom.






Comments
nucha7681
Mon, 08/30/2021 - 15:57
Accessory inquiry
Where did you get your bins? That is the exact size I need for my bookcase?
chattympc
Tue, 12/21/2021 - 06:41
Wall plate?
Hi,
Excited to get started on this project which will be one of my firsts. Did you install a wall plate at top for the towers or assume it exists at top of your wall framing? Would you recommend a French cleat system to allow for adjusting location and if so, any tips?