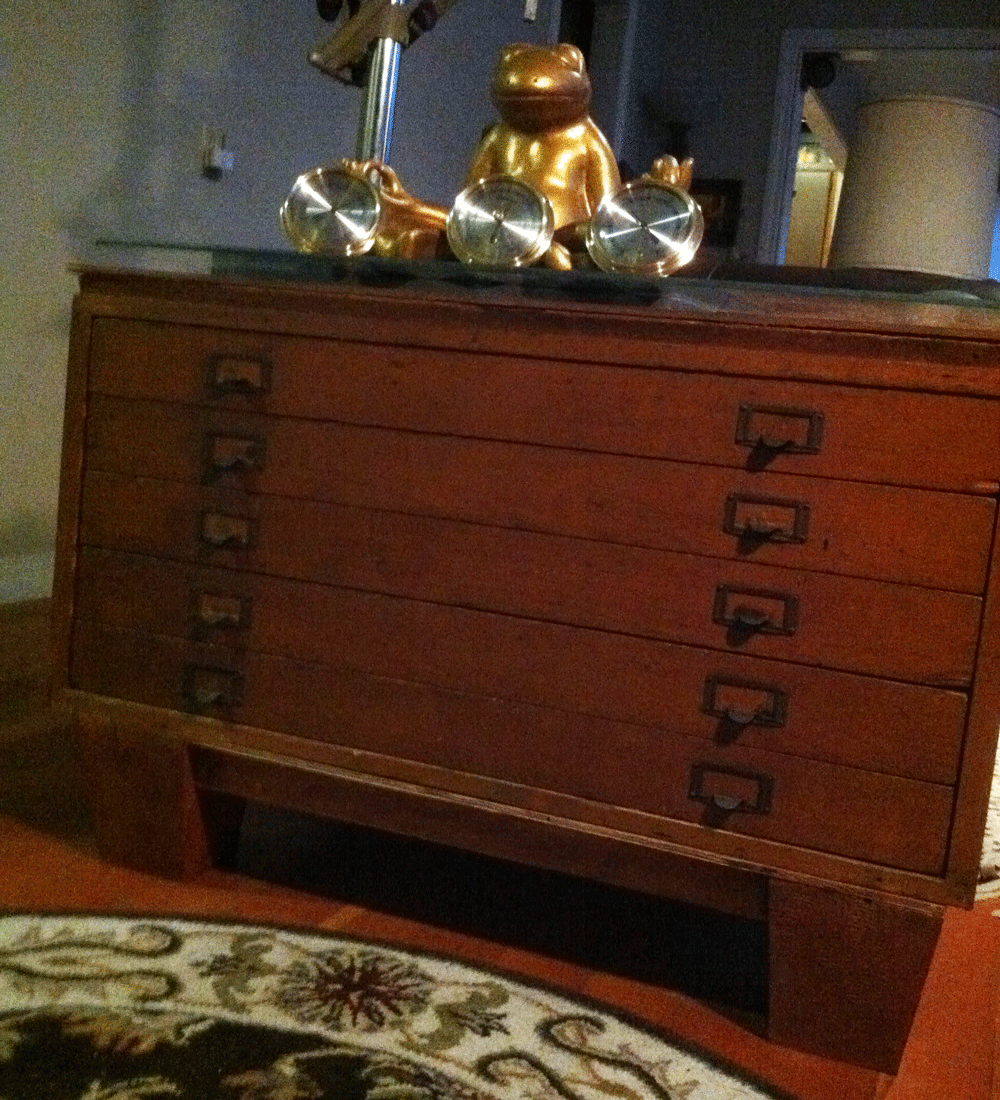
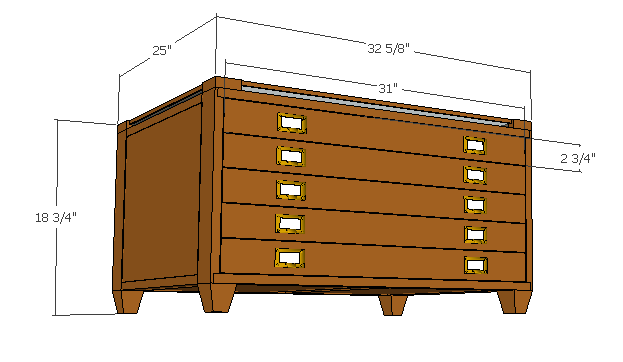
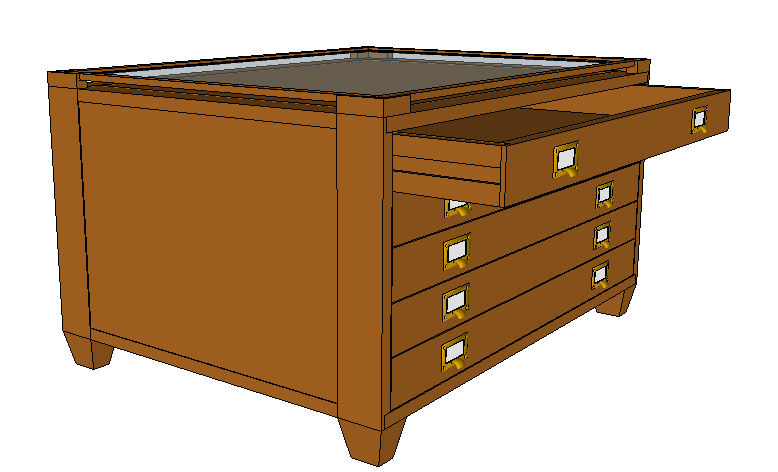
Latest from the East Fork. In order to make your building experience more tailored to fit your needs/materials/skill level, I have uploaded the map cabinet/ safety glass-topped occasional table to the Sketchup 3D Warehouse. Download, look around, edit to meet your mood and space, share with your pals. You can find the fully accessible model in all its 3D glory at http://sketchup.google.com/3dwarehouse/details?mid=e96bfb93d0ccc70b6644f2a1e354446e
All of my builds are made from 100% reclaimed material. Why? Because it's fun, inexpensive, challenging, and I'm a tree-hugger. It takes a bit of effort and some reverse engineering. The traditional build has plans and calls for materials. My build has materials and calls for a plan.
How does that affect your build? Well, if you follow my plans, you might go crazy looking for a 31-3/4" x 24-1/8" piece of safety glass, and I'll feel terrible for requesting you spend a fortune on hardwood lumber only to mill down perfectly good boards to match my dimensions.
So please, amend as needed.
During your build, I encourage you to be safe, creative, and awesome (like you always are).
If you have any questions or would like more guidance on a "re-plan" to fit your build, please ask.
Build happily, friend!
Preparation
***see summary***
approx 30" x 24" safety glass (table top)
(3) 1" x 4" x 12' (case)
(5) 1" x 4" x 10' (drawers)
(1) 4' x 8' sheet 3/8" plywood (to match or complement) your chosen lumber
(10) old card catalog style drawer pulls (if you're lucky enough to track some down)
Rip all 1x4s to 2-3/4" wide, then
Qty//Description// Length///Width///Thickness
5 drawer back 31" 2 3/4" 3/4"
5 drawer front 31" 2 3/4" 3/4"
10 drawer side 24" 2 3/4" 3/4"
10 drawer guides 23" 3/4" 3/4"
4 frame hrz.top 32 1/8" 2 3/4" 3/4"
1 frame support 21" 2 3/4" 3/4"
4 frame top rail 21" 2 3/4" 3/4"
4 frame vertical 15 5/8" 2 3/4" 3/4"
4 glass support 2 3/4" 2 1/4" 3/4"
5 drawer bottom 30 1/4" 23 3/4" 3/8"
2 side panel 19 1/2" 14 1/8" 3/8"
1 top panel 28 1/8" 21" 3/8"
2 top side trim 23" 3/4" 3/8"
2 top side trim2 32 1/8" 3/4" 3/8"
1 back panel 32 1/8" 14 1/8" 3/8"
2 bottom panel 21" 12 3/4" 3/8"
4 leg* 2 3/4" 2 1/4" 2 1/4"
*create legs by laminating 2 3/4" scrap before cutting to size
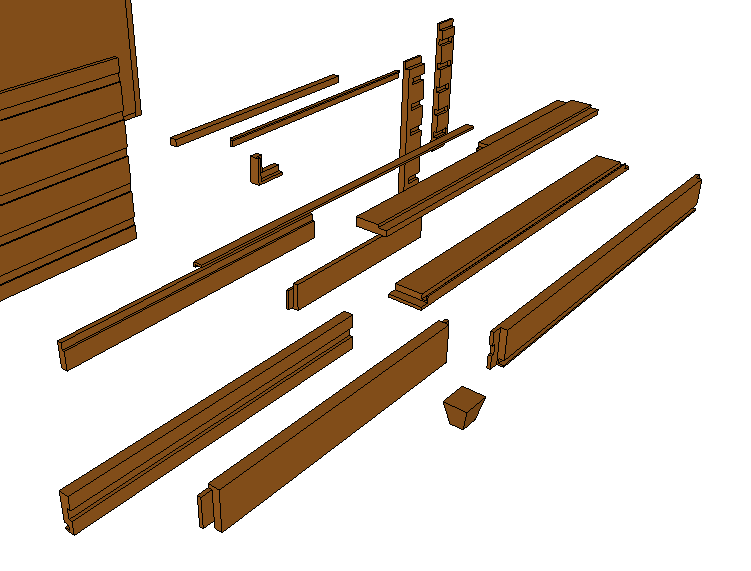
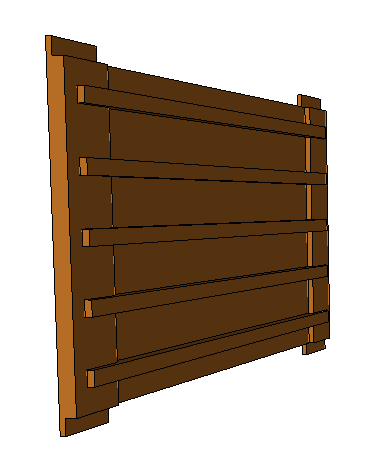
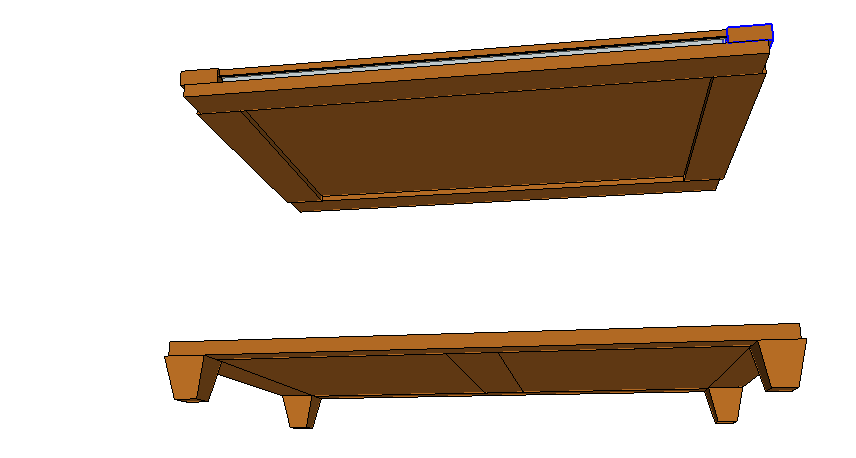
This is where you really need to download the Sketchup model if you haven't already done so. Continued in step 1
Browse the plan and reaad the comments before beginning this project. This step is important as I'm bound to give you a wrong dimension in a project with many dimensions. I try my best, but I make the plans after I complete the project, so sometimes I get turned around in all the post-project blissing out. Review the Getting Started Section if you are a new builder or old builder or have the pre-build jitters. Take all necessary precautions to build safely and smartly. Work on a clean level surface, free of imperfections or debris, or basically just somewhere you won't trip over your project and crack your head open on your table saw (I tried it. Not fun.) or get overly cramped and frustrated. Nothing kills beautiful furniture like a frustrated builder. Use straight boards if you are able and it suits you. Check for square more times than you think you'll need to. Use glue with finish nails for a stronger hold. Doesn't have to be fancy. Any wood glue will work. I've used good ol' Elmers school glue in a pinch, but I'd try to round up some yellow for this project, just because it's a little on the heavy side. Wipe excess glue off bare wood for stained projects, as dried glue will not take stain. Be safe, be creative, and if you don't love what you're doing, take a breather. You'll be rarin' to go in no time.
Instructions
Step 1
Step 4
Grab a few clean rags (white is always best), dip one in Danish oil (or Teak oil, or some naturalish wood protecter), and apply. Do not allow to pool. Wipe excess or apply motre as needed until you have yourself a nice even sheen (if it's a shimmer, you might have used too much).




Comments
Cindy from Indiana (not verified)
Tue, 02/14/2012 - 12:45
GORGEOUS!
Oh my golly, that thing is gorgeous! Great job!
kristen
Wed, 02/15/2012 - 16:22
Love this!
It looks more advanced than anything I've done so far, but maybe I'll attempt this as a way to learn more about my router. If I can do all the dados and rabbets on it. I'm interested in the drawer slides made this way. Beautiful work!
east fork spring
Wed, 02/15/2012 - 19:56
I LOVE comments
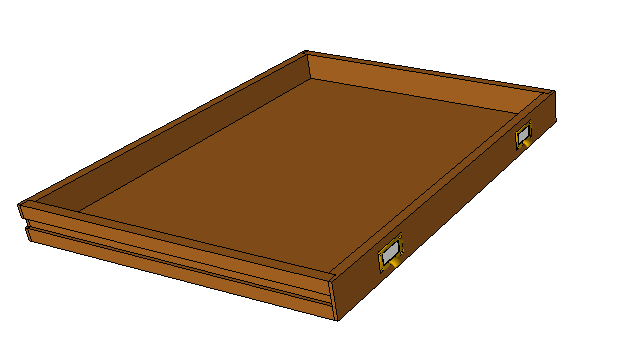
If you do the drawers that way, just be sure to plane (or sand) a hair off the width of the rails so they don't fit too snug in the drawer grooves. Spray drawer grooves with B'laster Dry Lube (graphite) to keep it smooth-gliding.
Okay, side note here: If you haven't used B'laster products, you should start immediately. I really very rarely buy anything from a retail establishment, but when I run out of PB Blaster, I can't get to the hardware store fast enough. It's nails for everything from rusted bolts to cleaning stoves (I use it and a utility blade to clean my glass cooktop when it gets something nasty burnt on it). Think WD40 if WD40 were 40x better than it is now. Their Graphite Dry Lube and Lawn Mower Tune-Up are must haves too. I want B'laster to sponsor me. Heck, when I die, I want to be embalmed in B'laster. End side note.
Also, I didn't draw them on my Sketchup plan, but adding drawer stops of some kind is a good idea so you don't pull the drawers all the way out. A little tab or two near the back of the drawer to catch the frame is all you need. The way mine actually is (not the way the drawing is), the drawer backs are not notched. I notched them for the plan because it makes the assembly process a little simpler.
Thanks for the comments! When I spend a bit of time and effort on a plan or post and don't get any comments, it makes me wonder if anyone even sees the post. Your feedback is motivational, for sure.
claydowling
Wed, 02/15/2012 - 20:08
Cool table
I'm pretty sure I need to build one. I'm not sure what I'll use it for, but it's too cool not to build.
I would recommend using a hardwood like maple or oak for the slider rails. Hardwoods would be great for the case joinery too, but this project would look beautiful in any wood.
You can buy the pulls from Lee Valley if you don't have another source. There are a lot of really nice options.
Patrick Dukes (not verified)
Thu, 02/23/2012 - 08:41
This is going on my todo list
I can't wait to build this. I'll probably change the routed edges of the top, but otherwise this is perfect. I've been looking for a good solution to storing large sheets of paper for origami folding. I might think about adapting this to a desk type structure with some large flat drawers, so I could sit and fold too.
In any case, this would be perfect for any craft storage since it all tends to be mostly flat objects.
In reply to This is going on my todo list by Patrick Dukes (not verified)
east fork spring
Wed, 02/29/2012 - 16:01
I can't wait to see
what you guys build! Make sure and post your finished projects so I can ooh and ahh!
boniferous
Thu, 04/19/2012 - 01:01
Fabulous
I've always wanted my own set of blueprint drawers. I can't wait to make a few of these in various sizes to use in the bindery. Thank you SO much for sharing these plans.
kapustam
Sat, 11/23/2013 - 21:30
Problems Viewing Plans
I am planning on building this table. Just came into a bunch of cherry and am going to use it for this project.
I am able to open the file in Sketchup viewer, but I am not able to see measurements or joint break outs. Any help is appreciated.
Thanks,
Mike
Nicorae_24
Mon, 05/11/2015 - 09:12
Love the look.
I'm going to need a little more practice before this one, but I am definitely going to try it out!
radiofriendlybox
Mon, 02/06/2017 - 13:37
build plans
does anyone have the build plans for this project? the link to the model is no longer valid.