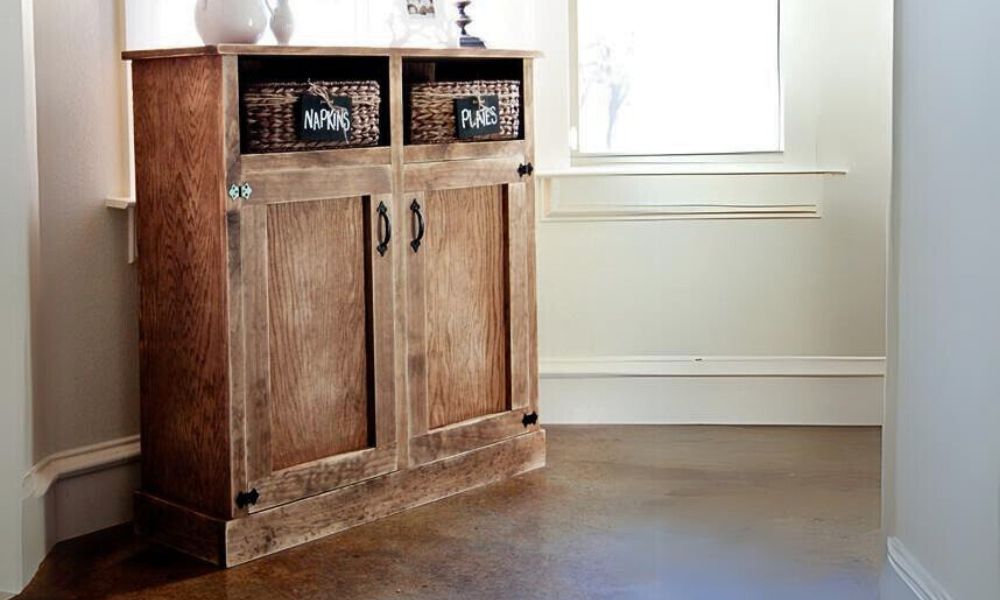
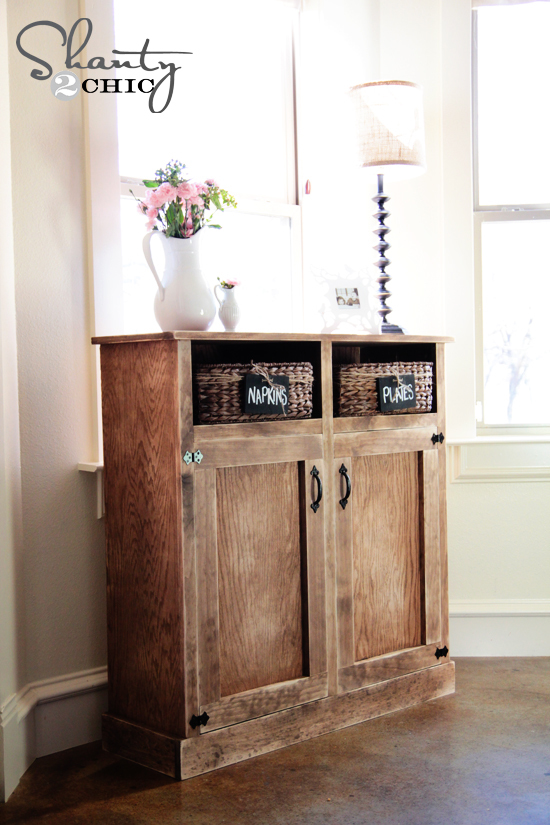
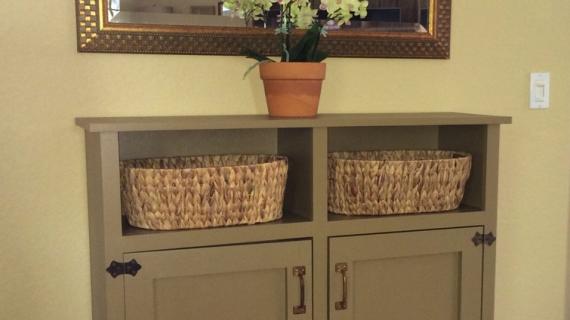
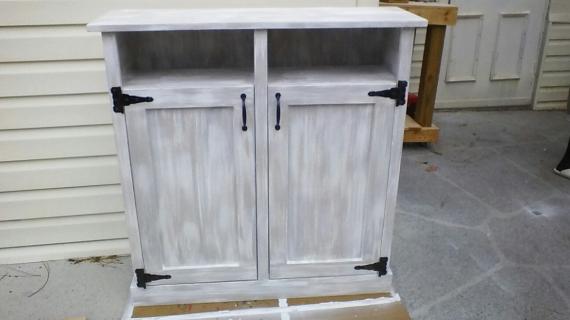
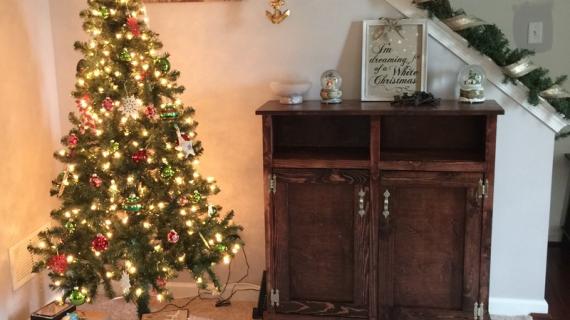
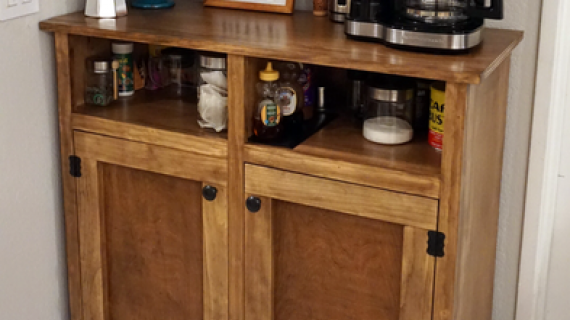
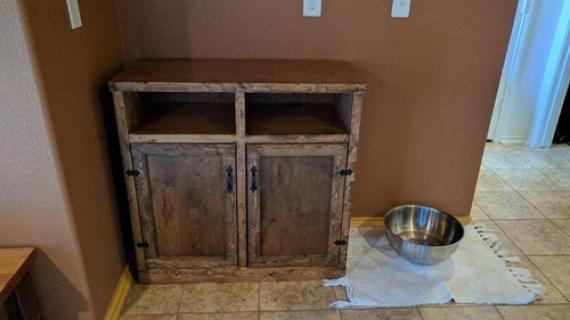
Free plans to build an open shelf console from Ana-White.com. This beautiful console features two cubbies for baskets and cabinet doors to hide more storage.
Step by step plans include shopping and cut list, diagrams, and lots of reader submitted photos.
Dimensions
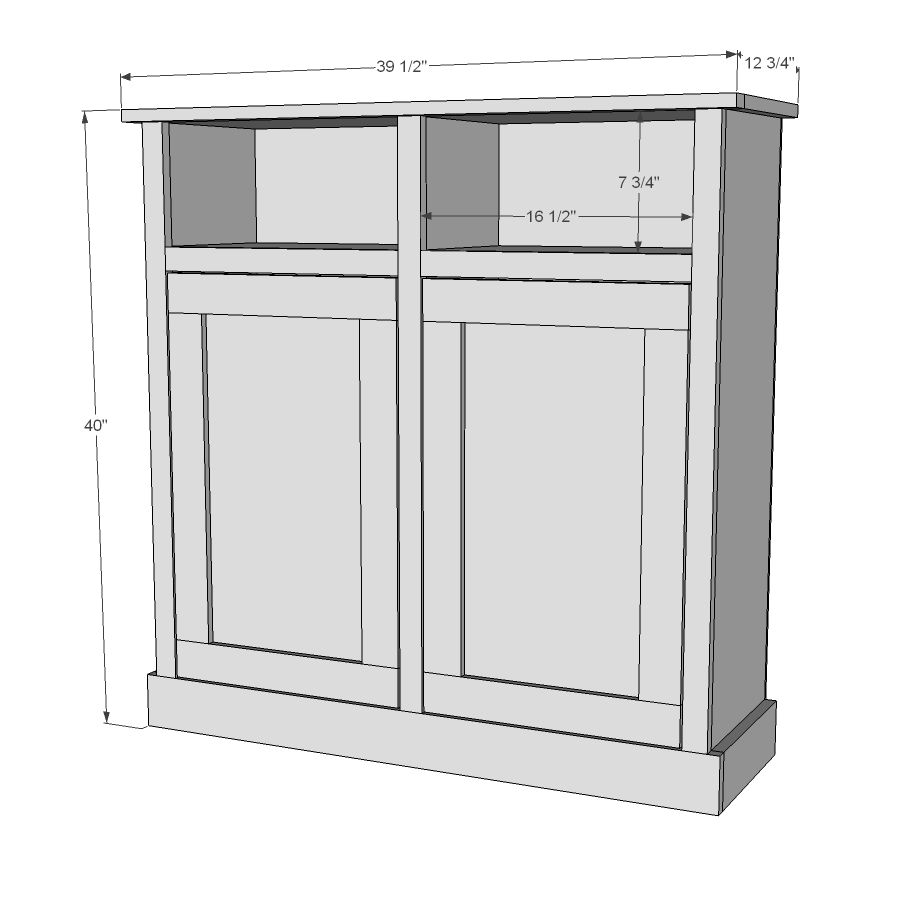
Dimensions shown above.
Preparation
Shopping List
- 1 sheet 3/4" plywood cut into strips 11 1/4" wide (Whitney used PureBond Formaldehyde Free Plywood) or you can use 3 - 1x12 boards @ 8 feet long
- 1 - 1x4 @ 6 feet long
- 2 - 1x2 @ 8 feet long
- 2 - 1x3 @ 6 feet long
- 1/4 plywood (Whitney used PureBond) for back and door backs
- Recommend pocket hole construction with 1 1/4" pocket hole screws
- 1" and 1 1/4" brad nails for attaching face frame and 1/4" plywood
Cut List
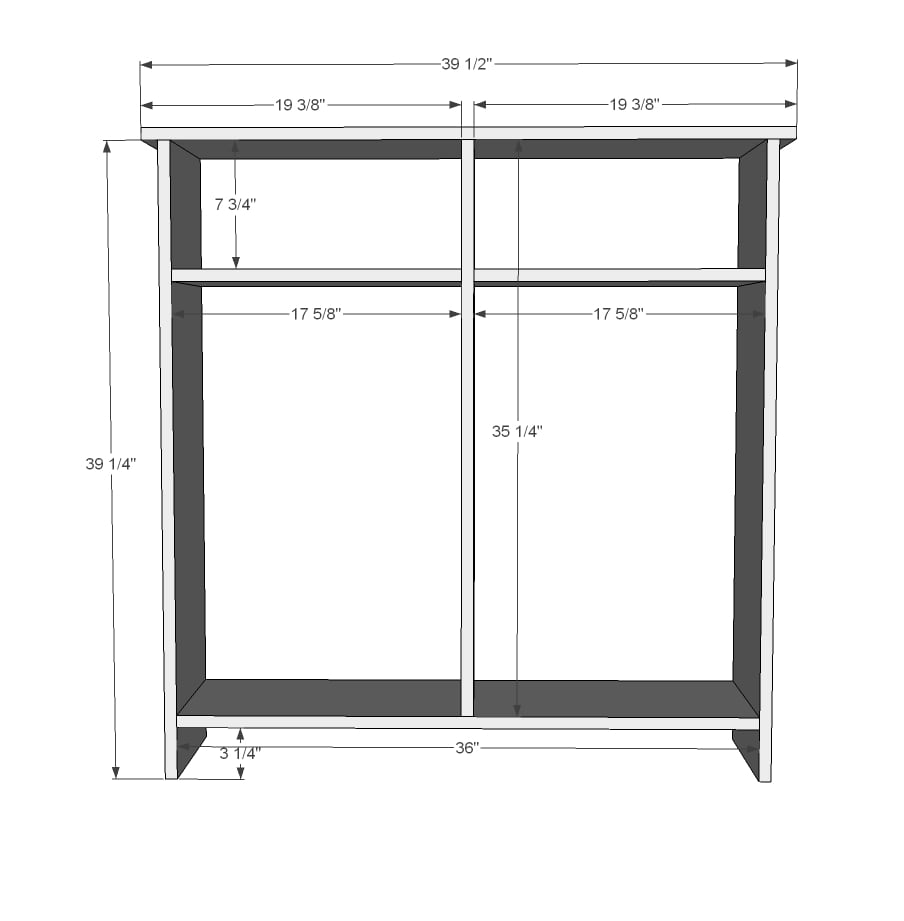
- Sides - 2- 1x12 @ 39 1/4"
- Top - 1- 1x12 @ 39 1/2"
- Bottom Shelf - 1- 1x12 @ 36" (I positioned this shelf where the top of the shelf is 7 3/4" from the top of the cabinet)
- Center Divider - 1- 1x12 @ 35 3/4"
- Shelves under baskets - 2 - 1x12 @ 17 5/8"
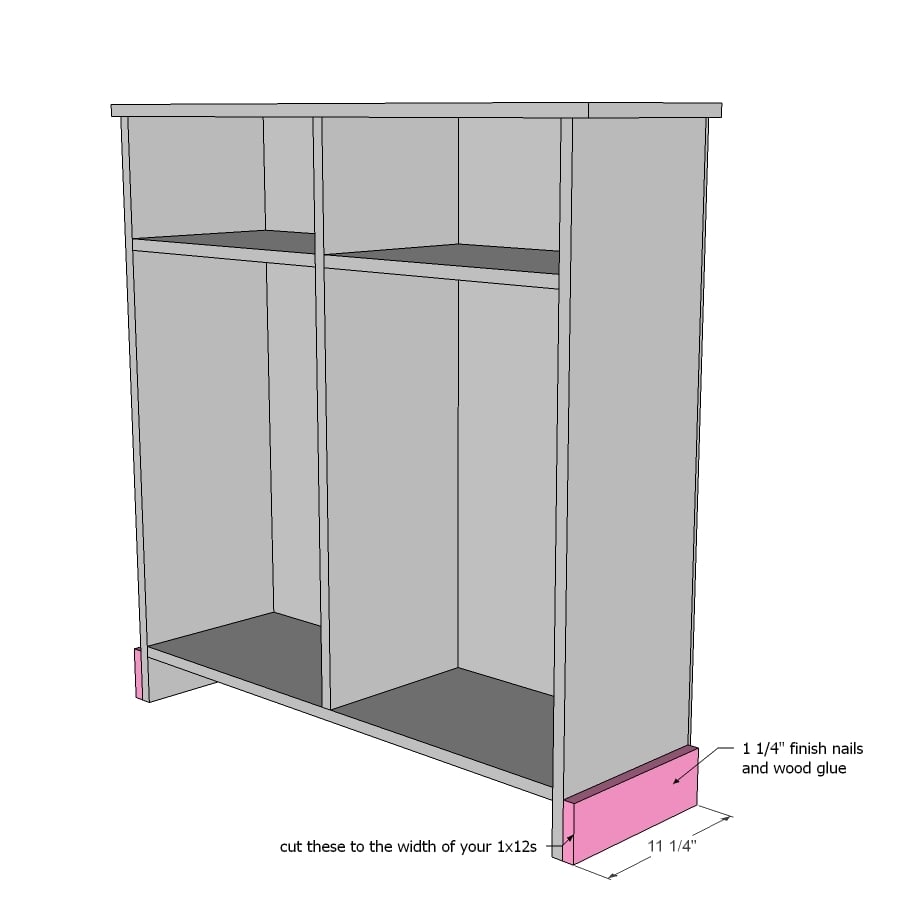
- Footer Front - 1- 1x4 @ 39"
- Footer sides - 2 - 1x4 @ 11 1/4"
- Front Trim - 3 - 1x2 @ 35 3/4"
- Top front - 1- 1x2 @ 39 1/2"
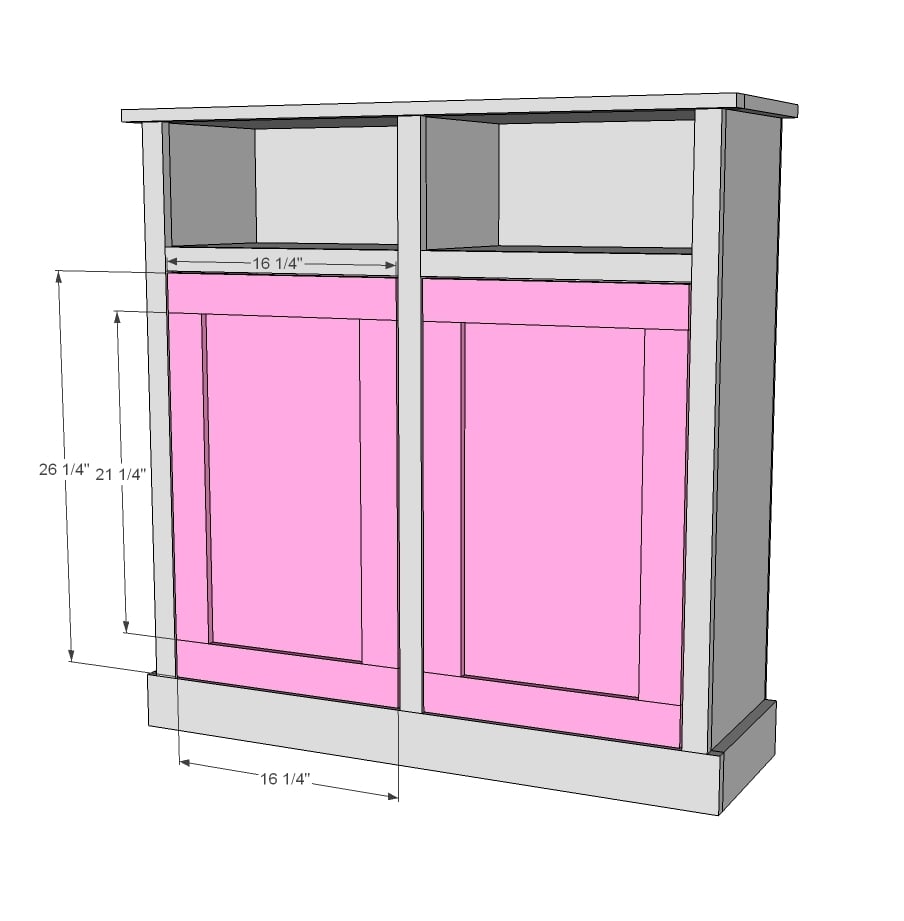
- Doors - Whitney used 1x3 for the doors.
- Door tops - 16 1/4"
- Door Sides - 21 1/4" 1/4"
- PureBond for the doors at 16"x26"
- Optional shelves on inside from scraps. If you use the 1x12 it will need to be cut down about an inch to make room for the flush doors.
- Back - 1/4" PureBond @ 37 1/2 x 39"
General Instructions
For long term durability and more professional results, I recommend using a pocket hole joinery system for wood joints. Here is a video with tips for using a pocket hole jig:
Instructions
Step 1
Step 4
Finishing Instructions
Preparation Instructions
Fill all holes with wood filler and let dry. Apply additional coats of wood filler as needed. When wood filler is completely dry, sand the project in the direction of the wood grain with 120 grit sandpaper. Vacuum sanded project to remove sanding residue. Remove all sanding residue on work surfaces as well. Wipe project clean with damp cloth.
It is always recommended to apply a test coat on a hidden area or scrap piece to ensure color evenness and adhesion. Use primer or wood conditioner as needed.
It is always recommended to apply a test coat on a hidden area or scrap piece to ensure color evenness and adhesion. Use primer or wood conditioner as needed.
Project Type
Room
Style








Comments
lscrandall
Tue, 08/06/2013 - 20:14
SHANTY OPEN SHELF CONSOLE GOES WINE CABINET
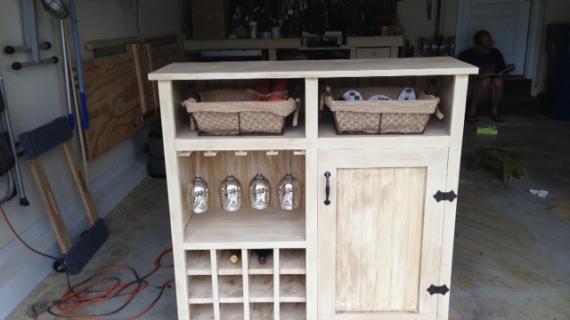
This weekend I took the plans from the SHANTY OPEN SHELF CONSOLE and modified it to become a wine cabinet. This wine cabinet is being donated to a local children's charity (United Services for Children) for their big auction night on August 17th here in St Charles Missouri. We hope the piece brings their school the much needed funds. Thank you Ana for providing a plan I could modify in a weekend to get this piece completed! You are awesome!!! PS - The momplex is looking great!
cassiet717
Tue, 10/22/2013 - 13:44
Missing Cuts for Step 4
Step 4 shows trim for the bottoms of the open shelves (2 - 16 1/2" pieces), but I don't see that on the cut list. Is it not supposed to be trimmed there or was it maybe left out?
SarahC
Wed, 11/18/2015 - 14:59
What kind of wood?
What kind of wood do you suggest using for the 1x2, 1x3, 1x4? Are furring strips ok or not for this kind of project? It's my first build and I plan on painting it.
Ana White Admin
Thu, 11/19/2015 - 12:23
Wood
I'd go with pine or doug fir and stir away from firring strips for this project.
cslavinsky
Fri, 01/08/2016 - 18:46
Can this withstand the weight of granite?
We have a slab of granite in our garage that would make the perfect top for this cabinet. Are there any adjustments that I would need to make in order to use the granite for the top? It's pretty heavy. Also, would I be able to use casters on the bottom, or should I leave it as is if I'm going to use the granite?
sharonhurff
Mon, 06/17/2019 - 07:21
How do you make the cabinet…
How do you make the cabinet doors flush? I put a shelf in the bottom portion and with the beadboard it won't sit flush.