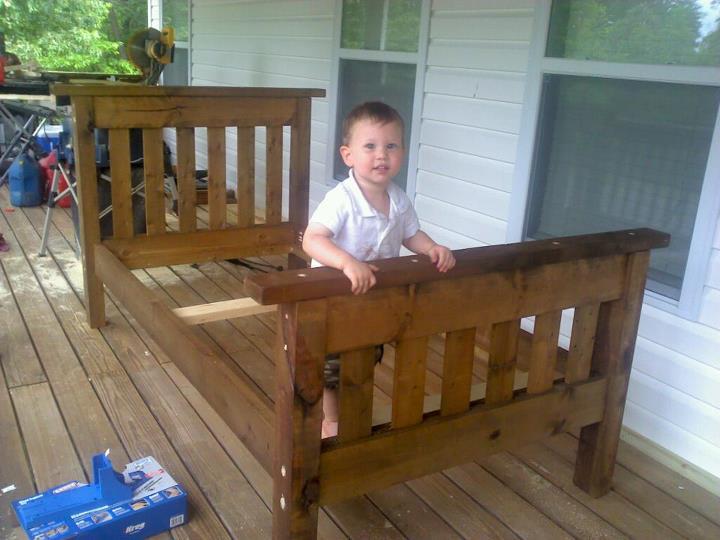
Simple Outdoor Bench
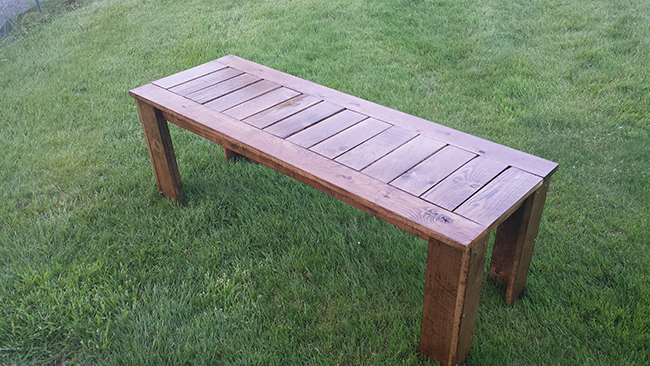
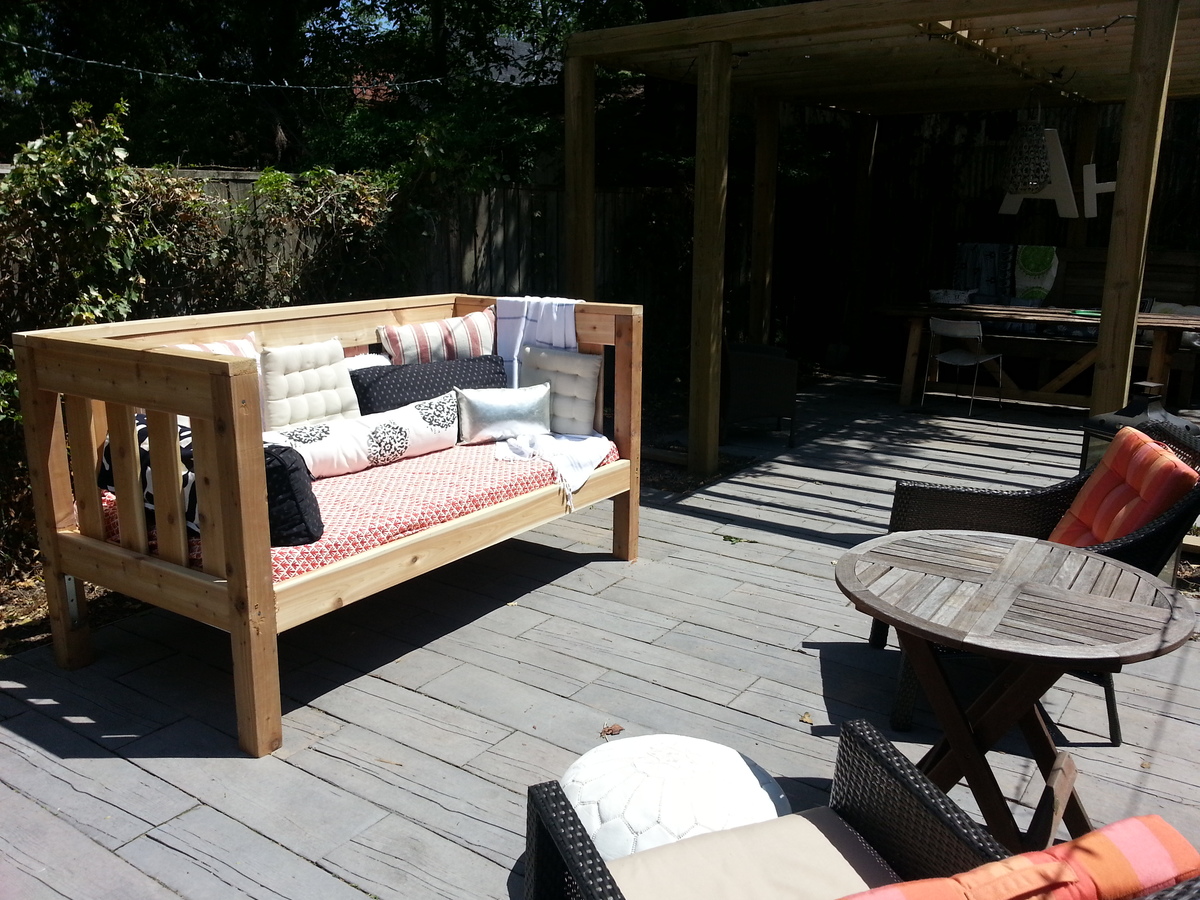
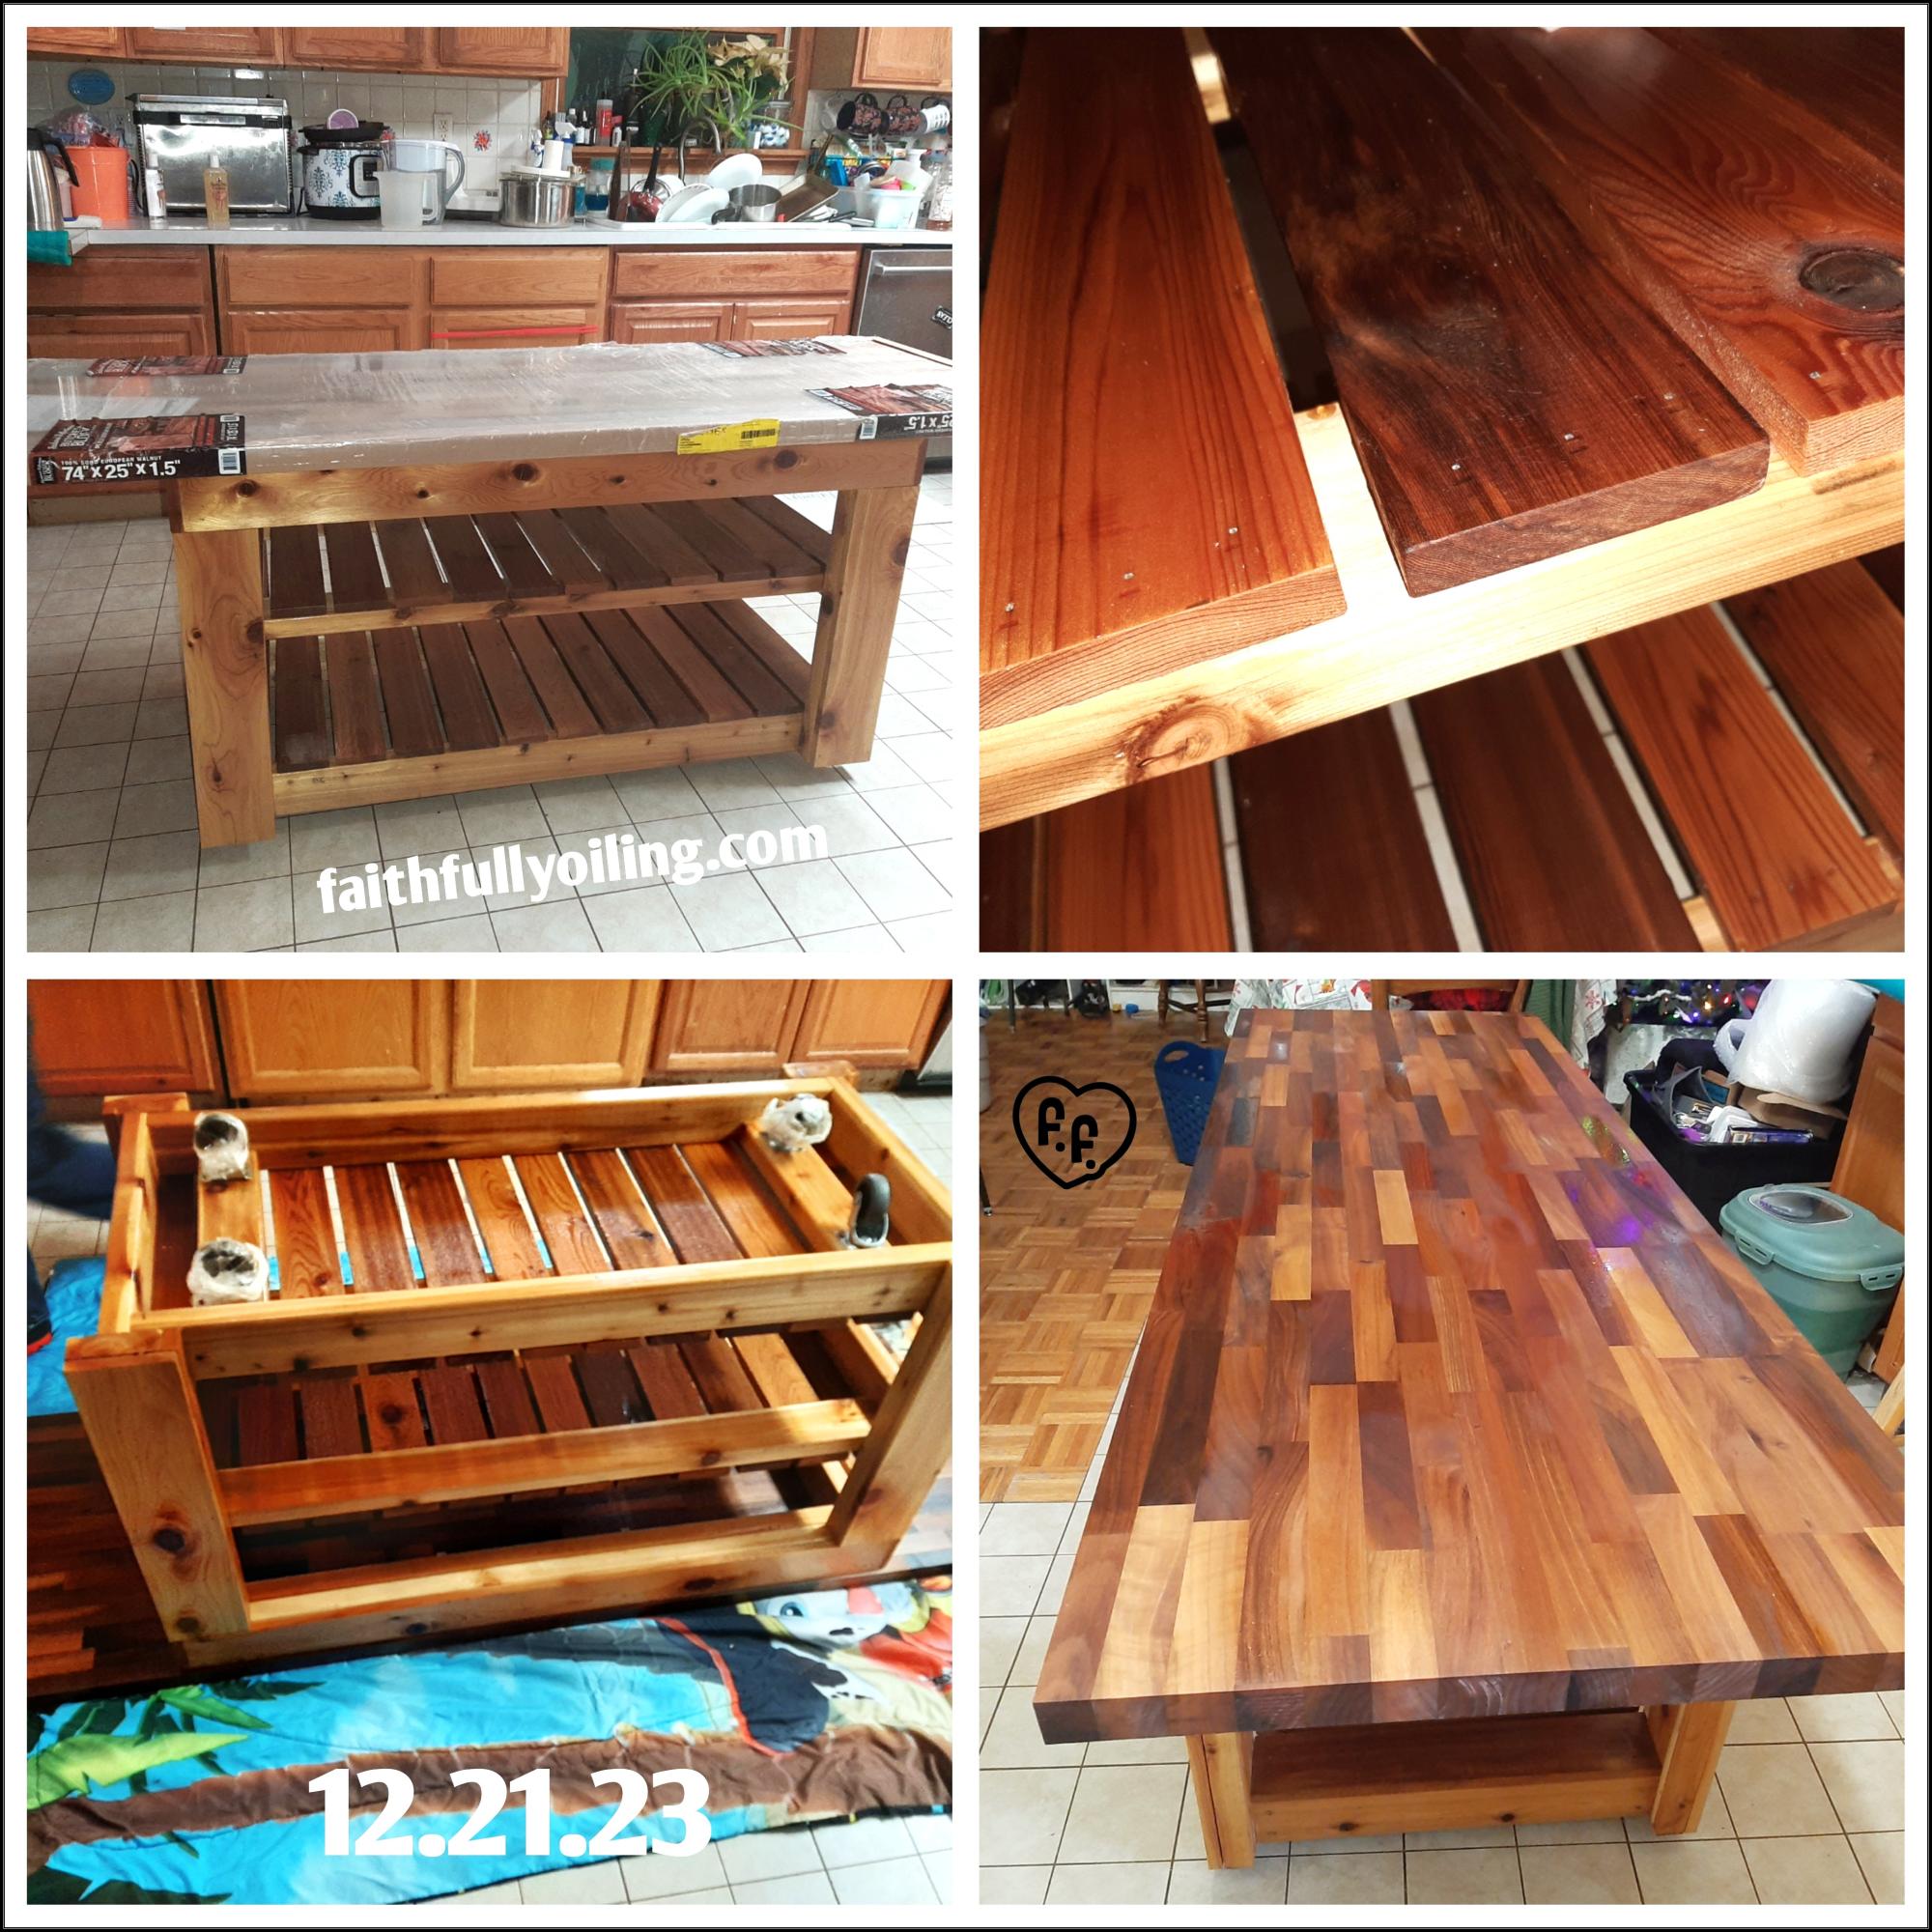
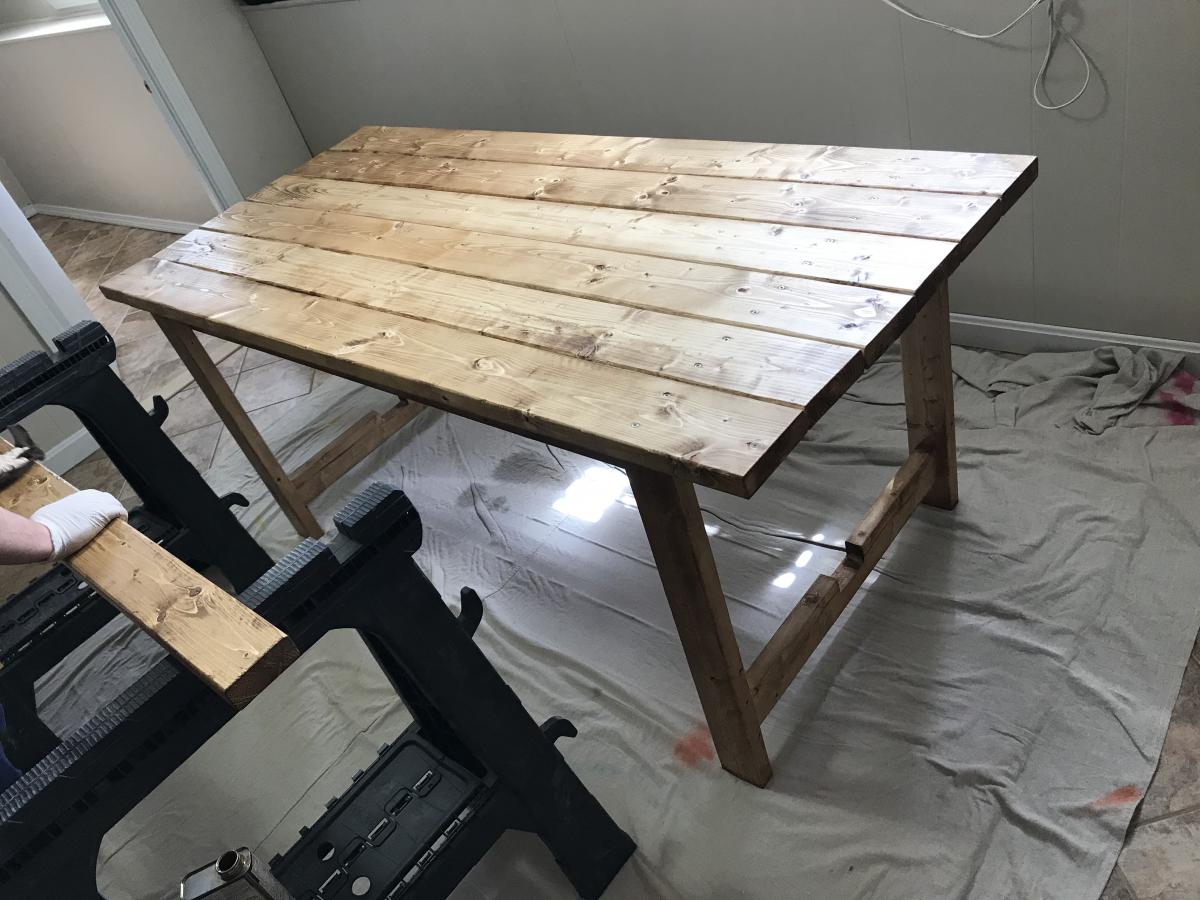
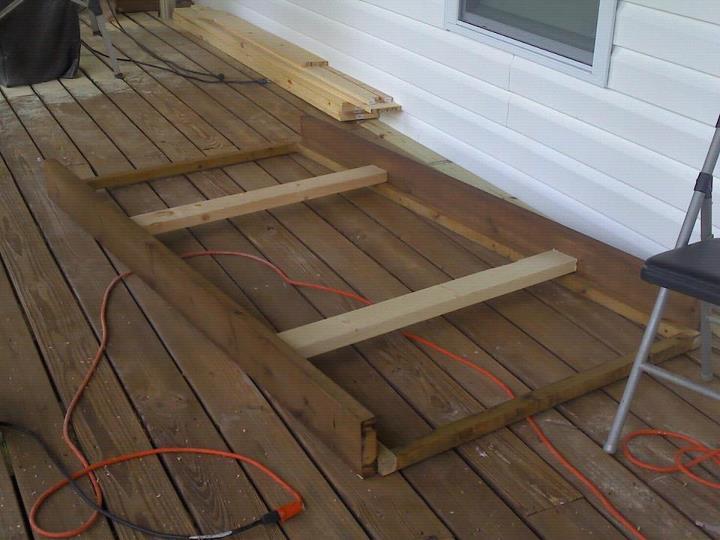
I wanted to make something for my mom so she could have a place to grow her herbs this year on the balcony for easier access instead of planting in the backyard. The project was stretched over a few days. Cutting on day one, sanding on day two, painting on day three and drilling and putting it together on day four.
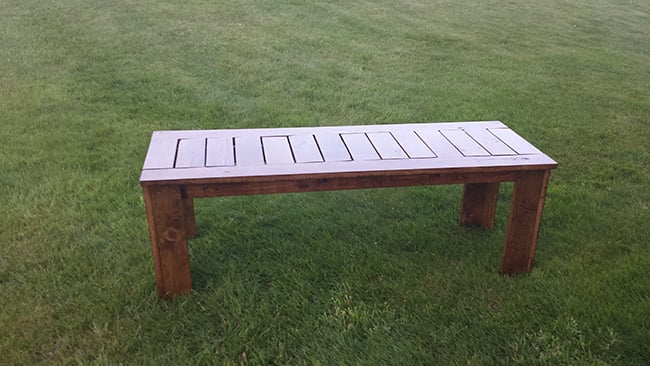
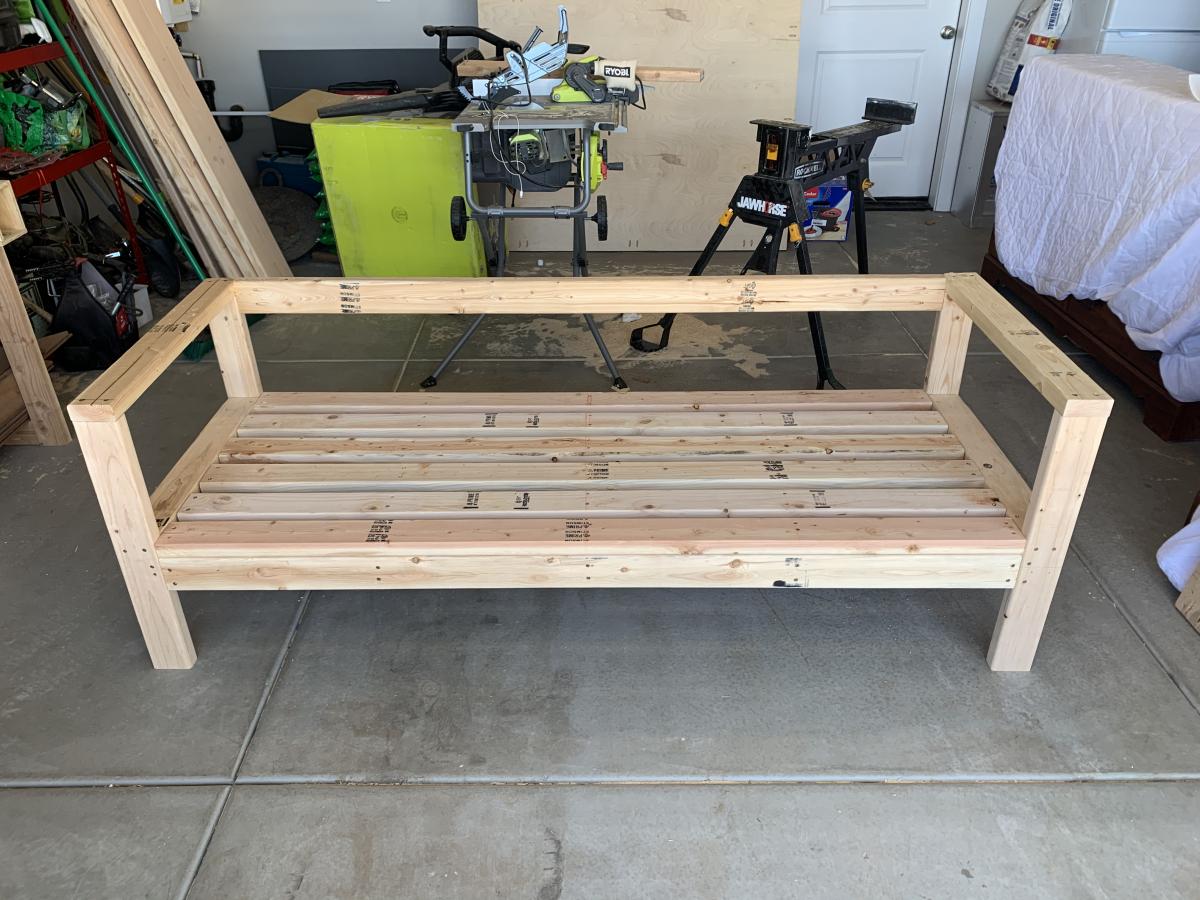
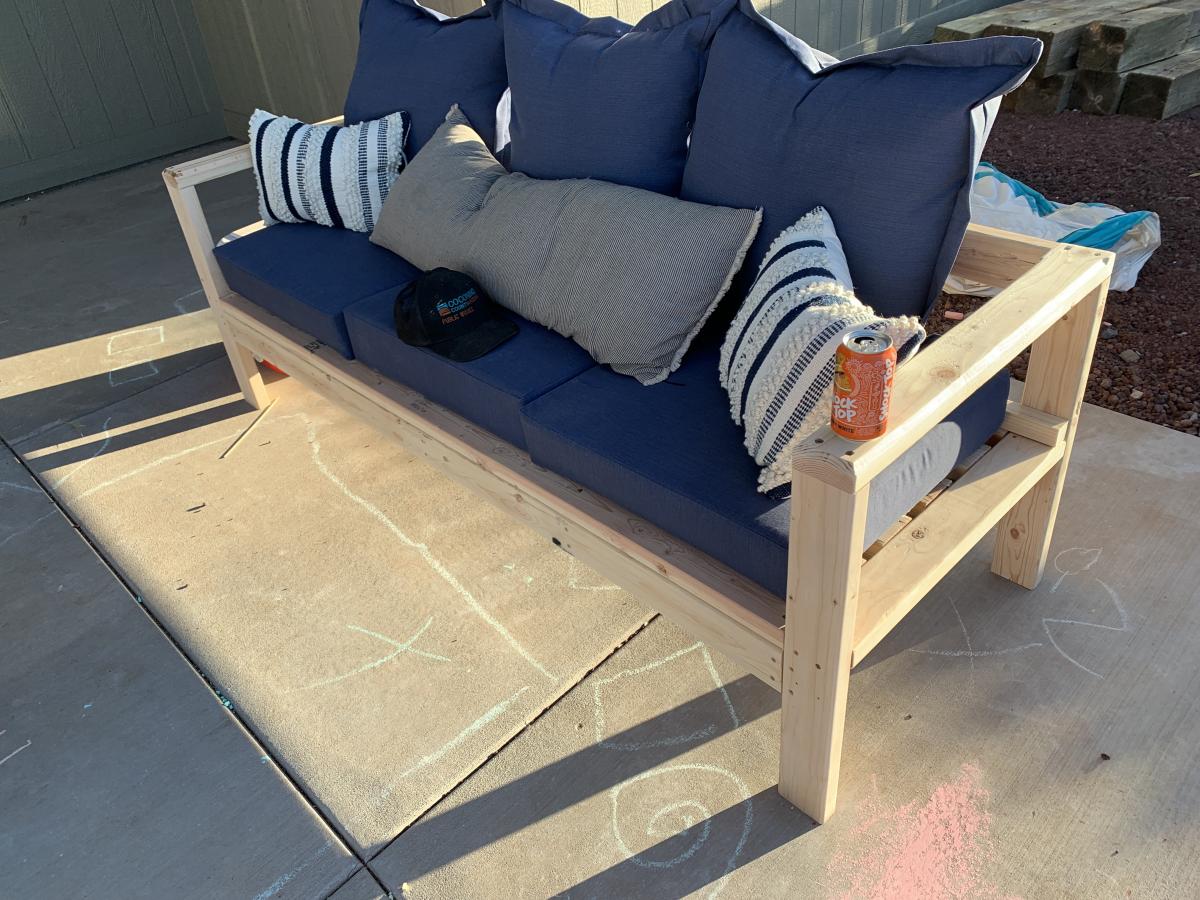
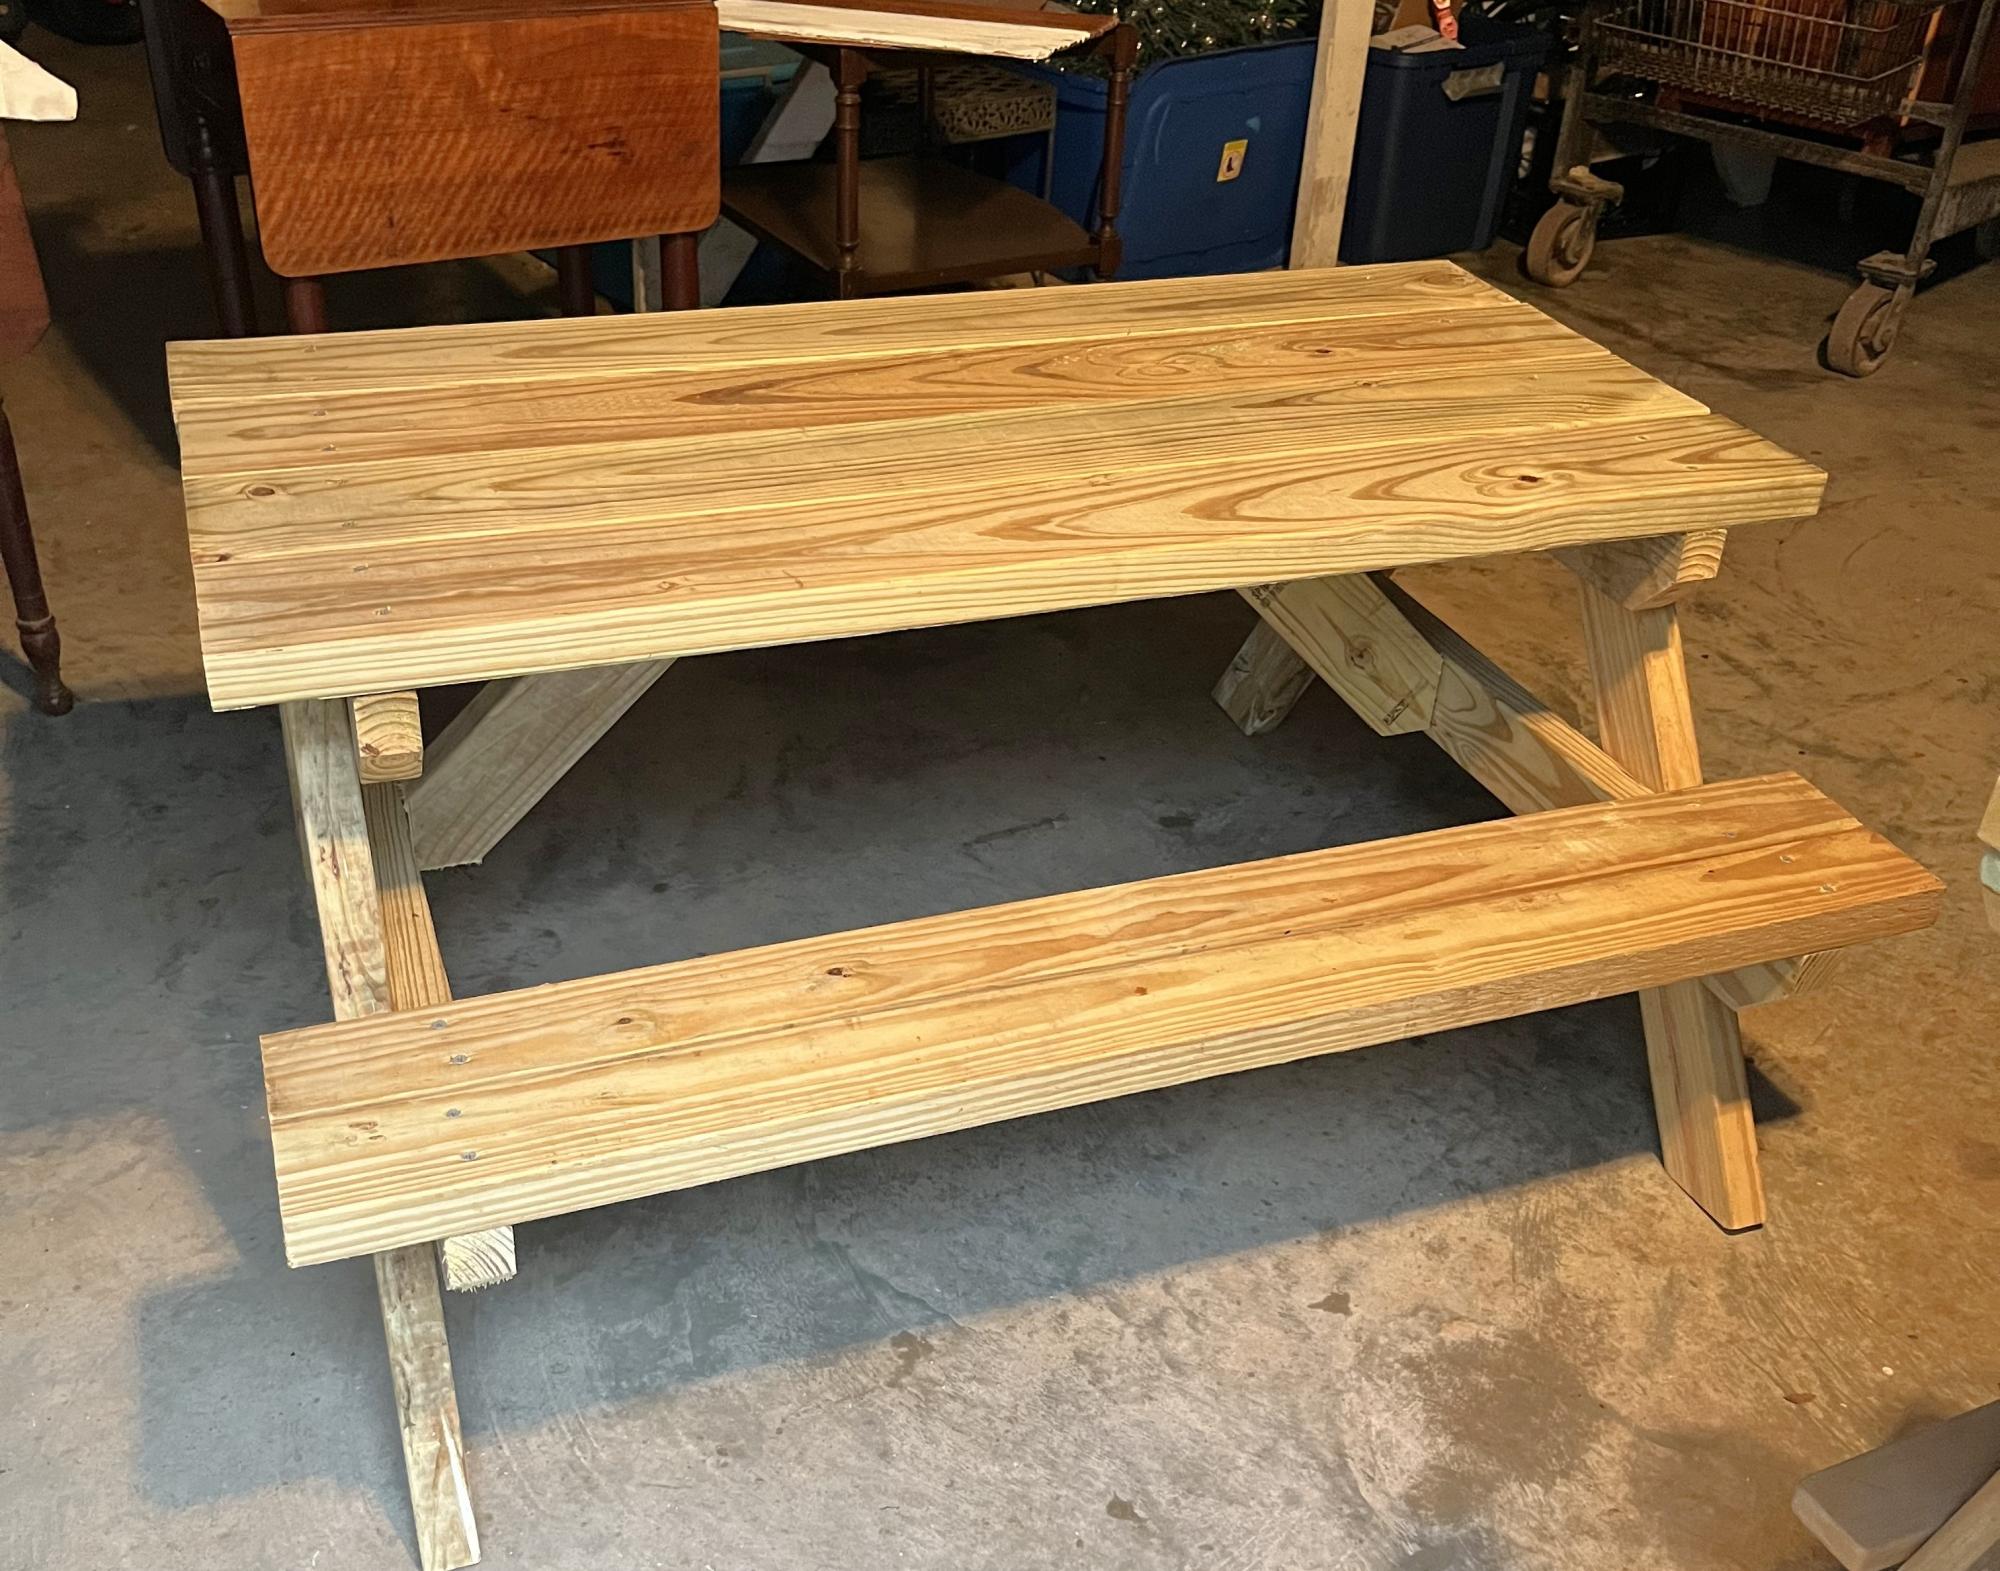
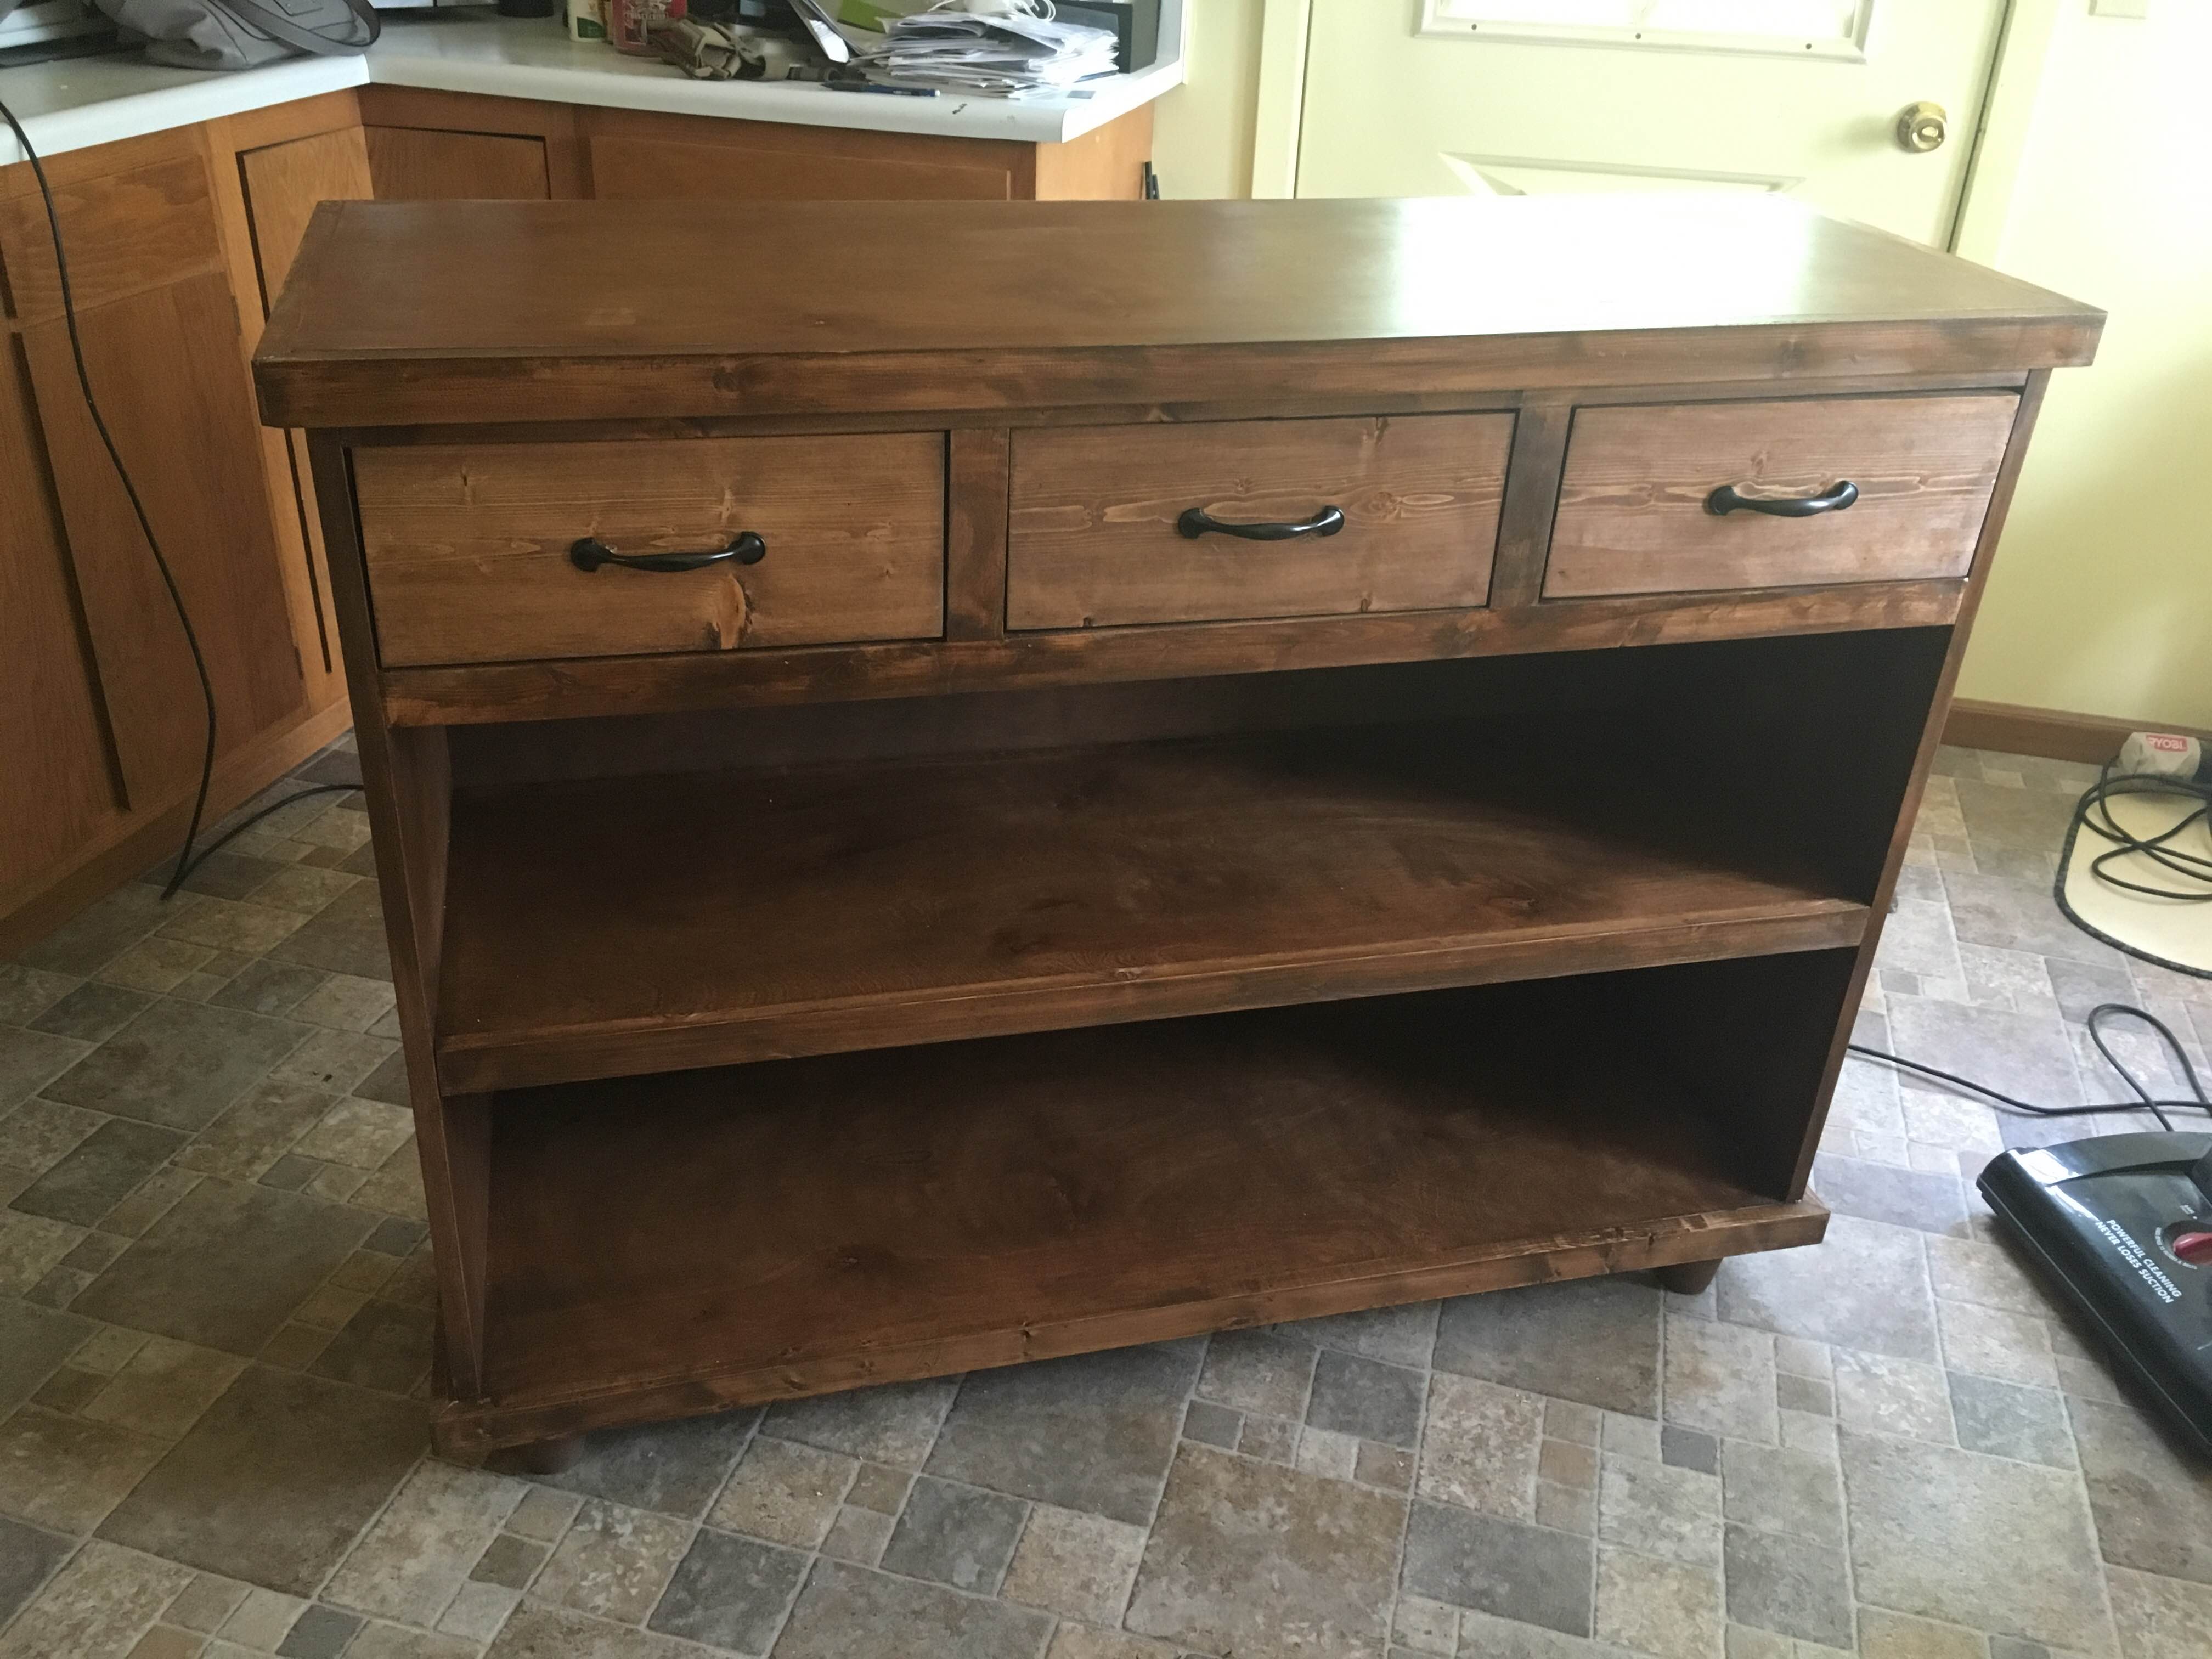
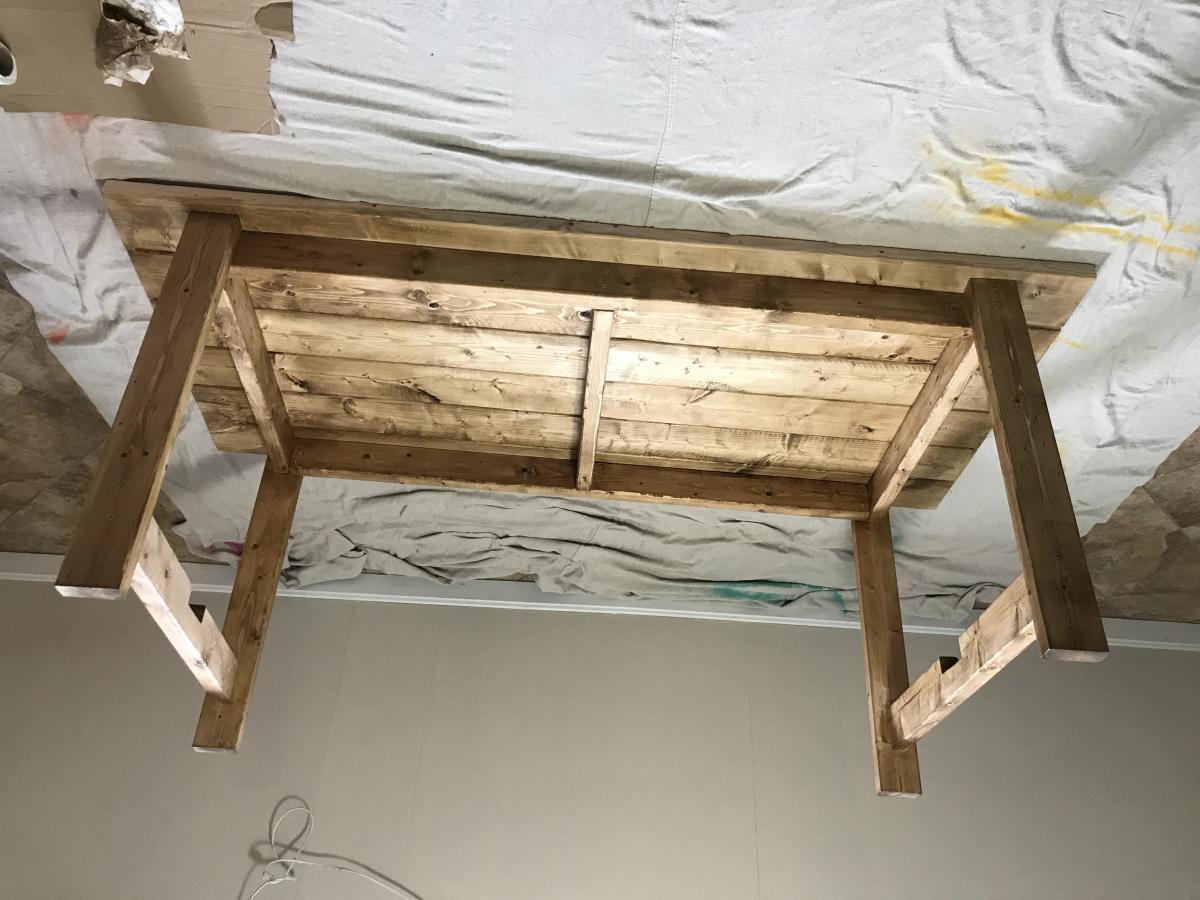
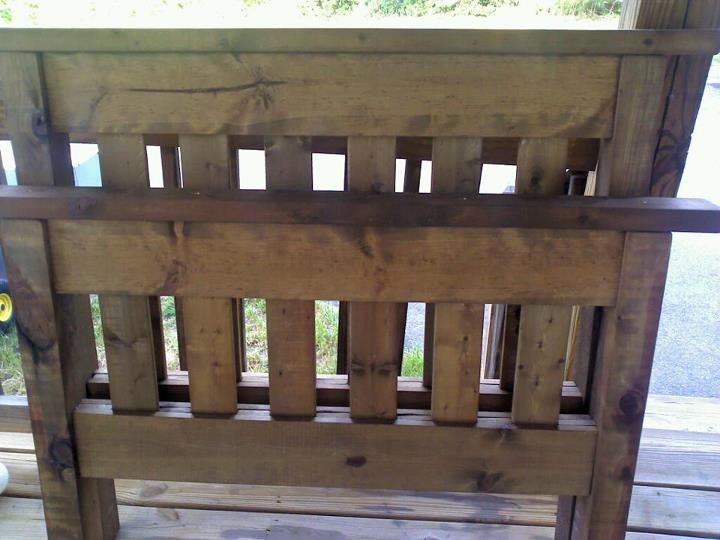
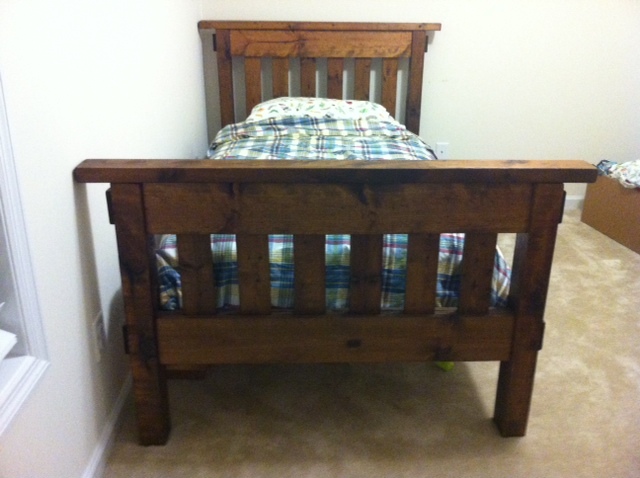
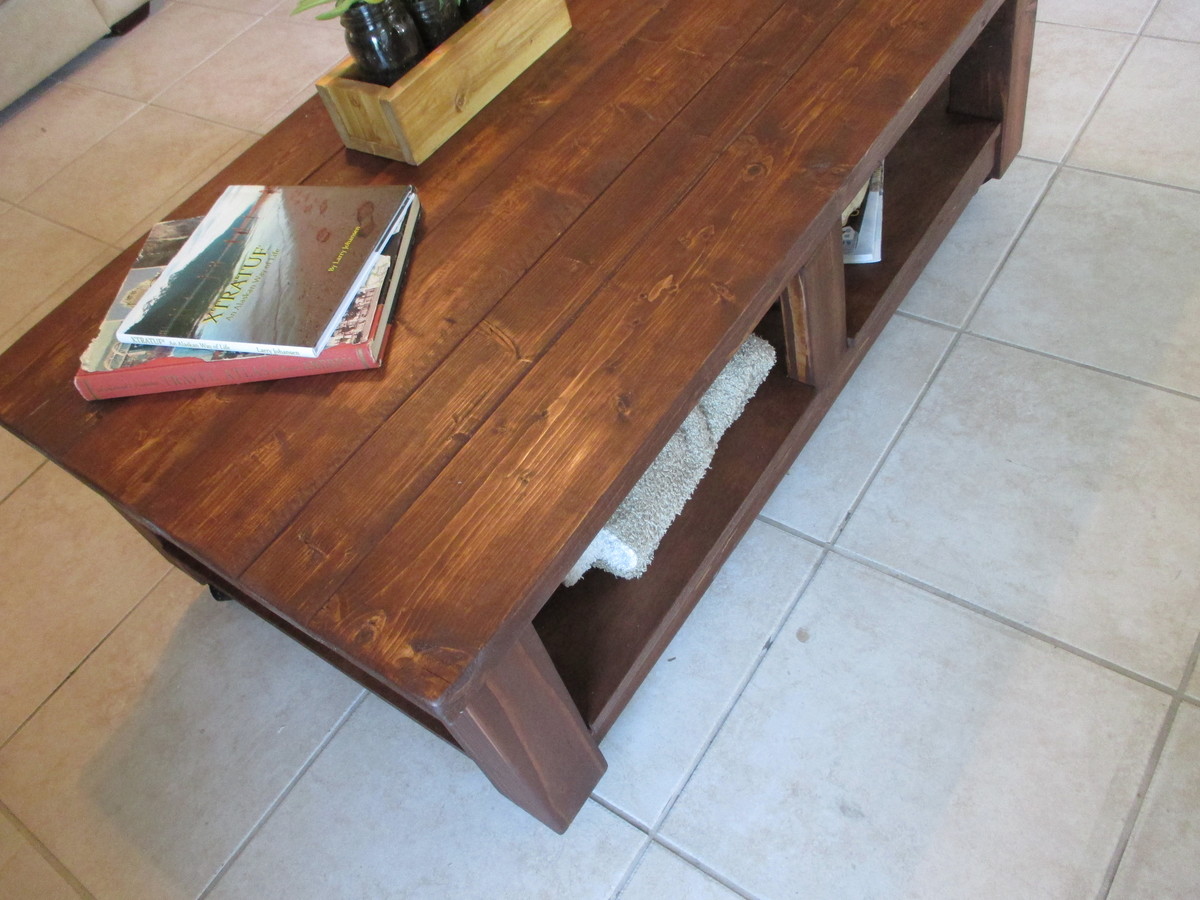
With the exception of the legs, the entire bench was put together using the Kreg Jig mini. I added extra 1x4s to the legs. Though, next time I will change to either 2x4s or 4x4s for extra stability when sitting. I really love how it turned out. I almost don't want to put it outside.
Built from Plan(s)
Estimated Cost
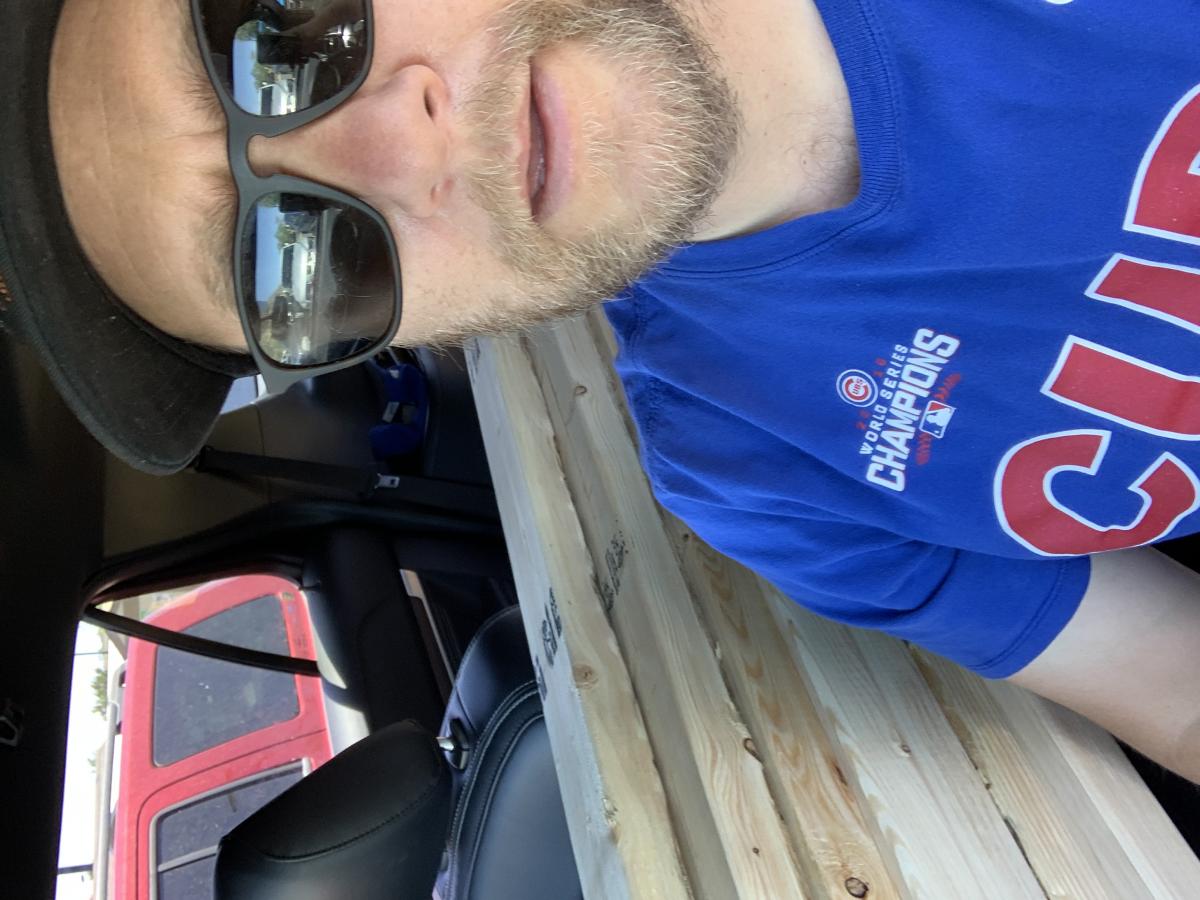
$30 for wood
Estimated Time Investment
Weekend Project (10-20 Hours)
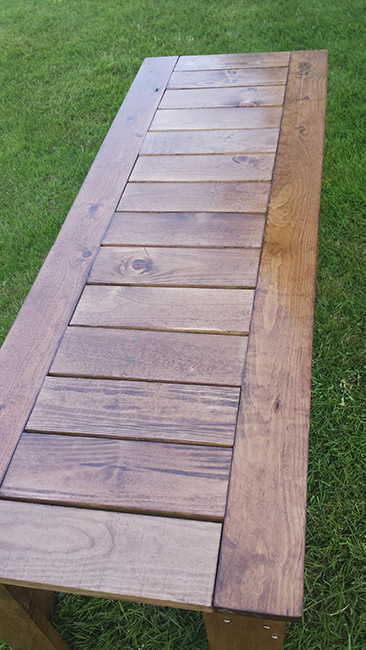
Finish Used
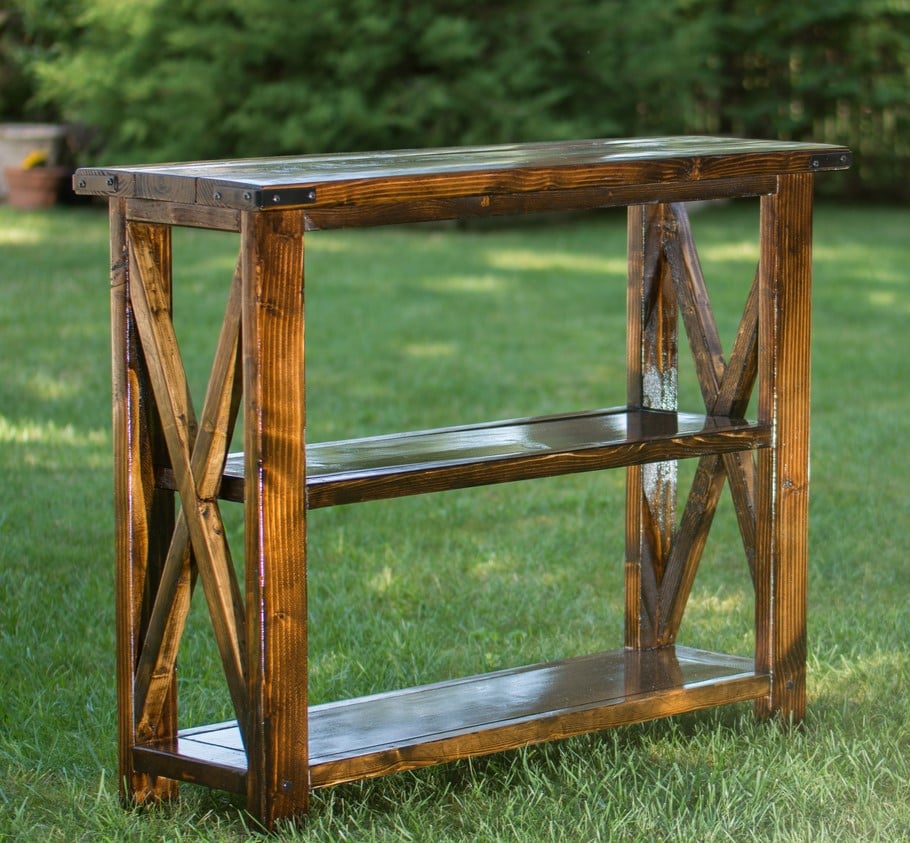
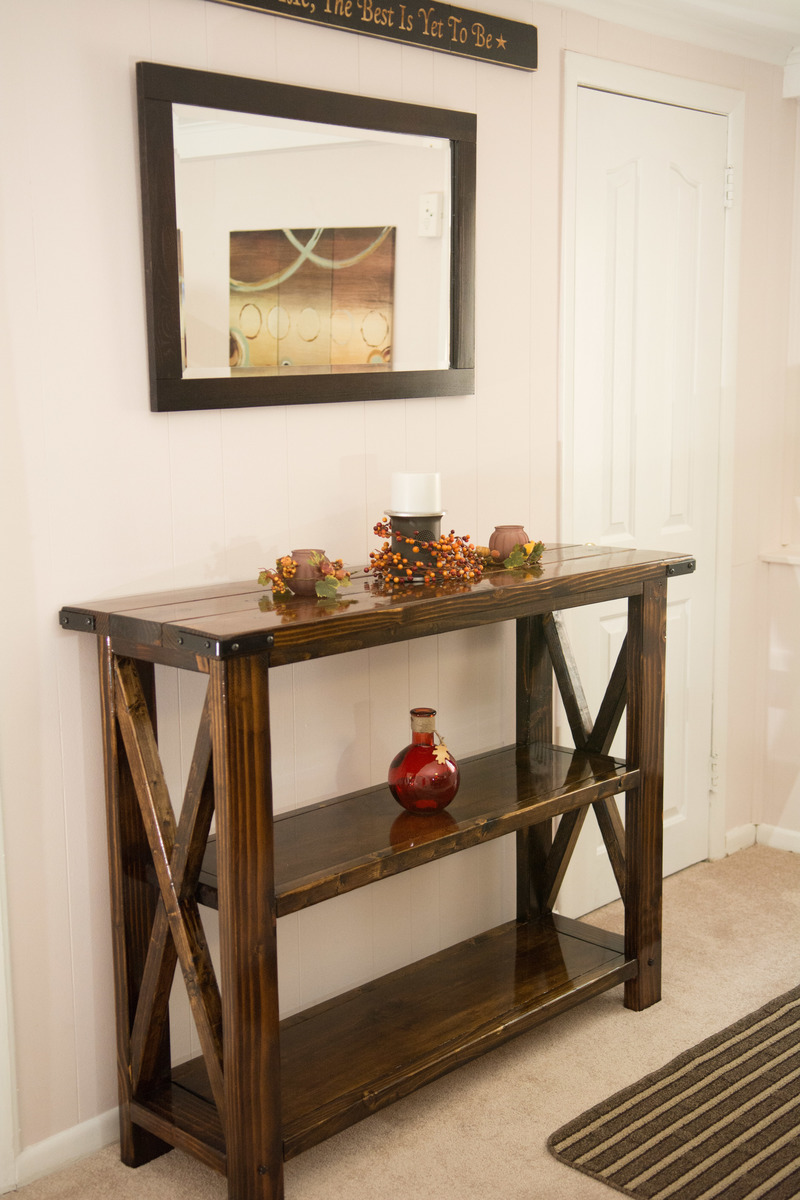
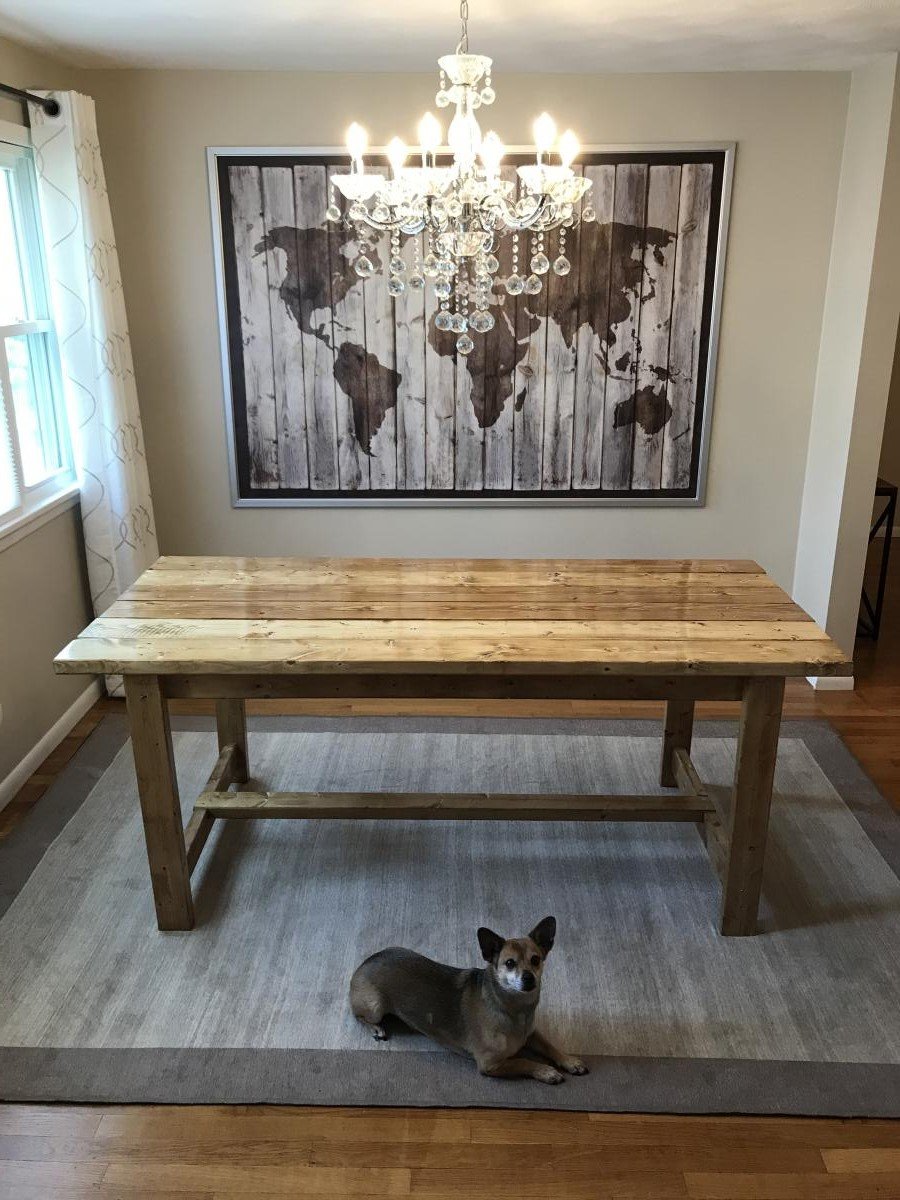
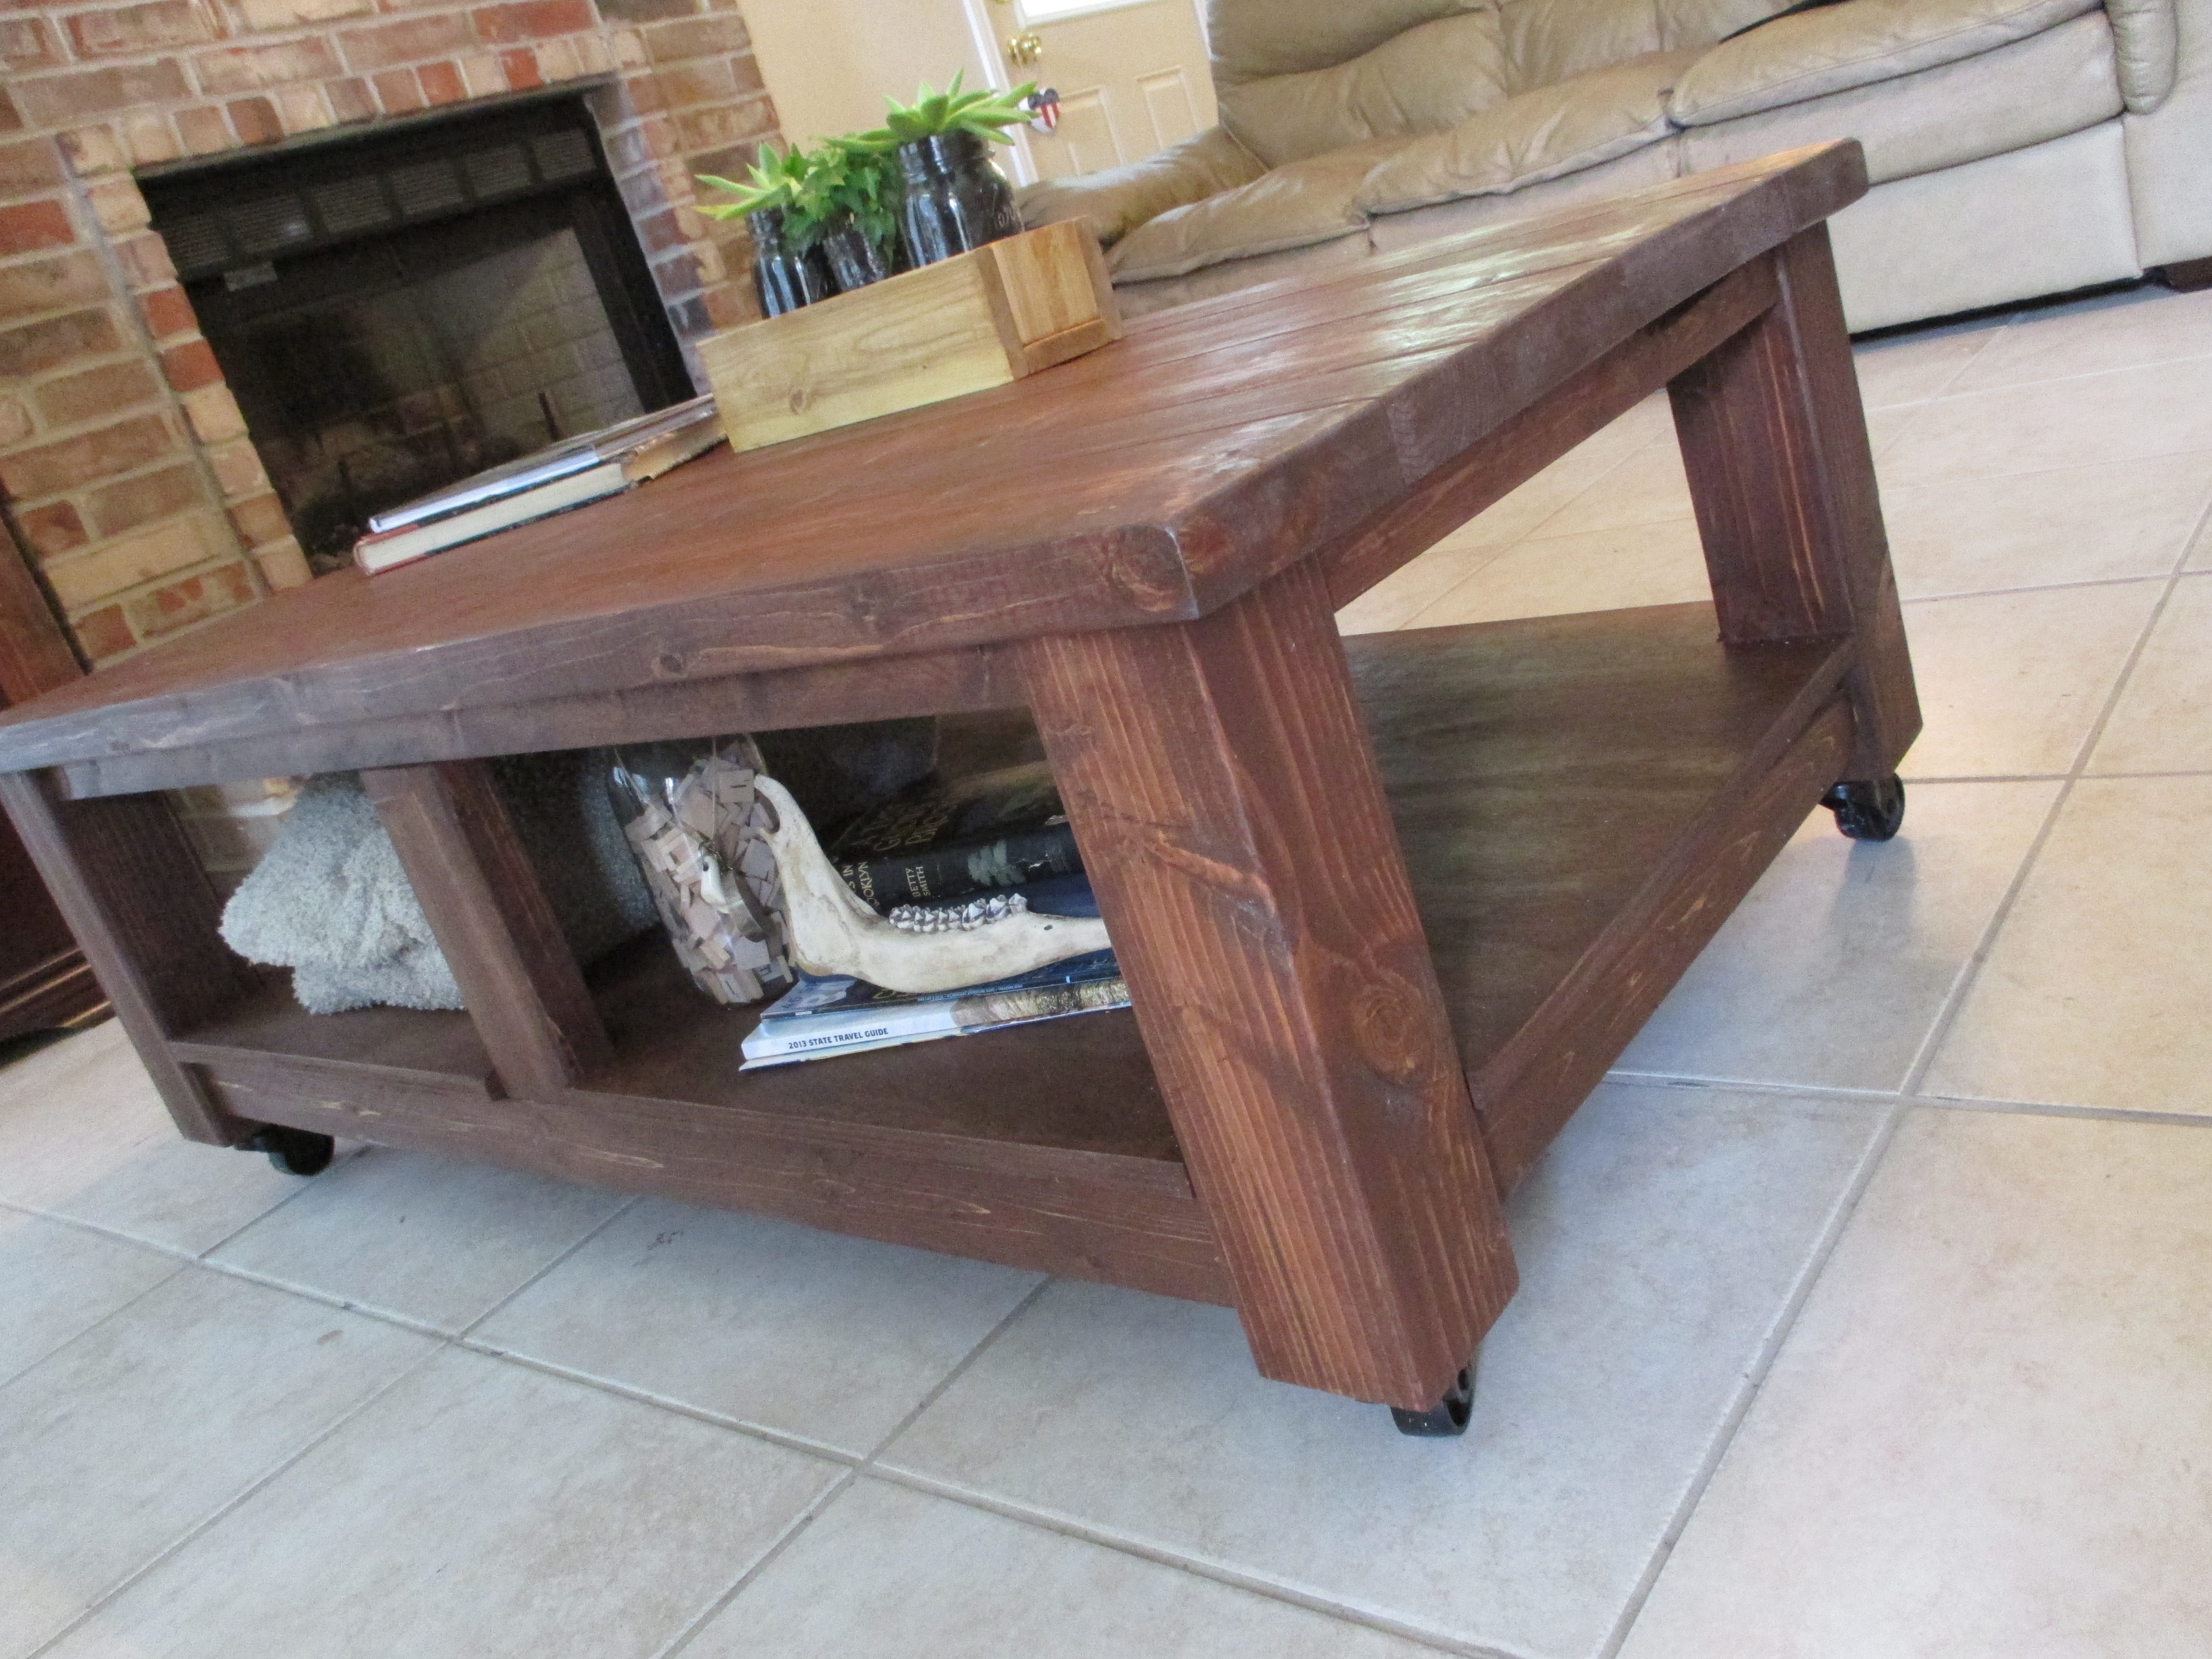
Varathane Dark Walnut and Cabot Semi-gloss Spar Varnish. The finish had been sitting in my garage unmixed for a few months. It came out a lighter color then I expected but I love the outcome.
Recommended Skill Level
Beginner


Comments
lbadger
Wed, 11/25/2015 - 16:28
Question about stability
I love how your bench came out! I am looking at doing something similar - two in sectional arrangement to use as project/work space seating and convert to spillover sleeping area (the table will lower to bench height). I have a question about stability.Even with the additioanl 1x4 are you finding this bench not very stable?
thanks!