Community Brag Posts

New Kitchen Cabinet

Had a blast building this project. from printing the plan to first coatings of stain was roughly 10 -14 hours including 2 trips to HomeDepot. I opted to use the PineShop Laminated Pine Shelving / Project Wood It has a really great look when done, and as Im in Canada some prices where a little higher than i had hoped. when purchasing the laminated pine panels, i got 3 panels at 48 inch long by 16 wide (for the top bottom and shelf and 2 panels at 36 inch long by 16 inch wide for the sides. these are actually 16 inch wide so if you need to make them narrower run them through your table saw or have the home depot team trim them to the width you prefer or buy the narrower 12 inch panel . Again it was a blast to build, between the kreg screws needed and the panels and lumber and 1/4 plywood back panel and 3 centre mount drawer slides this project came in at $245 Canadian the Stain i used i have plenty of on hand, but if you don't have any on hand add $10 or $20 to your price
Estimated Cost
$200 - $300
Estimated Time Investment
Weekend Project (10-20 Hours)
Finish Used
Stain on hand
Recommended Skill Level
Intermediate

Bunk bed shelf

Submitted by dkkachik on Tue, 10/22/2019 - 09:31

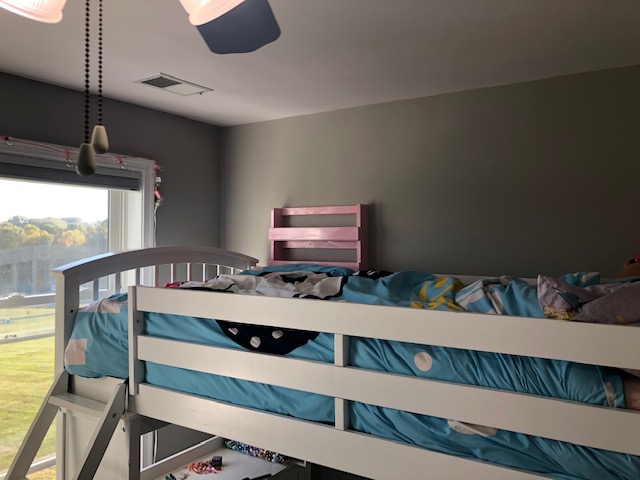
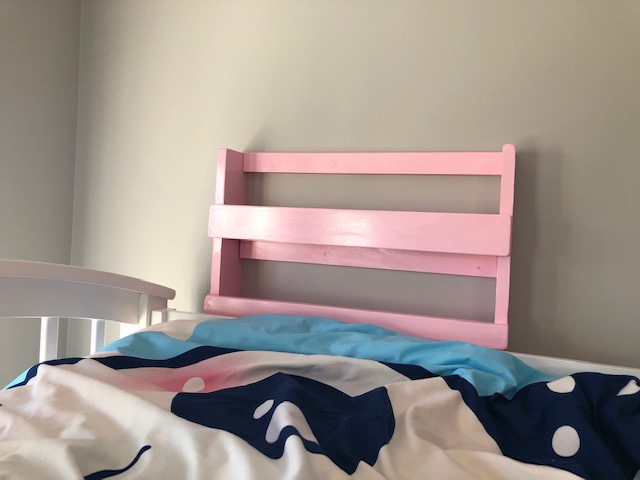
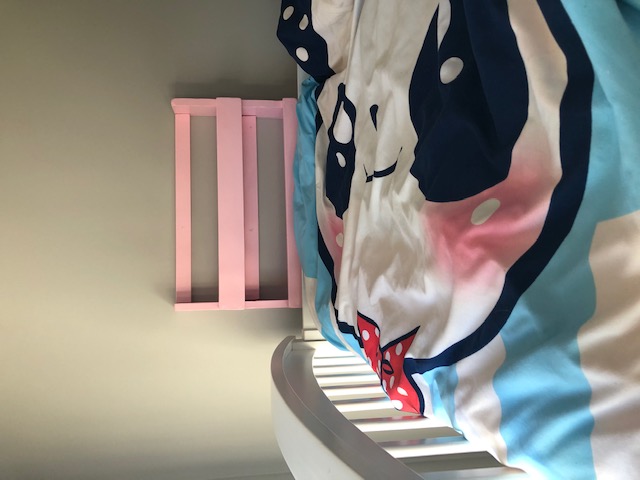
My daughter asked me for a shelf near her bunk bed to put books, glasses, pen, etc. on.  I found this plan and made it that day.  Self cost less than $15!!  She loves it.  It was super simple to do!  

Estimated Cost
$15
Estimated Time Investment
Afternoon Project (3-6 Hours)
Finish Used
Gloss spray paint
Recommended Skill Level
Starter Project

Outdoor TV Lift with Electric Fireplace

Submitted by Anonymous (not verified) on Sat, 07/08/2023 - 10:27

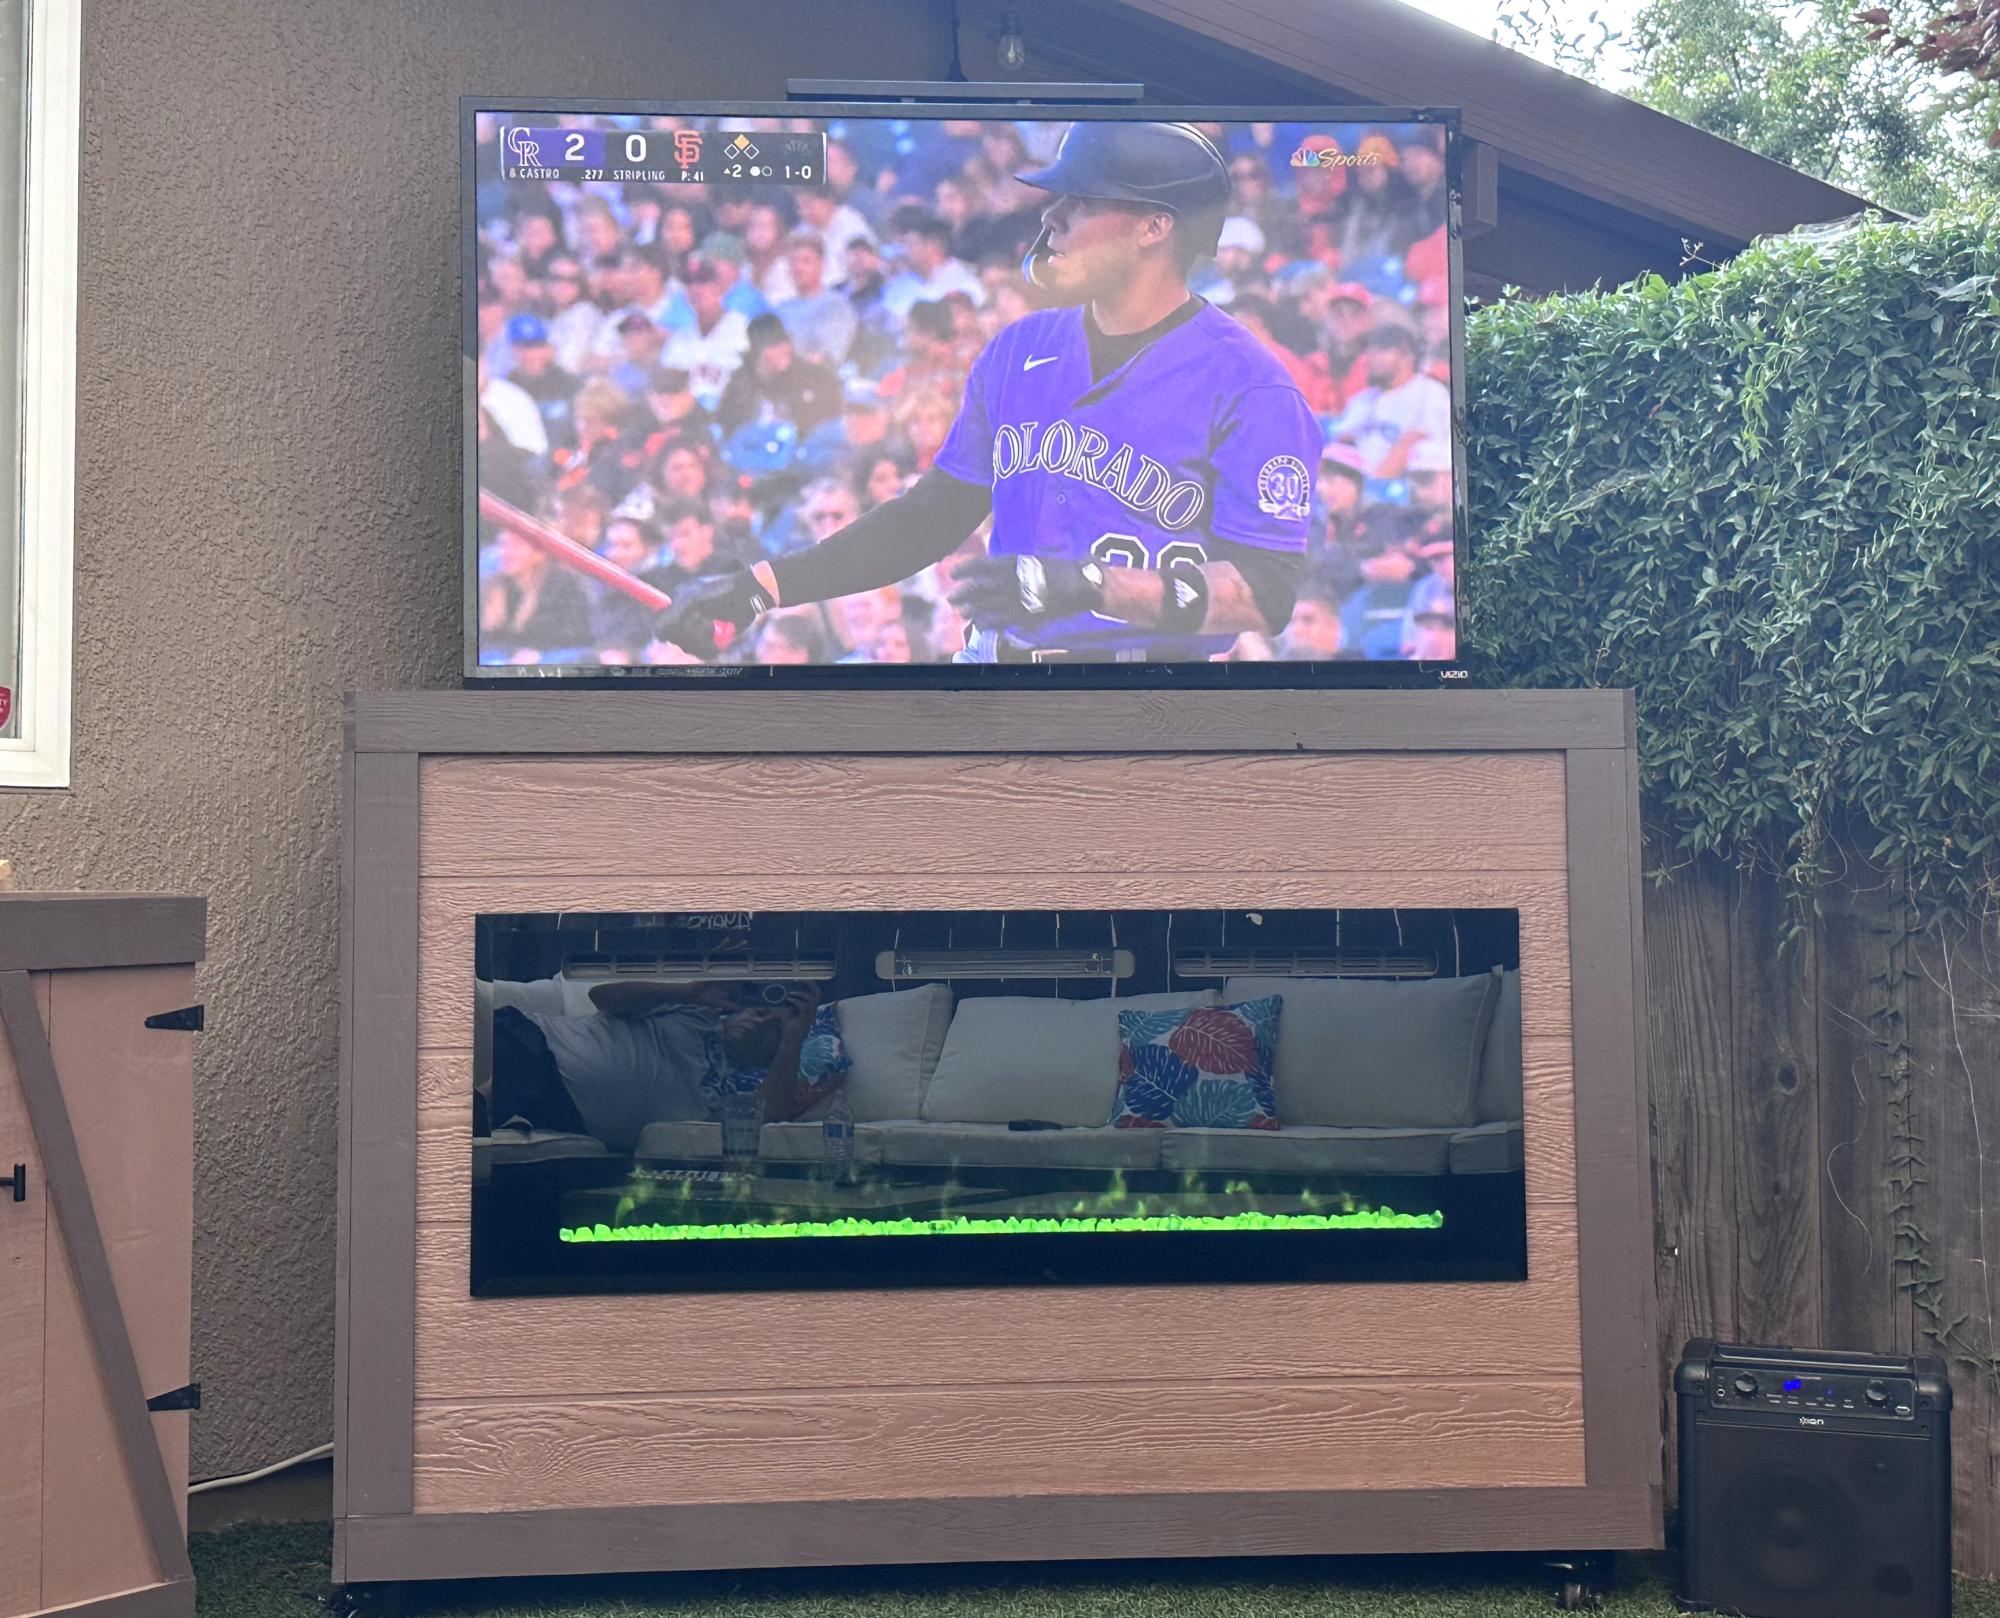
I built a TV lift with an electric fireplace cabinet. It’s 5x2 with casters for easy mobility. It goes perfect out in my bar area. I used siding all around in and the top is pinewood with a lacquer coating for long lasting.
Outdoor Sectional

Submitted by Boogiemy on Tue, 02/28/2012 - 05:54

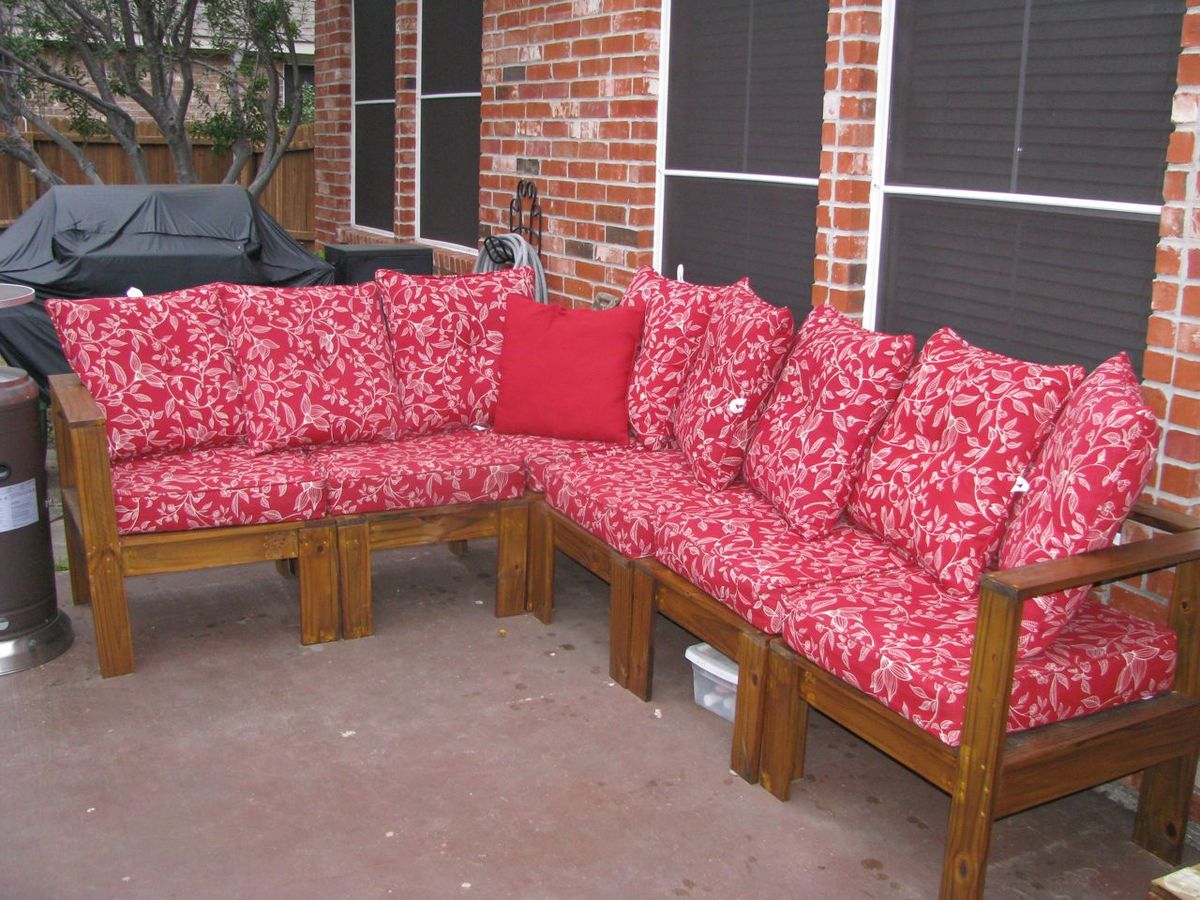
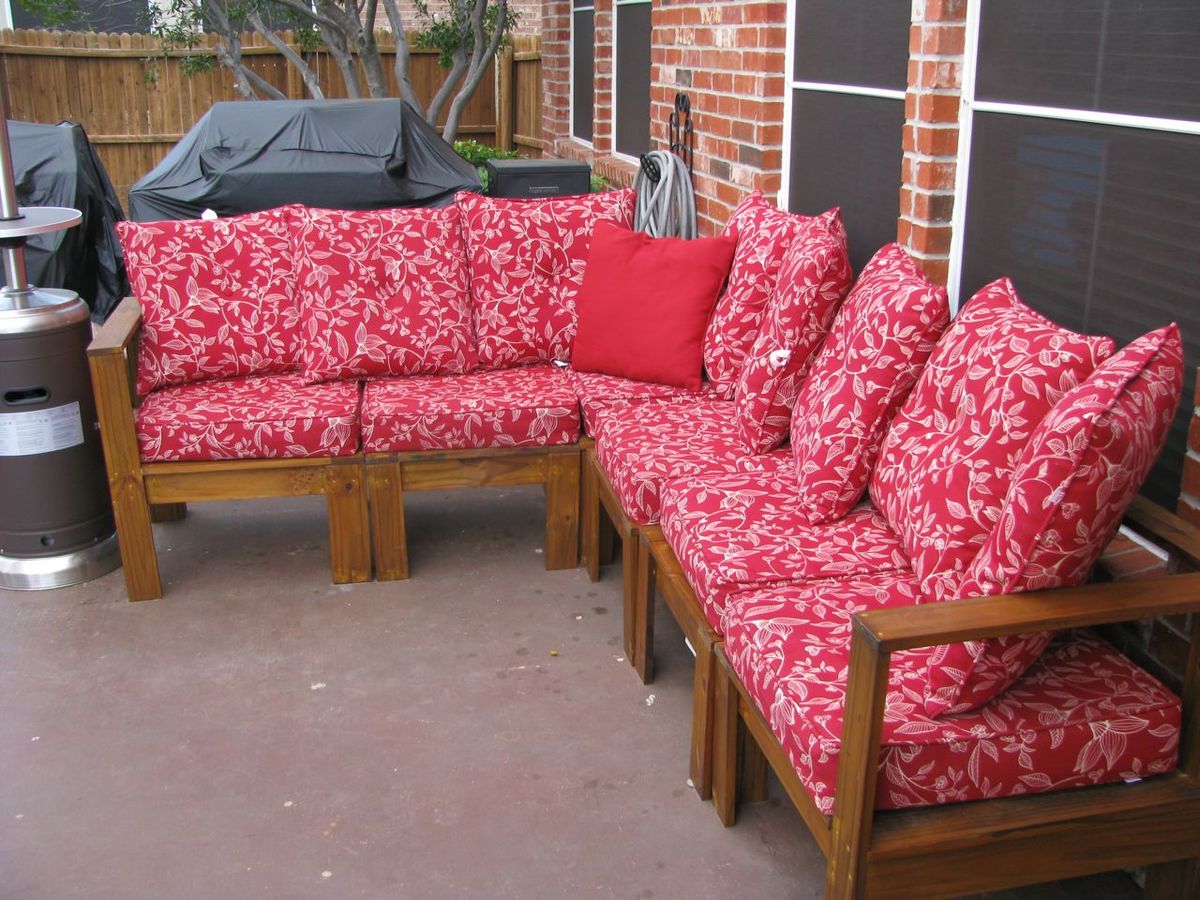
We built this sectional for approximately $700. The wood and supplies cost about $200. The cushions were the most expensive, about $500. We wanted 24 inch wide and 5 inch thick cushions that were well made. I ended up ordering them online from Wal-Mart. The project could have taken about one day, but due to work and kids, it took us about a week.

Estimated Cost
$700
Estimated Time Investment
Day Project (6-9 Hours)
Finish Used
Cabot Australian Timber oil in honey teak
Recommended Skill Level
Beginner

Comments

Toy Storage

Submitted by bridge318 on Mon, 12/30/2013 - 14:17

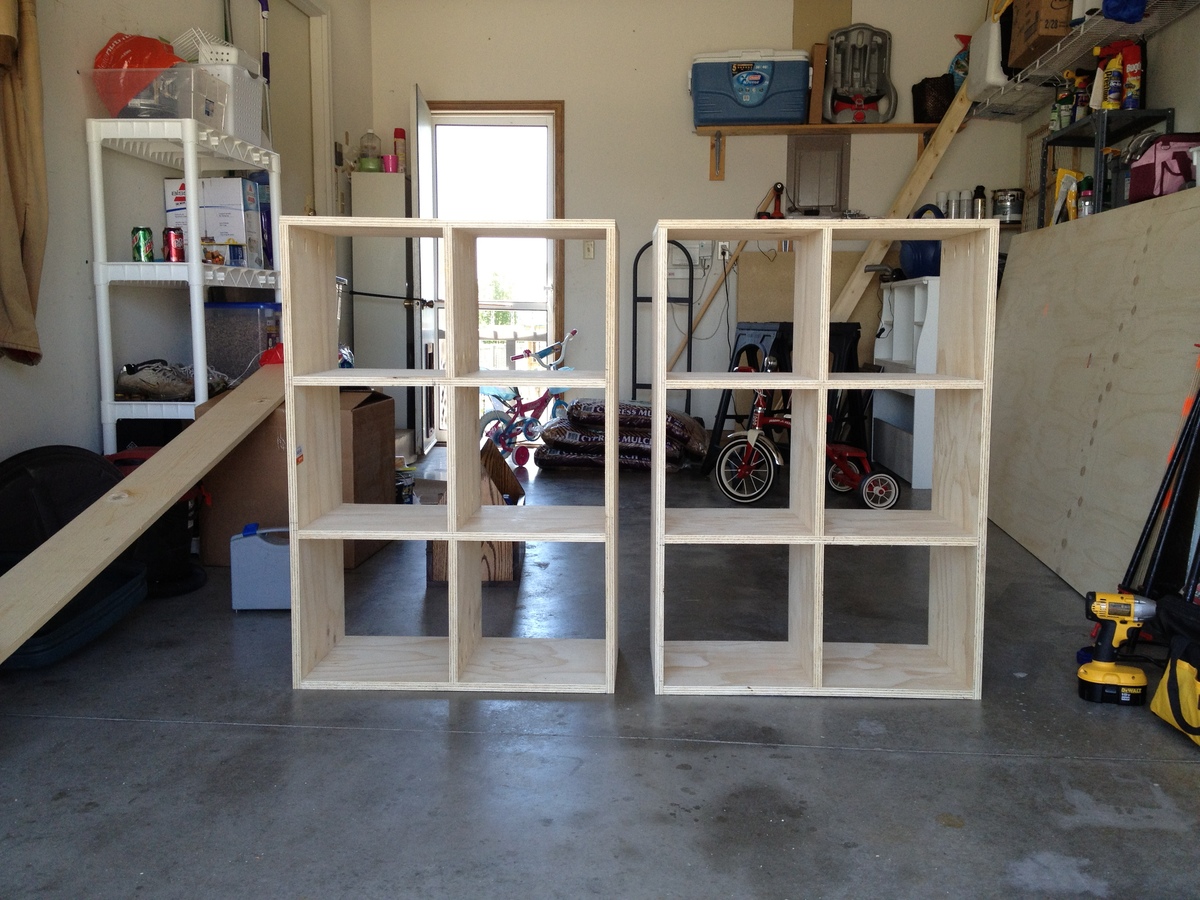
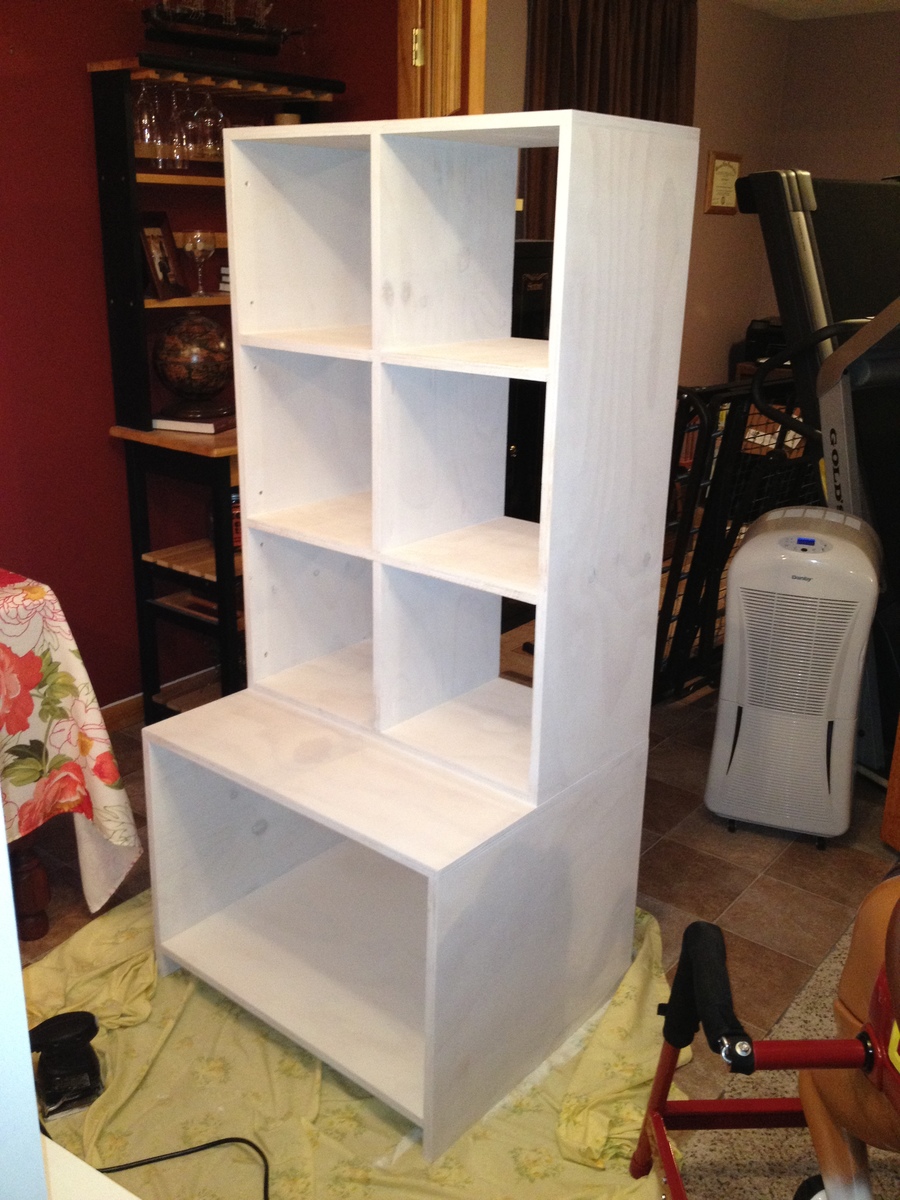
Half of the spare bedroom in our basement is our toy room and I wanted to be able to host visitors without them being overwhelmed by our toys. The units on top are three separate units. We didn't divide the middle unit so we could use as book shelves. The open units on the bottom are tall enough for car elevators, etc. I like the half units on top for the plastic storage boxes where I have craft/art supplies (I don't want my kids getting that when I'm not in the room!). We used white paneling on the back of the shelving. We used a piece of trim on the bottom to cover up the legs, but I wanted to show you that the entire unit does not sit on the carpet. The totes are Martha Stewart brand from Home Depot. (I apologize for the blurriness of the last photo.)

Estimated Cost
$350
Estimated Time Investment
Weekend Project (10-20 Hours)
Finish Used
Kilz Primer (1 coat) and High-Gloss White paint (2 coats)
We waited to paint until it was all put together, but if I could do it over again, I would paint the boards before assembling and touch up what was needed. I sanded in between each coat.
Recommended Skill Level
Beginner

Loved this plan! made ours 6x9

Submitted by Anonymous (not verified) on Mon, 03/14/2016 - 19:00

this project turned out better than I hoped

Built from Plan(s)
Estimated Cost
200
Estimated Time Investment
Week Long Project (20 Hours or More)
Finish Used
minwax english chestnut
Recommended Skill Level
Beginner

A Toy Chest for my Daughter!

Submitted by Anonymous (not verified) on Mon, 10/28/2019 - 13:02

I used these plans to build a toy chest for my daughter: https://www.ana-white.com/woodworking-projects/simple-modern-toy-box-lid

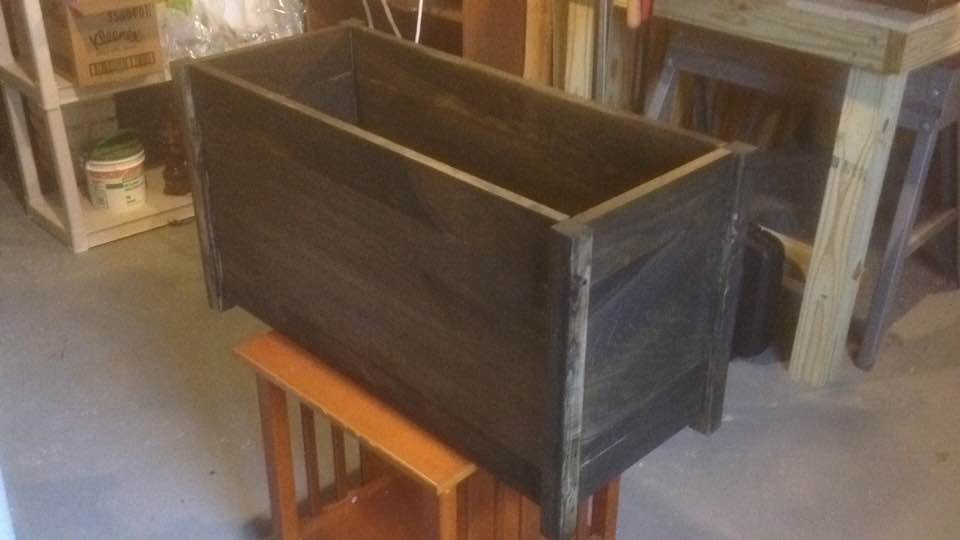
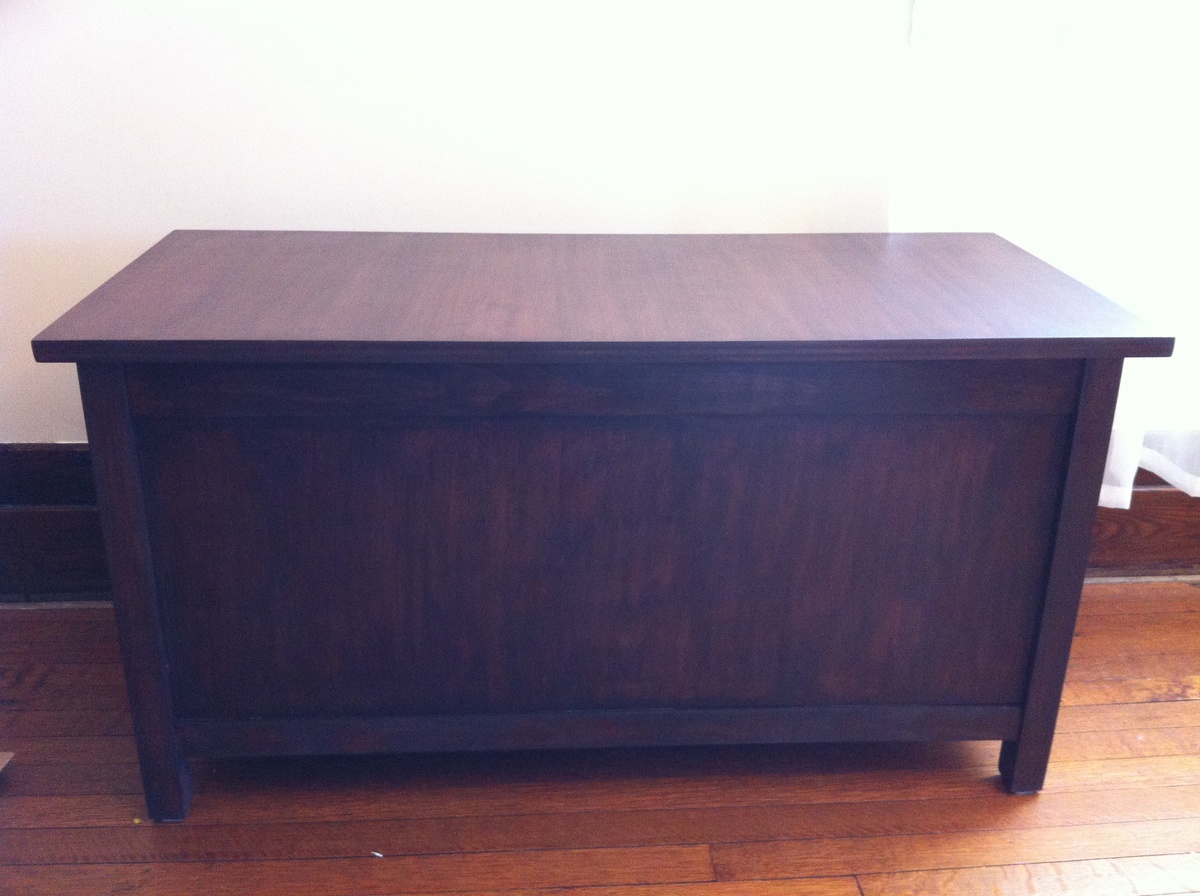
I skipped the lid and a few of the extra details, but I think it turned out alright! It was probably my second project ever, and my first at this size. Being so new to woodwork, I was unsure of a lot of my cuts, or even if I could find the proper pieces of wood at the store, but your plans helped me through a lot of it!

Built from Plan(s)
Estimated Cost
$200
Estimated Time Investment
Day Project (6-9 Hours)
Finish Used
Basic ebony stain
Recommended Skill Level
Starter Project

Farmhouse daybed

My son plays games while sitting on his bed, we love the farmhouse style, but for room sake and looks, making it this way turned out perfect. Took the basic layout added some thicker boards top and bottom and additional surface boards to give it depth. Since there was no footboard I built a free standing frame, and attached it to the headboard.

Estimated Cost
140
Estimated Time Investment
Weekend Project (10-20 Hours)
Finish Used
Minwax dark walnut and satin poly
Recommended Skill Level
Intermediate

Comments

JoanneS

Wed, 01/01/2014 - 06:35

What a fabulous daybed! You did an awesome job! The finish is absolutely gorgeous. And it's so timeless, it will last for generations. :)

Daviddickey

Sun, 01/05/2014 - 16:12

Thank you so much!! My wife helped sand and did some of the finish, it was a fun project... Super heavy, I'm hoping that leads to a lifetime of use.

Linda7

Tue, 01/07/2014 - 10:22

Joanne's comments are spot-on! Love this...and the finish is stunning!

Daviddickey

Tue, 01/07/2014 - 12:08

Thank you Linda!! Just used the wood conditioner, a coat of stain, 3 coats of poly, with a sand in between. I made a kitchen table using the same stain, it really is a beautiful color that my wife picked out.

Kburrell

Tue, 12/22/2015 - 07:42

This is the perfect playroom bed for a boy! I'm looking to build two of them. Every other bed I've searched that is farmhouse style is boarded on three sides. I LOVE this playform style for the same reason you mentioned....they can sit all around on the bed and it's much easier for kids to change bed linens.  I love the "chunkyness" and masculine appeal of this bed! You mentioned using thicker boards on the top.  Would you mind shag what yo used? Also, what did you use to make your "feet" on the bottom? I would appreciate any tips

Farmhouse table and bench

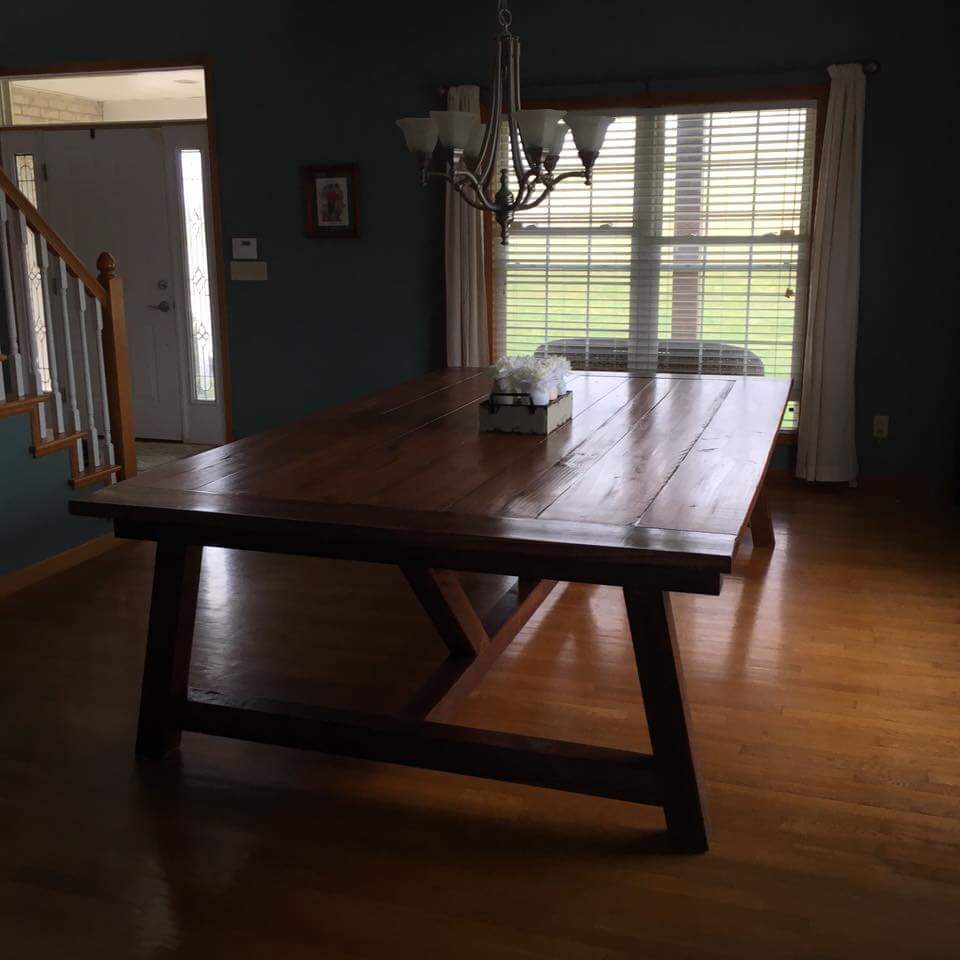
We loved the farmhouse table plan and the bench. We modified a bit to make it 6ft. We just loved how it turned out. We used cedar for the legs. We wanted something to contrast a bit. I didn't stain the legs just coated with poly.

Estimated Cost
$200
Estimated Time Investment
Week Long Project (20 Hours or More)
Finish Used
Minwax dark walnut and semi gloss poly
Recommended Skill Level
Beginner

Entry/Console Table

Submitted by Robinwood on Mon, 03/05/2012 - 22:35

A friend needed an entry table, so I went with the Cheap and Easy Console plan and found the baskets at Ross. I modified to include lower shelf and did a single board top because I was trying to avoid buying more wood.

Estimated Time Investment
Afternoon Project (3-6 Hours)
Recommended Skill Level
Beginner

Toddler Canopy Bed

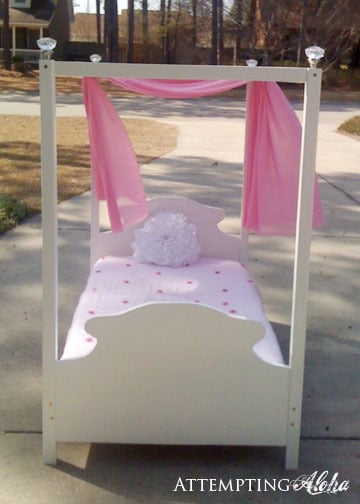
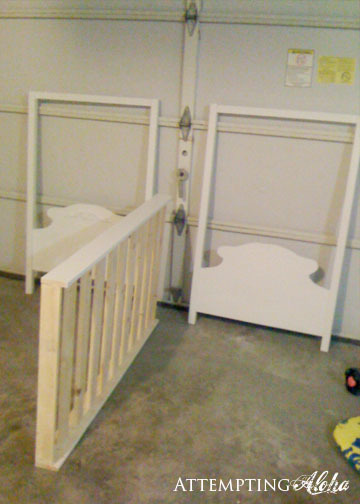
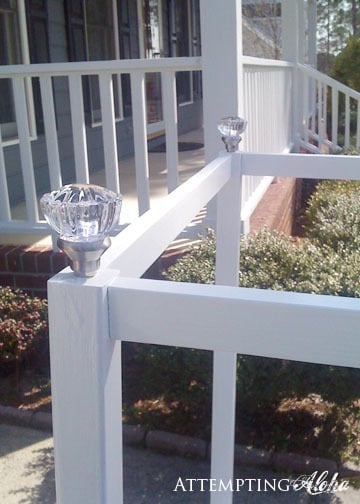
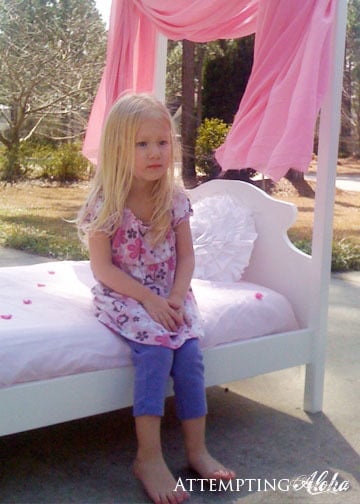
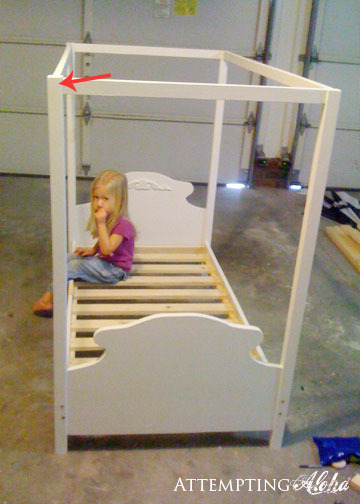
I designed and built this canopy bed without knowing Ana had already done a toddler canopy bed! Talk about reinventing the wheel. I should have known she already had plans up. ;)

Full plans are on my site, but I thought I'd add this as a brag post instead of a project plan since Ana's plans are already here. They're different, but the end result is very similar!

Built from Plan(s)
Estimated Cost
$20-50 depending on paint and finish supplies on hand
Estimated Time Investment
Afternoon Project (3-6 Hours)
Finish Used
Zinsser water-based primer, semi-gloss latex paint, and polycrilic topcoat.
Recommended Skill Level
Beginner

Simple Modern Toy Box with Lid

Submitted by christyp on Fri, 01/03/2014 - 11:13

I made this for our kids for Christmas. It was originally meant for their costumes but we loved the size, so we decided to use it for toys and a bench for meals at family gatherings. We're so happy with how it turned out!

Estimated Cost
$50-100 (i used pine for the 1x boards so increased the cost)
Estimated Time Investment
Weekend Project (10-20 Hours)
Finish Used
Saman water based stain, American walnut with a little chocolate stain mixed in.
Recommended Skill Level
Beginner

Had to be custom.

Submitted by Anonymous (not verified) on Tue, 03/22/2016 - 17:52

Thanks, Ana for the plan!  We were remodeling a nearly 60 year old bathroom and a store bought vanity would absolutely not fit. Using your awesome plans, we were able to get a vanity that would fit, and be one of a kind.

Built from Plan(s)
Estimated Cost
$300 for the cabinet.
Estimated Time Investment
Week Long Project (20 Hours or More)
Finish Used
Three coats of Valspar Cabinet Enamel in Sherwin William's Tri-corn Black. Wait 24 hours between coats and sand lightly with 220 grit. Then, two coats of Minwax Satin Wipe On Poly. Again, sanding even lighter between coats.
Recommended Skill Level
Intermediate

Comments

Personalized Porch Swing

Submitted by Anonymous (not verified) on Sun, 11/03/2019 - 11:14

When I got it all put together it just seemed to be missing something,so I went back and routed the name of the name of the bnb that I made it for.It was still missing character so I took the torch to it and finally stained it.I think it has character now maybe?

Built from Plan(s)
Estimated Cost
$85
Estimated Time Investment
Weekend Project (10-20 Hours)
Finish Used
Golden Oak Stain ,Torch Charred and Gloss Polyurethane
Recommended Skill Level
Intermediate

Boys Bunkbed Makeover

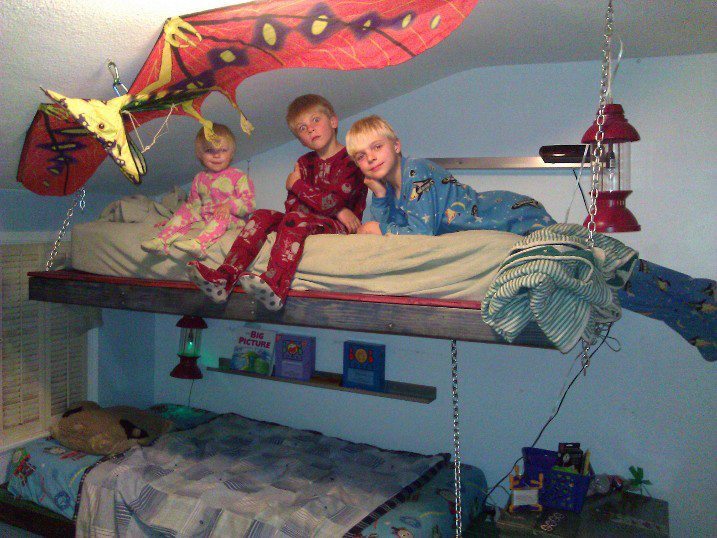
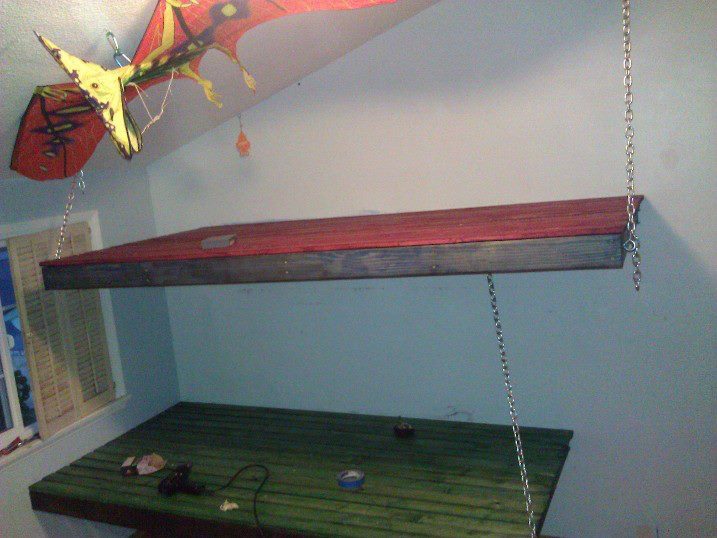
My hubby and I took the weekend to remove the loft and twin bed that was squeezed underneath it to give our boys more space in and around their beds. Thanks for the idea Ana, we like wood, but we also like color so the beds where stained two colors one for the frame and one for the slats. The boys chose red and blue, and green and black. We decided to hang the beds with chain from a stud in the ceiling. They were so exicited to sleep in their new beds that i believe bedtime will be much easier! Thanks Ana

Built from Plan(s)
Estimated Cost
$100
Estimated Time Investment
Weekend Project (10-20 Hours)
Finish Used
2 X 4 pine
1 X 3 pine furlings
Stained with color tinted Minwax stain and clear polyeurathane sealer.
Recommended Skill Level
Beginner

Built it in one day. So very pleased with this bench.

I am so very happy on how this bench turned out. I am new at building things and so I asked my husband to help me we did this in a day. now I have 3 people that want one (family of course.)

Estimated Time Investment
Day Project (6-9 Hours)
Recommended Skill Level
Beginner

Comments

tgrott

Wed, 03/30/2016 - 07:46

Do you have plans?  I haven't built anything yet and have my neice's wedding shower this weekend...thinking this would be an AWESOME gift for her!!! 

Can one lady with one weak arm take this project on by herself???

And, can you tell us how much it cost you to make?


Thanks!

Large Porch Bench

Submitted by kwildman on Thu, 11/14/2019 - 18:55

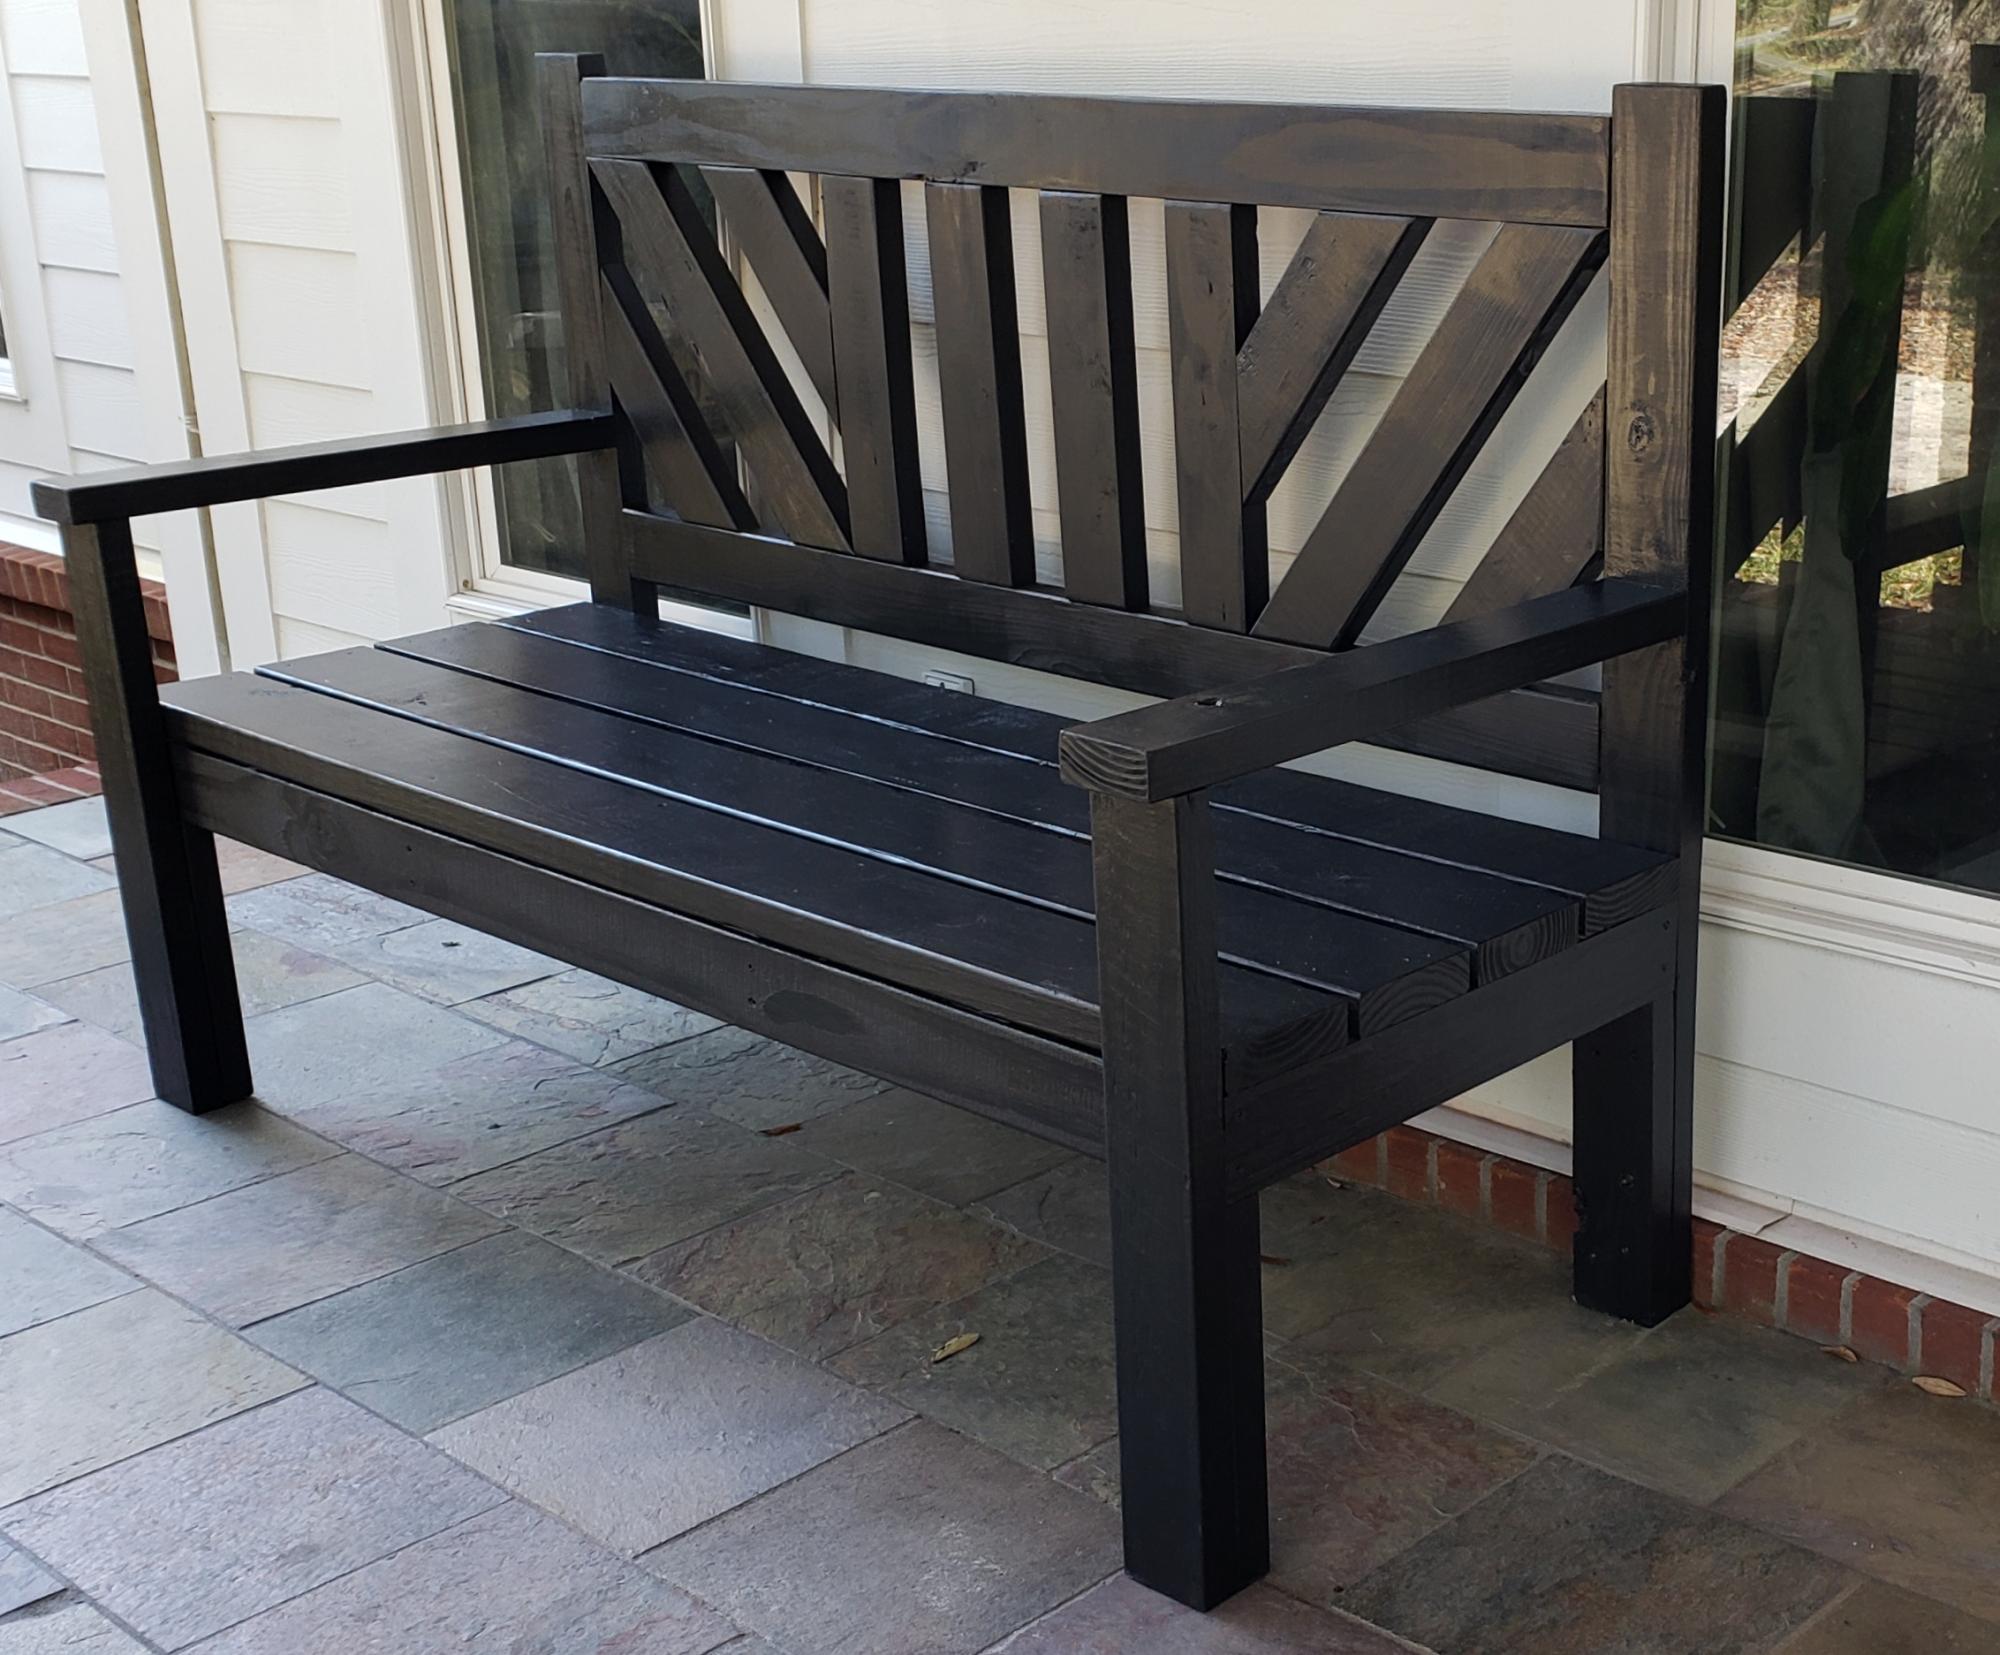
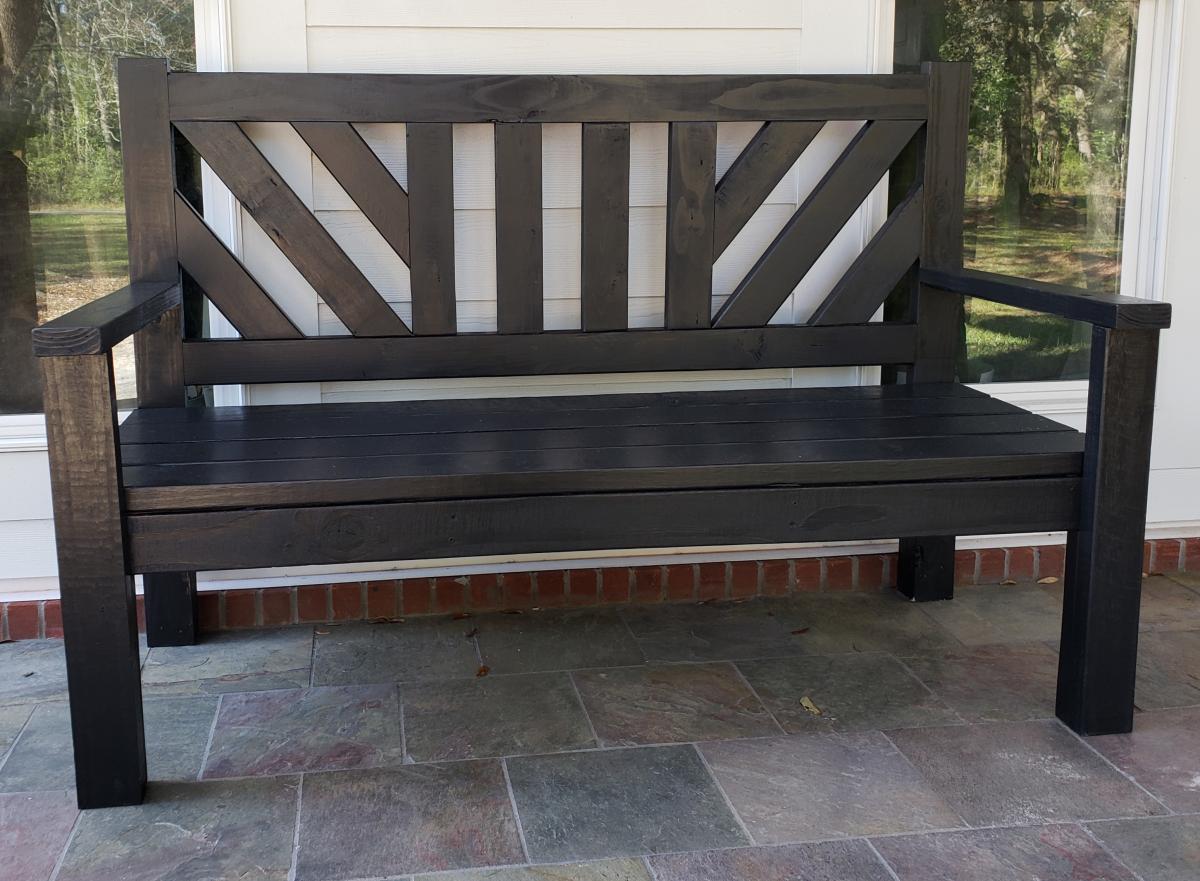
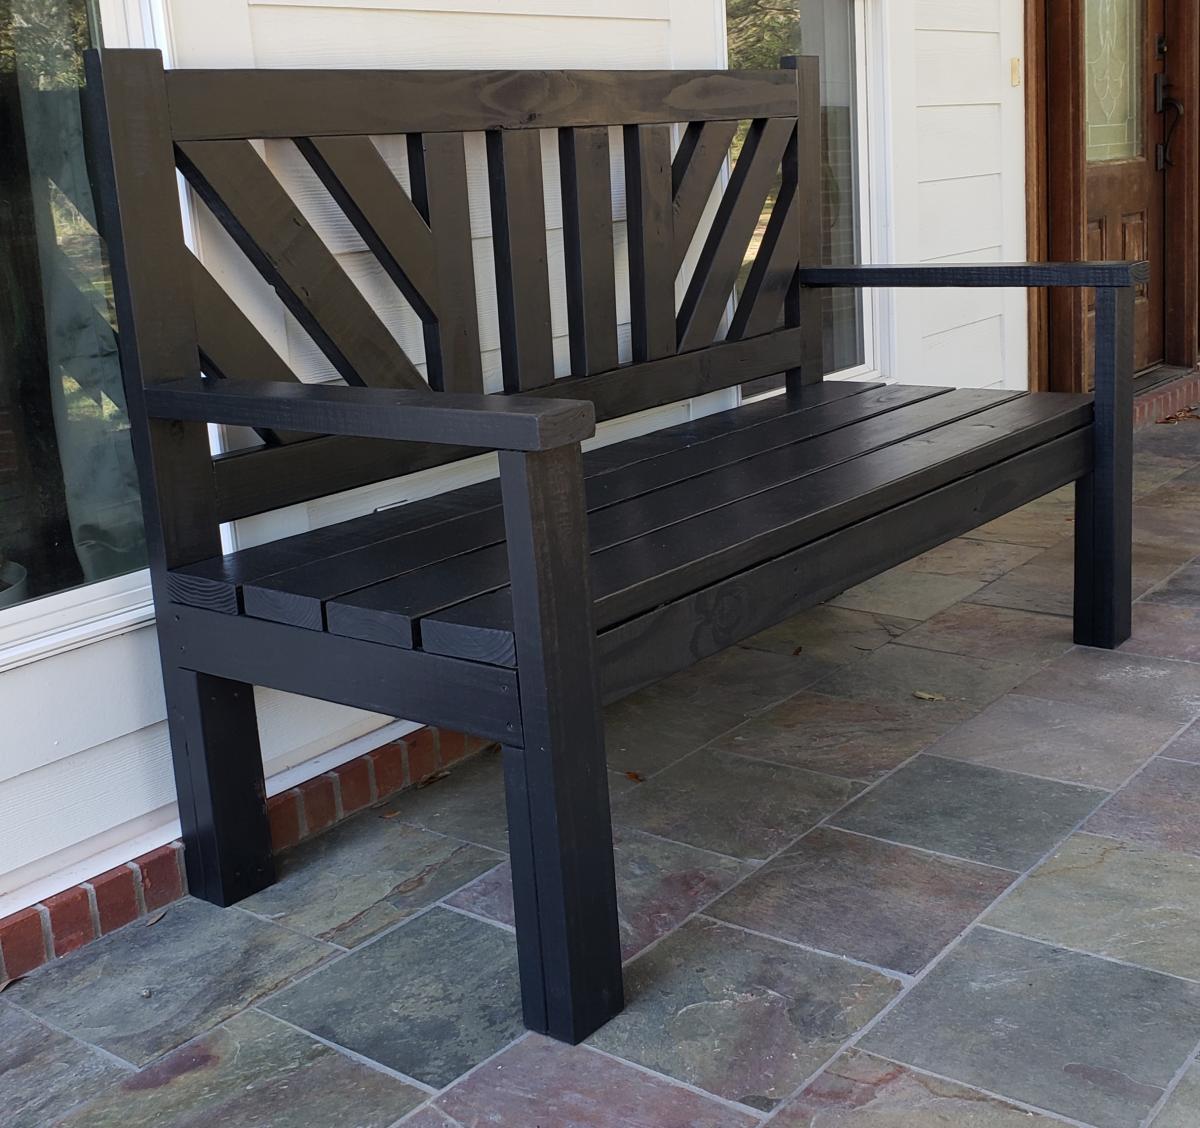
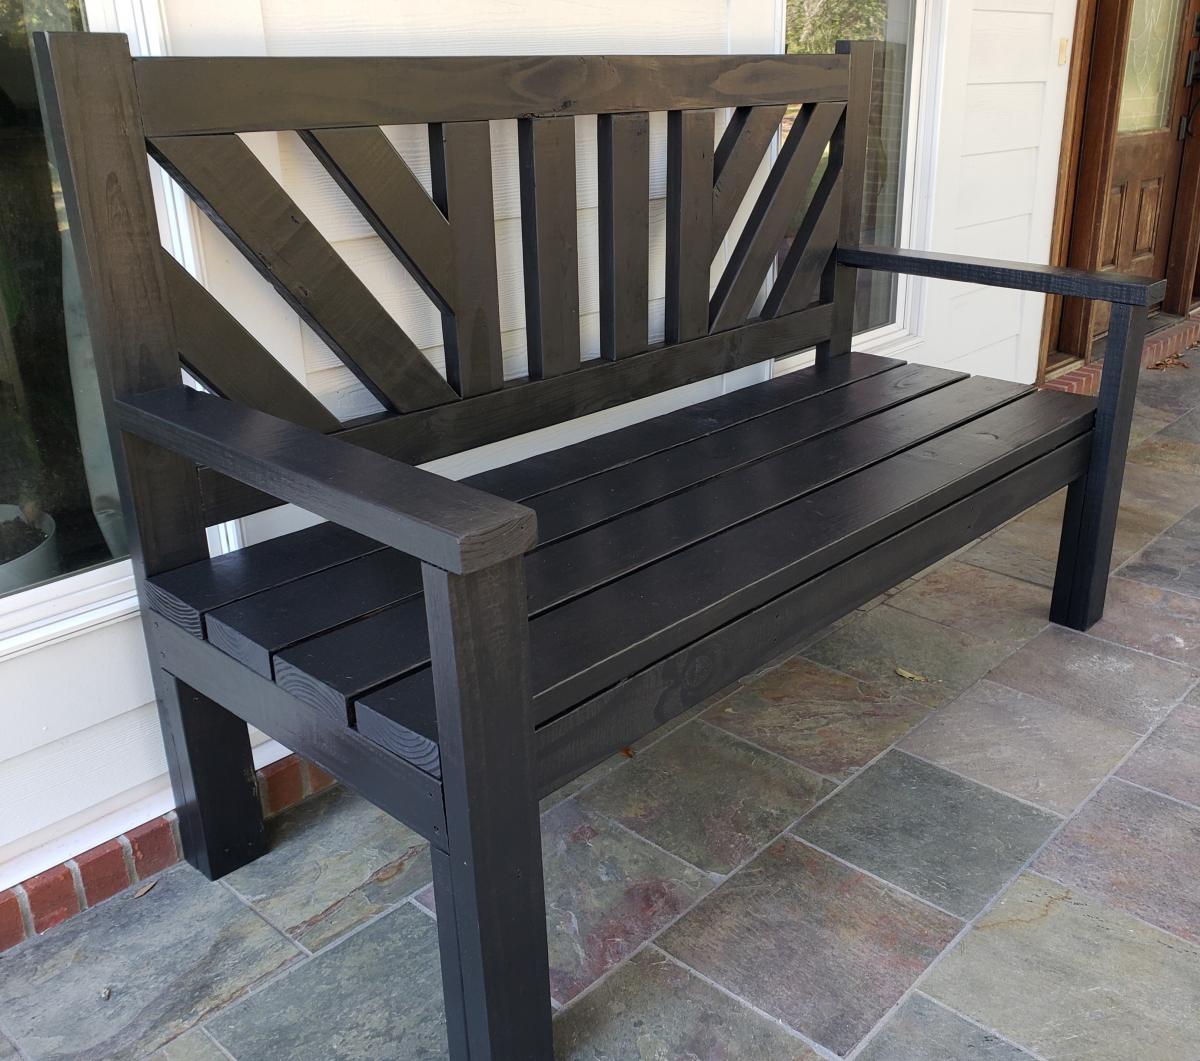
I used untreated pine for this project and painted with benjamin moore exterior paint. 

I modified the back a little and I love how it turned out.  I also added an extra brace against the back of each leg that fits under the seat for more support. 

Very easy to build.  I love the plan.

Estimated Cost
75
Estimated Time Investment
Weekend Project (10-20 Hours)
Finish Used
Black exterior paint
Recommended Skill Level
Intermediate

Comments

Farmhouse Dining Table

Submitted by keribeth on Sat, 03/17/2012 - 13:28

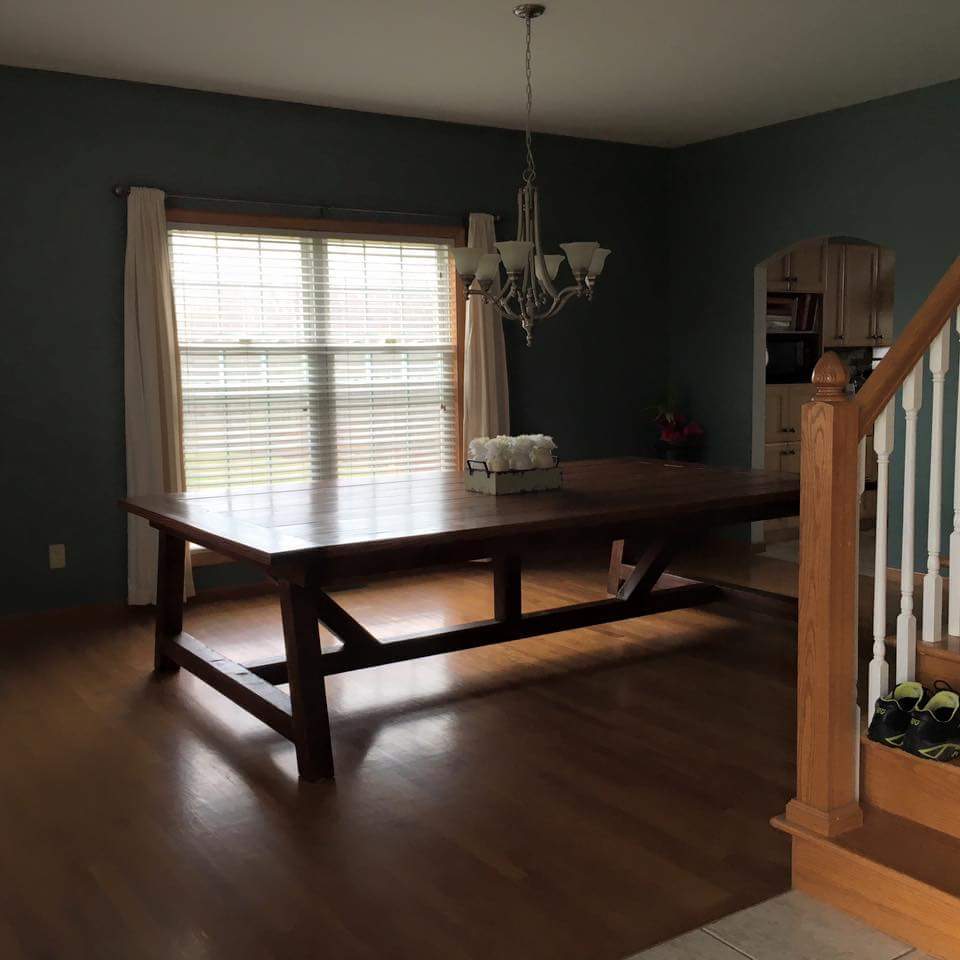
I used the basic construction of the turned leg coffee table, but used 2x4s screwed together for the legs, added a couple of supports, and made the dimensions larger (38.5" x 62" for a dining table that seats 6). I used pocket holes for all the joints and it came together pretty easily. (One day, though, I am going to build a project without drastically altering the plans. One day.)

Built from Plan(s)
Estimated Cost
~$180, including finishing
Estimated Time Investment
Weekend Project (10-20 Hours)
Finish Used
Minwax wood conditioner followed by two coats of Minwax stain in walnut, and then, because the stain looked splotchy, one coat of Minwax gel stain in hickory. The gel stain evened things out a bit and was great to work with. Then a few coats of wipe-on poly on all that.
Recommended Skill Level
Beginner

Comments

Back