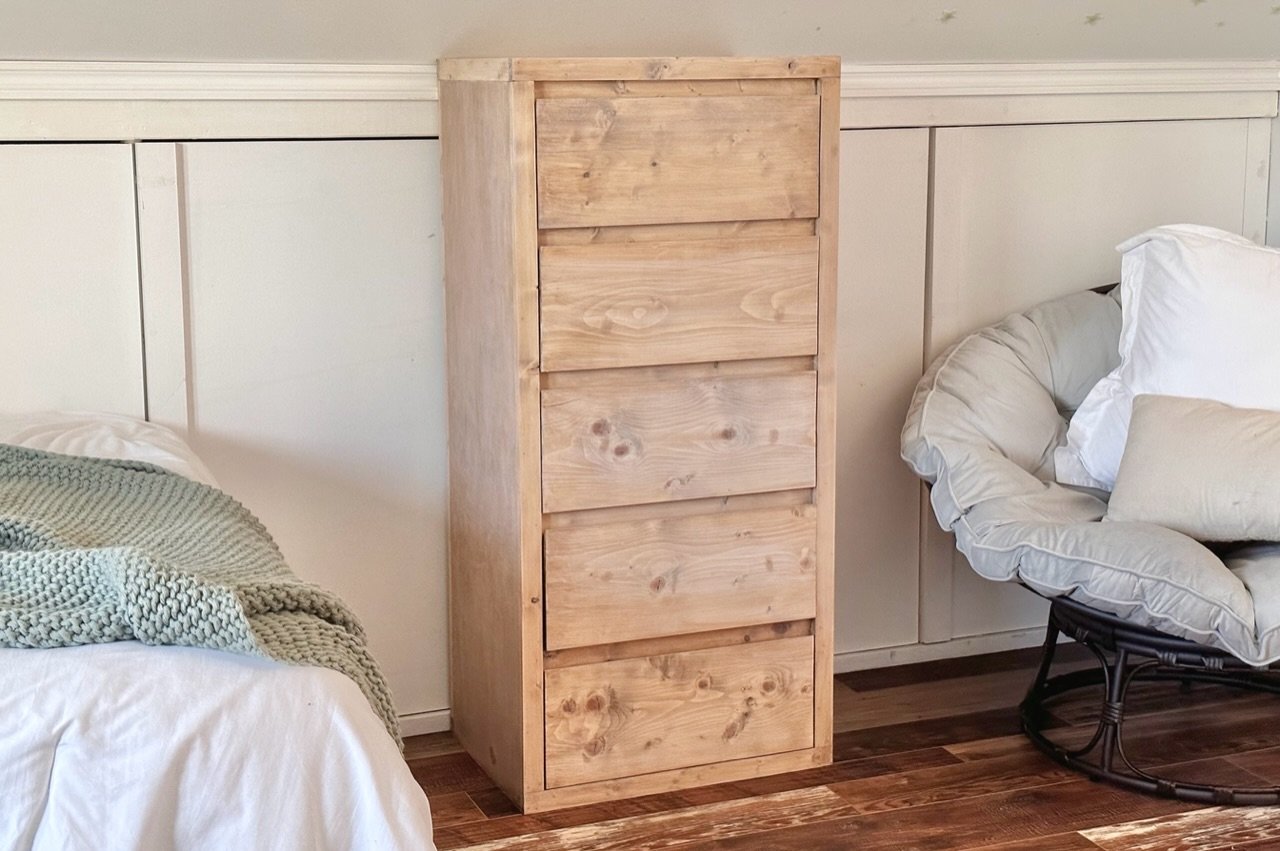

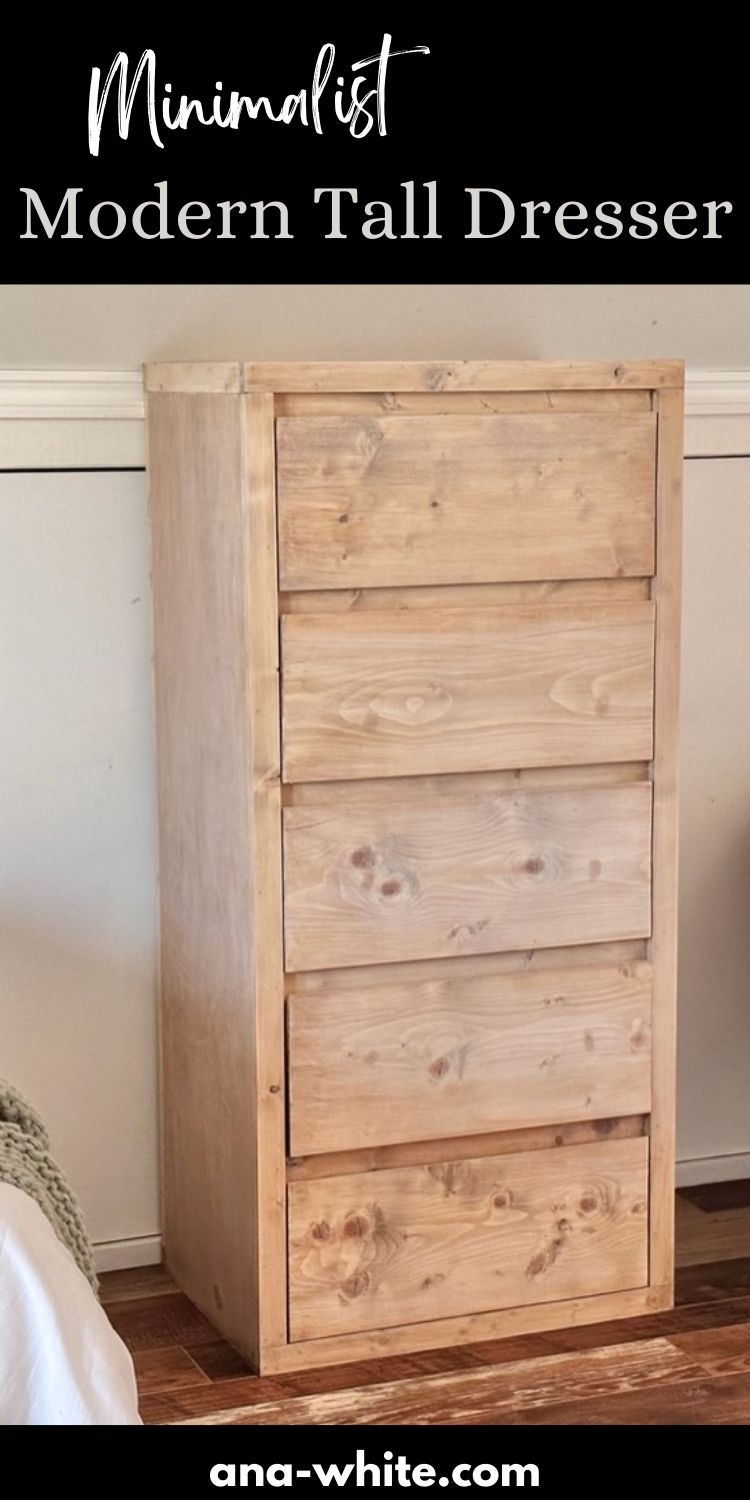
Build your own tall dresser! This dresser is a beauty with it's simplicity and modern form.
Why I Built This Dresser
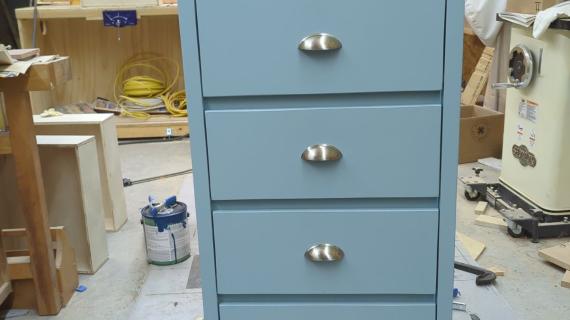
A few weeks back, I built my youngest daughter this dresser:
You wouldn't think a five year old would be excited about a piece of furniture, but this little girl is. Every visitor must come see her new dresser that mommy built her.
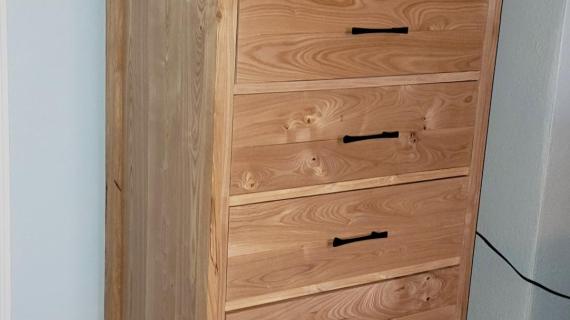
My older daughter loved the dresser too, and put in a request for a taller version. So I built this dresser.
Why Didn't I Just Buy A Dresser?
It's an option, and no judgement if you do, but for me, it just makes sense to build my own dresser.
- Save money - the inspiration dresser cost $1200 - before tax, shipping. I was able to use up the scrap plywood from the first dresser and spend about $100 building this dresser. That's quite a savings - especially when you consider two dressers built.
- Good for the Earth - I use wood that is harvested about 50 miles from my home for the 1x materials. This is much more earth friendly than shipping a dresser around the globe.
- Rewarding - It's not just a dresser, it's a project and it's very rewarding to put my time into building something for my family.
- Good Exercise - Building is a great way to keep moving and be productive - without having to go to a gym!
Matching Plans In This Collection
I have been loving this style furniture and am adding more and more plans to this collection. Here's what I have so far:
- Minimalist Modern Bed (all mattress sizes)
- Minimalist Modern Nightstand (two different sizes)
- Minimalist Modern Standard 6 Drawer Dresser
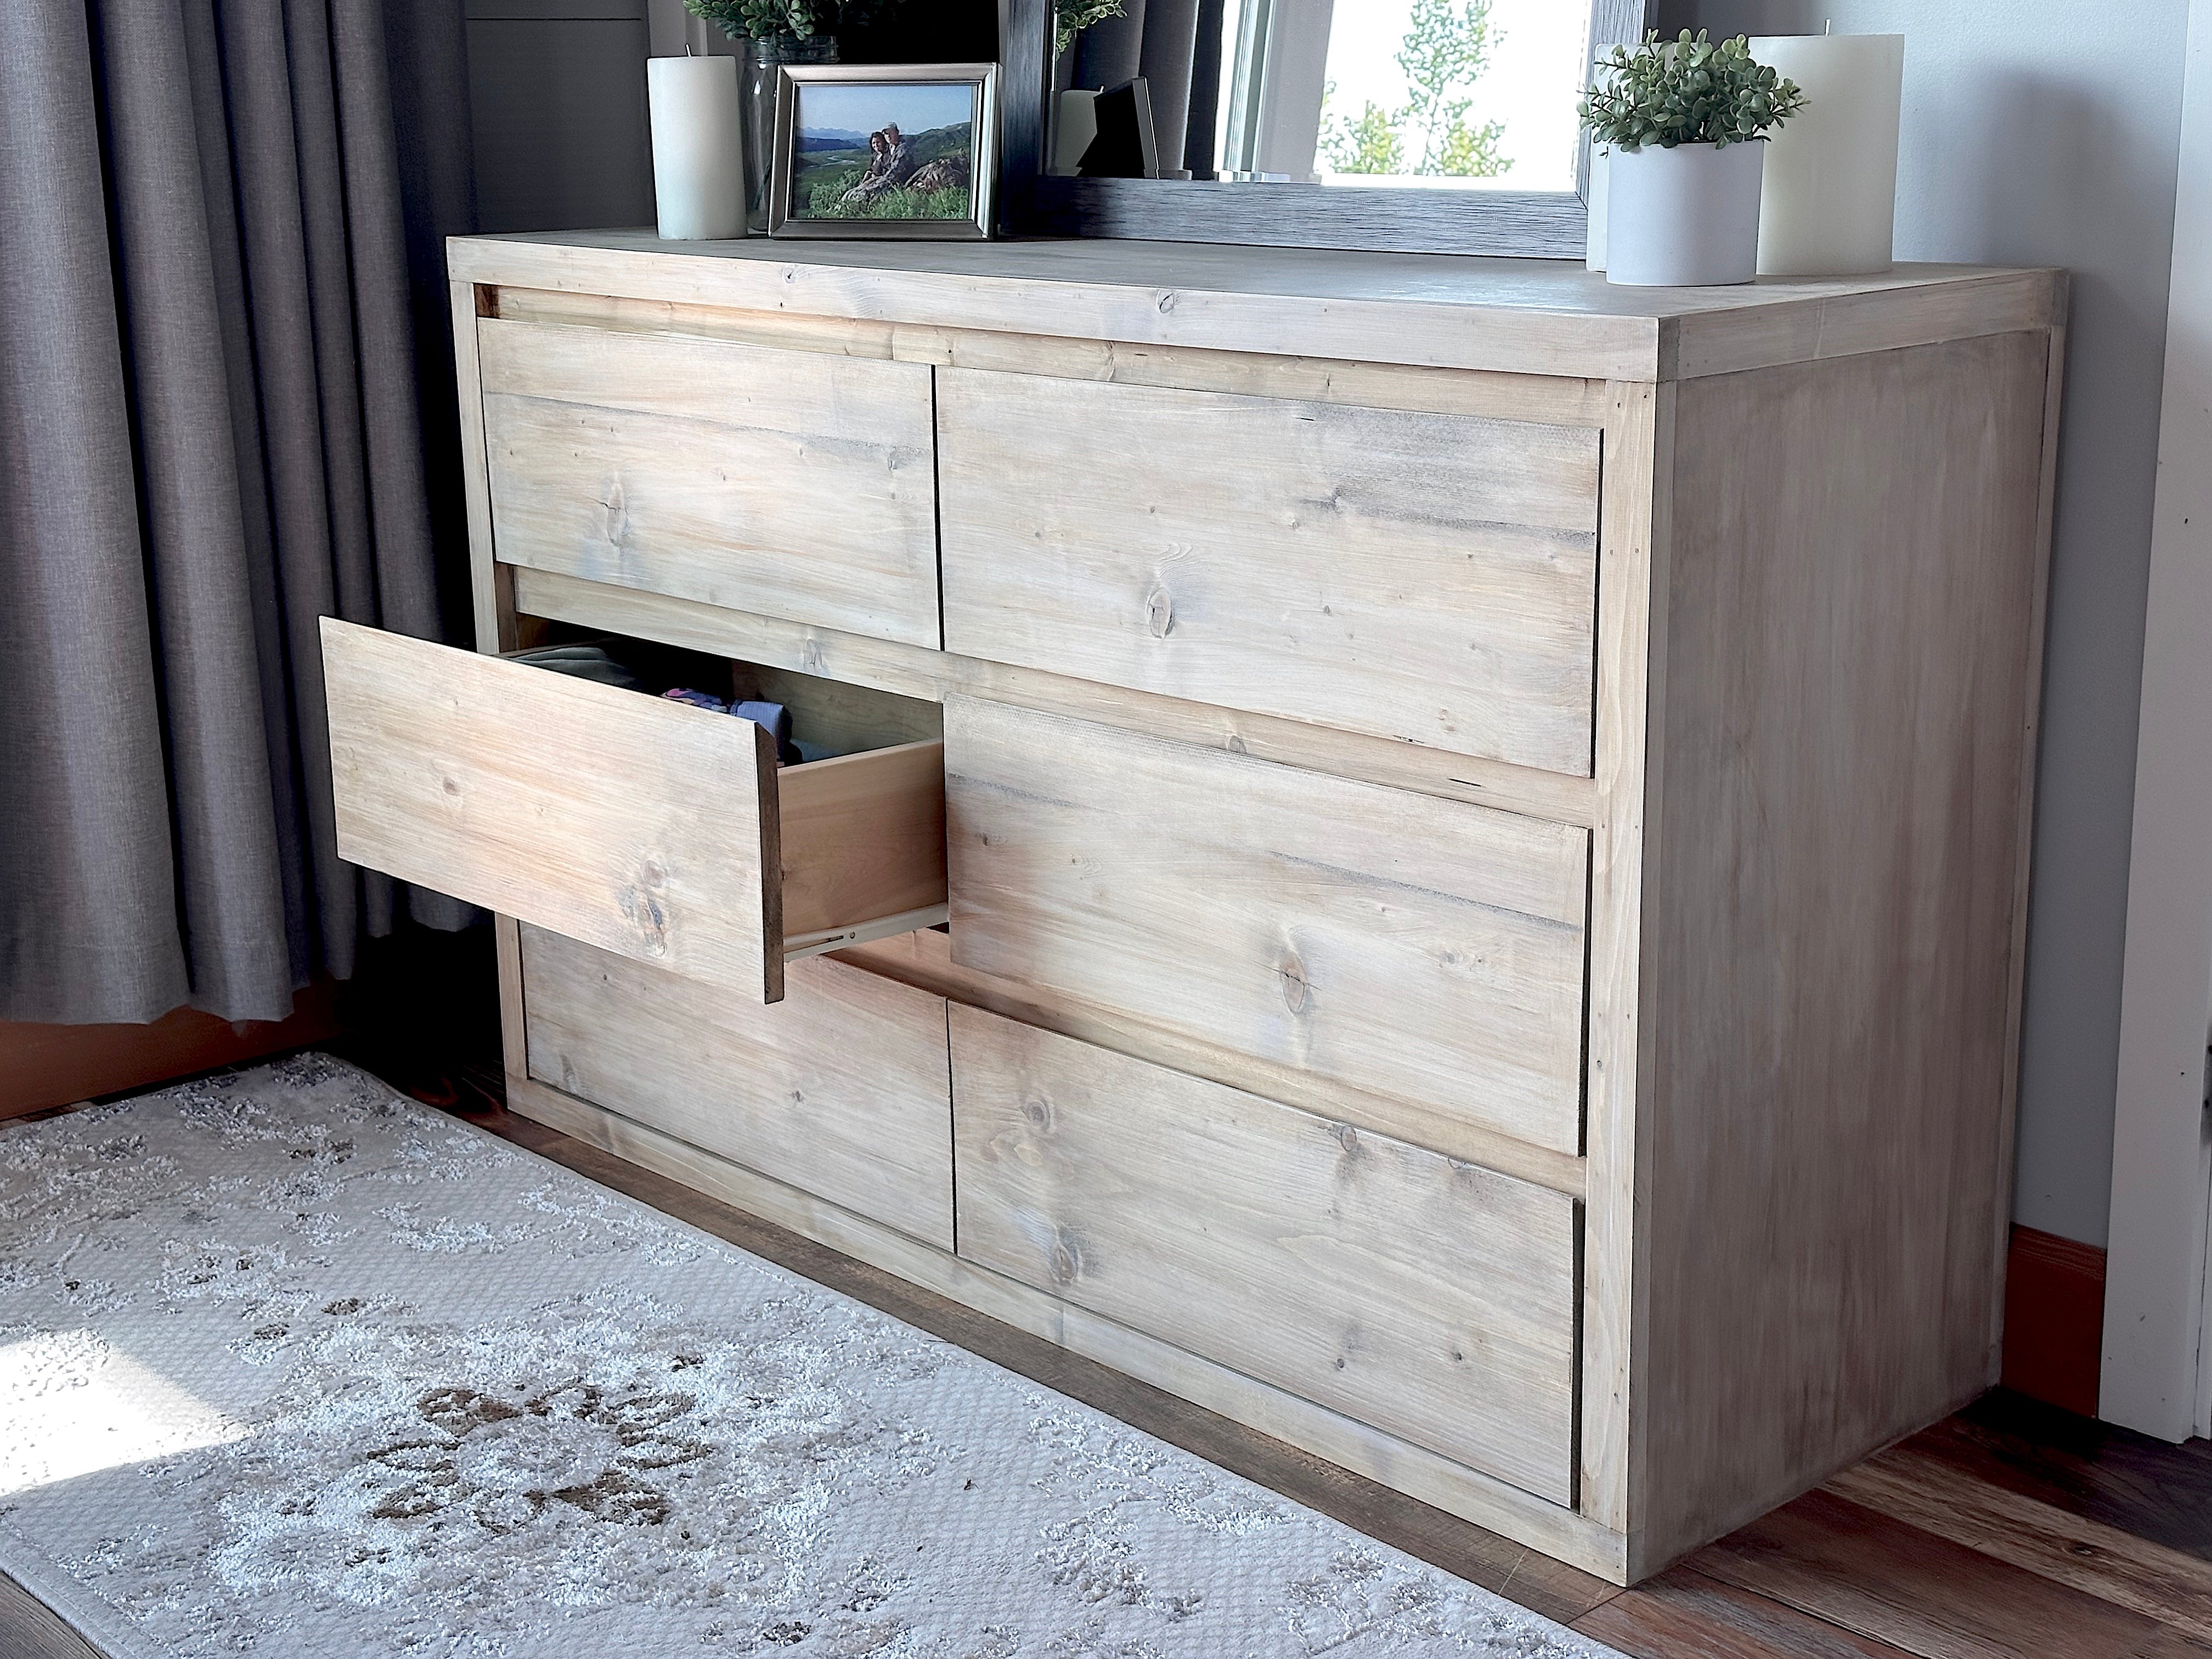
Watch! Similar Dresser Video Tutorial
In this video tutorial, I build the standard sized dresser. Both dressers are built using very similar techniques and steps (the tall dresser is actually simpler) so this video should be very helpful in understanding how I built it.
Pin for Later!
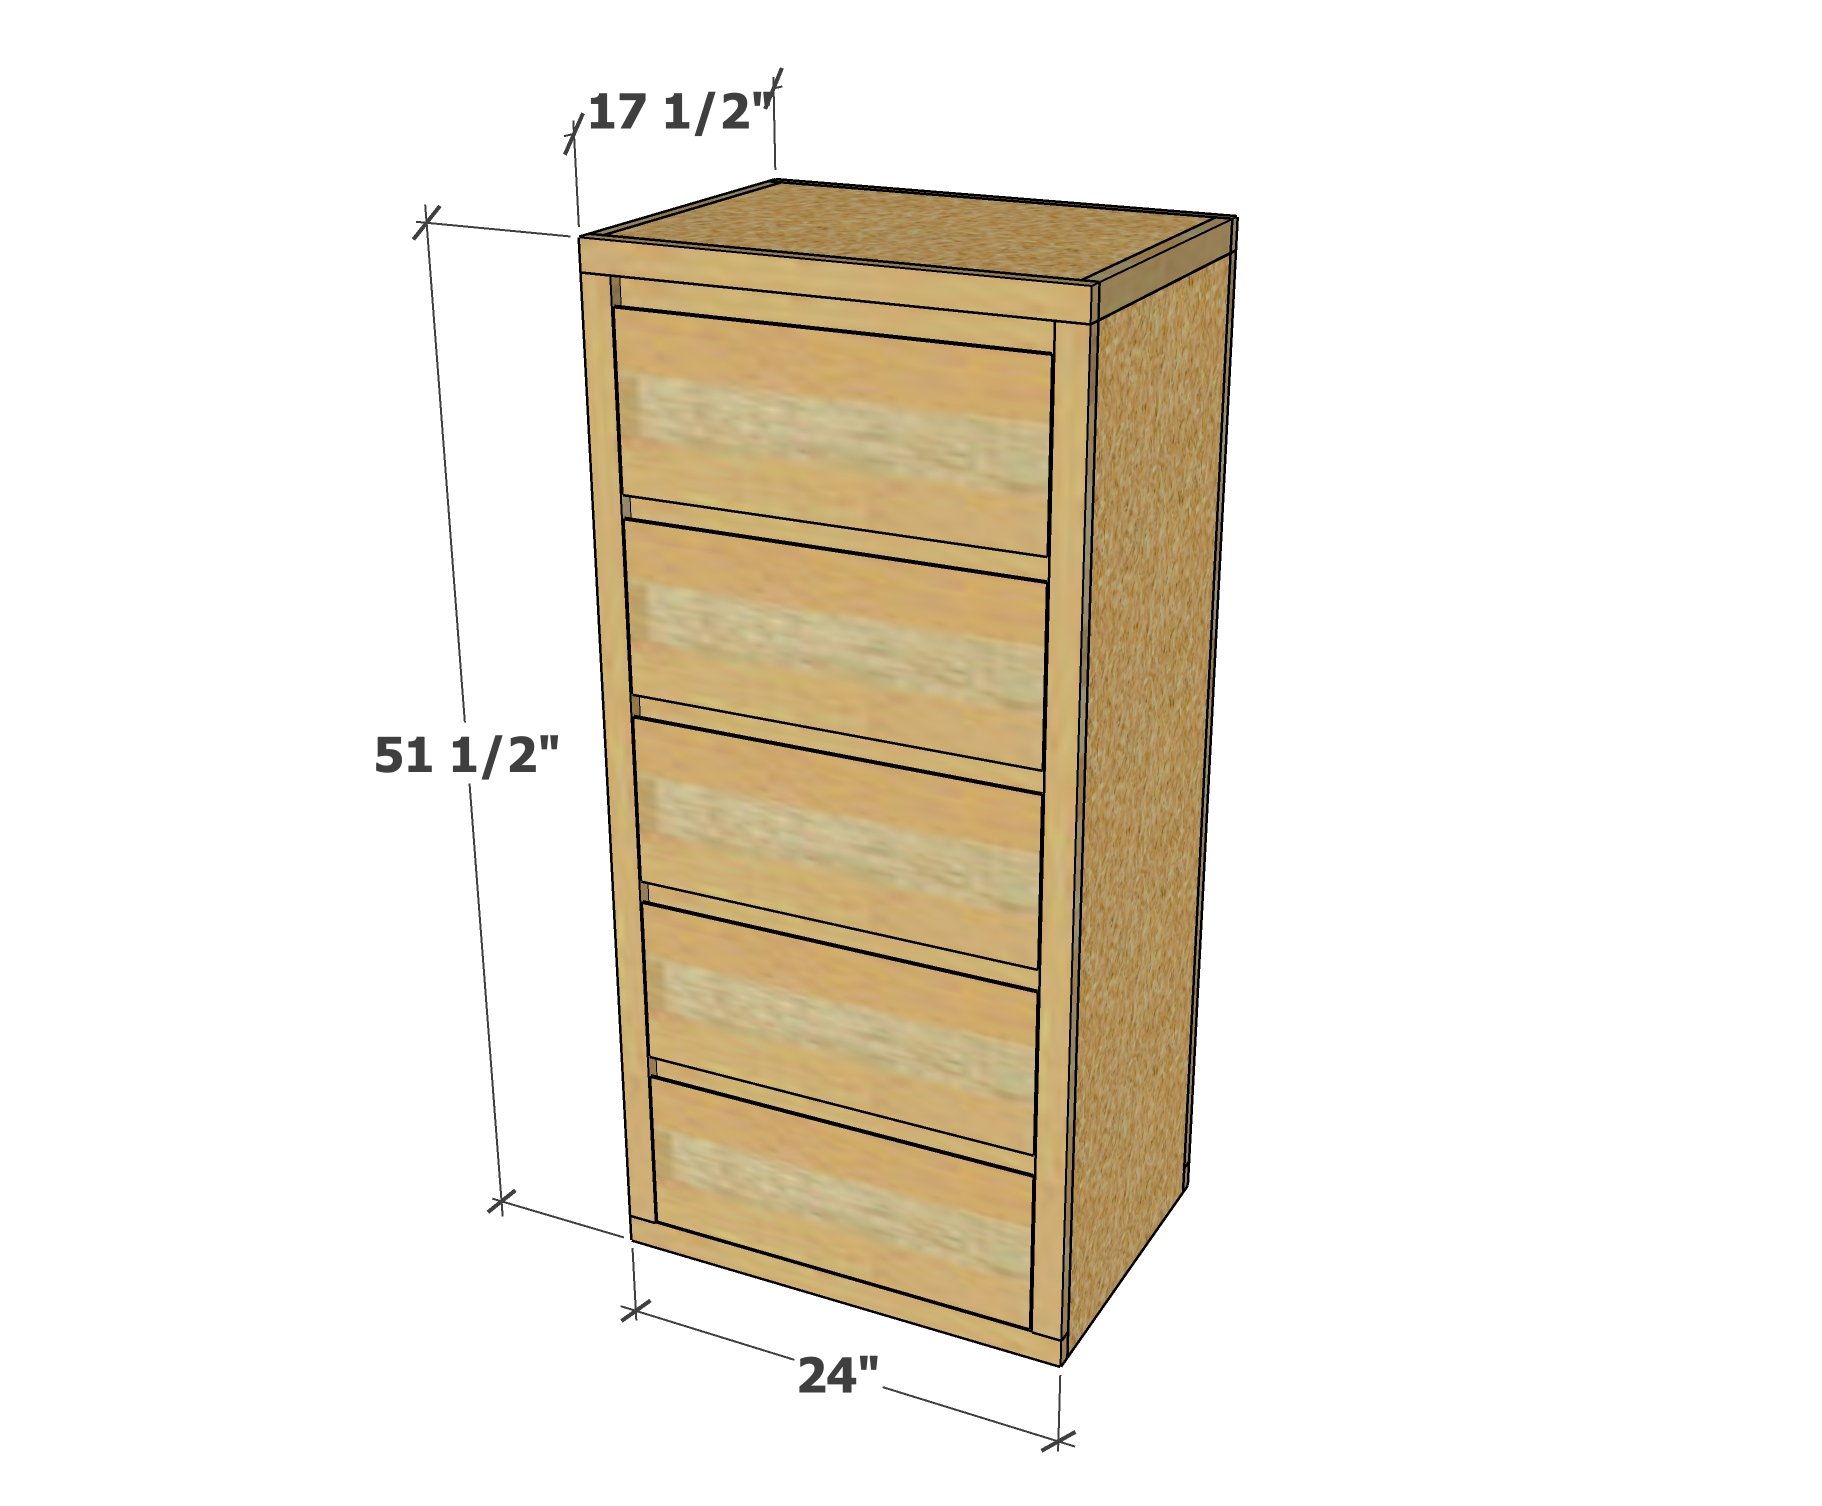
Preparation
- 4 - 1x2 @ 8 feet long
- 4 - 1x3 @ 8 feet long
- 2 - 1x6 @ 8 feet long
- 1 - 1x10 @ 10 feet long
- 1- full panel of 3/4" thick plywood, ripped intro strips 16" wide
- 1 - half panel (4'x4') 1/4" thick plywood, ripped into strips 16" wide
- 5 - euro style drawer slides, 16" length
- 1-1/4" and 3/4" brad nails
- 1-1/4" screws for attaching drawer faces (about 20 screws)
- wood glue
- 5 - 1x3 @ 21" - front inner trim
- 4 - 1x3 @ 50-3/4" - drawer slide supports
- 2 - 3/4" plywood @ 16" x 50" - side plywood panel
- 4 - 1x2 @ 24" - trim
- 2 - 1x2 @ 16" - trim
- 1 - 3/4" plywood @ 16" x 22-1/2" - top plywood panel
- 4 - 1x2 @ 48-1/2" - trim
- 10 - 1x6 @ 16" - drawer box sides
- 10 - 1x6 @ 18-1/2" - drawer box front and back
- 5 - 1x10 @ 20-3/4" - drawer faces, ripped down to 8-1/2" longest point, with an inside 45 degree bevel
- 5 - 1/4" plywood @ 16" x 20"
Rip the plywood pieces into 16" widths. Then cross cut to finish the cuts.
For the 1x3 and 1x2s, cut the longest pieces first so all the pieces will fit on your wood supply.


Instructions
Step 1

Build the front frame with 1-1/4" brad nails and wood glue.
Adjust the front frame for square by taking opposite diagonals and pushing long diagonal points together until the opposite diagonals match in measurement.
Step 2

Attach the remaining 1x3s @ 50-3/4" to the side plywood panels - this is done in mirror.
Then attach the drawer frame from step 1 to the front of the plywood panels.
Use glue and 1-1/4" brad nails.
Step 3

Attach 1x2 trim to bottom of the dresser with 1-1/4" brad nails and wood glue.
Step 4

Build the top by first attach trim to the top ends, then to the front.
Apply glue to the top of the dresser where the top will be installed. Place the top on the dresser and nail in all available attachment points.
Step 5

Attach trim to the front and the back of the dresser, edges flush to outside.
Step 6

Build drawer boxes and install in drawer.
I did do a video on how to install the drawers in this dresser here.
Step 7

Rip the 1x10 drawer faces so the front measurement is 8-1/2" but the top is bevel back at a 45 degree.
Attach the drawer faces to the drawer boxes with brad nails first, then reinforce with screws from back - I used 1-1/4" Kreg screws, but you could also use 1-1/4" self tapping star bit screws.