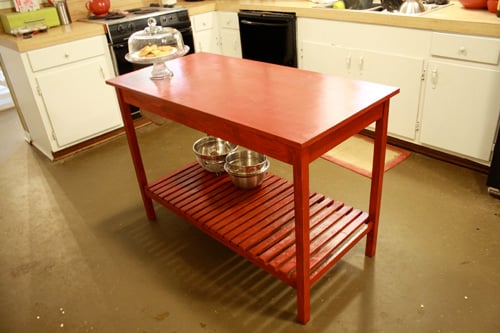
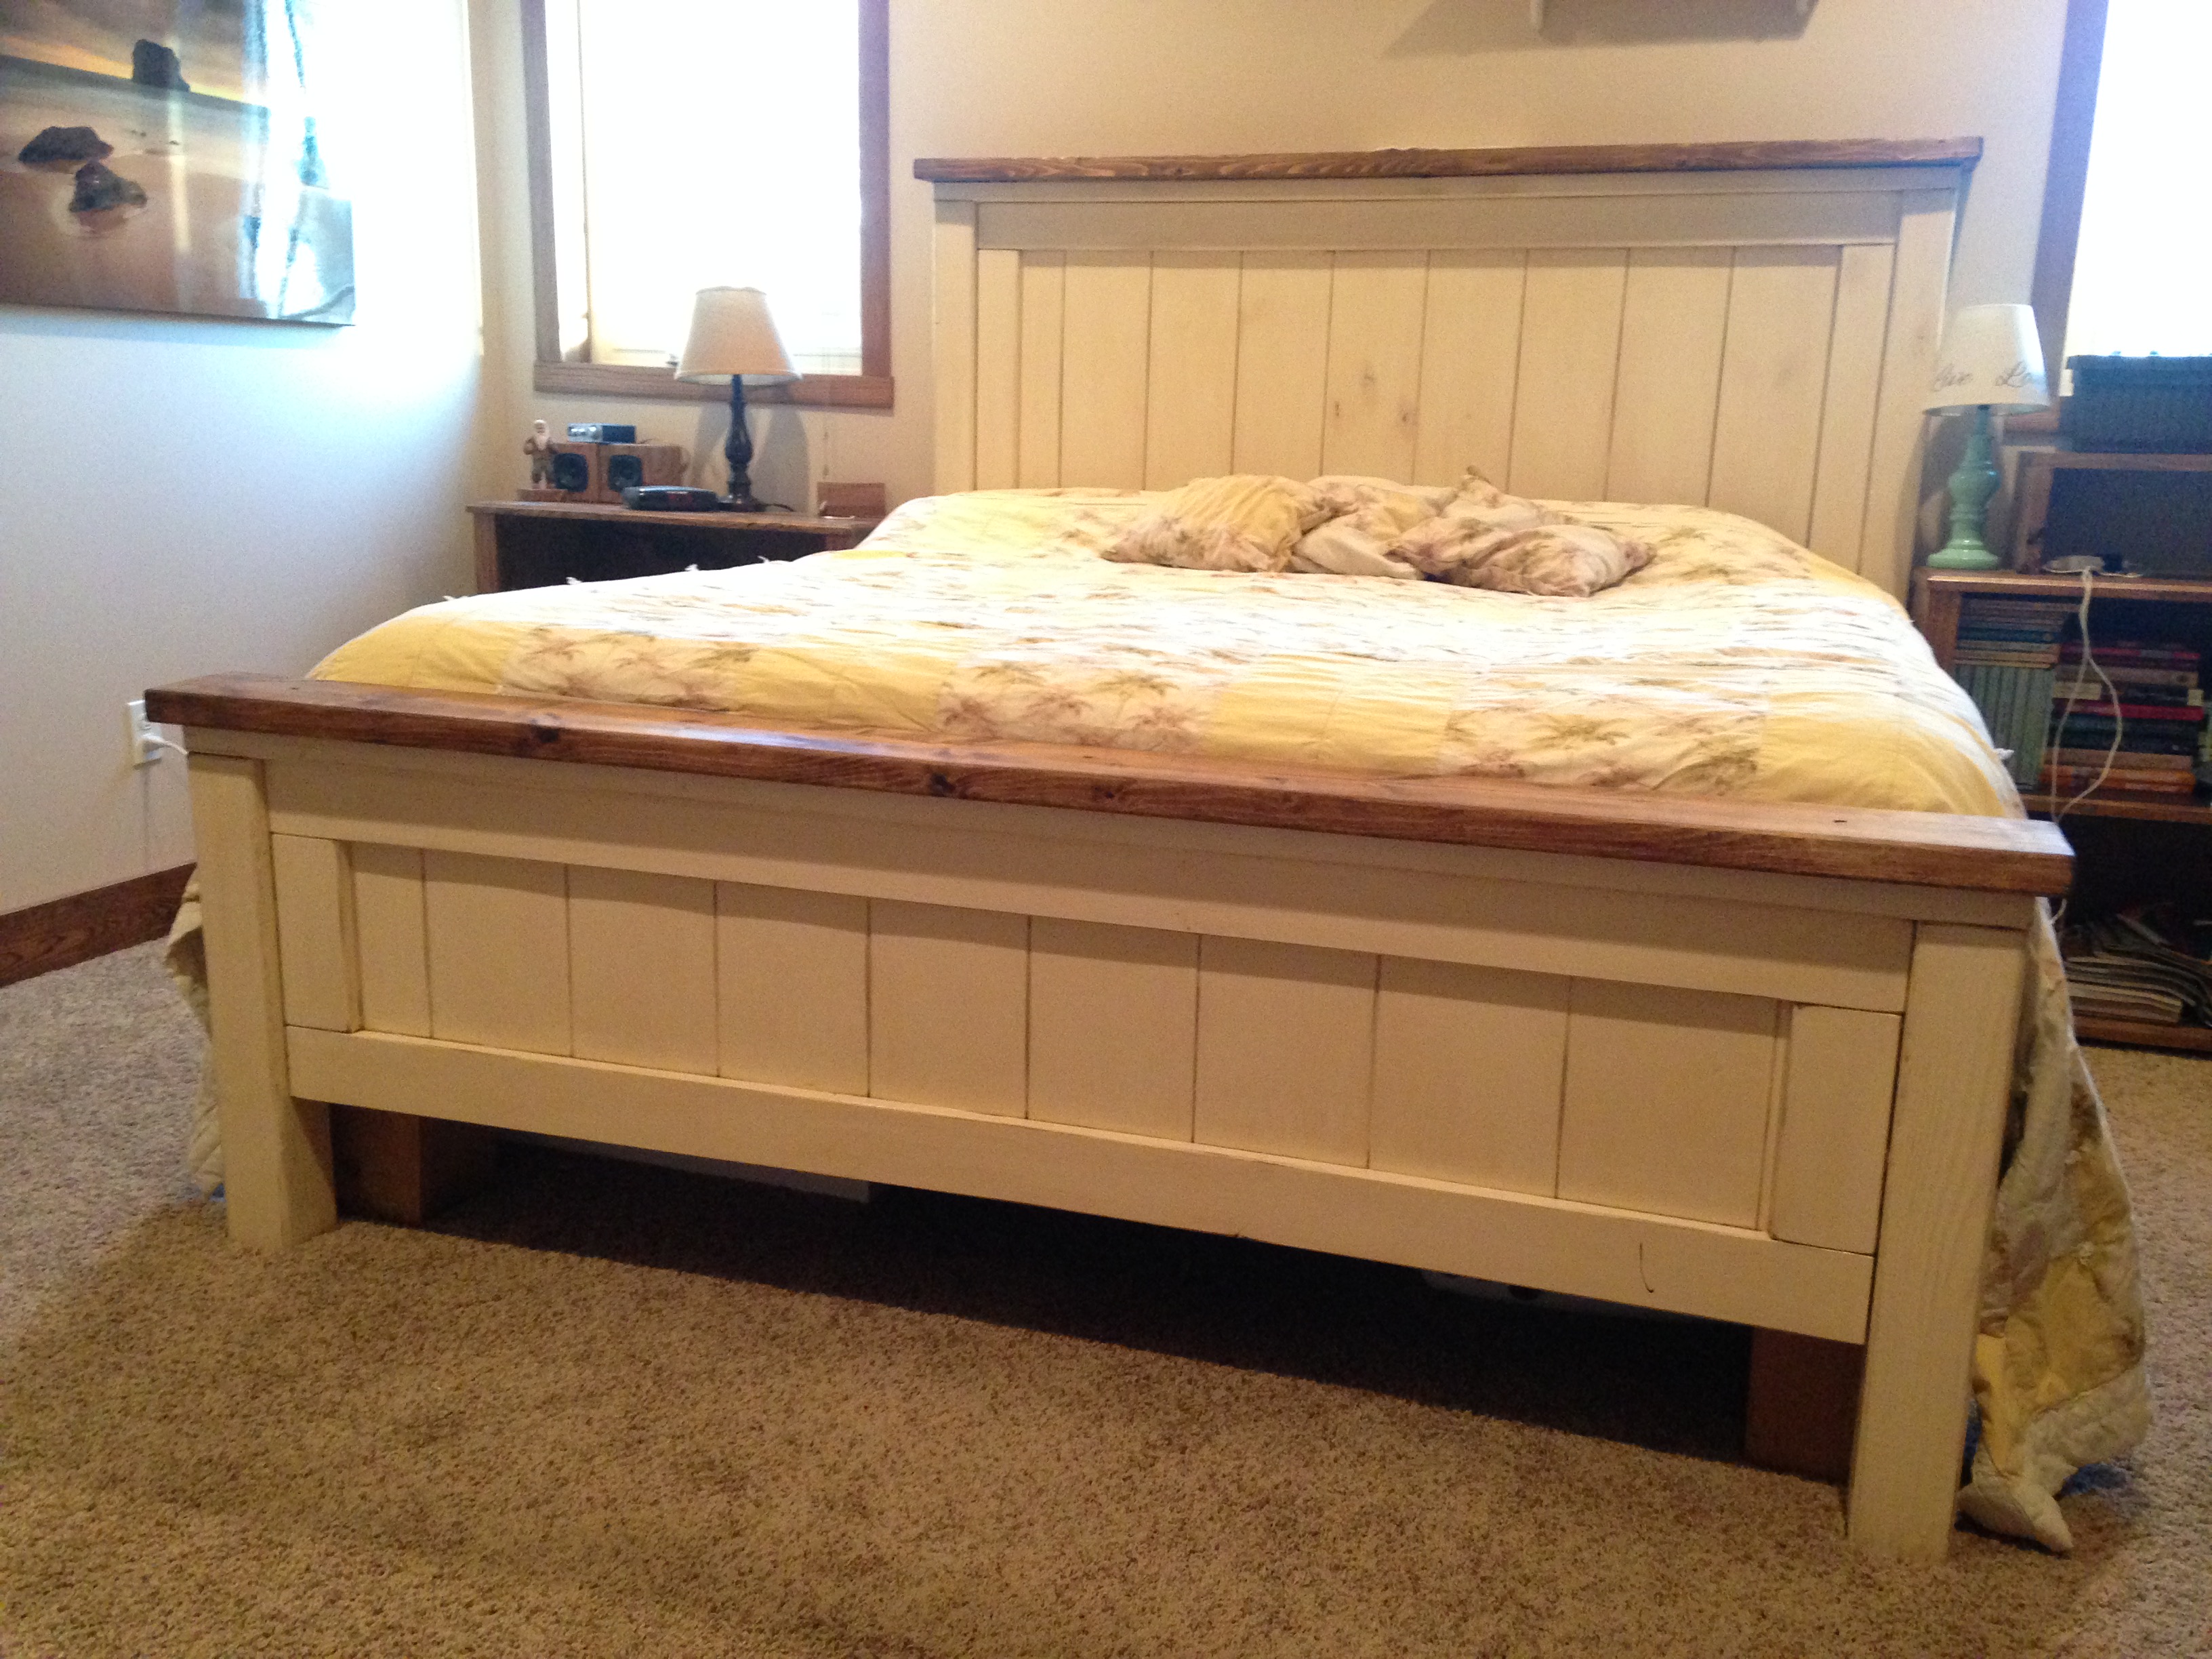
First Big Project!
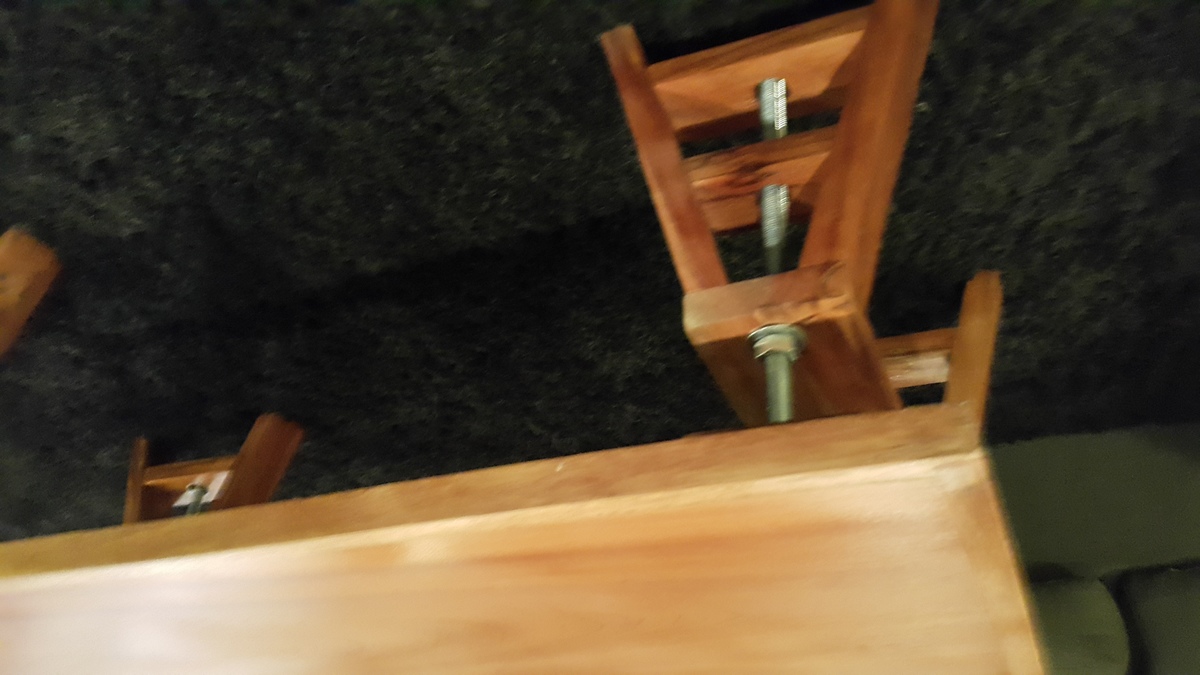
Surprisingly easy! Have received a lot of compliments and it’s sturdy too! Decided not to stain it because we like the look. Very, very happy with this table, thank you!
I started this project with just one of the Bristol Outdoor Lounge Chairs. I ended up liking it so much I decided to complete the collection with anther chair, a love seat, and a table. I got the designs for the other pieces from OldPaintDesign.com Poplar was my wood of choice because it is a hard wood that will last but won't break the bank. I also had a really hard time deciding how to finish it. Initially, I was going to paint the wood but liked the natural wood grain of the poplar so much I just simply put a few coats of polyurethane on it to preserve it. I ordered the cushions from Restoration Hardware this fall when they were on sale and even then they were expensive, but I love them. (Brown was the only color on sale.) Finishing the pieces was much more time consuming than I thought it would be.The first chair took much longer and required much more sanding since some of my joints weren't flush. The rest of the pieces combined took me about as long as the original chair. I wised up after completing the 1st chair and did the majority of the sanding before I assembled the boards together. Next, I am going to build an outdoor dining table to match.
Thu, 10/18/2012 - 08:14
What a beautiful job you did. I've loved this set since I first saw it on RH website and requested plans for it. However, I realized with the cost of those cushions and such, my hubby probably wouldn't agree to the cost, at least now. So we built the outdoor sectional and got a great deal on the cushions from Costco. I haven't given up on this set maybe some day in the future when we built our pergola because it's just so beautiful. Again, great job!!!
Sat, 05/25/2013 - 14:56
My husband made the chair and it has turned out great, it just needs to be stained. My question is about the cushions... getting them on RH is expensive so If I want to make them myself how do I do that? What is the foam I need? Where can I get it?
First part of garage storage system complete. 7.5 foot cabinets with whiteboard marker board doors inserts.
Next step to build new bench with storage cupboards to keep dust out and a central dust extraction/containment area.
Then put some tool board and a charging station above the two outlets.
Wed, 08/06/2014 - 05:51
What plans did you use to build the cabinets? I'm currently re-doing my garage and I was looking for something like this.
In reply to Looks Great by TaylorMade1205
Wed, 10/08/2014 - 19:20
Hi. I drew the plans myself to make it fit the space I needed. Happy to share the google sketchup file with you if you want to send me your contact (if that is allowed on here!). Sorry for the delay in replying but not logged on here for a while.
Tue, 04/02/2019 - 19:13
These cabinets would be perfect for my craft room. Can I please get the plans?
Christi
Thank you Ana because you were my inspiration. I would've never dreamed of building my own furniture before I saw you doing it. I loved doing it I loved outside the US and the machines and jigs are difficukt and expensive here but I've managed to get the basics. this is my 5th project and was a lot of work because the woods here are exotic but not dried in kim and come with lots of imperfections but are beautiful..anyways thanks again!
Built this for my mom’s birthday since she’s been wanting a farmhouse coffee table. Modified it by using a project panel as the top rather than the 2x6’s.
Ana's Flip Top Storage Bench. I made this ASAP, after I saw it in the book, and then online. I thought it was going to be longer and was thinking it would go great in the mudroom, but after it was finished it turned out to be the perfect size for a fireside seat.
This is my first time using hinges....are they supposed to show? By the time I got them on and working I was pooped and didn't want to test my luck. Maybe I'll have to get some more decorative looking ones!
Used my Kreg Jig, still had splitting issues.
Used finishing nails around the shelves to secure a bit.
Oh and HD didn't have a 1x12x12 so I had to get three 1x12x6 . Bet that cost more, but I'm happy to have some more scrap wood to play around with.
Thanks Ana!
Sun, 10/21/2012 - 09:27
You did a great job on this table. What color stain did you use? And did you put a coat of poly on it?
Yes, the hinges are supposed to show. I made this table about two years ago when Ana first posted the pans, but I don't use it as a table. I use it as a bench in my entryway to hold gloves, hats, etc. It's held up great all these years, and now I'm thinking of building another one for by my garage door, since that's where we come in and out most times.
Sun, 10/21/2012 - 09:38
Thanks, I used Minwax color expressions in walnut, I haven't put poly on it yet, I thought I might just put a wax over it to make it a bit smoother. I don't really know what I'm doing quite yet, so I'll have to learn my options!
I'm thinking of making the longer version for the mud room....should go quicker on round two right!
:) Valerie
Mon, 10/22/2012 - 09:06
I think in order to get your hinges to be more minimally showing you can inset them by using wood chisels to shave a rectangle of wood from the surface where the hinge lays. I've used hinges on a couple things so far and that's what my husband said to do but I was being to lazy to get some chisels. You can get them at any hardware store for pretty cheap I think. Now I'm not positive on any of this since I haven't been doing this hobby for too long. Your bench looks great by the way!
My wife does puzzles and most of her school work on a coffee table. We had bought one from that large blue and yellow warehouse furniture store. I liked its size but never the materials. When I saw the Haven Turned Coffee table, I knew I could make that. Using the pocket screws made this an easy build. I made the top out of 1 x 8's and used biscuits to hold them together. I attached the top using a series of cleats around the inside edge. I stained it with an cherry Minwax stain and polyurethaned the top. Project took about four days on and off not including the staining and urethane.
I found this plan through a YouTube video unrelated to DIY. It has been to long since I had done any woodworking and I knew we needed a table. I modified the plans some and made the table wider and the benches to fit under when not in use. I bought the wood and ended up with yellow pine top and Douglas fir bases. It was what that had at my Home Depot. But the contrasting woods gave me the idea for the finish I ended up with. Love the outcome. Hope you all like it too. Now on to the next project.
I used scrape wood for the headboard to save money. Wood cost approx $15, paint from oops section $3 and screws from my Kreg jig box set.
This was my first real project and I'm hooked.
Thanks Ana!
Built from MODERN INDSUTRIAL ADJUSTABLE SAWHORSE DESK TO COFFEE TABLE. I used a solid table top reinforced underneath so my wife can can use the table as a craft table. I also used 3/4 in allthread
This was the first project my husband requested to help with! It was a great for teaching easy cuts with a miter saw and pocket holes with a kreg jig. Thanks to this end table we now build things together!
Great build for the patio!
We needed something to hold our garbage cans and recycling.
We made this little shed with fence board floor and fence board roof a lot shorter in depth and height - We also used 2x4's as we already had them - fits perfect and was amazingly easy to do.
Looks fantastic in our yard - we are still working on the yard so ignore the extra fence boards and 2*4s laying next to it.
Thanks so much for the great plans.
My husband and I have little wood-working experience, and were able to assemble this in an afternoon. I love how it came out!
This bench was meant to be used around our fire pit in the back yard which is where is it for now. This is only our second wood build. This bench turned out great and seems to be to nice to be outdoors.
This was a fun project. The plans are written so that many of the boards don't need to be cut. It's made from cedar that (thank goodness) was on sale. I made the raised beds twice as deep as was called for in the plans because I wanted to minimize bending while I garden. That added to the cost of the lumber and the soil. I also like the way it looks.
I found it helpful to measure and cut the boards as I went. This was crucial for fitting the door. The most difficult part for us was working with the hardware cloth and trying to make it as smooth as possible.
It has been effective keeping deer and rabbits out of the garden. Things that can fly in are another issue.
Another project for my wife. She loves it and I loved building it. Fairly simple.
Really happy with the final product and the hubby is glad I have finally finished a project. This project was an answer to the piles of washing crowding our small laundry. I found 3 sturdy family sized (huge) rectangular laundry baskets for $10ea at Kmart and then used Sketchup to adjust the plans to allow for the bigger baskets (Sketchup is so much fun to use). I ended up having to buy an extra piece of wood for the top because I forgot to allow for the thickness of the sides when measuring the top and base. (I know, I know, measure twice cut once...) I used the piece I had cut for the top as the base and then got a new piece for the top. When I finally got all the pieces cut to size it all went together pretty quickly. I used melamine for the box because it was cheap and I wouldn't have to paint it. It did chip a little bit along the edges when I cut it but it's not too bad. I used 30 x 30mm pine for the basket supports and had to countersink the screws 1cm so I could use 30mm screws. I used iron-on melamine edging to finish the exposed edges of chipboard and used paint on the back and supports. Actual construction didn't take long but the painting took about a day by the time I'd done one basecoat and two top-coats.
Sun, 11/04/2012 - 02:17
Yey a fellow aussie ... love the job. i am going to try stetchup yet again, last time i tried it didn't want to play nice, did it take long to get the hang of? & the melamine ... did you get it at bunnings & did they cut it for u?
Mon, 11/05/2012 - 01:06
Thanks for the feedback. I cut the melamine myself. I clamped a straight edge on top of the melamine (allowing for the distance from the edge of the saw to the blade) and then used my jigsaw to cut. My local bunnings didn't seem too interested in cutting specific sizes. They were happy to just cut lengths down so I can fit them in my car but said their saw could be inaccurate up to 10mm from one end of the cut to the other. (Personally I think the guy just couldn't be bothered) Since I wanted my project to be square I figured it was much easier to just do it myself.
With sketchup I just play around and learn as I go. I got the hang of it pretty quickly although I'm still figuring out some of the more complicated stuff like using the protractor tool to do angles etc.
In reply to Thanks for the feedback. I by rosiejane
Mon, 11/05/2012 - 01:38
Thanks for that... very helpful. yes bunnings, all depends on the assistant hey! Definitely going to have another go at sketchup... must conquer it!
Thu, 01/01/2015 - 22:05
I love this. These baskets are very sturdy. Is there anyway you can post the measurements. I have never made anything but this looks perfect. I have never used sketch up. Please let me know if you are able to post the measurements. Thanks!
For my second-ever project, I built the step-up side table! It actually came together much faster than the "updated simplest console," which is listed as a starter project. However, I learned the importance of keeping square on this build!
I don't have a Kreg jig, so I followed the steps in a slightly different order since I couldn't do pocket holes. I also avoided ripping plywood to make 1x16s by using 1x12s instead. The dimensions fit my narrow space between two chairs better this way.
I LOVE this easy build and modern design. I'm pretty sure the cats are going to try to take it over, though. Thank you, Ana!
I have loved this bed since I first saw it probably 8 years ago. Hubby finally got it built for me. It took him one weekend day. I was able to get the finishing done in a couple of days with plenty of dry time between coats of finish. Thank you Ana for this amazing plan!