Community Brag Posts

Outdoor Sectional

Submitted by Anonymous (not verified) on Fri, 04/28/2023 - 05:24

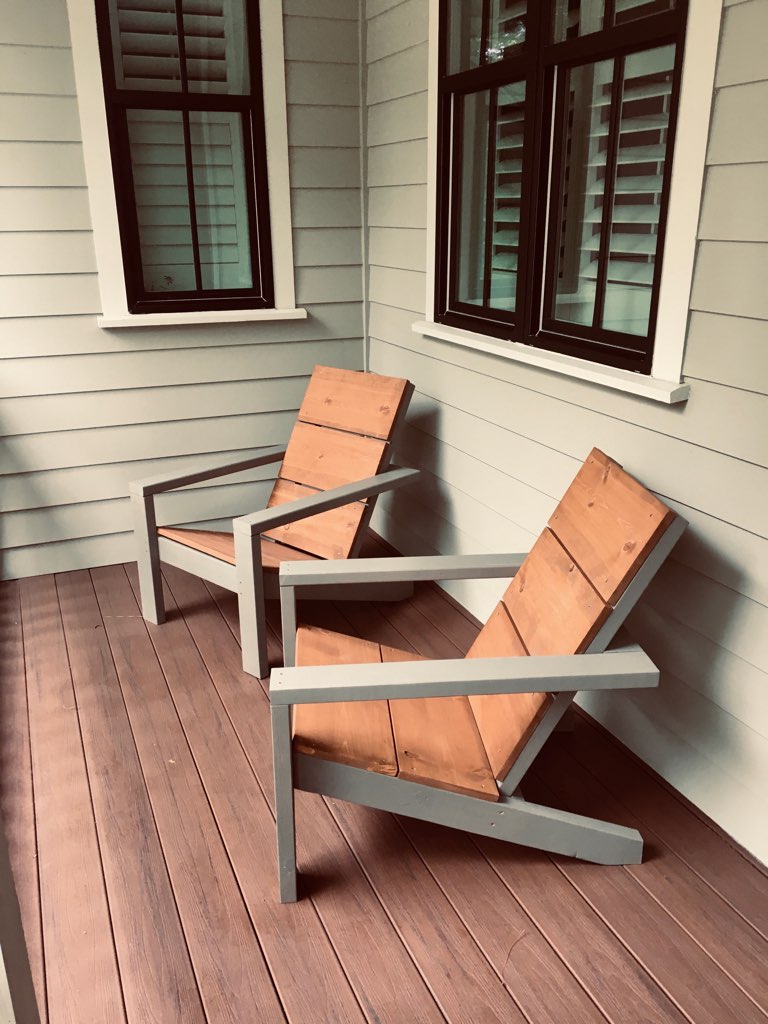
This was my seventh outdoor couch but my first sectional. My very first couches were all inspired by Ana White's plans and I have gotten so much better with my skills that I building other things as well. Thanks Ana for all your inspiration!

Comments

A-Frame Chicken Tractor

Submitted by Tonya P on Tue, 07/09/2013 - 19:46

New to raising chickens, but eager to jump right in to it.
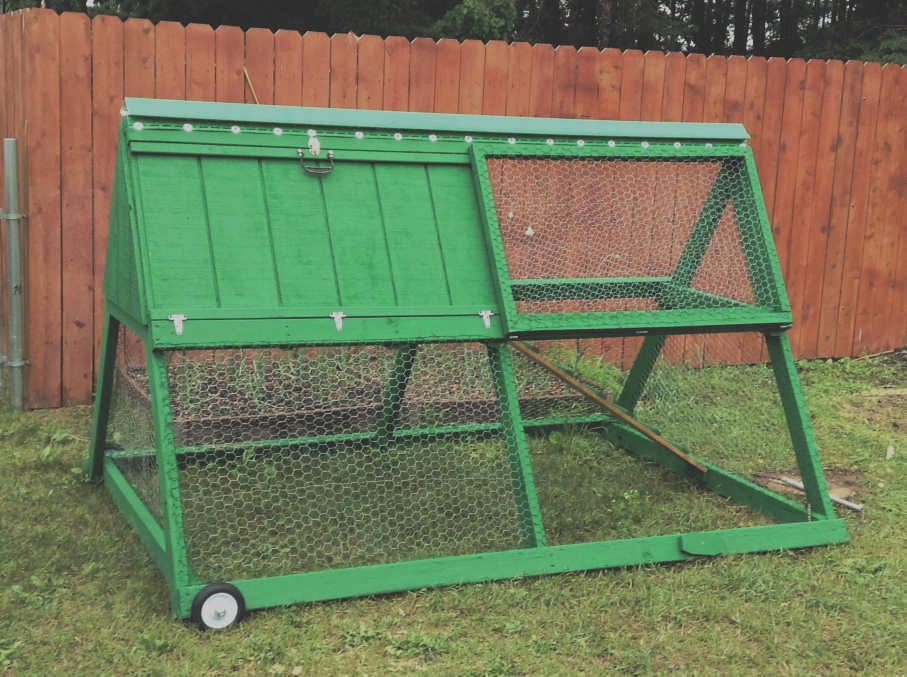
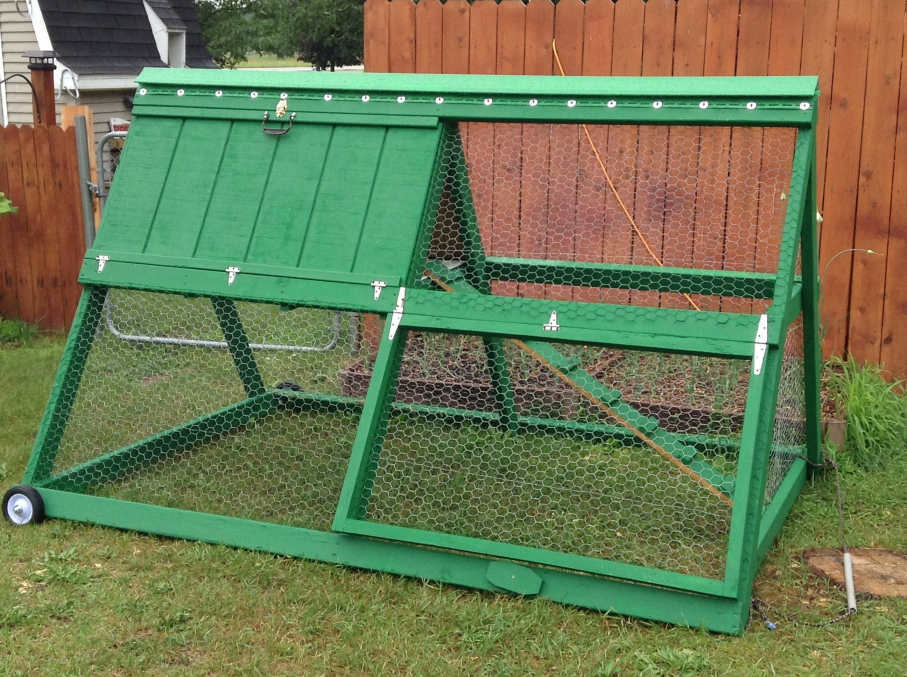
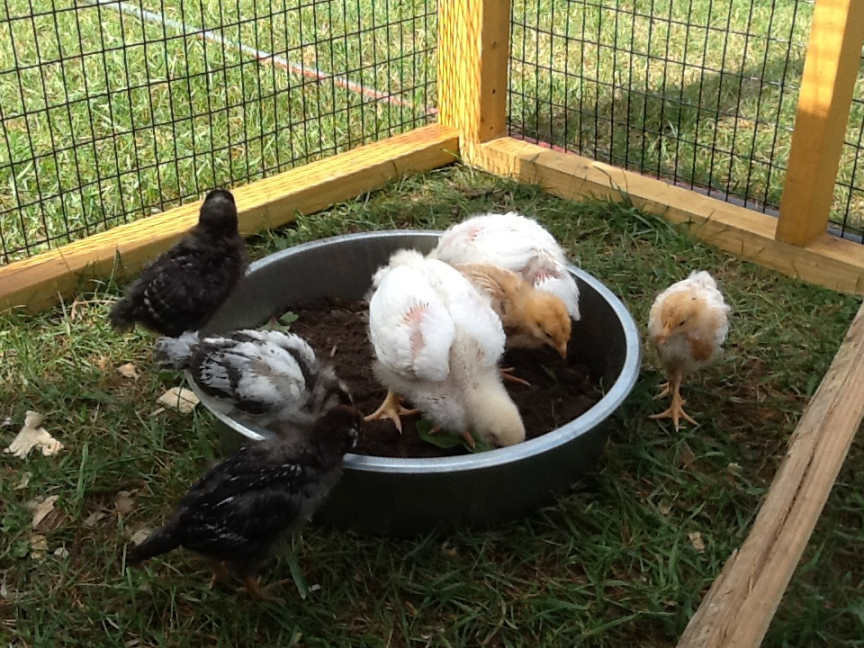
We bought a pre-made coop for the main home for our new chicks and it's very nice, not something I could do myself since I'm not yet at that level, but I saw this chicken tractor and thought it would come in handy for what I have in mind so I made up my mind to build it.
The lumber, chicken wire, staples, and wheels are all store bought new and came to about $75. The materials we had on hand were the screws, hinges, plastic coated metal shelving (used in the nesting area, I thought that would make it easy to clean), paint, and the corner piece of vinyl siding for the roof cap (hubby's brilliant idea, and I painted it green with spray paint for vinyl).
I did not try to build it quickly, I don't really know how much time it took me, but if I had to guess I'd guess total time would amount to about 3 afternoons, by myself.
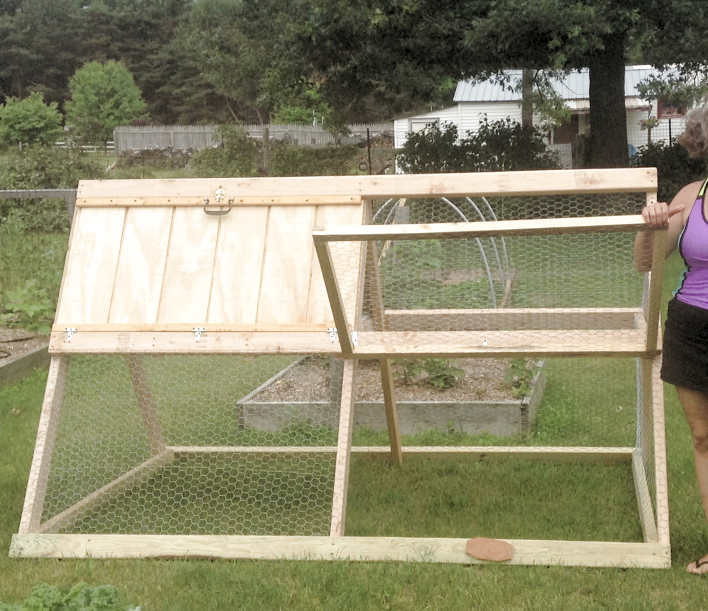
I wanted to leave the top on the one side open with the option to slap on the other boards if/when the need arises. I have the other t1-11 panels that can sit right in those areas because I stapled the chicken wire in a way that would allow it.
I also added a flip up panel as seen in the pictures for access. I didn't want a small door that I would have a hard time getting to things in there. I'm so glad I added this feature, it sure gives plenty of room for me to maintain the food and water dispensers as well as get in there and catch the little chickies :)
I wanted it green to blend into the wooded background in our backyard. I didn't want to take any beauty away from the cedar greenhouse and fencing we added last year, and this tractor would be moved from time to time and I felt this green that we had on hand was perfect to help it blend in rather than stand out.
This thing is heavy! I have a hard time moving it around and usually need my husband to move it so I won't hurt myself. I am considering some options... I don't like the rope I have on it to pull it, any suggestions would be appreciated.
As with the other items I've made with Ana's plans, this was fun and pretty easy to make. I love this site! Soon I will take on my next project, I've bought and gathered the materials, I'm anxious to get started :)
Thank you for looking :)

Built from Plan(s)
Estimated Cost
$75 - $85 for the new materials listed
Estimated Time Investment
Weekend Project (10-20 Hours)
Finish Used
Green exterior paint we had on hand.
Recommended Skill Level
Intermediate

Tool Caddy

Submitted by docbromo on Thu, 01/20/2022 - 15:21

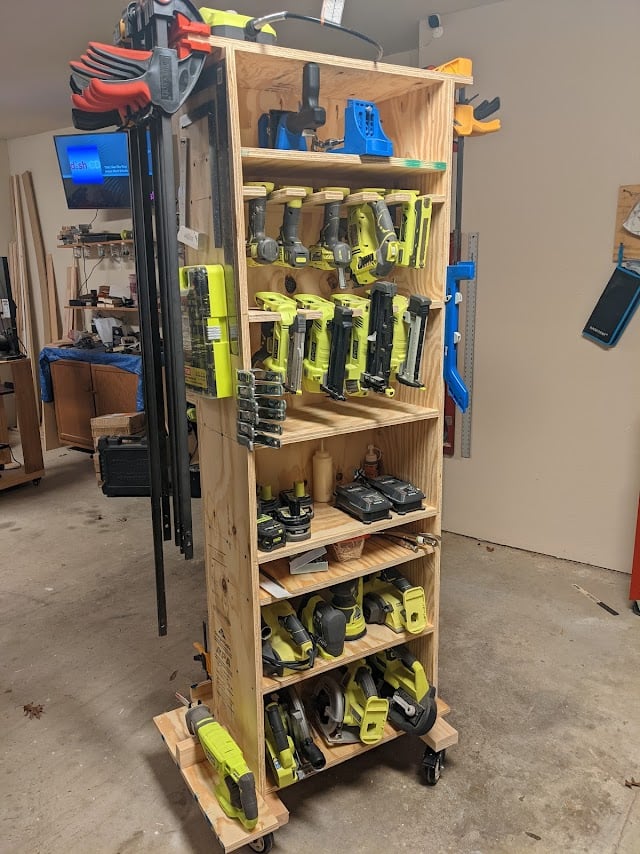
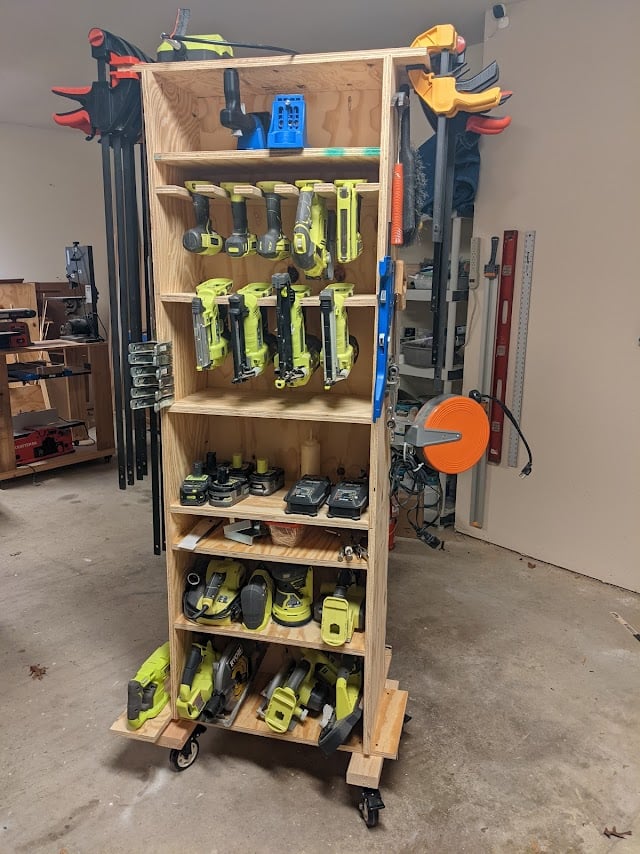
I repurpose furniture as a hobby and I got tired of having my tools hanging on a wall on the other side of the garage so I bult this rolling tool caddy. It is made out of 3/4" plywood, a couple of 2x4's and some heavy-duty casters. I built one about 3 years ago and realized that there were some things I wanted to do differently so I sold it and bult this one. My wife gave me a subscription to SketchUp and I had fun drawing it up and tweaking it. I left an over hang of 3" on both sides so I could store my clamps. I also attached an electrical cord reel on the right side and reversed the ends so the male end can plug into the wall and I can roll the unit across the room allowing me to be able to charge my batteries. The back side has a 44 drawer storage organizer and also a few shelves for additional tools like a router and a multi-tool. I'm not nearly the craftsman many of you are and I'm sure you could do a much better job. I didn't build it to look pretty but to be functional and it works for me.

Comments

Jayp413

Fri, 01/21/2022 - 09:16

I really like this idea. I have my tools hung up neat all around the garage, but I keep walking back and forth for tools and batteries. It would be great to roll this over to a project and have everything you need right there. Nice work. I will modify one for my needs.

BigMacQue

Fri, 01/21/2022 - 10:06

there are some very thoughtful features on this, notably the wings at the top and the bottom for clamps and extra tools and the different shelf heights. Well done! I'm going to build one just like it and a power strip for battery storage.

6'x6' Box

Submitted by Anonymous (not verified) on Wed, 04/20/2016 - 19:22

I found these plans online and was just waiting for the kids' grandpa to come out and build it. Could be built in one afternoon (depending on how many trips to your local Home Depot, and availability of the correct tools)
Modifications from original plan:
6x6 instead of 4x4
Brackets to hold patio umbrella for shade
Added seat gussets for additional support
Added "wooden flange" around bottom of box to run lawnmower on
One additional center back support on each bench
One centered handle (instead of a handle on each end)
Stapled landscape weed barrier fabric onto the bottom
Sanded all exposed edges

Materials:
4@2x10x8'
12@1x6x6'
2@2x6x12'
8 hinges
2 handles
3 1/2" decking screws (for attaching 2"x boards)
1 5/8" decking screws (for attaching 1"x boards)
2+ 1 1/4" 2-hole straps for metal conduit (for attaching patio umbrella*)
*Our patio umbrella pole was 1 1/2" diameter, but 1 1/2" straps had too much play, so we used 1 1/4" straps and misc flat washers to adjust the snugness to the pole
Cut lengths:
2@2x10 cut to 72" (long sides of the box)
2@2x10 cut to 69" (short sides of the box)
Cut one each of the following out of a 12 footer:
2@2x6 cut to 75" (long side "flange")
2@2x6 cut to 64" (short side "flange")
No cuts were made to the 12 1x6's
Used one leftover 2' from the 2x8x10's ripped in half cut to 11.5" for arm rests
Used two leftover 2' sections from the 2x8x10's ripped in half cut to 21" for back supports
Used the last 2' cutoff to make two seat gussets (cut about 9 1/2" off and then ripped it at 45 degrees)
Used the remaining piece (ripped in half length-ways) to attach to the center of the backrest for additional support and as the attachment point for our handles
We decided to do one handle in the center of the backrest so one reasonably strong adult could open the lid
The bottom "flange" was assembled with the box upside down. Basically a 2x6 screwed to the bottom edge of the box allowing 1 1/2" overhang all the way around
After making cuts, but before assembly, we recommend using a quarter-sheet pad sander (or similar) with 60 grit paper to break all of the edges and round over any ends or corners that will be in contact with sandbox users
Followed other general assembly instructions

Built from Plan(s)
Estimated Cost
$300 with umbrella and sand
Estimated Time Investment
Day Project (6-9 Hours)
Finish Used
We live in a very arid climate (Utah) so we chose not to varnish or paint this project
Recommended Skill Level
Beginner

Pool Steps & Safety Gate

Needed a safety gate and steps to get into the pool. Even provided shelter for the pump and filter.

Estimated Cost
$100
Estimated Time Investment
Day Project (6-9 Hours)
Finish Used
None
Recommended Skill Level
Beginner

Secretary/Storage cabinet

Submitted by Kirch3333 on Mon, 11/02/2015 - 05:39

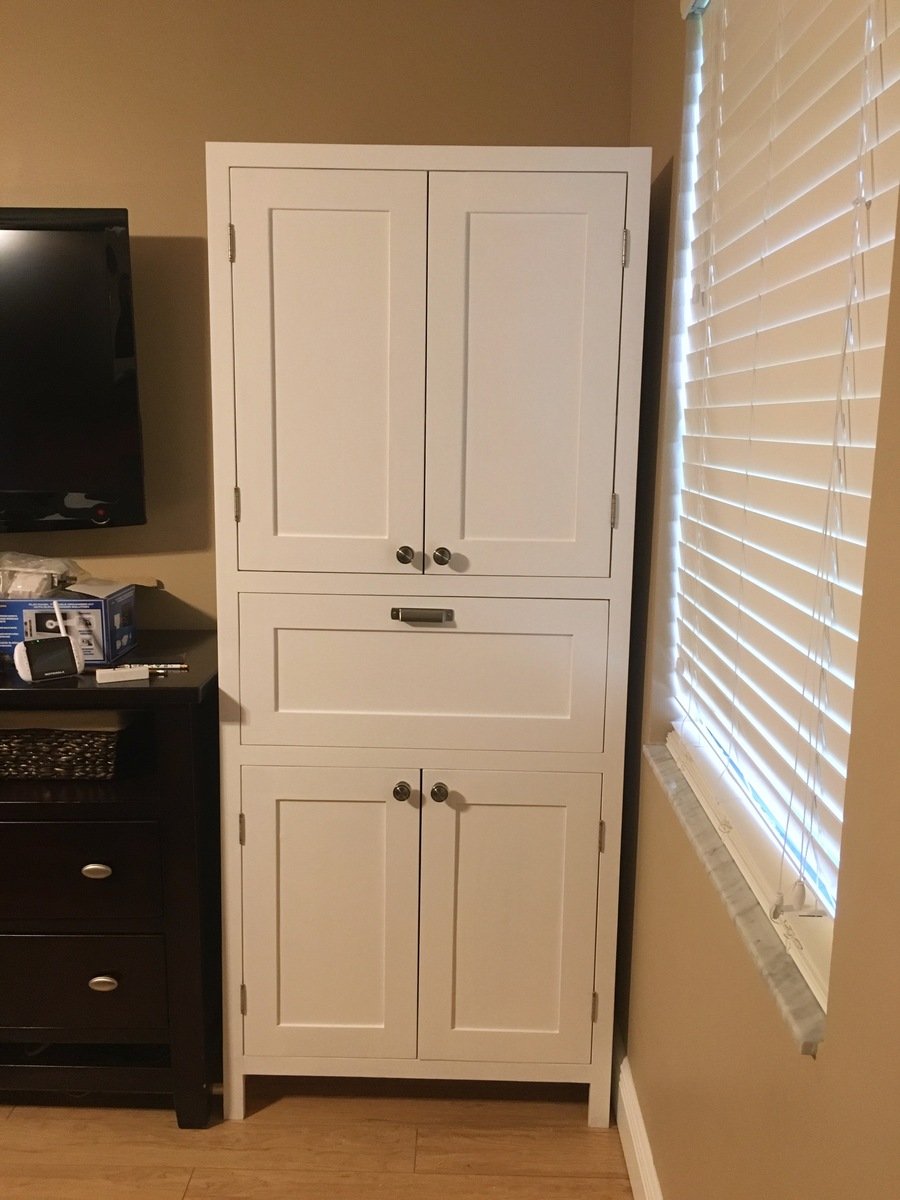
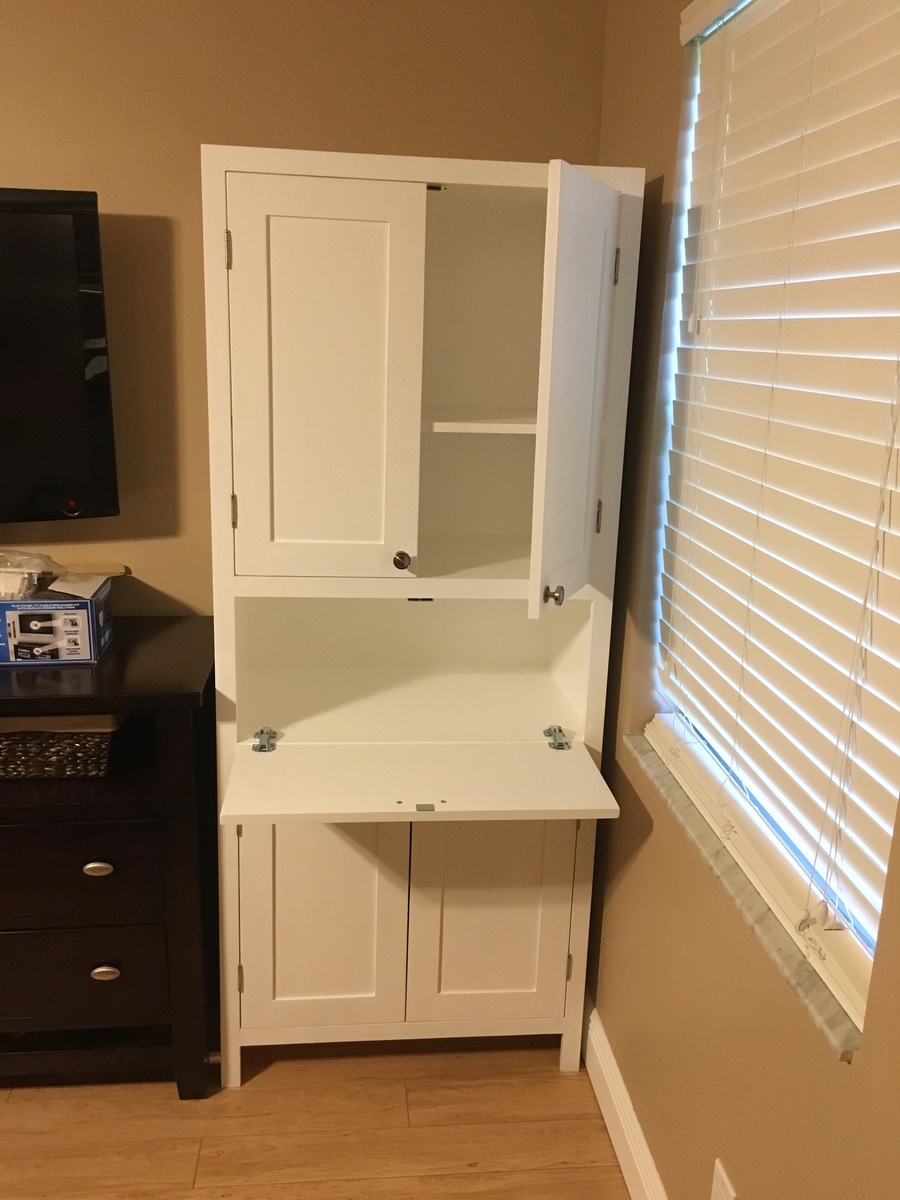
Inspired by the Tall Secretary with mail slots but with my own twist/needs incorporated in it. Finished with pure white satin paint.

Estimated Cost
$150
Estimated Time Investment
Week Long Project (20 Hours or More)
Finish Used
Pure white Behr satin enamel paint, finished with Varathane Matte Soft Touch Polyurethane
Recommended Skill Level
Intermediate

Daughters blue Playhouse

Submitted by rysos81 on Thu, 07/23/2020 - 08:55

I used the basic framing plan for the project, but extended roof overhangs, added engineered siding / trim and cedar shake roofing. I put 2x4 bracing on for the platform.

Estimated Time Investment
Week Long Project (20 Hours or More)
Recommended Skill Level
Intermediate
Seasonal And Holiday

Swing Bed - Time to Relax!

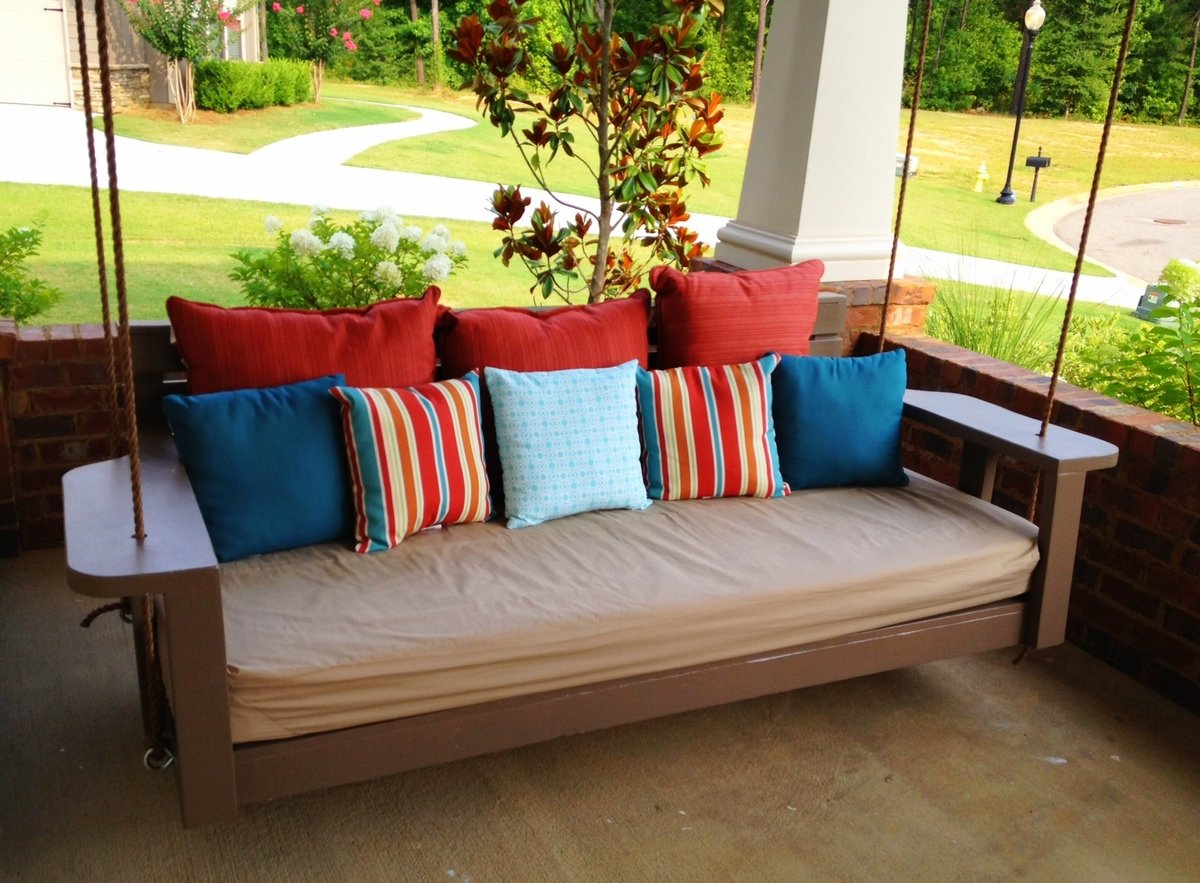
A few years ago our family vacationed in Watercolor, on the northwest Florida coast. We loved the house we stayed in so much when we returned home we put our house up for sale so we could build a home similar to the one we stayed in. One of the features we loved so much was the large covered front porch and most of all the swing bed it showcased. My wife spent every morning and night that week relaxing in that swing. I promised my wife then that I would make sure got her own swing. Thanks to Ana White, she was back in her (new) swing last night.

I began with the "Large Modern Porch Swing" plan and made some changes. I wanted to use a twin size mattress so I increased the size of the swing's base. Also, because the mattress was 6" I lifted the arms and back. The arms are the biggest and best change I think. I had seen someone else do similar arms, but I they used an 1x12 I think. I wanted a heavier look, so I used a 2x10.

Built from Plan(s)
Estimated Cost
$200
Estimated Time Investment
Weekend Project (10-20 Hours)
Finish Used
Glidden Paint - Monterrey Cliffs
Recommended Skill Level
Beginner

Comments

brookifer86

Mon, 07/02/2012 - 14:55

So...when should I stop by with margaritas?? This swing is awesome! So impressive. I'm going to have to keep it in mind for the home we're building. Great work

2x4 sectional outdoor sofa

Submitted by Anonymous (not verified) on Tue, 05/12/2020 - 08:10

My first Ana White project. My friend Shelley and I are RN's, and she got me hooked on woodworking. I started with cushions from Lowes ( in the sizes that you recommended)to see if I loved the sectional for a few years. I loved it so much I decided to have custom Sunbrella fabric ones made. Even though the custom ones were more expensive, it has been worth it. They go perfect with my California Mission style home. Now I want to add the armless one and make it a U-shape. I did add a piece at the bottom back of each sofa to hold the cushions in. The seat cushions would slide out the back when sitting on the sofa. I made the coffee table to match. Our family loves it!

Estimated Cost
building materials for sofa $250. Custom Sunbrella Fabric cushiosn $2000
Estimated Time Investment
Weekend Project (10-20 Hours)
Finish Used
Stained with Carrington Minwax and sealed with spray Shellac
Recommended Skill Level
Beginner

Comments

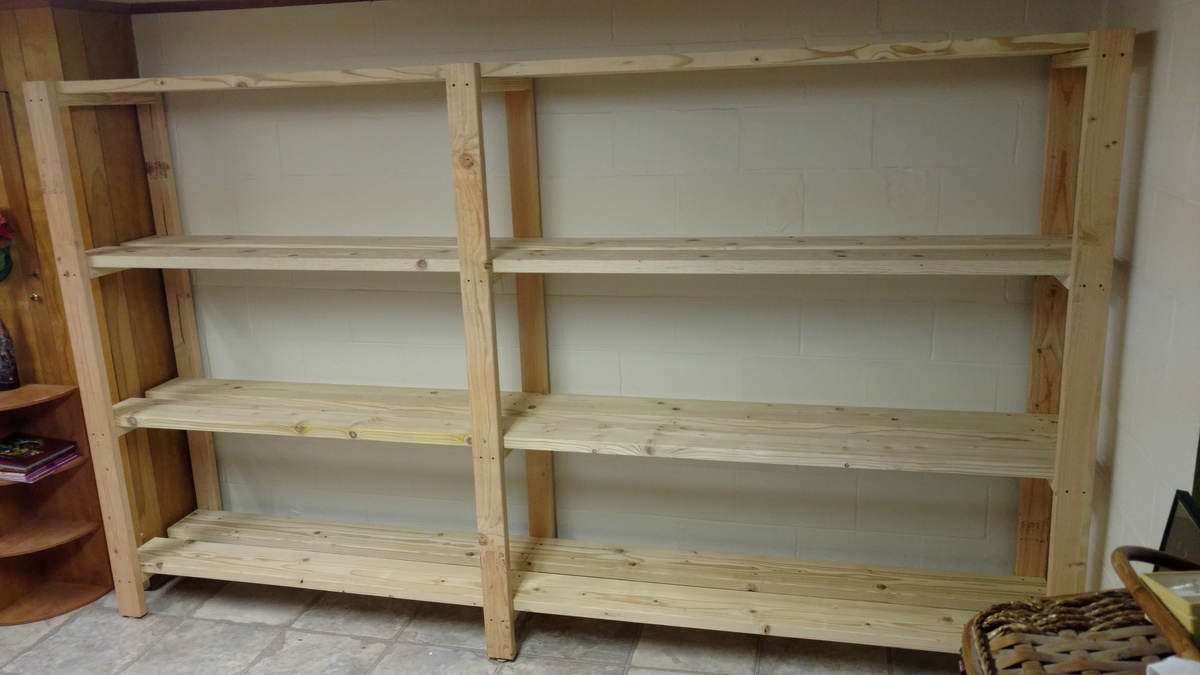
Basement Shelving....

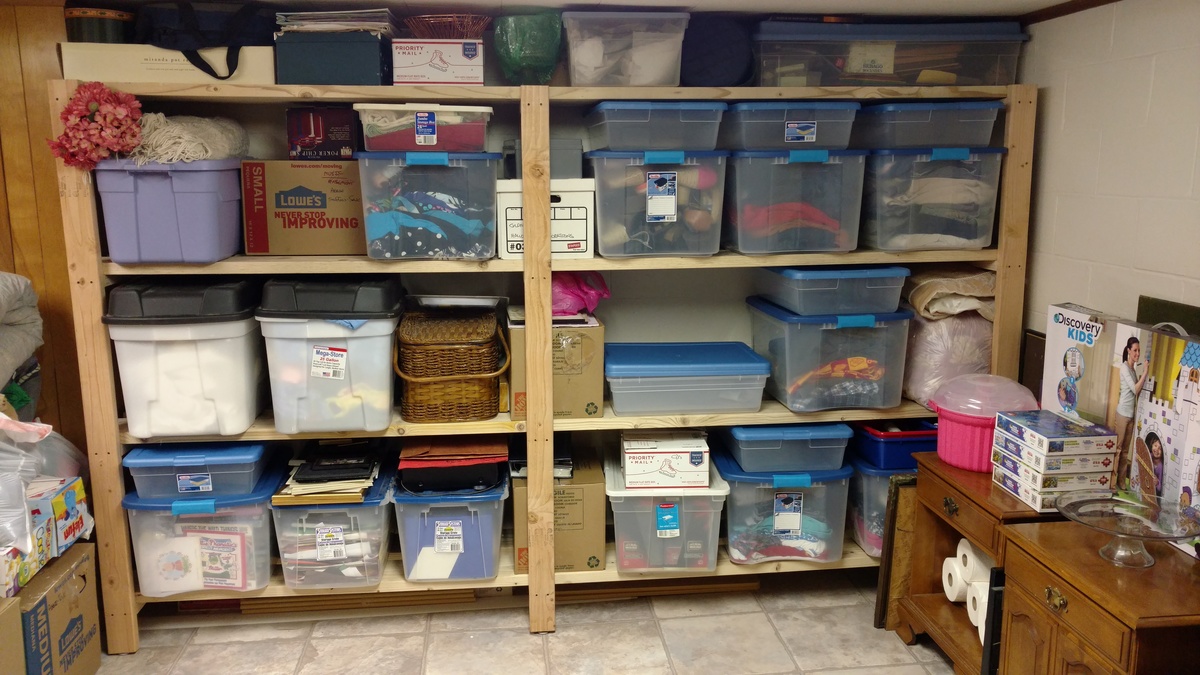
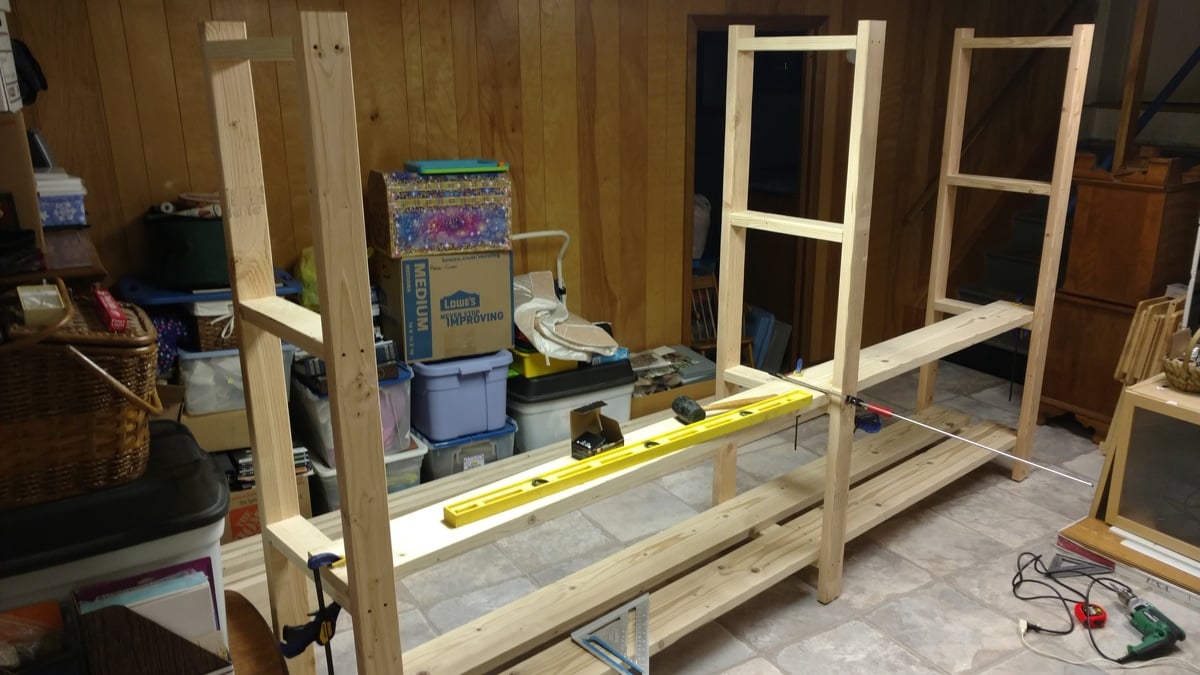
Time to get organized in 2017....and what better way than with some custom shelving. This was not too bad of a project to complete. It only took about 6-8 hours to cut, frame, and assemble everything together (thanks to an interruption or two). 'Twas nice to have a project for once that I didn't have to care about finishing the project with wood filler, sanding, painting. I am sure my wife thanks me more as I would have been another week getting things just right​​​​​! 

A few changes that I made from the original plans:

- used 2x8 for the shelving runs as I only was dealing with a 10ft run and was a few bucks cheaper to buy 8 boards vs 16 boards. Plus less cuts!!! 

-installed adjustable furniture feet in the supports to deal with sloping basement floor. Unexpected side effect was it was easier to slide the unit around in the basement as I assembled it. 

Outside of those changes I remained faithful to the original design. I didn't bother filling the screw holes as we will be hiding the shelving unit with a curtain once  we turn the room into a TV/Office area. 

Also as it wasn't 100% clear from the original plans, but the height measurements for the shelf supports are to center... not sure why it didn't register with me right away... but just in case anyone else didn't realize that as well. 

Estimated Cost
$150 for wood, screws, wood glue, and adjustable furniture feet
Estimated Time Investment
Day Project (6-9 Hours)
Finish Used
None
Recommended Skill Level
Beginner

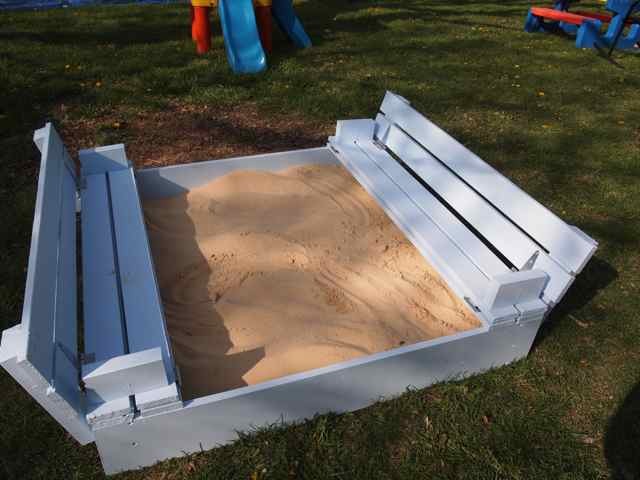
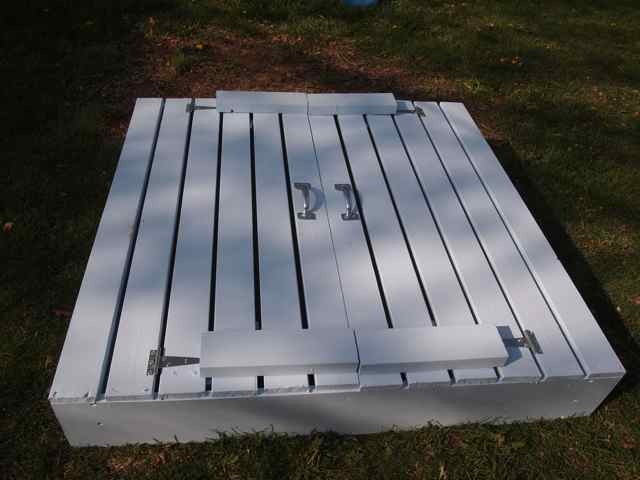
Sandbox with benches

Submitted by h.abbott on Tue, 04/10/2012 - 05:43

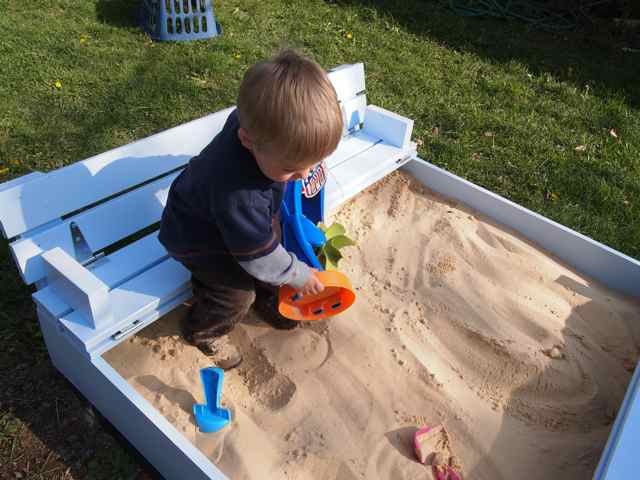
I knew I needed a sandbox for my toddler, and saw the original on pinterest. I was so happy when I came here looking for designs and saw that someone had created a plan for this. I think I'm more excited about it than my little guy is.

The plan was easy to follow, and it went together quickly. Thank you very much for these plans

Built from Plan(s)
Estimated Cost
$50
Estimated Time Investment
Afternoon Project (3-6 Hours)
Finish Used
Exterior paint in light blue.
Recommended Skill Level
Starter Project

Comments

hippyengineer (not verified)

Tue, 10/16/2012 - 19:32

You rock Ana! Your plans are some of the best quick builds with lots of features. I built this sand box in two hours and my son is having the best time. This is a Texas winter replacement for the beach and the backyard pool.

edkeogh

Mon, 05/23/2016 - 19:44

So I just started making this box and it's truly an awesome design but I couldn't get 1x8 lumber instead I got 2x8... For the box base, will this make an difference in the mechanics of the seat and back opening..and the overall size of the box is 1.5" longer at 49" instead of the 47" the plans detail.. I was hoping that it won't but I think it might interfere with the 2x4 support the seat back..

I right in the middle of this project so I need to get on with it as it's nice tomorrow..

THANK YOU
ED

Two Story Rabbit Hutch

For my first woodworking project, I foolishly decided to build a rabbit hutch without plans for my daughters new Easter Bunny. So I literally scratched some ideas on my wood working bench and started going to work. I did some construction over a decade ago, but never attempted to build any furniture before, so I'm pretty happy with how this came out.

I spent a few days researching various rabbit cages and for our place we needed something that was ascetically pleasing and functional as it was going in our living room. I got some ideas from the web and decided the best thing for us would be to have an entry ramp, 2 sets of barn doors for each level (for easy cleaning) and an open roof. We went with linoleum floors since she's already litter trained. The floors could easily be modified to add 1/2" wire mesh if we decide to change things down the line. Also, we chose an espresso finish with silver hardware to accent the wire mesh

I pretty much crashed and burned on the staining as I've never done that before, but it ended up looking ok after all. I did a light sanding, but will probably invest in a planer and jointer to get my wood in better shape before assembling in the future. Also, I'll probably lightly dab some stain on ends of wood before final assembly as it made it difficulty trying to hide the white pine with the dark stain.

Other cages I saw ran around $200-$350.00 so i don't feel so bad about the cost. It's really the time that it took learning and making mistakes. I'm sure if I had plans I could of cut my time in 1/2.

Total Cost came out to around $150.00 but probably would of been cheaper if I had some plans to go by. I probably wasted a few 2x2s and accidentally mis-cut a scrap piece of 1/4"plywood which added another $16.00 to the bottom line.

Here's a breakdown of my total cost.

Hardware - $30.00
Includes 5 latches, 4 sets of hinges (8 total) and a 3' piano hinge

Stain - $8.00

Linoleum Tile @ ¢.69 sq ft - $16

Brushes, Stain Rags - $5.00

Screws - $6.00

Wire Mesh Roll $30.00
Needed 2 rolls at $15.00 each. I used 1" Wire Mesh measuring 2'x15'

Total Wood $50.00-$60
I used 2x3's for the legs - 2 @ 8' - $2.00 each ($4.00)
probably 15-20 2x2's - $1.52 each - can't remember how many I used to be honest ($30.00)
and a few 1x6's for the Doors - $2.00 each ($6.00)
Sheet of 1/4 plywood - $12.00

Estimated Cost
$150
Estimated Time Investment
Week Long Project (20 Hours or More)
Recommended Skill Level
Intermediate

Comments

ashinshaw

Thu, 05/03/2012 - 08:09

I also have been thinking with the idea of building a two story hutch for our rabbit. I love your ideas so now i have a new project to work on. Thanks for sharing!

Nicolene (not verified)

Mon, 10/08/2012 - 12:46

I LOVE your cage! We have 2 rabbits and 2 Guinea pigs which means we have 2 ugly cages in our living room. We are planning something similar, but a bit bigger (but lower if that makes sense). And we'll put a 3rd story on for our Guinea pigs. So we have everyone on the same patch of real estate so to speak. I was going to do 3 solid walls with wire "windows" too keep all the hay, poops and such contained. I am also going to put lockable wheels underneath, so I can move it to my office if I ever need to (parties and renovations).

Is there anything that you can now think of that you would like to change on yours? R my research purposes.. :) It looks awesome, I'm just picking your brain for "hindsight" tips.

Hailey Platform Bed Frame with aMiter

Submitted by stillhere on Fri, 11/20/2020 - 14:25

We have built this plan twice for our two daughters (Full size mattresses). A similar bed frame at Pottery Barn Teen would have easily set us back about $1500 so these bed plans are truly a blessing! After no luck with a Wayfair wrought iron knockoff bed frame (loud and squeaky!!) we decided to give an Ana White plan a go. So glad we did! We did modify the plans slightly. We mitered all corners and stained all components with a Varathane Golden Oak before final assembly. Although I own and use a Kreg Jig, we wanted the frame to be easily disassembled. We opted for corner braces secured with 6, 1" cap head wood screws per corner (3 per side). Keep in mind miter corners can be a bit tricky but definitely possible with a little patience. PLEASE NOTE: when cutting miters, you will need to account for an additional 4" OD from Ana's written plans. Each 90 degree angle is approximately 2" long. So, if cutting the 75" length( for the mattress length) the miters will be 2" long on each end making the OD length 79". Whether you are going with Miters or butt joints, I would also highly recommend a right angle clamp (Top/Bottom) used during assembly. It is extra expense but so worth the investment!

Built from Plan(s)
Estimated Cost
$150
Estimated Time Investment
Day Project (6-9 Hours)
Finish Used
Varathane Golden Oak #227. Applied 2 rubbed coats for a deeper grain finish.
Recommended Skill Level
Intermediate

Bed #2

Submitted by The_big_al on Wed, 06/24/2015 - 22:10

This is bed #2! Bed #1 can be found here: http://ana-white.com/2015/06/DIY_furniture/1st-time-project.

The original plan was to make our daughters bunk beds but during the construction of bed #1 we decided to put the oldest into her own room. This move prompted me to find a way to differentiate bed #2 from bed #1.

The headboard and foot board were again kept equal sizes although I did not make them as tall. They are taller than the footboard of the original plans. I used the headboard measurement of the headboard for the posts to make the post stand taller than the rest of the head and foot board giving it a slight 4-poster look.

I would also like to point out that I made the entire head and footboard an inch narrower. When I made the first bed, because of the way I attached the side rails to the 4x4 posts, it created a bed frame 3 inches wider than the plans called for. Because of this, the mattress on bed #1 has about an inch or so gap on either side when it sits in the frame. It's not a huge deal, but it was something I wanted to try and correct. So I loped an inch off the total width. I compensated by making the end filler pieces of the slat portion narrower. I would even go so far as to cut an even 3 inches off the entire width and the mattress would sit tight in the frame.

As with bed #1 I decided to use bolts instead of screws to hold the bed together. It makes for a much sturdier bed and it can be dis-assembled in a matter of minutes moved and reassembled without losing any structural integrity. The flowers on this bed hide the holes I had to drill to counter sink the bolts and the holes I drilled to access the bolts to attache the washer and nut. I was able to get just deep enough on the 2x6 side rail that I didn't need to drill all the way through as I had on bed #1. This was something I learned as I began to assemble bed #2 to get it ready for paint.

Built from Plan(s)
Estimated Cost
This bed cost around $150 to build including the trim and paint.
Estimated Time Investment
Weekend Project (10-20 Hours)
Finish Used
As with bed #2 various modifications were made to the plans. I shortened and raised the headboard and footboard. I made it narrower. I did this because instead of the rail attaching to the edge of the post as the plans direct, I attached the side rails in the center of the post. I also did not build the mattress frame as directed. Instead I just ran a 2x2 down each side of the side rail. This was sufficient as the mattress frame was no longer a part of holding the bed together.

I added bevels the wood slats with a router and added the same bevel to the tops of the posts and the the 2x4 cap inbetween the posts. This gave the bed a much more finished look instead of looking like painted raw lumber. The flowers and letters were acquired at a craft store and painted using craft paint and then sealed with a spray on clear lacquer finish. I used a pin nail gun and wood glue to attache them to the bed. Caulking and wood filler to fill in any screw and nail holes was also used to give the bed a complete finished look.
Recommended Skill Level
Intermediate

DIY Wood Shed

Submitted by Anonymous (not verified) on Sun, 10/29/2023 - 19:18

I am a mathematics teacher in Central IL. I teach a class called Geometry in Construction. I had my math students build this wood shed in pieces at the school, then I brought it home and put it together with a few of my son's friends. The students enjoy a math class that gets to go to the wood shop to apply their math skills to a wood working project. I am proud of my students hard work and dedication.

Shari Bruyn (I'm old, so I do not have Instagram or a blog page. lol)

Built from Plan(s)

Garden Bench!!

Submitted by Nathan1342 on Mon, 08/06/2012 - 12:09

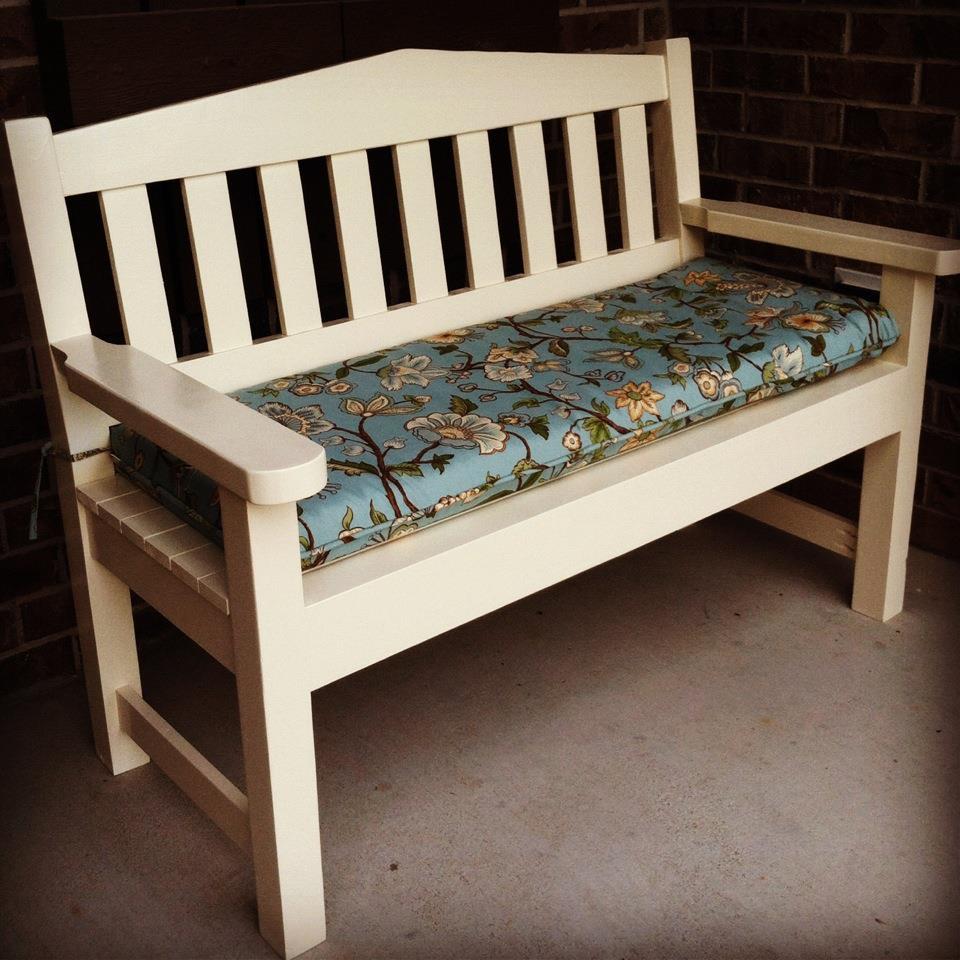
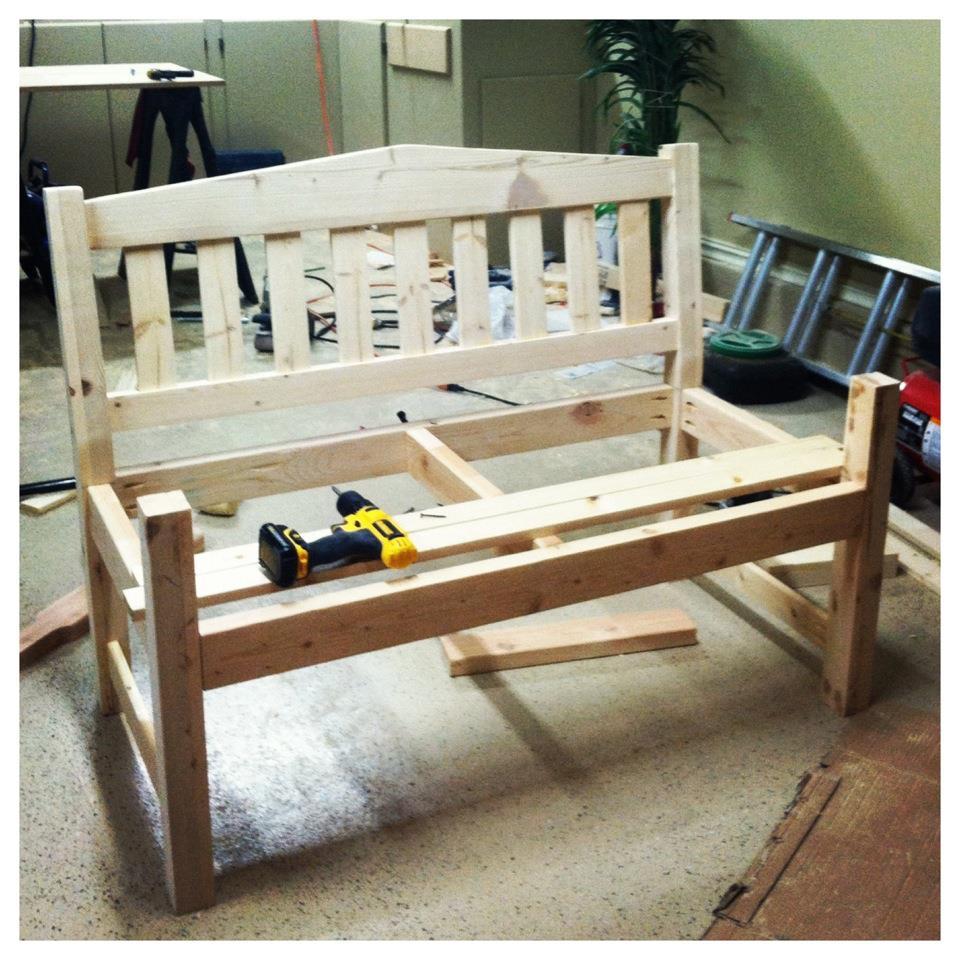
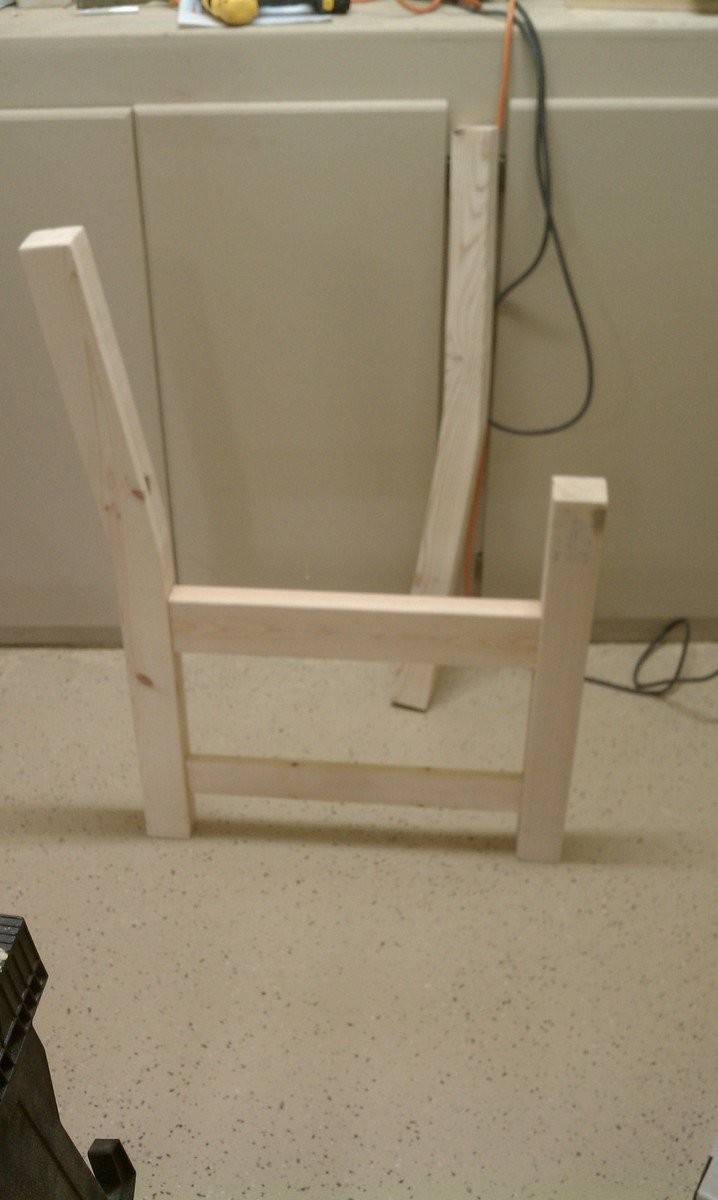
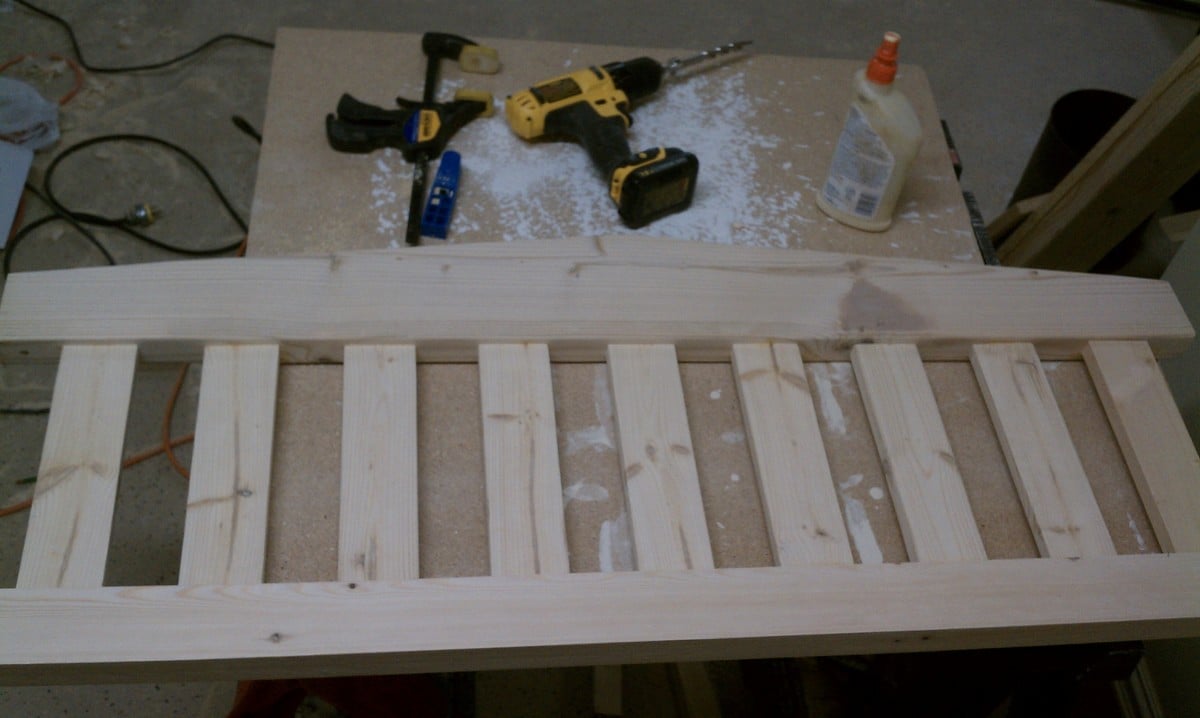
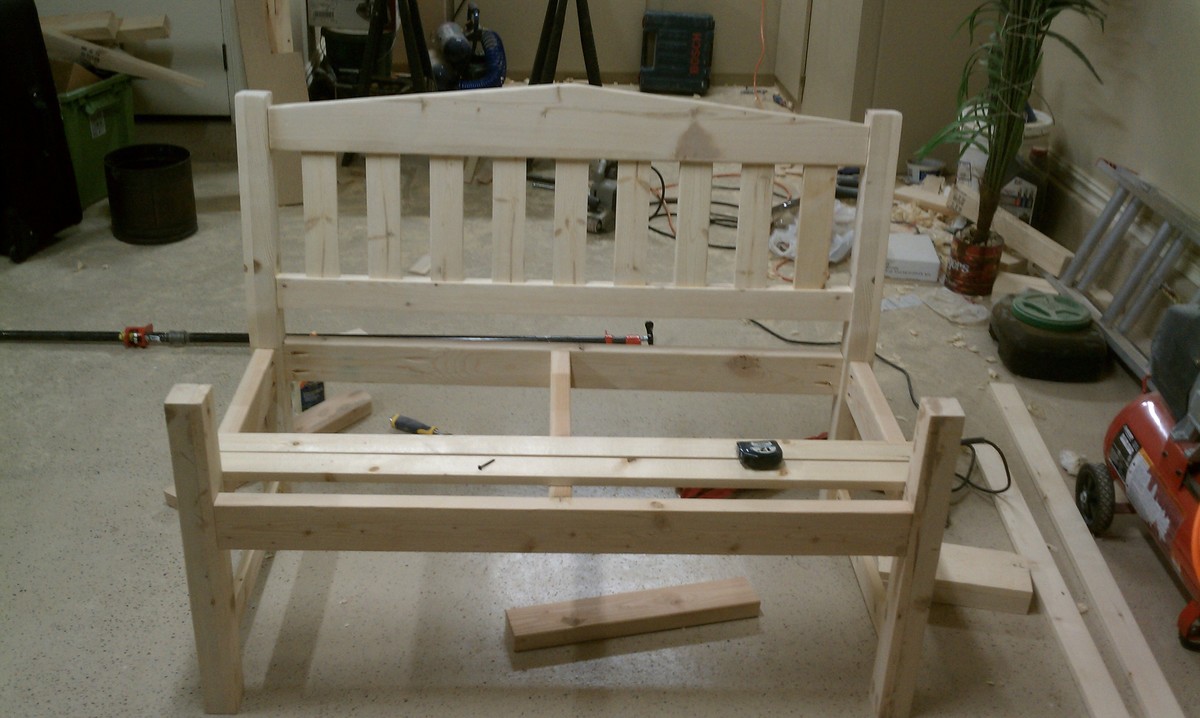
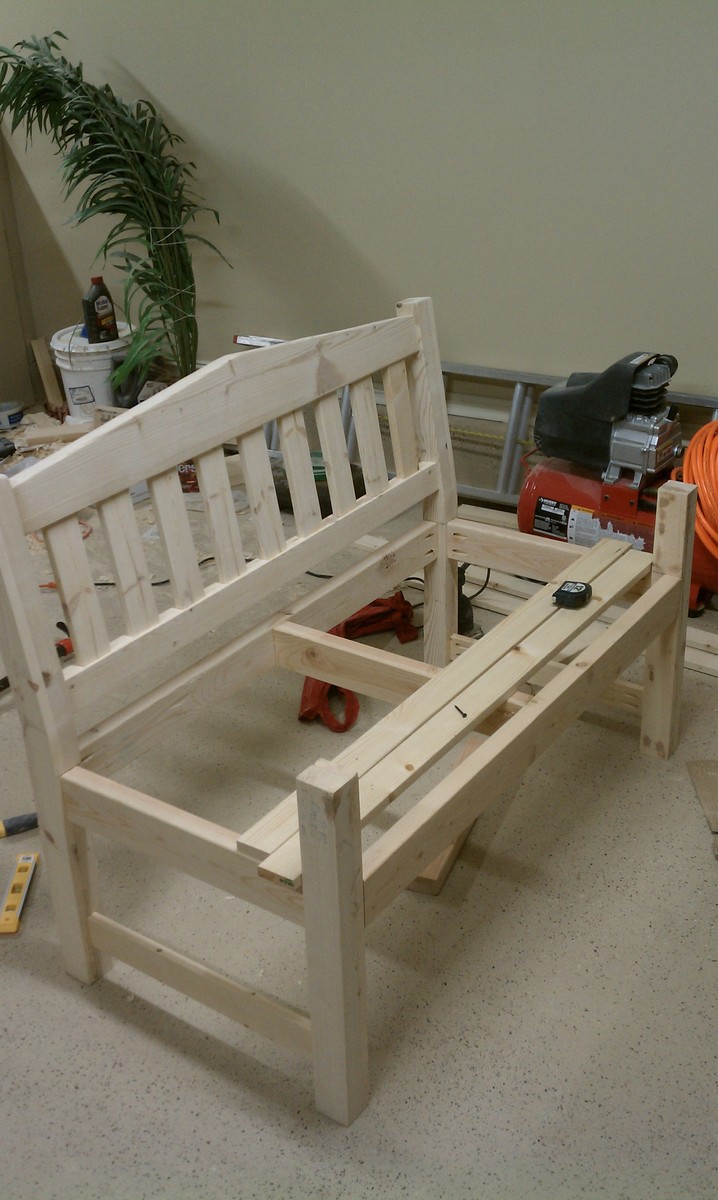
I built this for my wife for an anniversary present. She had wanted a garden bench for some time but the ones that she wanted were between $500-$700 which is ridiculous for this type of bench. So, I did a search on here for garden benches but there weren't really any plans for them and the few brag plans were not really the type of bench I was looking for. I printed off a few pictures of benches that I liked and got to work. The front and back legs a 2x6 and a 1x6 glued together and then cut to be straight. I wanted something thicker then just a plain old 2x6. If I had to do this again though, I would have just glued 3 1X6's together. The reason being, is that 1x6's usually do not have a rounded edge and a 2X6 does. So needless to say when you glue them together you have a nice little gap on either side. Without a table saw to take this off, its pretty difficult to get a straight cut. But I ended up getting it right after sweating for a few hours in the garage. The bench stands 36 inches high, 48inches wide and about 18 inches deep. The seat height is right at 18in also.

In the unfinished pictures I actually had the depth being 24 inches. After sitting on it though it was just way to deep. So I pulled it apart, made the adjustments and its now much more comfortable to sit in.

If anyone has any questions or wants more details feel free to drop me a line!

Thanks!

Estimated Cost
85
Estimated Time Investment
Weekend Project (10-20 Hours)
Finish Used
Oil based acrylic paint
Recommended Skill Level
Beginner

Comments

Torwart13

Tue, 06/16/2015 - 11:25

So legs are about 2 1/4" square? Are the seat supports 2x4's? Back cross pieces 2x4? Slats 1x4"?

smz1919

Wed, 06/17/2015 - 12:39

how did you get the curve on the back legs?

In reply to by smz1919

Nathan1342

Fri, 06/19/2015 - 13:34

I glued a 2x6 and a 1x6 together to get the thickness. Now that i have a table saw and a jointer this entire process would have been much easier but after getting it to look like one solid piece i just outlined the slant i wanted and cut it using a jig saw.

smz1919

Fri, 06/19/2015 - 20:17

So the back slats are just glued in place right? I wonder if it would be easier to use a biscuit joiner or not

Mikeyw221

Sun, 10/23/2016 - 17:46

on the back legs how high up did you go before you started cutting the angle? and was it around 15 degrees fromt he edge?

SawdustMaker21

Wed, 05/26/2021 - 08:32

Hi Nathan
Love the look of the bench. Would you have a list of material requirements. I intend to make a bench like this and would like to know the measurements of the top back spar (the shaped one).
Here in the Uk our timber yards do not always supply the same cuts as the US so I need to have some idea of the pieces I need
Many thanks

Back