Community Brag Posts

Indoor Playhouse Fun

Submitted by Anonymous (not verified) on Sat, 05/21/2016 - 18:21

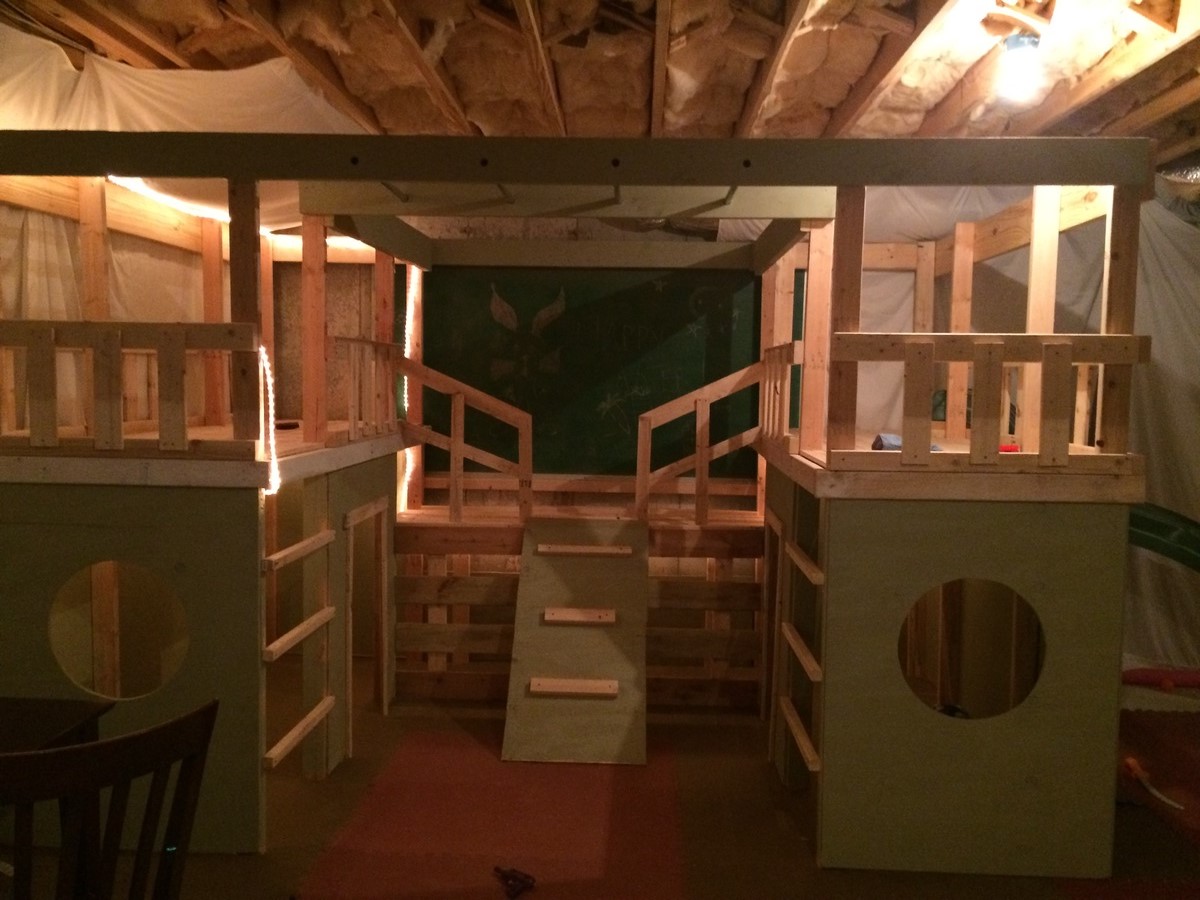
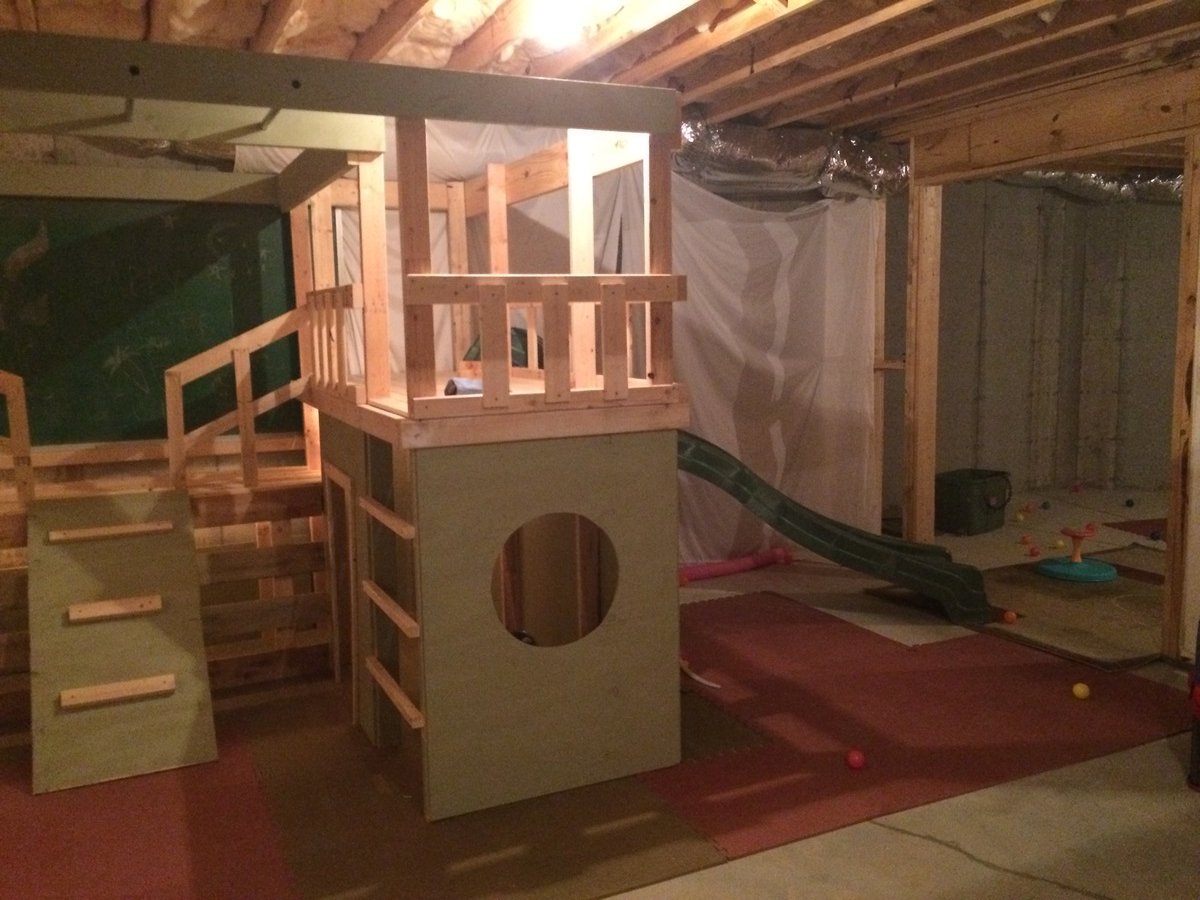
This project was a success!! I had a week of vacation that I dedicated to this great project! The directions were easy to follow...thank you Ana! 

I managed to get the slide from someone's outdoor play set that they were giving away :)  I secured it to the side of the upper level. It's been the kids favorite part! 

Estimated Time Investment
Week Long Project (20 Hours or More)
Recommended Skill Level
Intermediate

First project!

Submitted by adi1166 on Tue, 02/25/2020 - 08:03

We finally finished our first project - definitely made mistakes, but learnt a lot. I feel ready for tackling the next one 

Estimated Cost
20
Estimated Time Investment
Day Project (6-9 Hours)
Finish Used
Medium Walnut - I wasn't a fan with the end result, so I'll probably try a lighter stain with 2x4s the next time
Recommended Skill Level
Starter Project

Simple Bunk bed with a triple twist and cubby steps.

Submitted by Jason_NJ on Fri, 05/11/2012 - 11:29

I'm a father of 4 girls ages 6,5,4, and 1. So a regular bunk wasn't enough so I decided to add the 3rd bunk. Each painted in my girls favorite colors. The paint was Martha Stewart signature paint which was on clearance on Lowes. Think it was 3 or 4 dollars a quart. The cubby steps are basically just 4 boxes stacked on top of each other and nailed together and made from 3/4" furniture grade plywood.

It didn't come out perfect but I'm pretty happy with the results. Let me know what you guys think. Thanks.

PS, Ana...my wife is a big fan of yours. She's the one who turned me onto your site.

Estimated Cost
$200-$250
Estimated Time Investment
Week Long Project (20 Hours or More)
Finish Used
Martha Stewart Signature Paint
Recommended Skill Level
Beginner

Comments

calisarah2005 (not verified)

Sat, 11/24/2012 - 09:06

Hi,
We are looking to build something very similar, but are needing more information. How did you attach the loft bed to the top bunk bed? What do you have at the foot of the loft bed to keep it up? Thanks so much for any information.

My first Adirondack chair

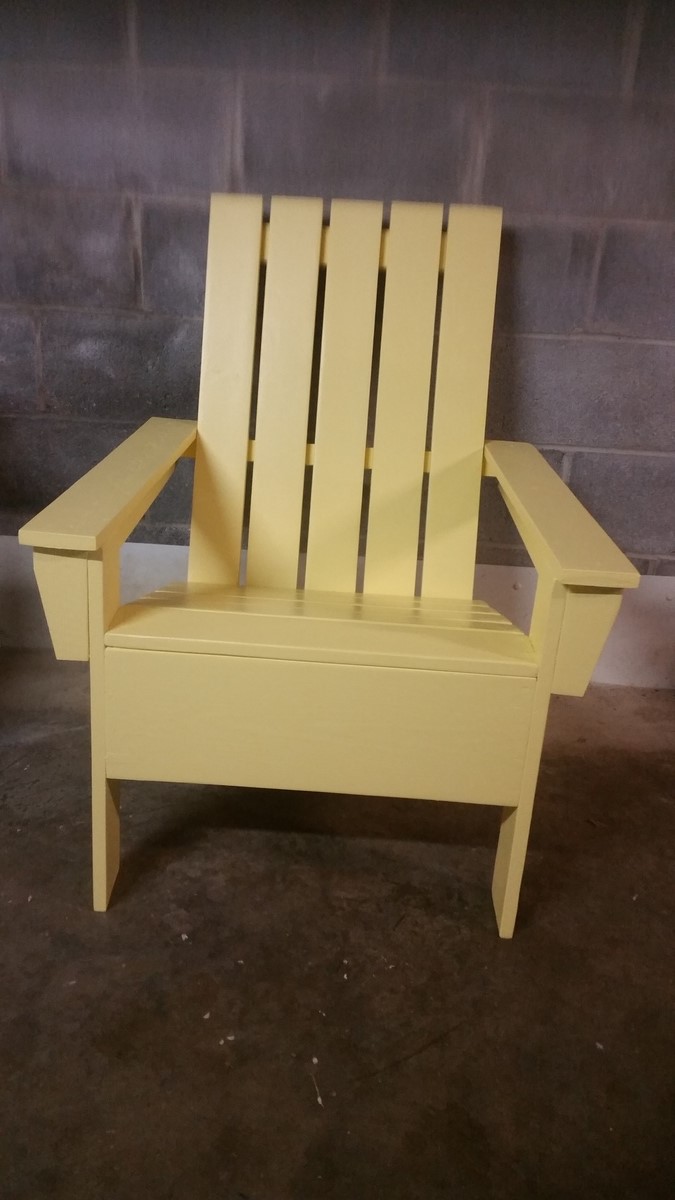
My first attempt at building an Adirondack chair. Ana's plans were easy to follow and very accurate. I would classify myself as a Beginner+.. Recently suffered bad thumb cut making cedar planters. Always think safety first. 

Built from Plan(s)
Estimated Cost
$55.00
Estimated Time Investment
Week Long Project (20 Hours or More)
Finish Used
Glidden Latex. One coat of primer and 3 coats of Glidden canary yellow latex.
Recommended Skill Level
Beginner

My first project!

Submitted by rwaldo on Sun, 03/01/2020 - 10:59

For my first project I chose the farmhouse coffee table. It turned out much better than I expected! The hardest part for me were the angle pieces on the ends. The design was super easy to follow and I love the rustic look. It didn’t turn out perfect but I am pretty happy with it. Can’t wait to see my husbands reaction when he gets home :)

Thanks Ana!

Estimated Cost
$60
Estimated Time Investment
Day Project (6-9 Hours)

Simple Outdoor Stabackable Chairs and Table

We used cedar for these nice, little chairs and based the table on the chair model, only 24" tall, rather than the 18" of the chair seats. It took longer to cut than assemble these - total time: @4 hours for all.

Thank you, Ana!

Darin

Built from Plan(s)
Estimated Cost
$60
Estimated Time Investment
Afternoon Project (3-6 Hours)
Finish Used
Stain with weather protectant.
Recommended Skill Level
Beginner

Hailey Platform bed

Submitted by PatD on Sat, 03/14/2020 - 07:24

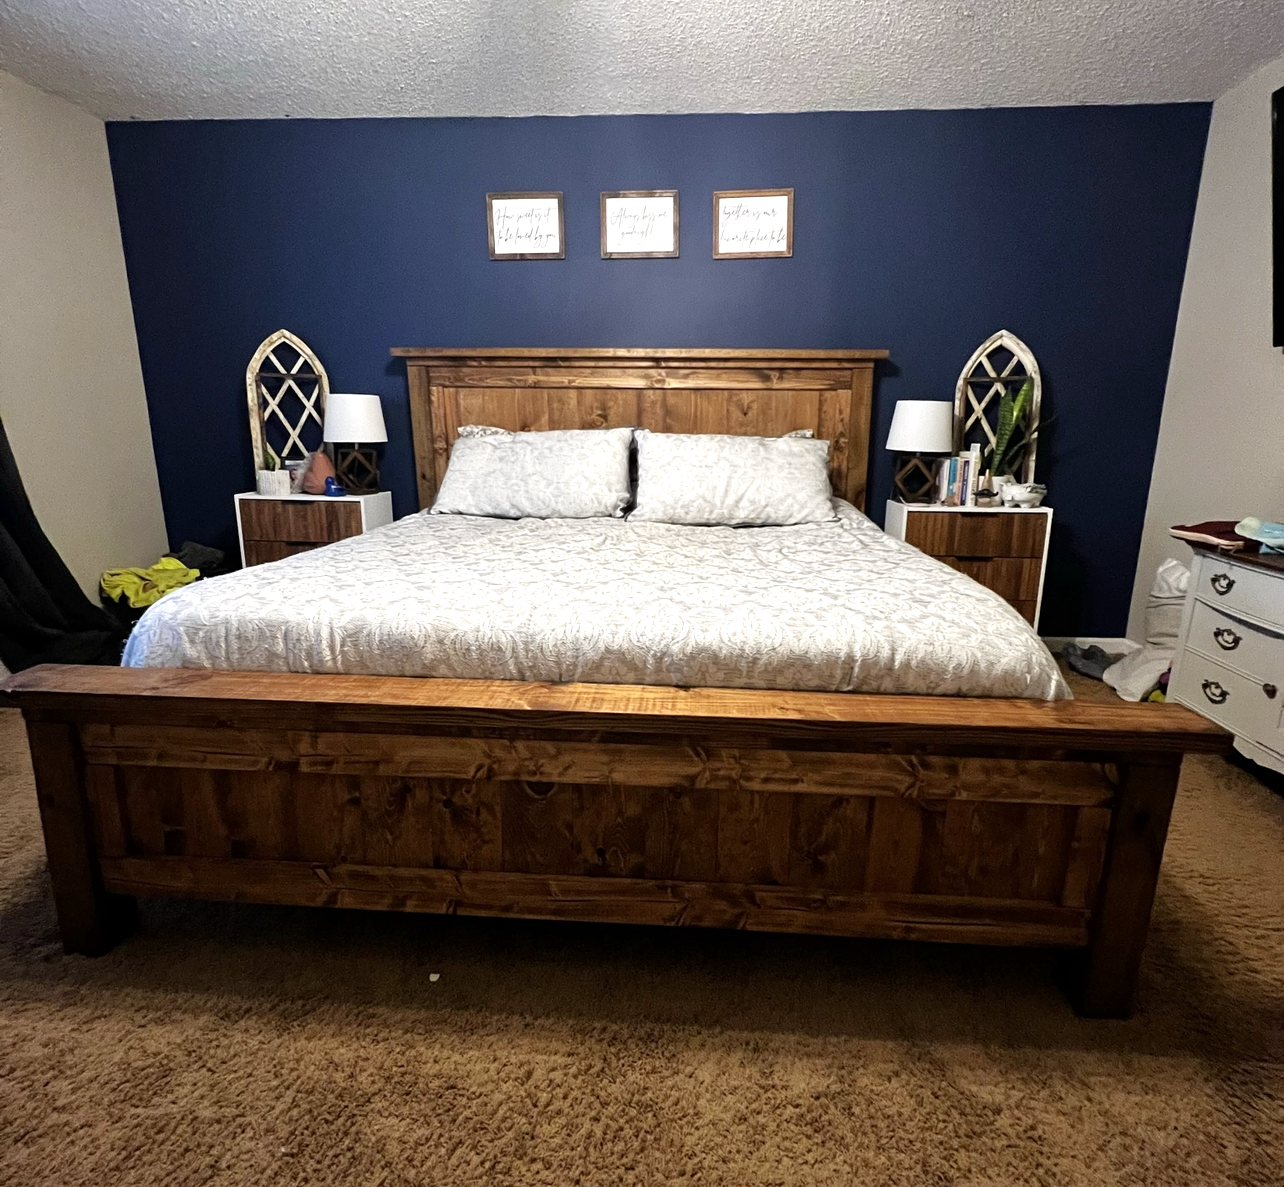
We extended the legs to match the headboard previously installed. 

Built from Plan(s)
Estimated Cost
250.00
Estimated Time Investment
Weekend Project (10-20 Hours)
Finish Used
Simply white
Recommended Skill Level
Beginner

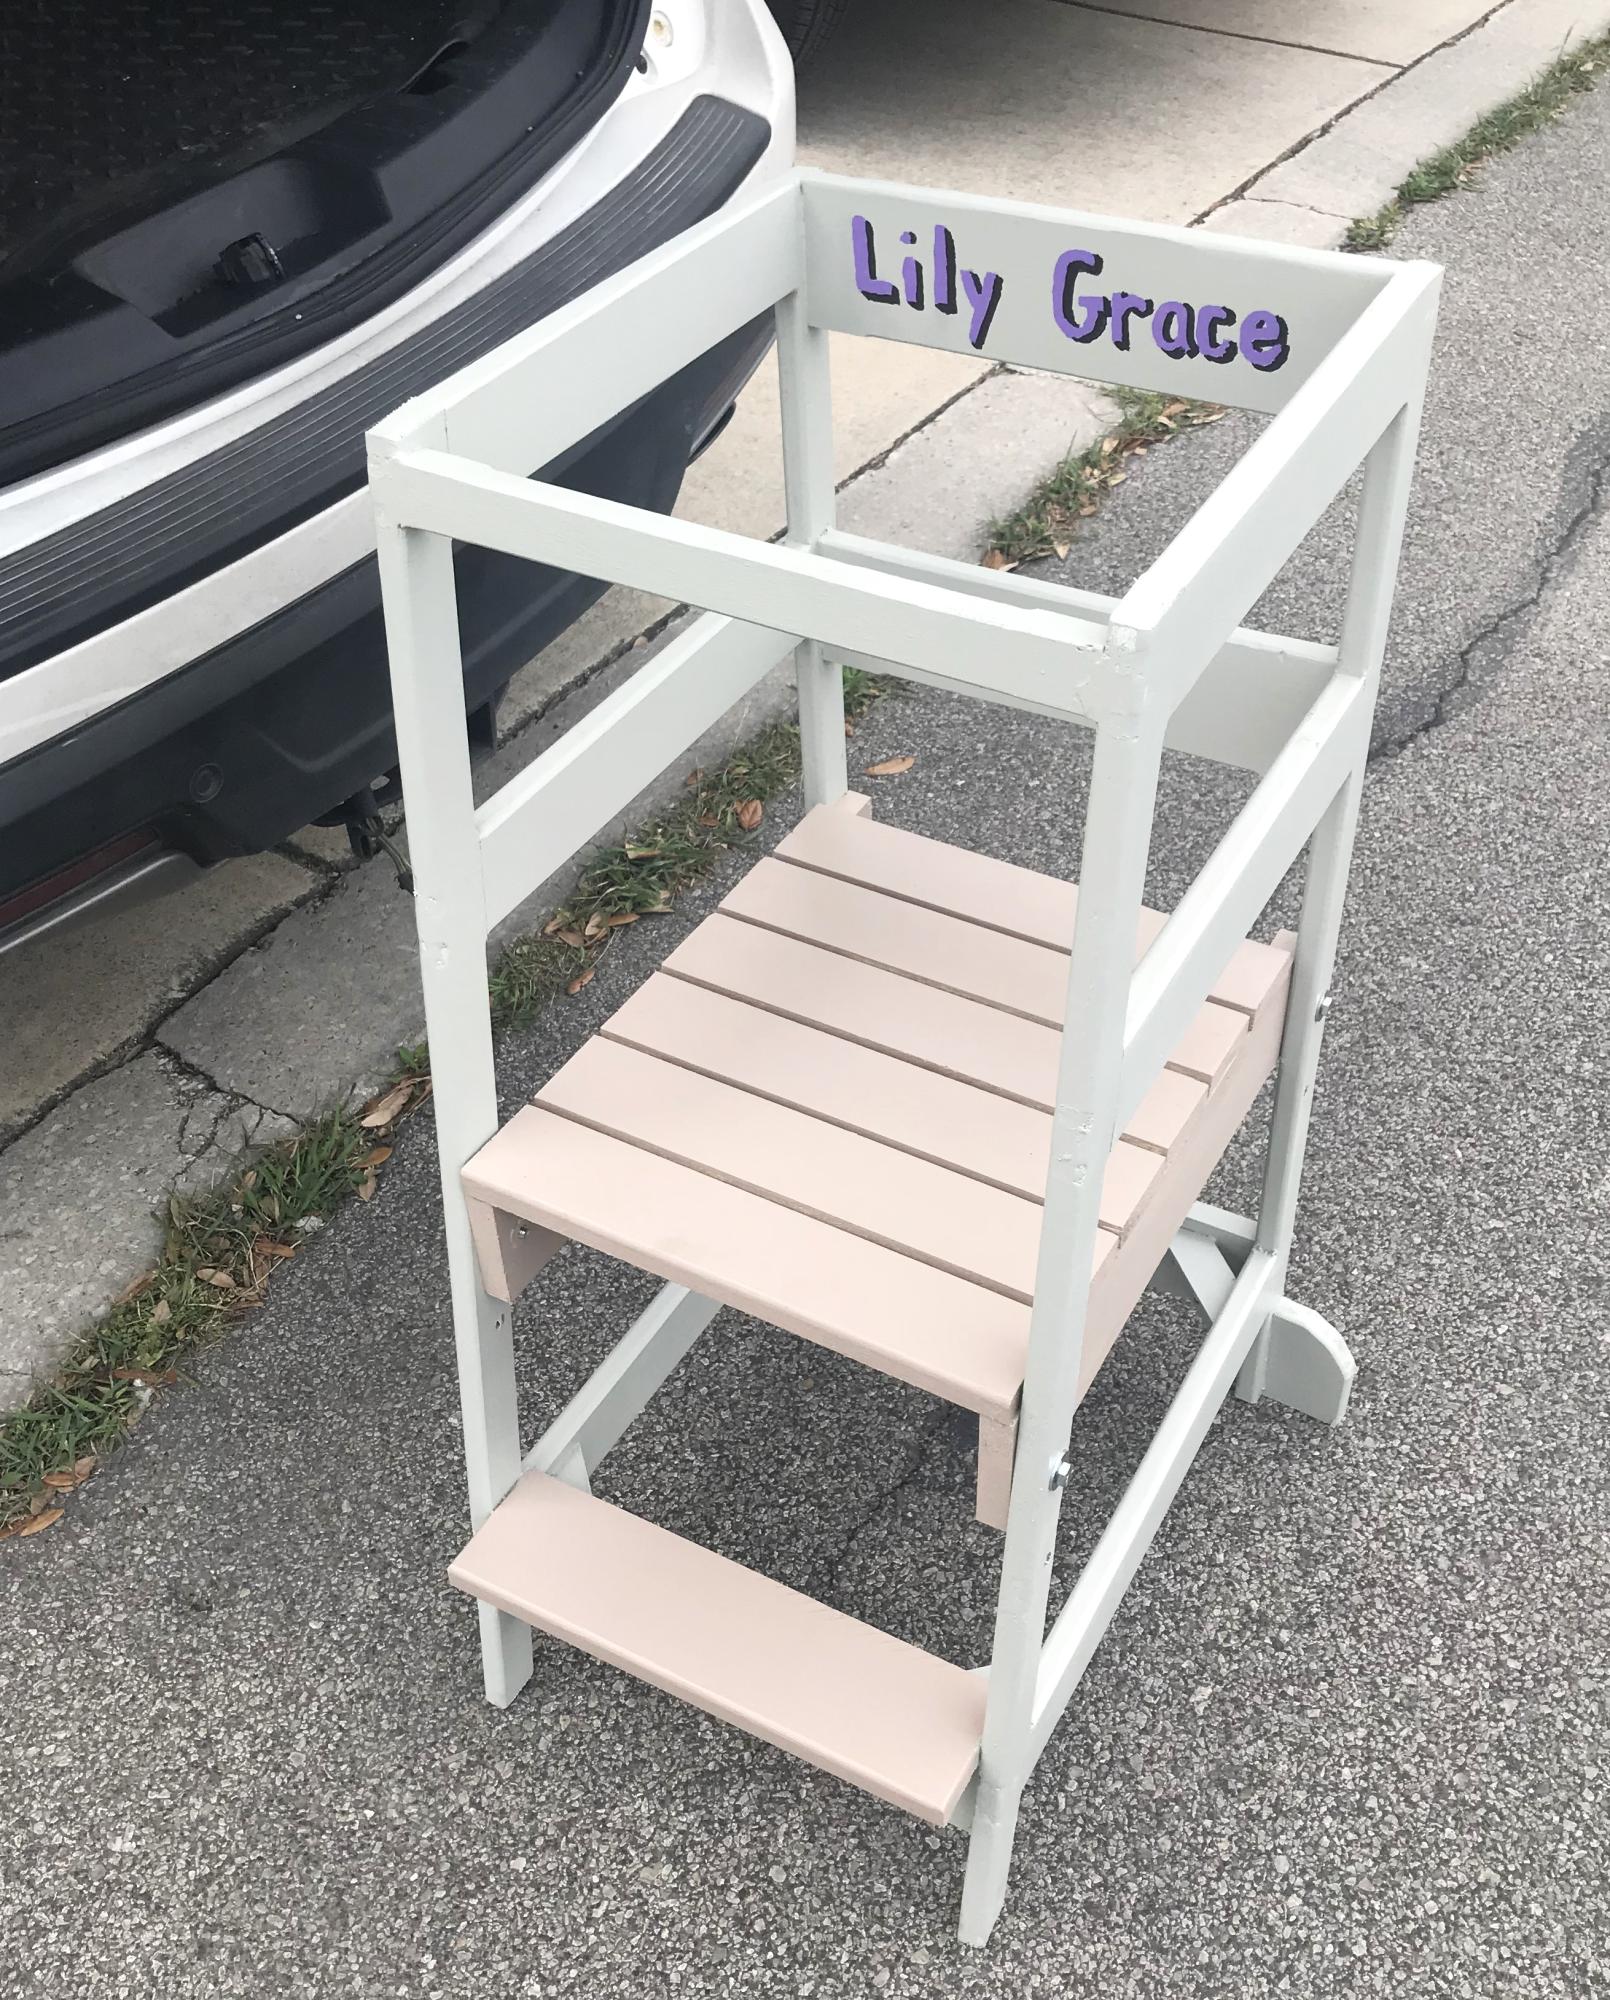
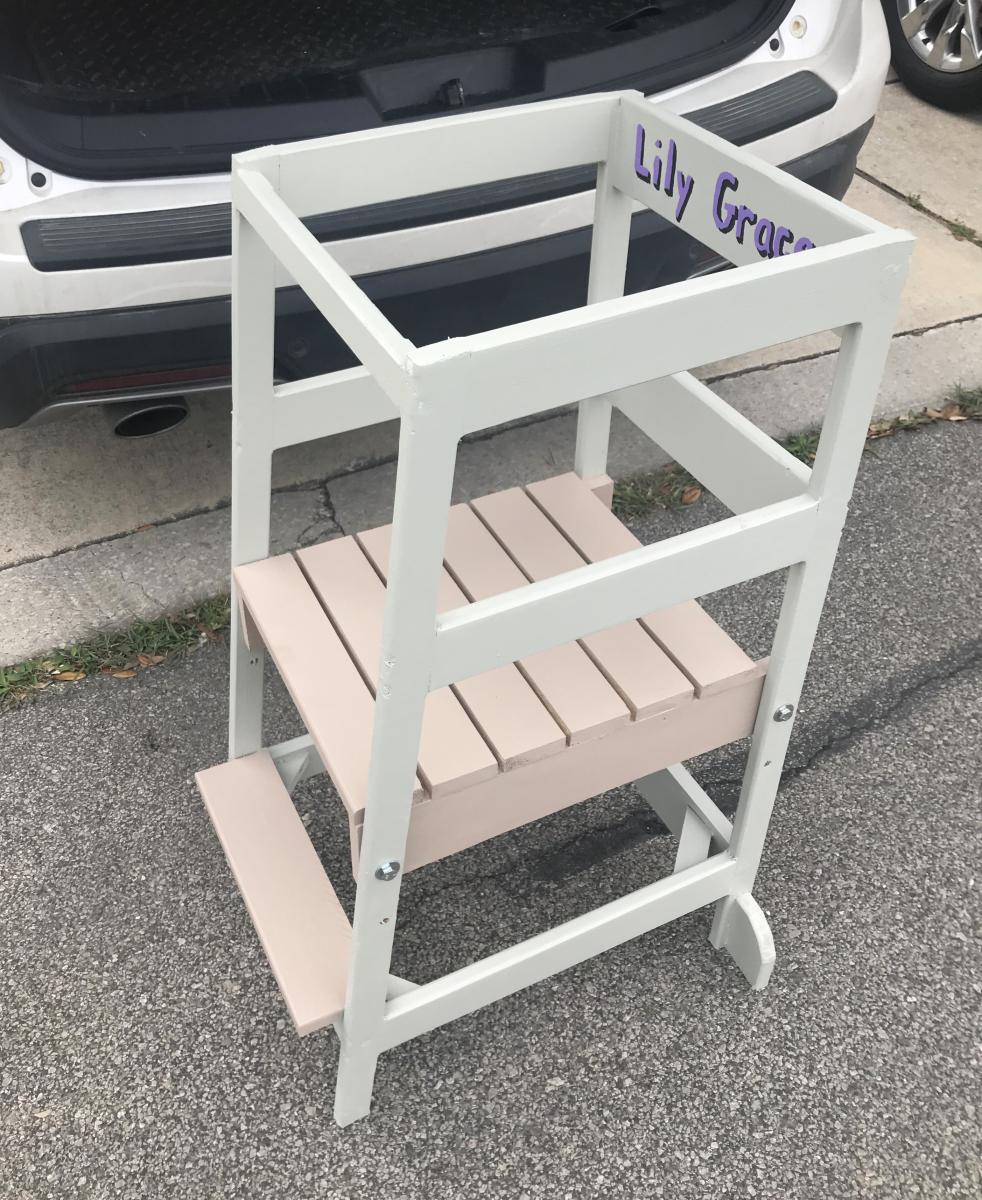
Little Helper Stand

Submitted by Anonymous (not verified) on Sun, 10/29/2023 - 19:08

Toddler Stool for my granddaughter! It had two levels.

PAKI my Grandfather name!

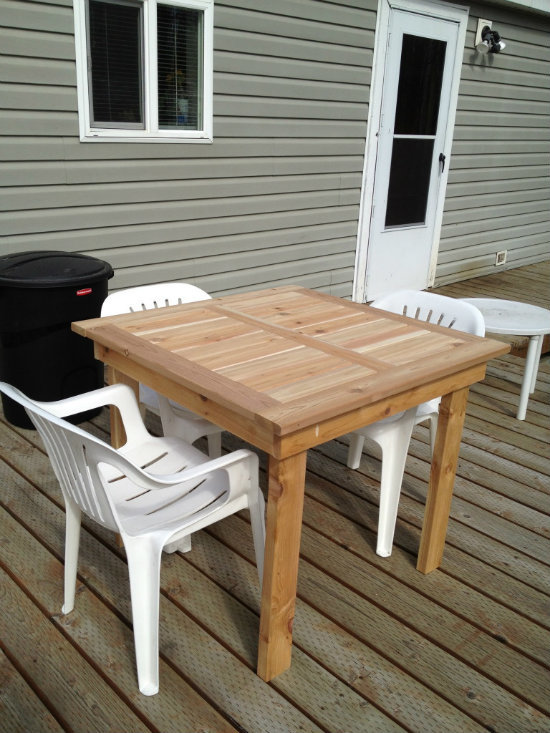
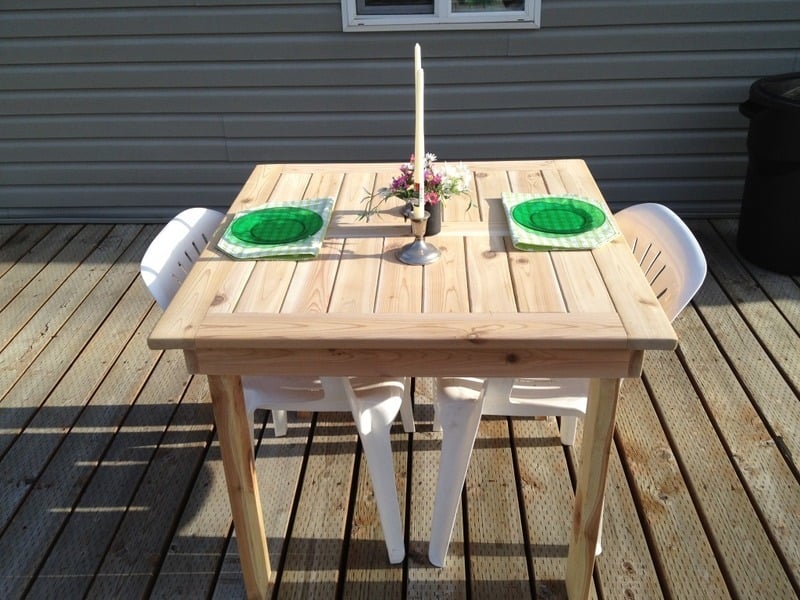
modified outdoor dining table

My wife has been wanting new patio furniture so here is my version of the simple outdoor table, I shortened it to fit our needs. Next is the chairs to match.

Built from Plan(s)
Estimated Cost
$55
Estimated Time Investment
Day Project (6-9 Hours)
Recommended Skill Level
Beginner

Comments

Planked Wood Sideboard - Rustic Yet Refined

Submitted by becada on Mon, 03/03/2014 - 08:06

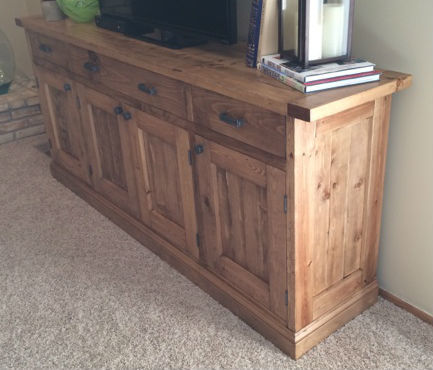
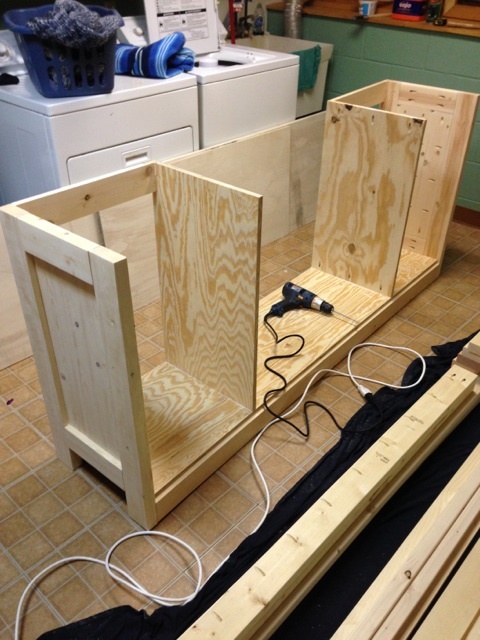
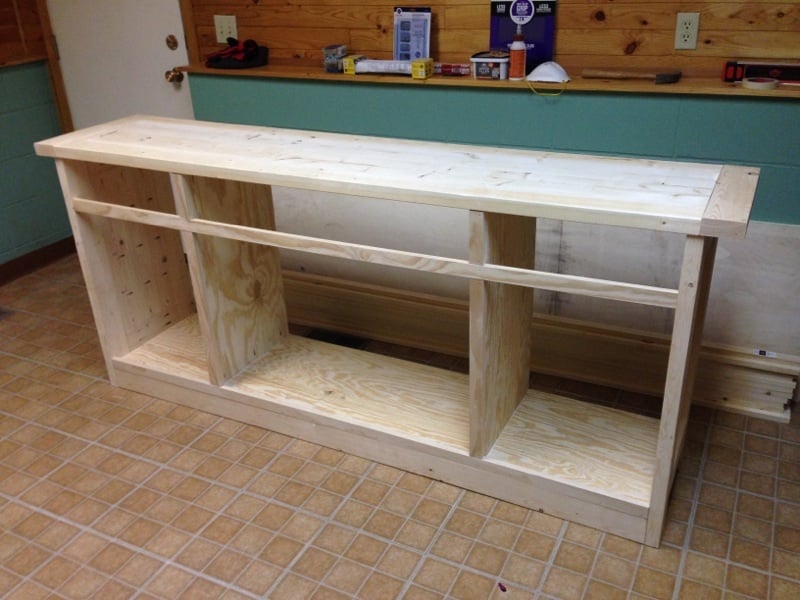
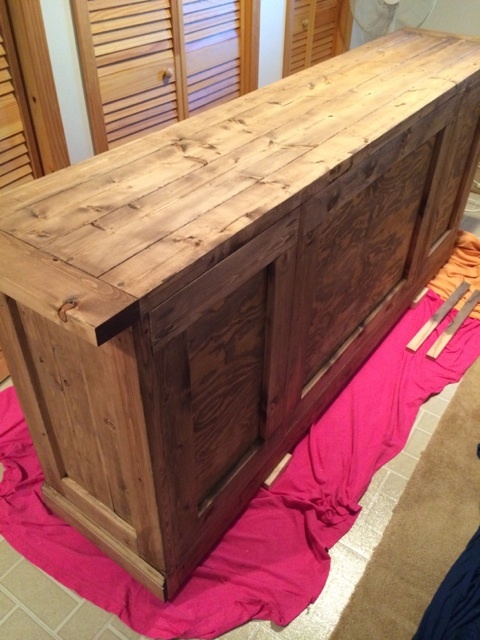
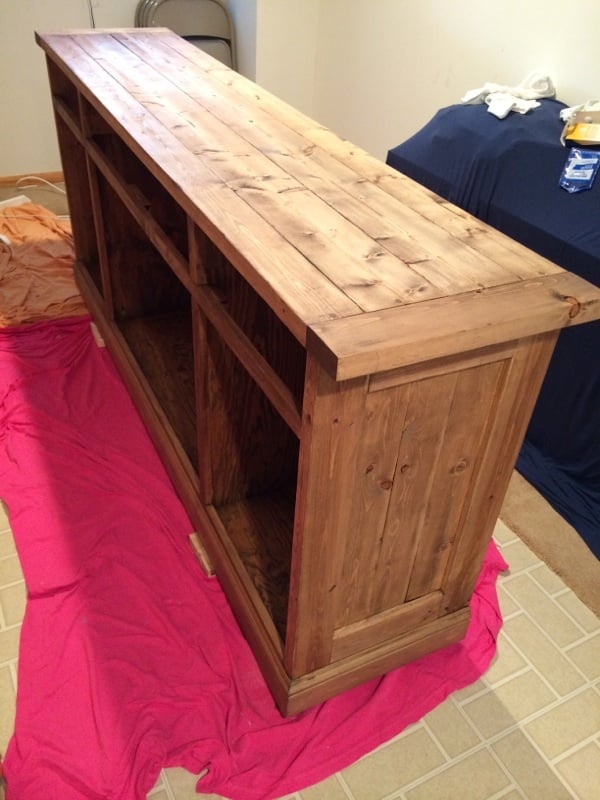
This was my first finished project using plans from Ana's site, and I am very pleased with the finished product. Every aspect of the finished sideboard is based on something from the site. I started with the plans for the Planked Wood Sideboard, and made no modifications as the dimensions were perfect for our basement family room. I decided to inset the back (http://www.friendly-home.net/2012/02/gigantic-rustic-sideboard.html) as Ana explained that Hillary had done, and love the final result. This will allow us to use this to potentially divide a room in an open concept space at some point in the future.

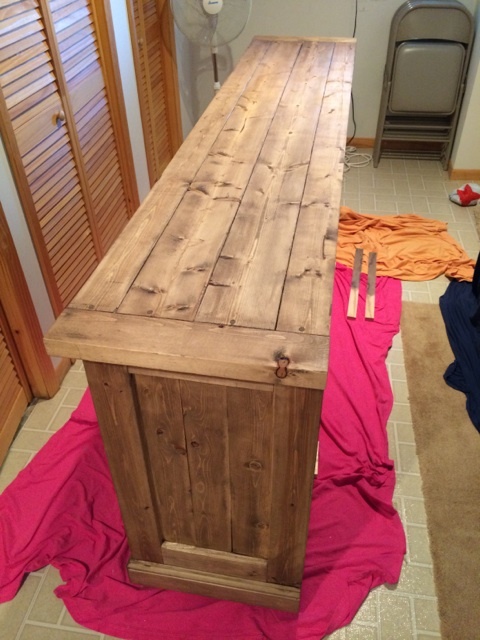
For the finishing process, I decided to follow the "Rustic Yet Refined" finish tutorial highlighted on both the Ana-White site (http://ana-white.com/2013/08/rustic-yet-refined-wood-finish) and Jen Woodhouse House of Wood (http://jenwoodhouse.com/blog/2013/06/07/diy-dining-table/). I fully intended to complete the 9 step process, but found that after we applied the Minwax pre-stain wood conditioner, followed by Minwax special walnut stain and wiped it off within 15-30 seconds, the finish mirrored the restoration hardware finish that we were going for. We decided not to proceed with layering on the weathered oak or applying the whitewash, and went straight to the spar urethane satin coats.

Overall, the project was a success, but was difficult to finish during the Minnesota winter as it was unbelievably cold and was forced to complete the finishing process in our basement/laundry room, which extended the length of the project. I am very excited to begin building other pieces from Ana's plans.
Built from Plan(s)
Estimated Cost
$250-300
Estimated Time Investment
Week Long Project (20 Hours or More)
Finish Used
Minwax pre-stain wood conditioner; Minwax Special Walnut (natural bristled brush); Helmsman Spar Urethane in Clear Satin (natural bristled brush)
Recommended Skill Level
Intermediate

Comments

Greenhouse - BC, Canada

Submitted by Anonymous (not verified) on Tue, 03/24/2020 - 07:49

*NOT SURE MY PICTURES ARE UPSIDE DOWN??* This is the second time i've built this greenhouse. We recently moved to a bigger property so I built it 4ft longer at 16ft. I had some old windows to I modified the front and rear so I could incorporate them into the design. The cedar shake really adds to the appeal of the greenhouse as well. I still have to flash it off, but we are very happy with this greenhouse.

Built from Plan(s)
Estimated Cost
$2000
Estimated Time Investment
Week Long Project (20 Hours or More)
Finish Used
Stained the cedar shingles with a clear stain
Recommended Skill Level
Intermediate

Comments

Retro Style Wall Hanging

Submitted by Joni on Mon, 05/21/2012 - 14:40

This piece began with finding a unique piece of walnut that had been discarded by a custom cabinet manufacturer. When I saw it, I thought I could make a beautiful wall hanging out of it. The walnut wood is absolutely beautiful; pictures don't do it justice. The majority of the piece is not stained; the natural color is enhanced with a clear polyurethane designed to give a hand-rubbed finish. The darker walnut section was lightly stained for contrast. The frame is made of pine 2x2s. I built a platform in the grooves with shims, and embedded earth-toned glass and stone tiles (as well as river rocks) in the grooves around the "waves".
While this didn't come from any specific plan, most any inspiration and techniques come straight from what I've learned on ana-white. Ana's site has really changed my life and given me a passion for building.

Recommended Skill Level
Beginner

Comments

hammertime

Tue, 05/22/2012 - 10:15

Joni, I've been admiring your work all along, but this one takes the cake! You have such imagination and vision. I think this is an outstanding piece.

DIY Factory cart coffee table

Submitted by ACarrell on Wed, 03/05/2014 - 07:21

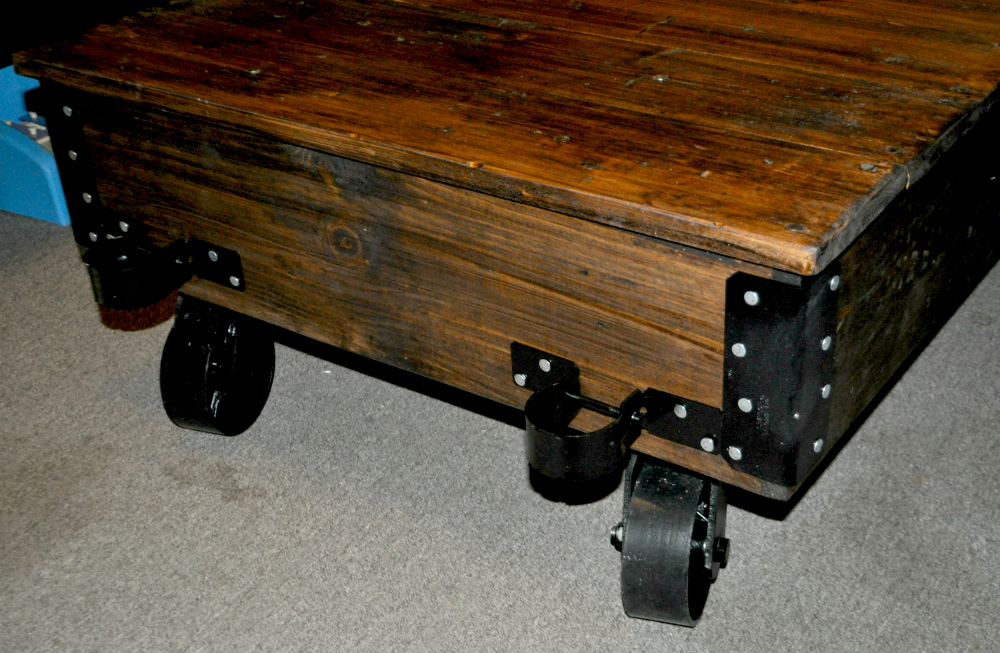
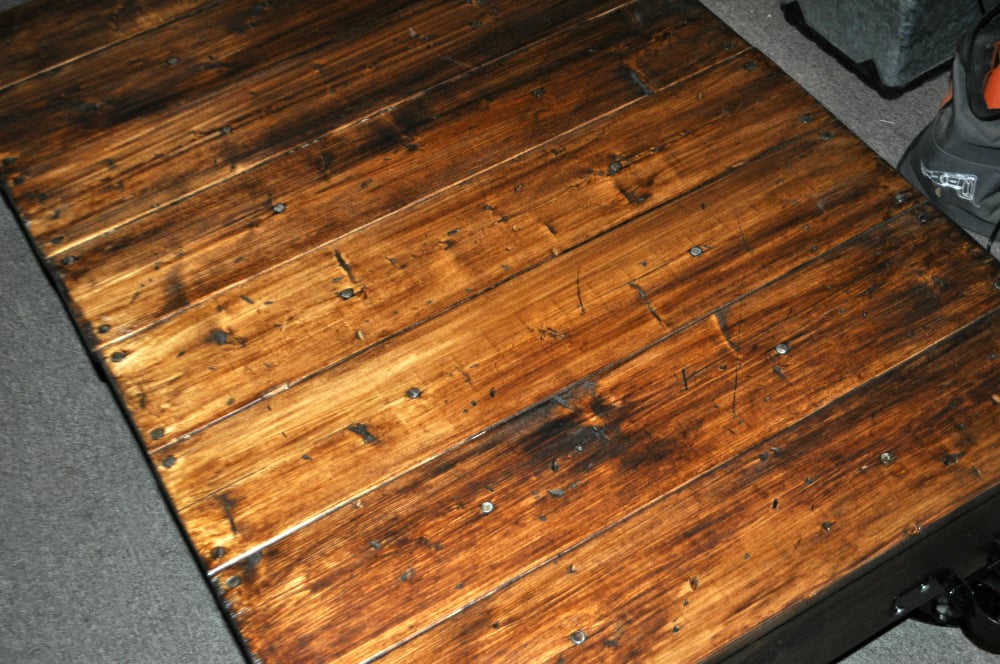
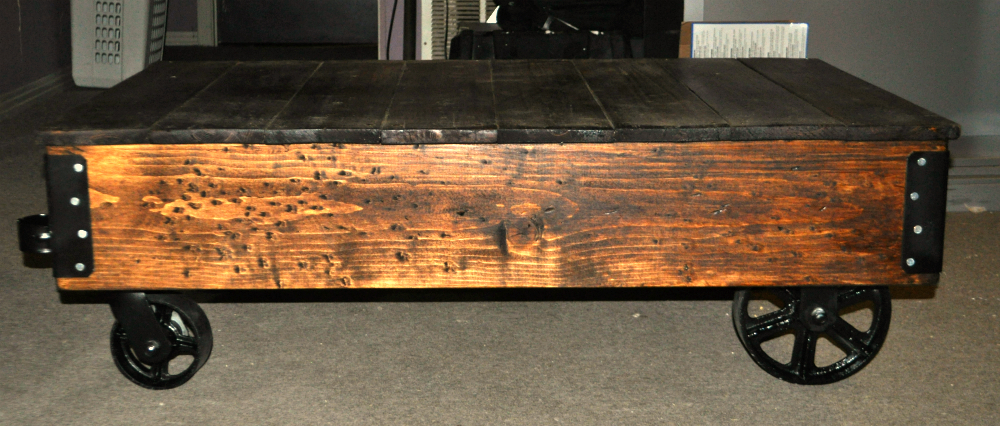
After seeing the plans for the Factory Cart Coffee Table on this site, I decided I should build one. I didn't actually follow the plans exactly...really just used them as "inspiration". I went with 5" swivel casters and 8" fixed casters, and the stain is Minwax hickory poly that has been sanded back a bit. I'm really happy with how it turned out.

Now on to the next project !

Estimated Time Investment
Day Project (6-9 Hours)
Finish Used
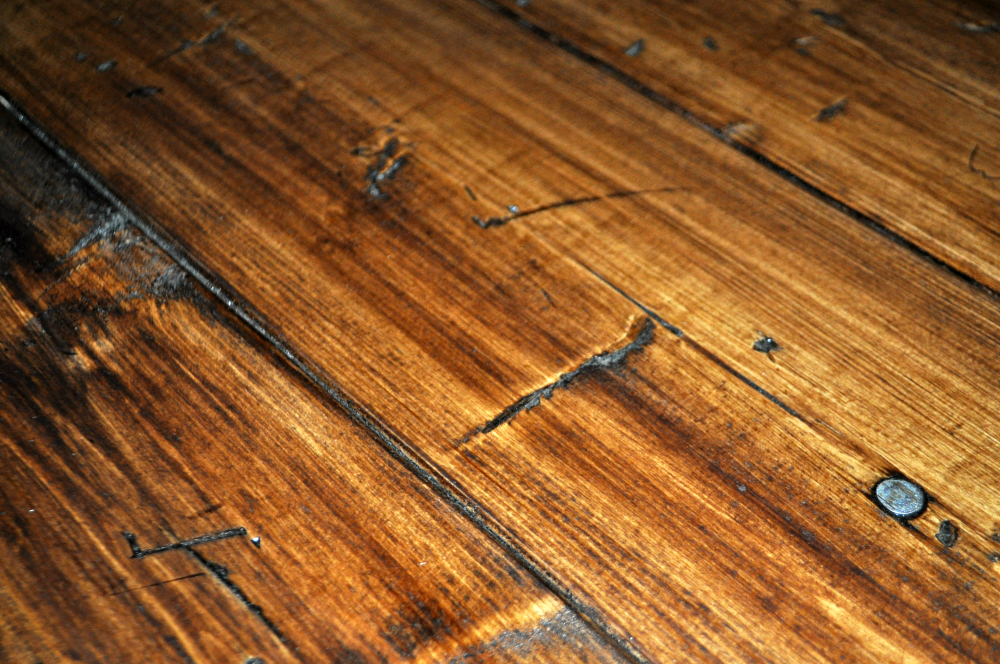
Minwax Hickory Polyurethane

Wiped on for about 5 minutes, wiped off, then sanded back a touch to give a more worn look.
Recommended Skill Level
Intermediate

Farmhouse Table

Submitted by Malka on Fri, 06/03/2016 - 23:32

This was my 5th build. Took a few weekends working in the morning. Table is Weathered Oak (base) and Early American (top) stain. Modified the plans to make it slightly smaller so it would fit better in my kitchen. Very sturdy and table looks gorgeous in person, very happy.

Estimated Cost
$110+/-
Estimated Time Investment
Weekend Project (10-20 Hours)
Finish Used
Minwax Early American and Weathered Oak
Rustoleum Triple Thick Polyurethane (2 coats on base, 3 on table)
Recommended Skill Level
Beginner

Rustic Hall Tree

Submitted by Anonymous (not verified) on Wed, 11/08/2023 - 10:21

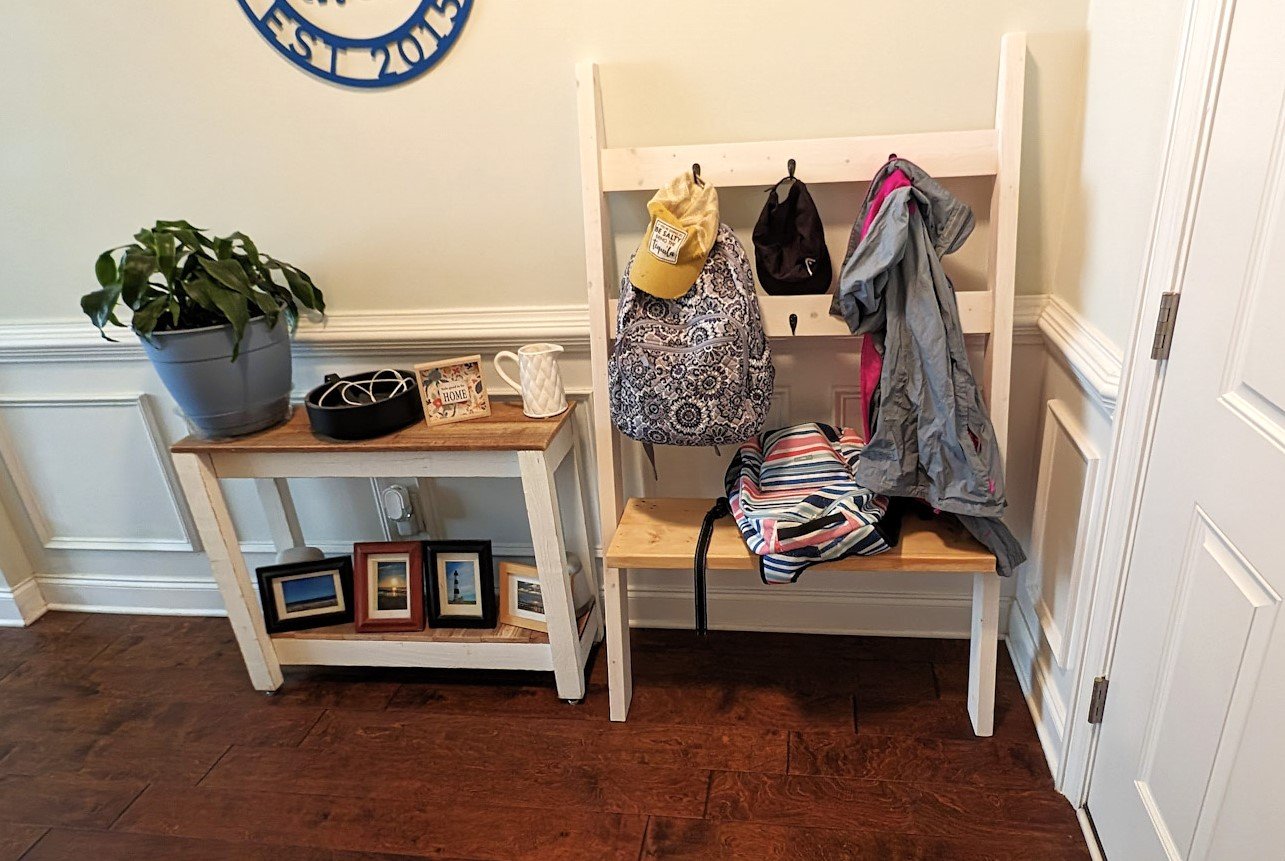
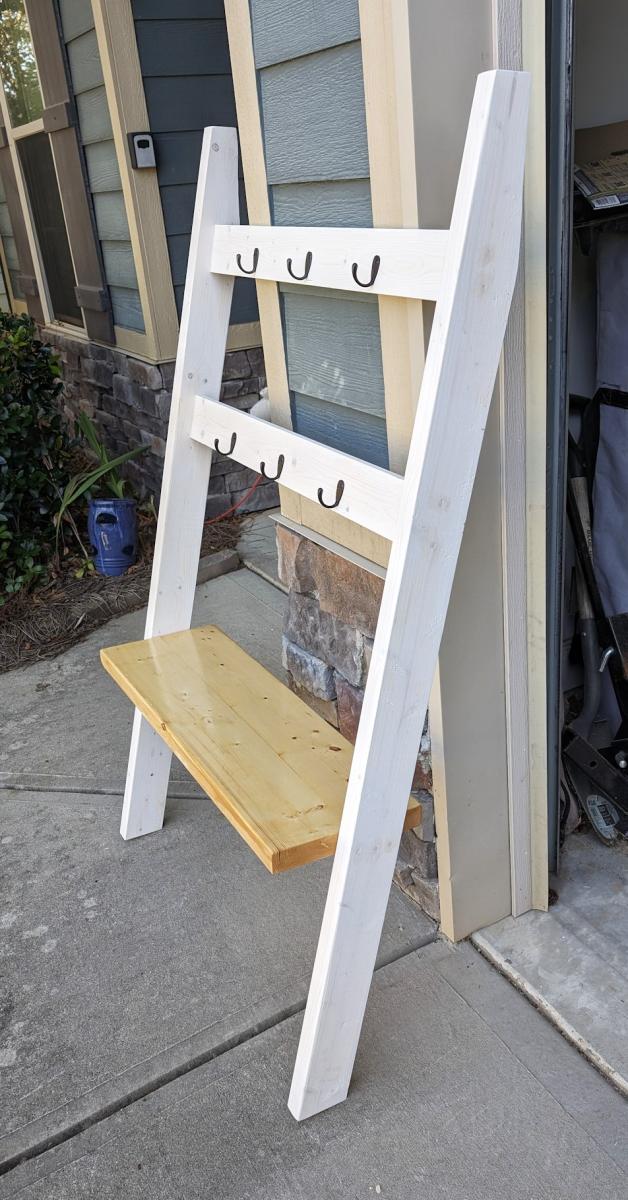
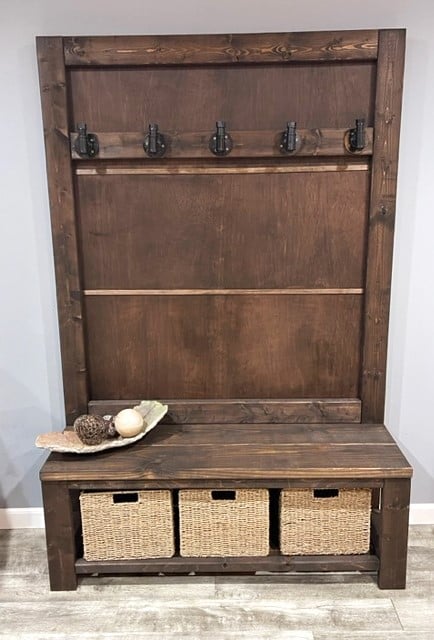
I used the Rustic X Hall Tree plans and slightly modified them. I'm very happy with how it turned out. I used black pipe for the hooks as I have a lot of this style of decor in my home. The stain color is Dark Bourbon from Varathane. The back is luan with screen bead across the front to hide the cut panels (I have a Ford escape and had them cut the luan into panels). The back is secured with 1x2s so I had something to hold my 5/8 inch brad nails for the screen bead. I didn't use the X design; I can always add it later if necessary. The baskets are from Amazon sized 12x12x10. I also didn't add the 16 inch side pieces or the top piece. I used pocket holes on 95% or more of the piece.

Built from Plan(s)

Stacking cube

Submitted by Joleene24 on Thu, 05/24/2012 - 13:41

Hi all,
This is my second project I have build from plans I have found here. I'm a novice at woodworking and only get a couple hours on the weekend to work on projects. So it takes a while to finish one. My daughter loves her new toy shelf. The hardest part for me was to attach the doors straight. I'm sure there is a secret I just haven't figured it out yet.
I primed the whole piece, applied three thin coats of latex paint and sanded with 320 grit sandpaper in between coats. I applied two coats of finish after 48 hours and sanded with 400 grit sandpaper in between.

Built from Plan(s)
Estimated Cost
$40
Estimated Time Investment
Weekend Project (10-20 Hours)
Finish Used
2 coats of polycrylic
Recommended Skill Level
Beginner

Doing things big in Texas

Submitted by StewartTX on Sat, 03/08/2014 - 15:18

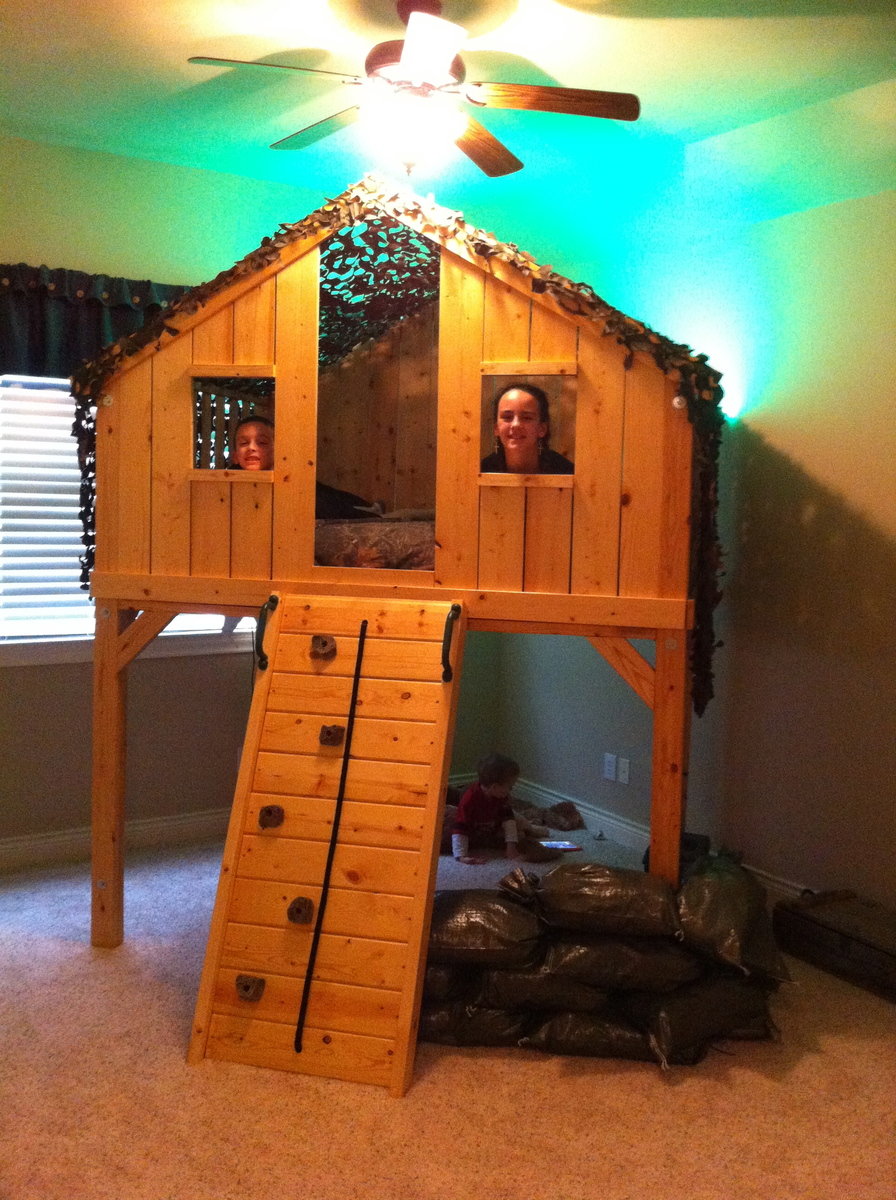
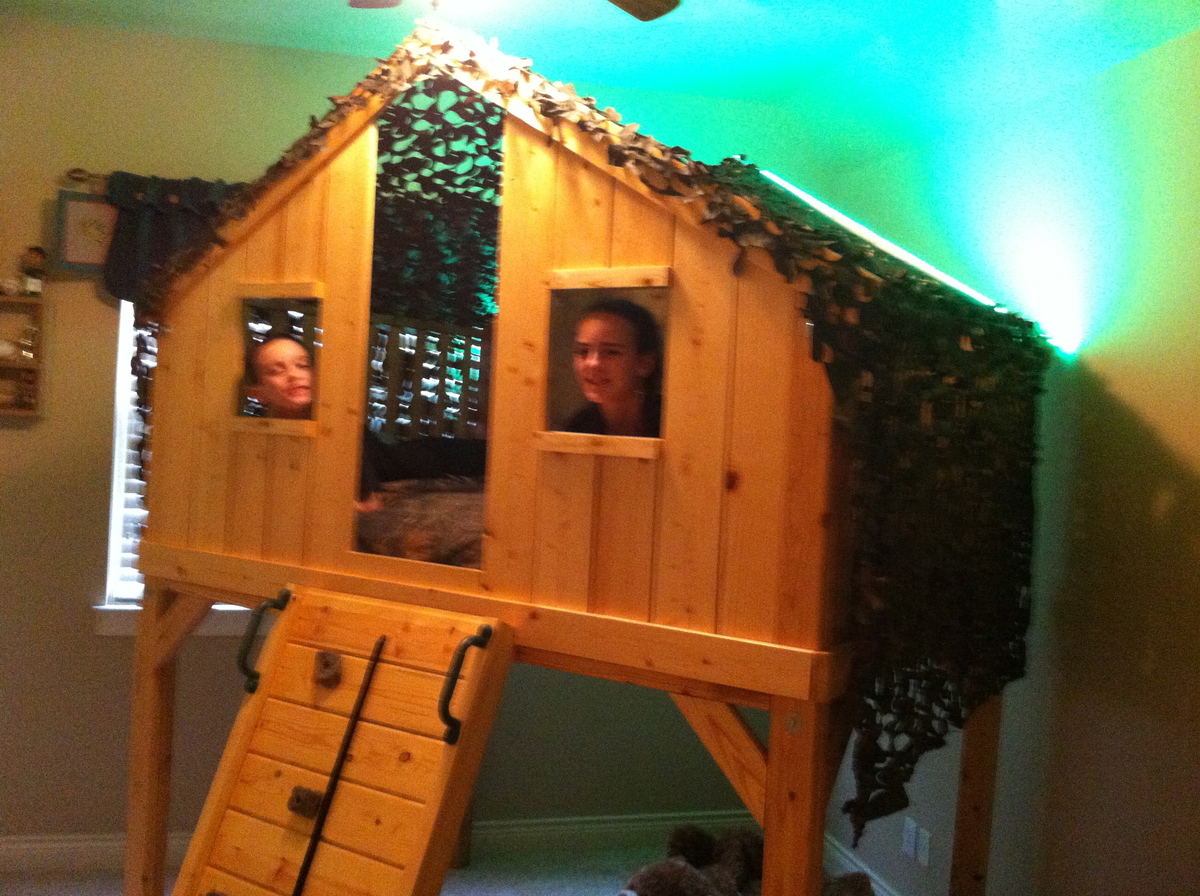
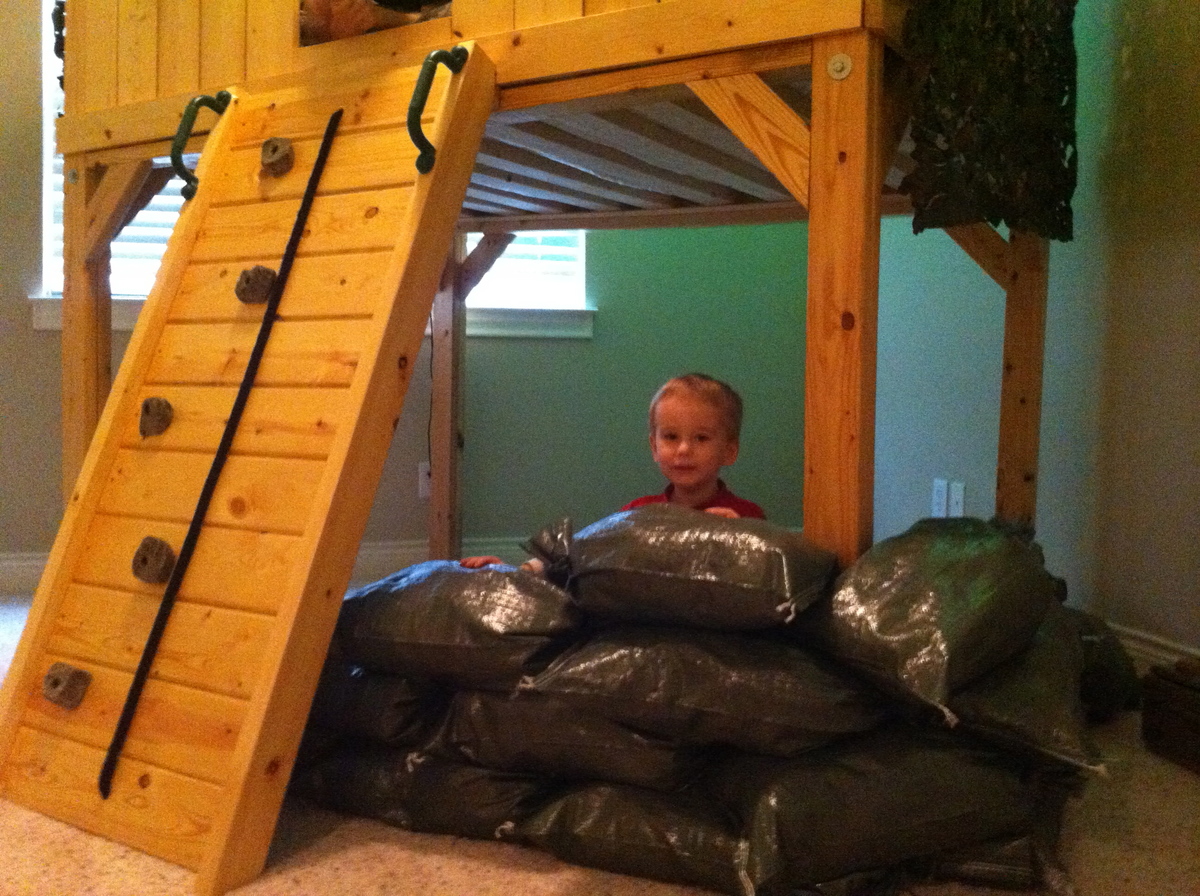
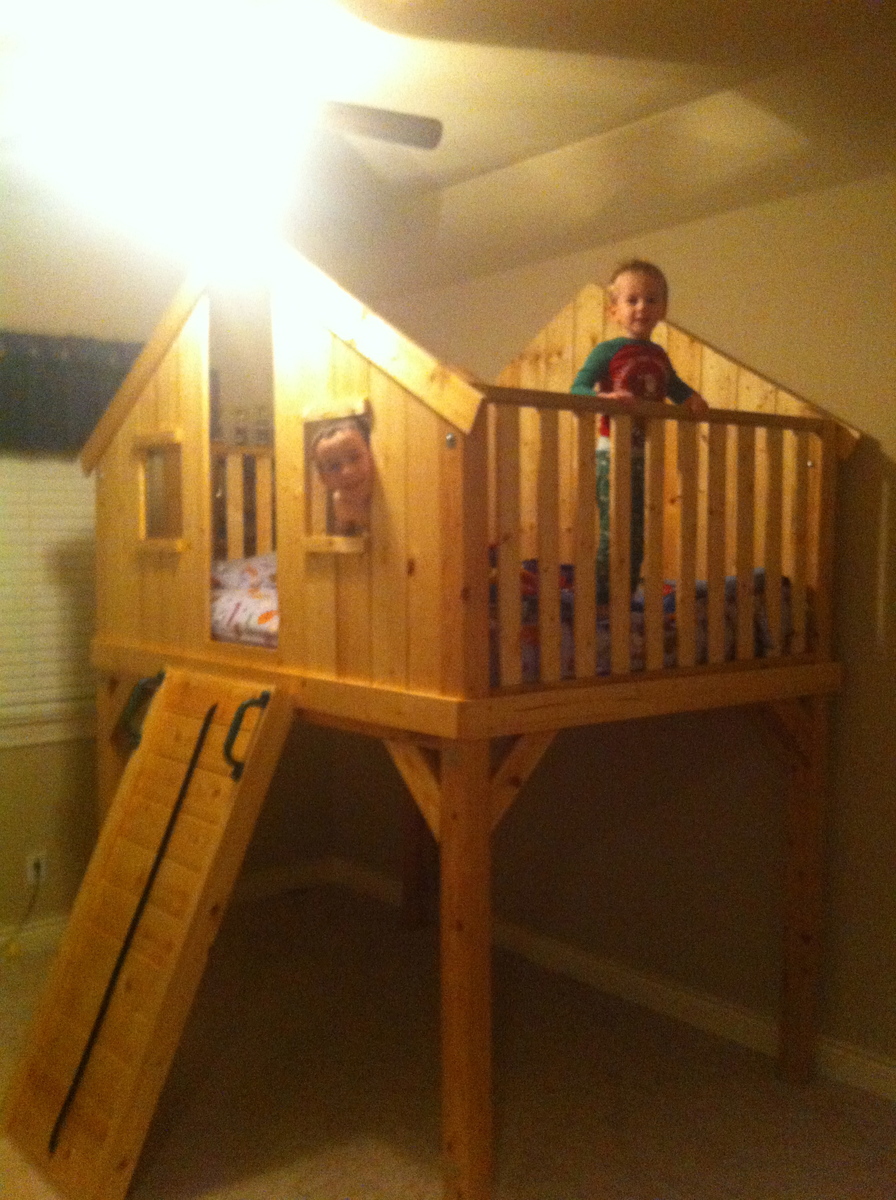
We decided to build this a bit bigger and taller. I will caution you to be careful as we came inches to not making it through our doorways. We expanded the depth 15" to make it a full bed and we extended the length of the legs to allow for 48" clearance underneath.

We also went with a rock wall instead of a ladder. I 1st built the angle too steep; recommend at least a 30 degree angle on a wall. Kid's love it; mom not so much when attempting to make the bed! :)

We went with military theme - green rope lights, camo netting for a roof, and sandbags filled with old clothes from my high school years for a bunker underneath.

Great project! Thanks for the idea!

Built from Plan(s)
Estimated Cost
$350 - materials. Needed to invest $250 in new tools
Finish Used
Natural Minwax stain then clear satin poly
Recommended Skill Level
Beginner
Back