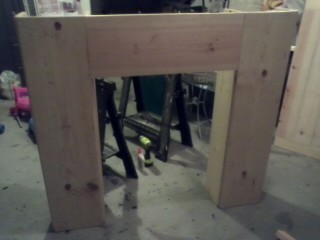
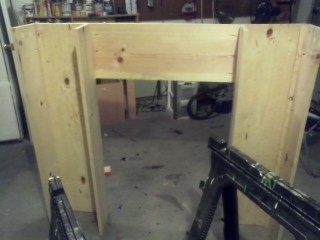
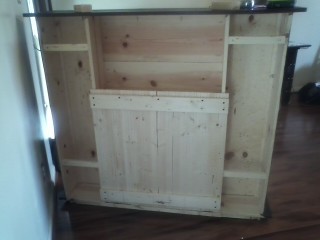
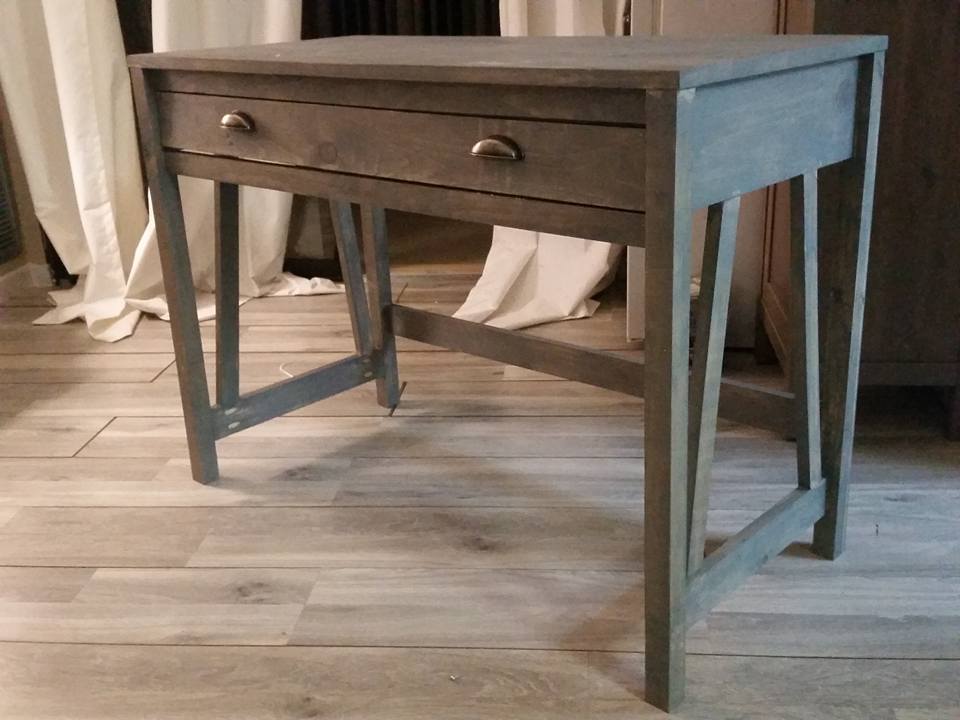
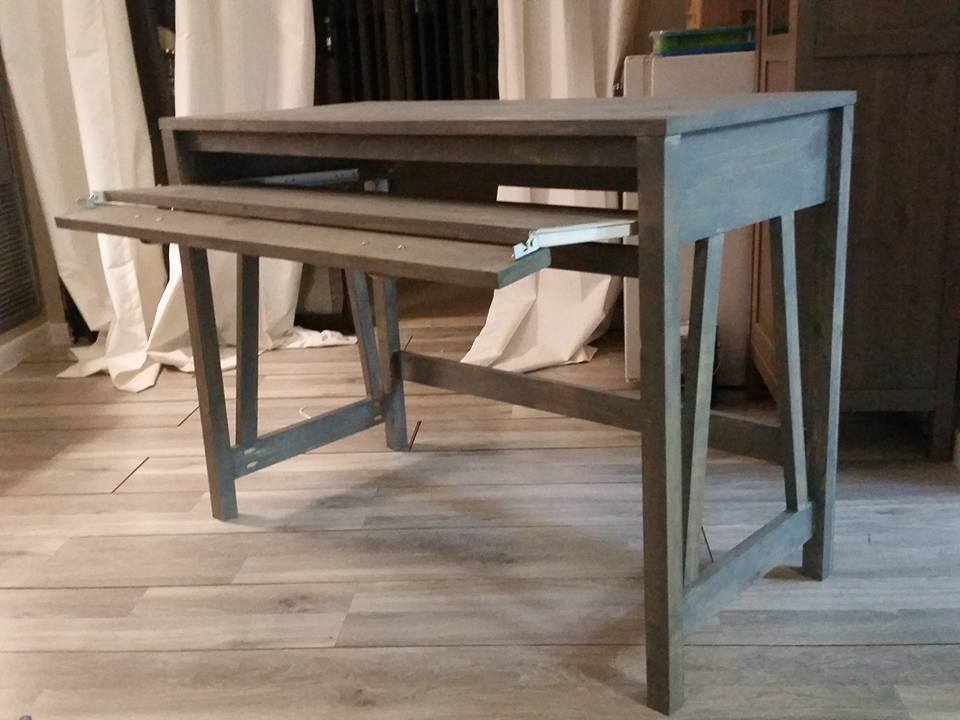
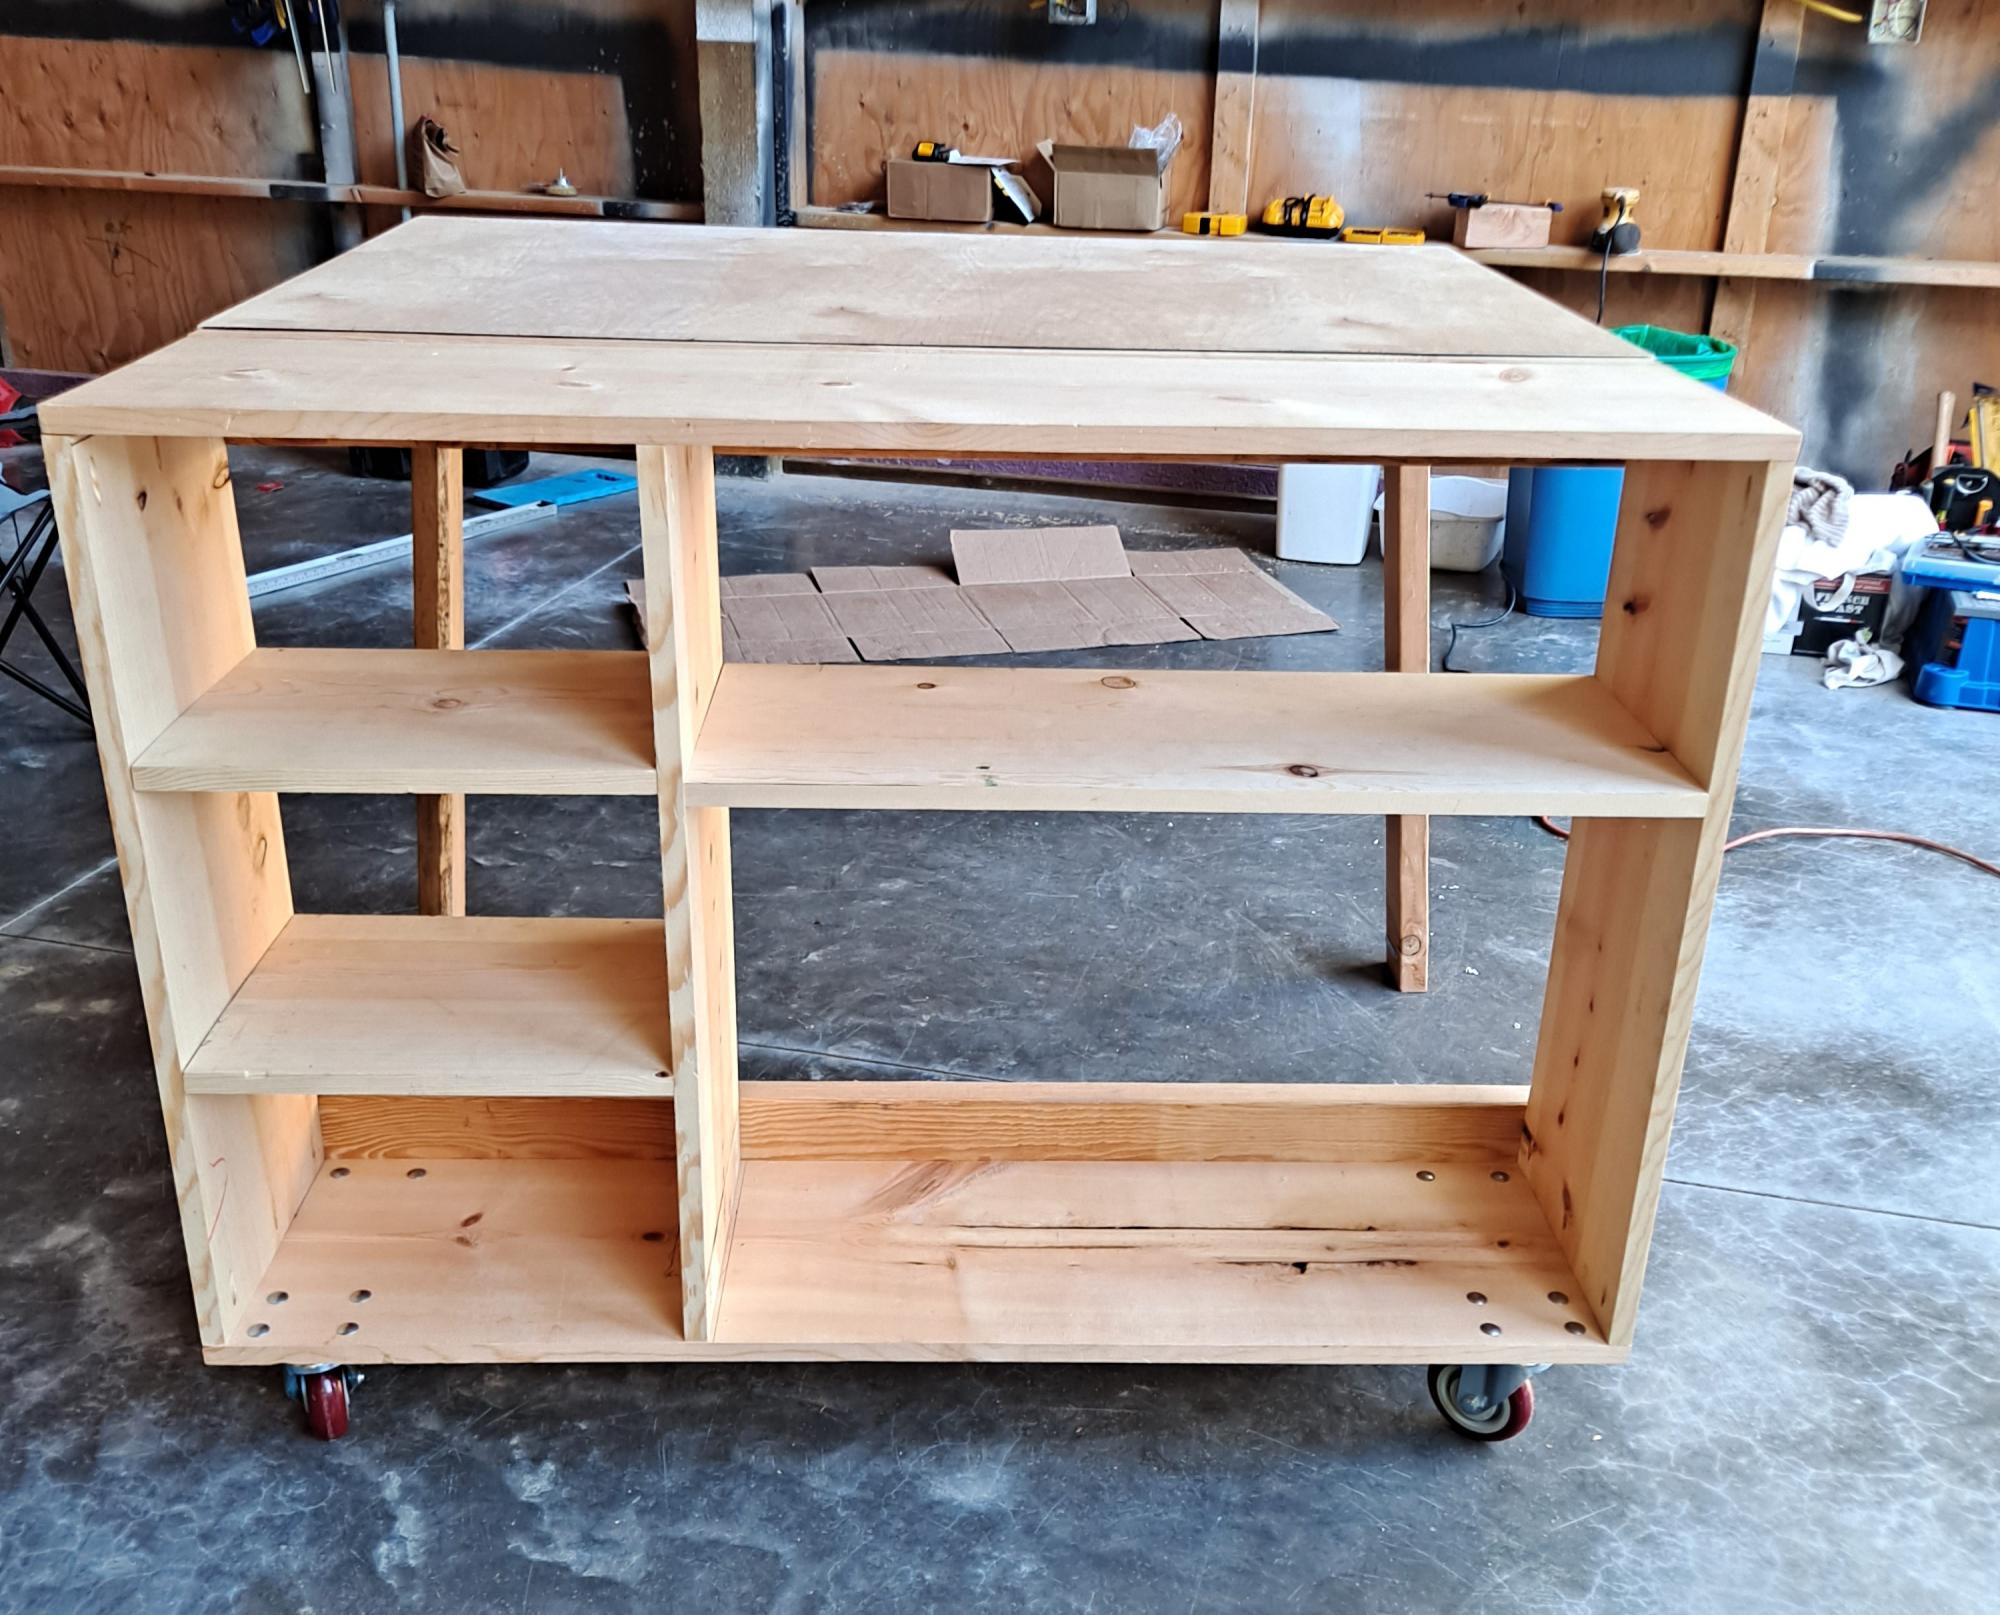
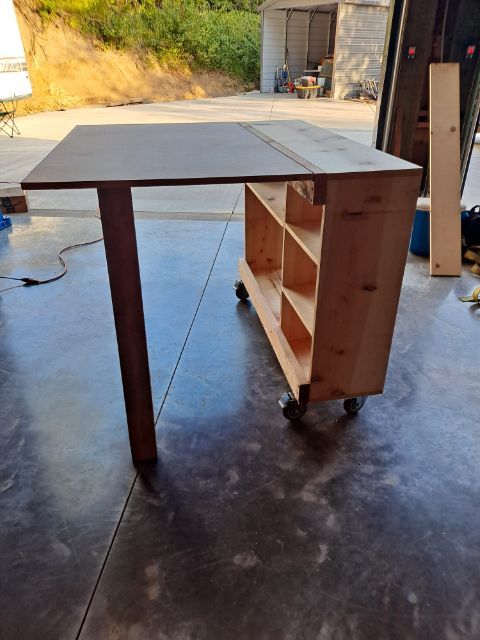
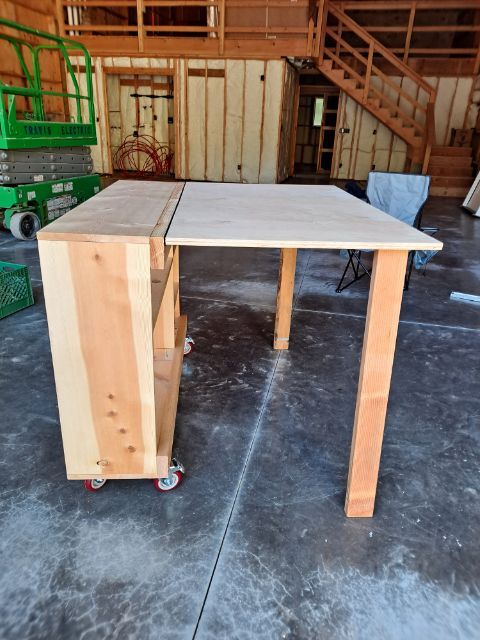
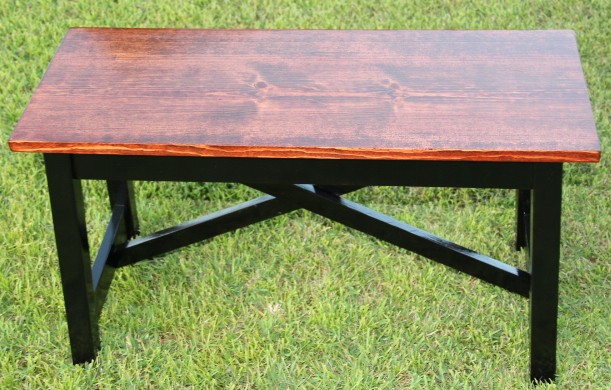
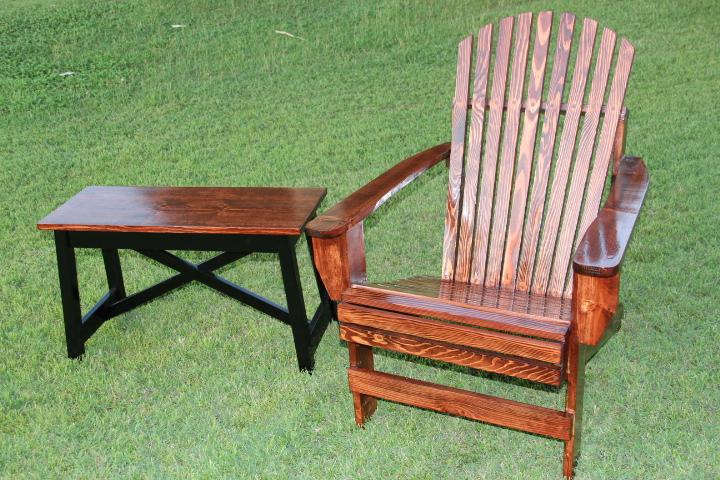
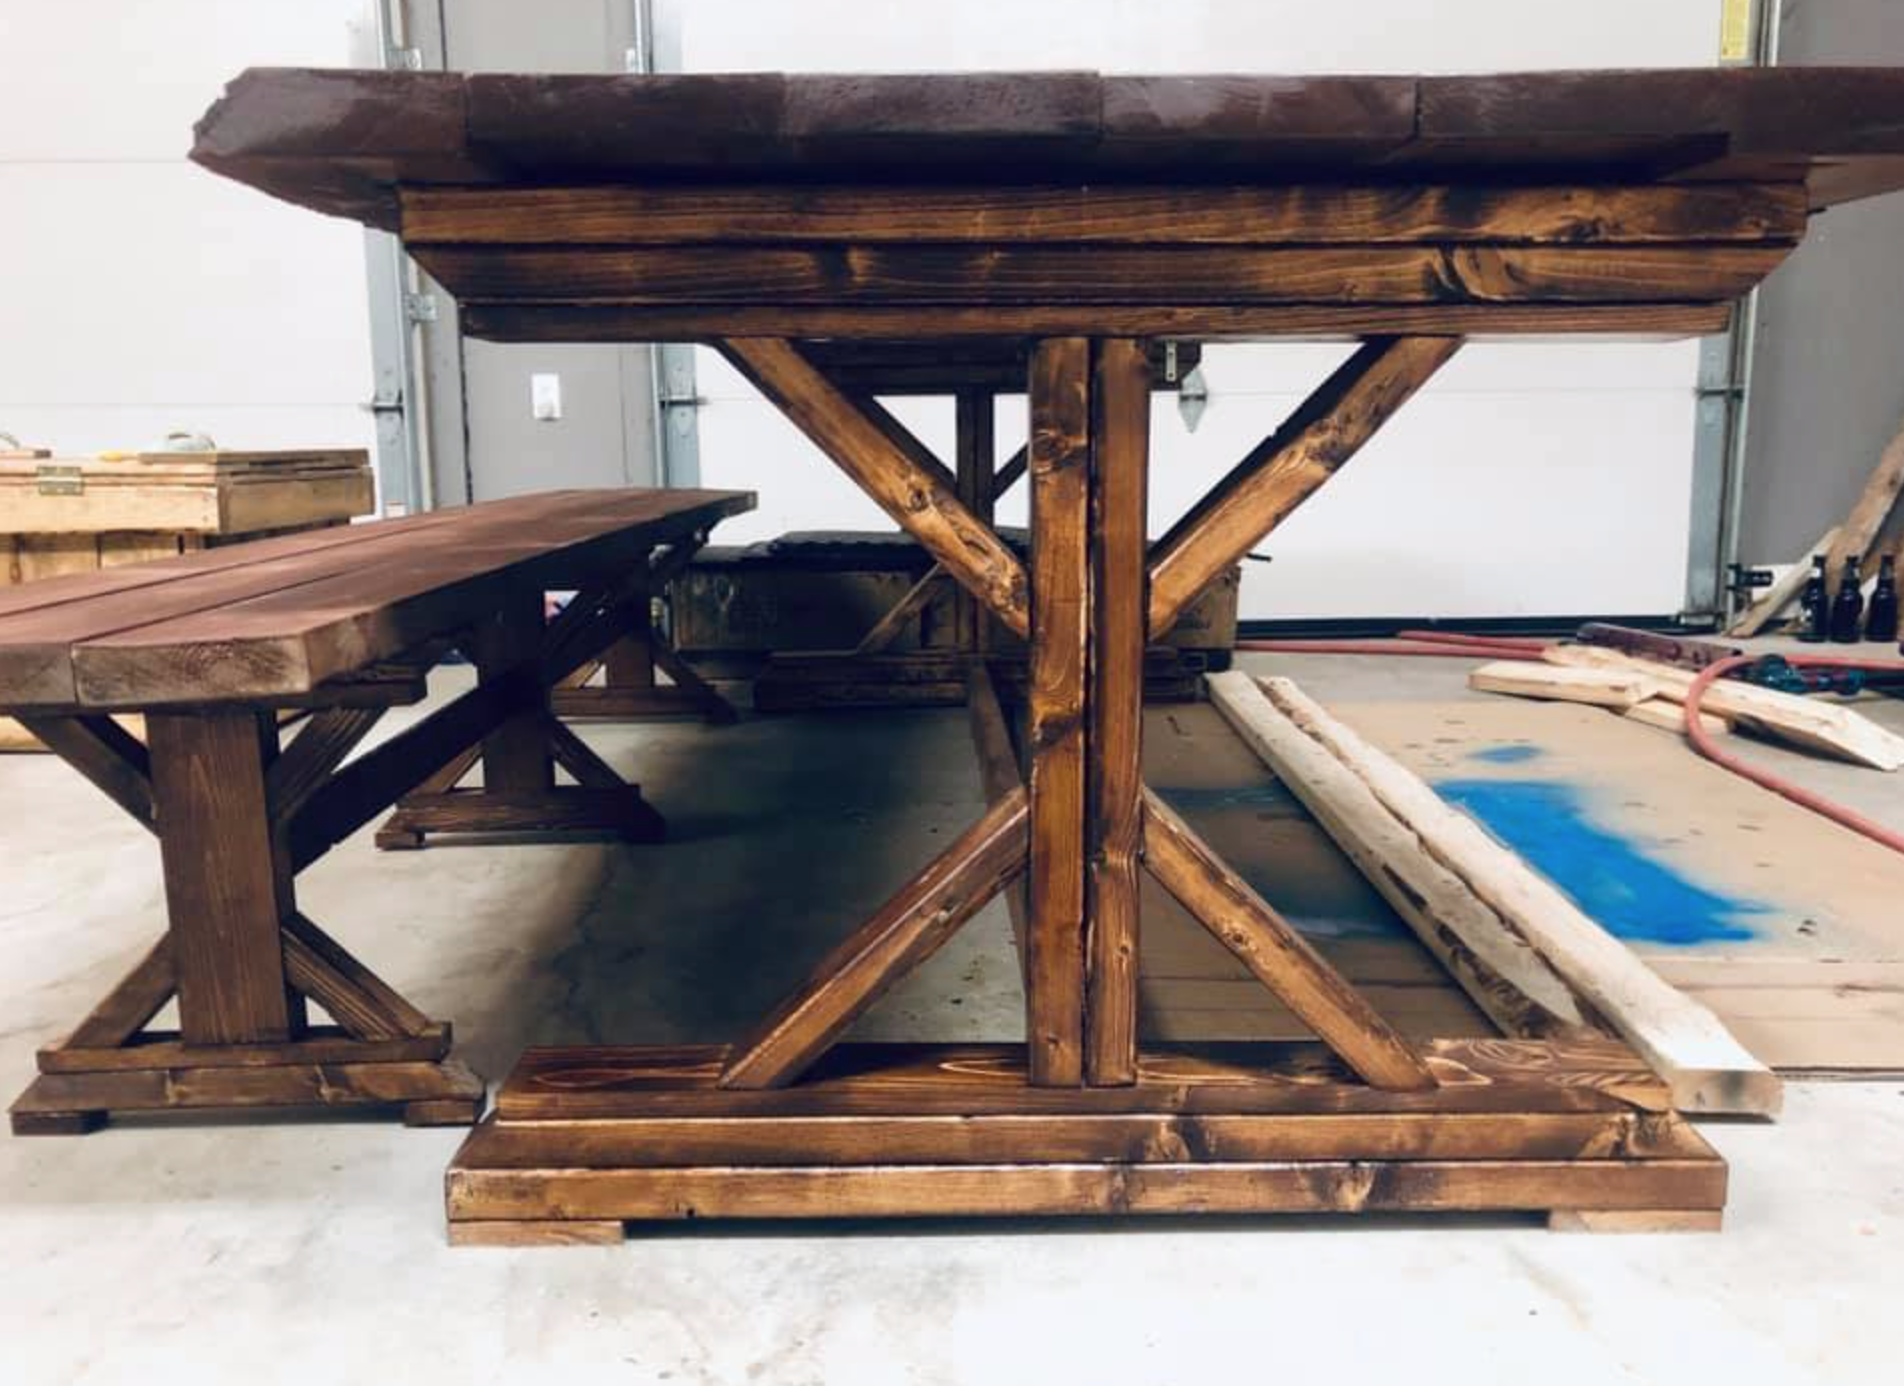
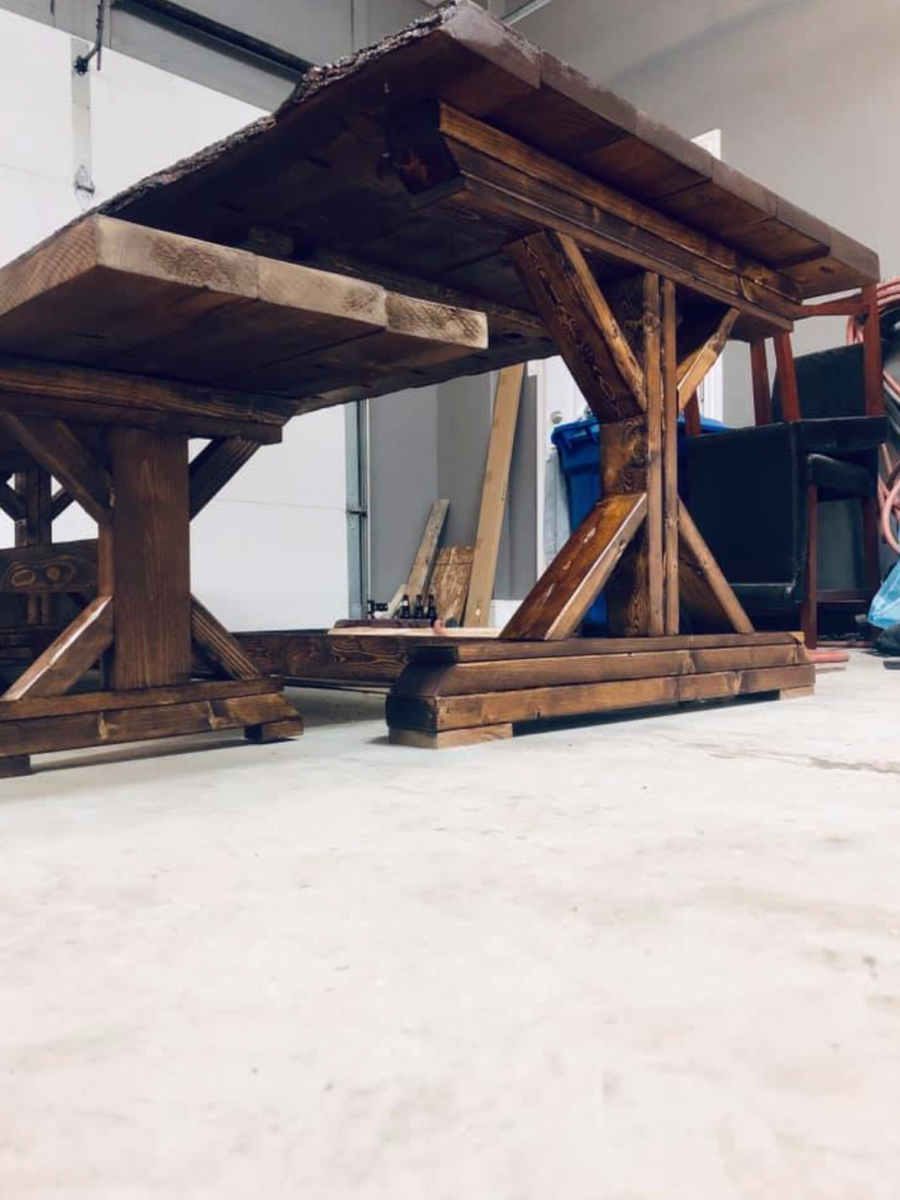
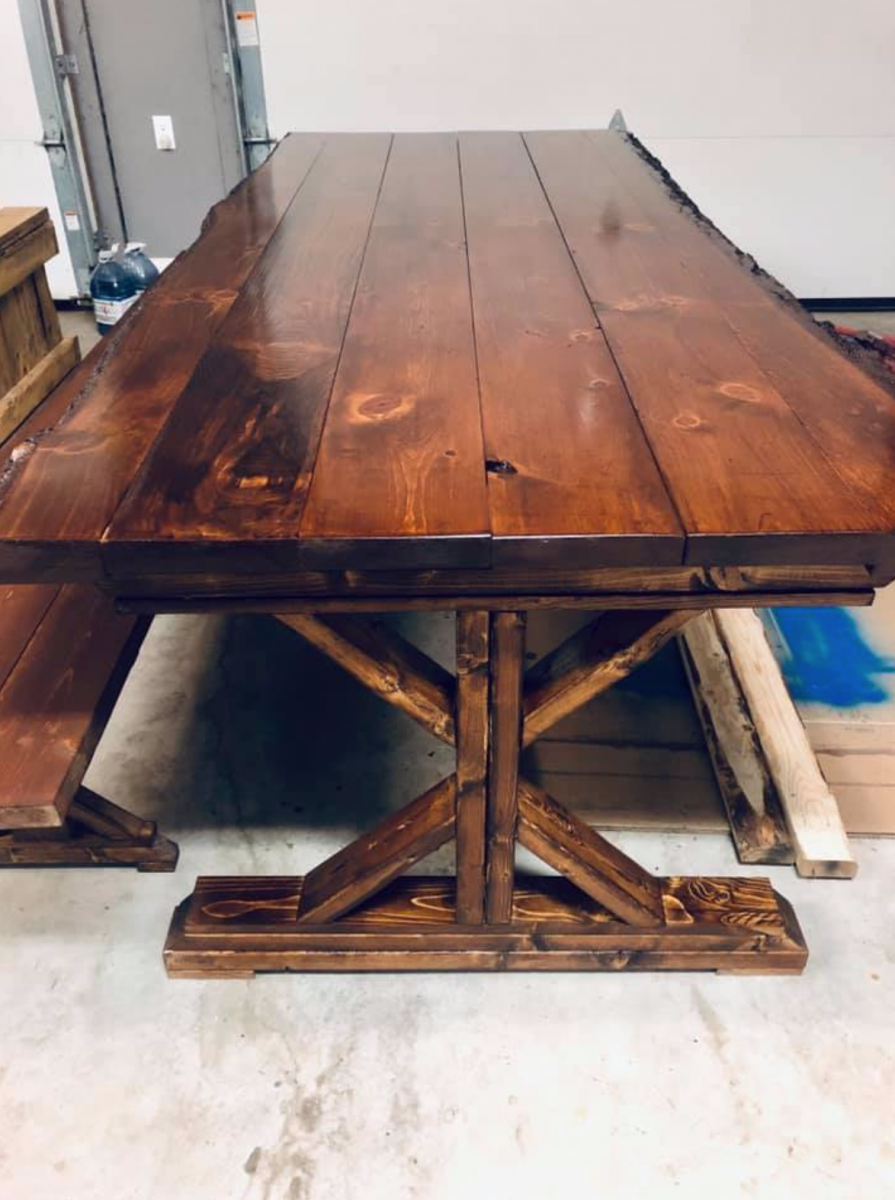
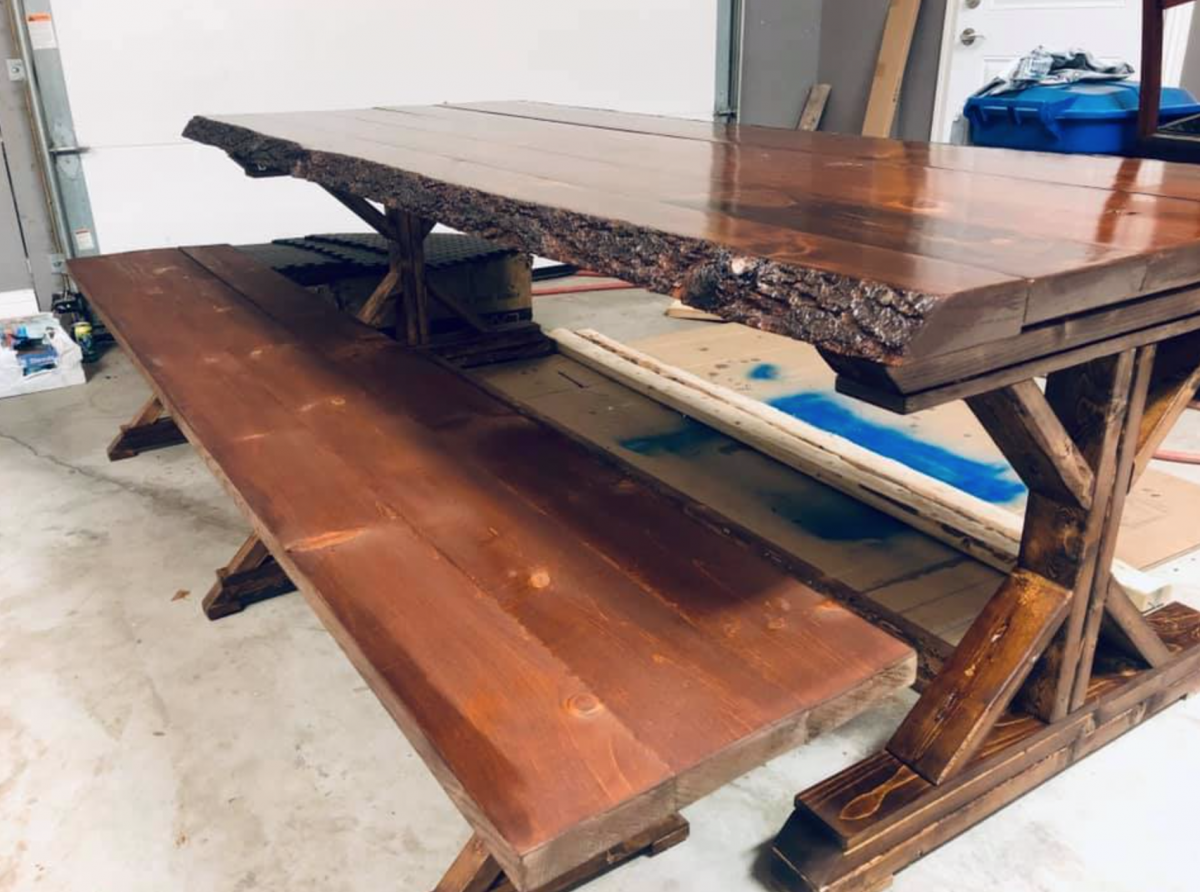
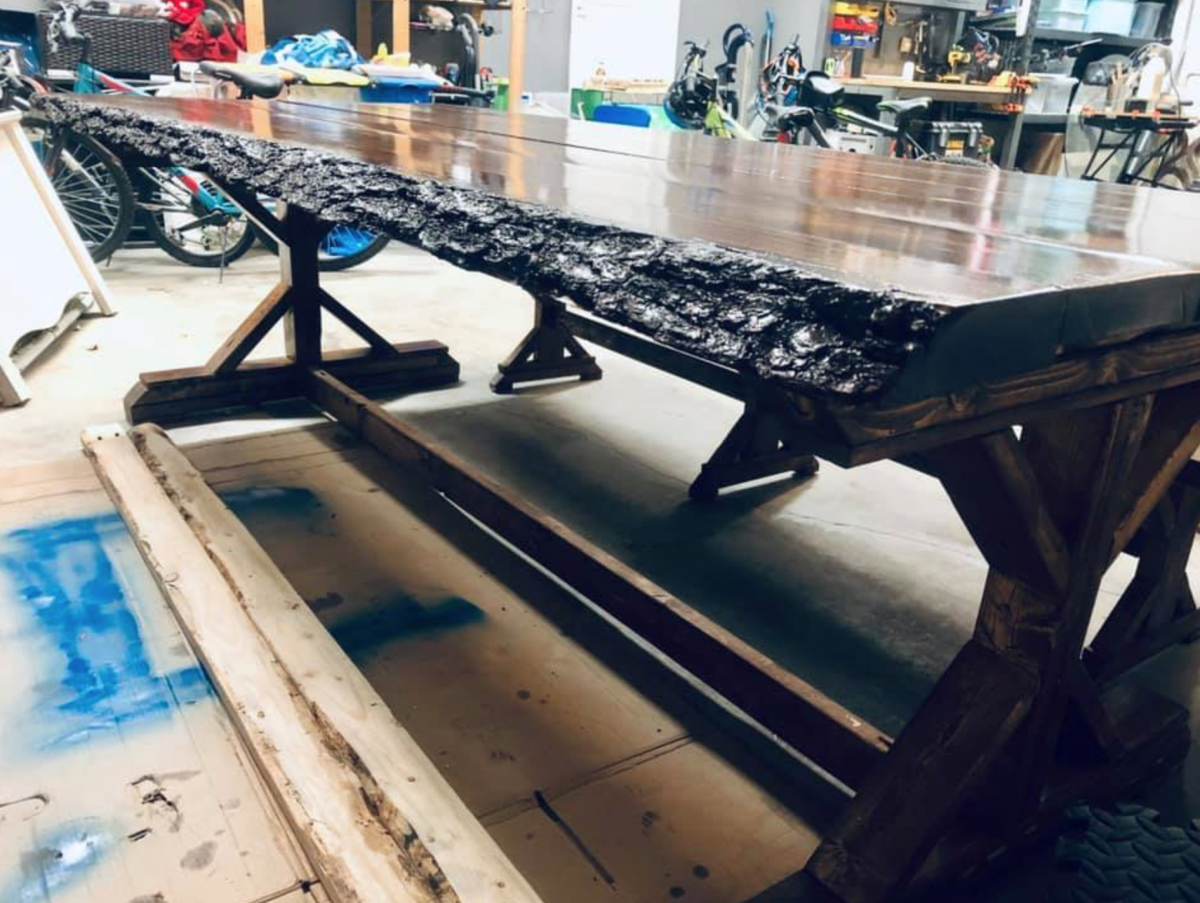
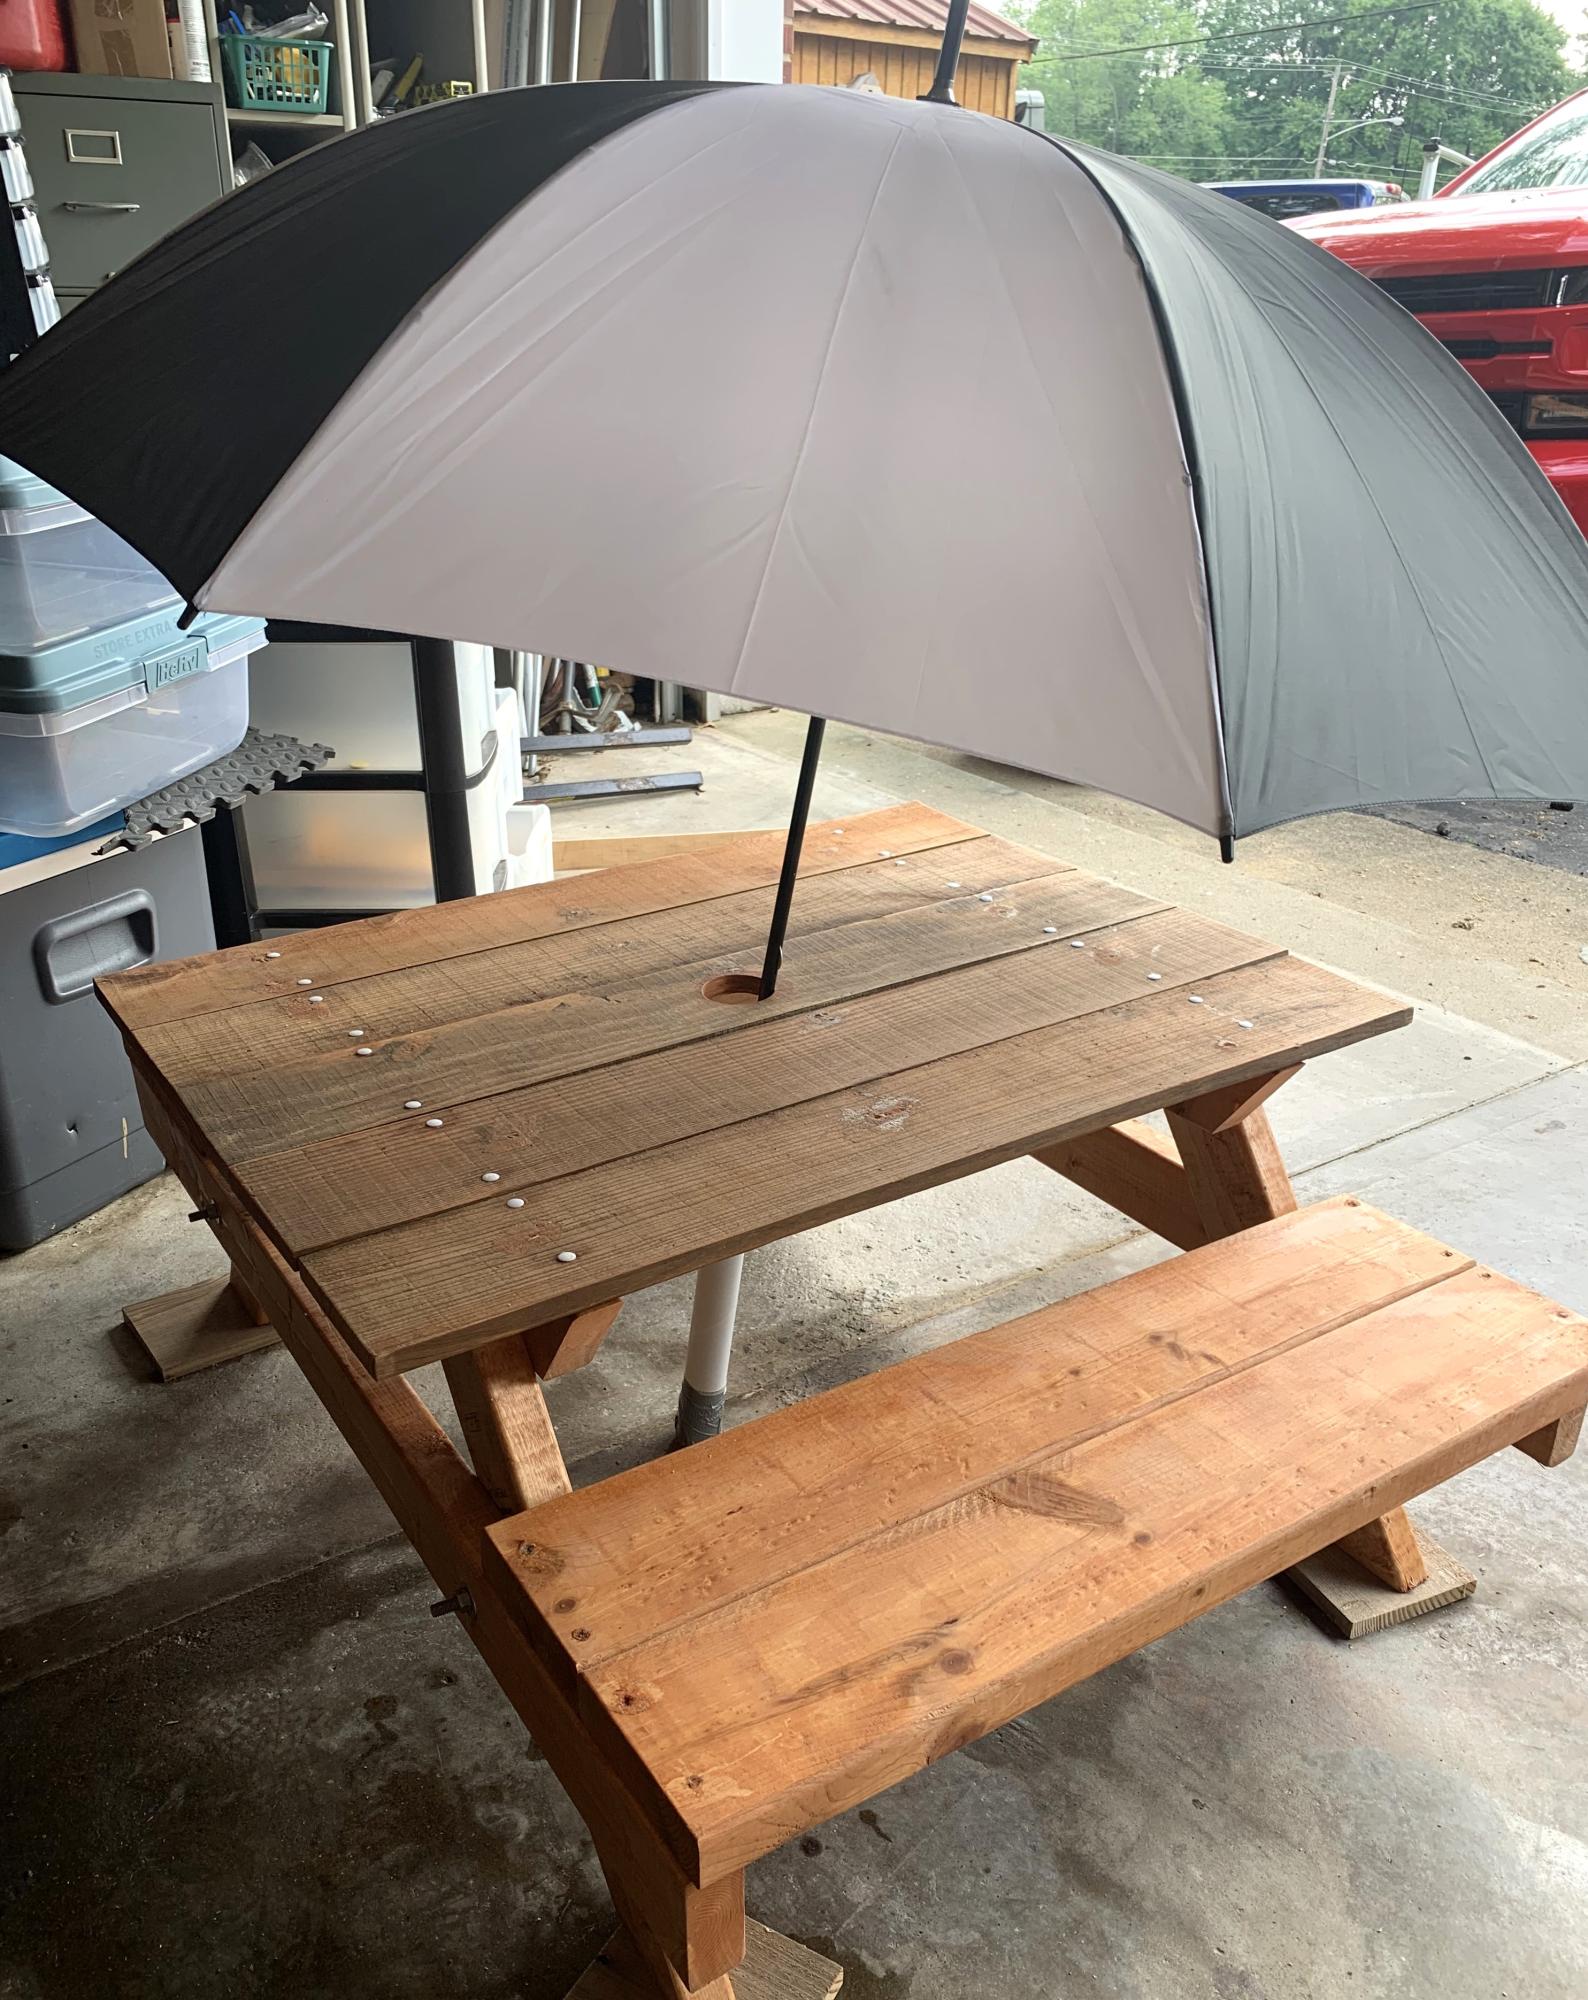
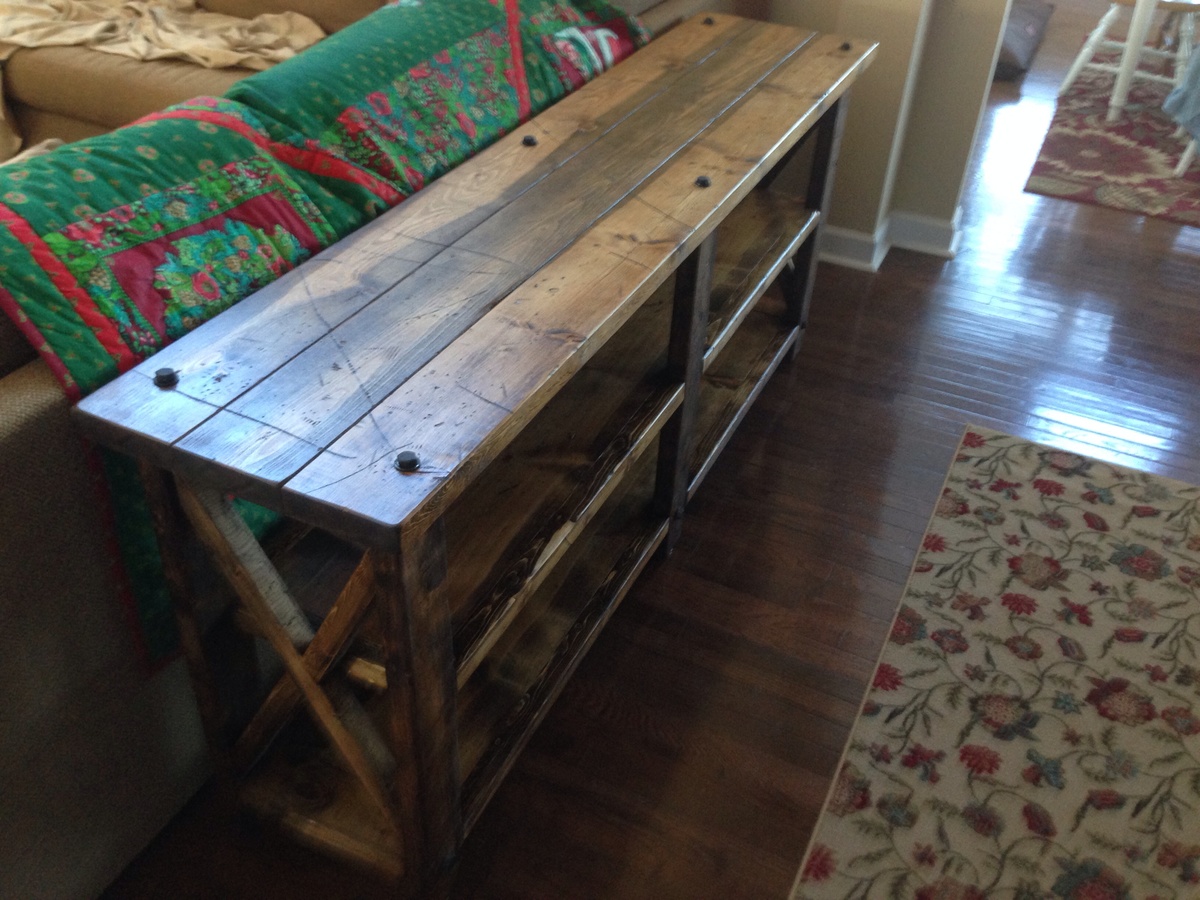
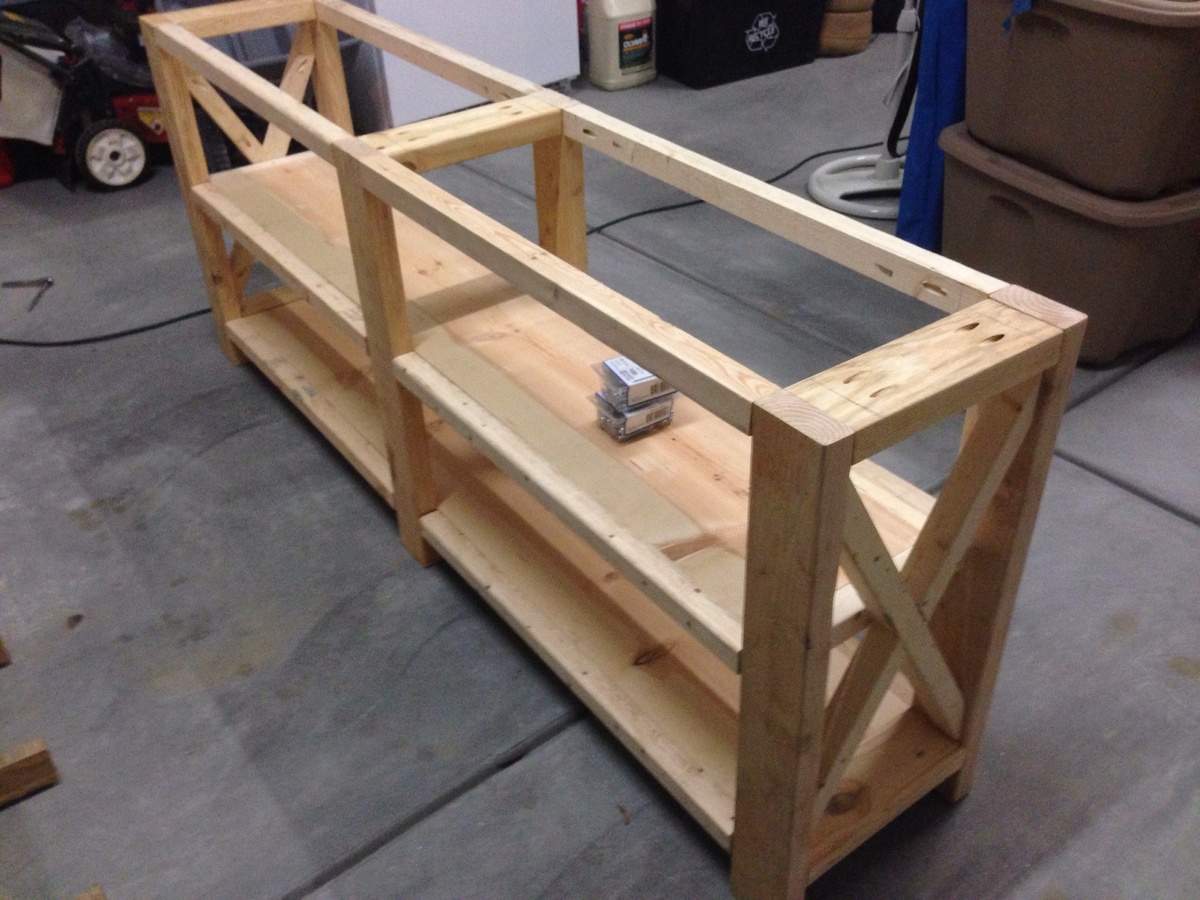
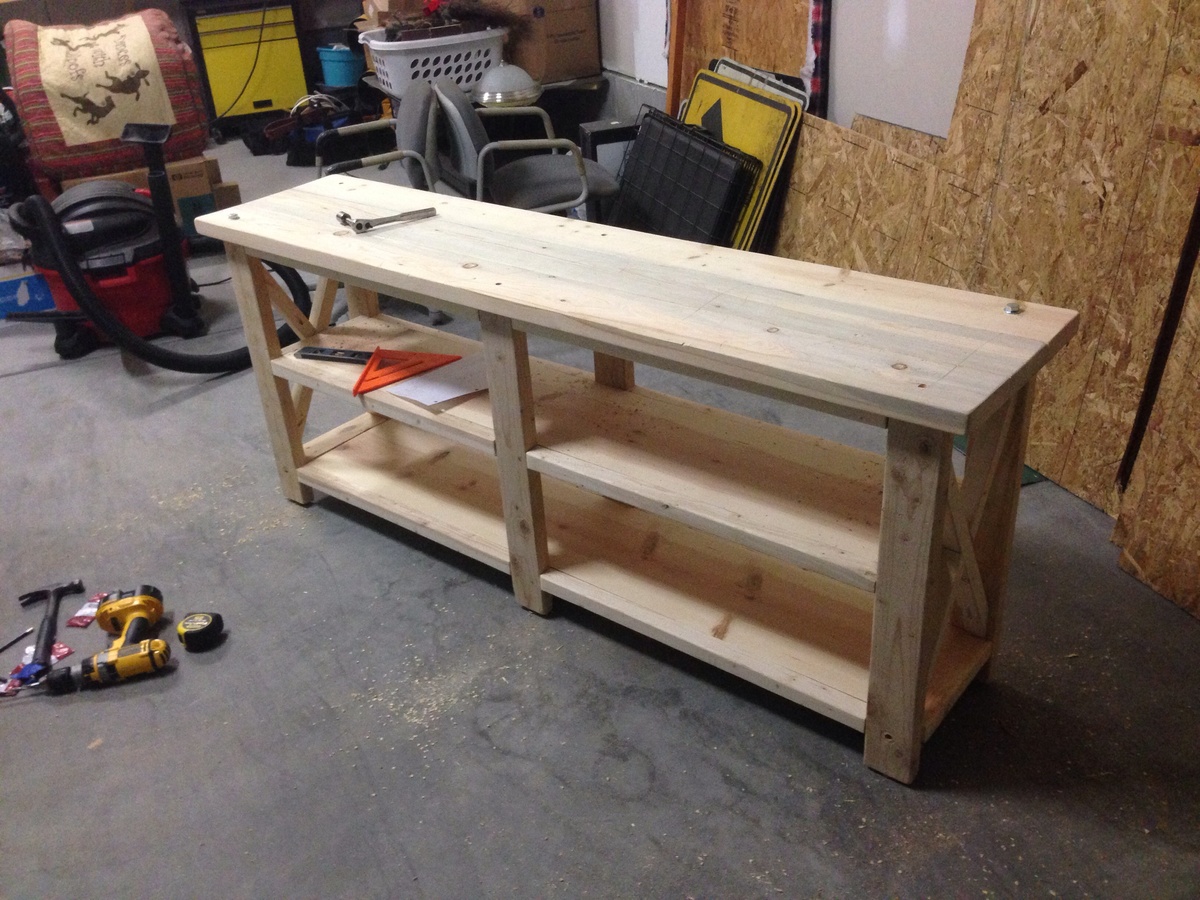
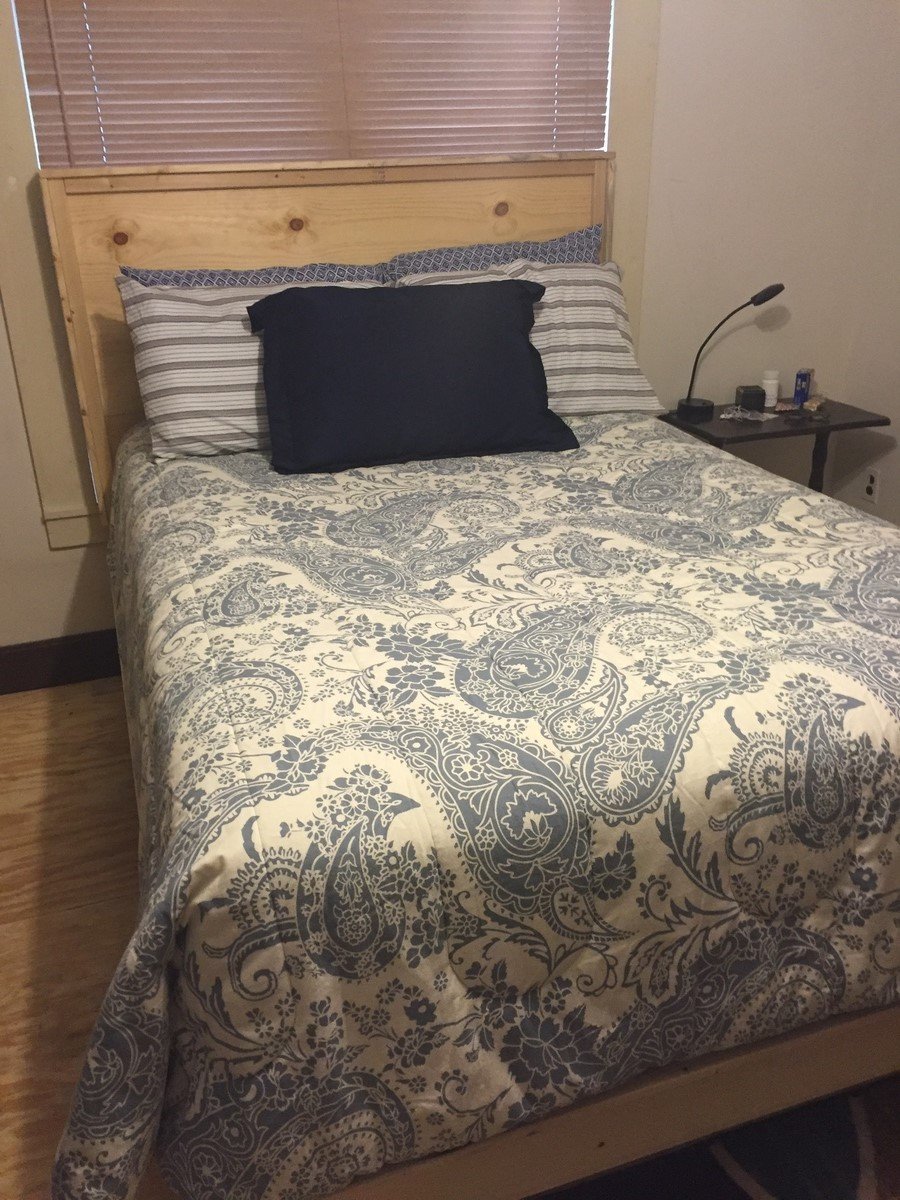
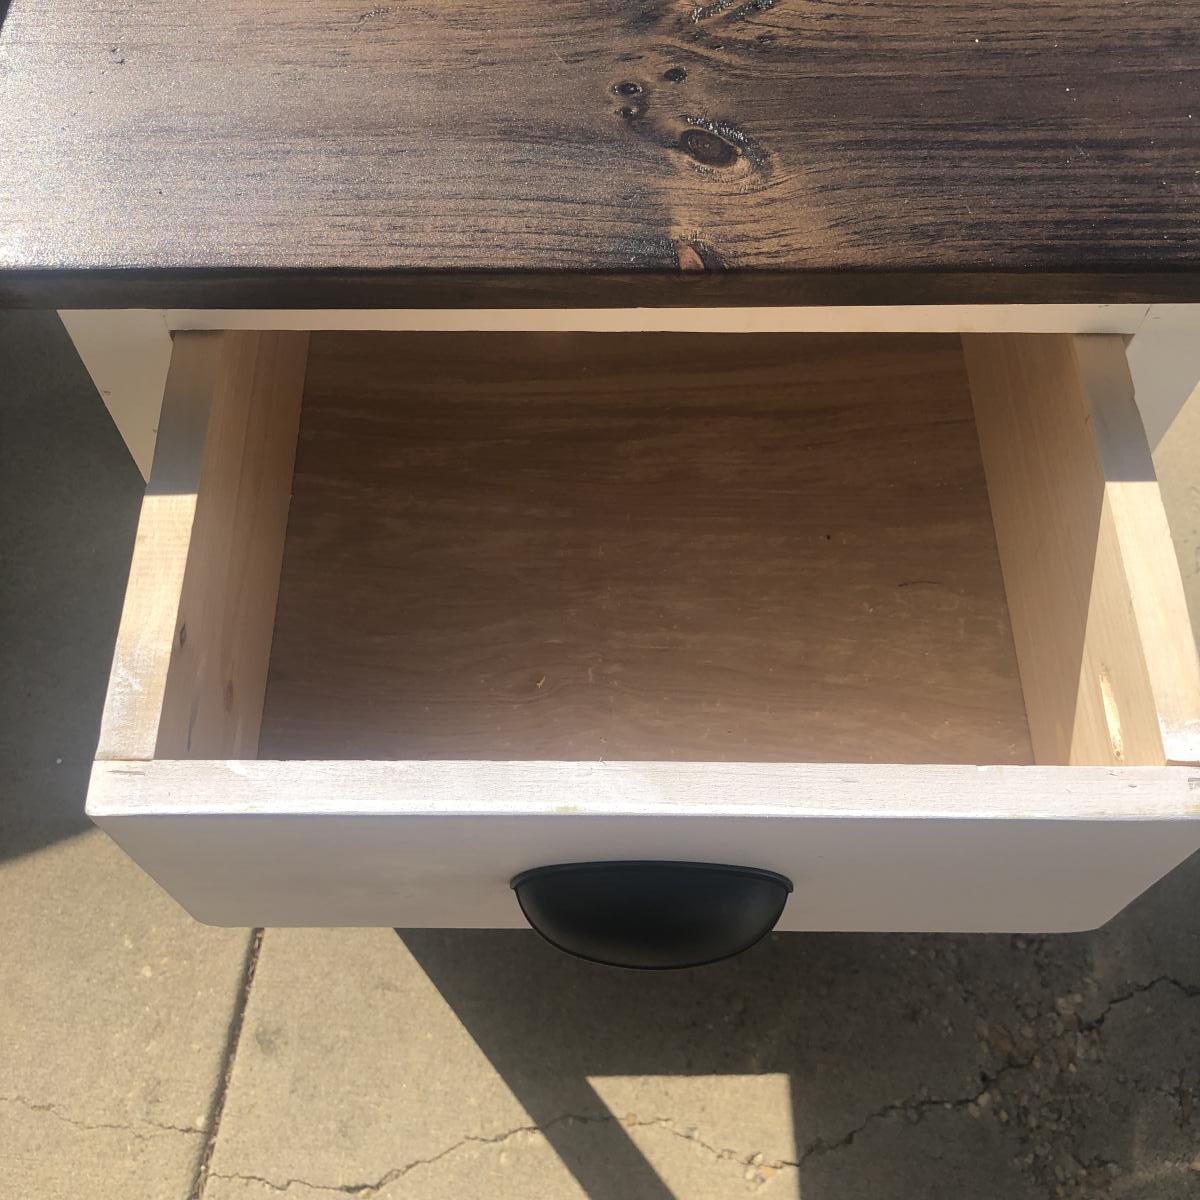
Bed Side Table
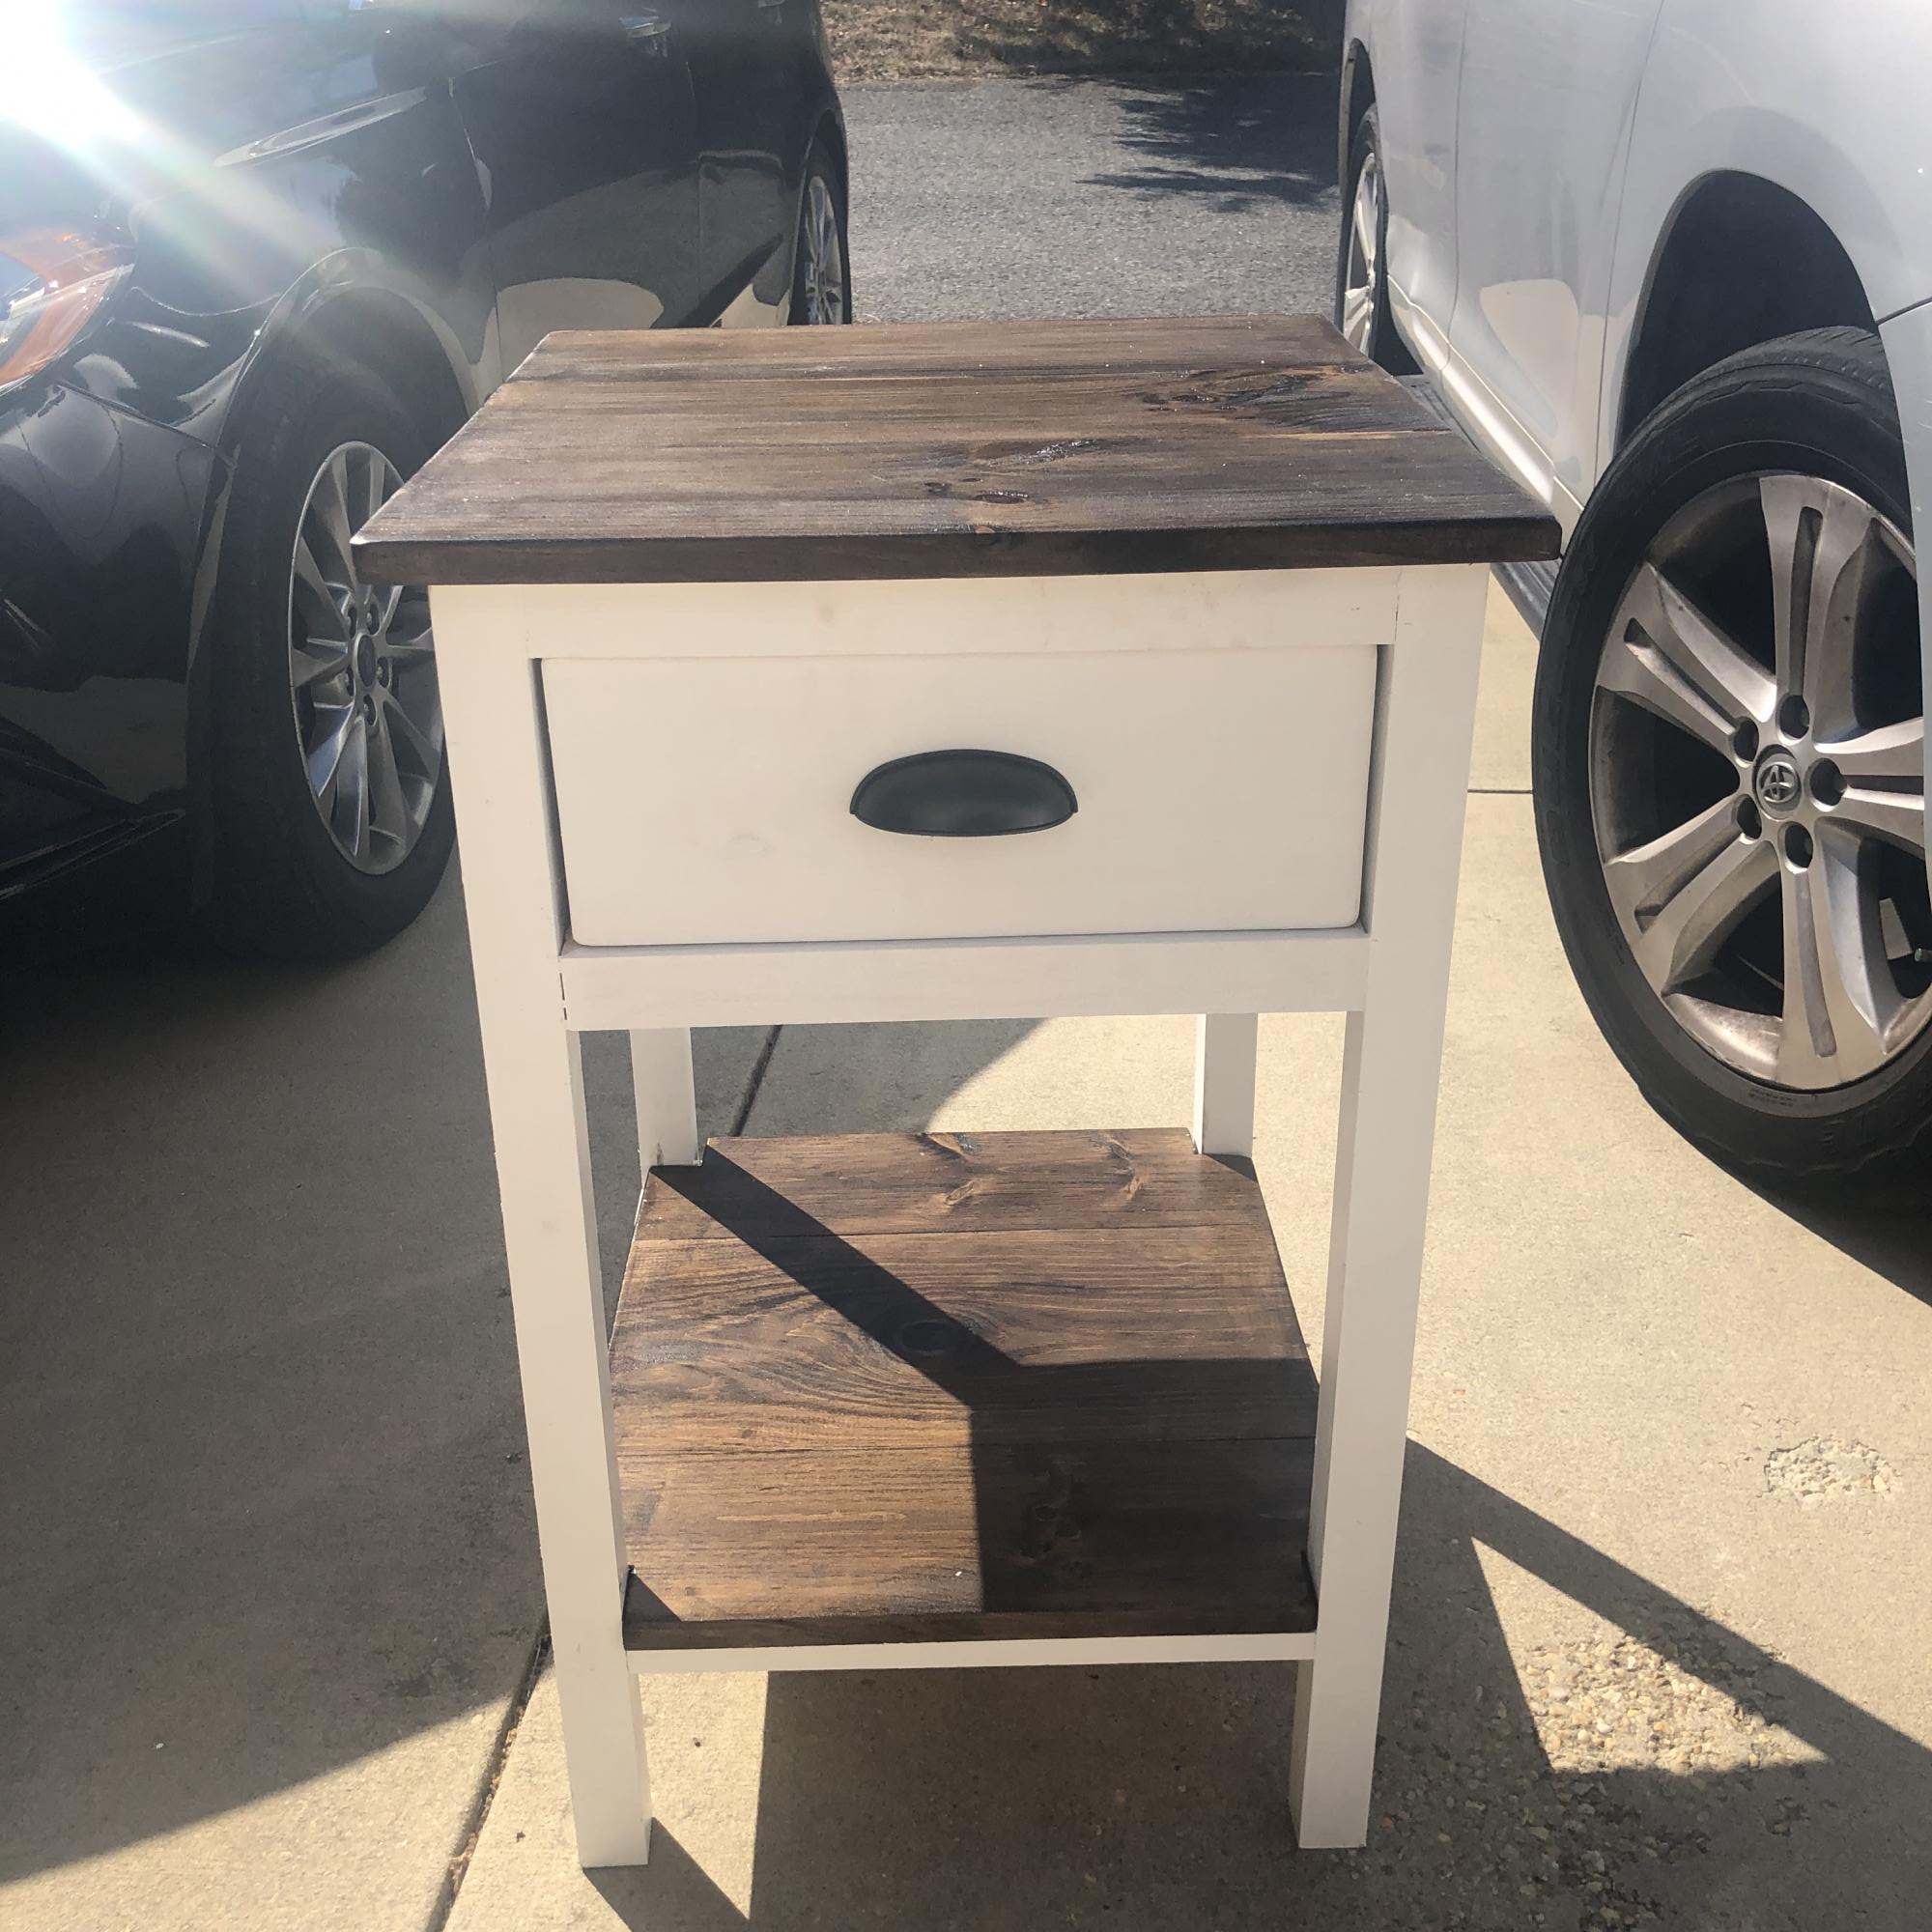
My daughter wanted a table to fit a specific location .... your plan for a side table fit the bill - with some dimensional adjustments
Built from Plan(s)
Estimated Cost
100
Estimated Time Investment
Day Project (6-9 Hours)
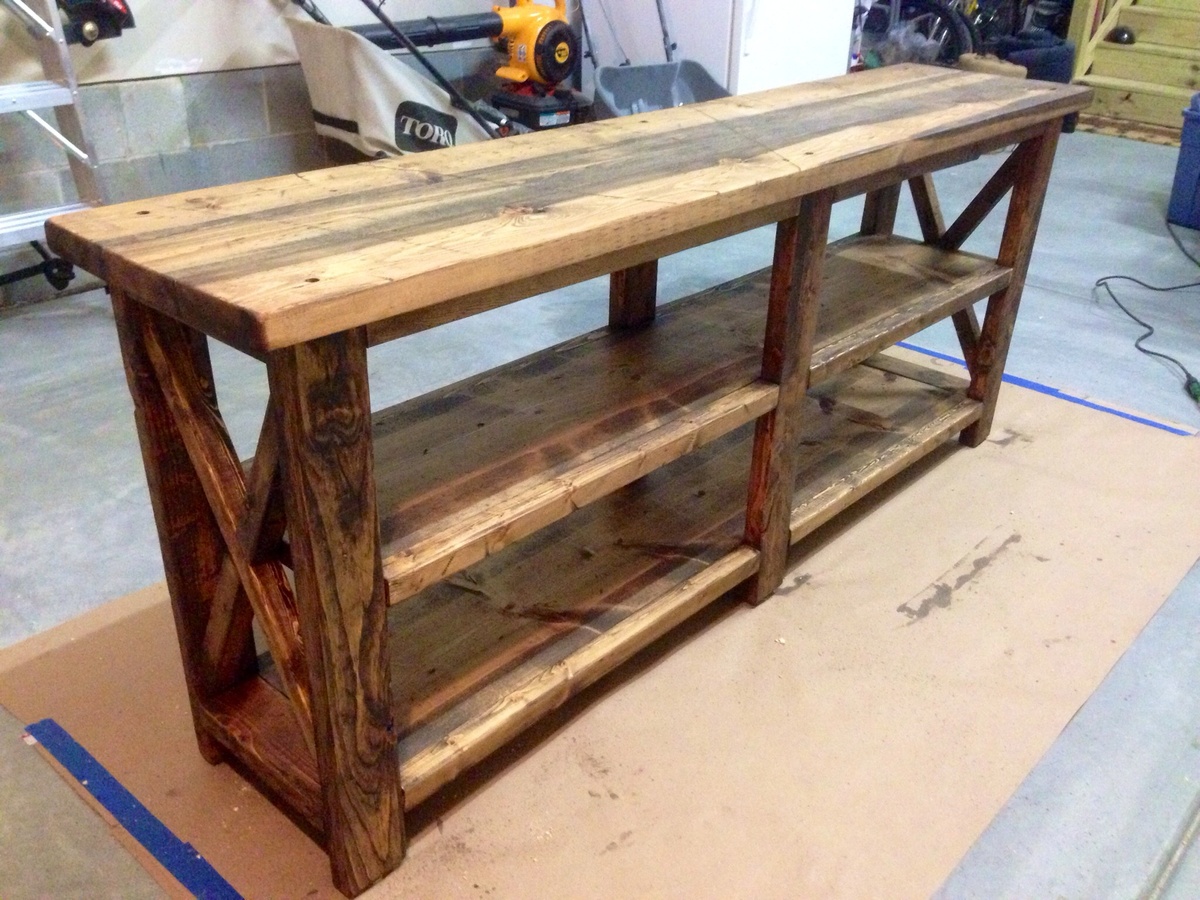
Finish Used
White paint
Dark oak stain with satin poly
Dark oak stain with satin poly
Recommended Skill Level
Intermediate