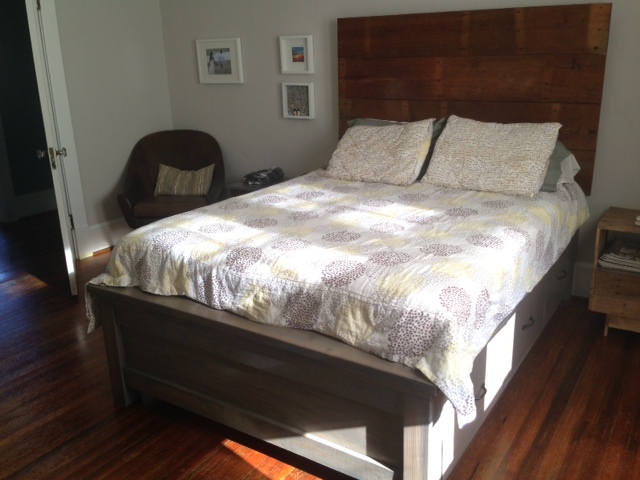
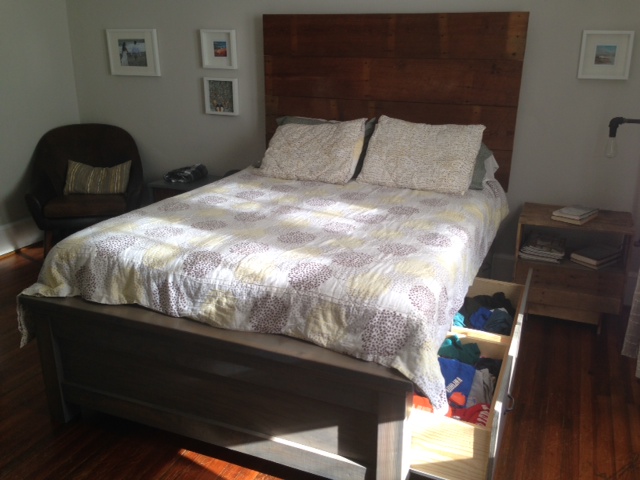
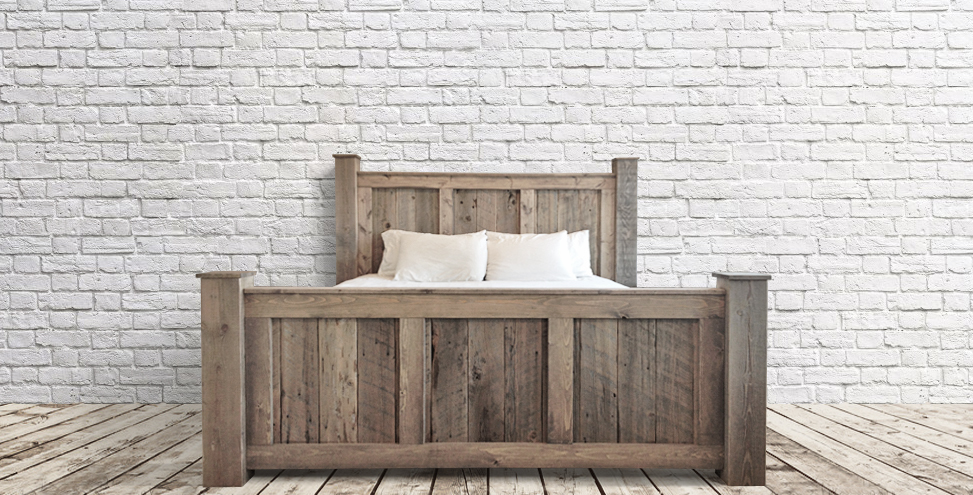
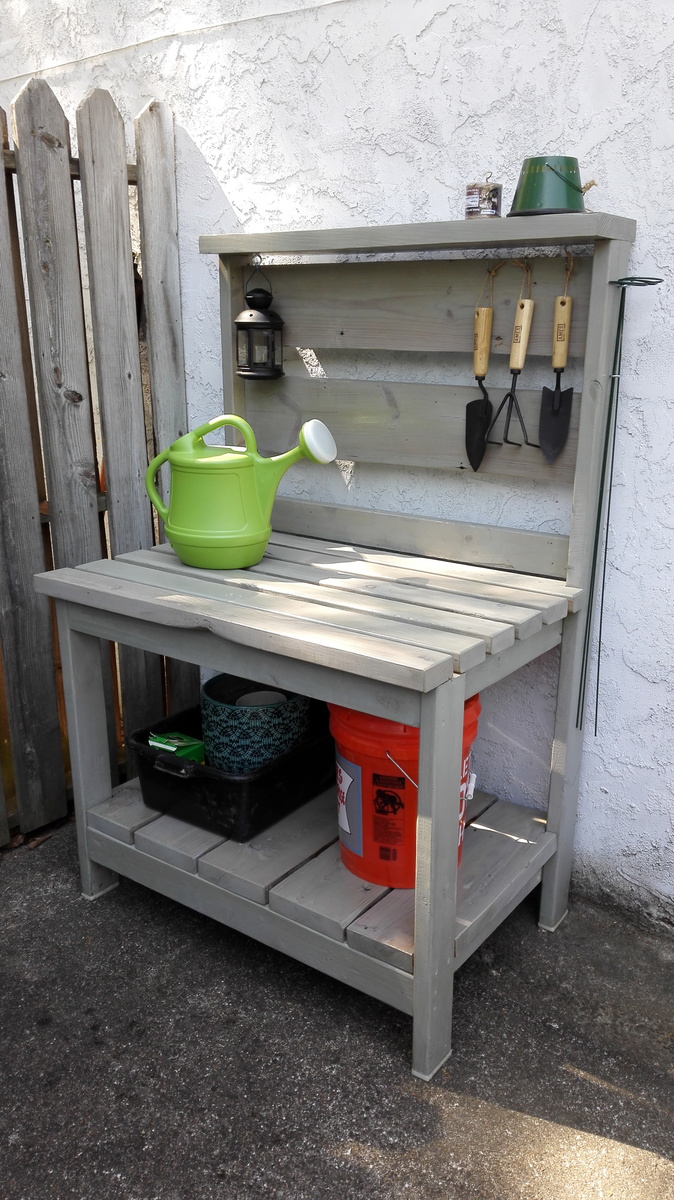
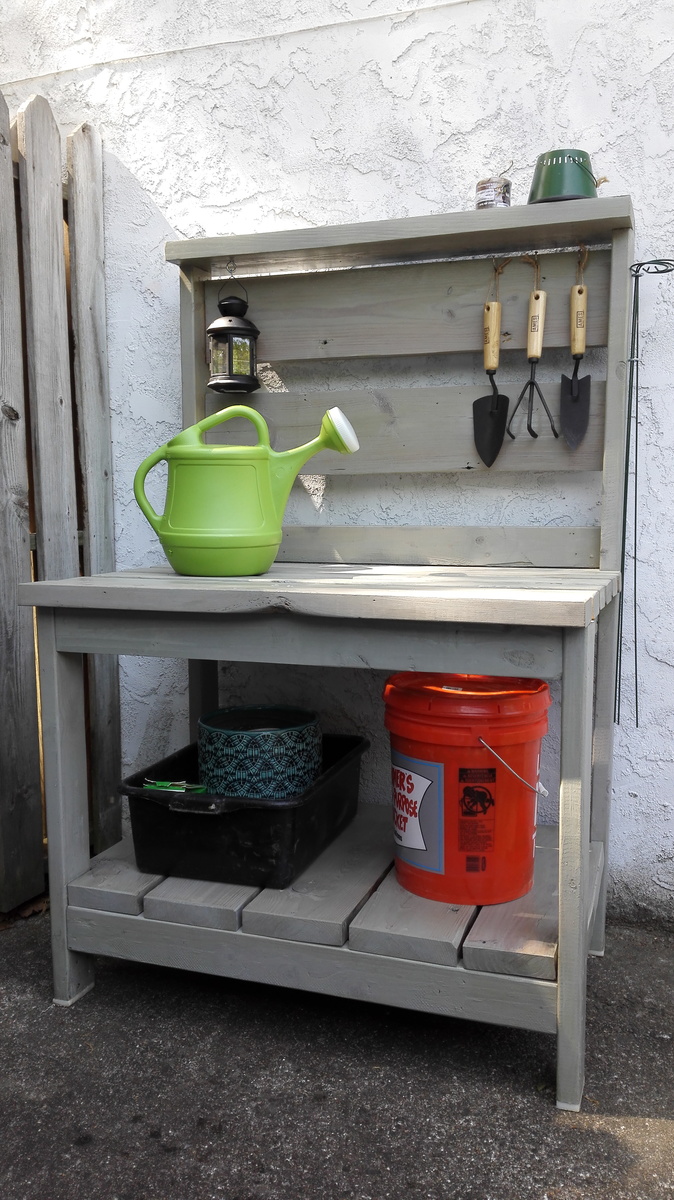
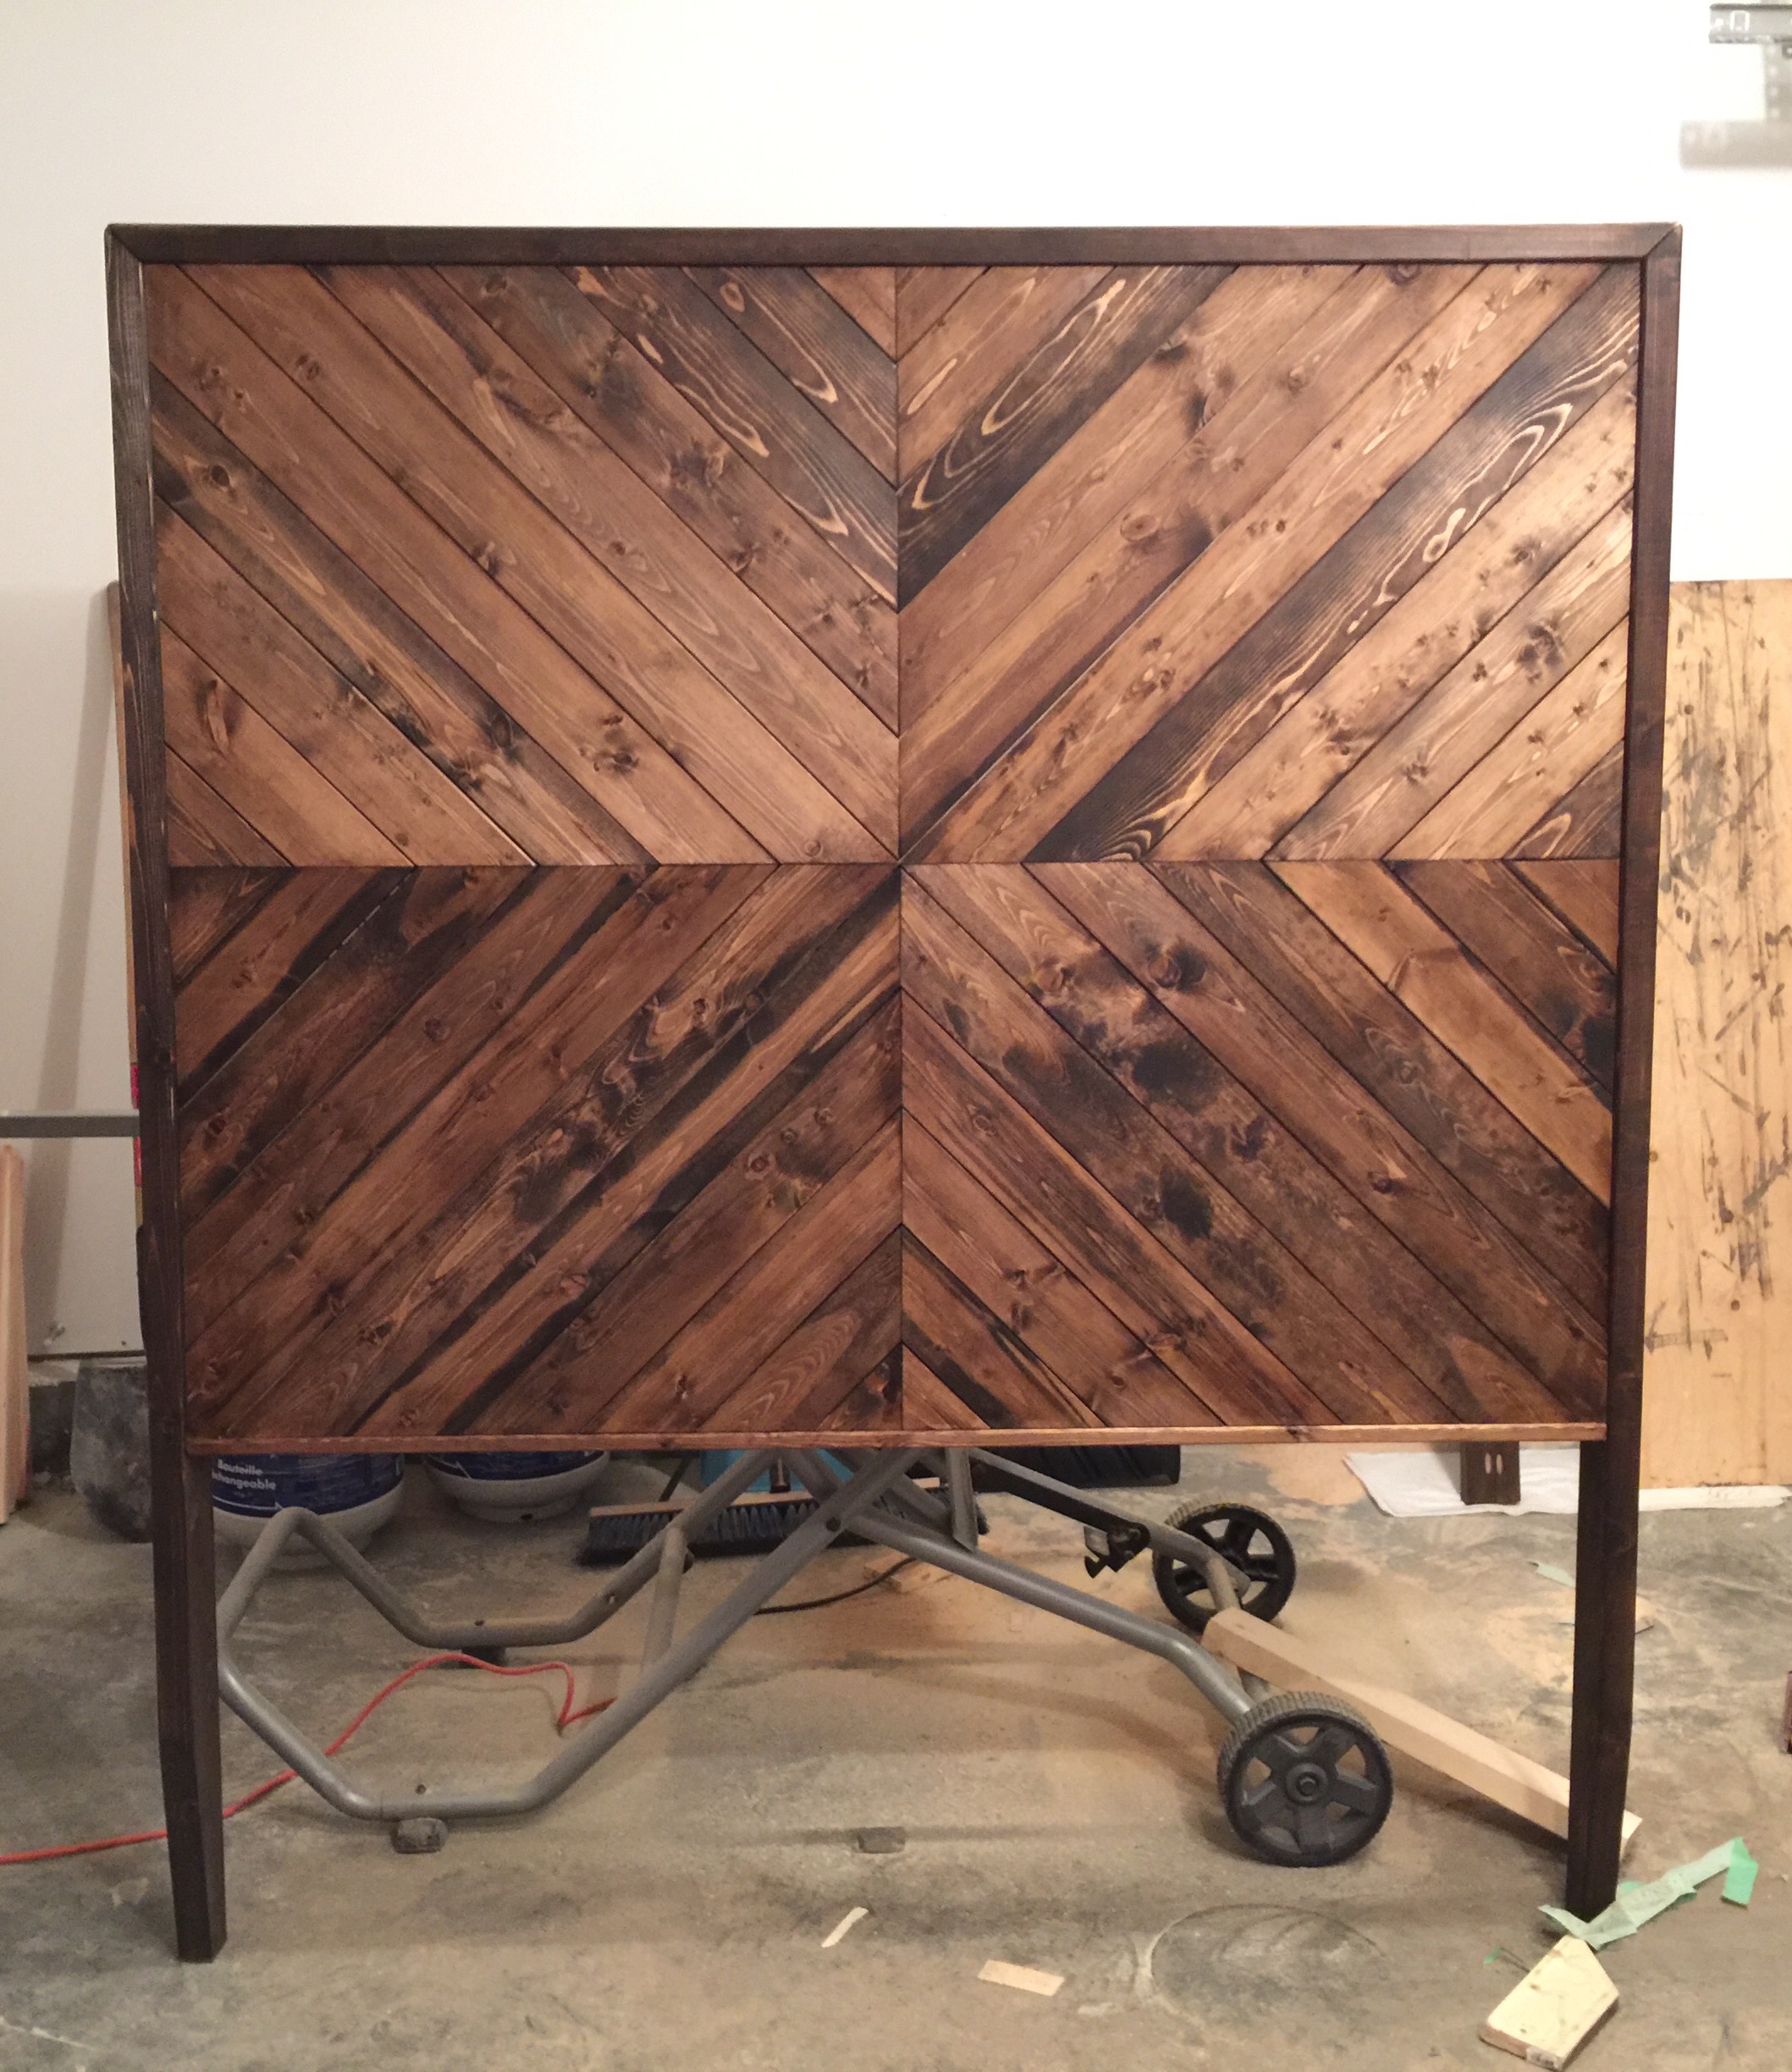
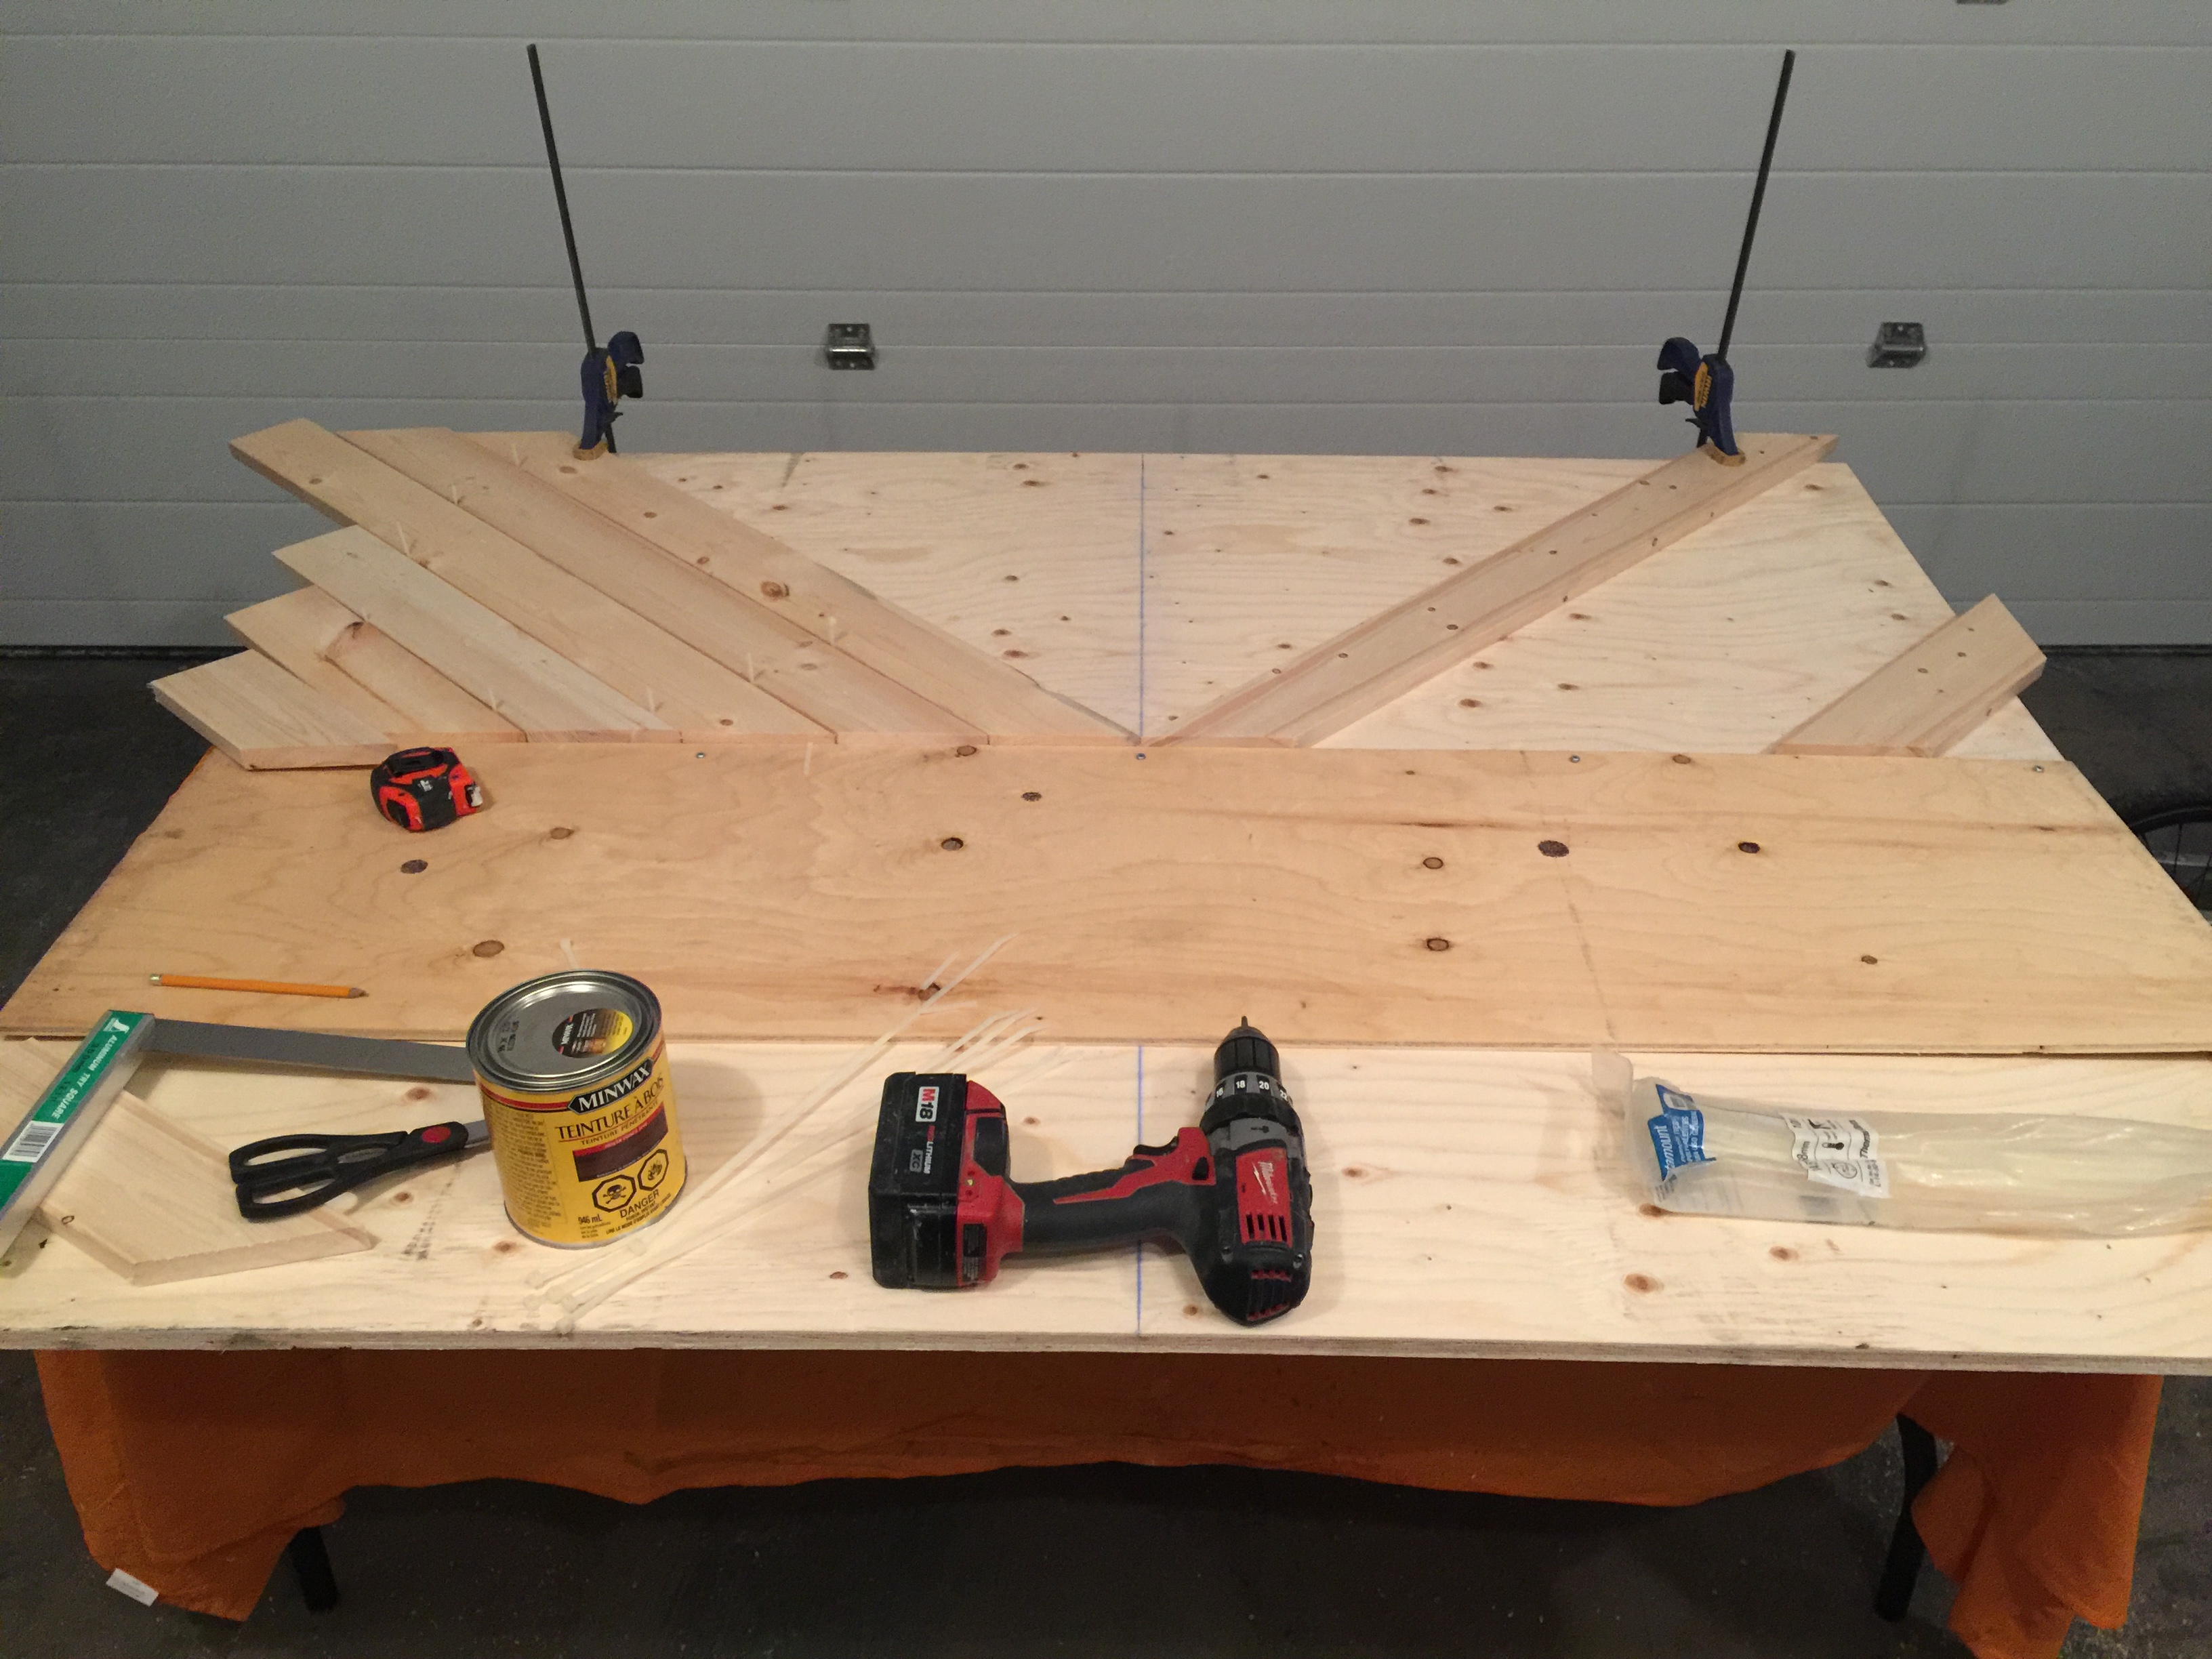
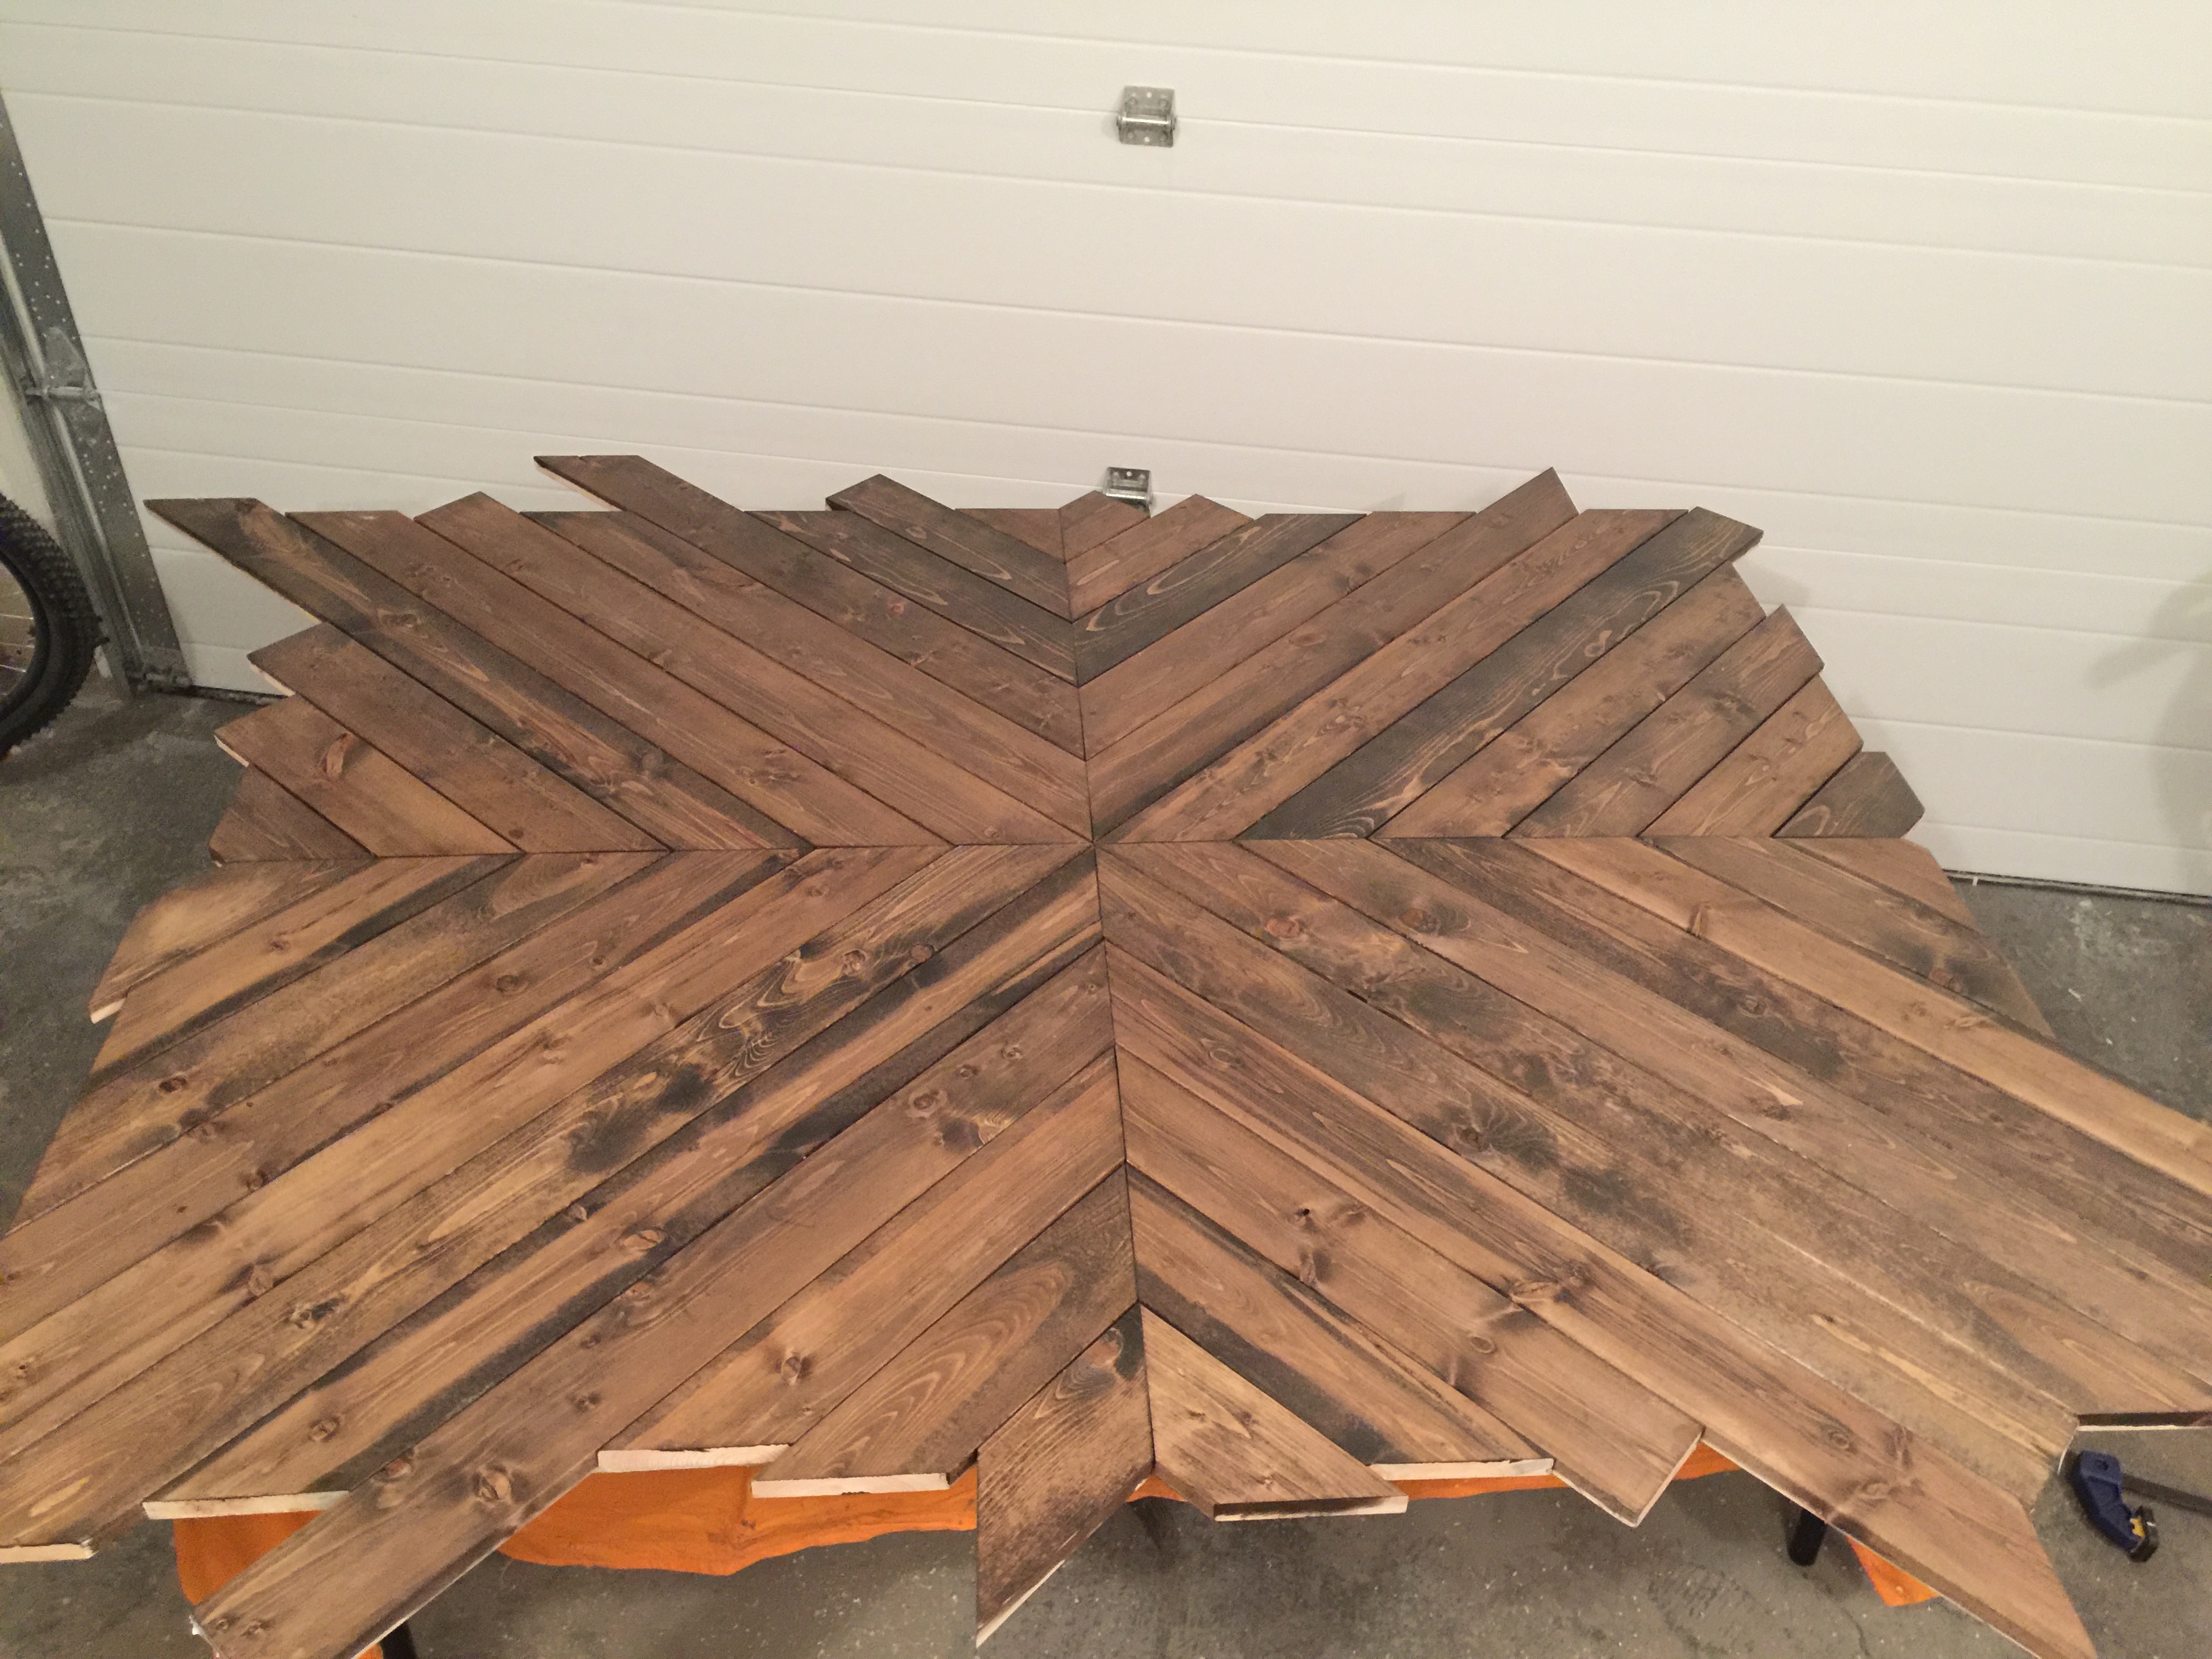
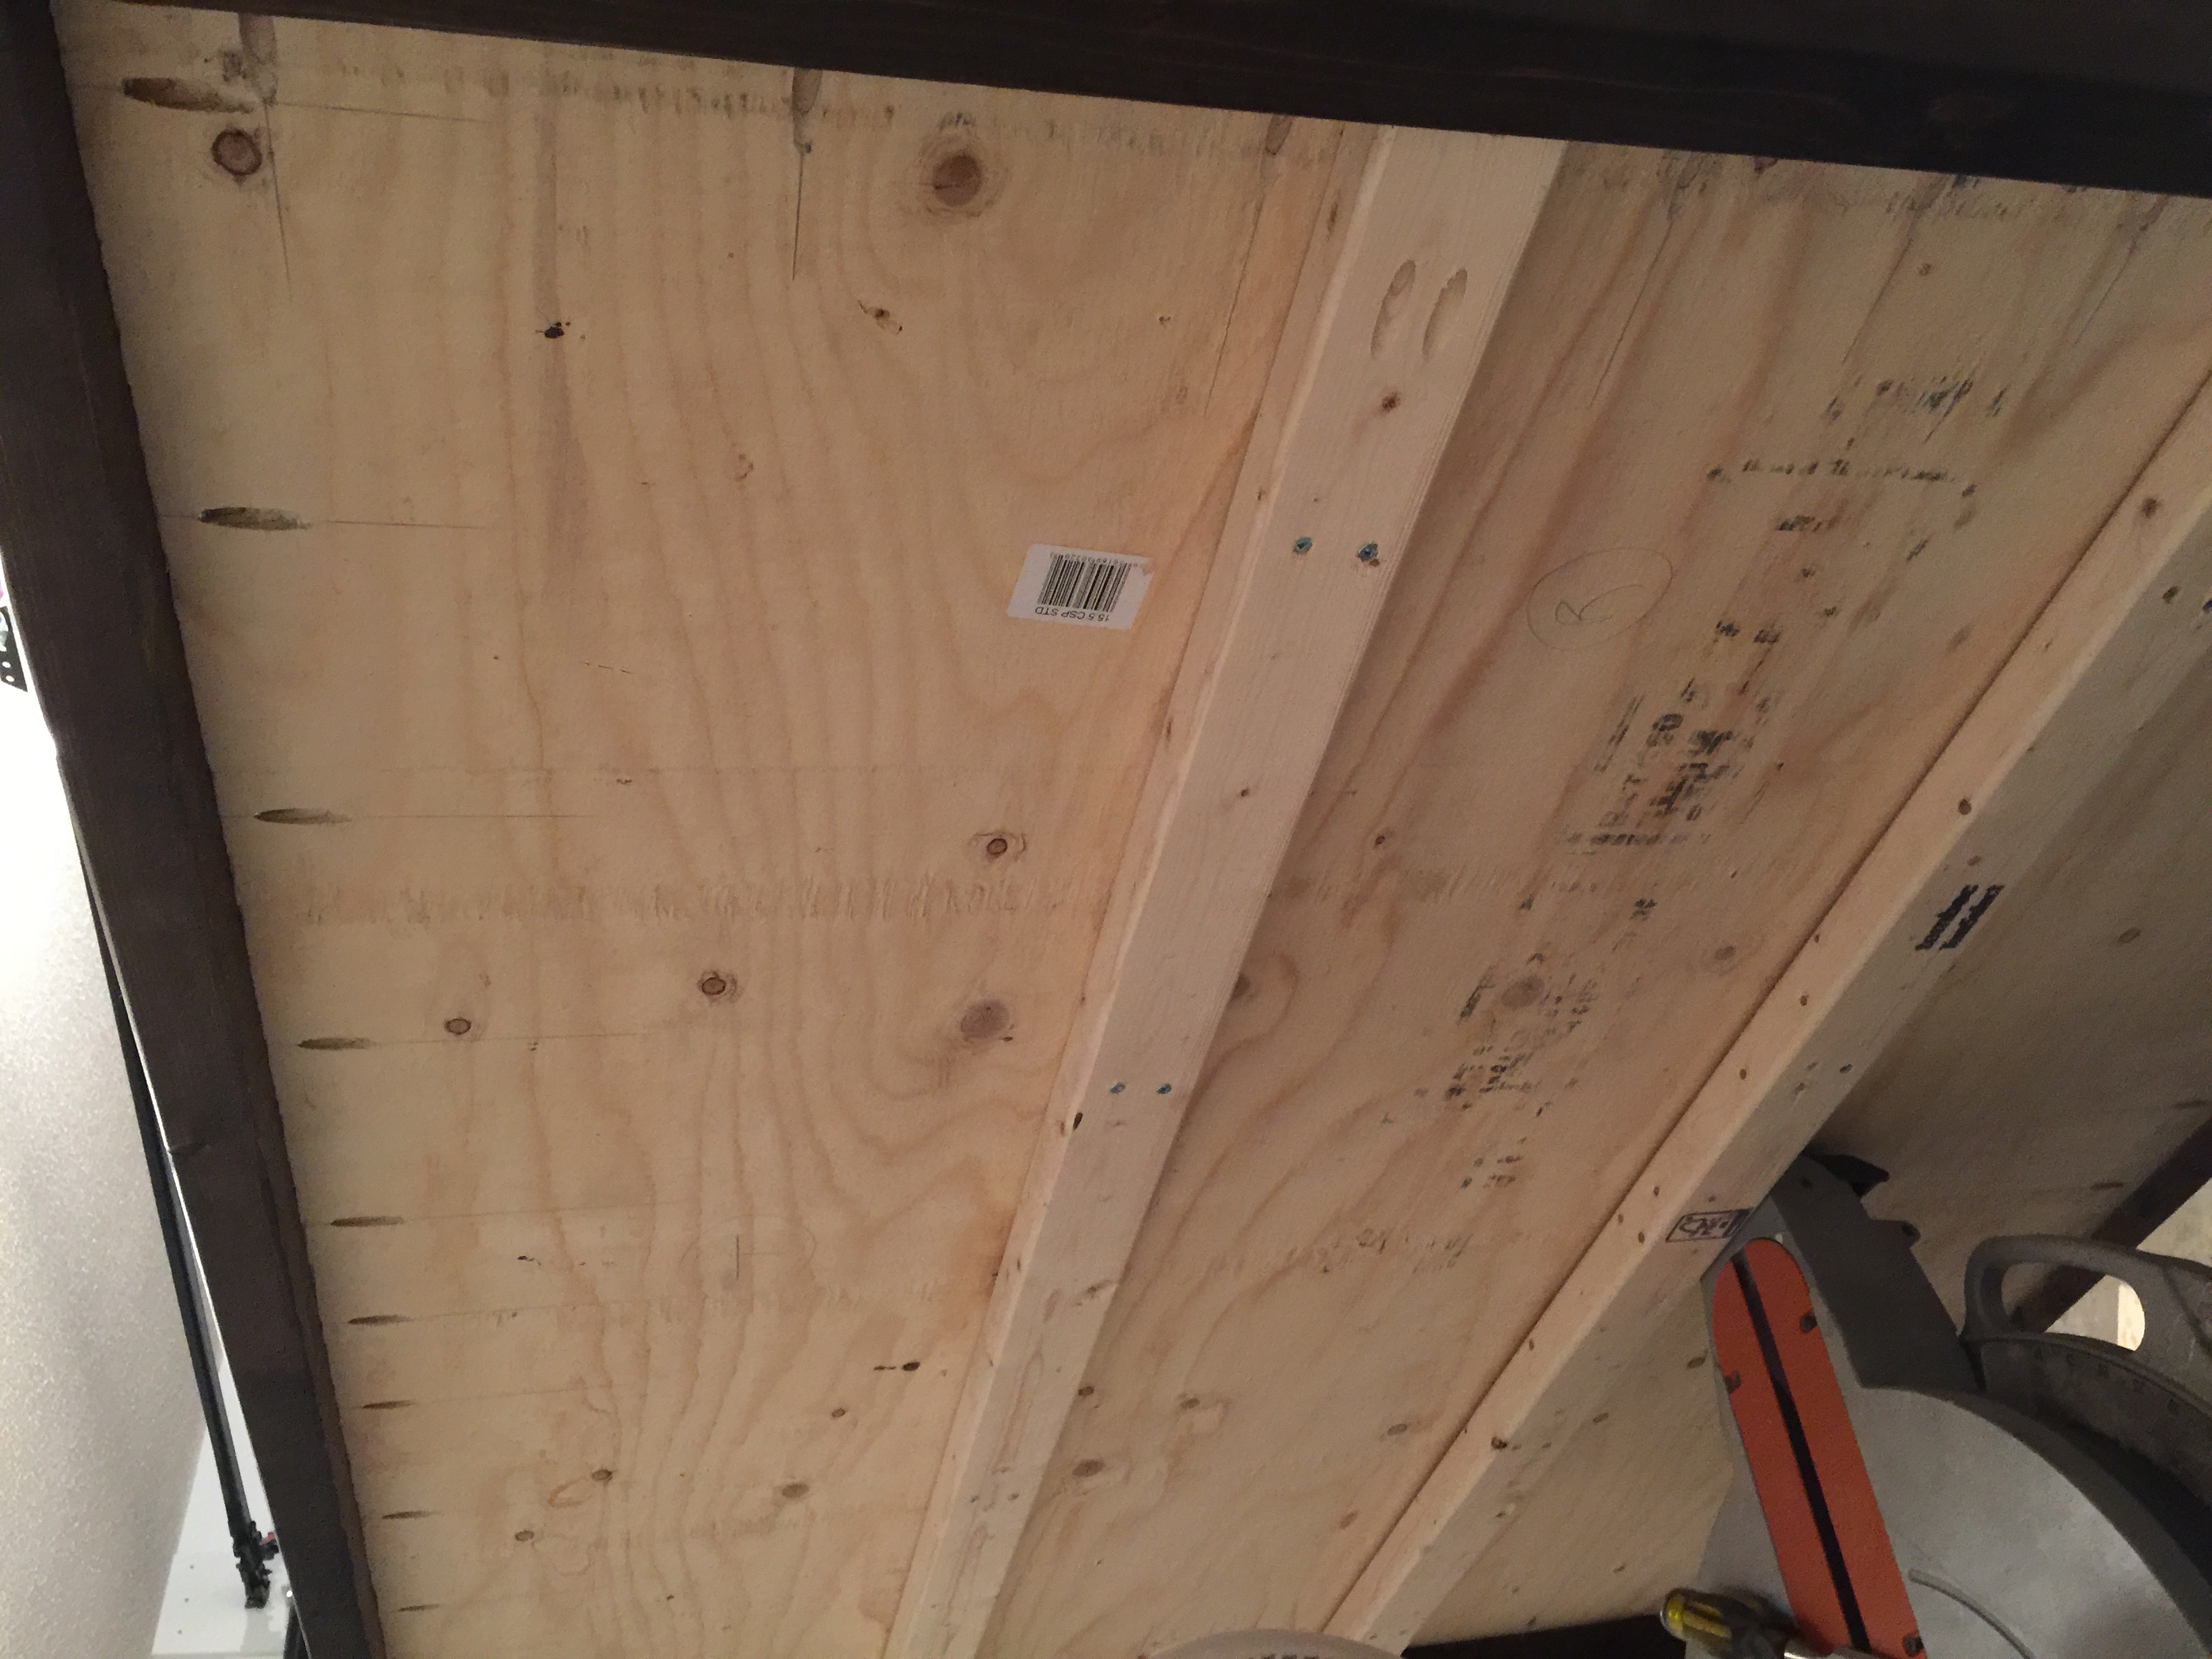
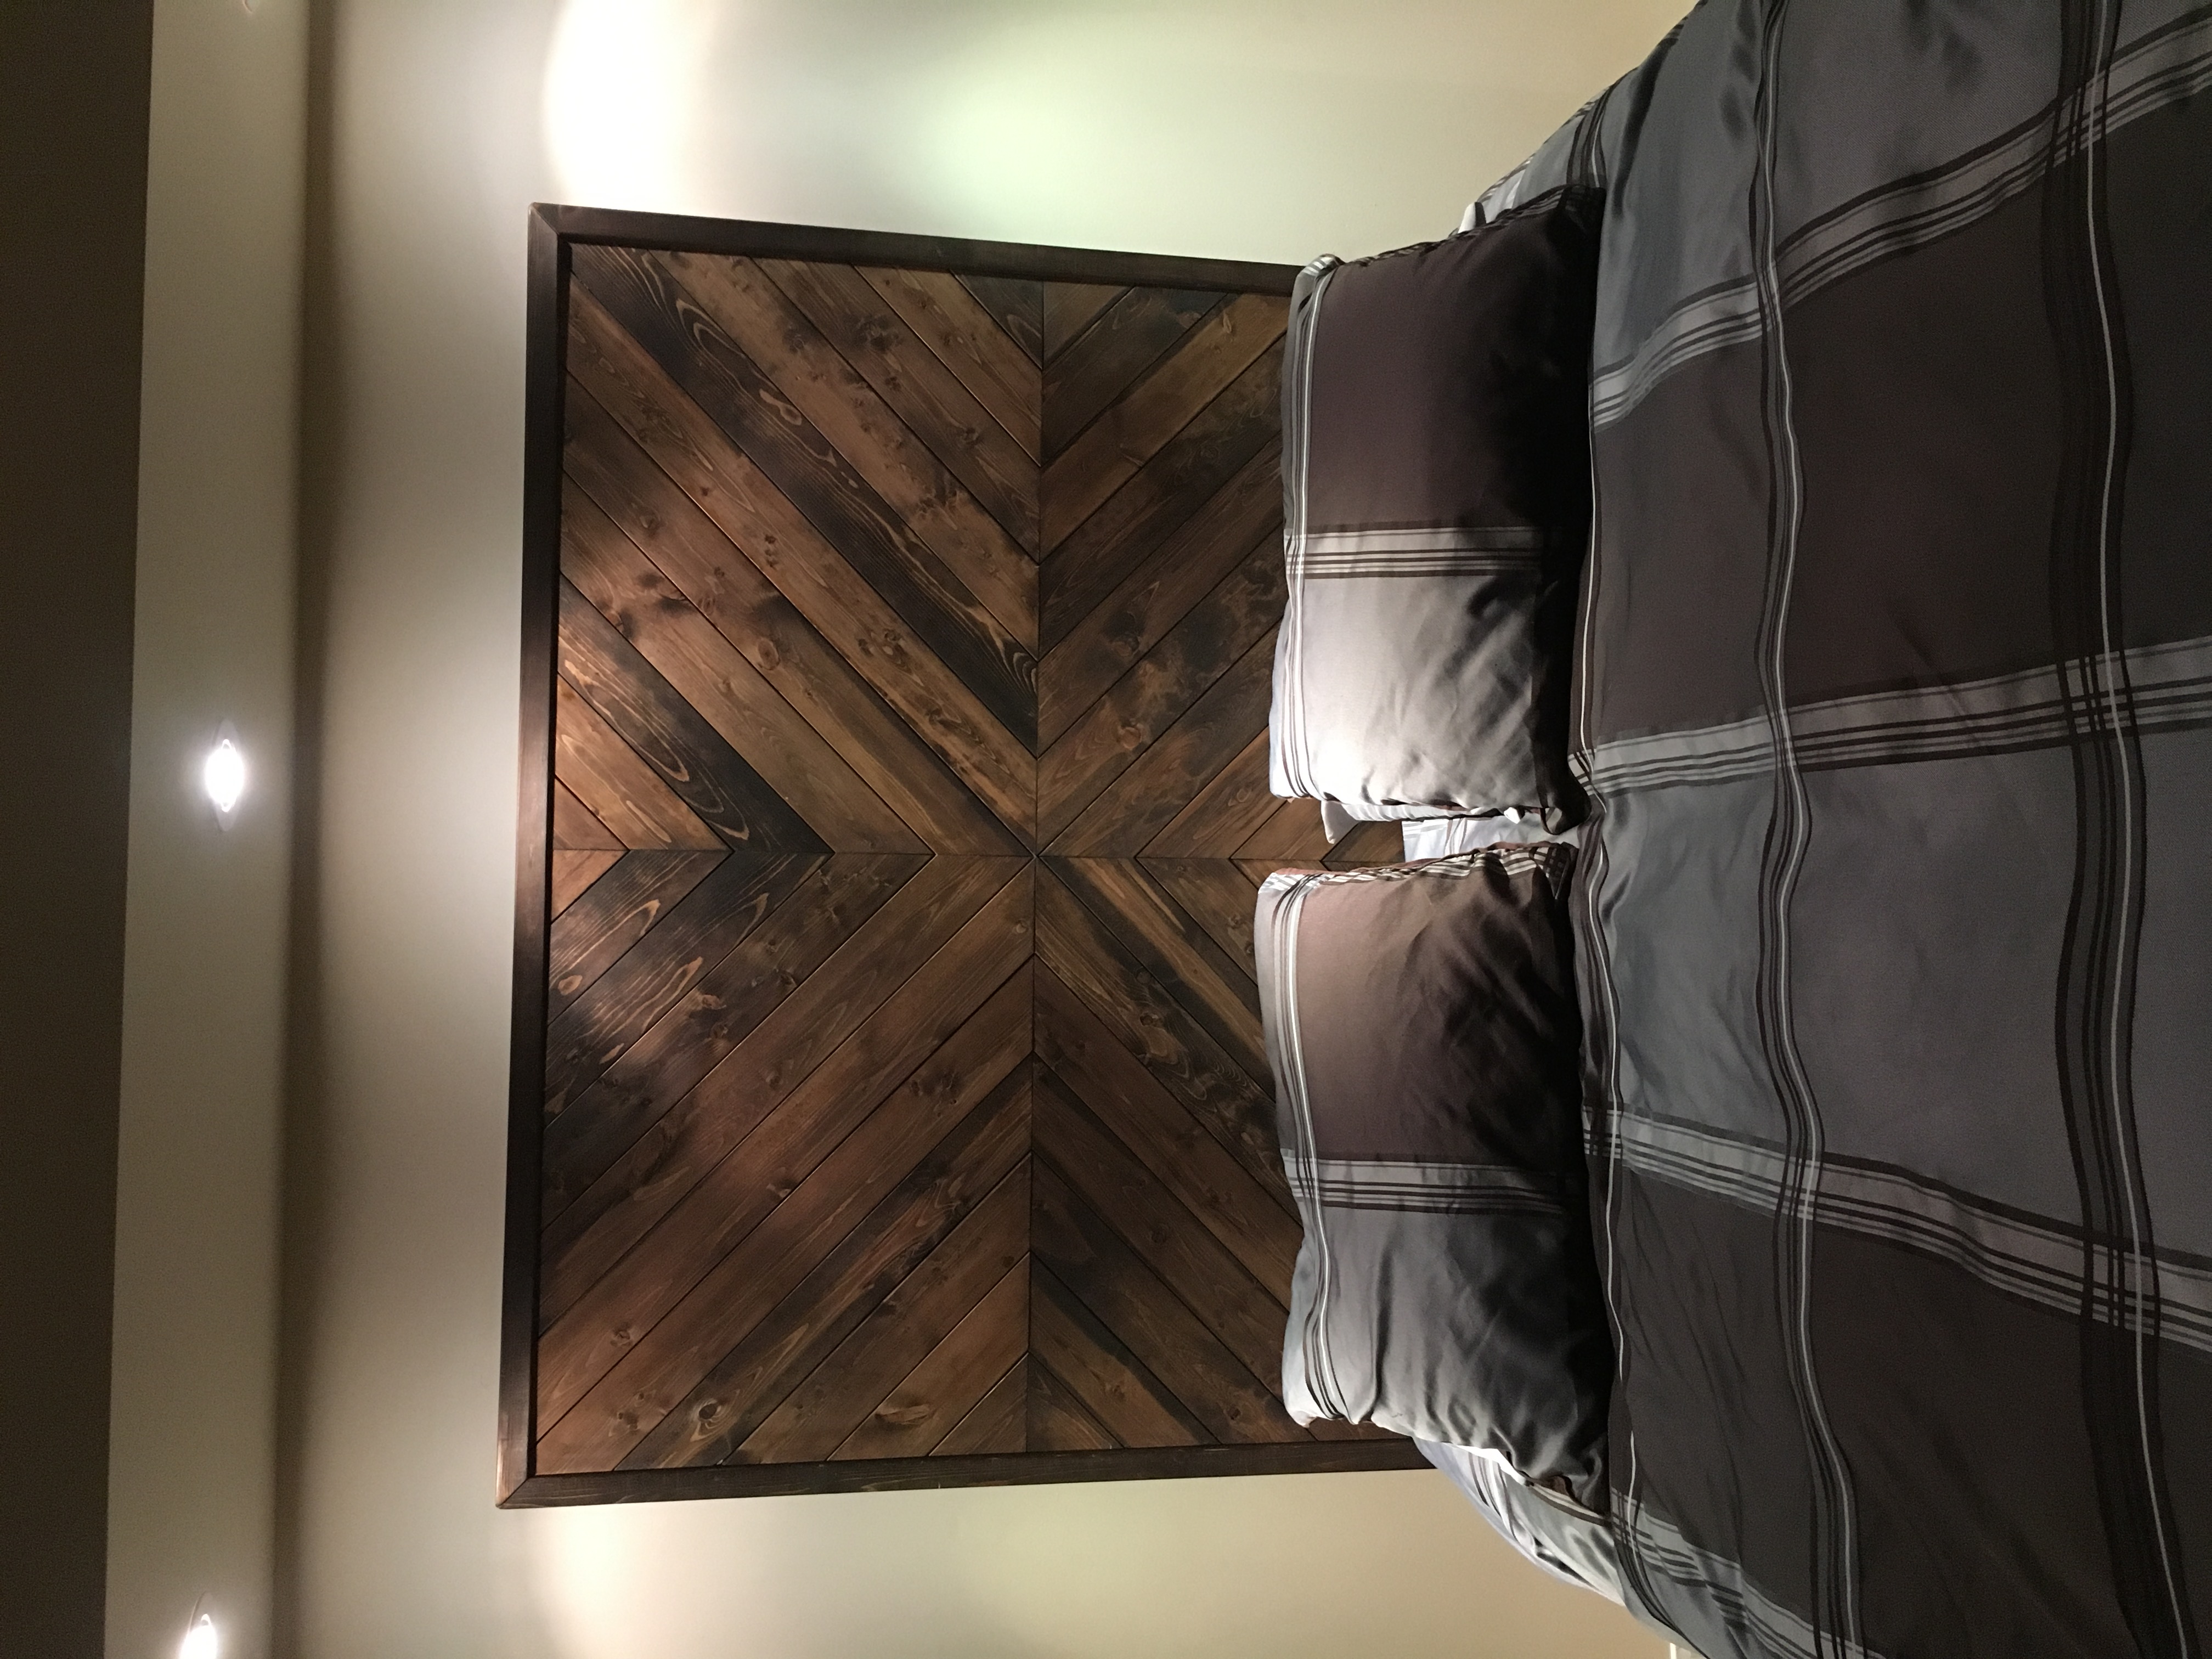
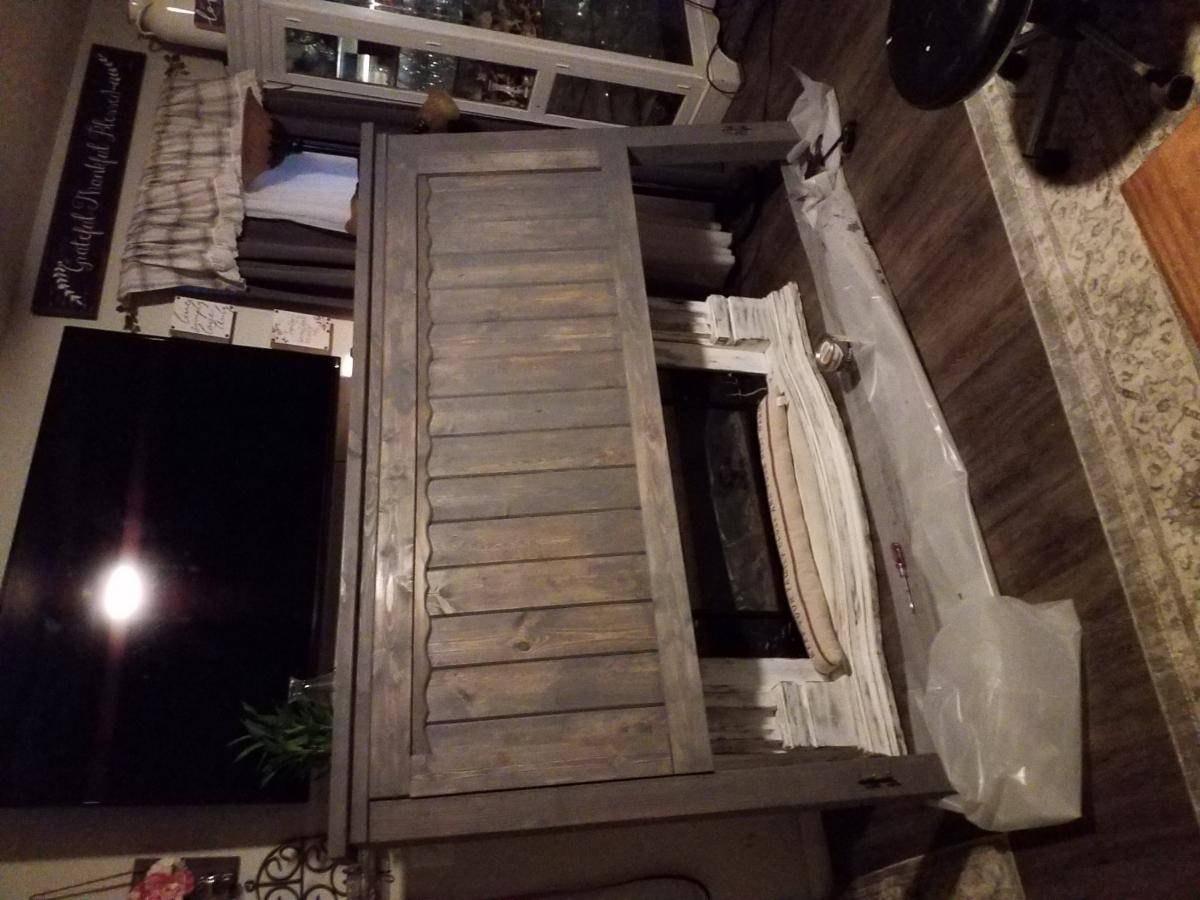
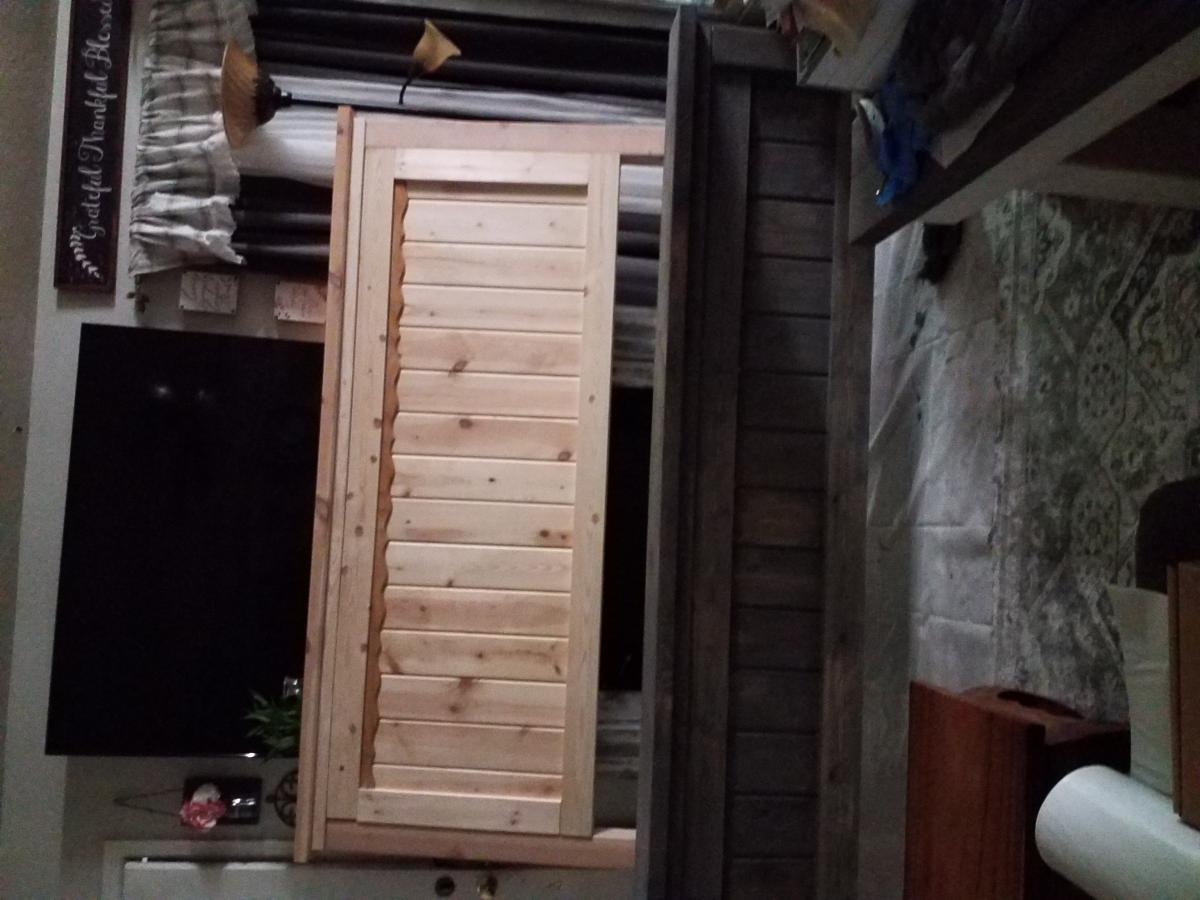
King Bed
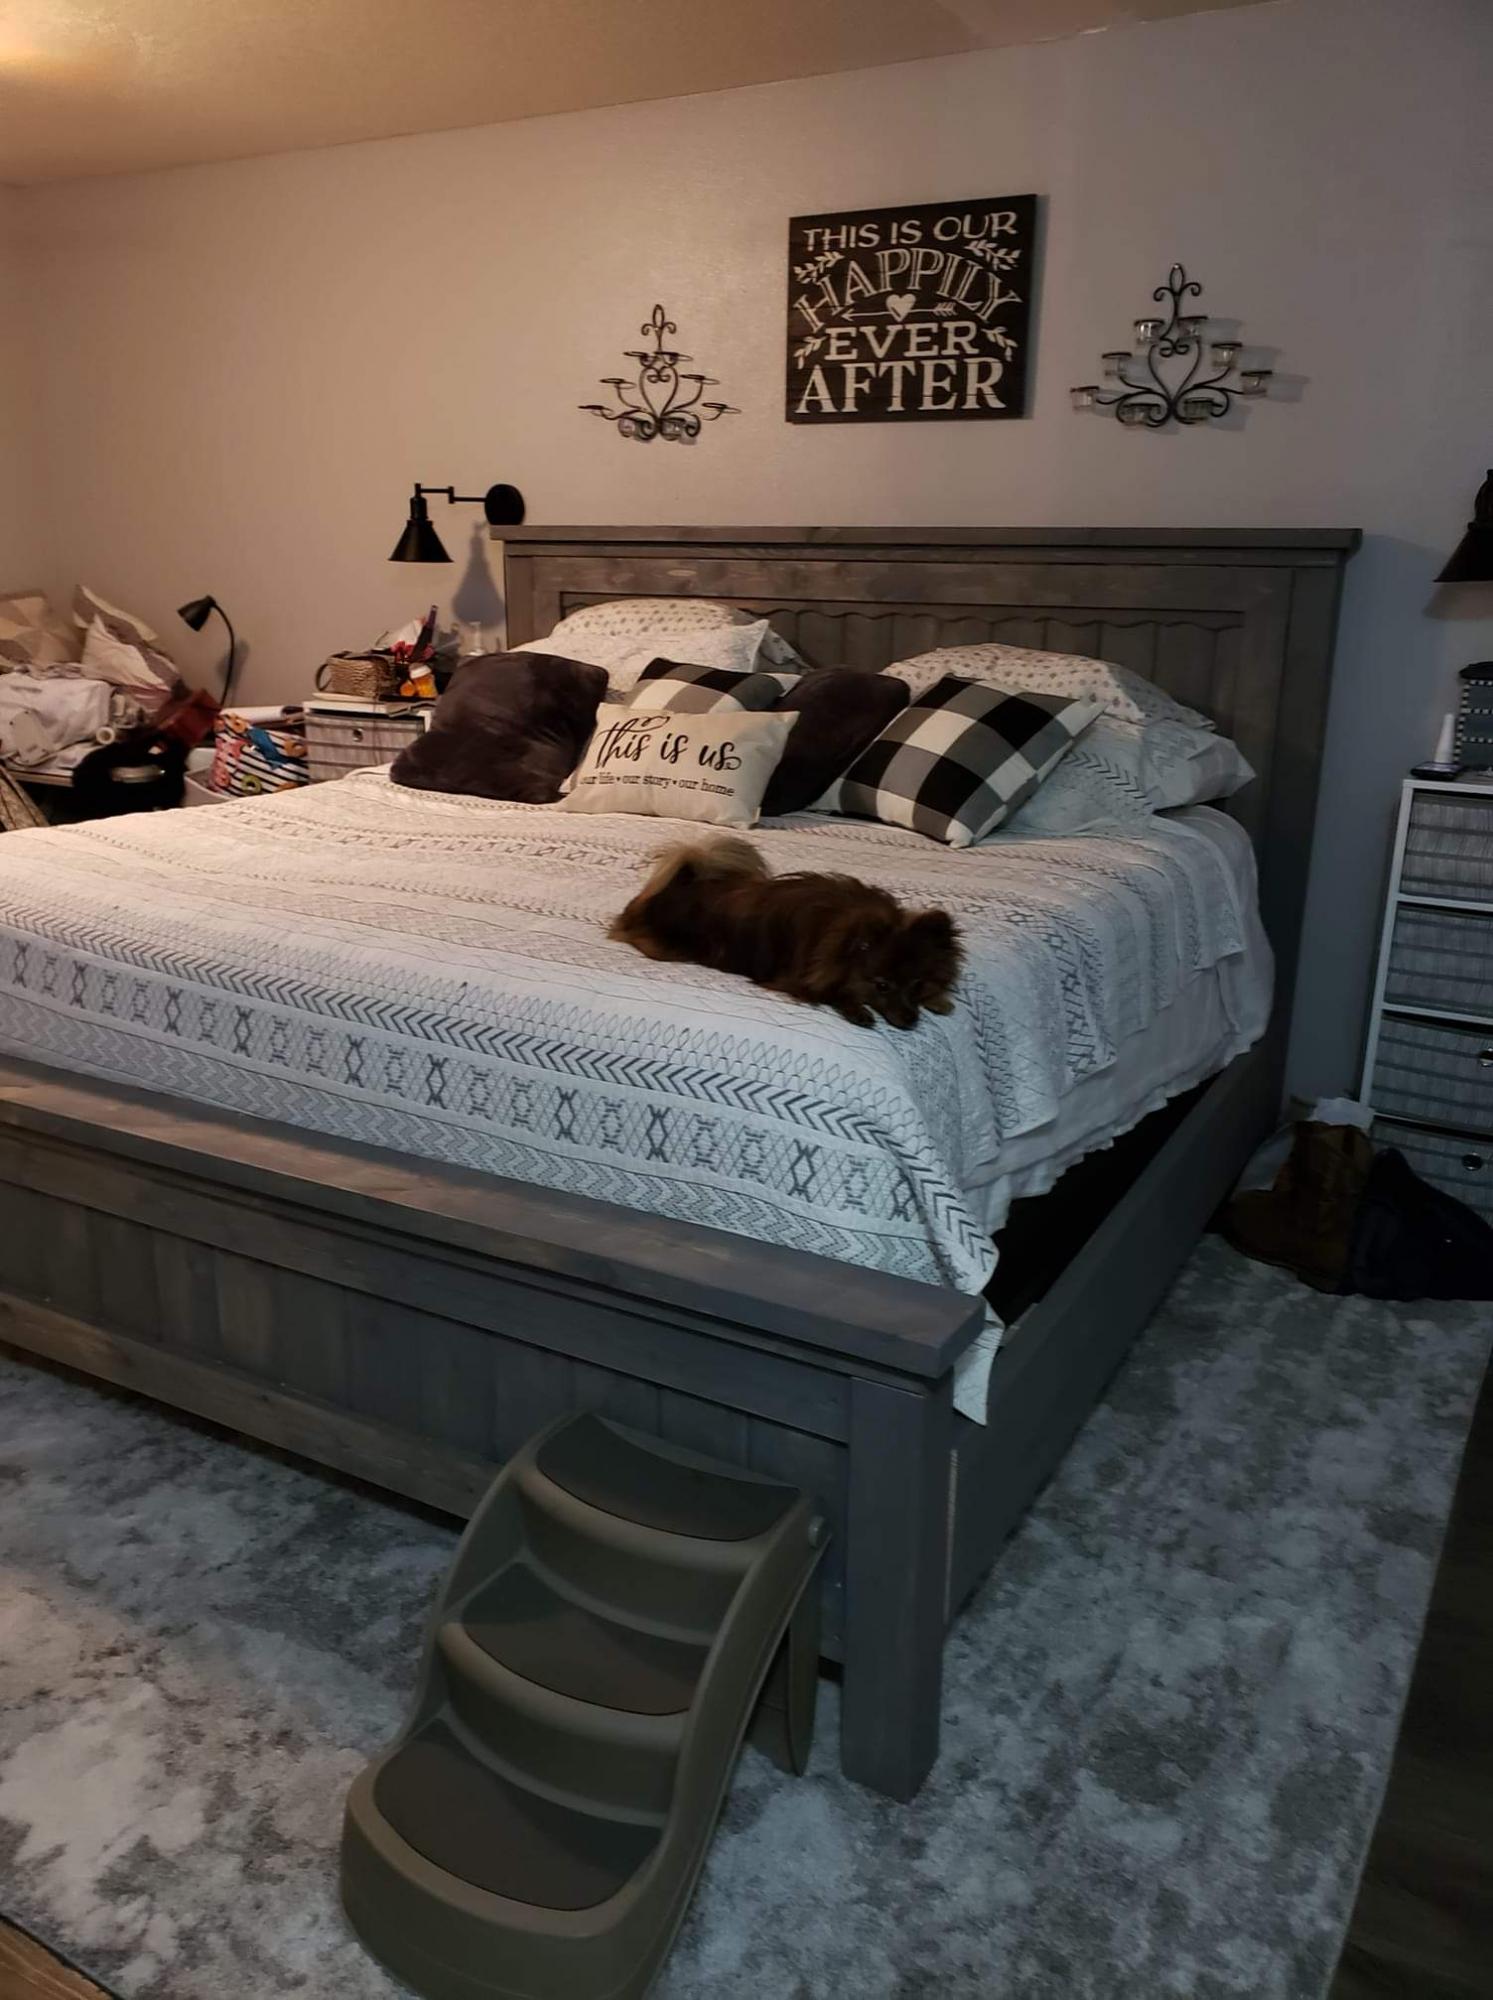
I built this using tongue n groove boards instead of 1x6's and it added some dimension to it. I also made it higher to allow for storage under. Turned out pretty good
Built from Plan(s)
Estimated Cost
250.00
Estimated Time Investment
Weekend Project (10-20 Hours)
Finish Used
Weathered Grey
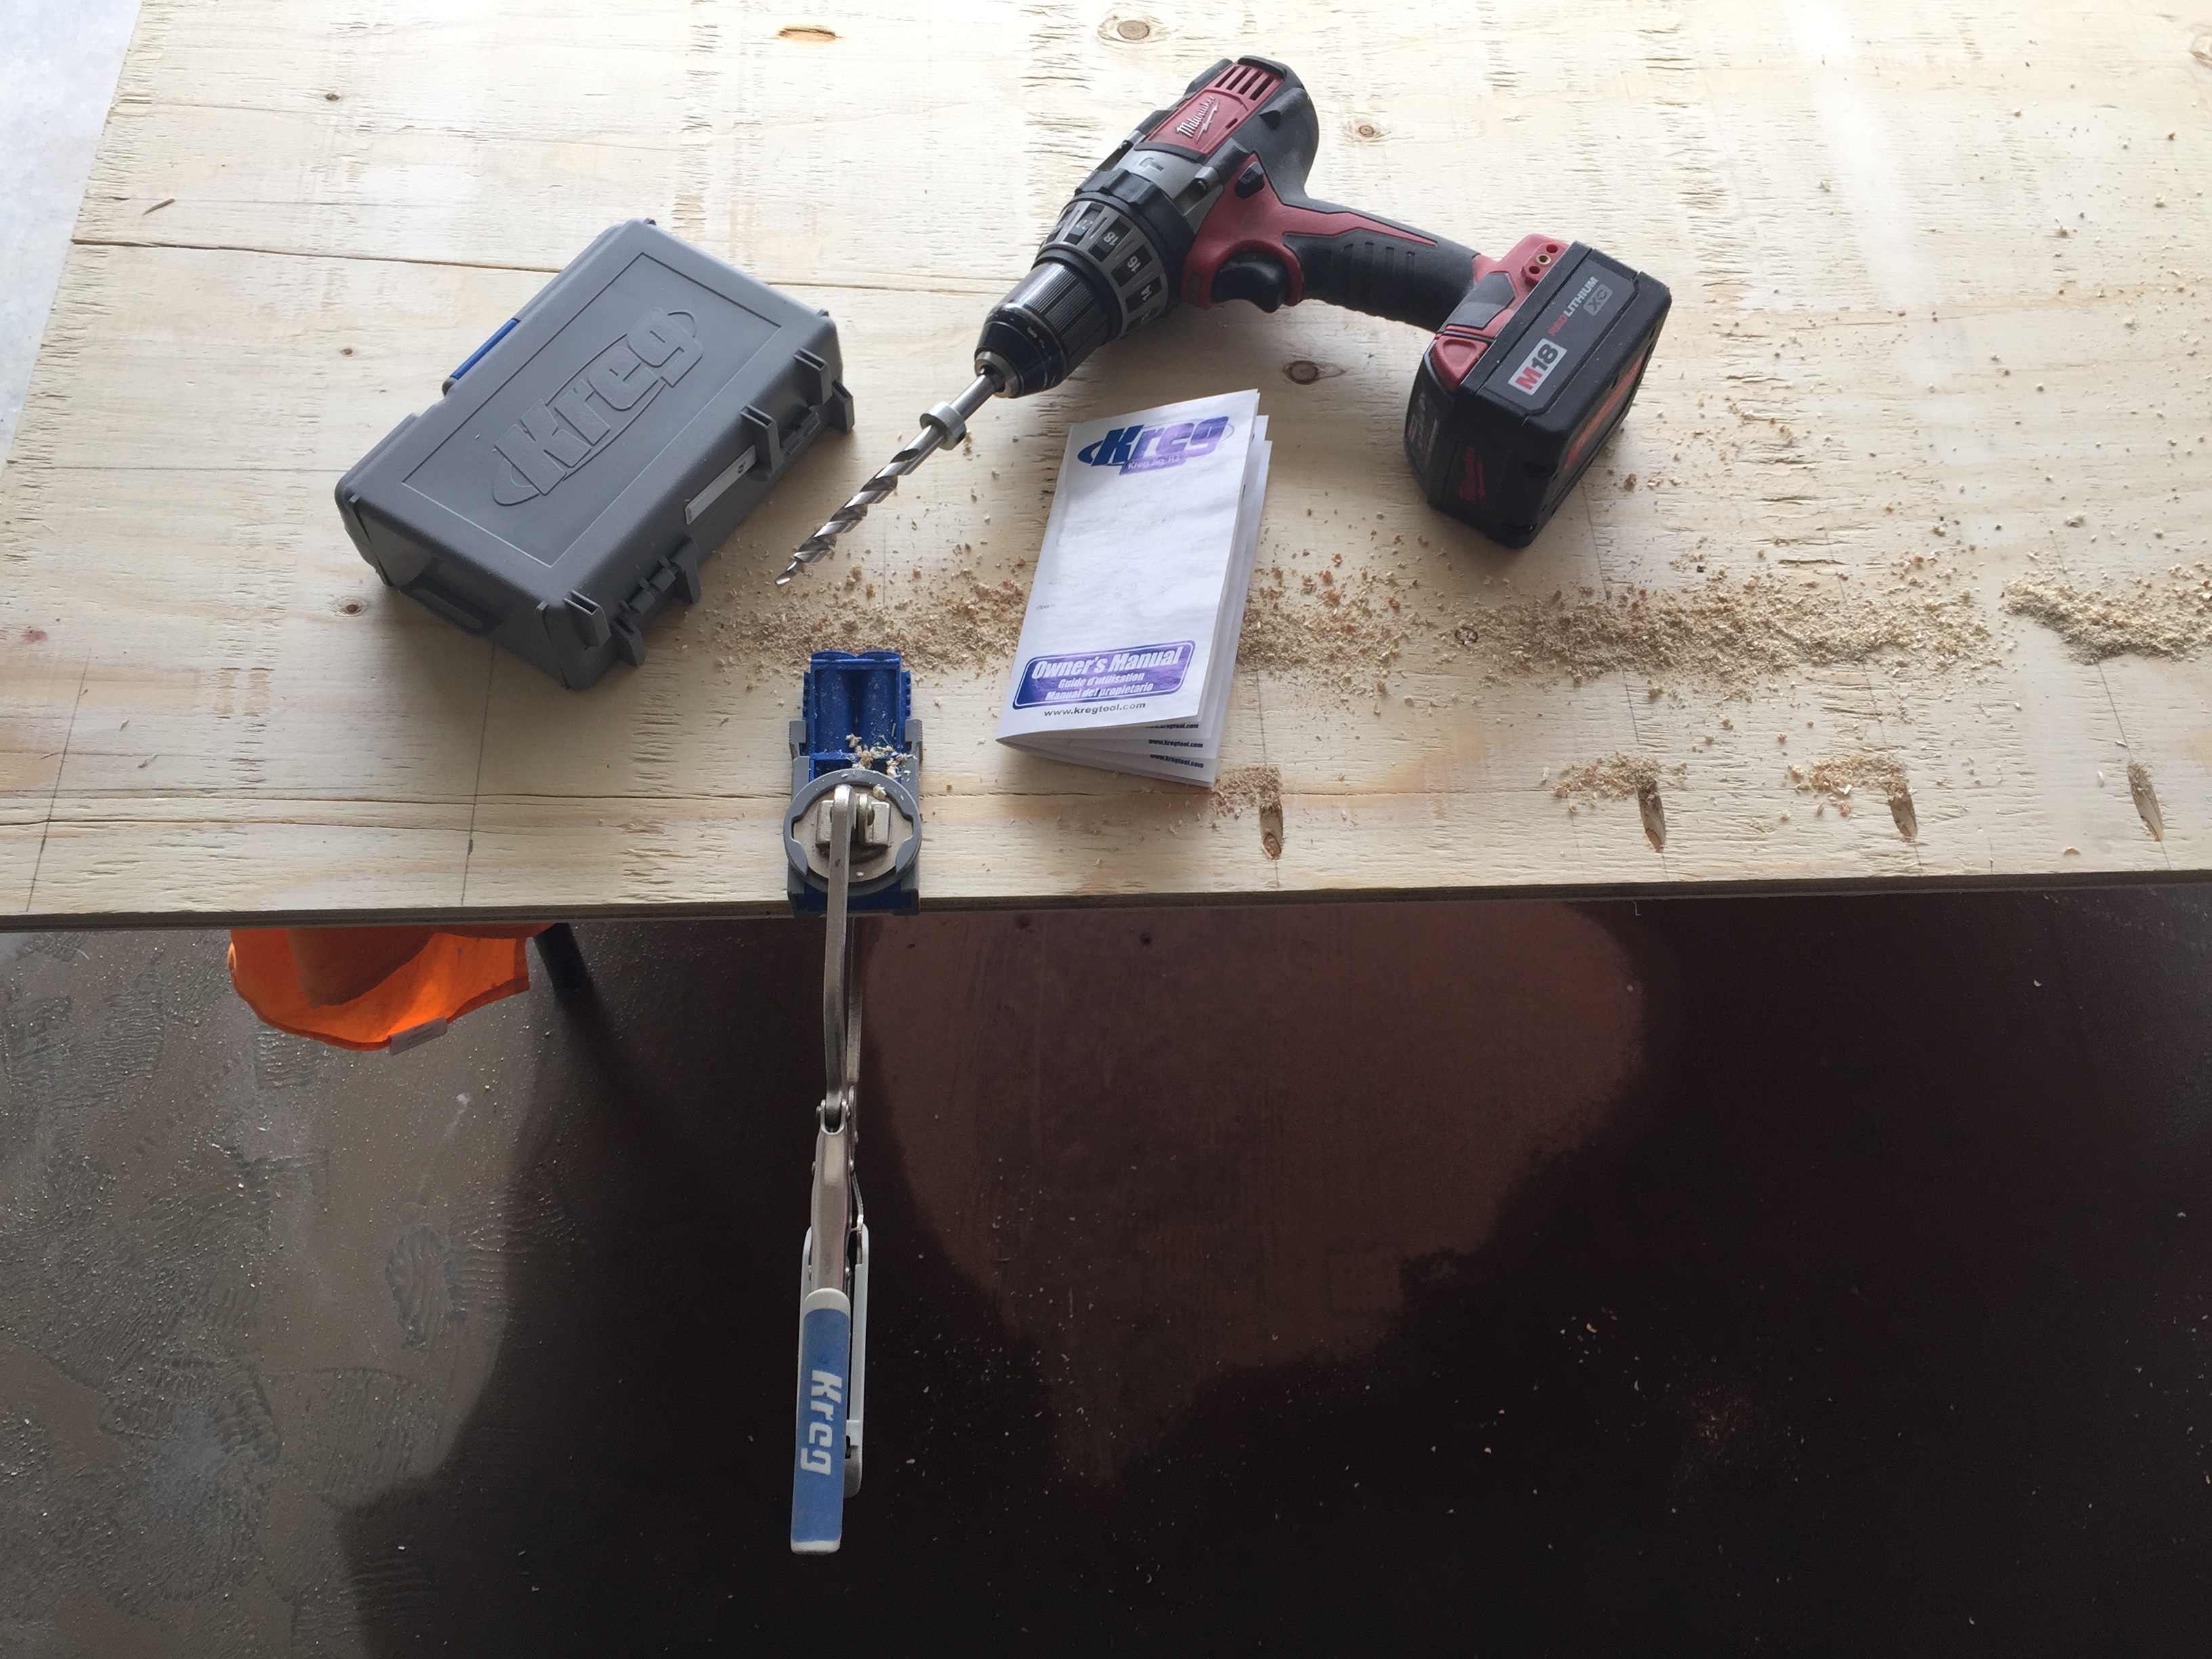
Recommended Skill Level
Beginner