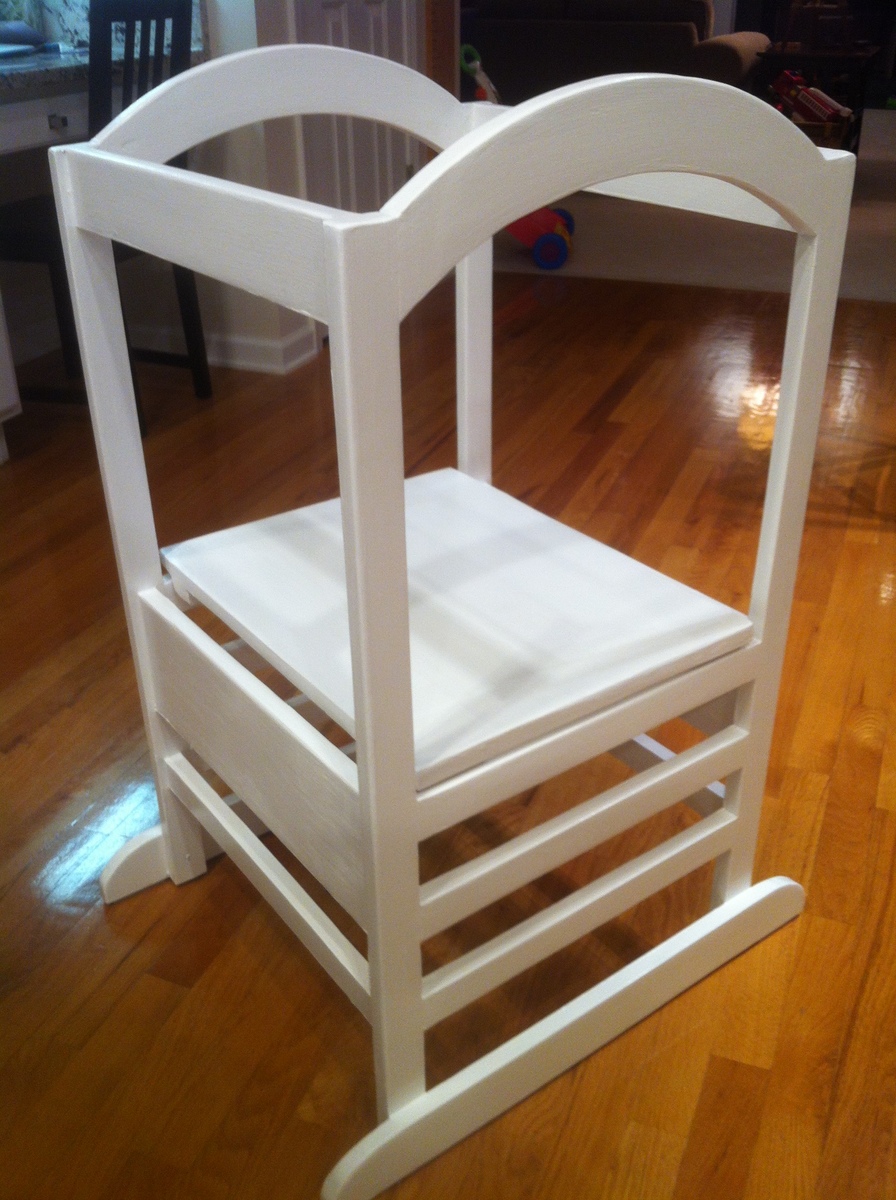
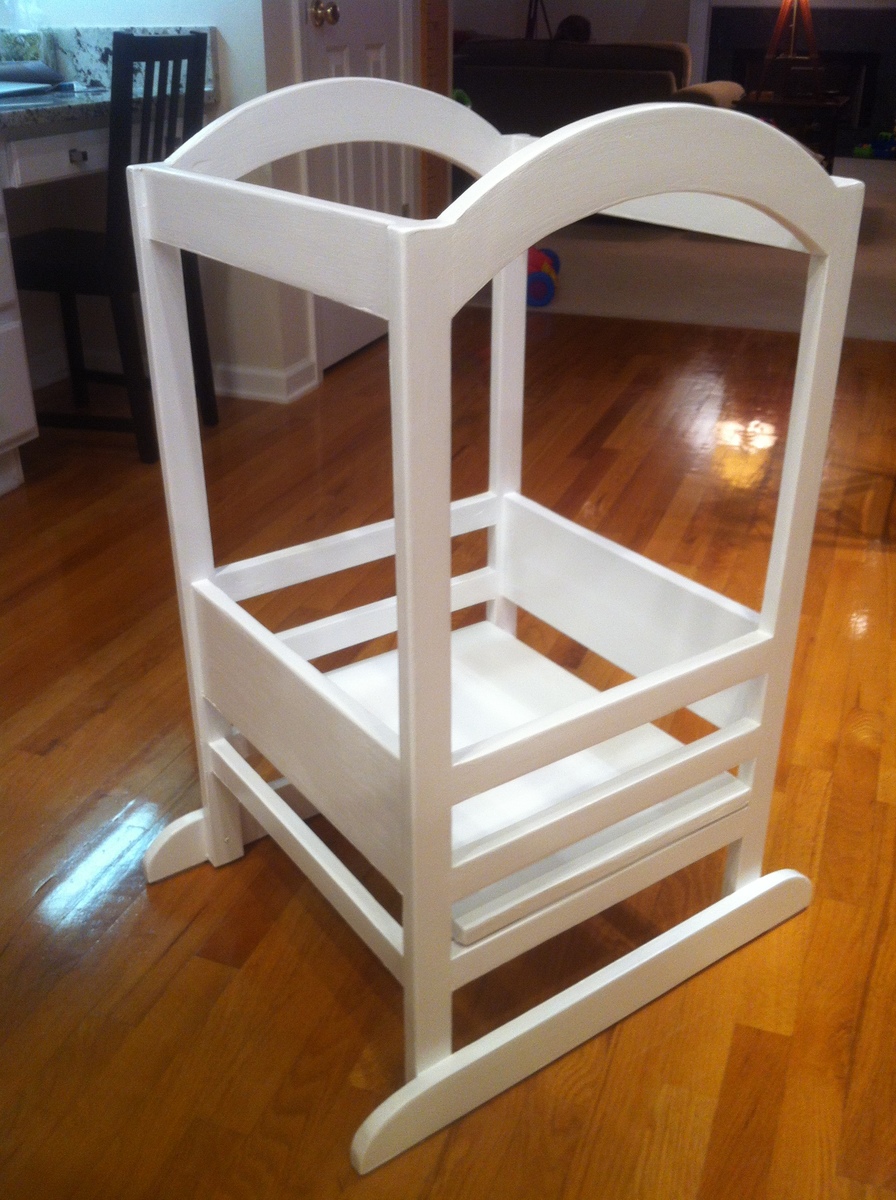
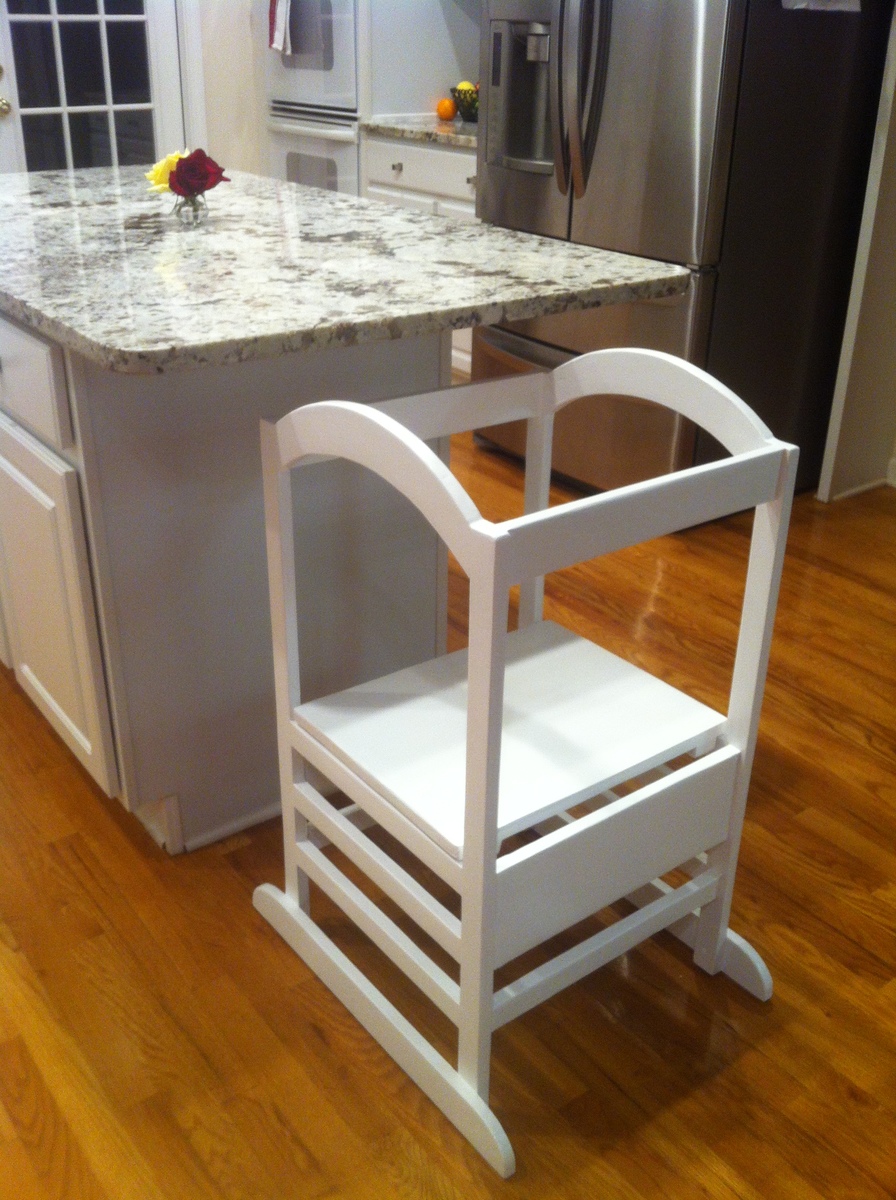
Wine Holder
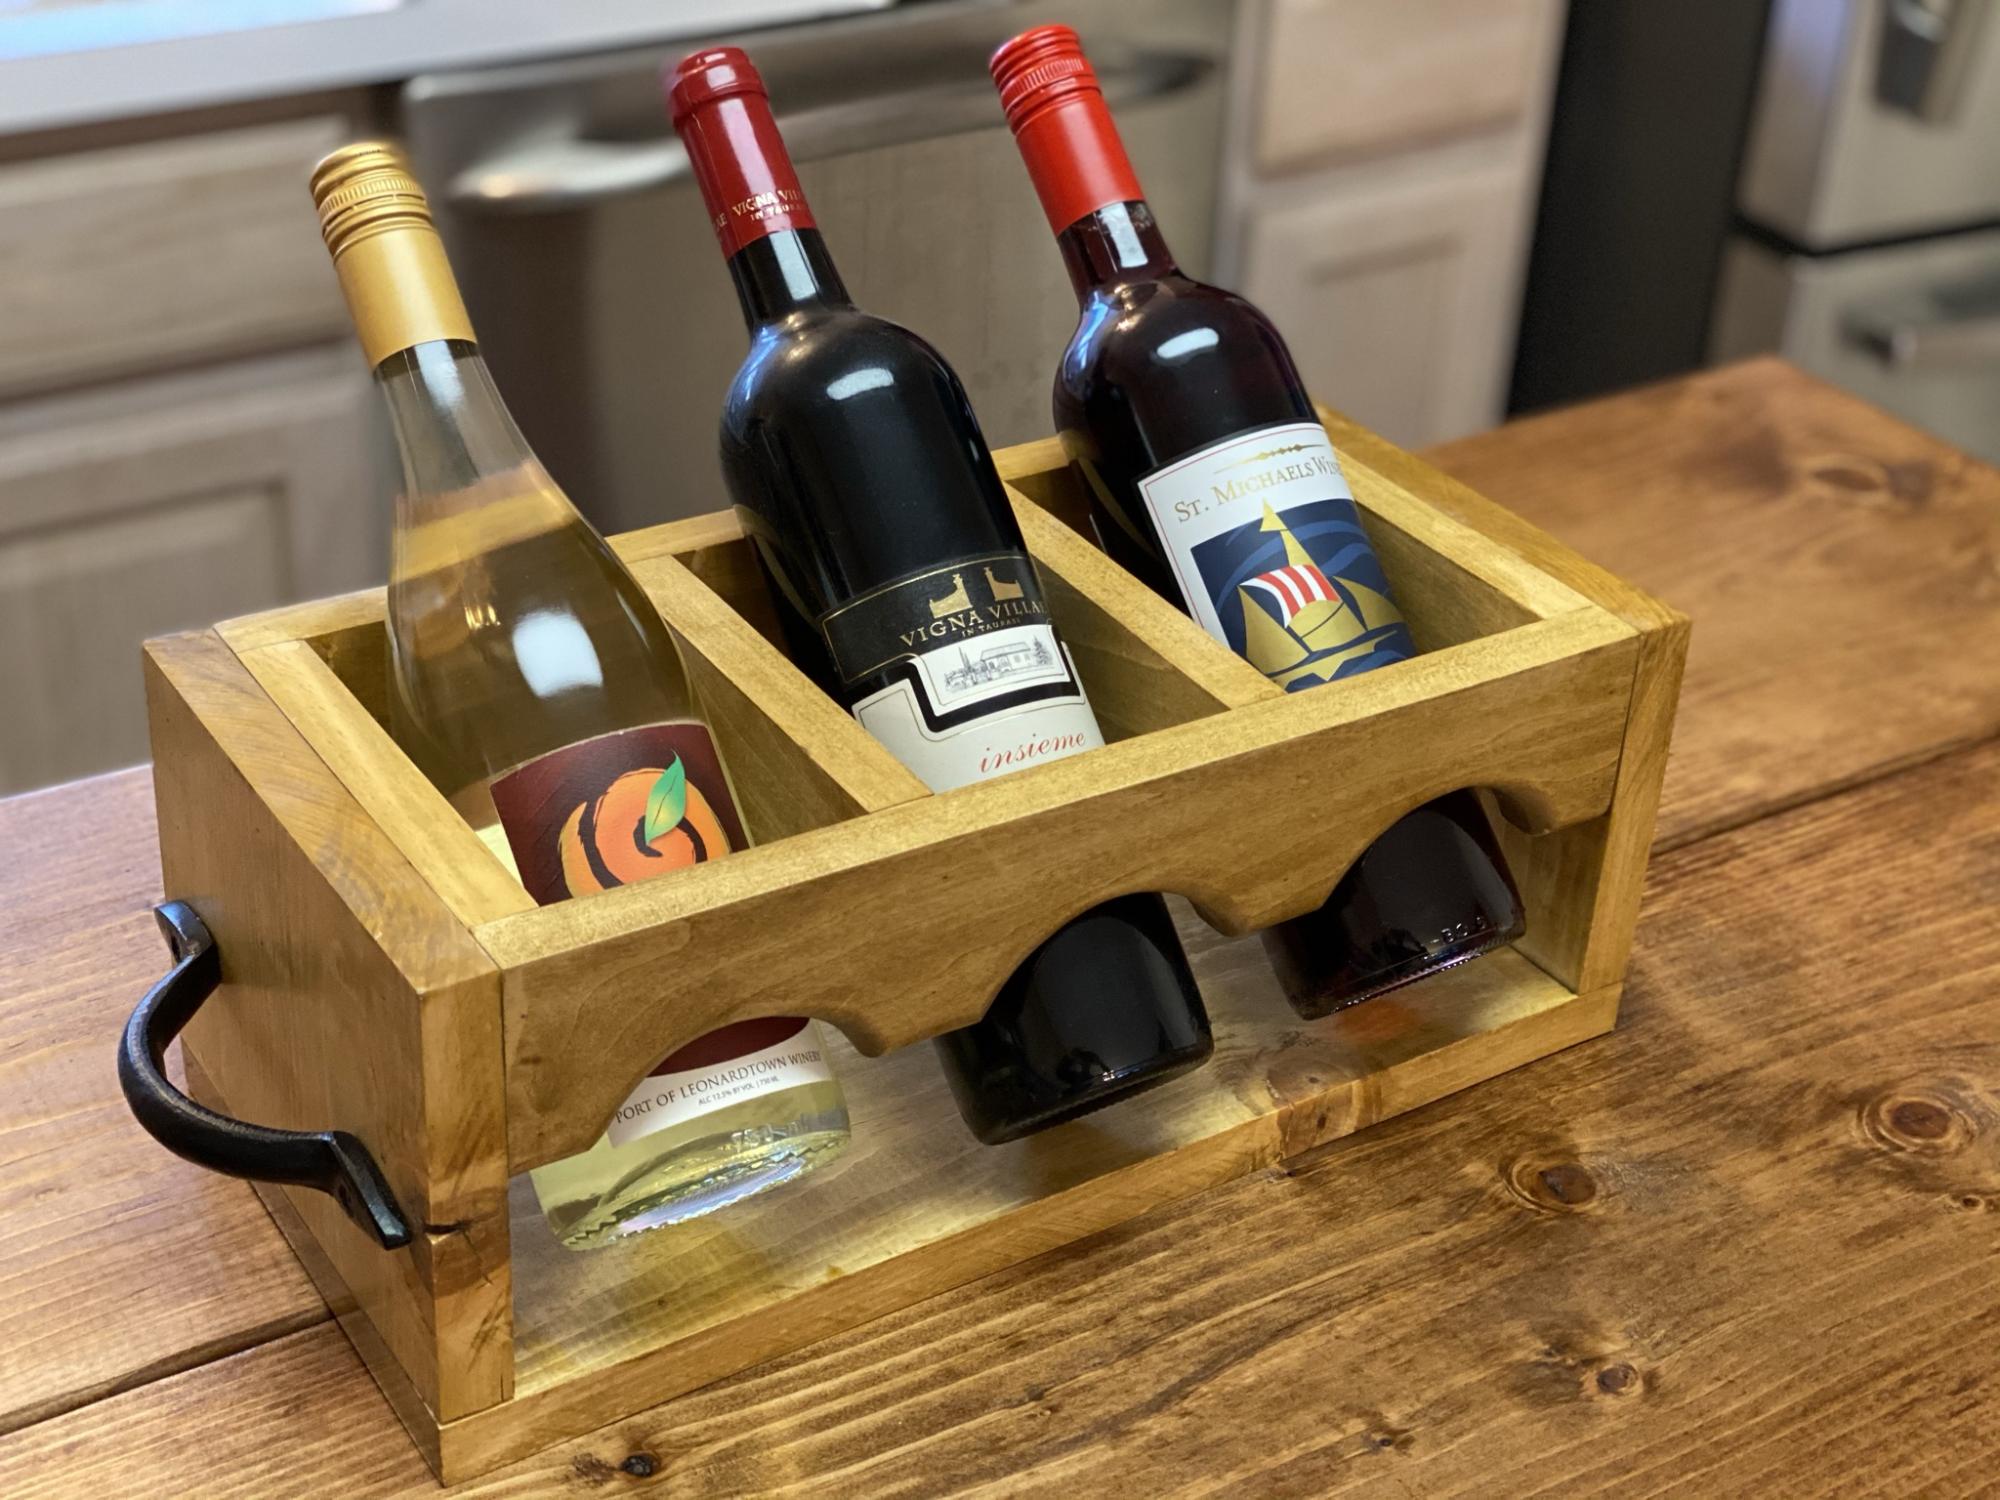
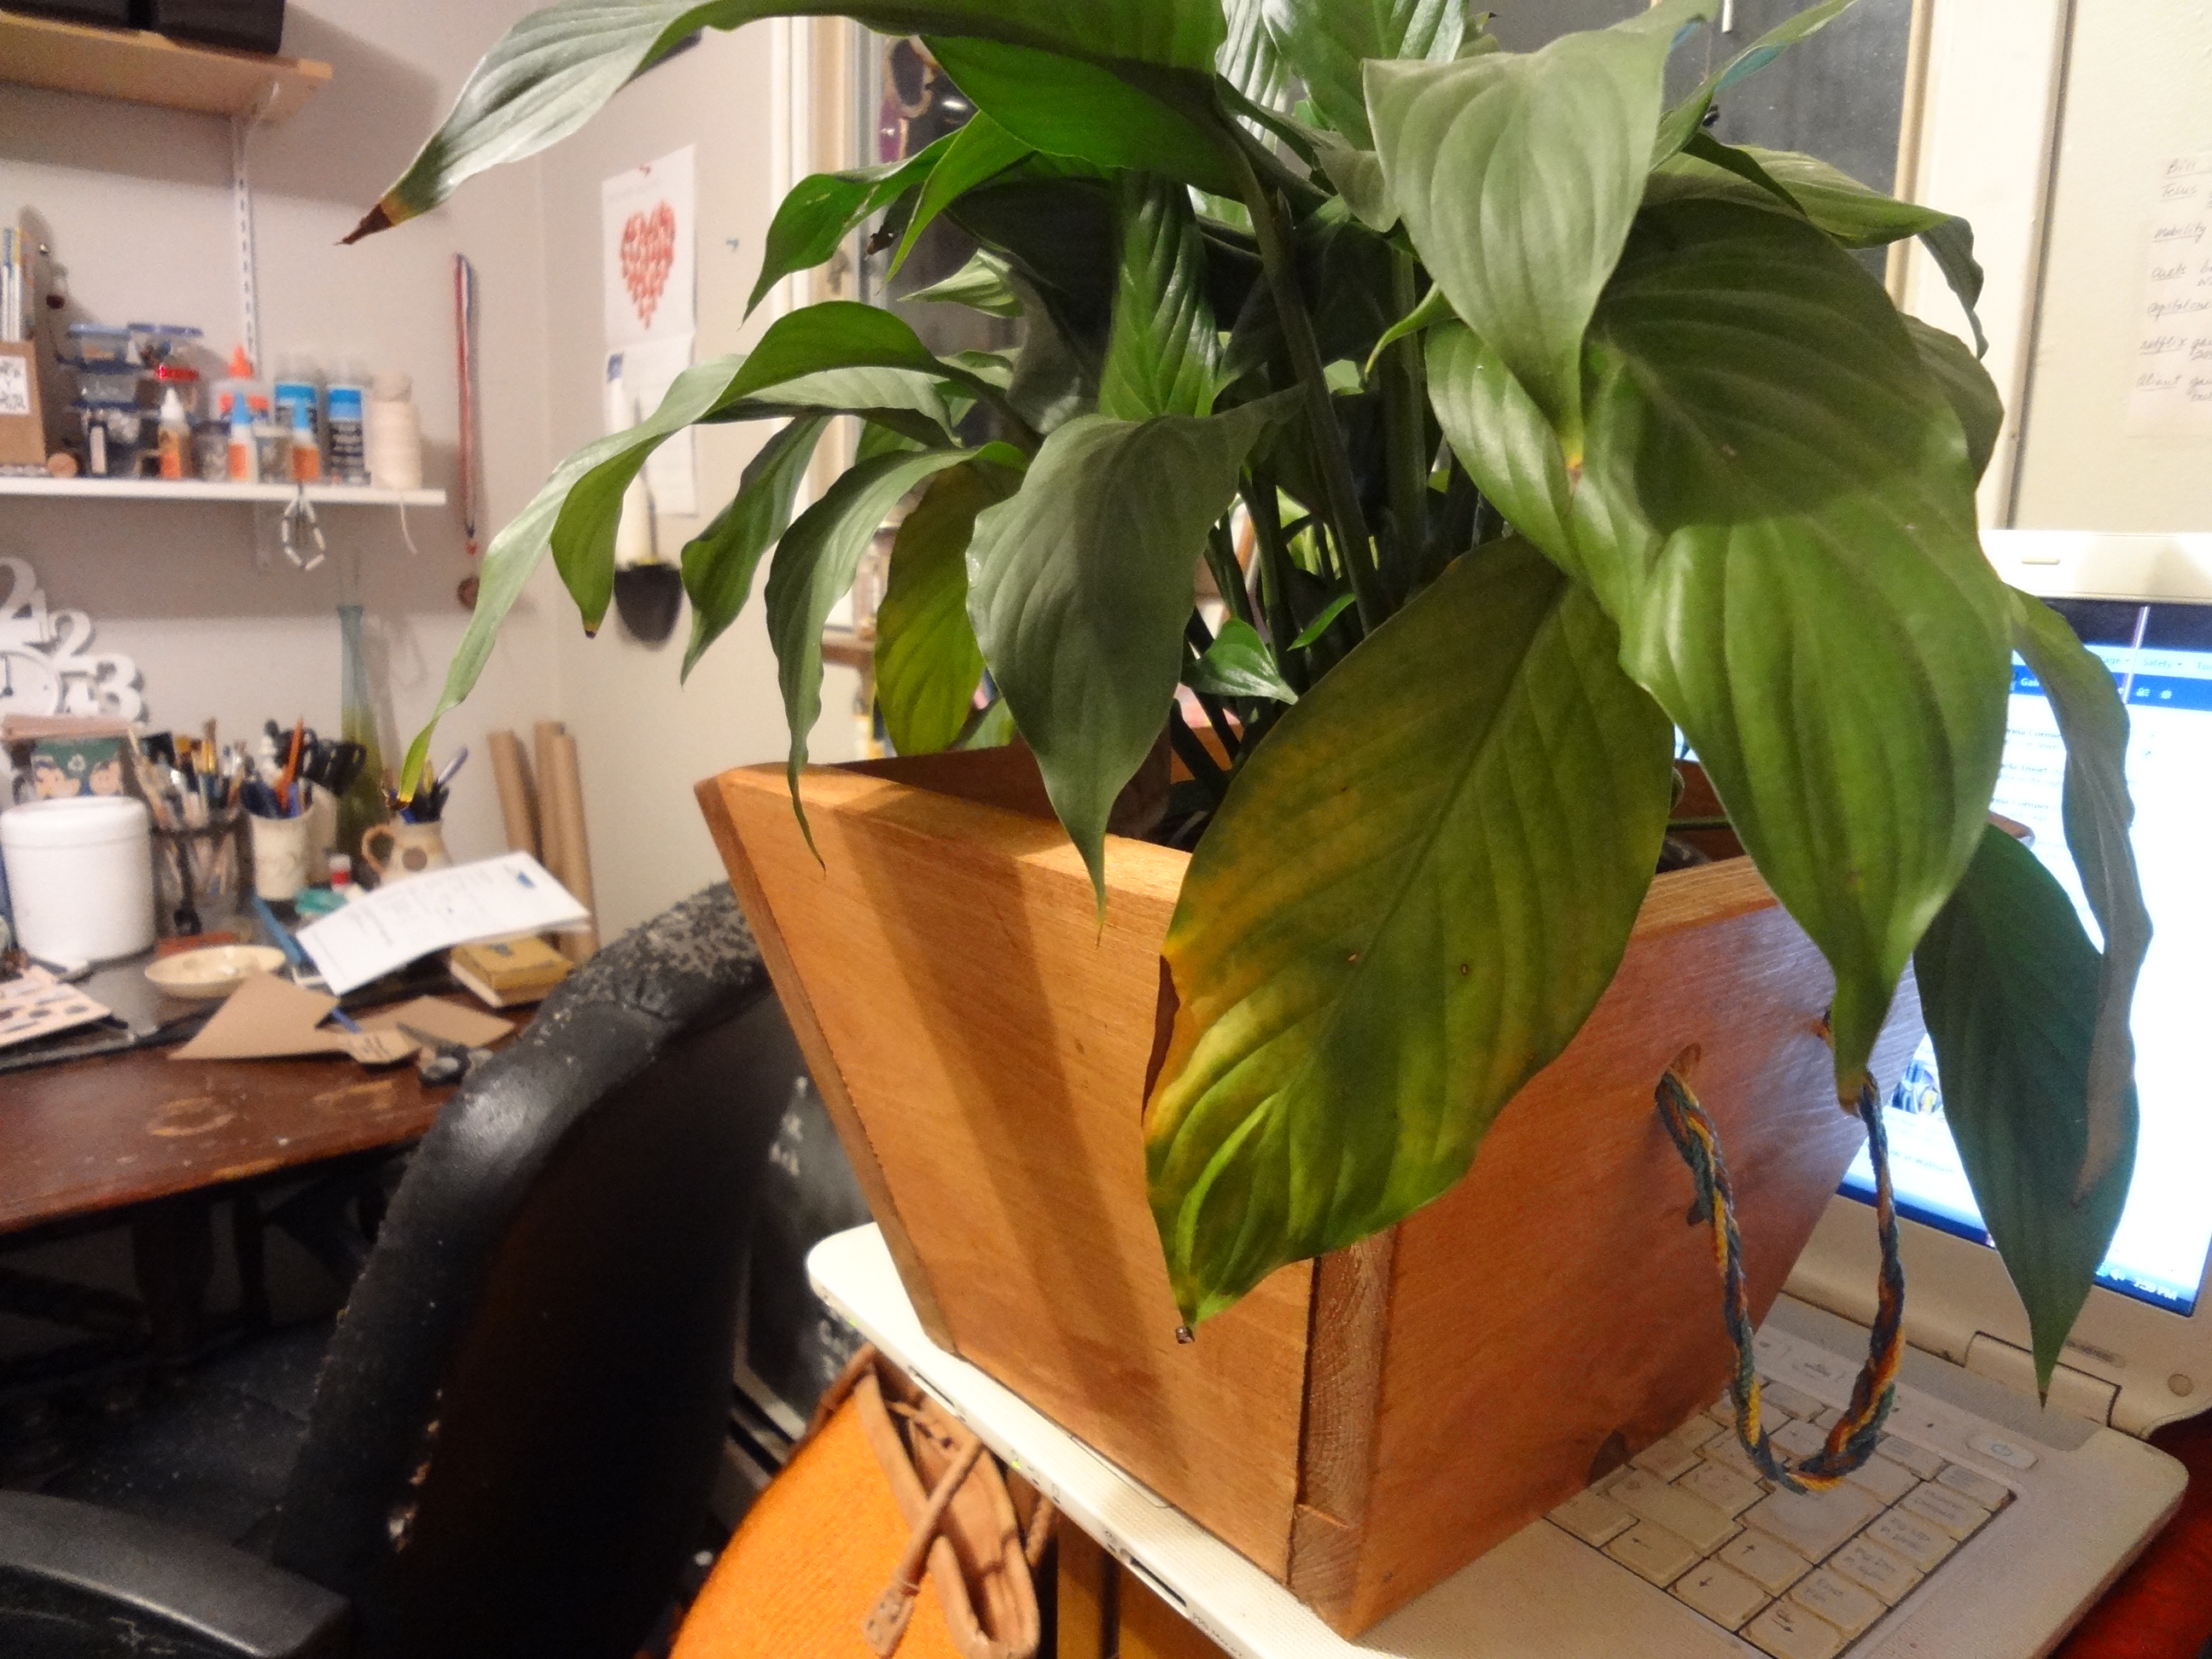
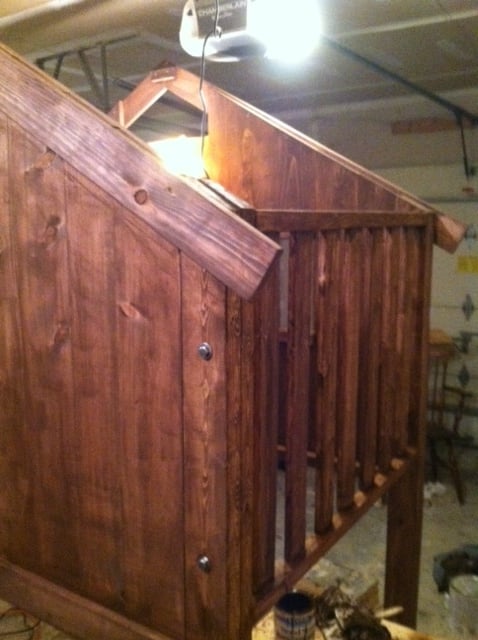
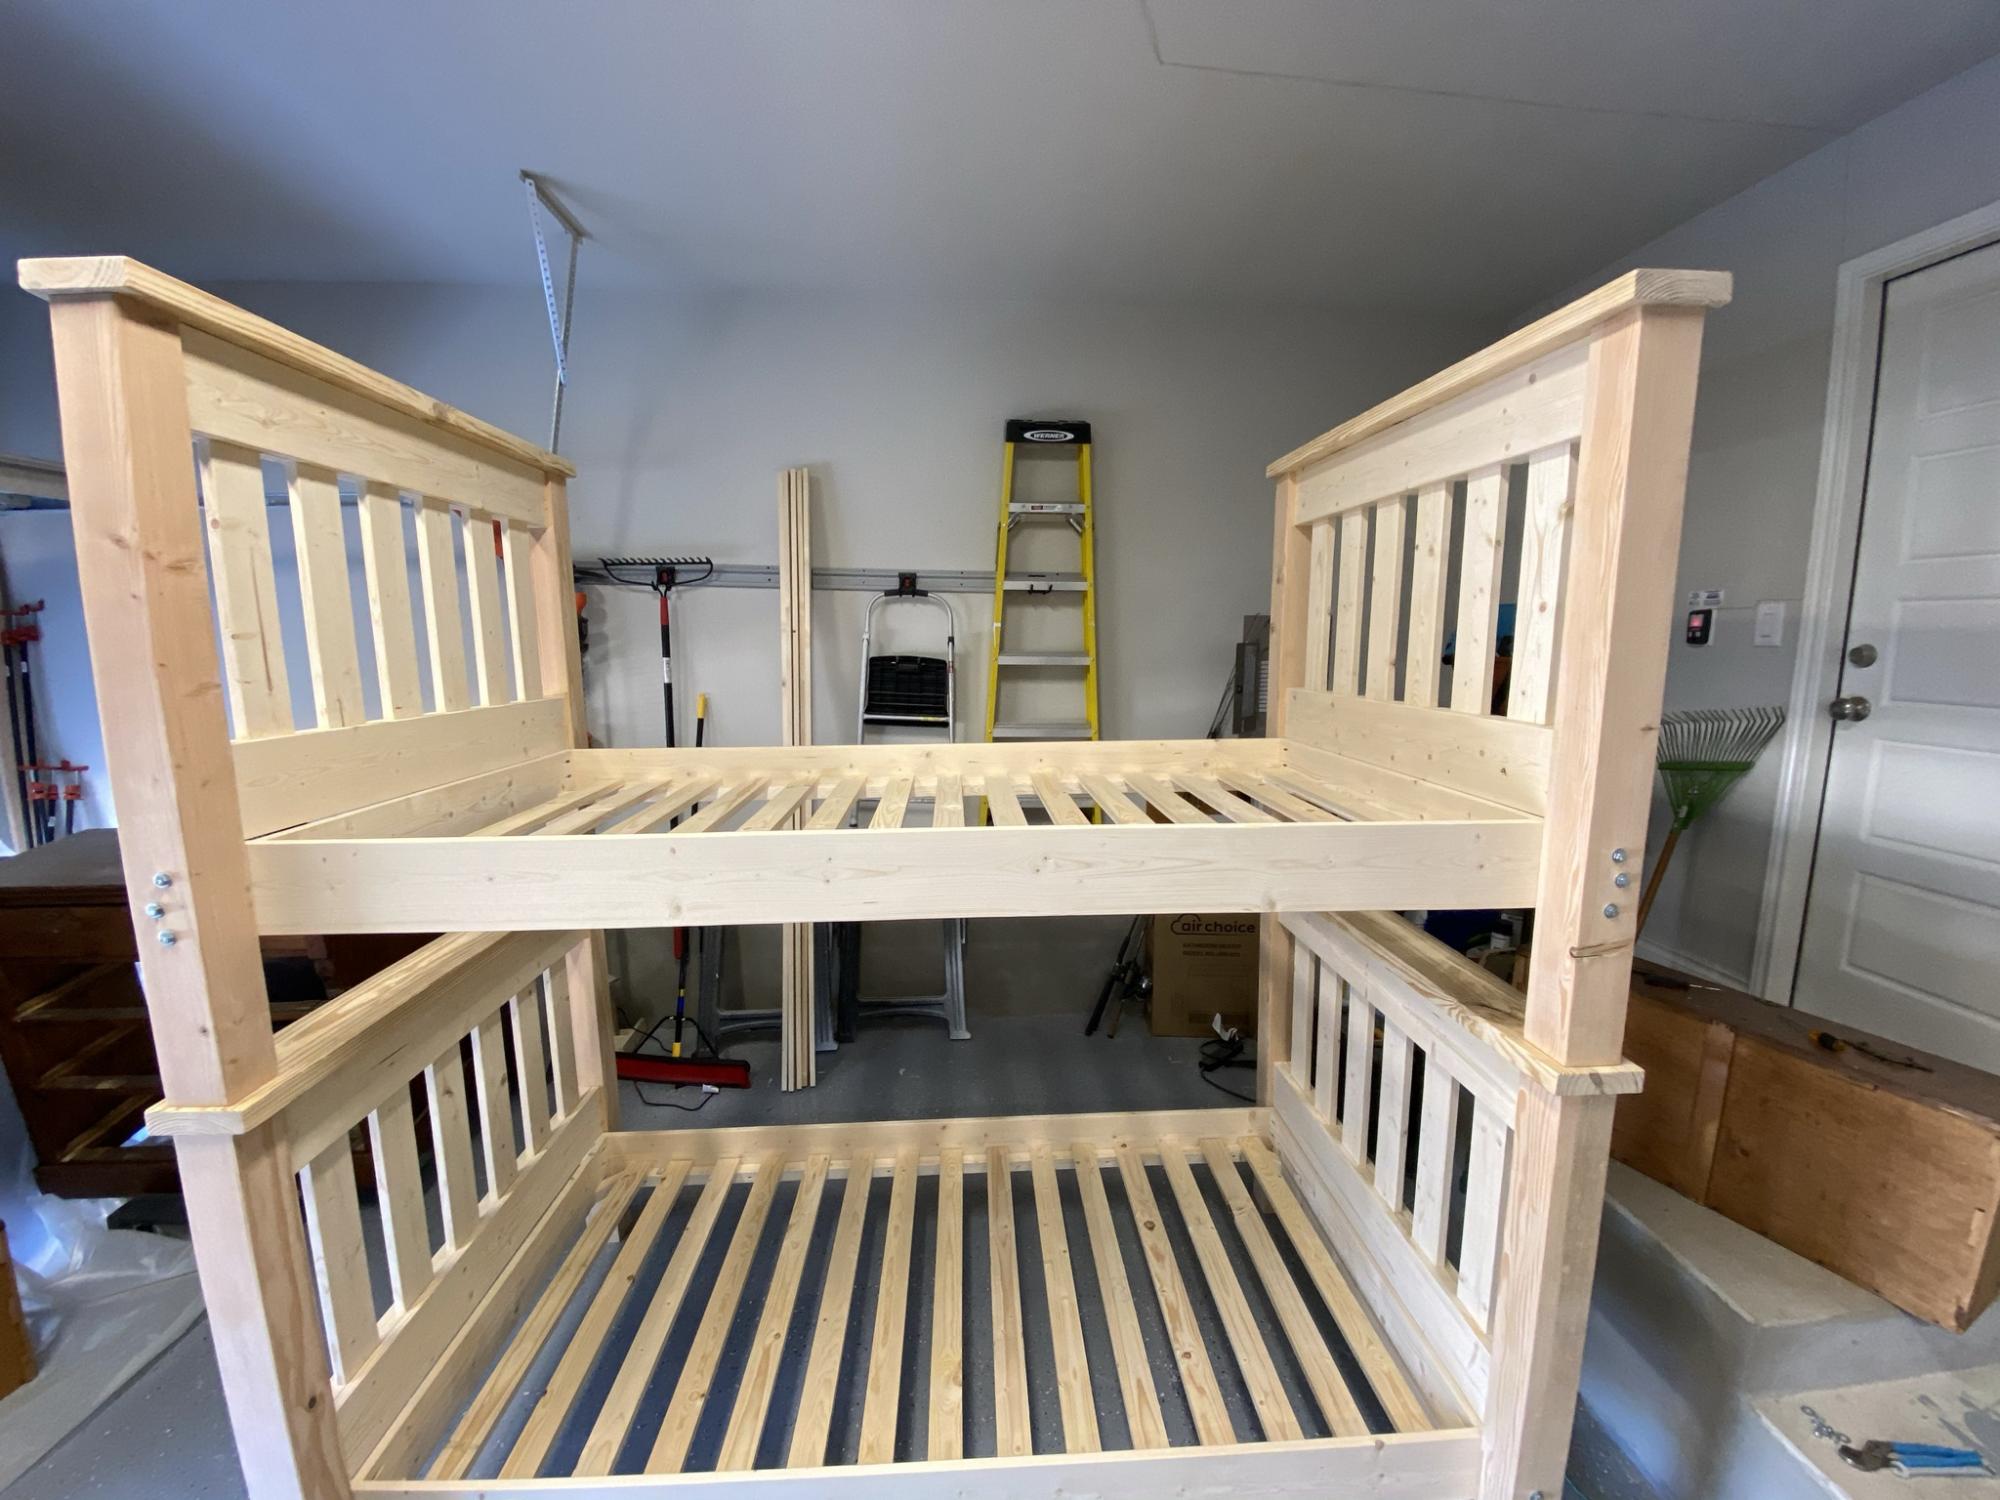
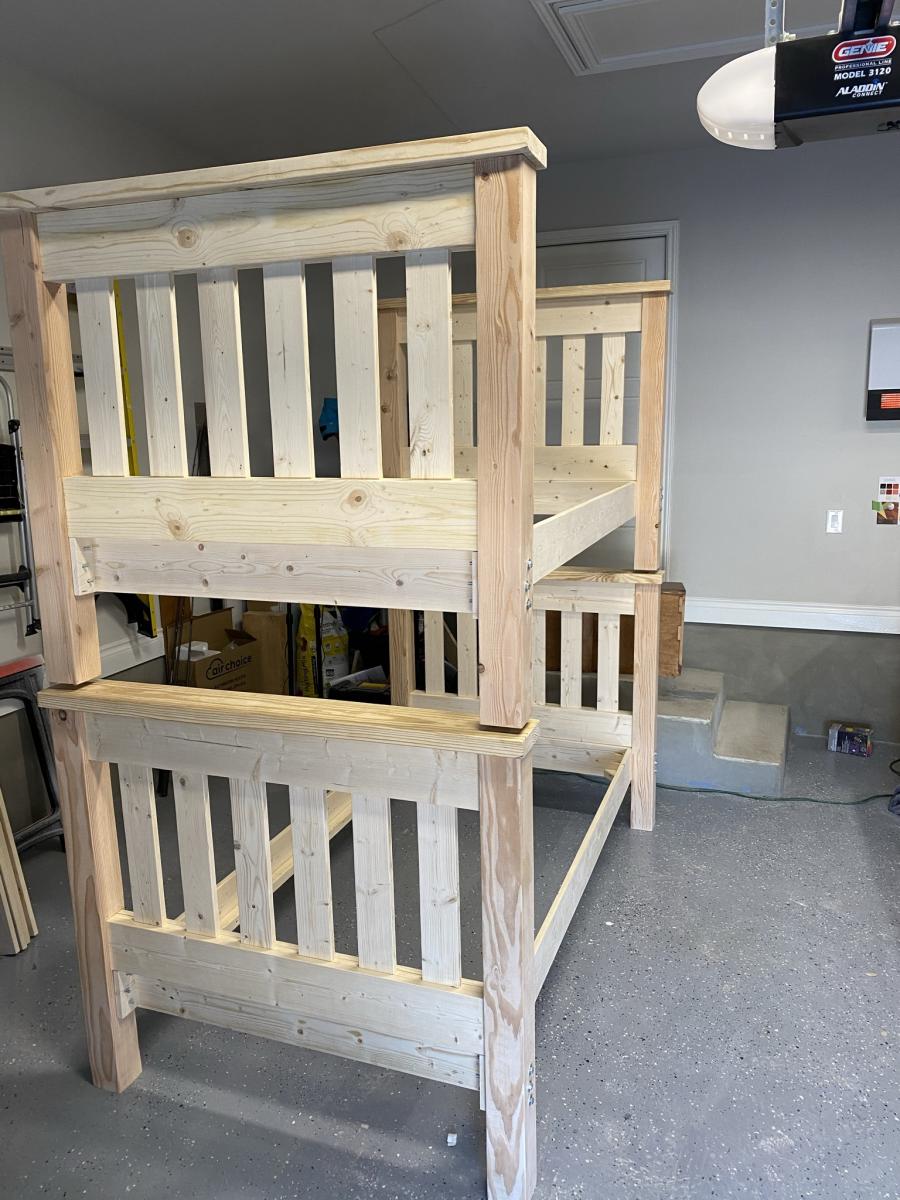
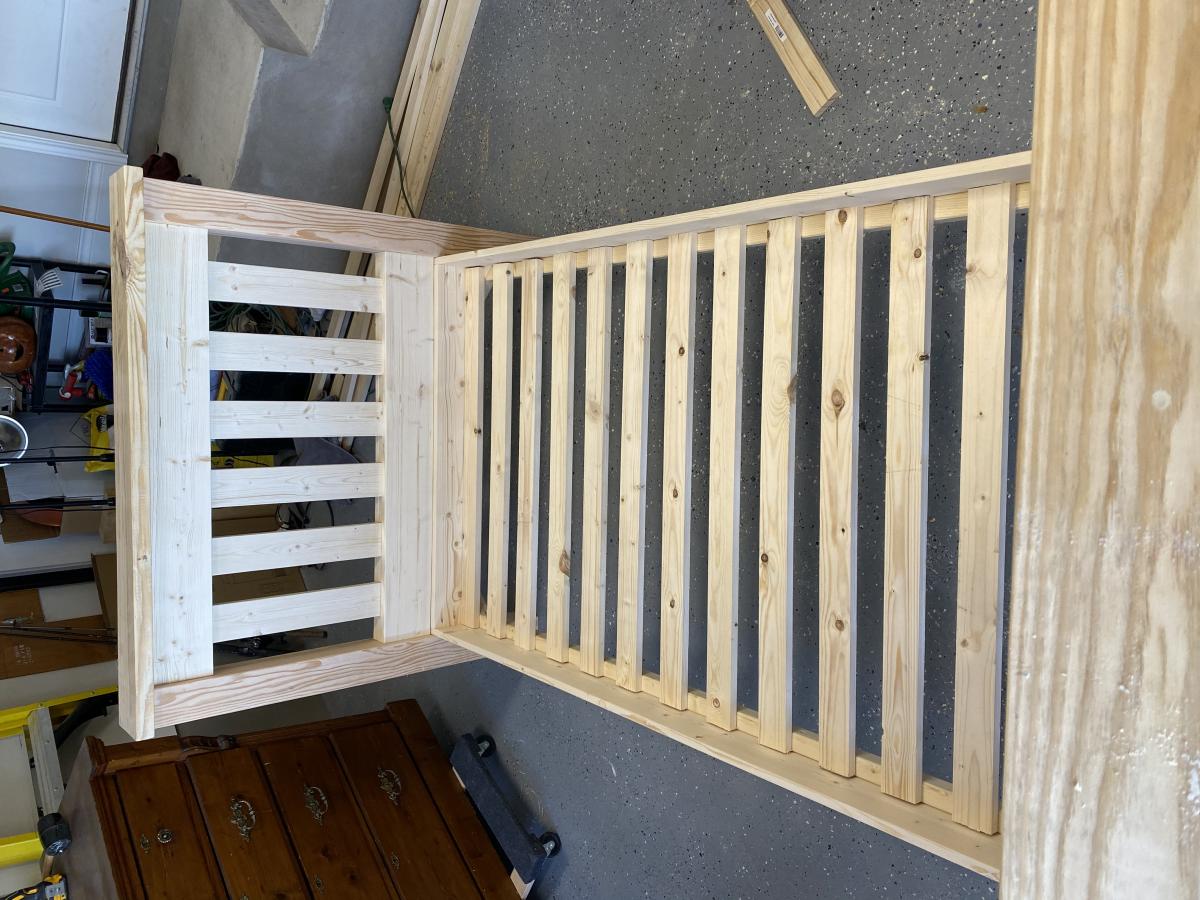
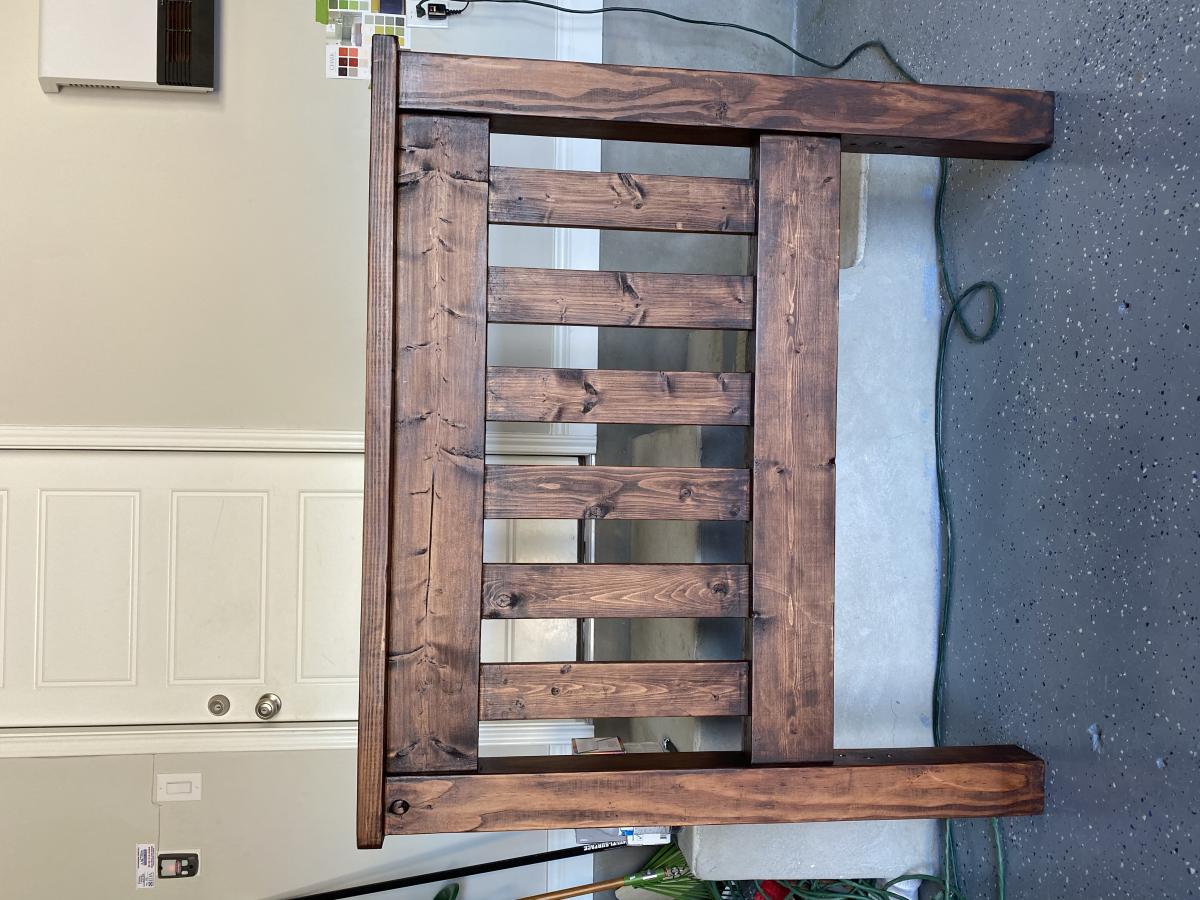
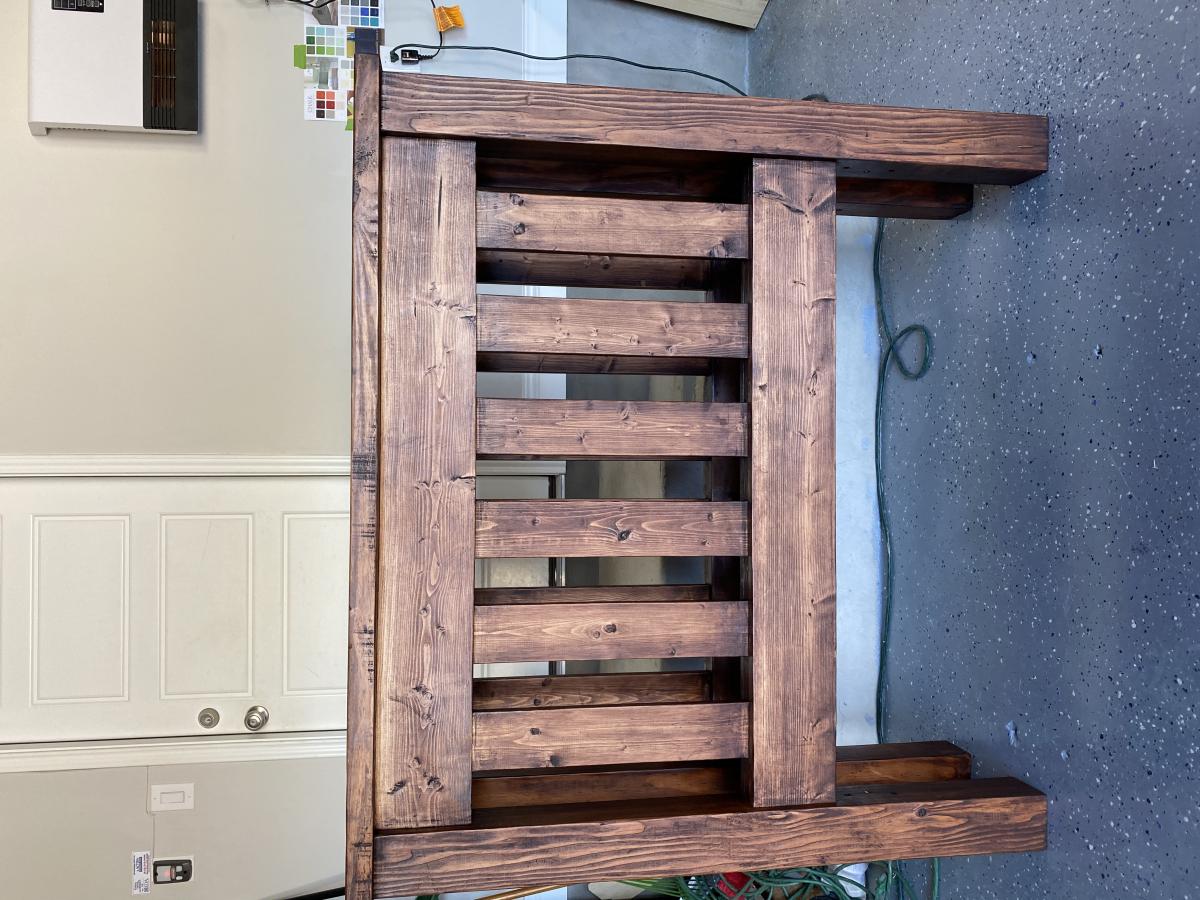
I made the wood wine holder as a Christmas gift for my mother-in-law. It's great! I modified the plans a bit by routing the curved edges with a roundover bit. It was a great project for some scrap Fir I had from a bed project.
I have hunted for the perfect dining room bench for my large family but they were either to poorly crafted to withstand my crew, to small, or to pricey. Then I found this site showed the farm house bench to my husband and he said, "Hey I can build that!" and build it he did. He changed a few things here and there but the overall finished bench is AMAZING, and I LOVE IT!!! Thanks Ana!
Followed the plans pretty close on this one.
Fri, 12/19/2014 - 17:34
I really love how this turned out. What stain did you use? Thanks!
I've started building the Triple Printers Console. I haven't quite decided on the color.
In reply to I really love how this turned by handmadewithash
Mon, 12/22/2014 - 18:19
The stain was Cabot's Dark Walnut wood stain.
I absolutely love my rendition of the Fancy X Farmhouse Table (and bench). I took Ana's plans and combined them with some of the details from charmingimperfections.com to create the vision in my mind of exactly what i wanted. The build was not bad at all but the Kreg Jig is a MUST have tool! This was my frst experience with the KREG jig and i am now looking forward to many more DIY Builds! :)
My first end tables, used the Rustic x plan except for the bottom shelf. I used a white chalky paint, with a brown wax to give it the rustic look, and stained the top walnut stain. Working on the coffee table to finish the set.
I purchased a harvest table from a local store that sells only solid wood furniture. The store had the option of purchasing a bench. I decided that I could save some cash and make the harvest bench myself.
For details, check out my blog - http://www.woodworkingfourdummies.com/blog/harvest-bench
Cheers,
Ian
My second ever project my wife said I could do followed your plans are use pocket hose after asking about using them and you sent me a link on how to use it. I did not use the X instead my wife wanted me to Make a cross so it would go with the crosses in our living room thanks for the plans.
This took me an afternoon because I have never used a compound mitre saw before so I was teaching myself through trial & error.
It was really fun to try and I will definitly be making more!
I used 1x6 cypress wood for the top as well as middle and bottom shelves. This wood was given to me from my in-laws and came from an old corn crib that was torn down on their farm. The remaining 2x2's, 2x4's, corner brackets and screws were picked up as used or broken pieces from a local Habitat for Humanity Re-Store. I also picked up the tung oil I finished with from the same place. The pics show the various stages of build from the initial raw pieces that had been planed/sanded to using Hillary's tea and vinegar oxidation; after a good bit of tung oil was used; finally right before I gave it away as a Christmas gift. I had never worked with old cypress wood previously and was very impressed with how it accepted the oxidation (nice and light) as well as the oil finish. I preserved the old nail holes in the wood as much as possible and you might even notice I left some the white paint from the old corn crib that was on the end of one piece. Great plans - fun little project!
We struggled with the angles because we made the table bigger than this tutorial suggests but all in all, awesome build.
Thanks so much for the plans to build the sweet pea bunk bed.
It was just the ticket.
My little girl loves it, we used glitter paint and used some to replicate the stars and night sky on the lower bunk ceiling
We made a little ladder only because of space (or lack of) and will make the shutters and drawers at a later date.
Many thanks.
Dan, Alena and Leonie
I duplicated this plan from Ann White's Smiling Mudroom Plan. My space was not as deep and was longer than the original plans, so we modified the plans to fit our space. . I liked the idea of a thicker seat that another person used, so we incorporated that. Materials cost us about $200 to make it. Thank you for the inspiration. I love it!
Tue, 02/19/2013 - 16:36
This is a beautiful, yet practical build. The empty space pictured is just begging to be filled. I especially like the wall color and the trim just above the seats that is repeated with the coat hangers. Great work - love it!
Tue, 02/19/2013 - 18:52
Phenomenal !!! Looks great. LOVE the colours too. what wood did you use?
Fun build. Took me a few weeks but enjoyed it. Gave a ton of storage for my sons room.
Hubby and I finished our couples project. We combined the plans from the classic storage bed and the farmhouse headboard design. I love the storage aspect and the farmhouse style. We also converted the measurements to a california king size. The build is really sturdy, I know it will last the test of time.
Wed, 02/03/2021 - 10:26
Great job on the modifications, love all the storage too!
From the club house plans. I did go ahead kreg jig all the panels on the front and back walls.
All the art work in the sign and on the steps i used a dremel and dug out and painted everything.
Came out beautiful.
Made so was easy to transports in parts to get up and down stairs in 8 pieces.
Tue, 02/26/2013 - 19:36
This is awesome! My son absolutely loves it, and looks like this is what we will by trying to re-create!
I built this as a Christmas gift. I used Minwax honey oak stain for the top and bottom shelf.
My first Ana project! Different dimension and no drawers but still based off the original plans. Love it!
My first woodworking project since building a mug tree in school (I was about 12). This project started in the holiday break after I received a Kreg Jig as a gift, and this seemed like a good first project to tackle. We have a little boy about 20 months old who LOVES to help out, needed something more sturdy than standing on a chair, and this fit the bill perfectly.
I modified the design very slightly to ensure that the tower fits neatly under our kitchen island so that it stows mostly out of the way. That necessitated removing one of the "levels", and altering the dimensions somewhat to keep it proportional.
The biggest challenge of all was painting at the end! Made the mistake of using a spray can first, which made the wood fuzzy. So, sanded it all again, added primer (originally it was black), and then a couple of layers of white semi-gloss/enamel. Need to improve my painting technique to avoid brush marks in the future.
I made this little tool caddy in one afternoon from some 1 by various width board scraps. I pretty much followed Ana's 'Give the Gift of Building' plan for construction, while being able to use up some scrap wood. I was making this as a 'just because' gift for my BFF, so I made it to fit three of those free little floral vases, filled it with flowers from my yard, and voilà!
This is a great beginner project, or one for anyone who needs a little something to project during a free afternoon.
I made these for a special order. Used the Simple Twin bed plans but modified them because they want to use the beds as separate twins first, then convert to a bunk bed. In order to make the beds look uniform when separated, the head and foot boards are identical. One bed fits directly on top of the other, secured with 1/2” dowels.
I only was able to complete this project for less than $10 because I happened to have most of the supplies I needed lying around the house already. If this isn't the case for you, it will cost slightly more, but not much.
I had 2 extra 12x12" mirror tiles left over from another project that I've been saving for something creative. When I saw the plans for this picture frame I knew I had a winner. I figured out how much wood I needed and purchased the cheapest type I could that wasn't warped. Since I wanted a bit of the "weathered" look, I didn't mind wood with knots in it. I followed the original plan exactly, the only exception being the specific measurements I knew I needed to fit these mirrors. I also had some extra burlap lying around and made my own stencils for my "M" and "L" monogram letters. After cutting them out, I simply hot glued them directly to the mirrors. Finally, I attached the mirrors to the back of the frames and hung them in place!
I originally wanted more of a rustic look with the paint (similar to the original blue one), but I think the burlap brings that in enough. Overall, I'm very happy with how this turned out!