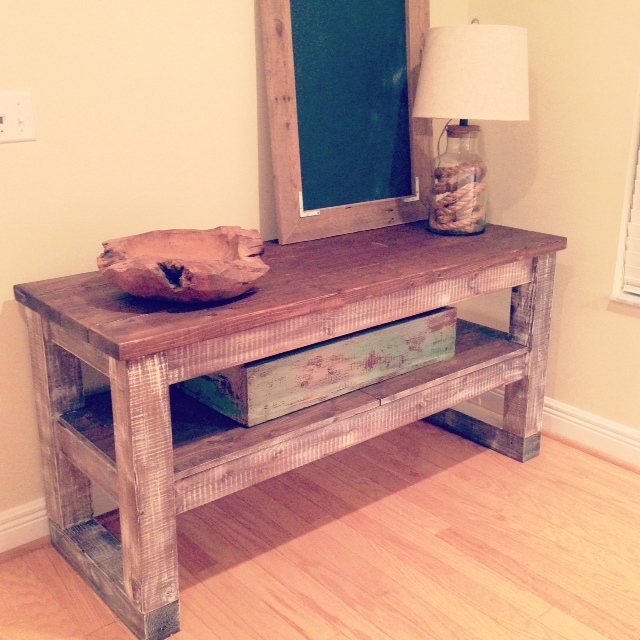
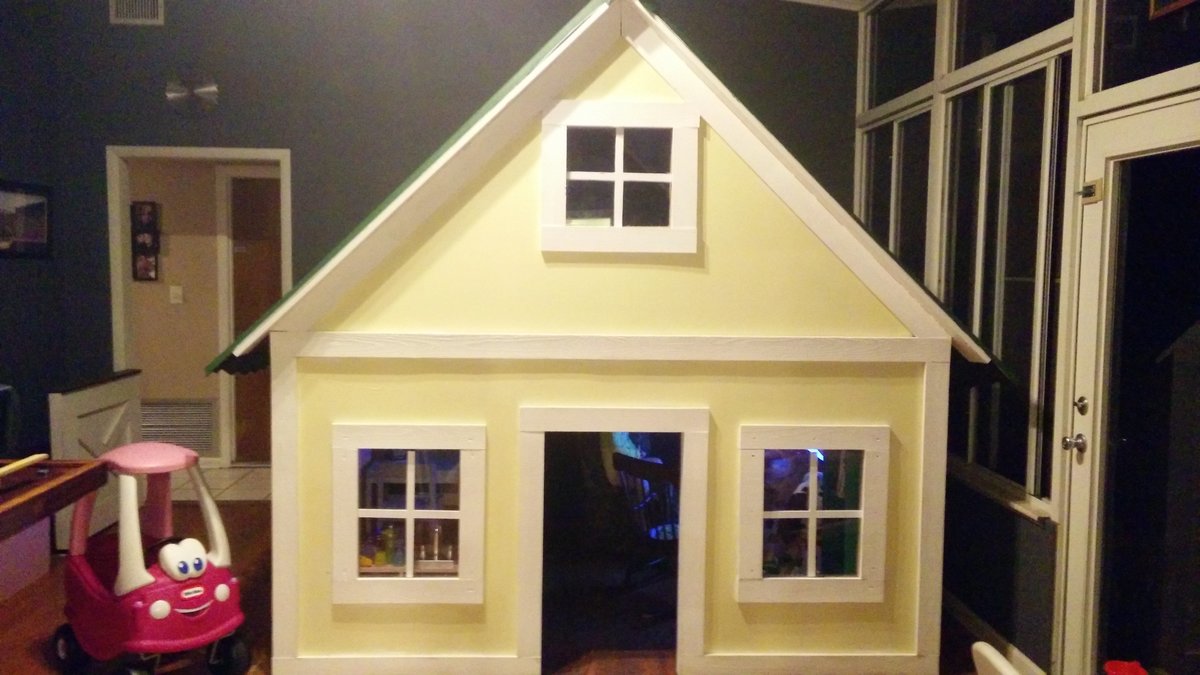
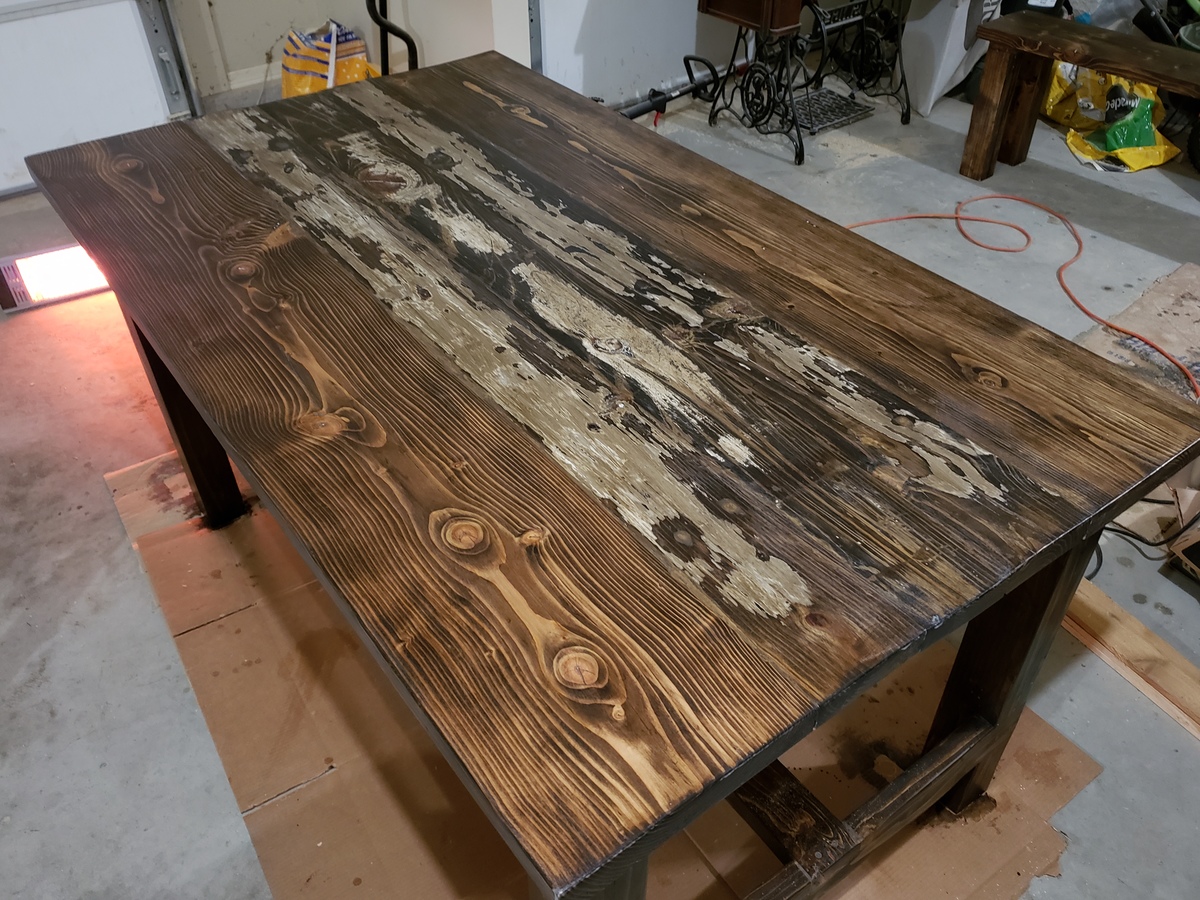
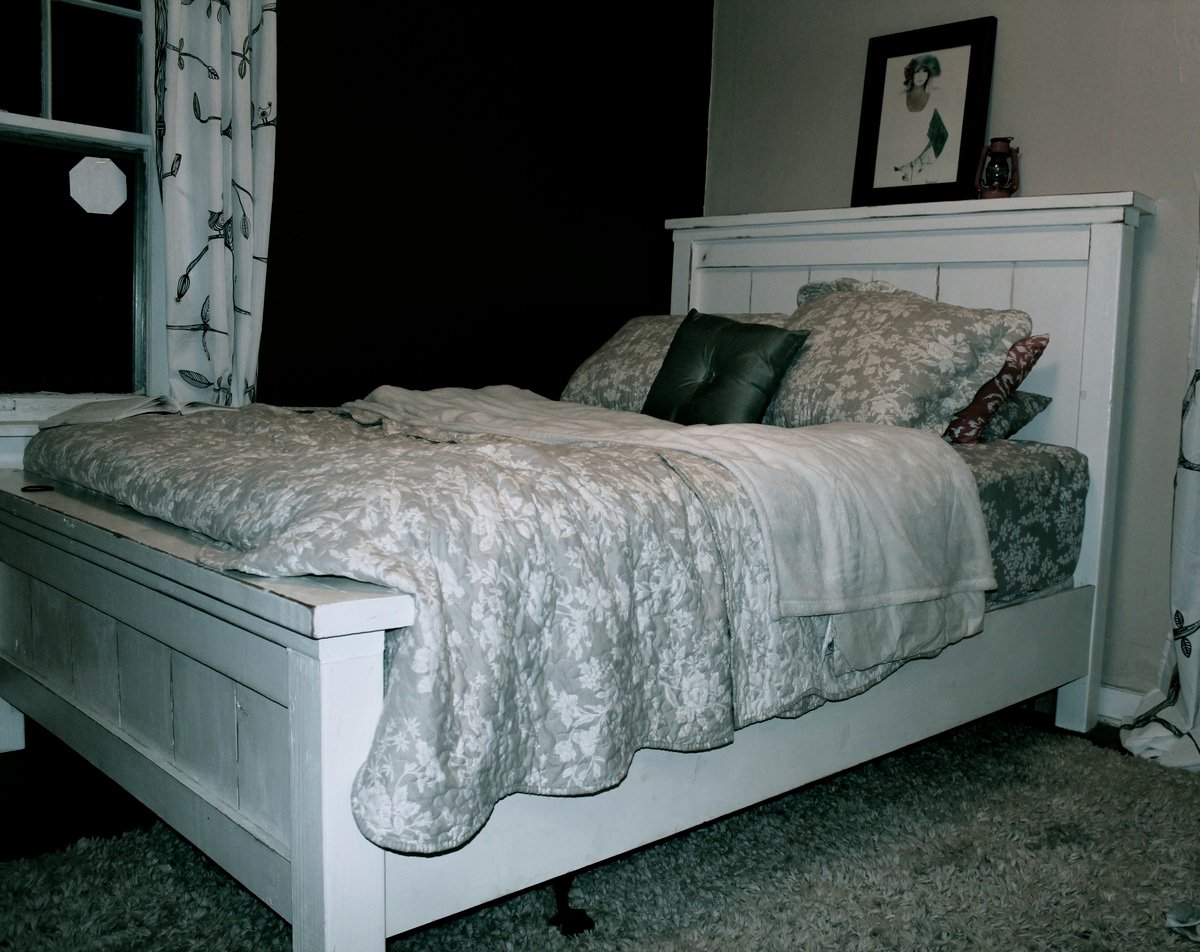
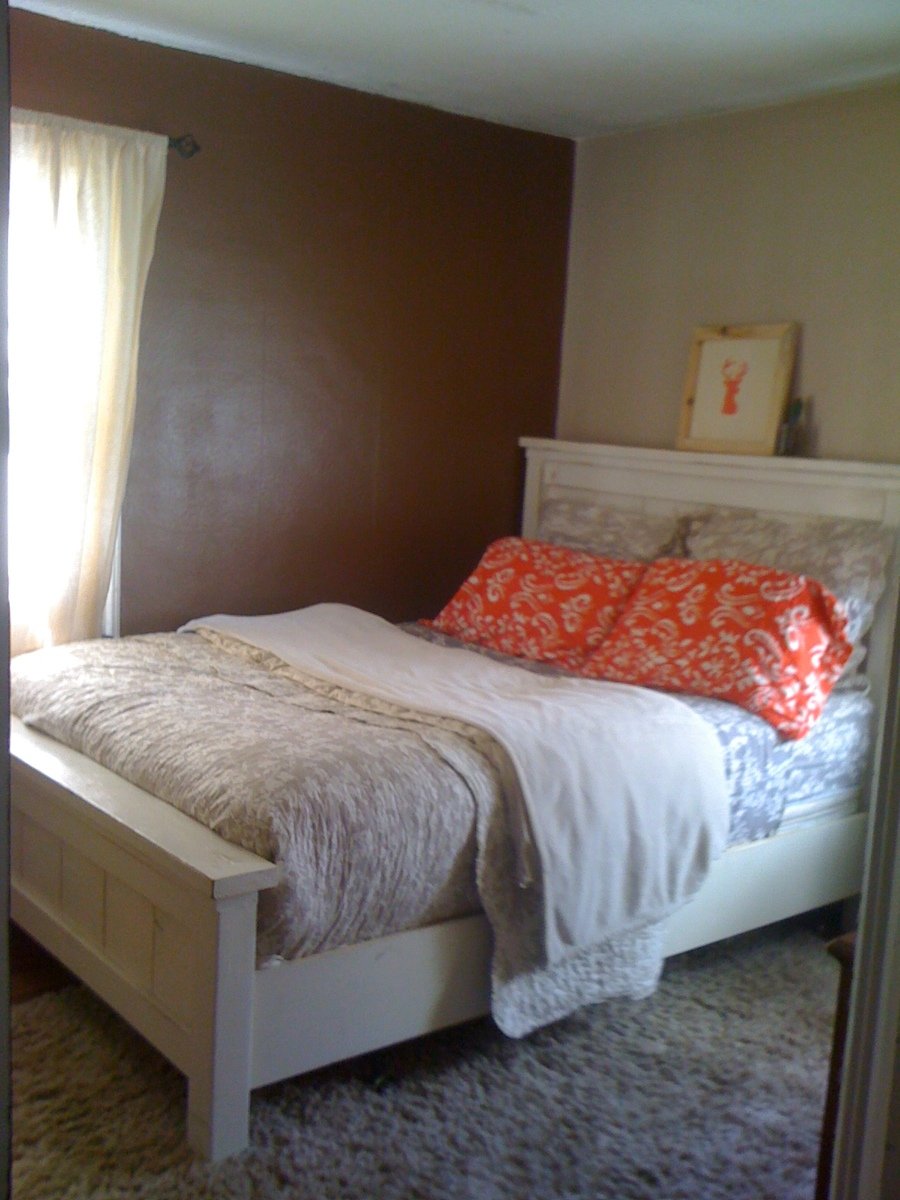
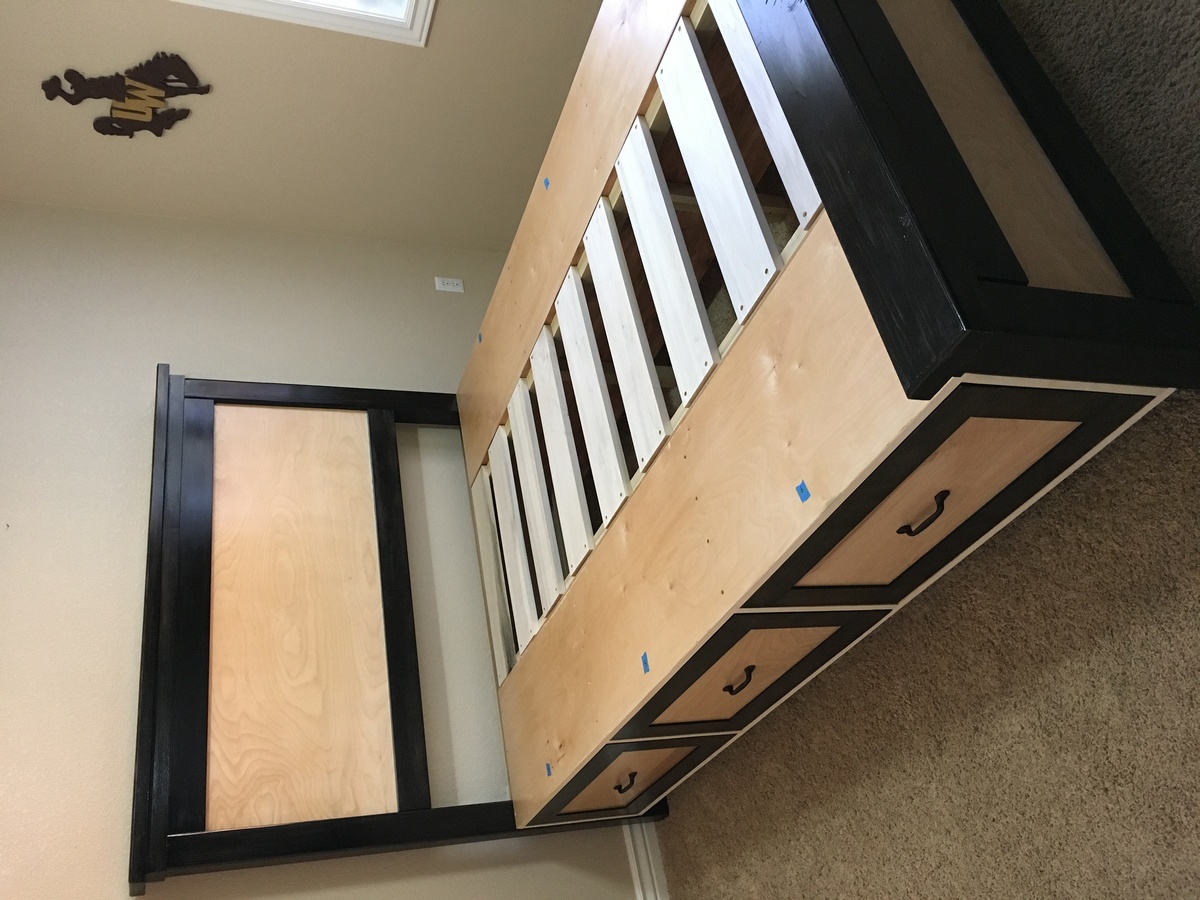
Farmhouse Storage Bed in Cheyenne
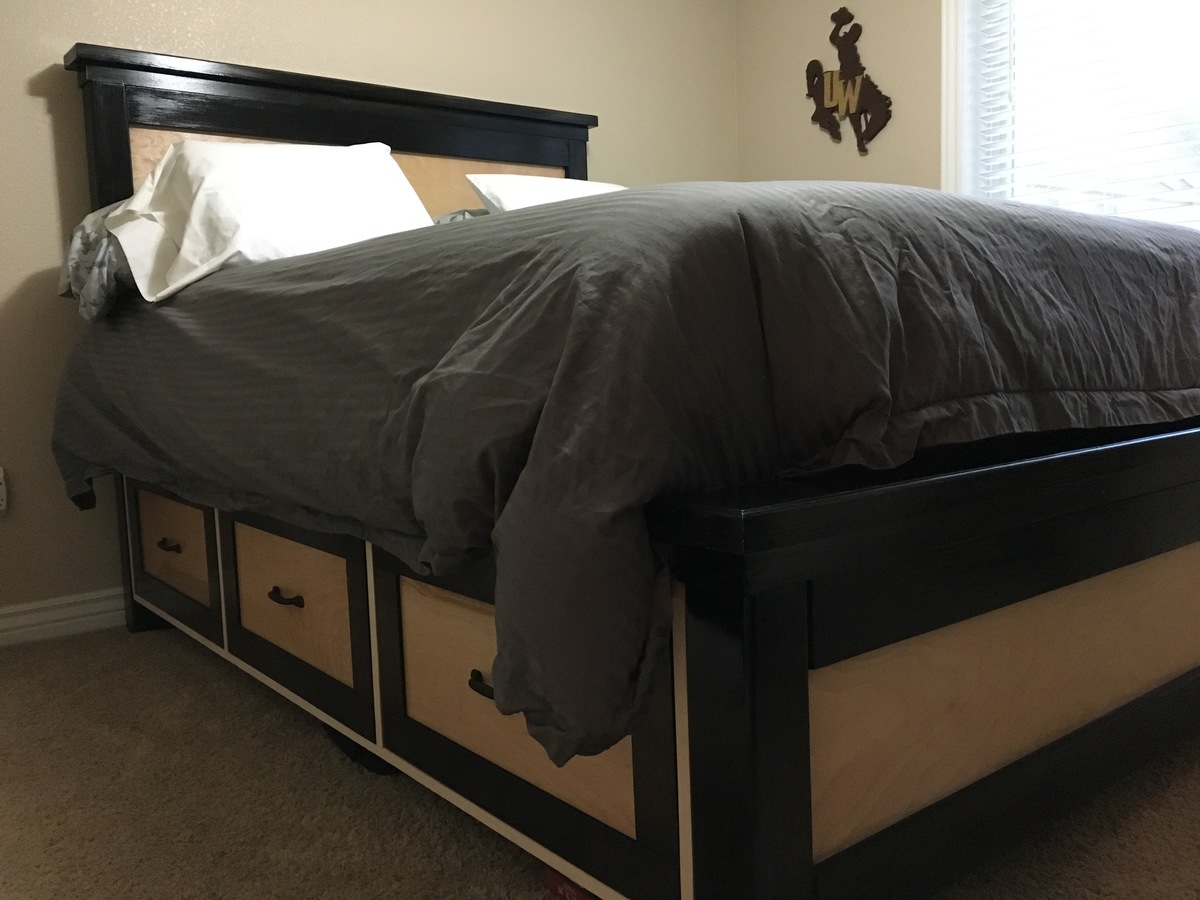
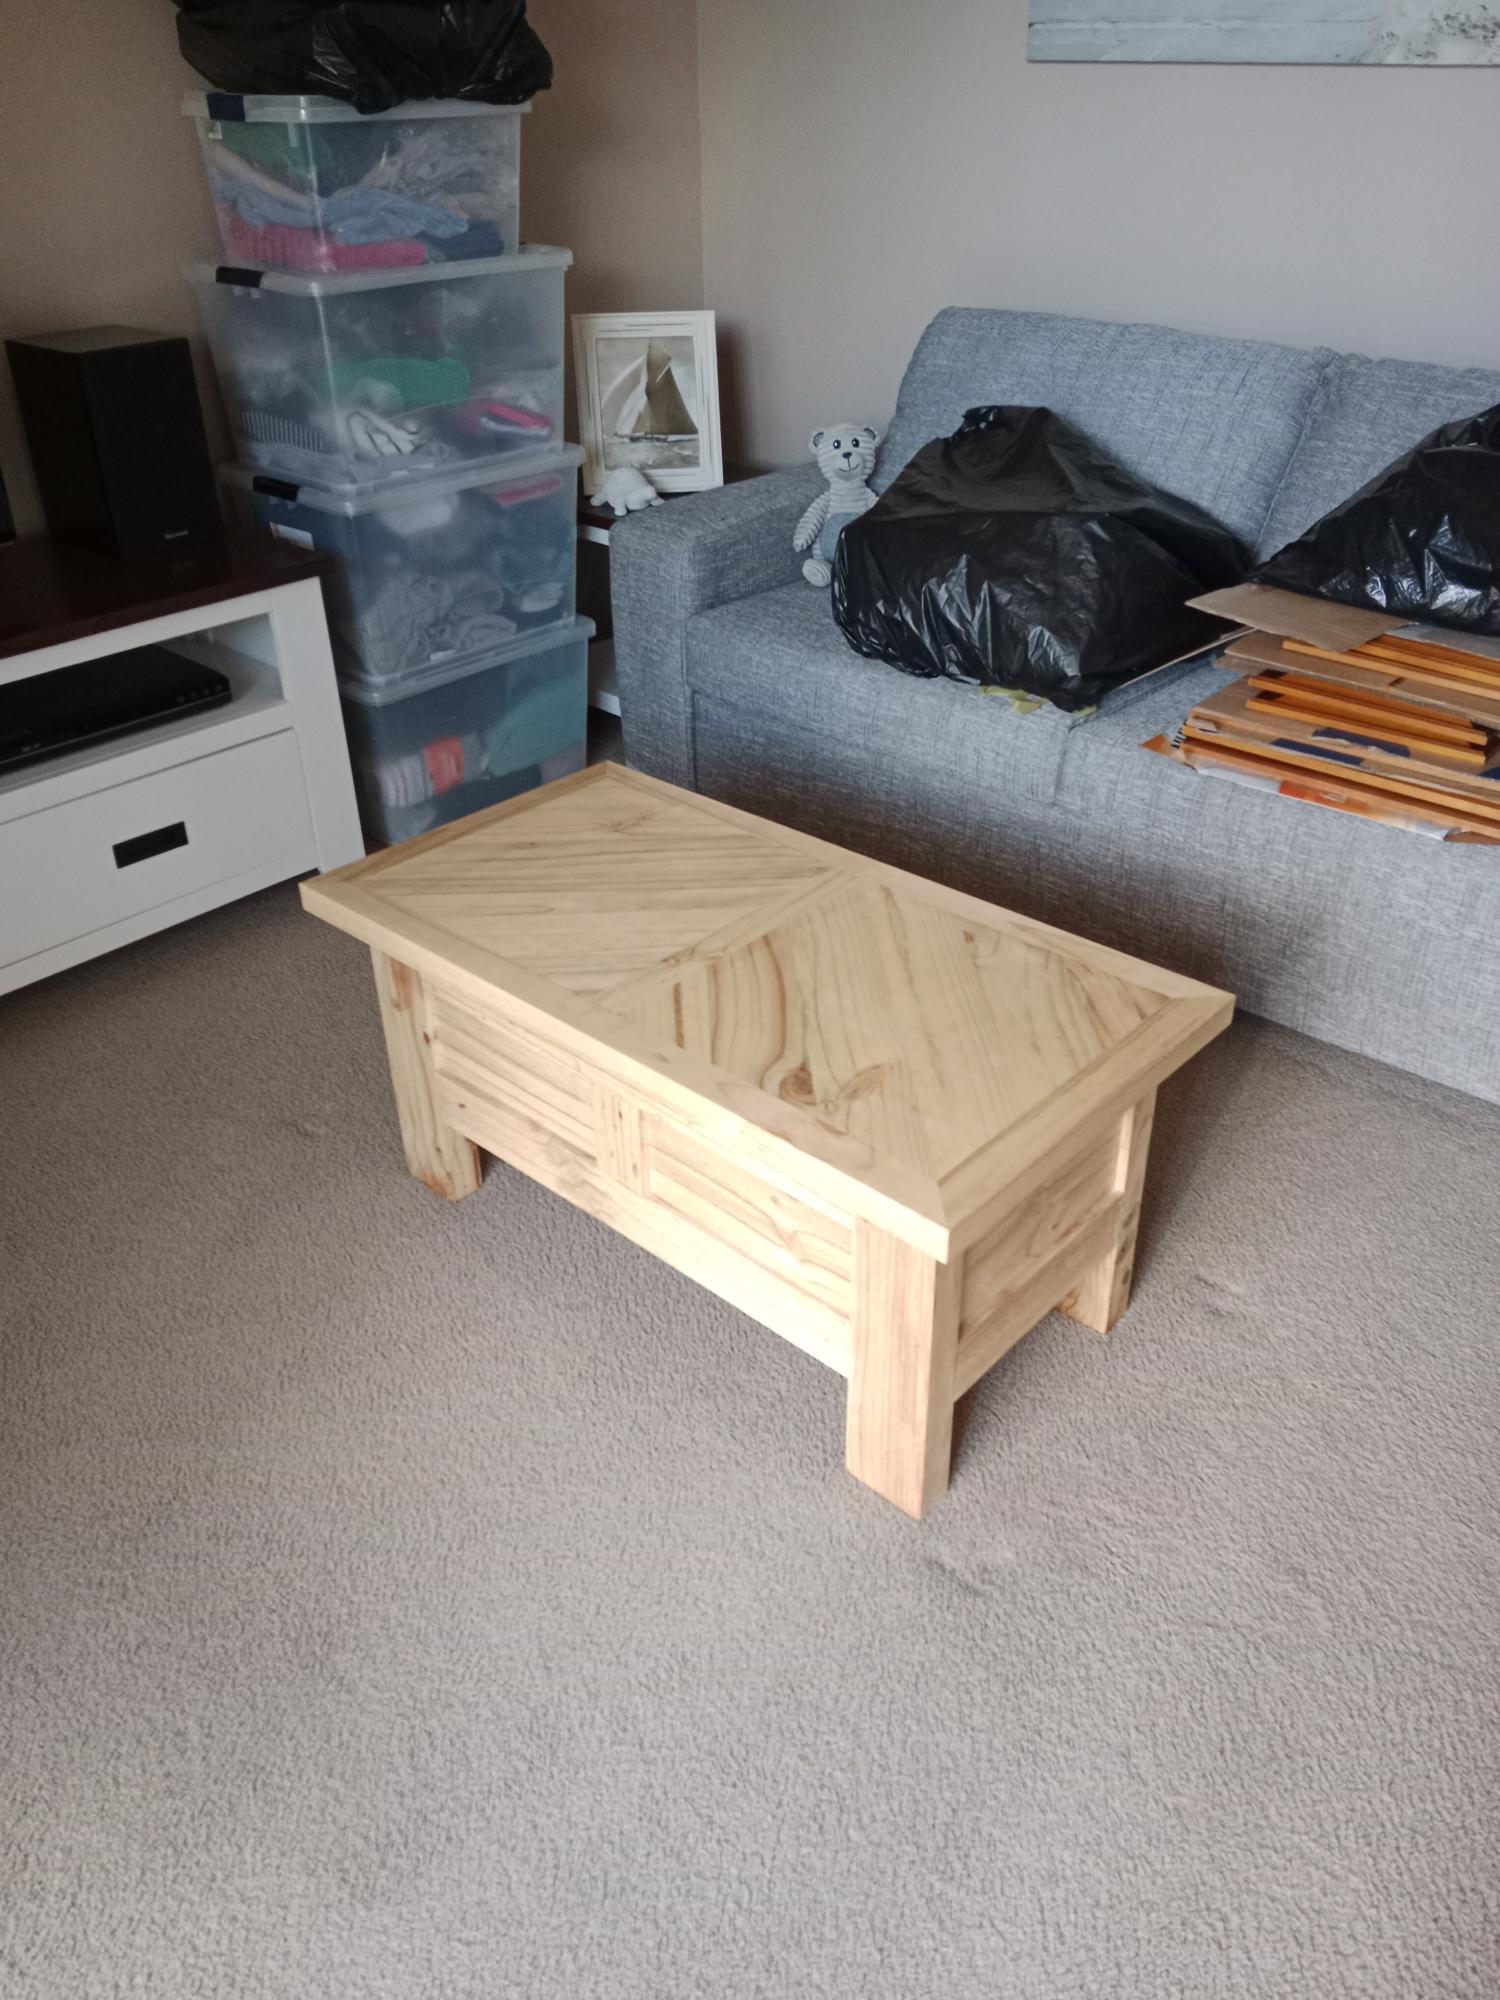
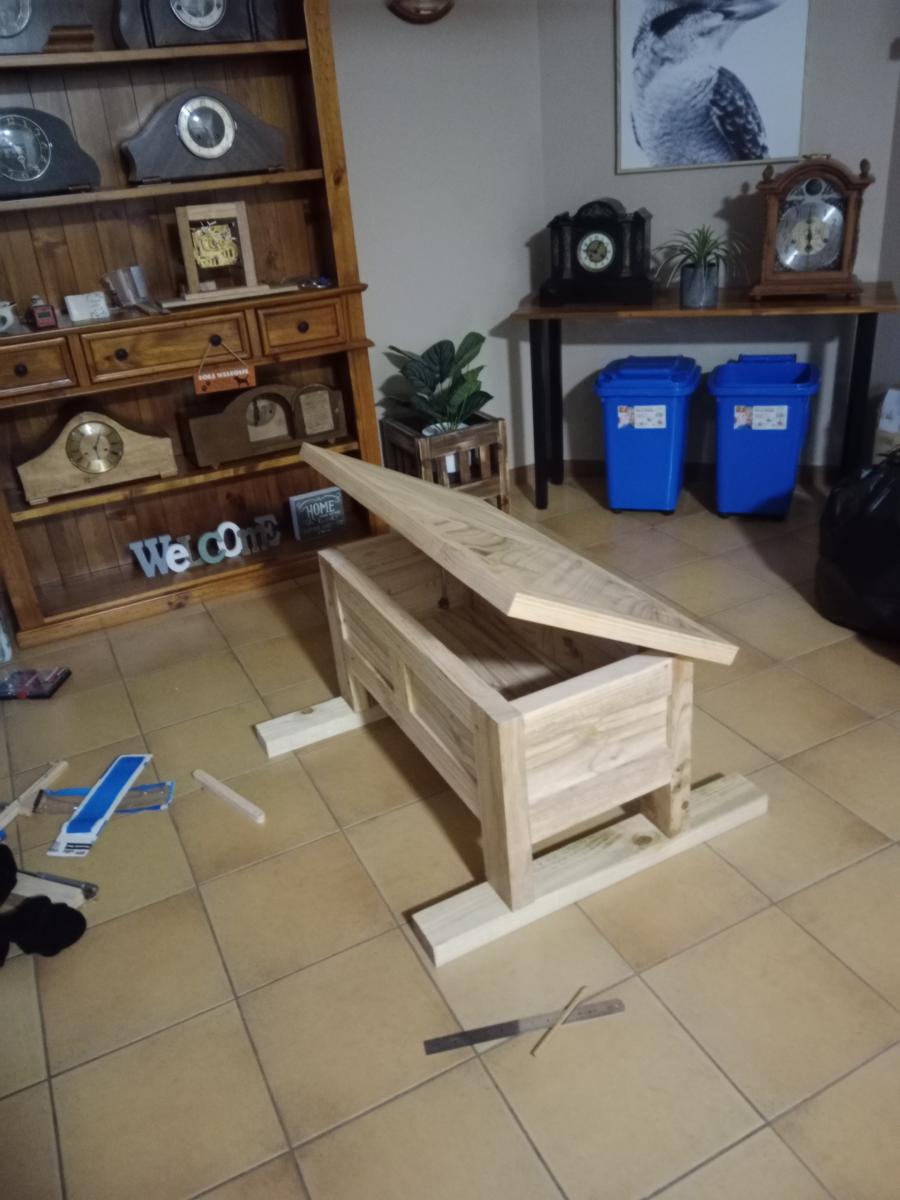
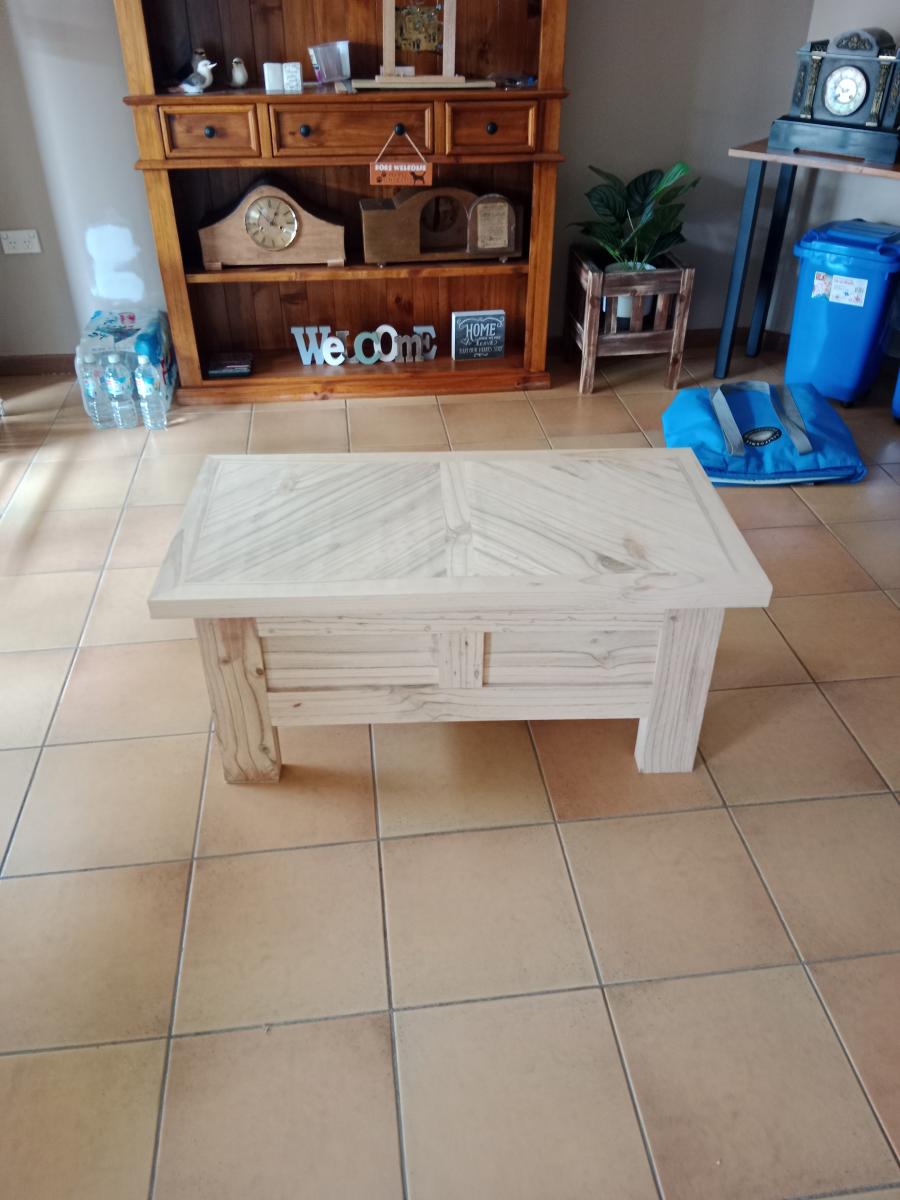
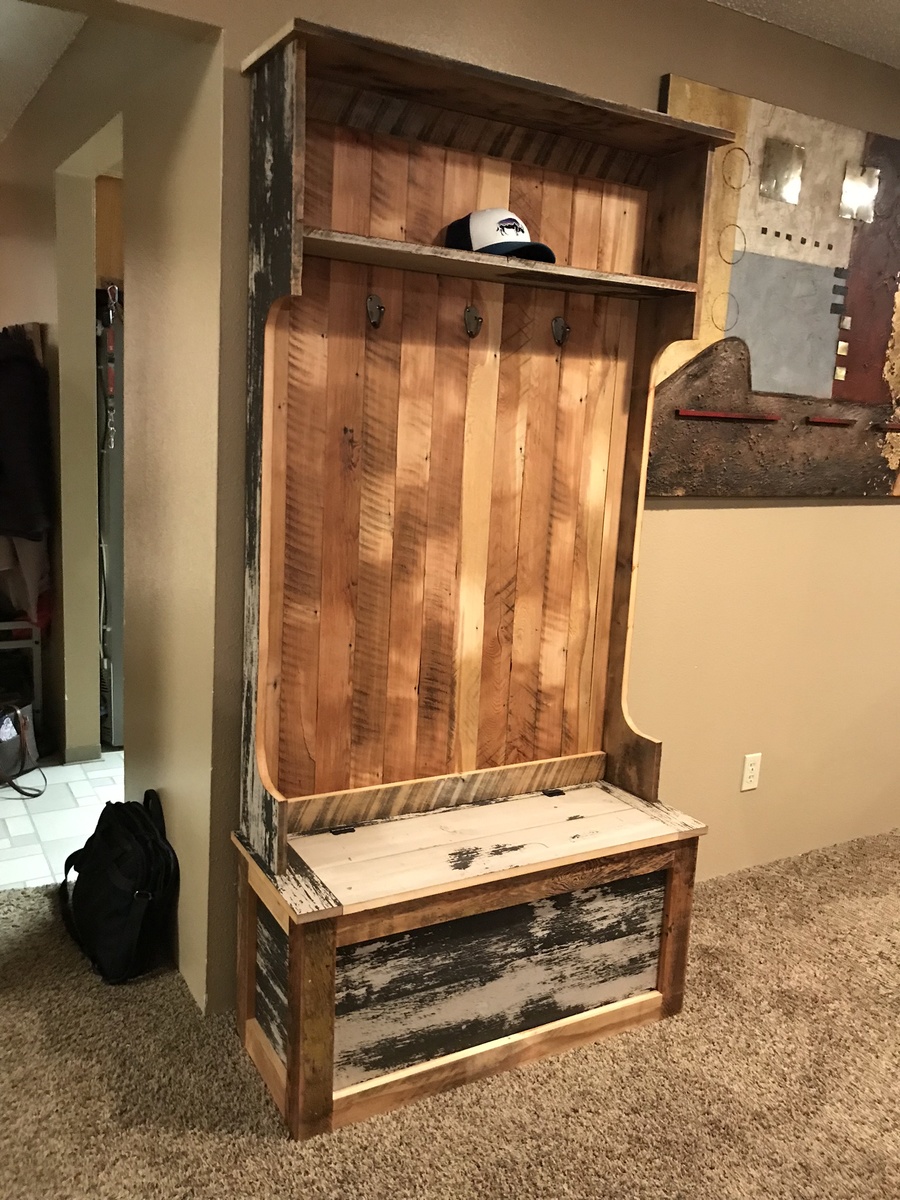
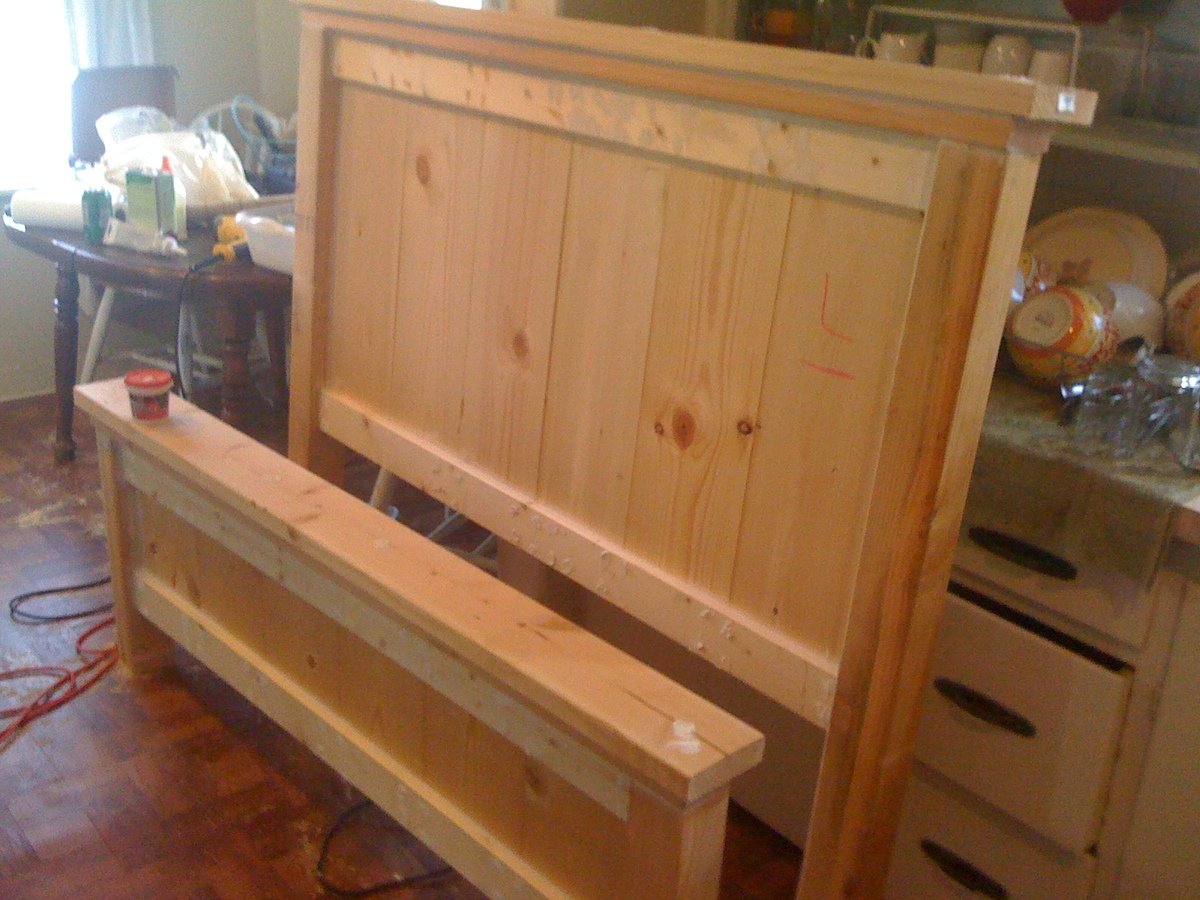
First time building furniture and enjoyed the project. I used better lumber as I wanted to avoid paint but it turned out well for my first try. Thank you Ana White for a good set of plans.

Built from Plan(s)
Estimated Cost
$700 but I used premium lumber, hardware and finished all the surfaces which took more time and money.
Estimated Time Investment
Week Long Project (20 Hours or More)
Finish Used
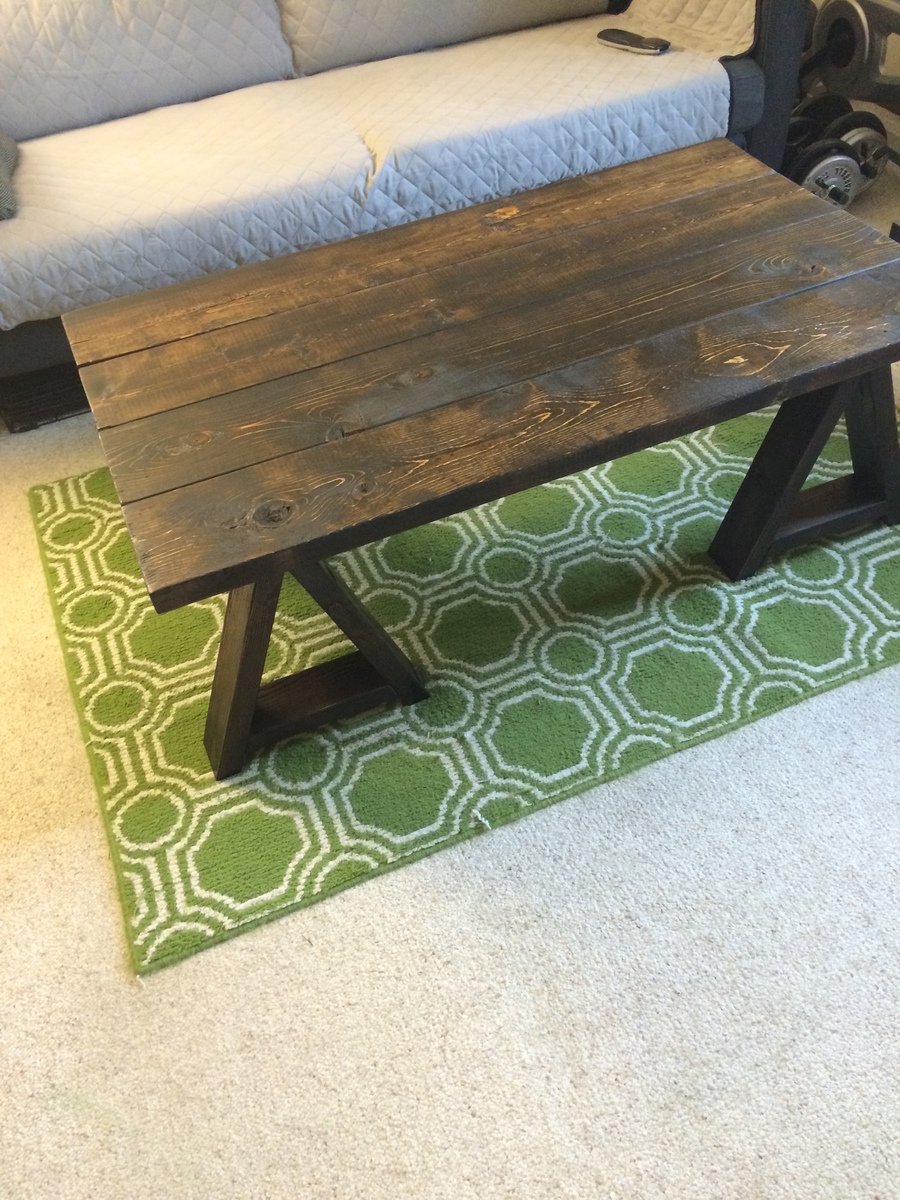
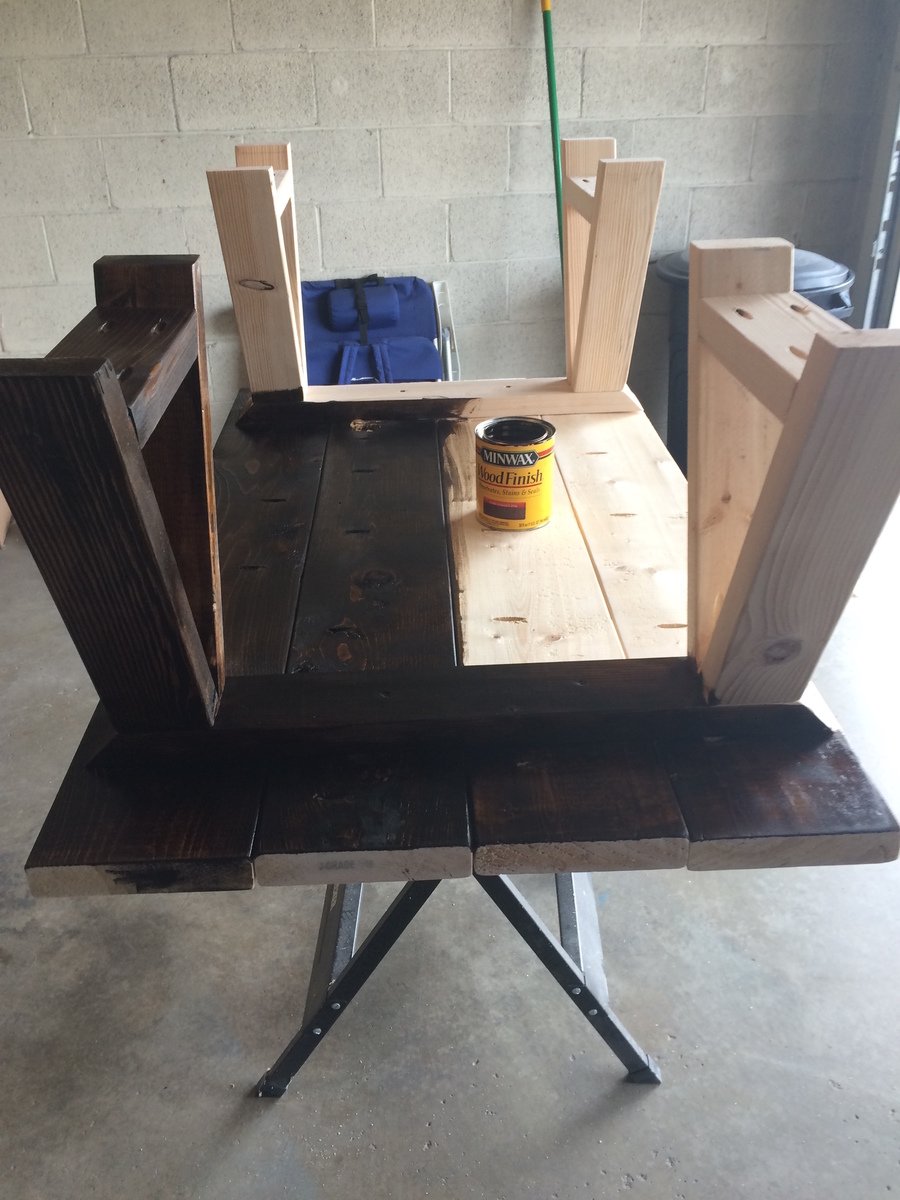
Minwax black gel stain and 5 coats of minwax polycrylic.
Recommended Skill Level
Advanced