Open Style 3 Story Doll House
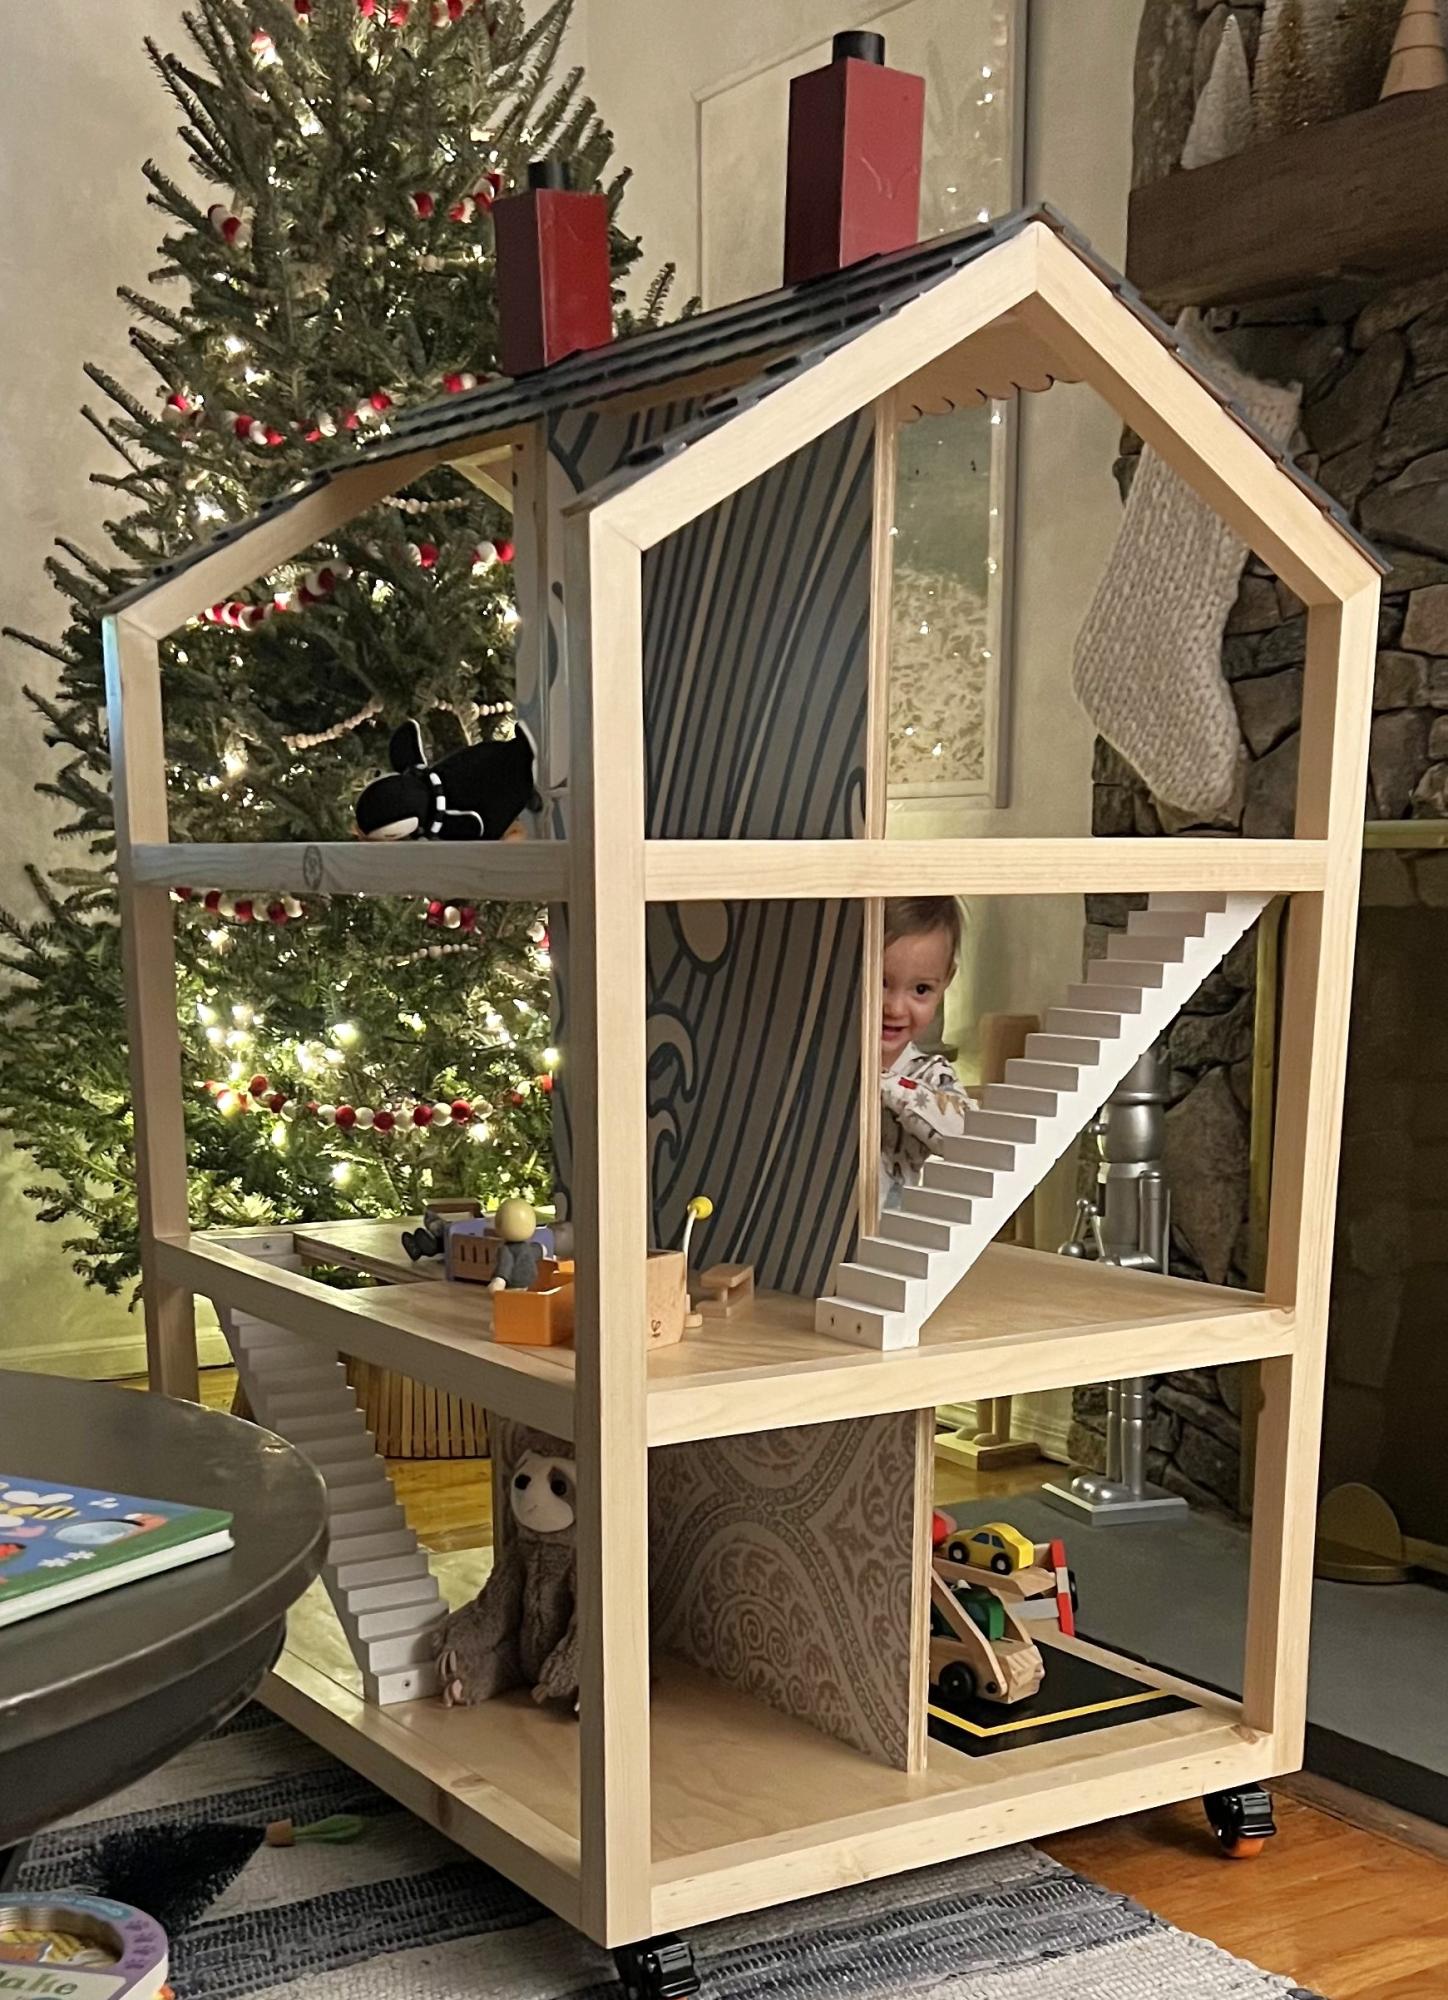
Made this for my granddaughter Kellan.
Daniel Richards
Built from Plan(s)
Made this for my granddaughter Kellan.
Daniel Richards
This was my first project! WIth some guidance from my husband, we were able to complete this during naptime (minus paint, of course). It was a fun project and I can't wait to try a different one! (Not sure why it looks so crooked in this picture! It looks nice and even in person.)

This was one of my first woodworking projects I completed with limited help from my handy husband. And the first time I used a jigsaw (to cut out the handles). I used mostly scrap MDF we had leftover from other projects - only purchasing one additional sheet of MDF for around $12. The MDF worked ok, but I did have some trouble with splitting when screwing it all together and screwing the castors on. Used our Kreg Jig where it made sense.
As a beginner, this project took me somewhere in the neighborhood of 16 hours over the span of a couple weeks. Cost was approximately $50 - including the MDF (but I used mostly scrap we had on hand), spray primer and paint, castors, and "Library" decal.
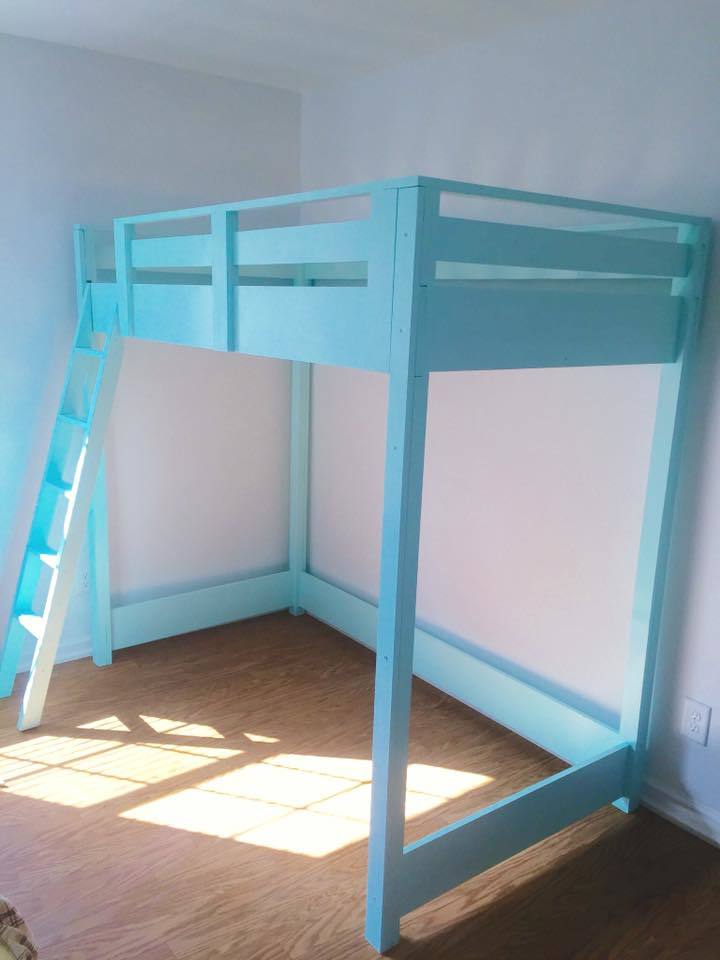
Those angles on the ladder are challenging. This is our first time building any furniture. Thak you Ana W
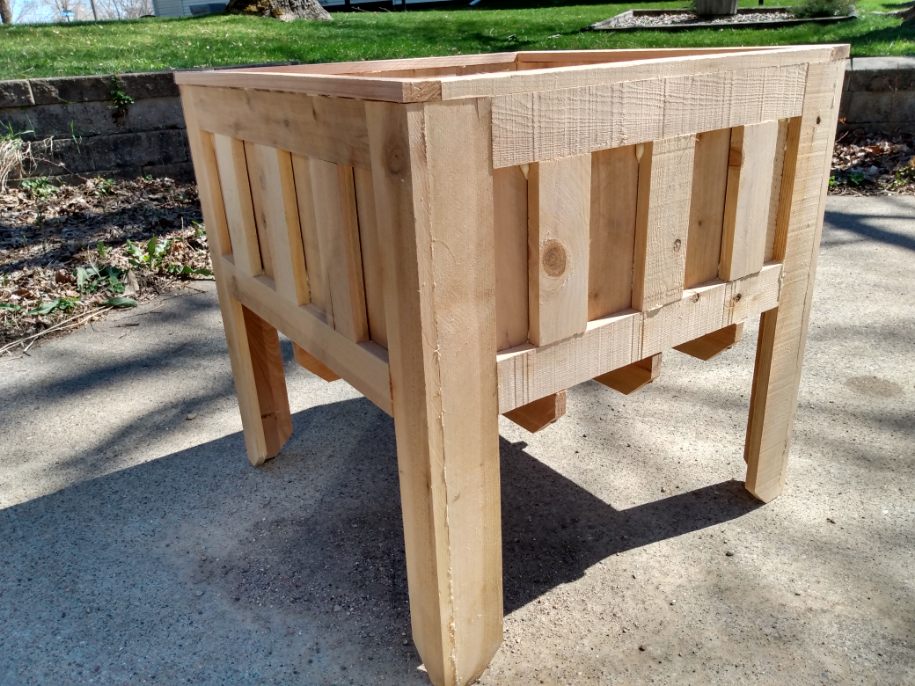
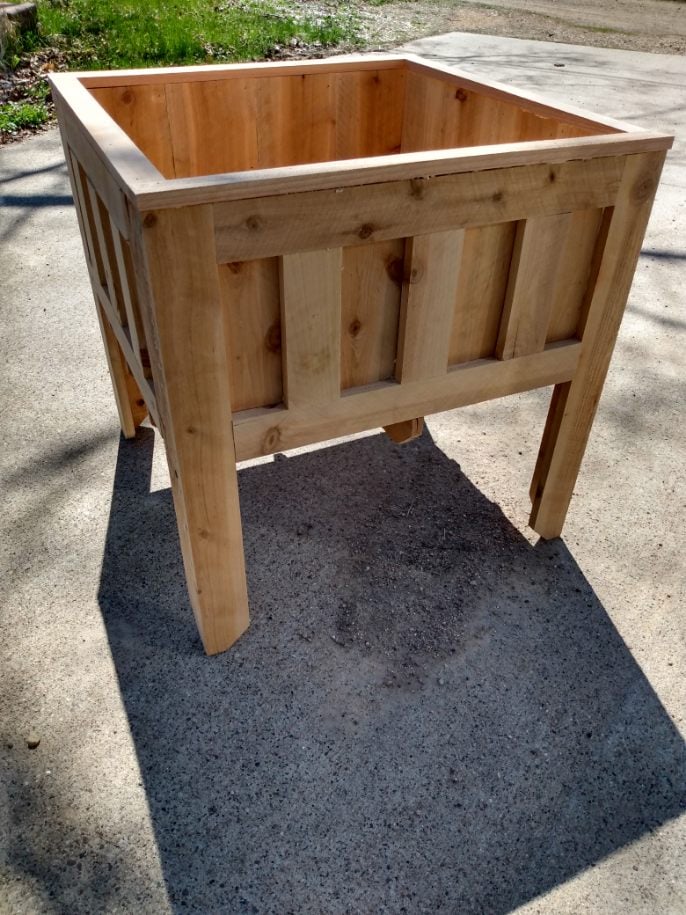
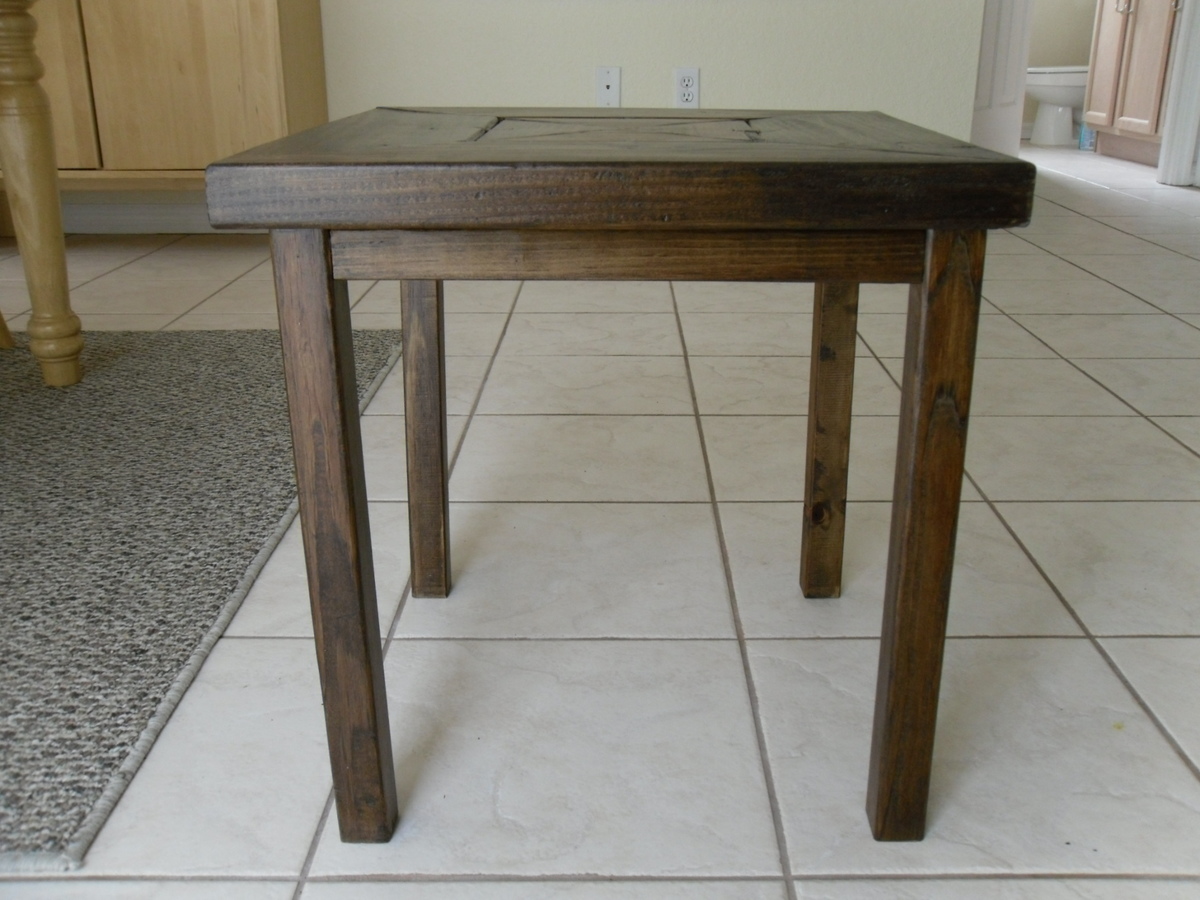
My supervisor wanted me to build her a waist high planter so I found pictures online and then came up with an idea in my head and carried it through. I had some pieces left over so I made it's little brother as a gift to my mom for Mother's Day. I posted it on a FB share site the other day, now folks want the plans for it. I am great when it comes down to thinking the plan in my head but putting it on paper, well lets just say not so much.
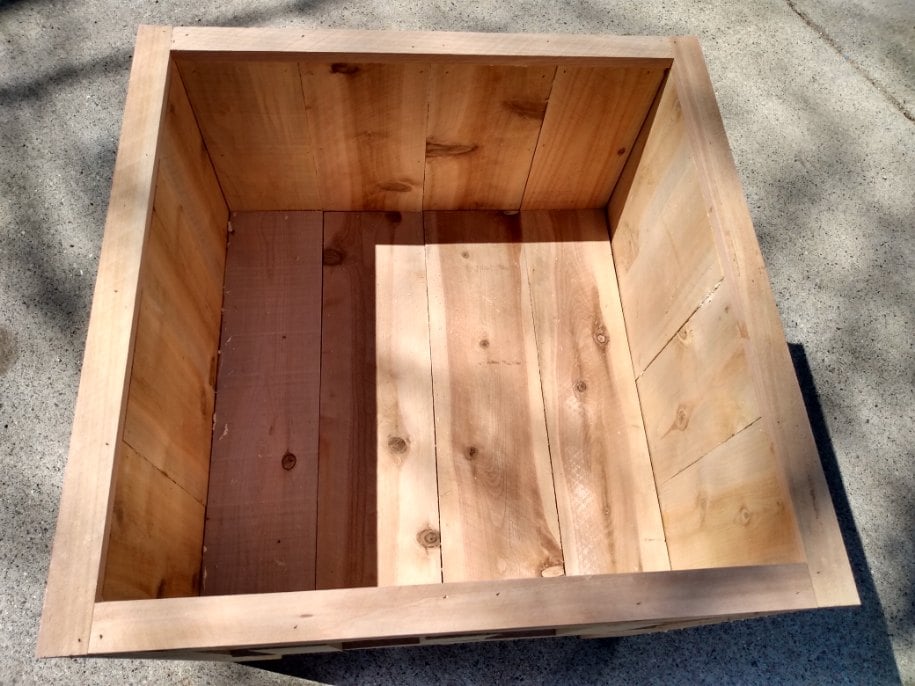
It measures 24" X 24" X 24" with a 12" deep planter basin. The bottom has a dadoed grid of 4 boards on the first and 6 in the newer versions to hold the bottom boards on top.
The entire project was 8-1X6 6' dog ear cedar fence pickets from The Home Depot that cost $2.35/each. I glued (Gorilla Glue), brad nailed and screwed the entire thing together So total, this cost me about $25.
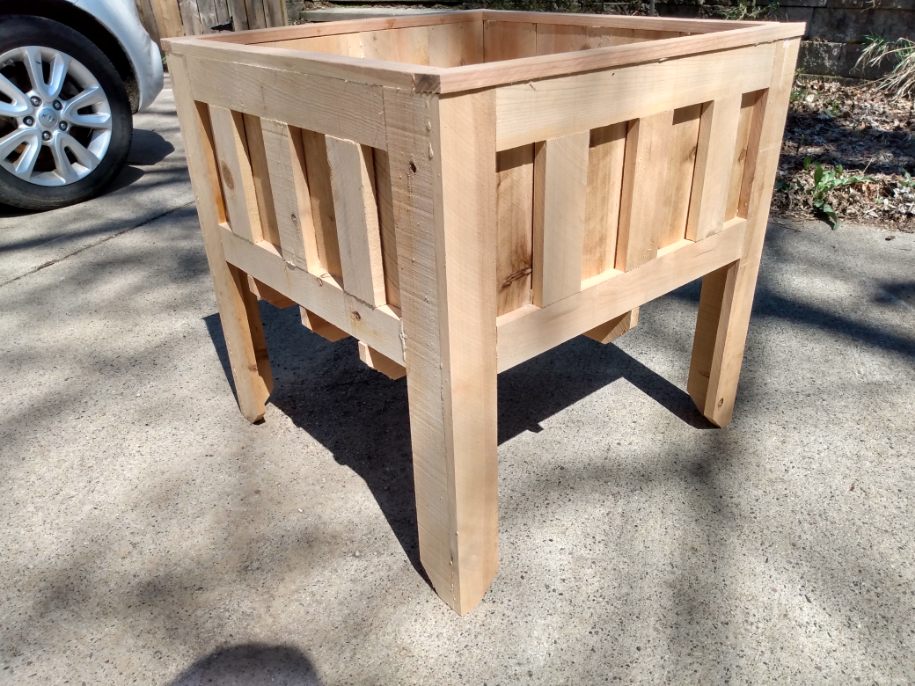

I built these picket fence planters with my husband. They were very easy to build. I can use them all year around. I’ll add flowers in the spring and summer and mums in the fall and Christmas trees in the Winter. I’m definitely building more for my back porch. Happy building! - Celines

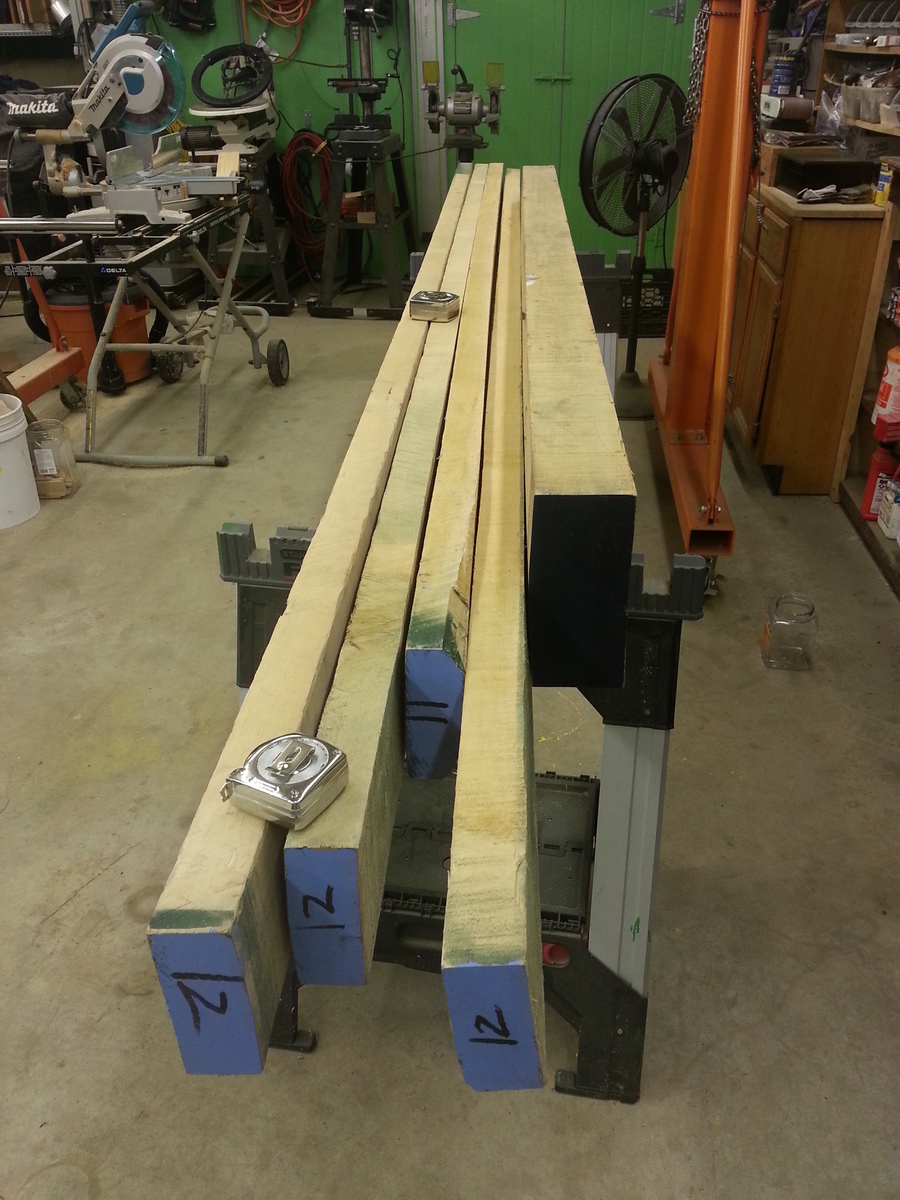
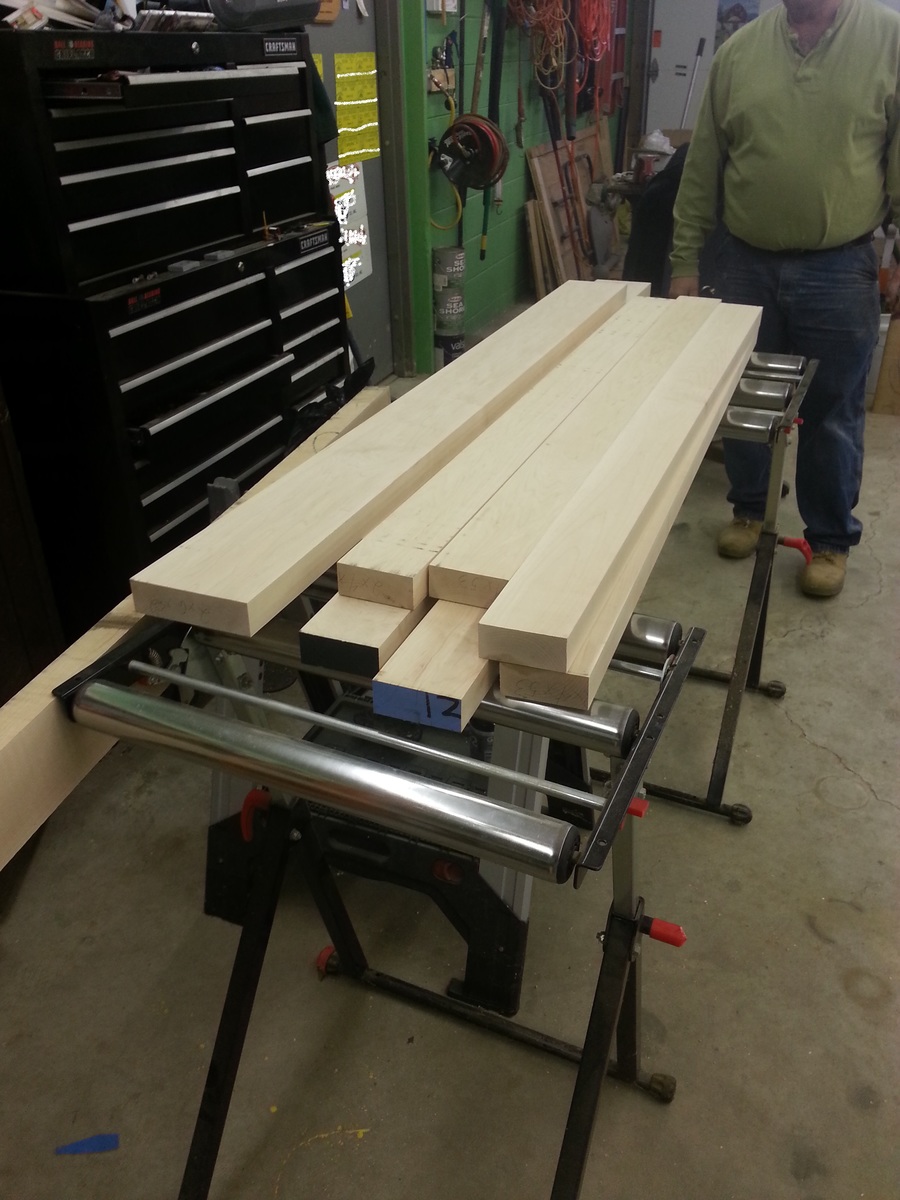
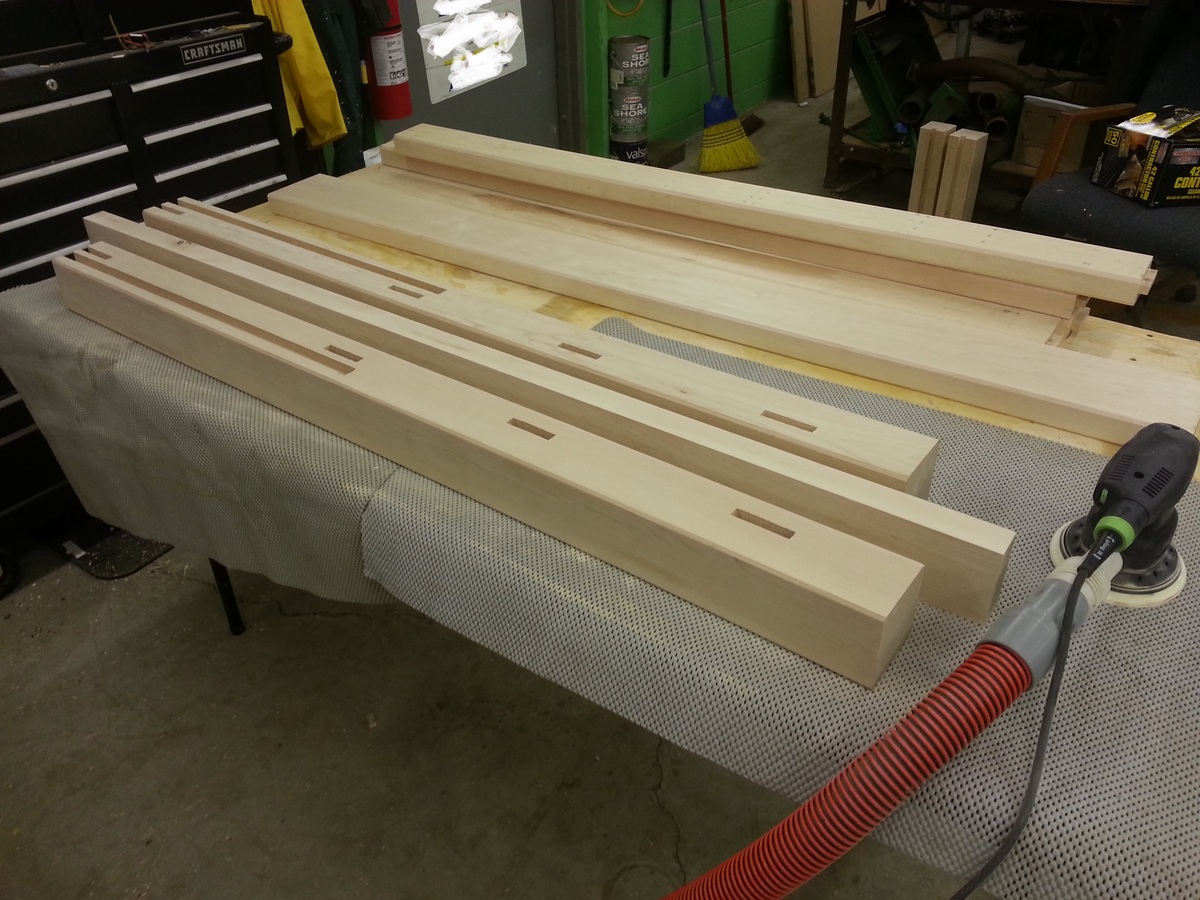
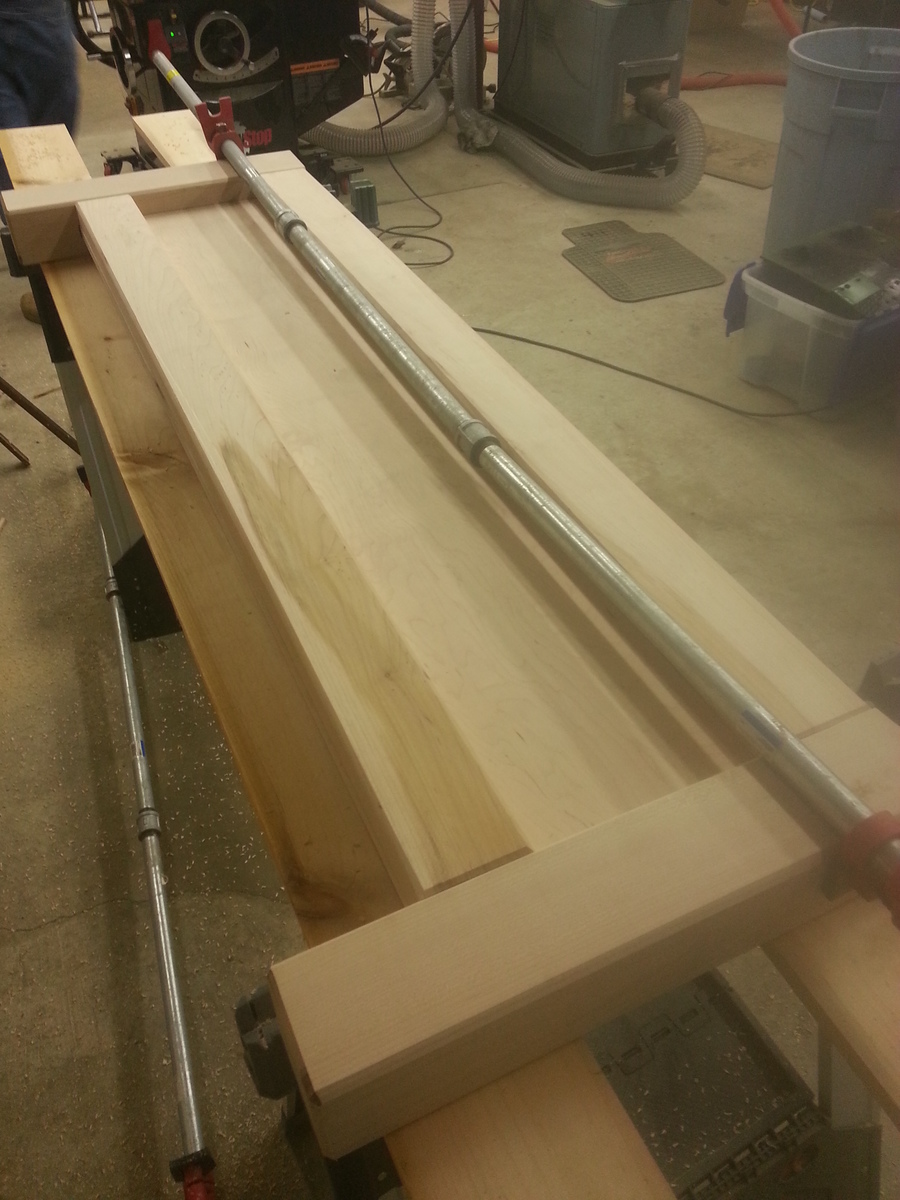
My Dad and I started with solid maple lumber. We altered the plan to use mortise and tendon joints and adjust drawer sizes to that night stands would not interfere with the drawers. Final product weighs about 500lbs.
This was my first time building something like this. I used reclaimed wood from my wife's family farm and decided to use thinner materials. I'm very pleased with the results.
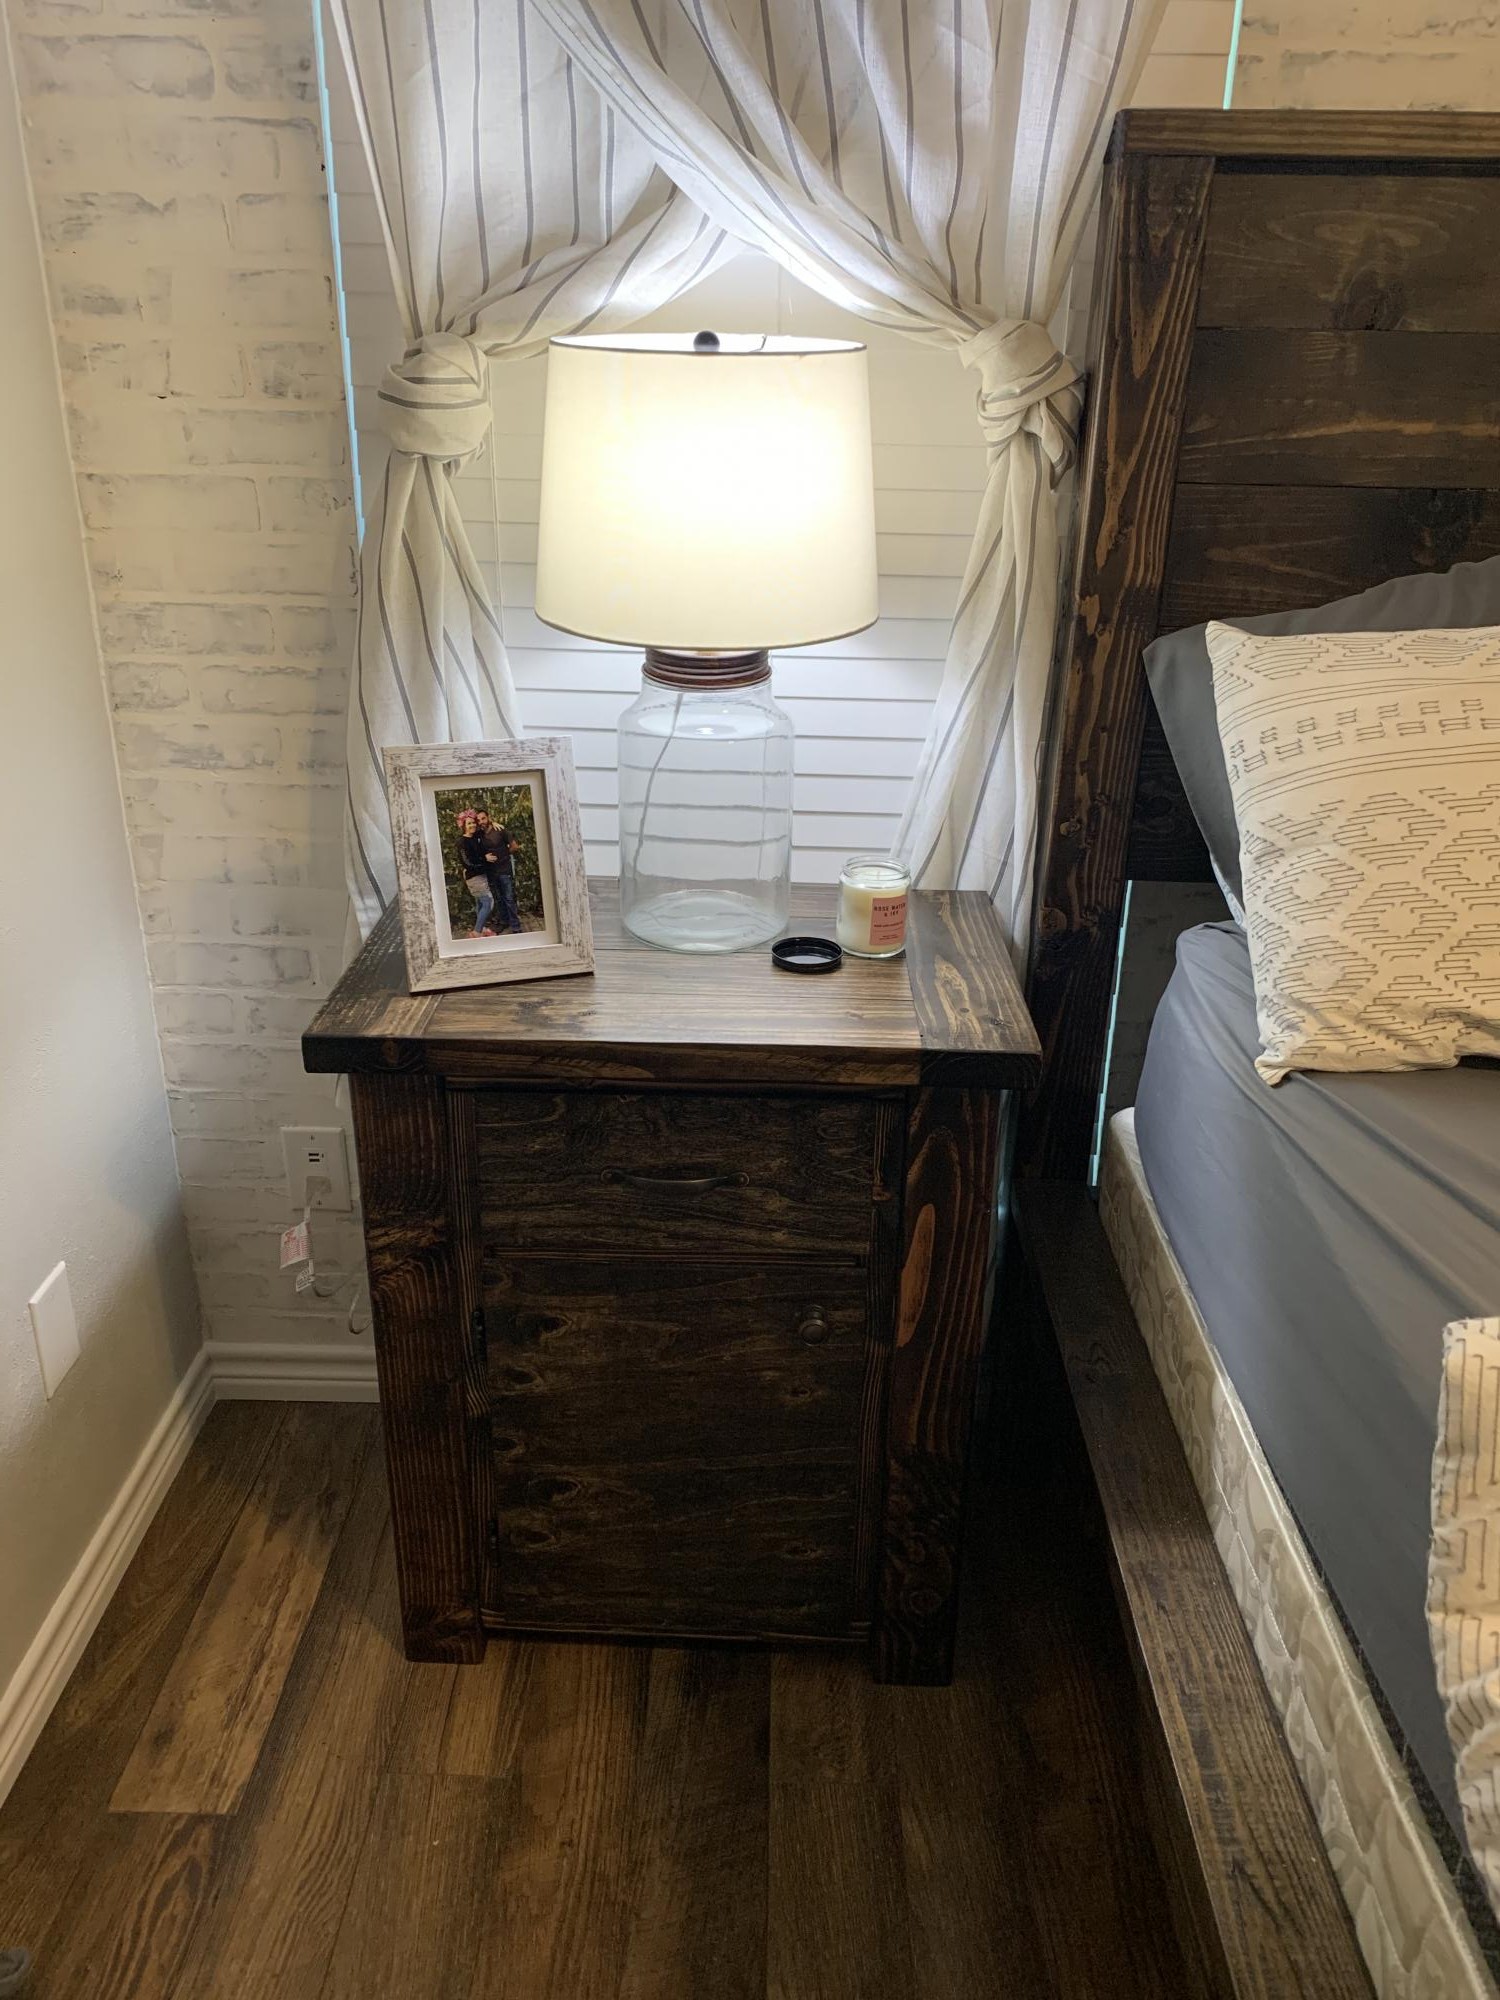
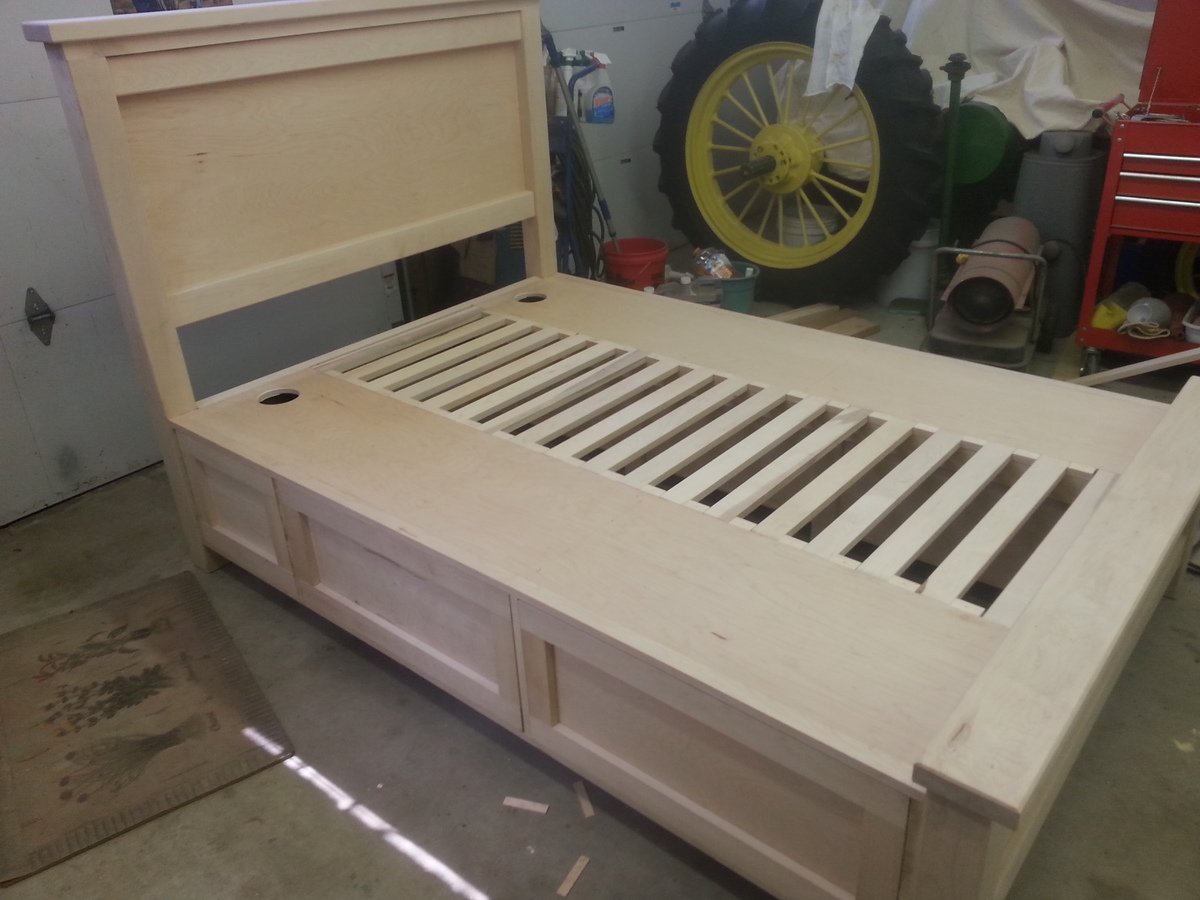
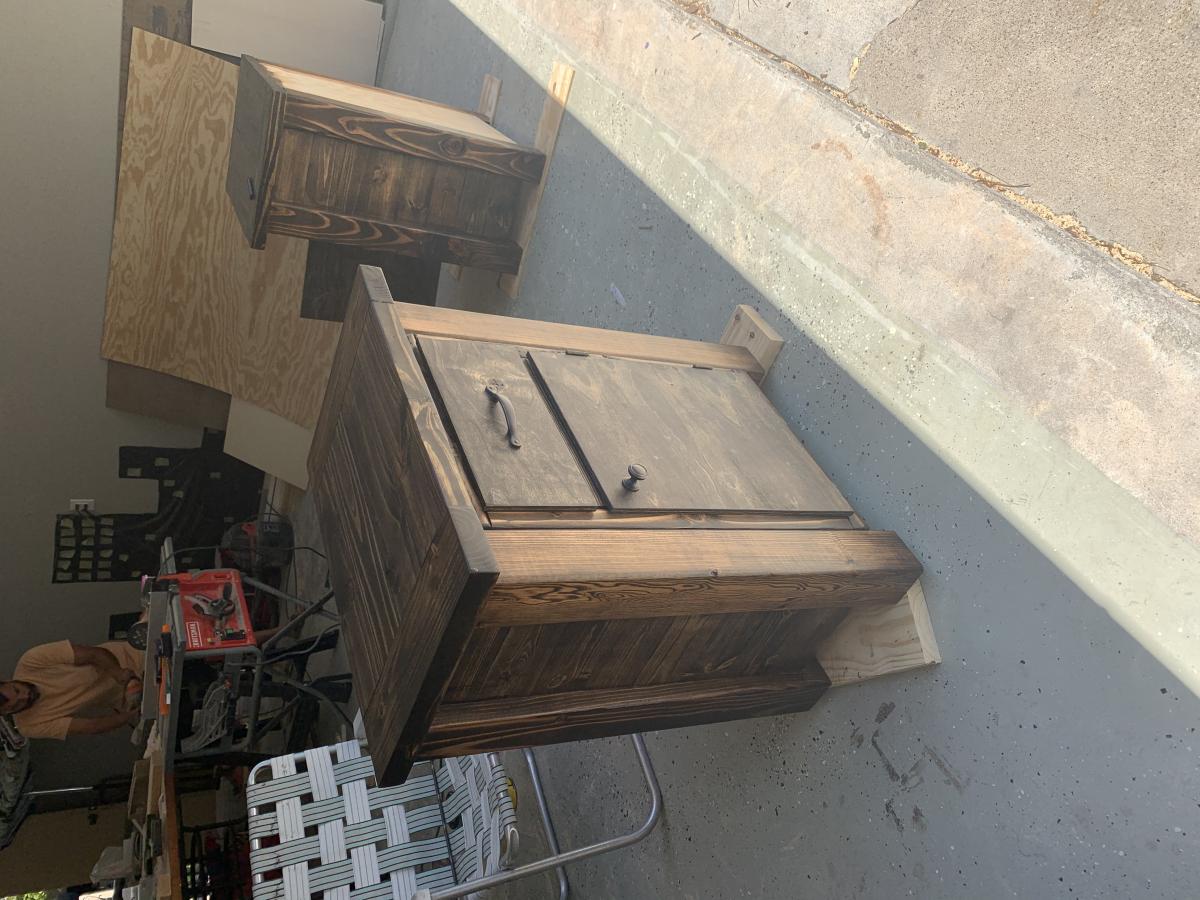
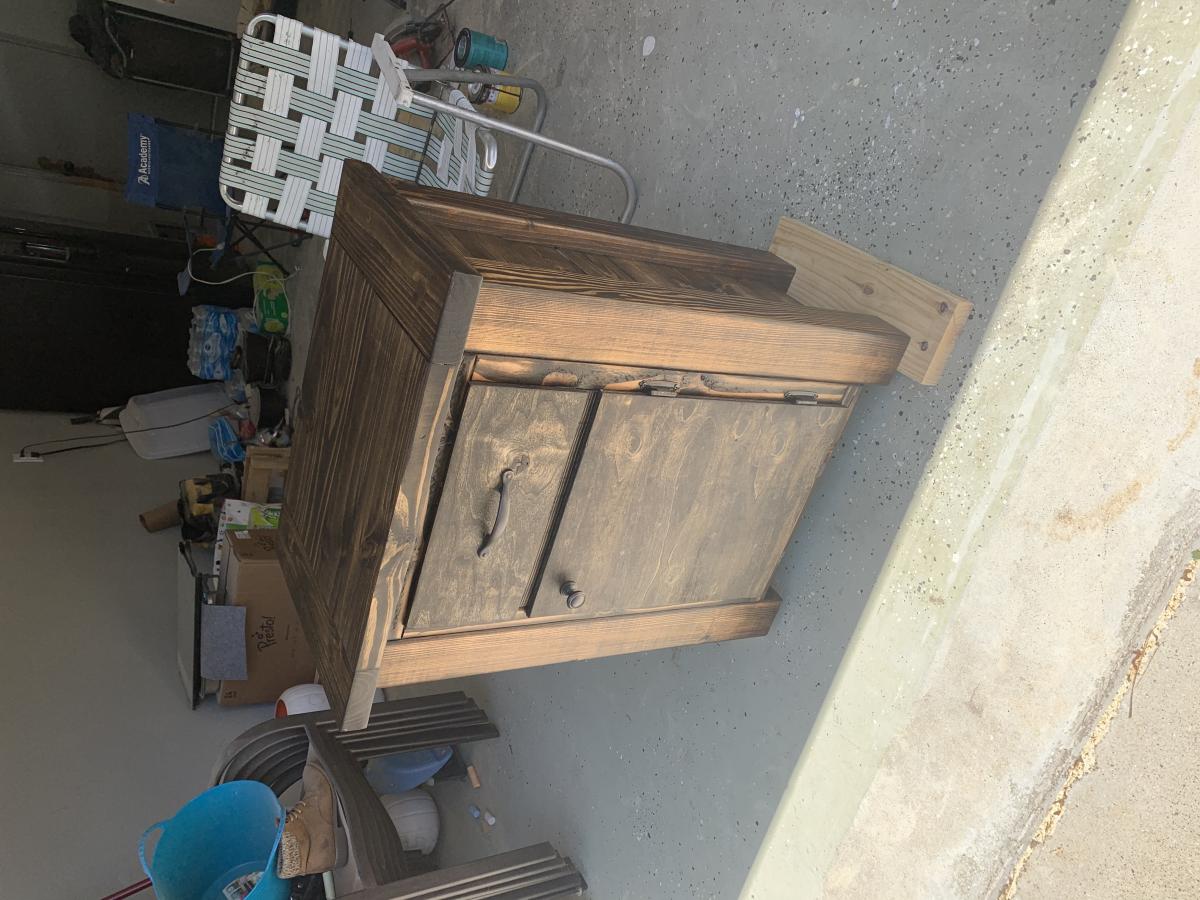
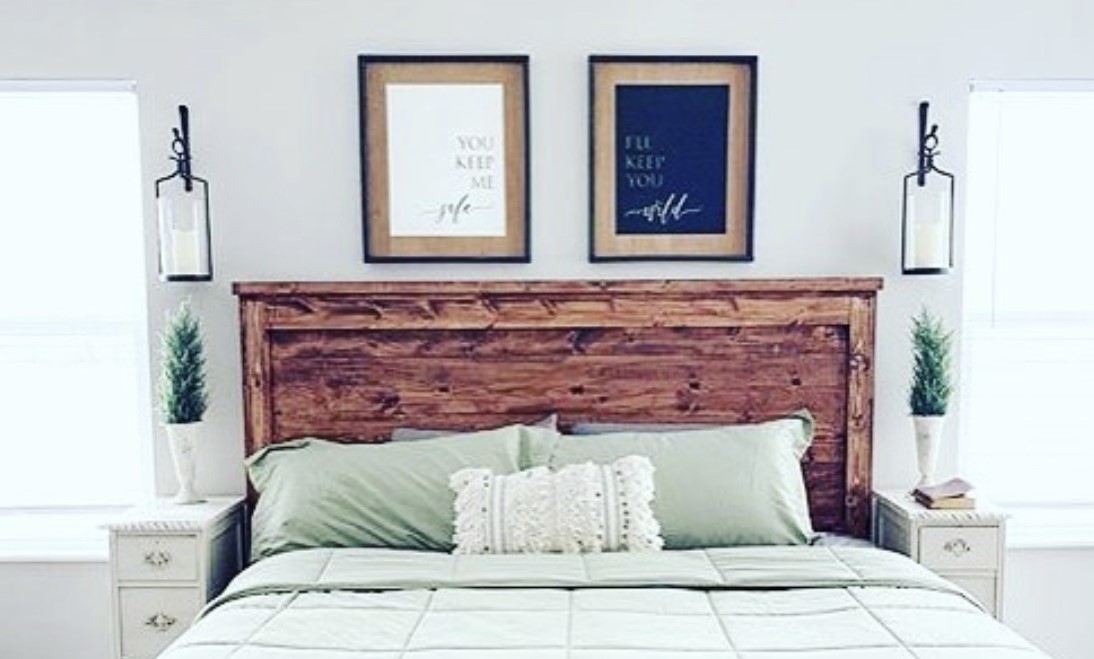
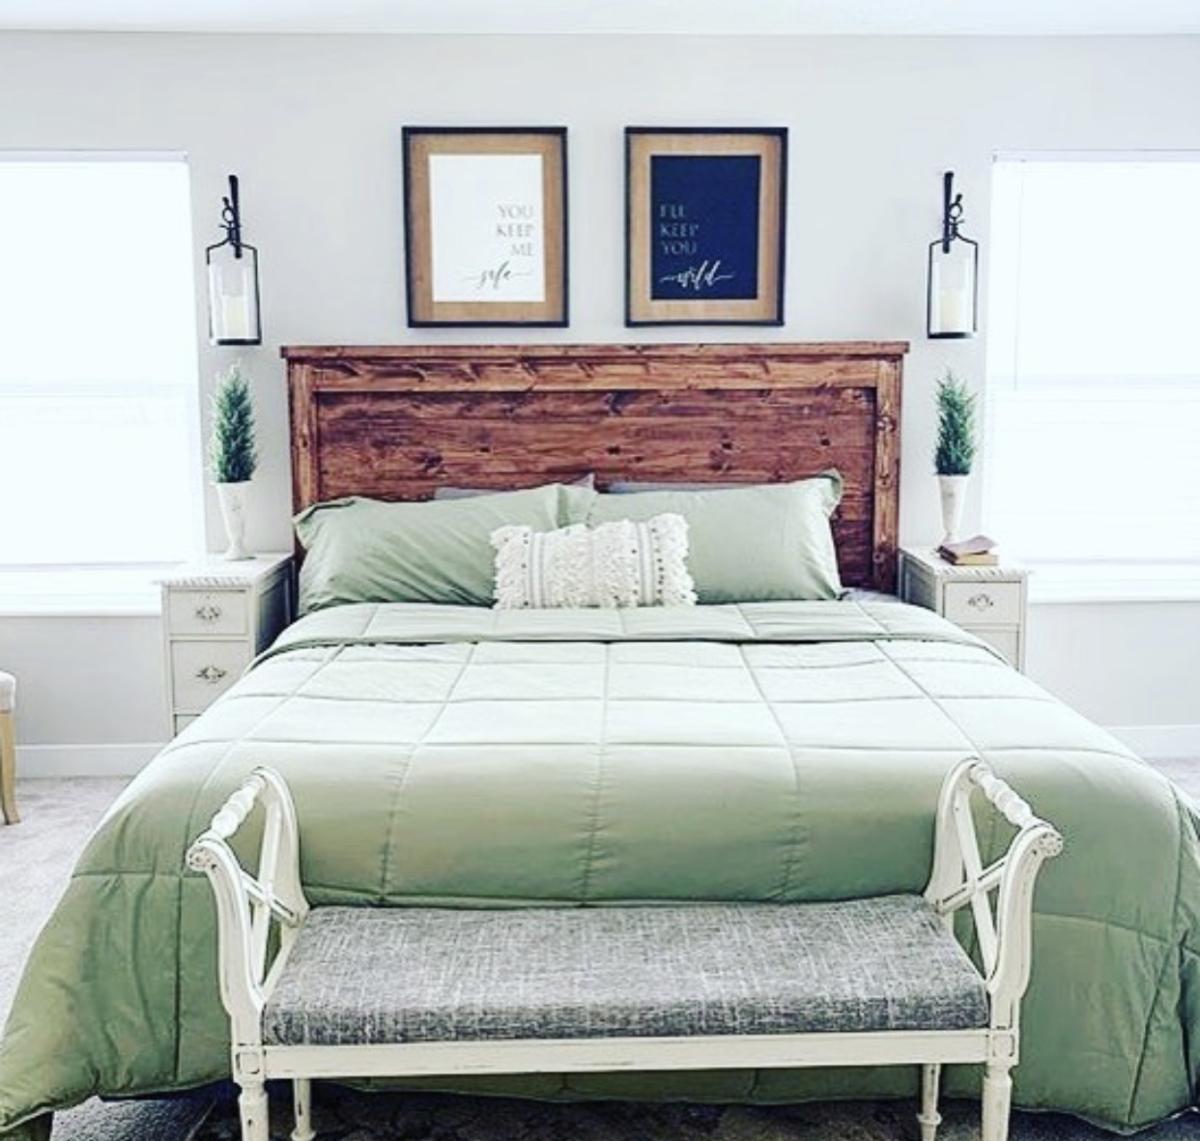
We built the Modern Farmhouse Bed Frame, but wanted matching nightstands. Since we made the bed frame taller than the original plans, we needed taller nightstands. I also wanted a drawer and cabinet in the nightstand. We used the same panel pattern as the headboard for the side of the nightstands, and we used 4x4’s as the corners. We used euro sliders for the drawers. We used Minwax - Dark Walnut and Polycrylic in Clear Matte to finish the pieces. The nighstands dimensions are 32” in height, 26” wide, and 17” (top edge to edge) deep. They turned out amazing!
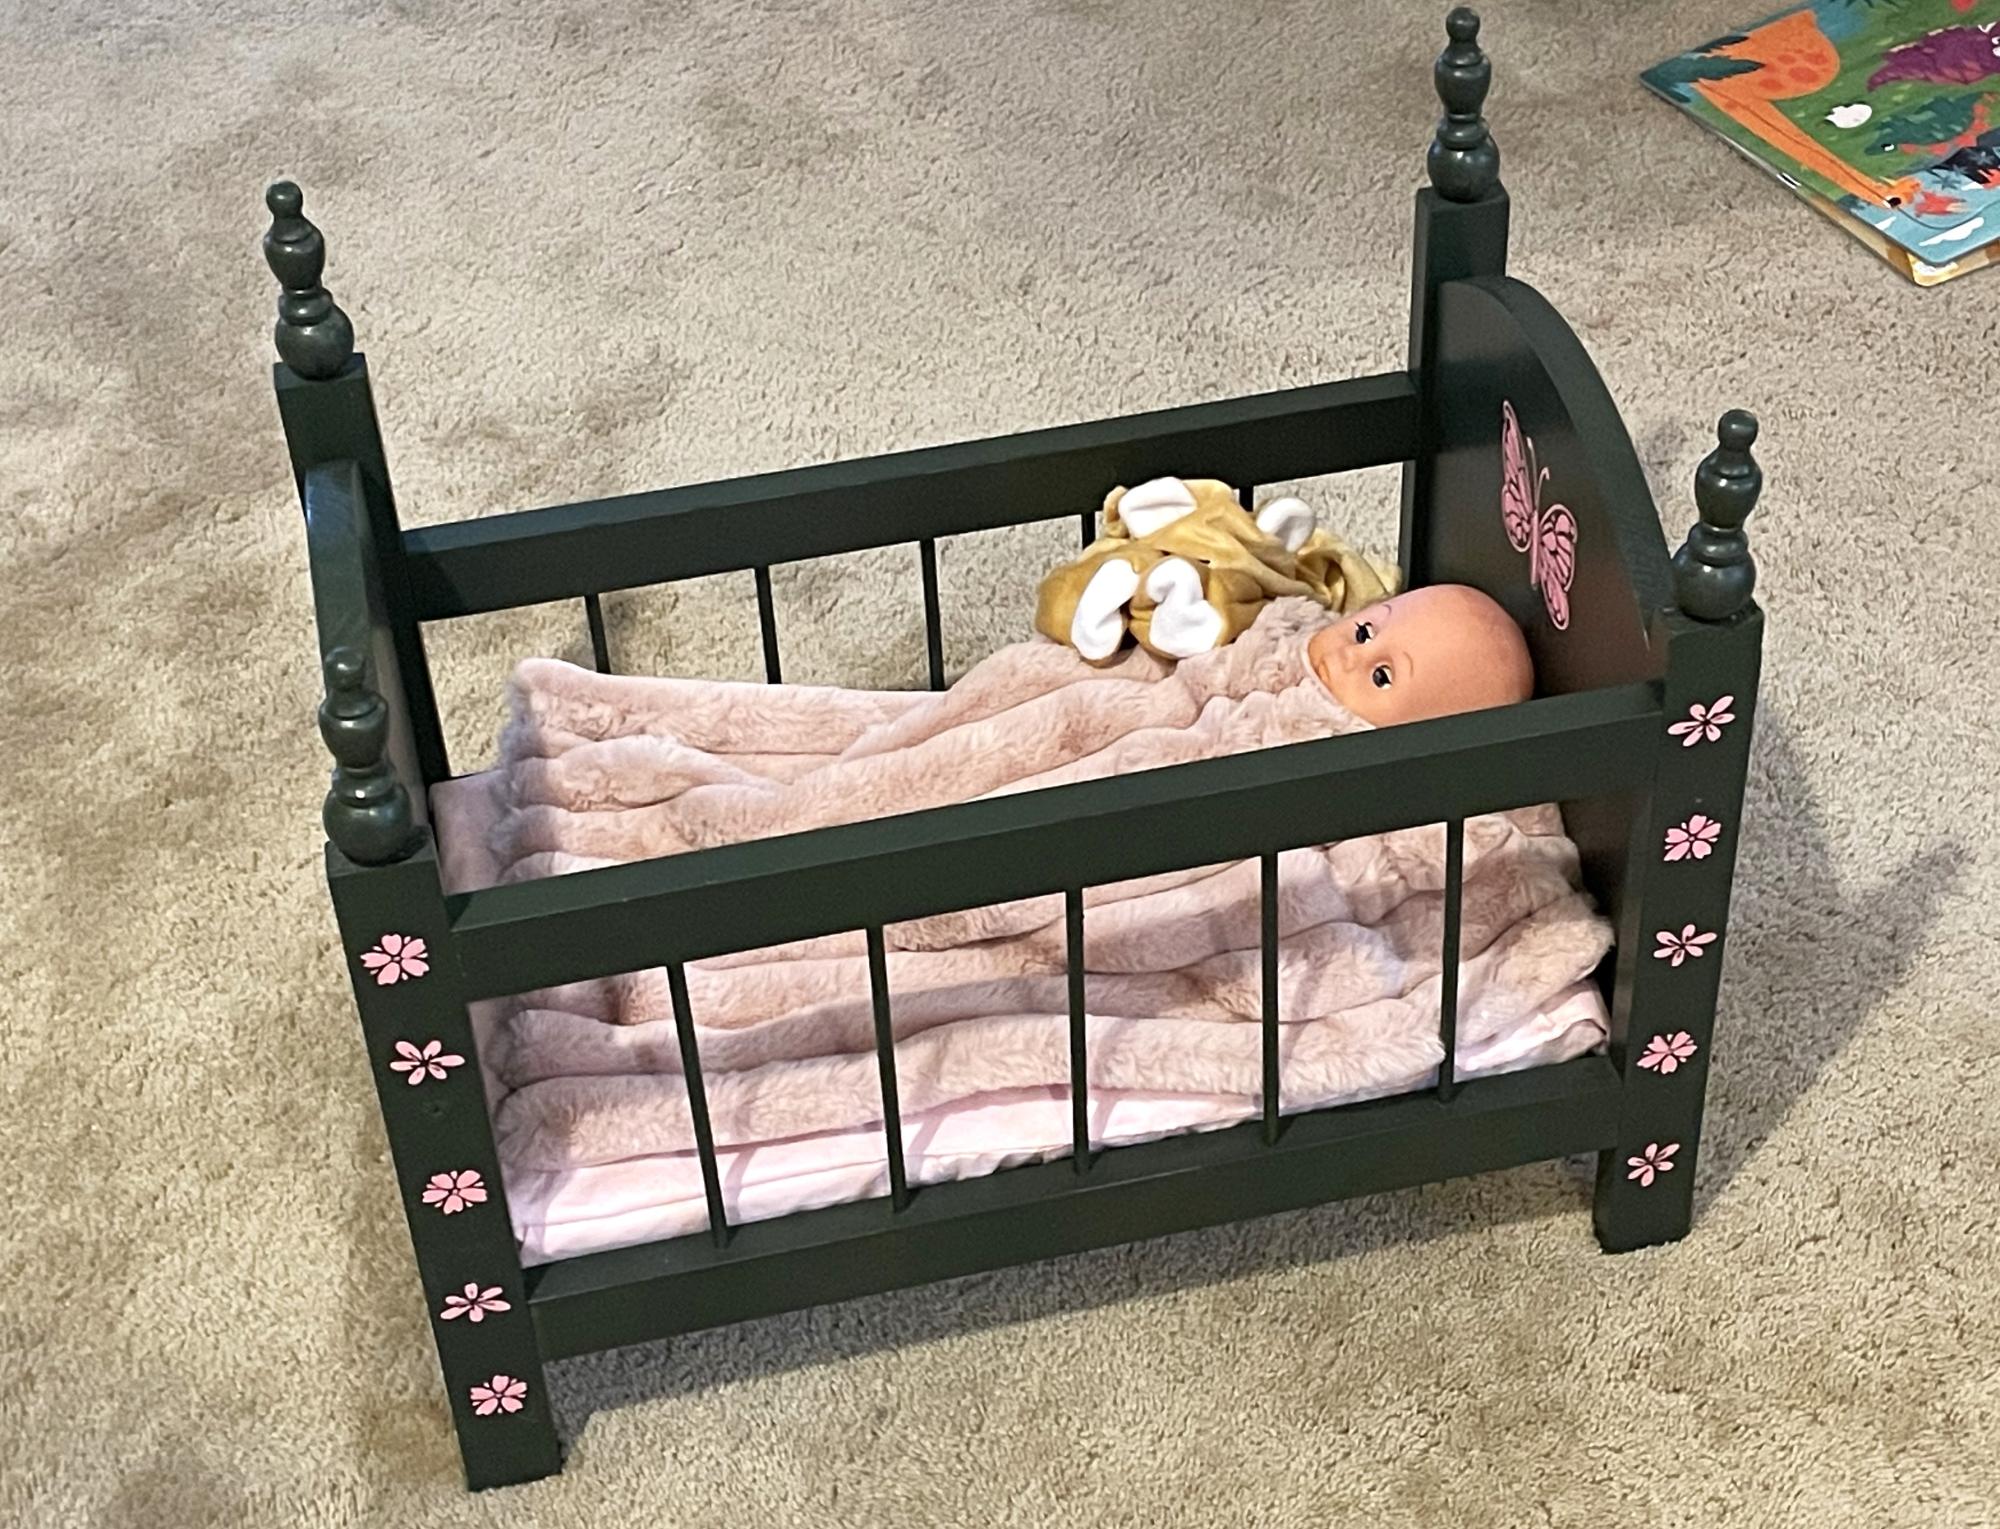
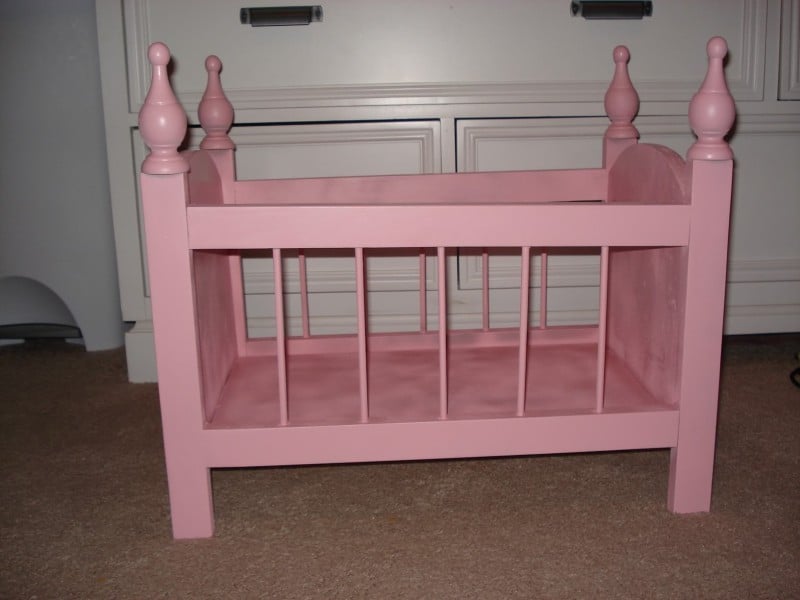
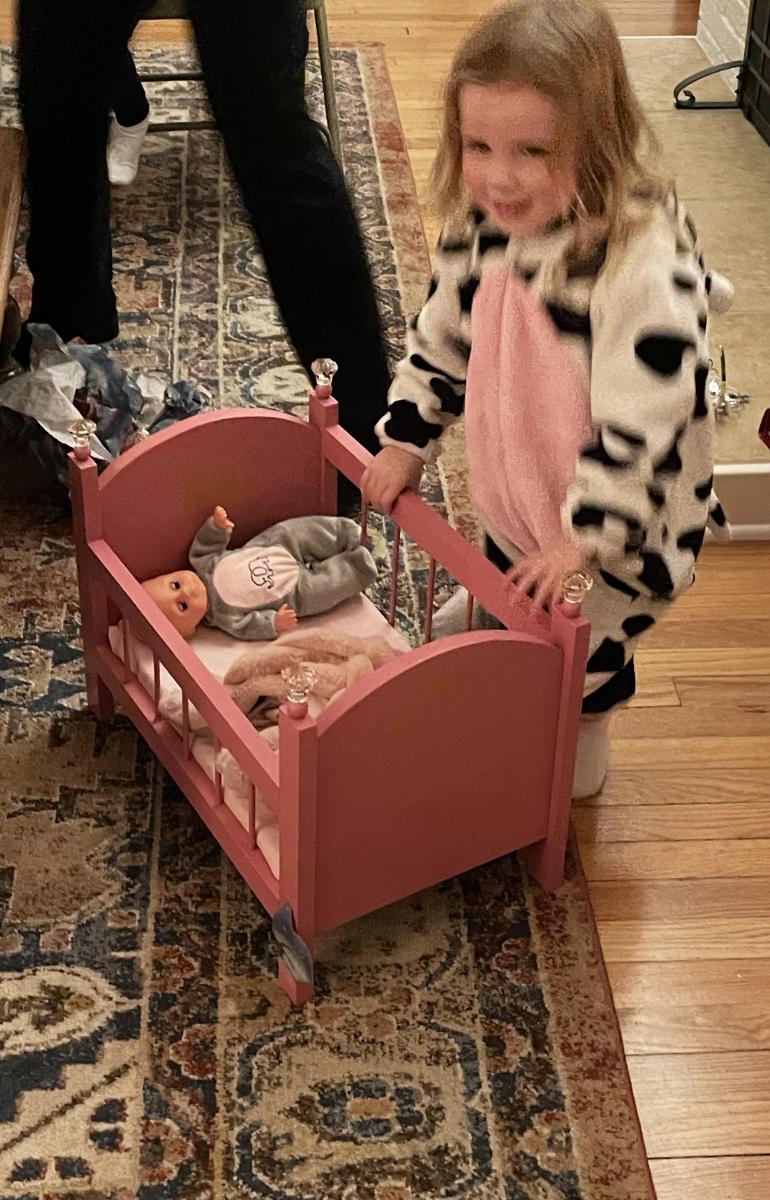
First Ana White project for a beginner woodworker are two baby doll cribs.
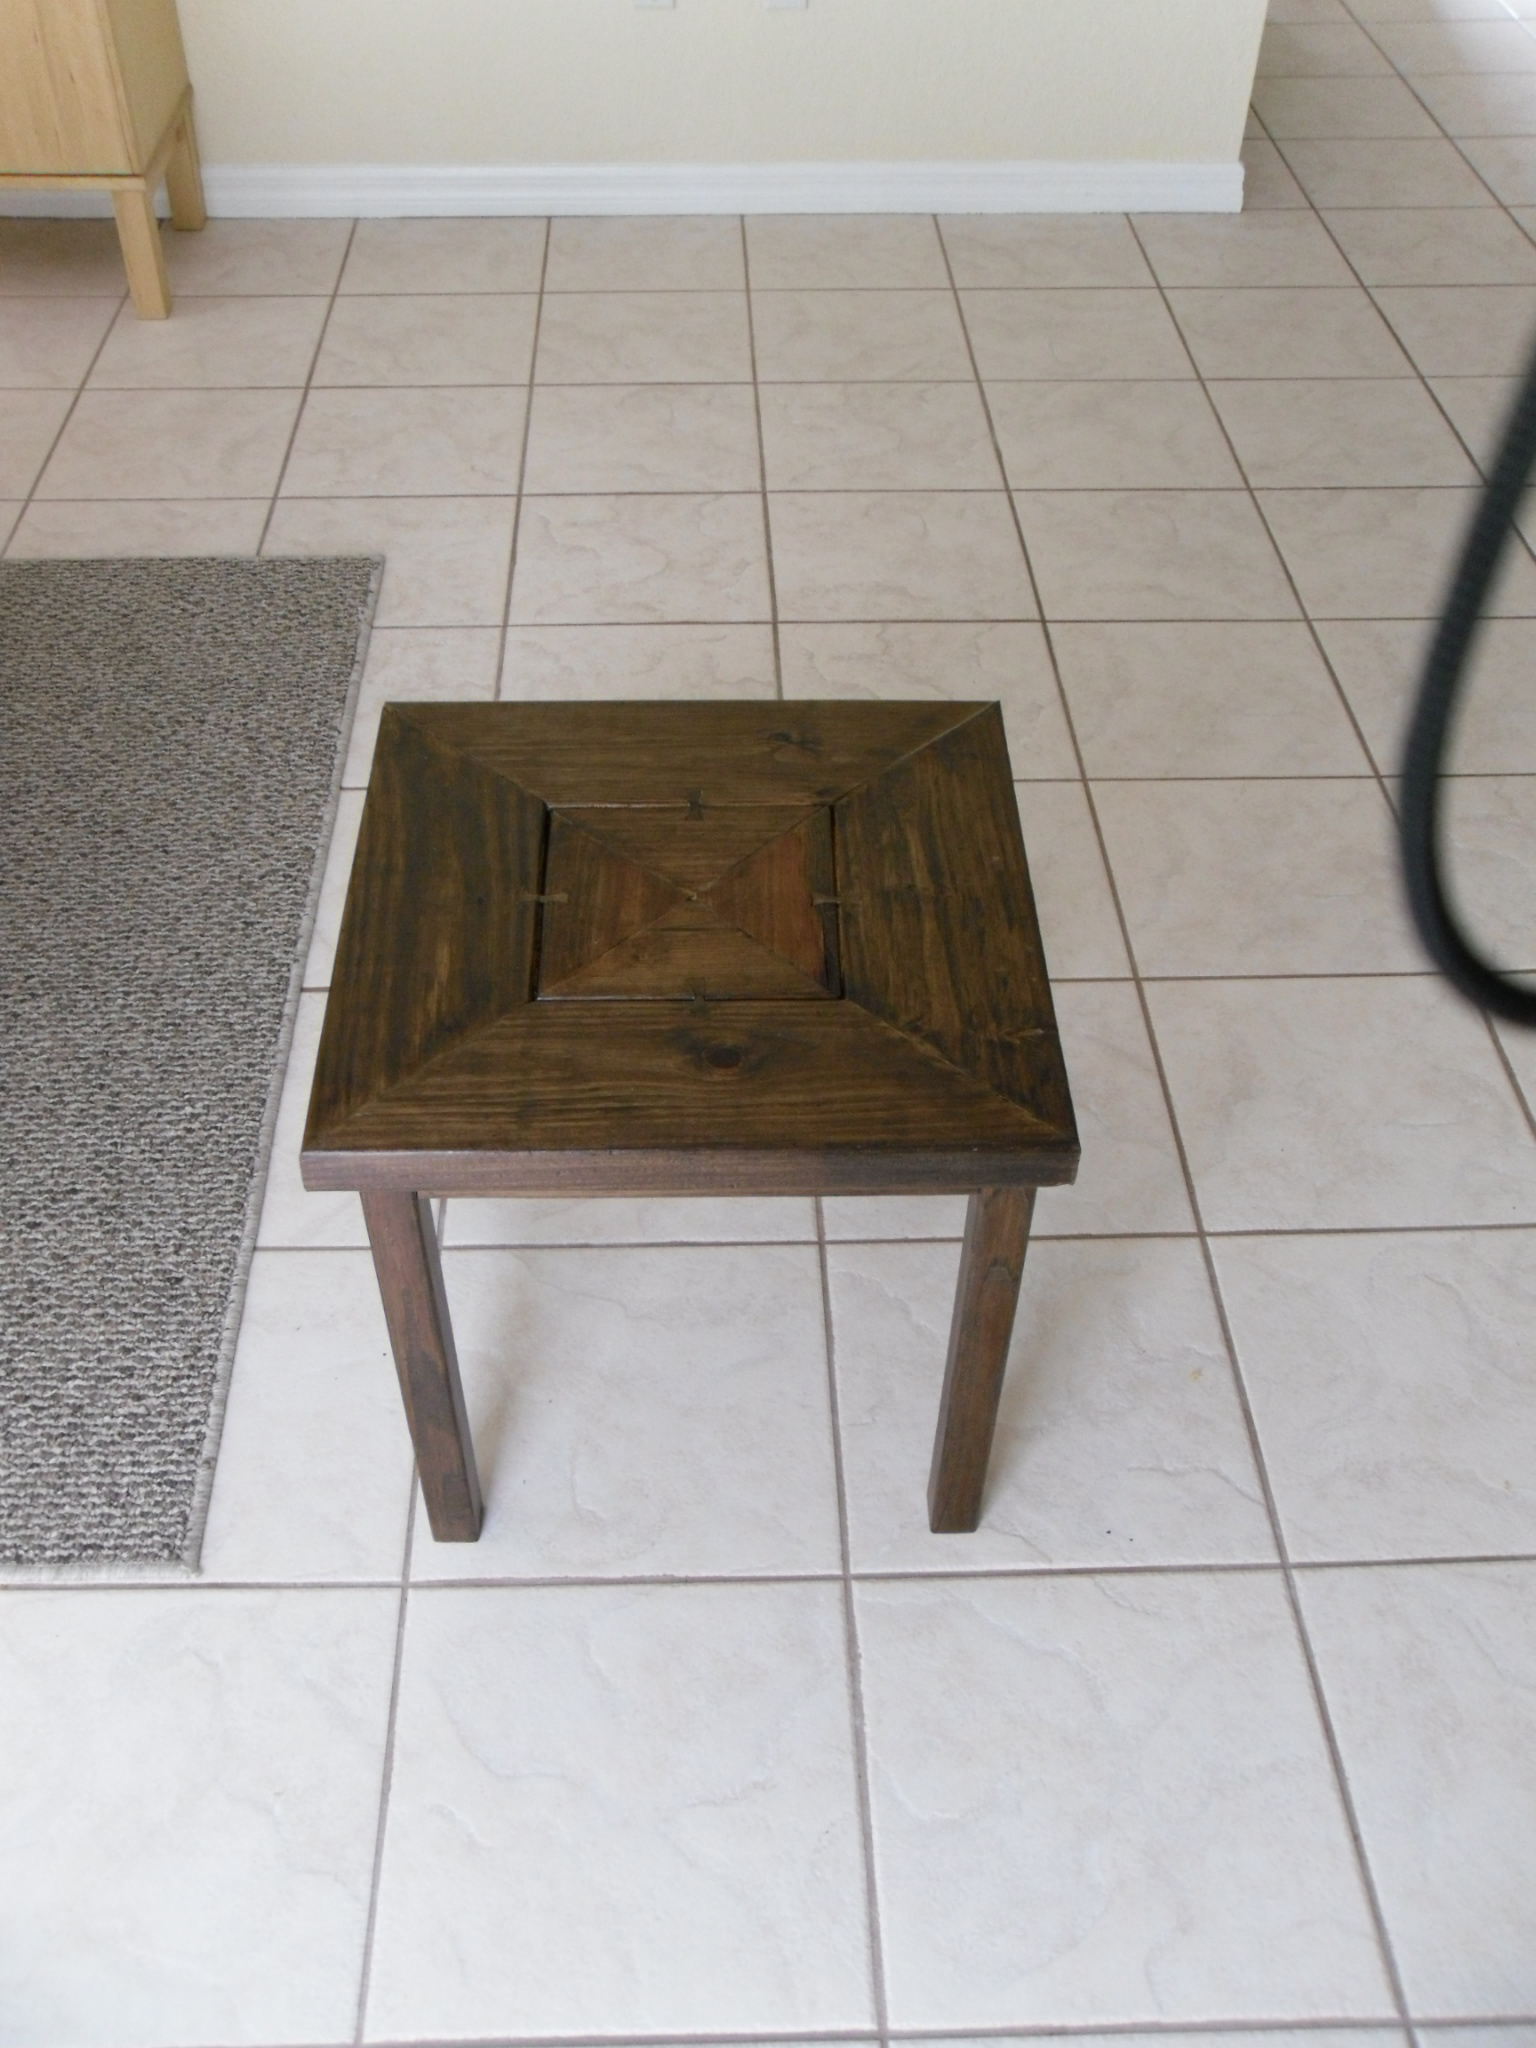
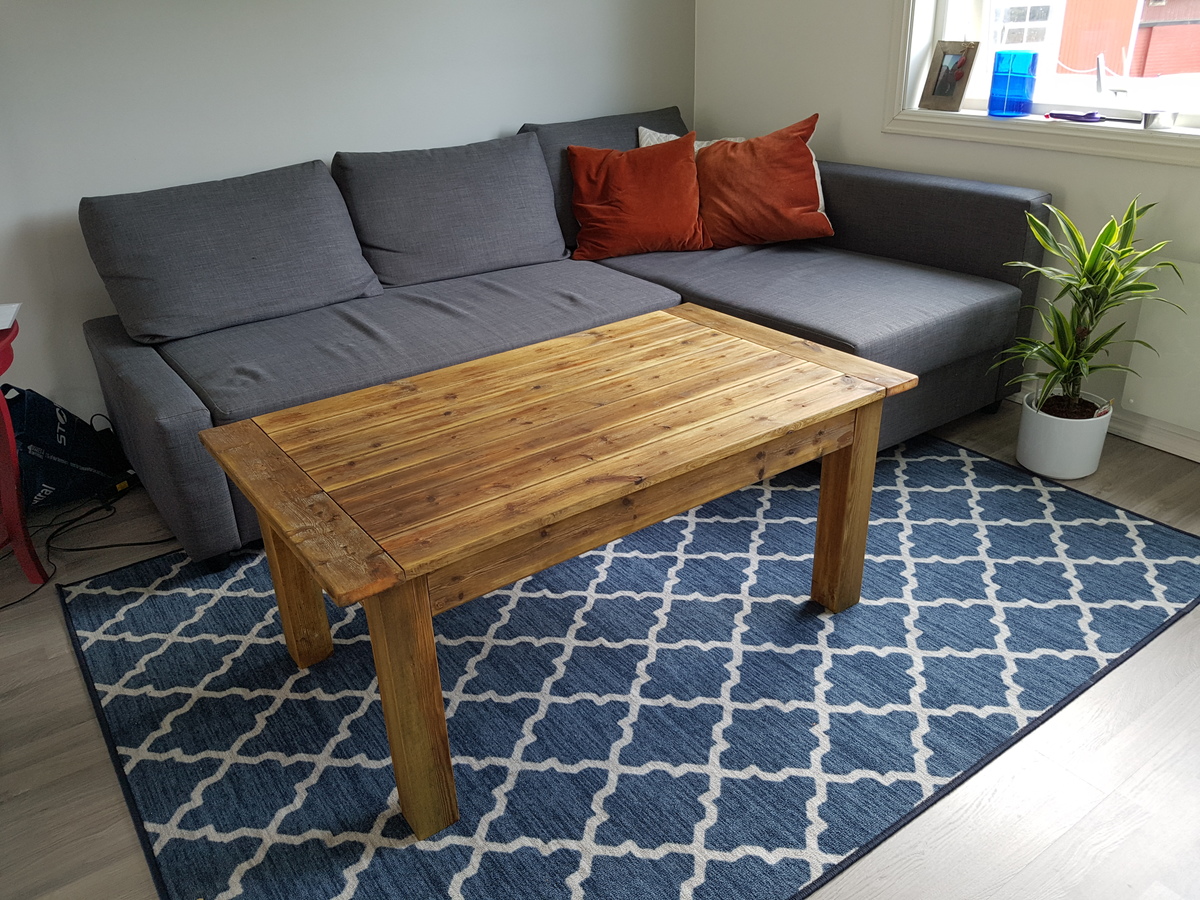
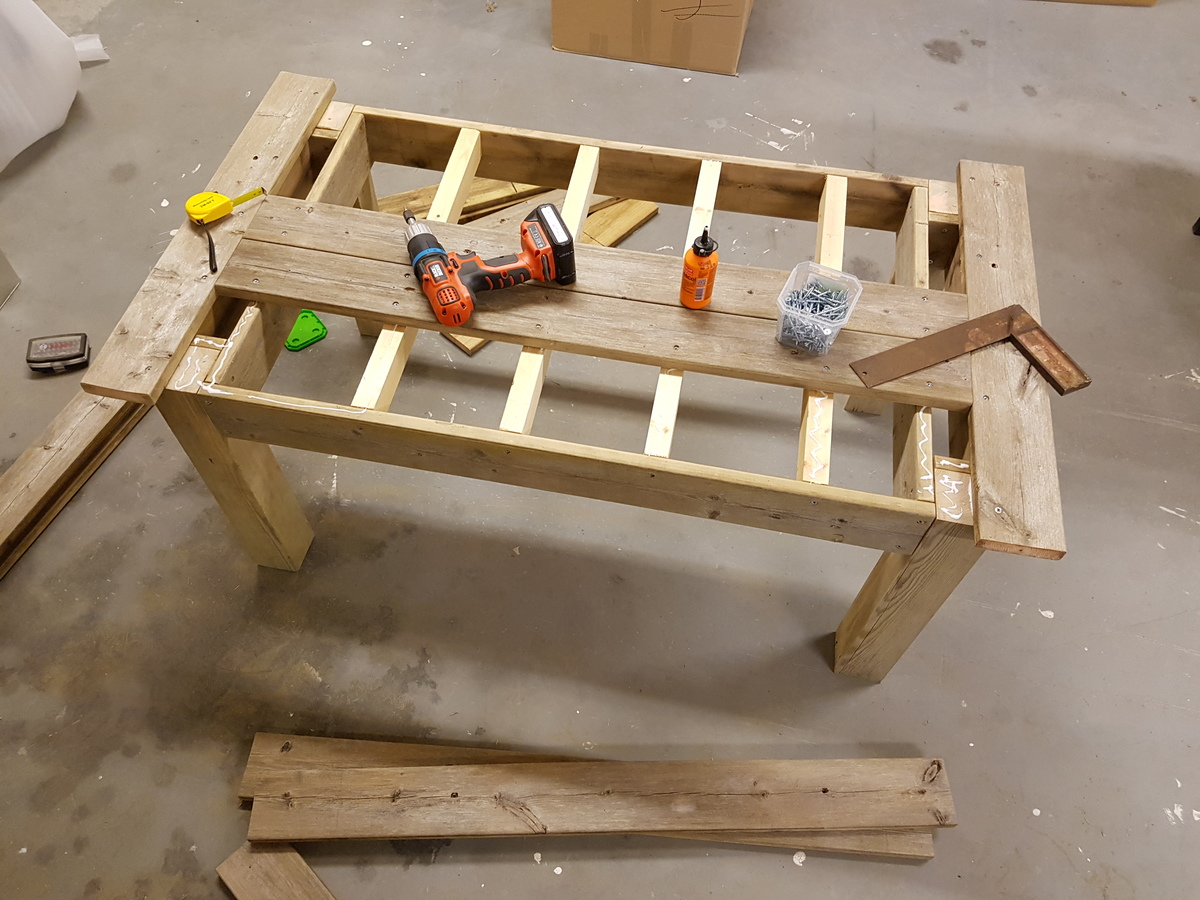
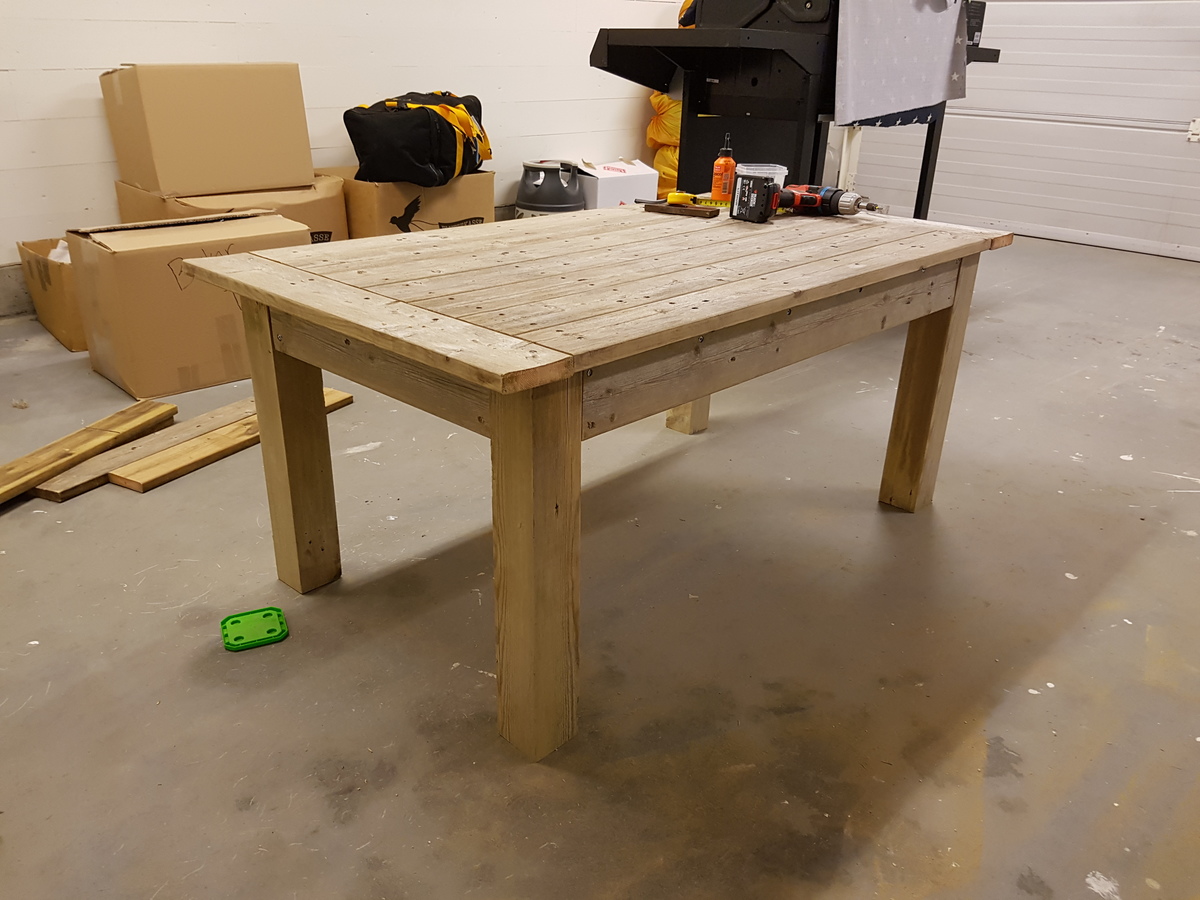
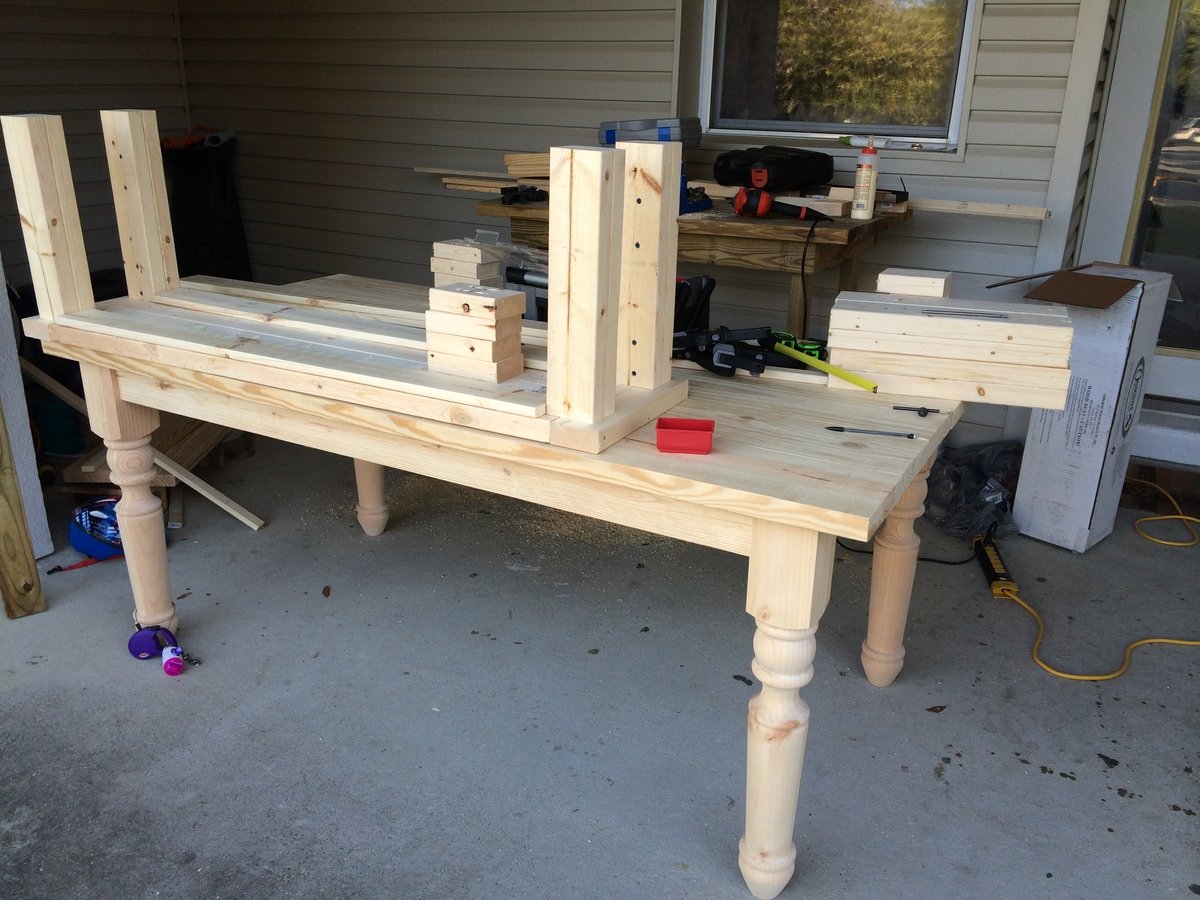
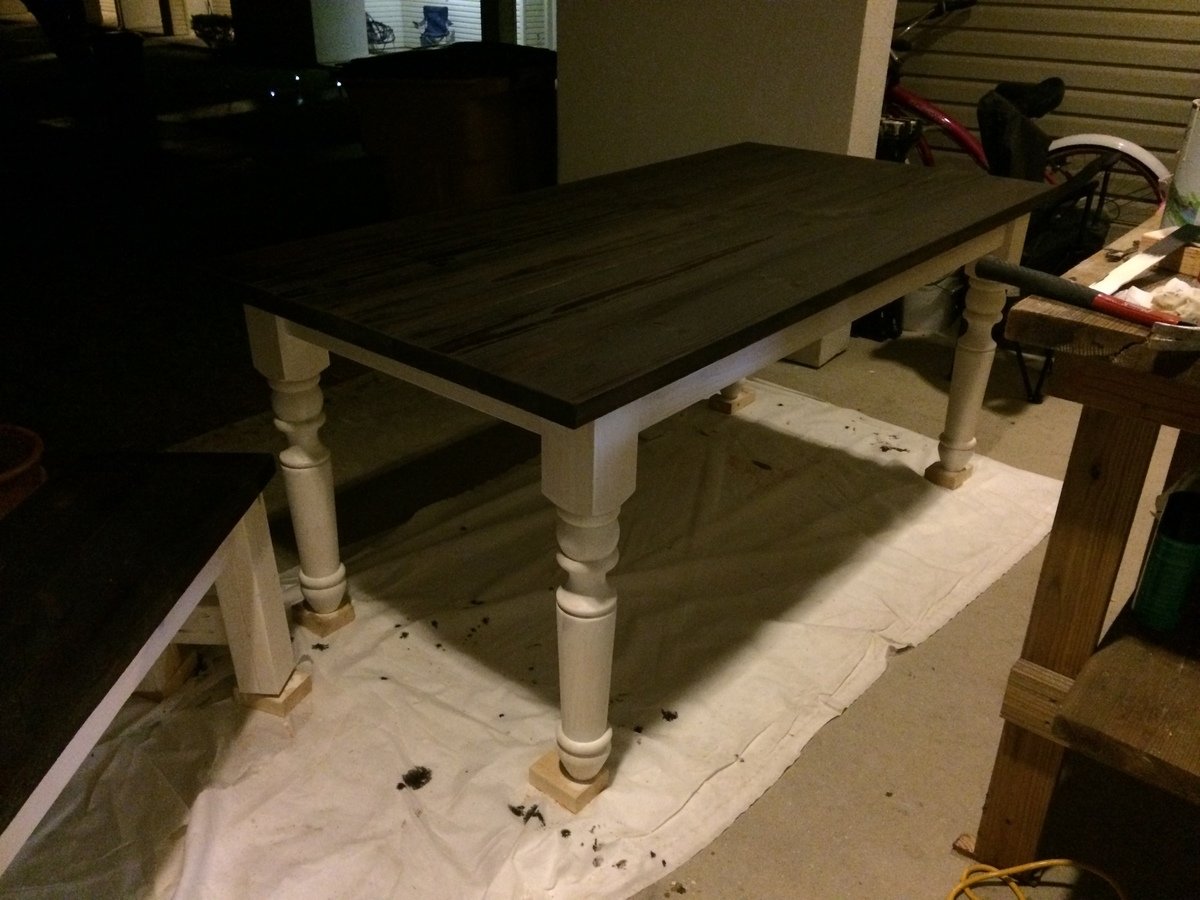
I'm just starting out. I built this from scrap wood I had laying around. I followed the plan except for the table top. Here I used a 2x6 that I cut on the miter saw, and used bowties to help give the middle more strength.
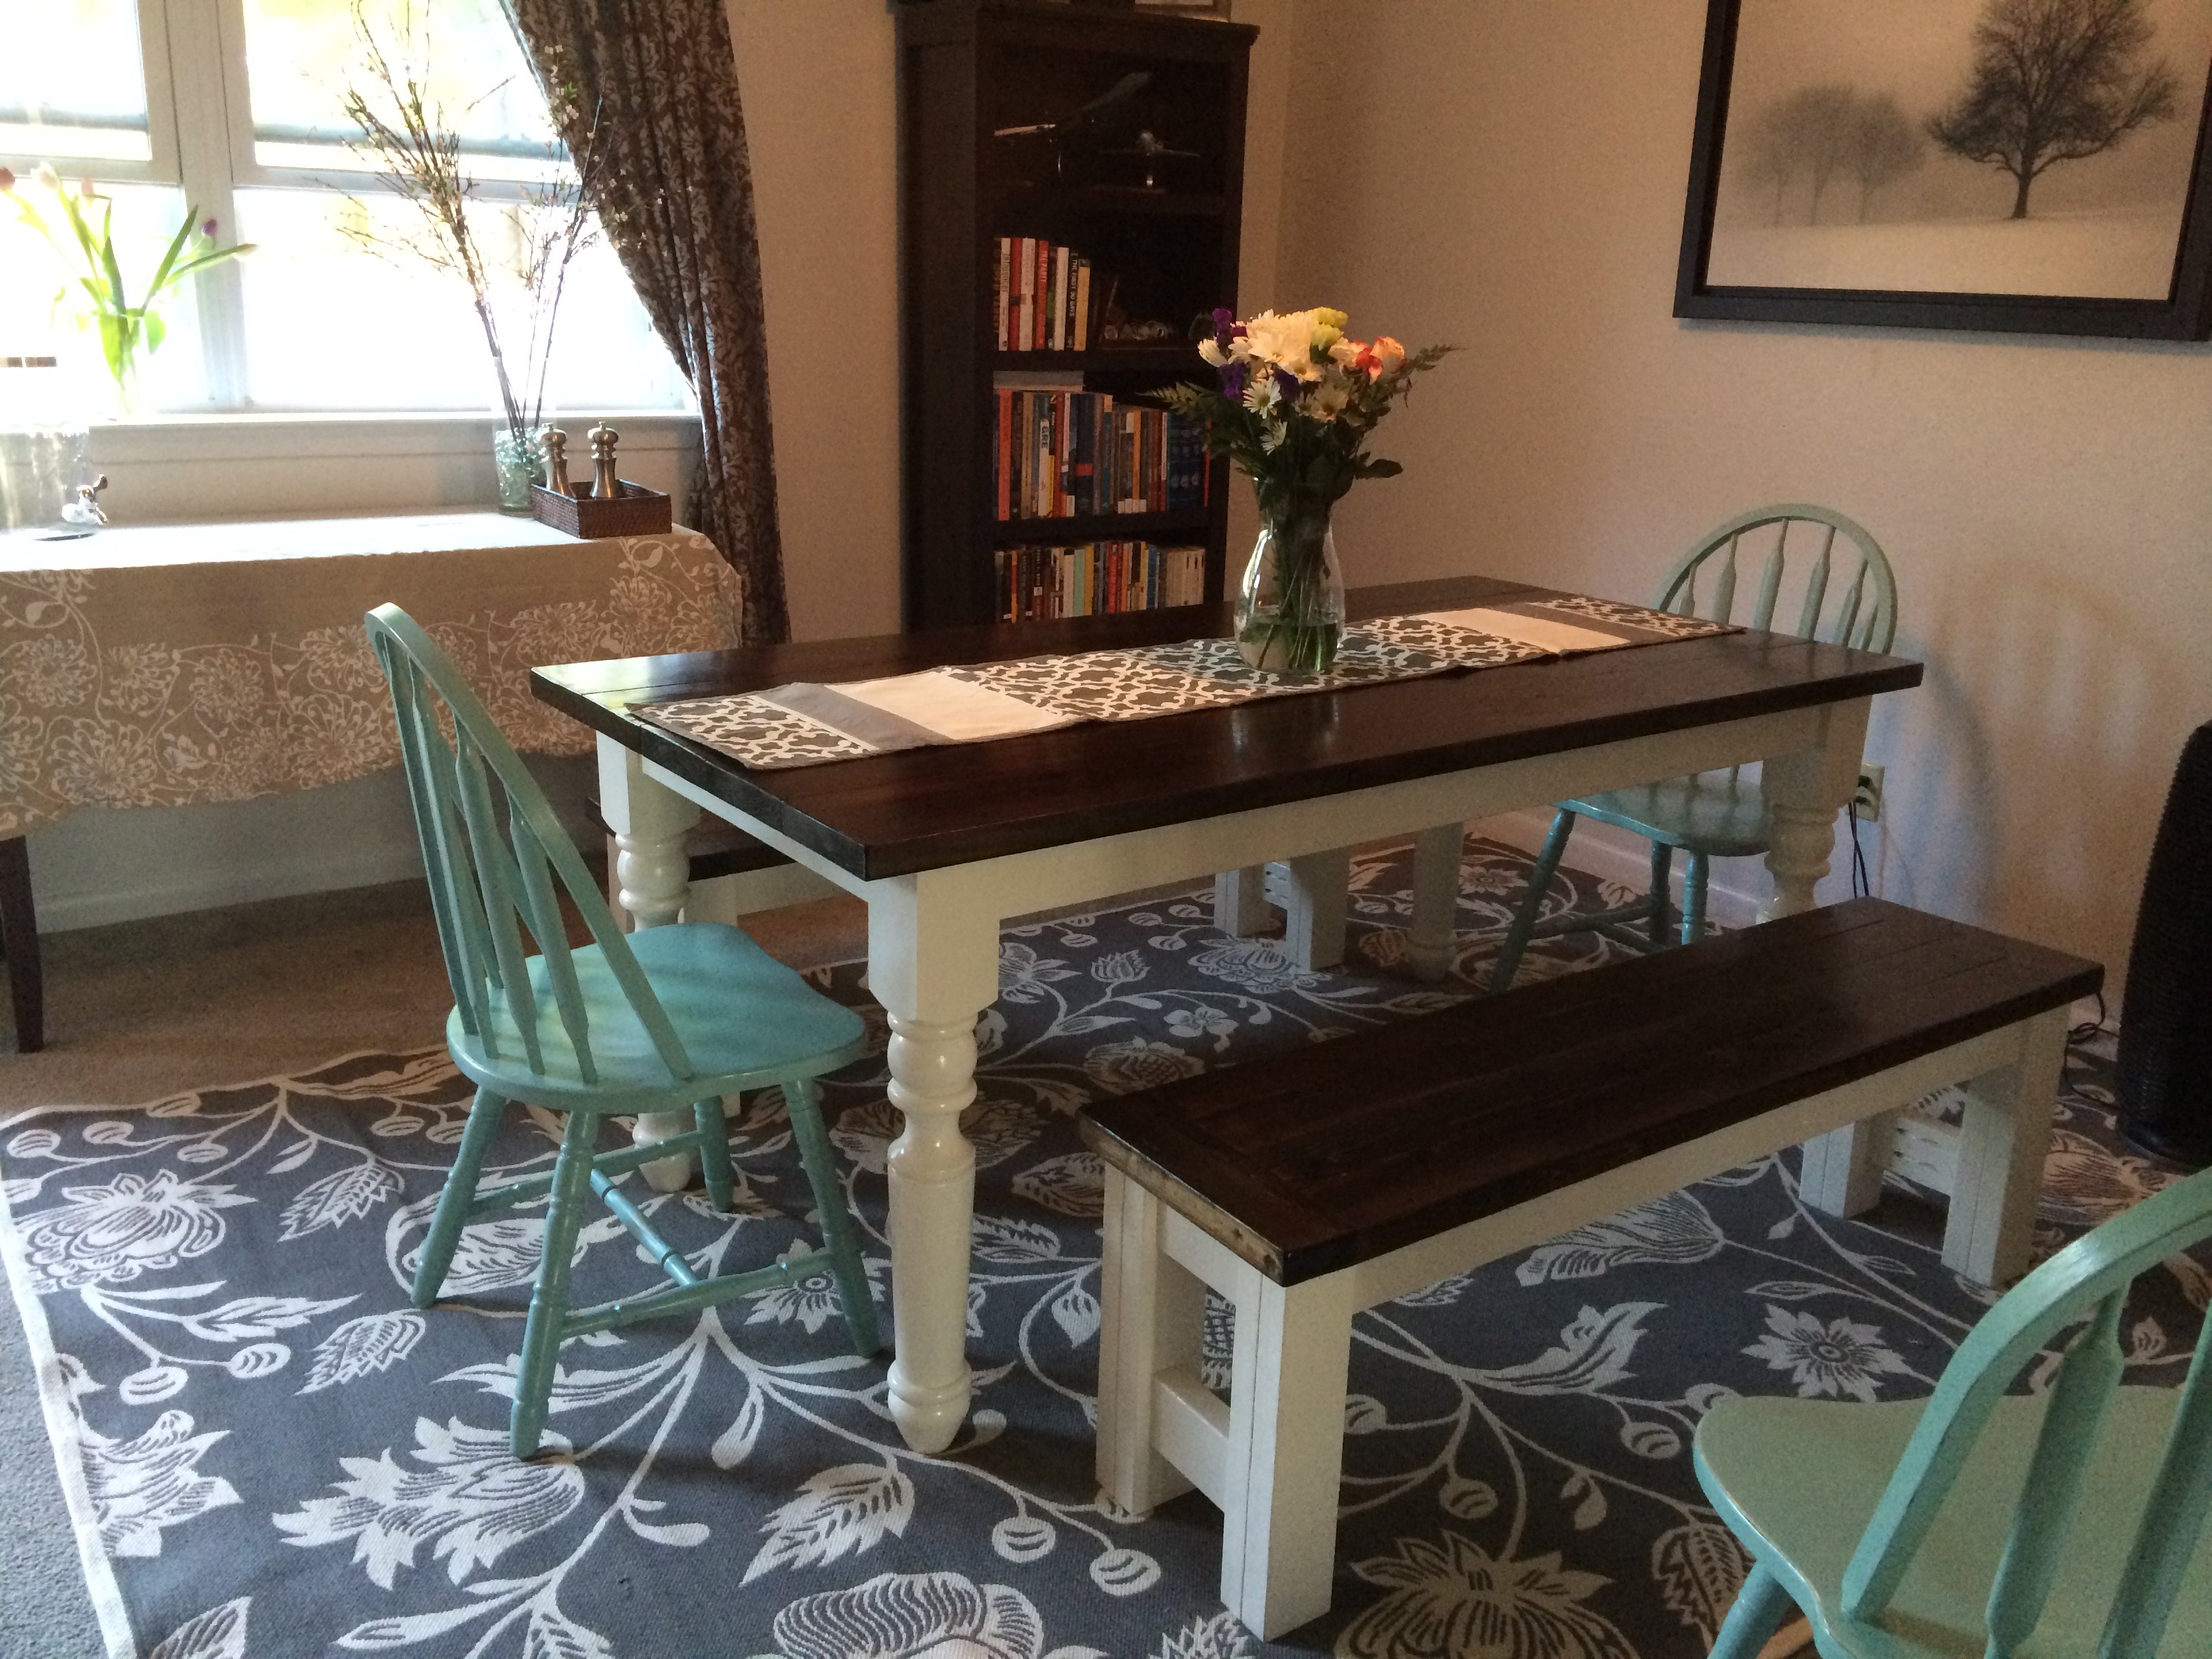
Took about a week to build and put together. Most expensive part was the table legs but the most challenging part was to get the table top smooth and level. I built the benches based off the farmhouse bench plans and then picked up some chairs from a local second hand shop for just two bucks a piece. So far the feedback has been very positive!
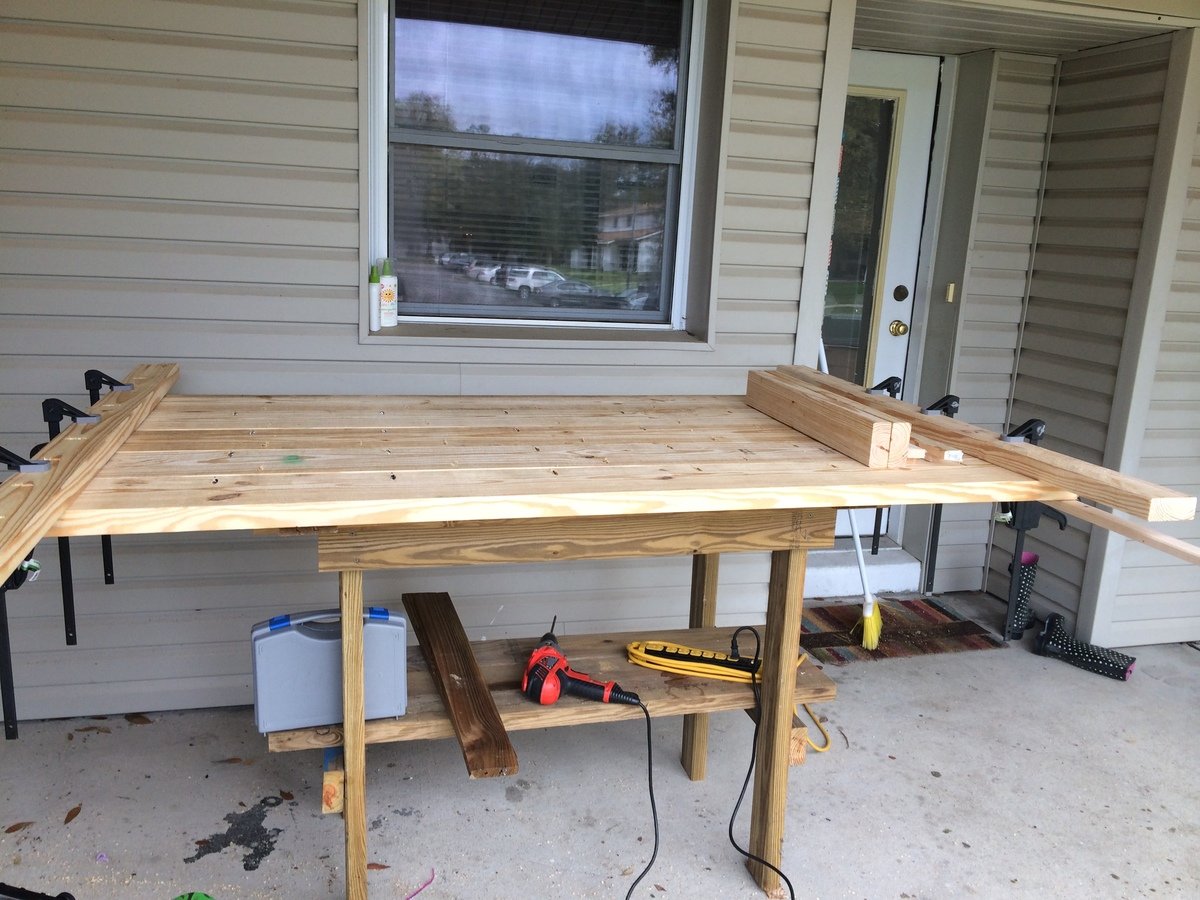
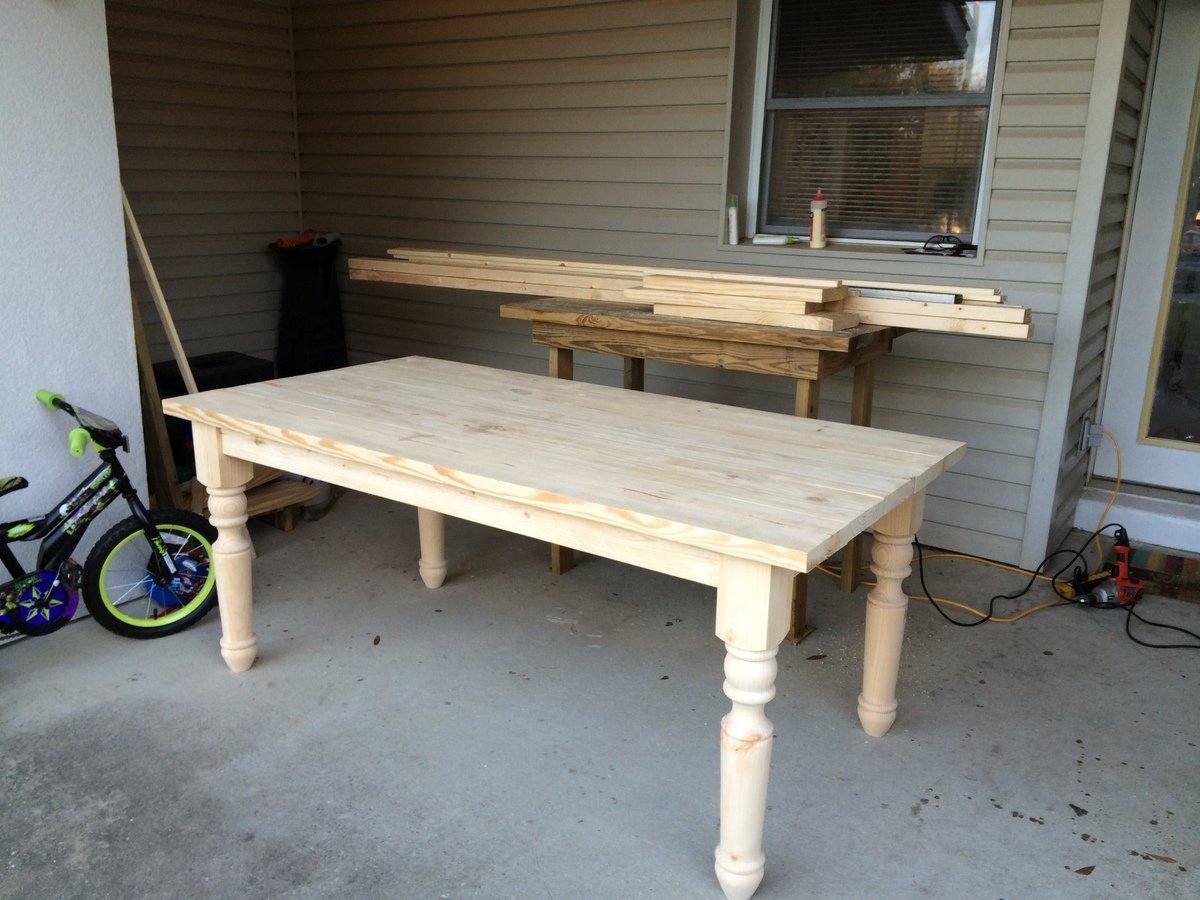
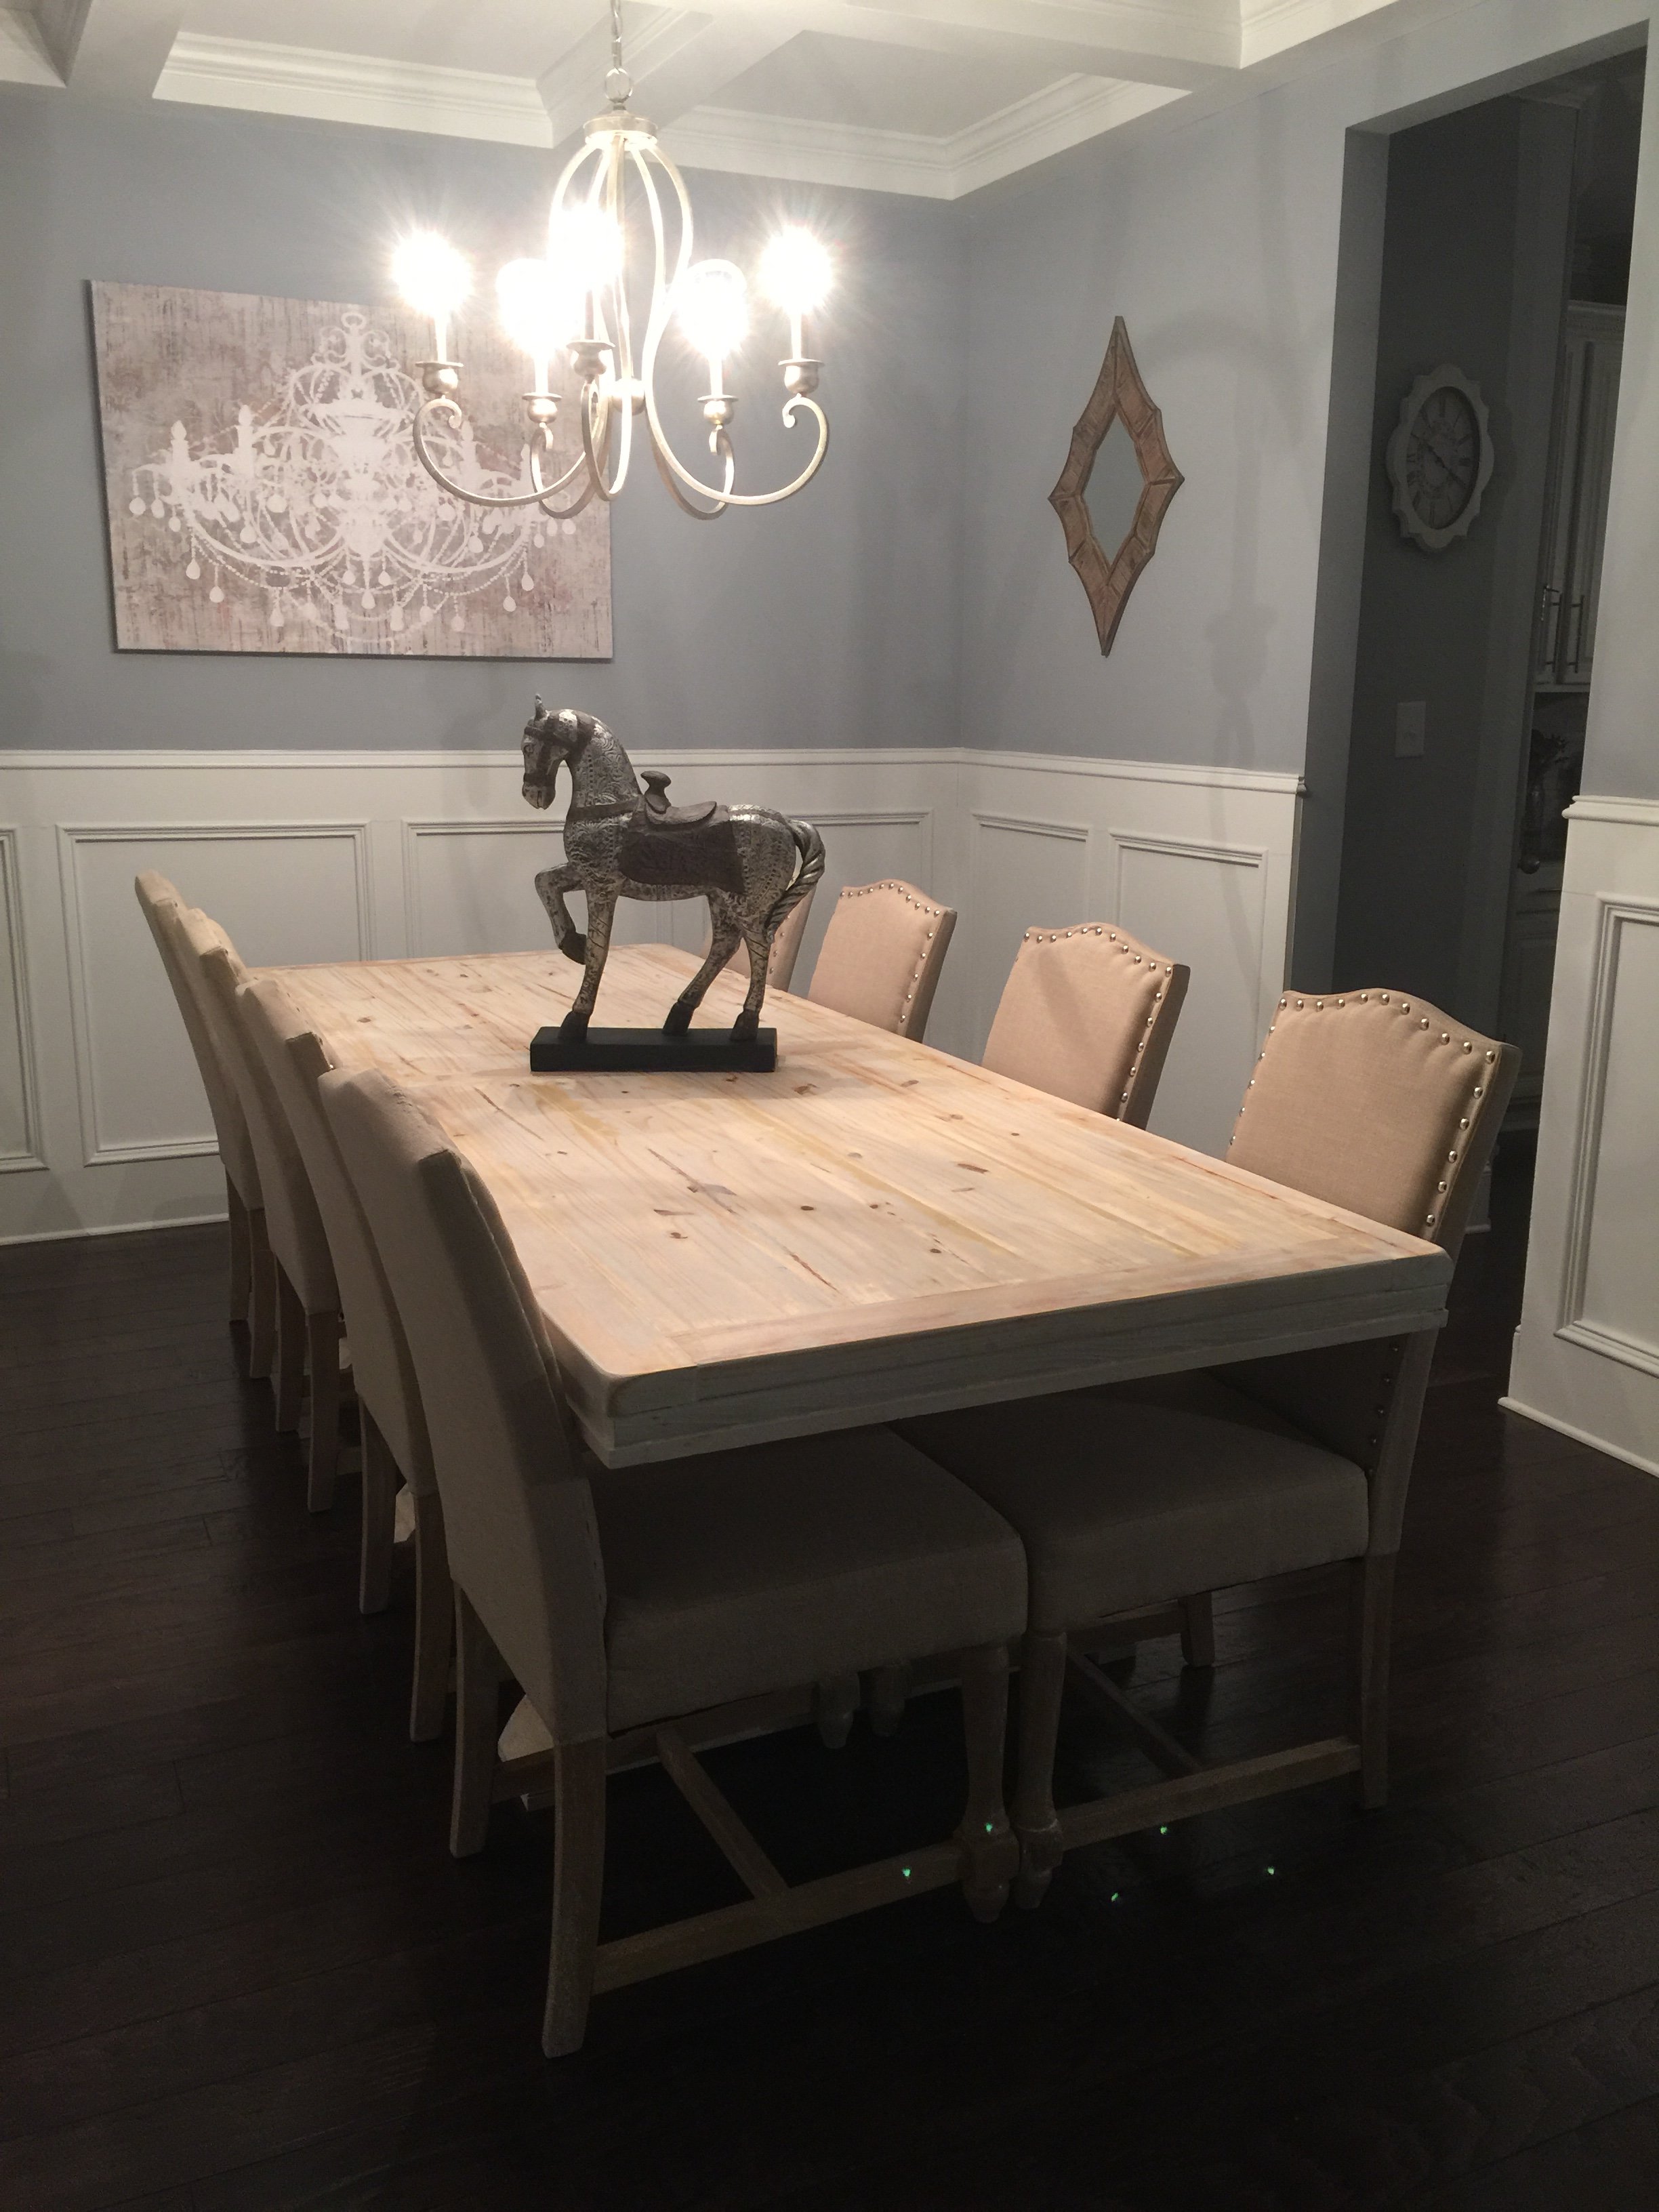
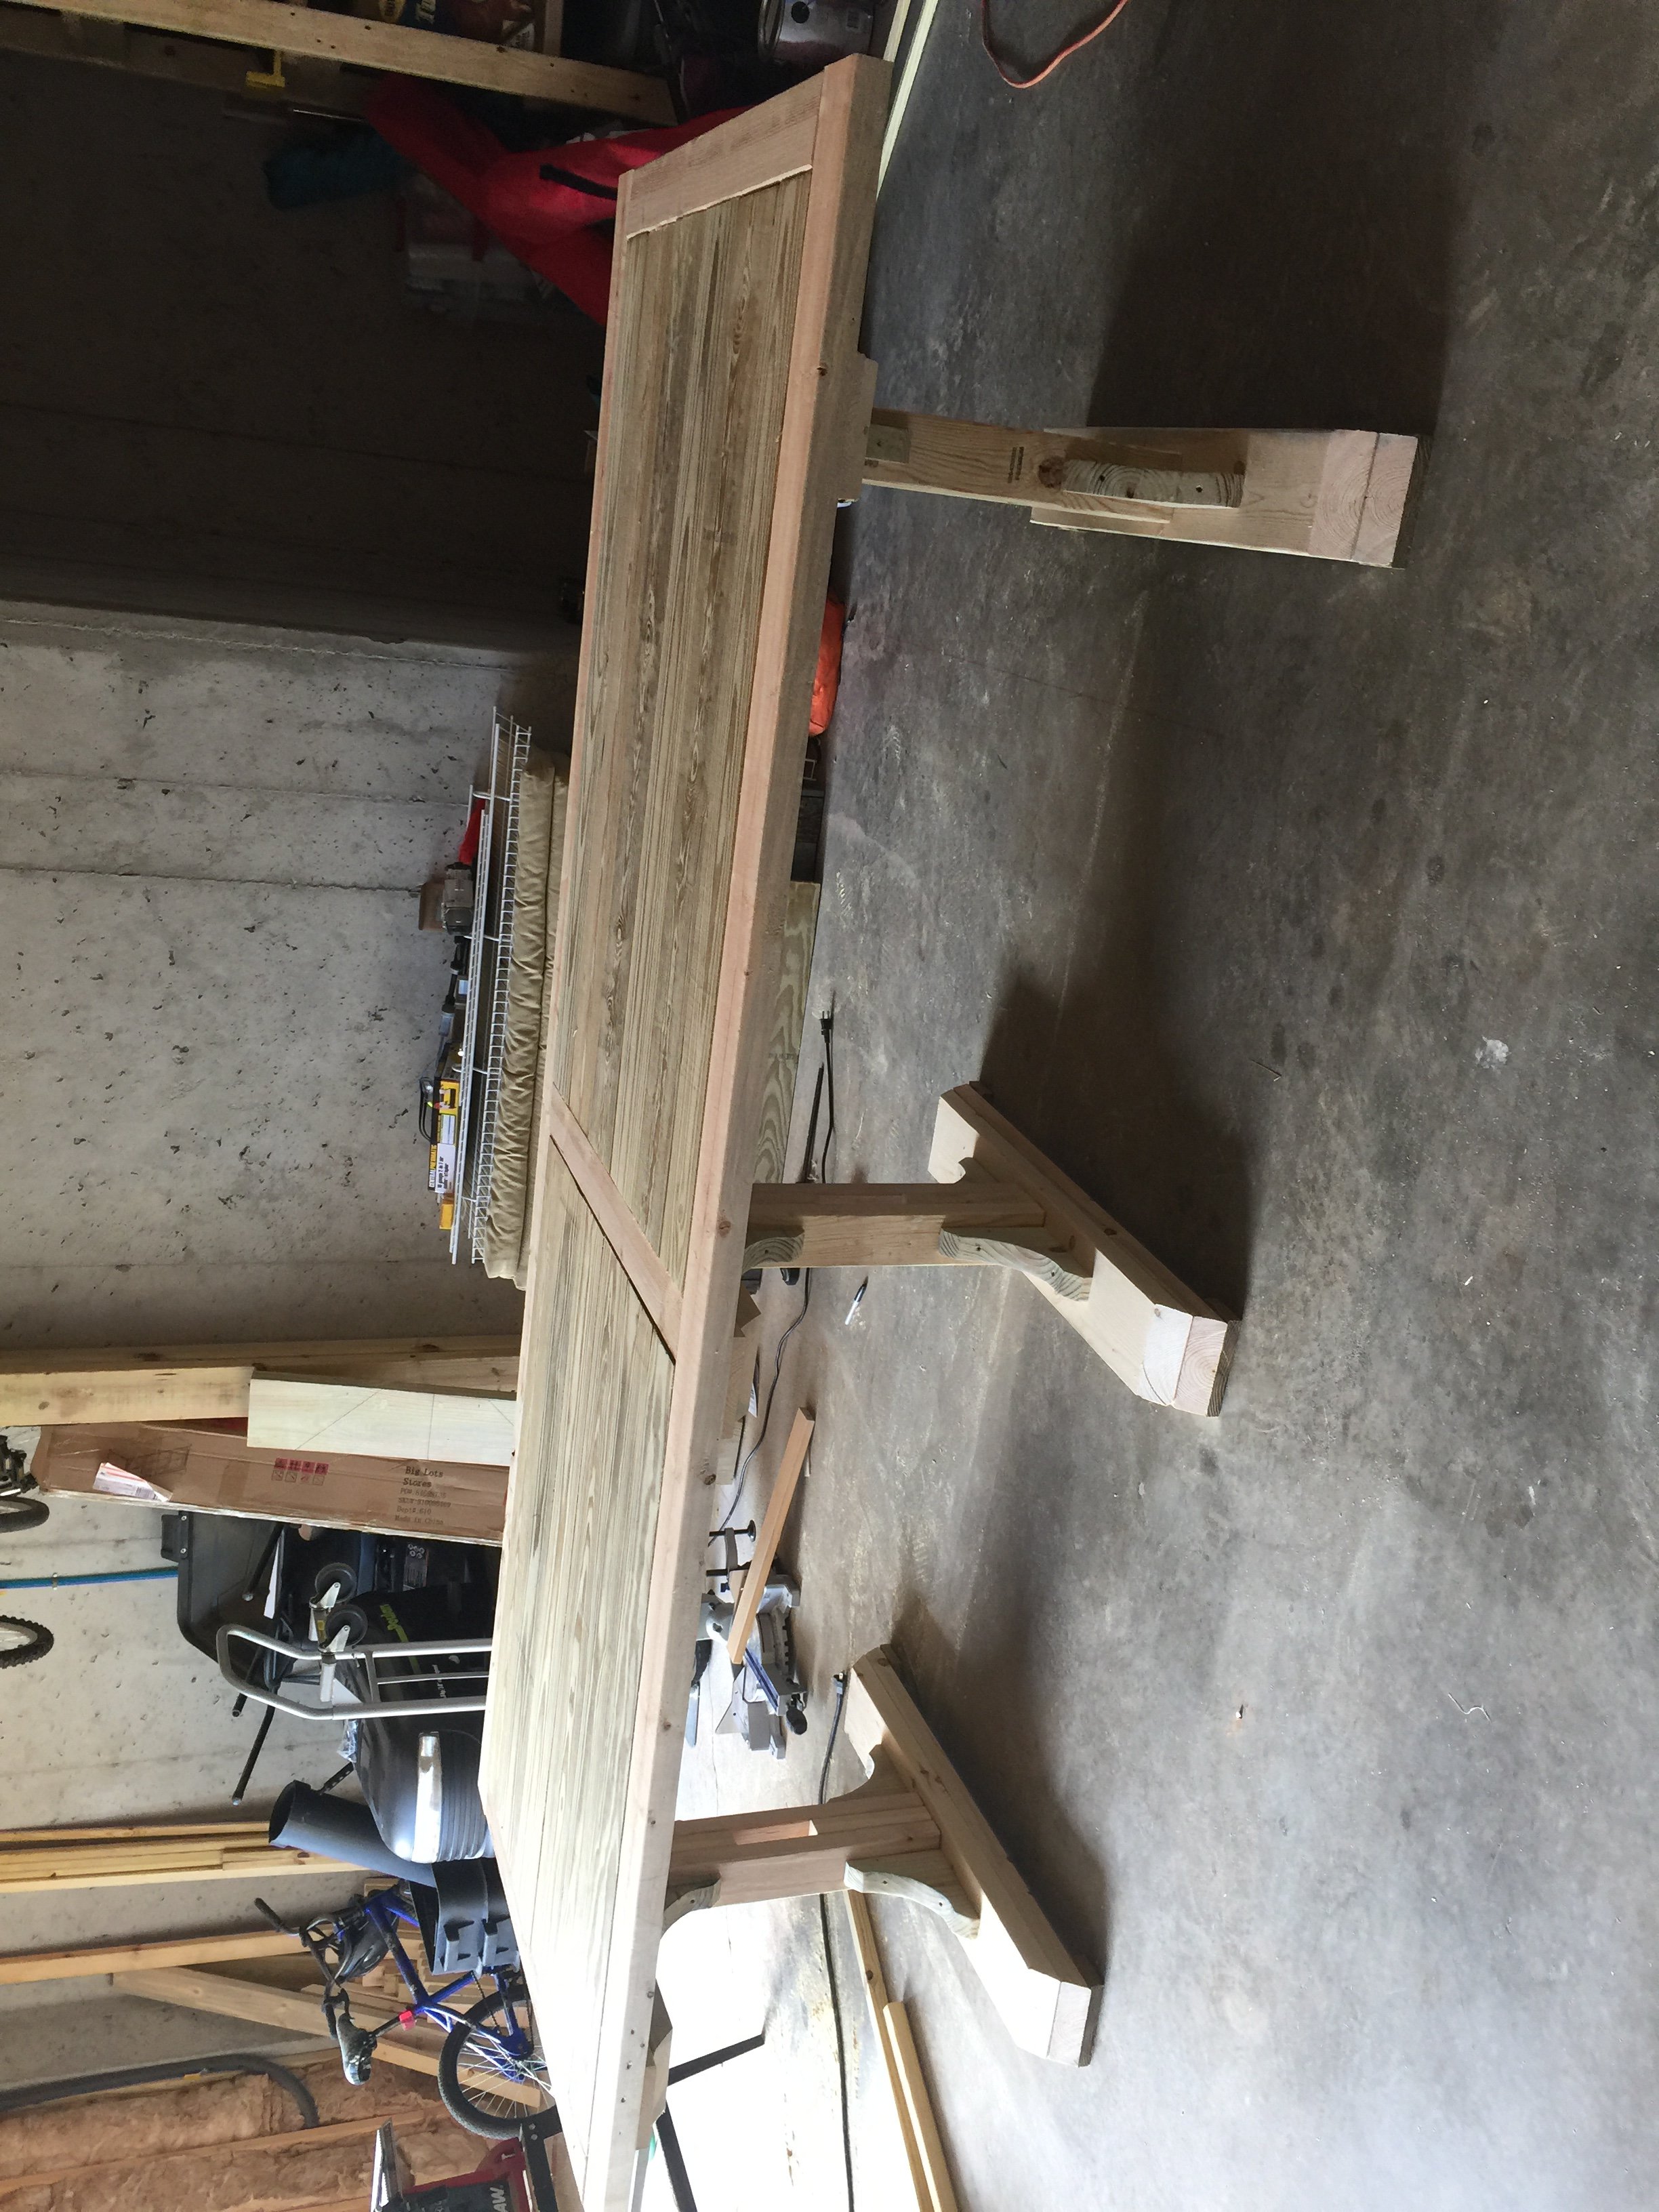
This was more or less a honey-do project for my birthday. My husband was able to use the entire length of the original plan that was downloaded from this site. It took him the entire weekend to complete all of the cutting and assembly. the wood glue application and staining went well-basically, after the wood glue was dry he sanded then applied two coats of a stain that has a white wash appearance. After letting it dry he sanded then applied two applications of matte poly. This project actually took about three weeks for us because we were in the mist of moving. I believe it could have been completed in the course of one weekend if there were know distractions. The table is now a piece that is the conversation of all who visit our home and it will be in the family for many years to come.
This honey do project gets a 100% thanks to making this tool available to others!
Thank you
The Kelley's
Finishing products: minwax water based white wash pickling 32oz.
minwax water based polycrylic clear matte
The $200 dollars was due to other materials and tools that were required
BUILT FROM PLAN(S)
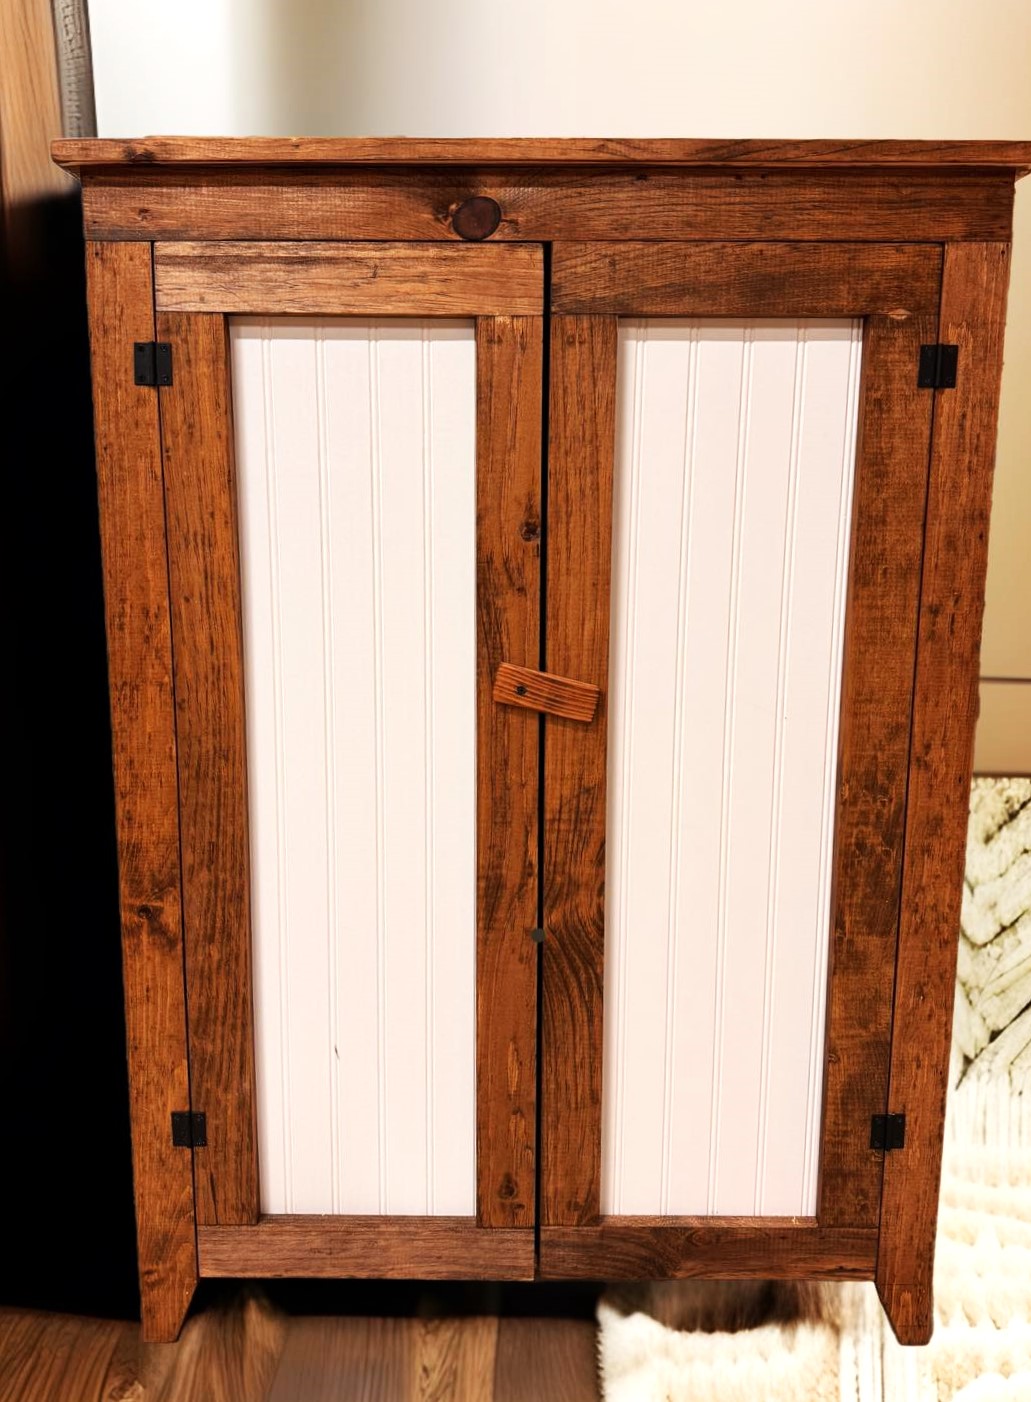
Patrick's Jelly Cupbard
ESTIMATED COST
$155.00 (wood alone was $145.00 from Homedepot)
ESTIMATED TIME INVESTMENT
Weekend project - about 10 hours
FINISH USED:
I used white beadboard for the backing and the door inserts. I stained the rest with Minwax Provincial stain. I will be adding black metal stars to the doors to break up the white.
RECOMMENDED SKILL LEVEL:
Intermediate
AAA Farm Tables - AAAFarmTables.com
Tue, 01/09/2024 - 08:50
It looks wonderful, really like the use of beadboard for the doors! Thanks for sharing.
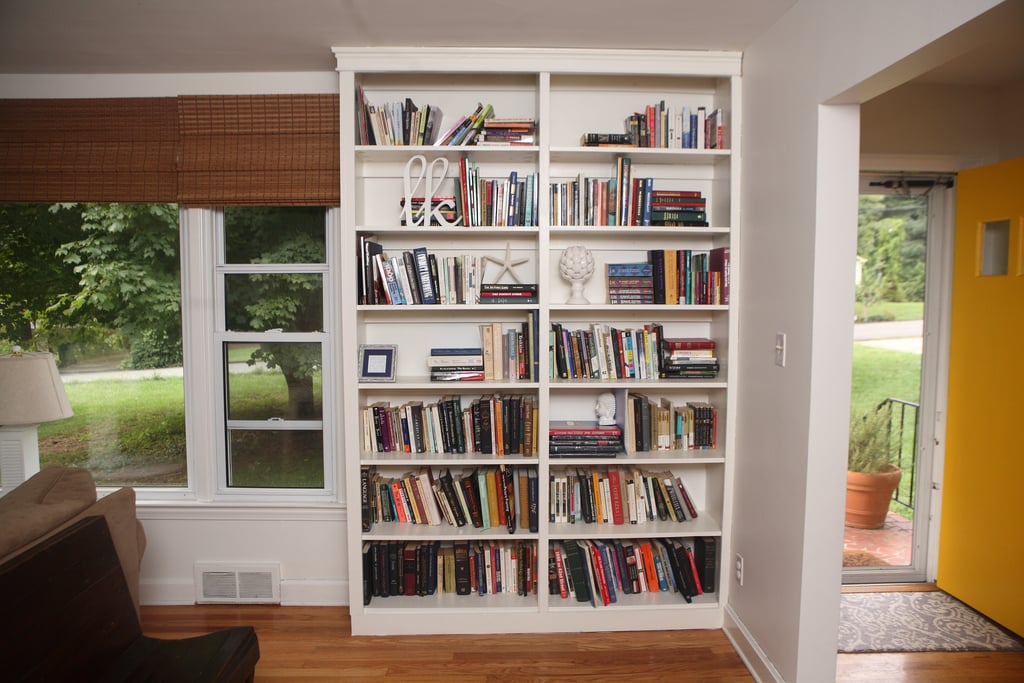
These built-in bookshelves were my first project, and were loosely based on the Willy bookshelf plans, although I changed the dimensions, set them on a 2x4 base, and added trim to the sides and molding on top.
Sat, 08/11/2012 - 05:58
hello,
Just wondering how the sides and middle part are built. They look like thicker than 1/2 in.Is it a trim or a 1x2? or did you use some 2x4 too?
I am looking at building a bookcase too but i wanted something more massive than 1/2 in. like yours.
Thanks
Great job!! looks awesome
Tue, 08/21/2012 - 05:31
I made the two bookshelves separately so I could move them in my house easier. Each has 1x12 sides (so 3/4" thick), and and that's 1x2 trim over the side and middle.
Thanks!
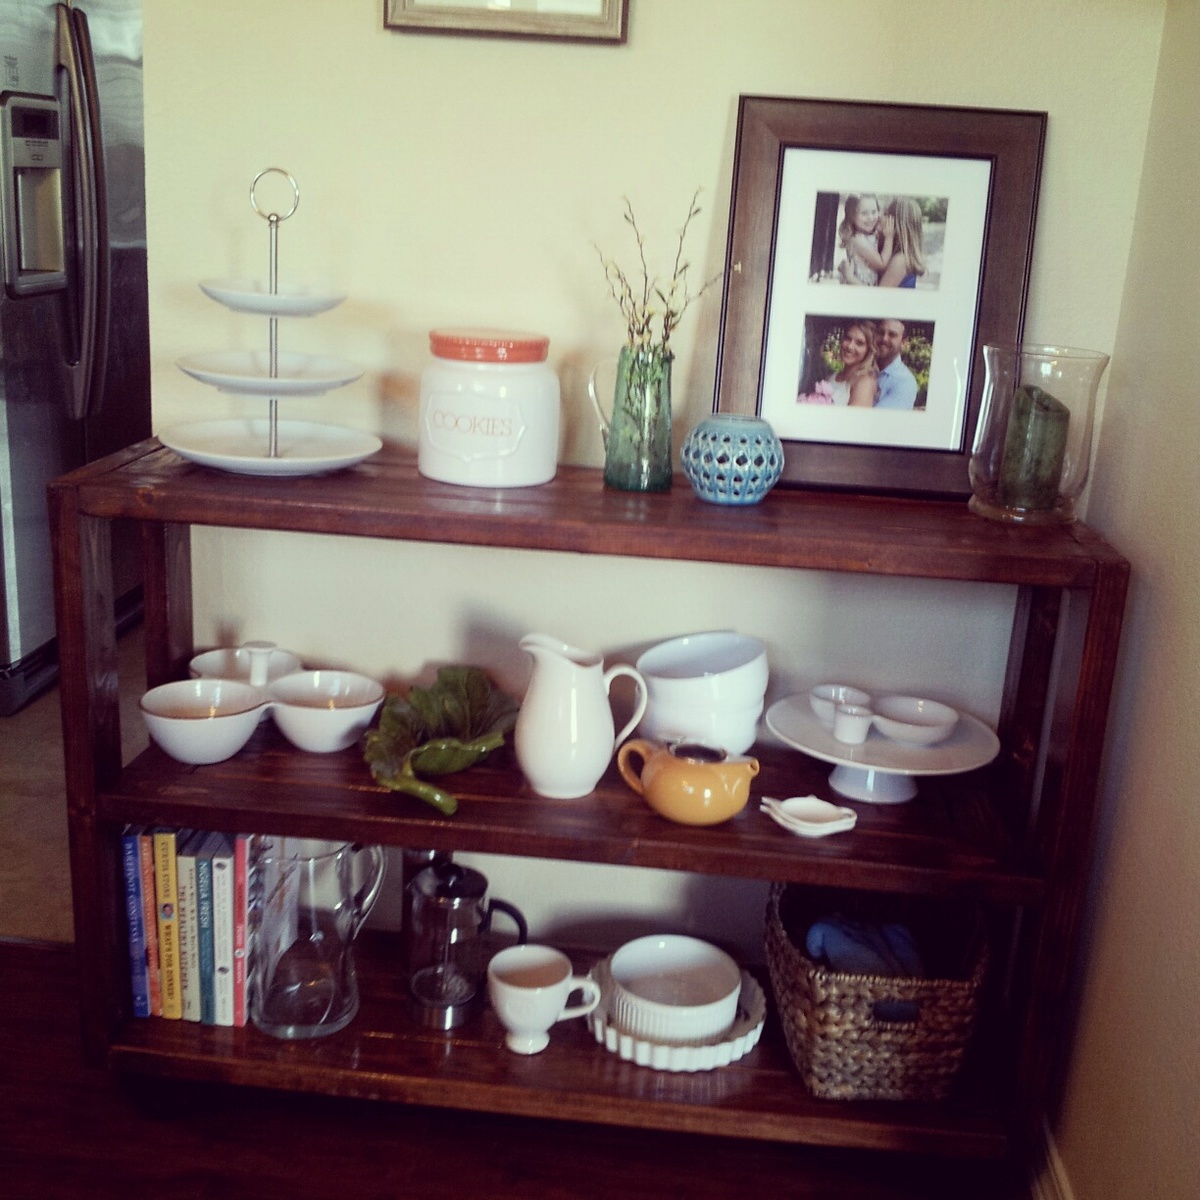
This dining cart is very versatile. It could be used in any room of the house. I love that it has wheels on the bottom so you can move it easily if needed.
Thanks for the step by step! That Kreg jig was amazing I didn't even know that existed.
Modified Ana-white plans to accommodate a king headboard. Attached to metal frame
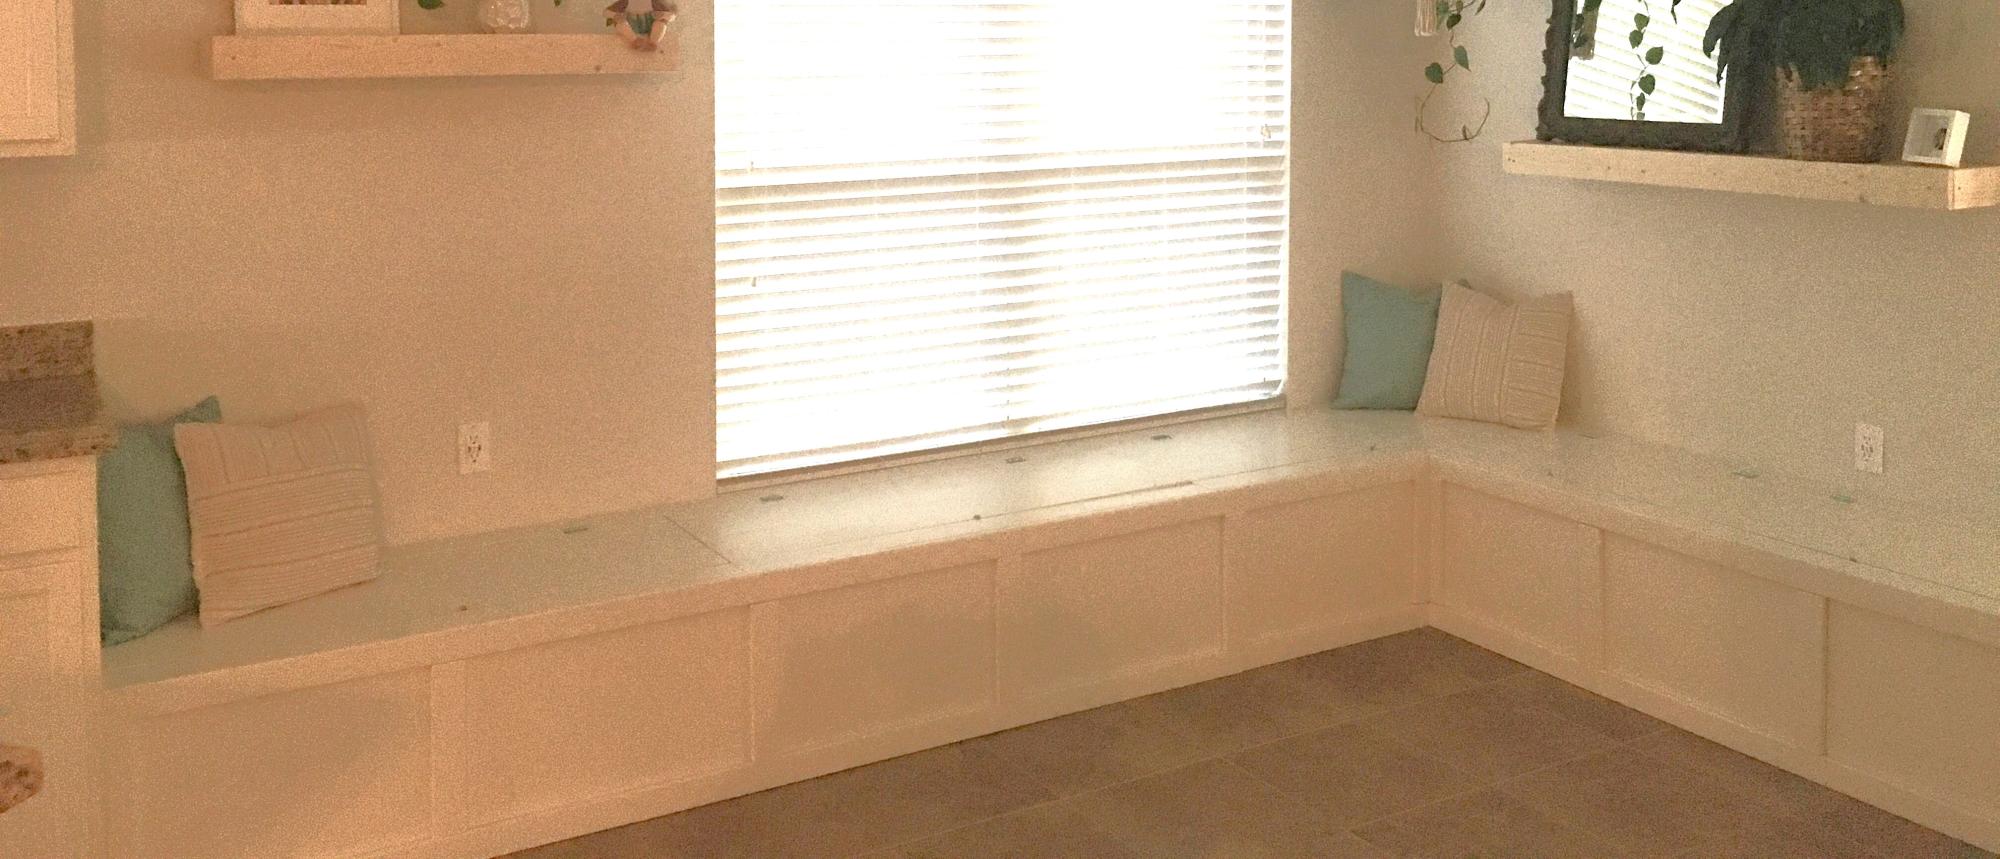
Large Banquette Bench with Storage (12’x7’)
Anna from Louisiana
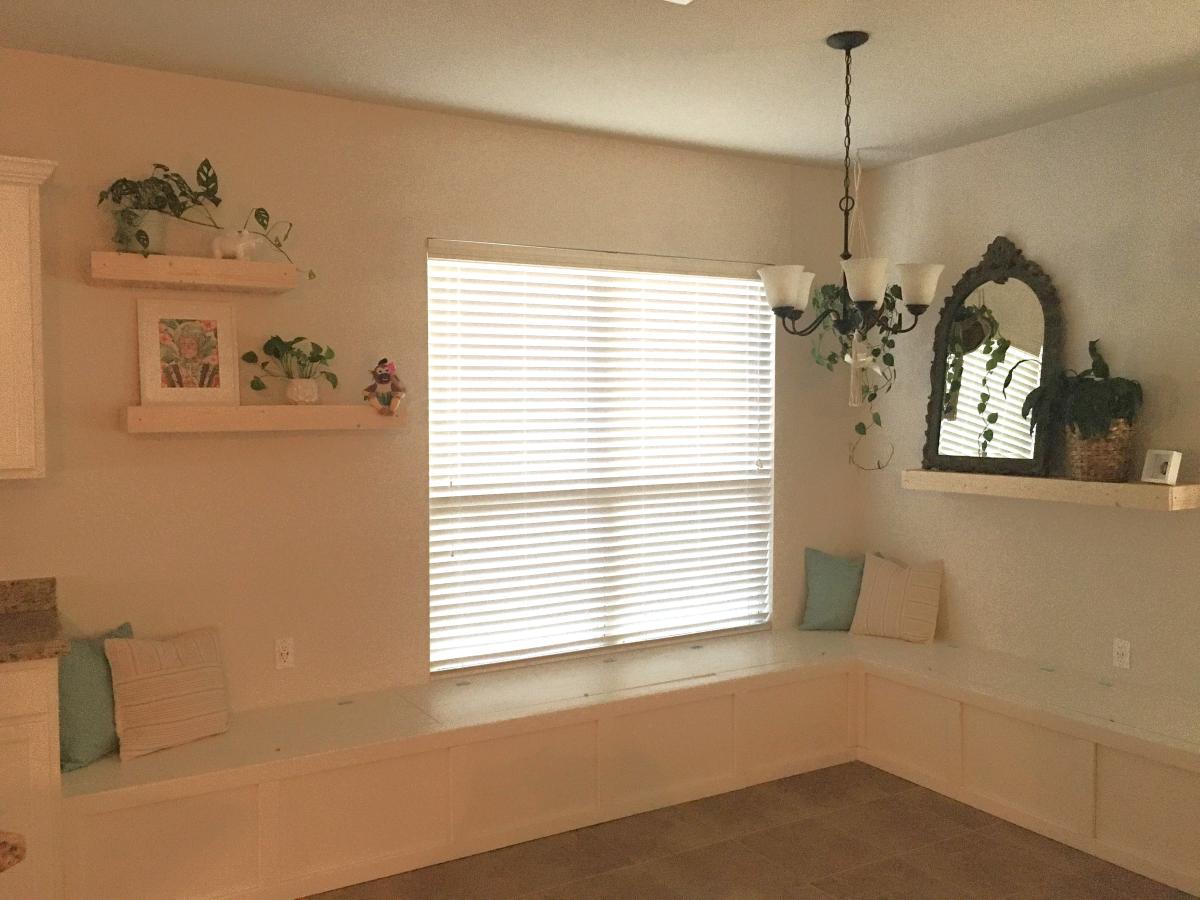
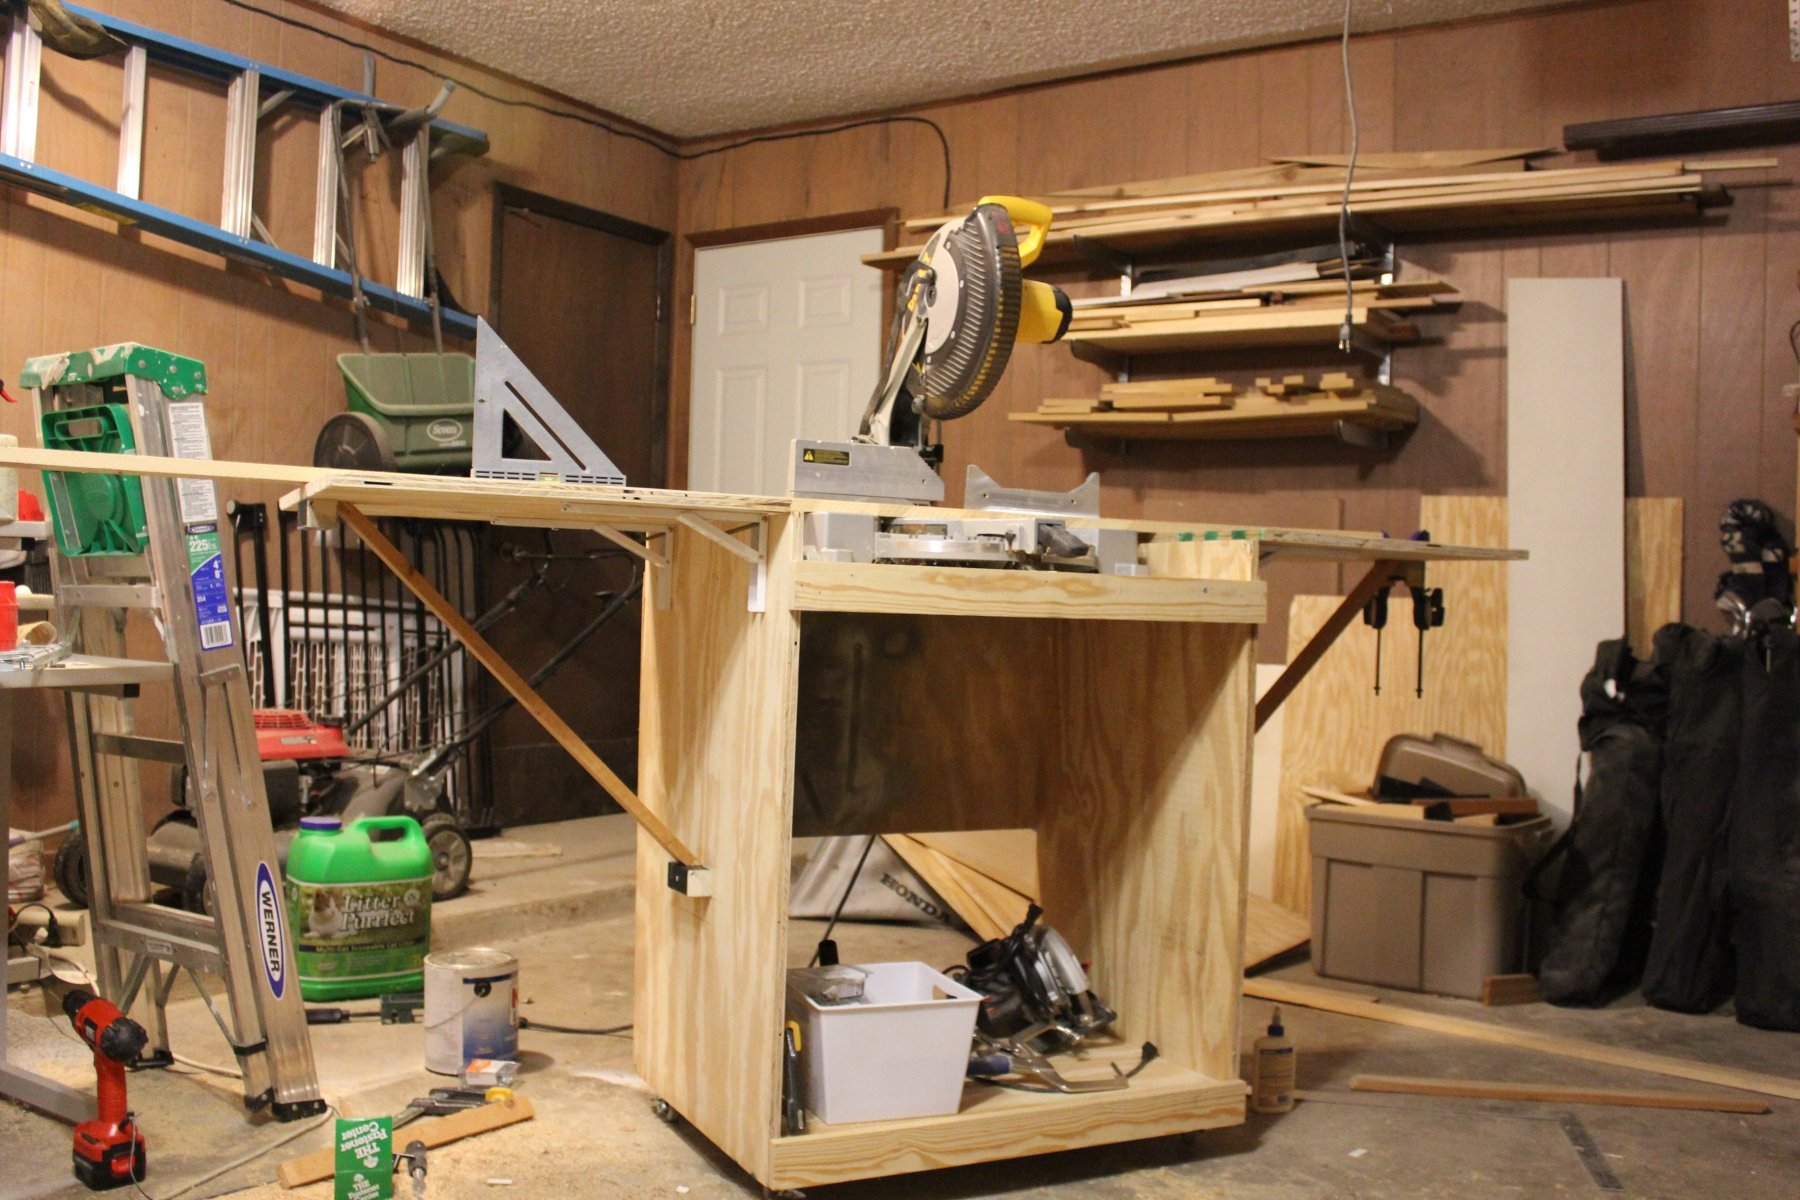
I saw Gina's post and this moved straight to the top of the to-build list. It's gotten my saw off the floor of my garage and provided a ton of storage for my other tools and bits. I also added another shelf after taking this picture. I modified this slightly: I made the wings 24" only, added a short back to provide more stability and reinforcement to the top shelf, added a diagonal support to the wings, and reinforced the top shelf from the sides with 3" dowels. I got my wood from a local lumberyard and the wheels from Blue.
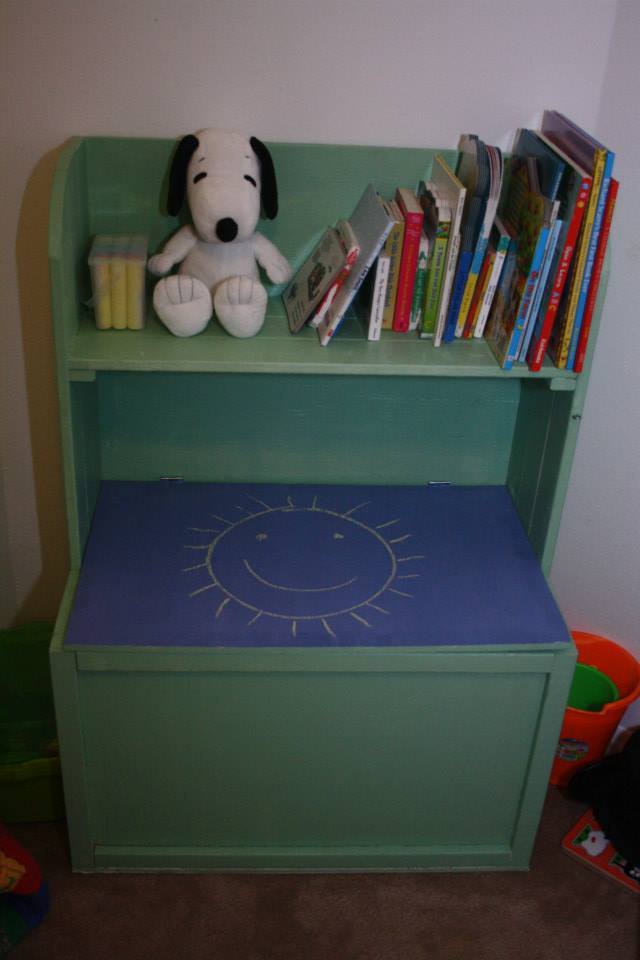
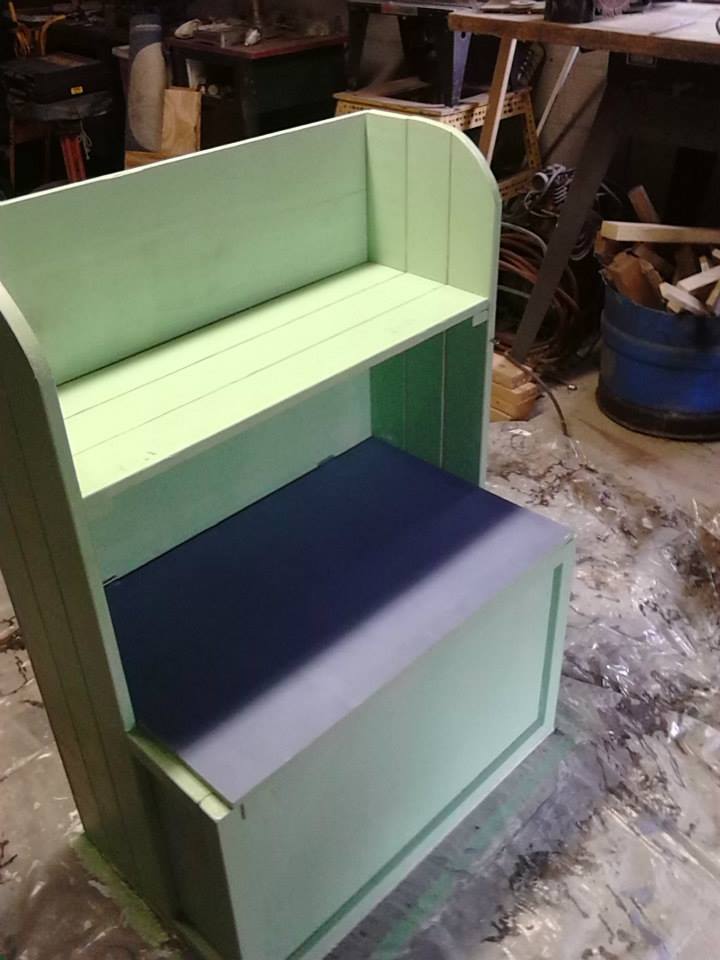
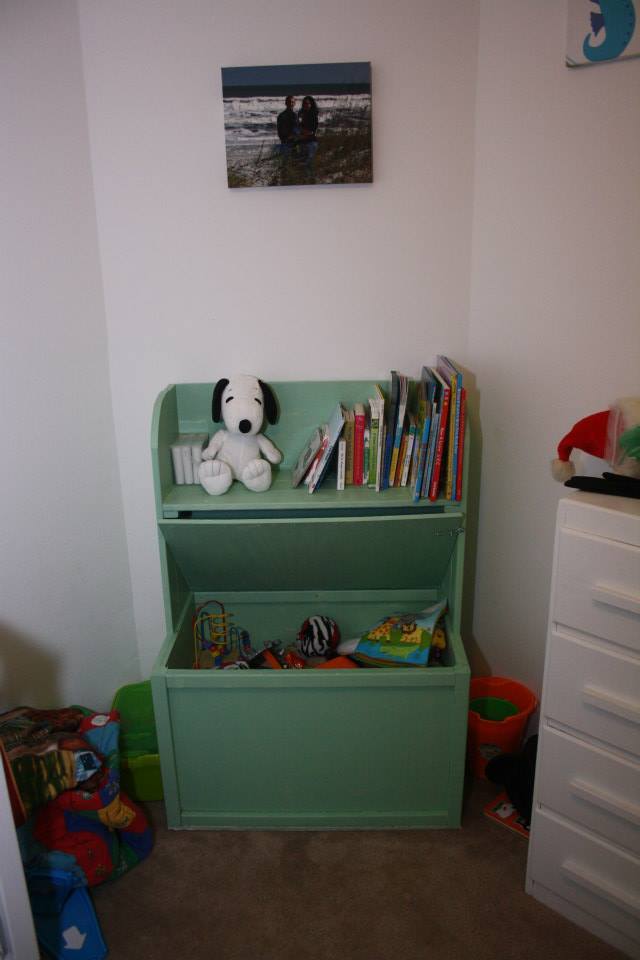
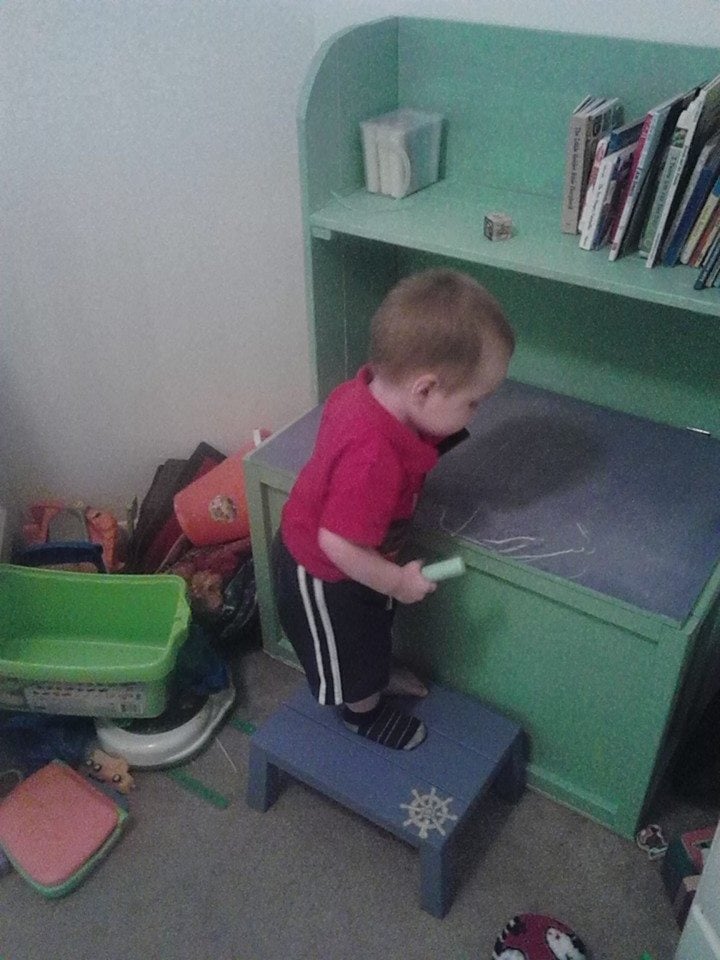
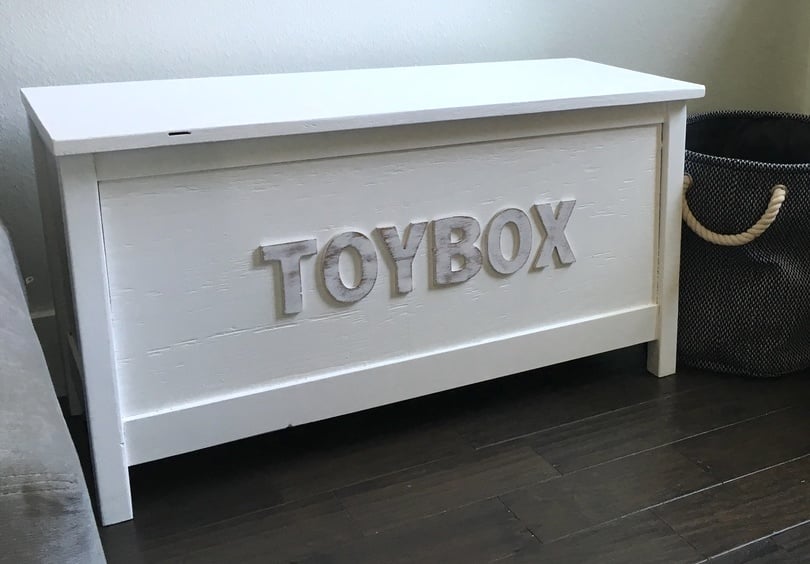
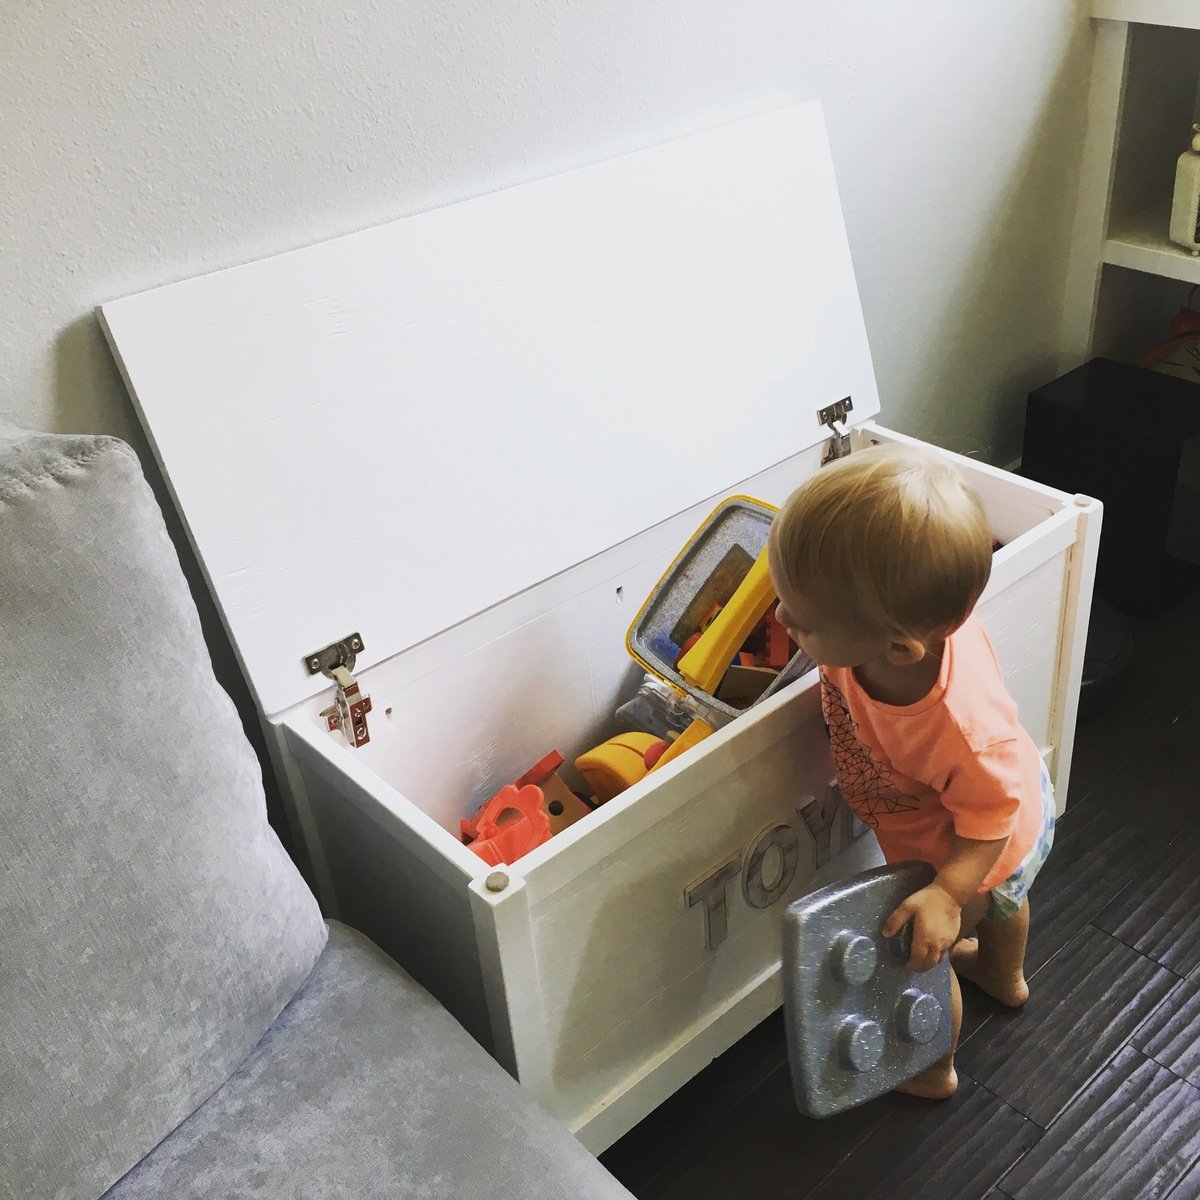
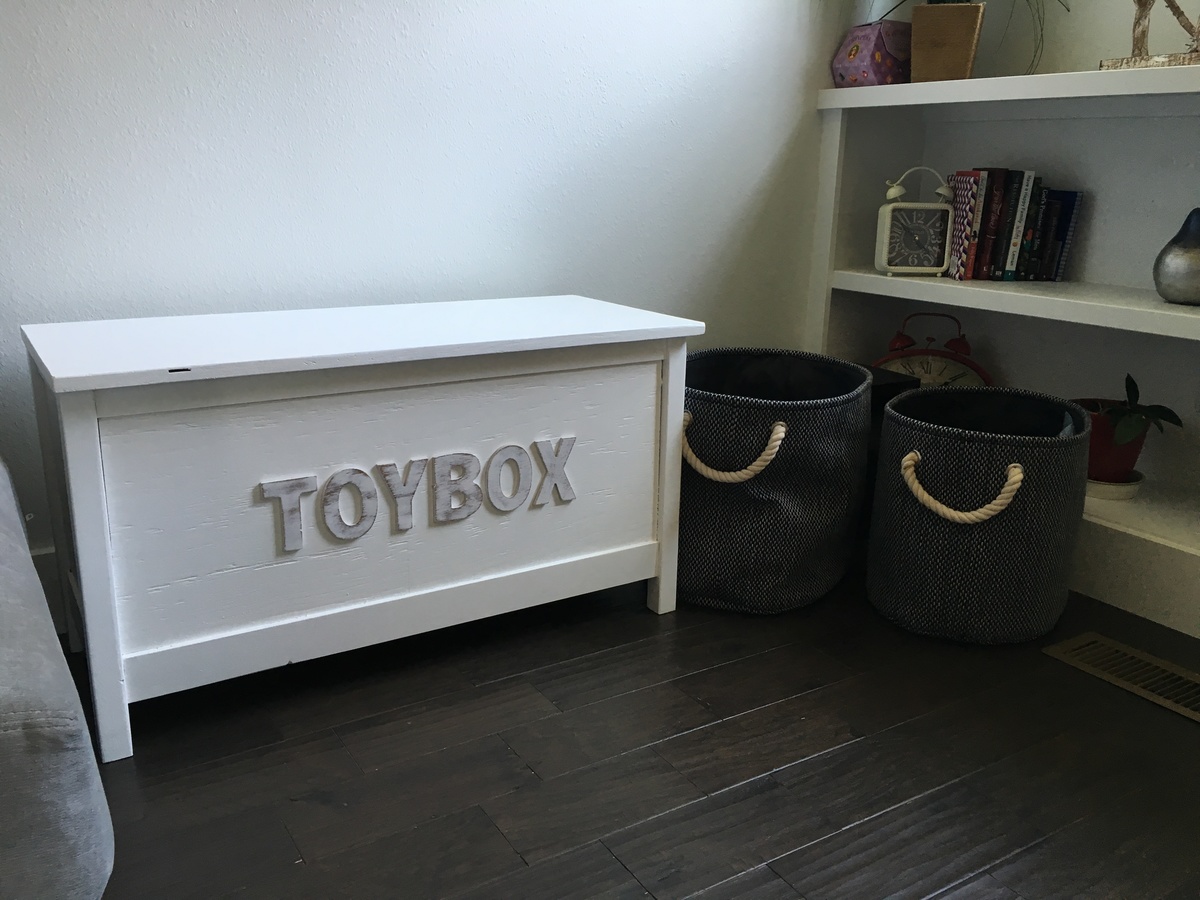
After building the farmhouse table, I got really excited about doing another project. While I was on spring break (nice benefit of being a teacher) I put together this toybox for my son. It's great to finally get the toys out of the laundry basket we had them in and into something more appropriate. We decided to make the lid a chalkboard for a little added fun.