Queen Sized Stoarge Bed - cheaper version

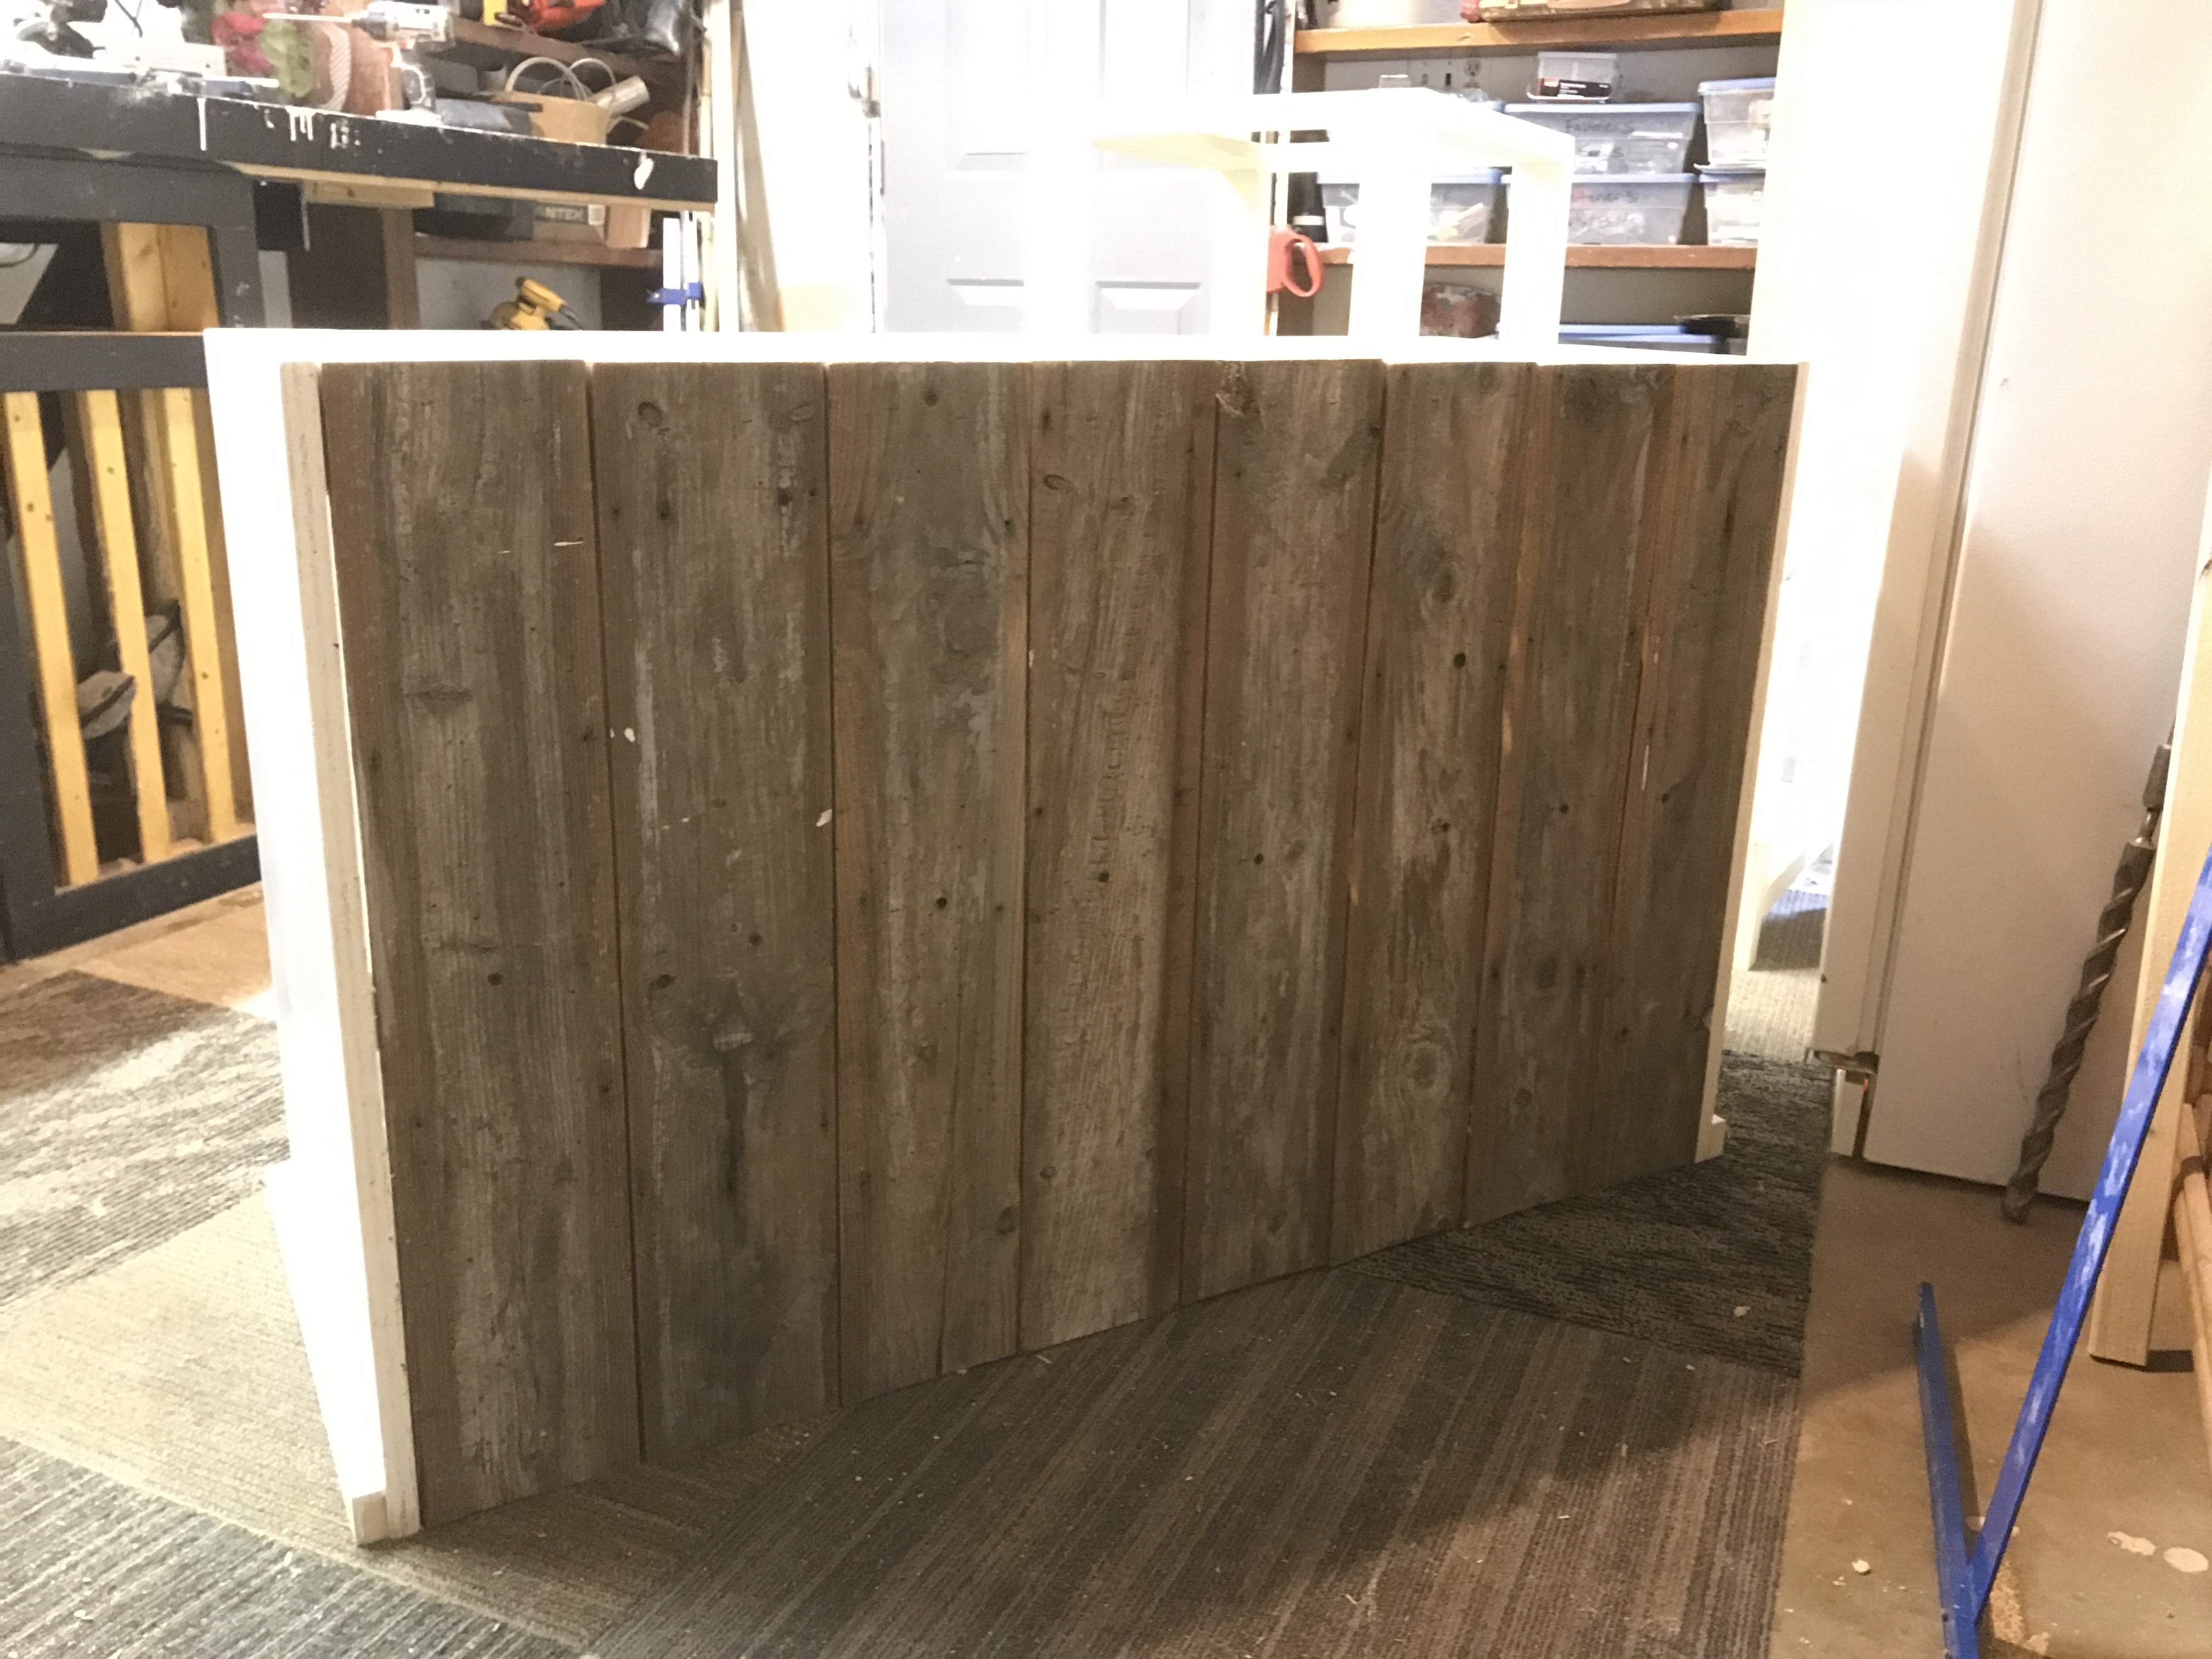
I made the bulk of this bed from 2 sheets of OSB to make it cheaper. The headboard is from salvaged pallets and scrap studs from a construction site. Baskets or drawers forthcoming. Easy plans to follow.
Built from Plan(s)
Estimated Cost
$200
Estimated Time Investment
Week Long Project (20 Hours or More)
Finish Used
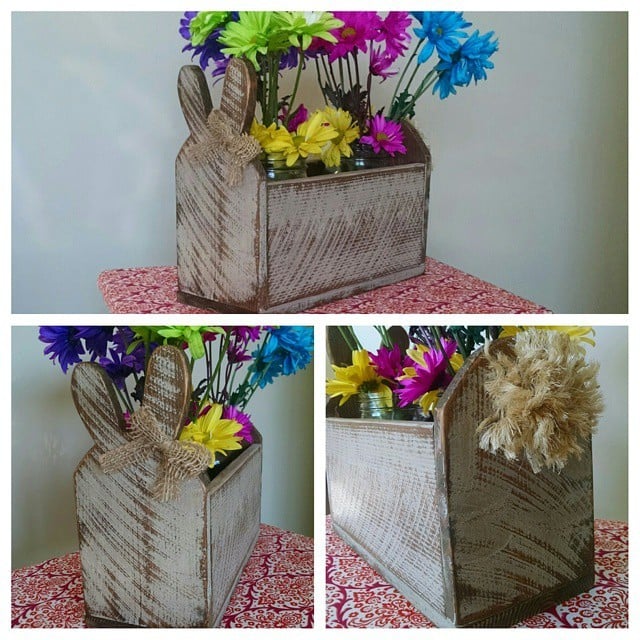
White Kilz and and white Kensington & Clark.
Recommended Skill Level
Intermediate