Navin's play house

We added a few things, like a tunnel, climbing wall and tire swing. The unveiling was quite the reaction to watch.

We added a few things, like a tunnel, climbing wall and tire swing. The unveiling was quite the reaction to watch.
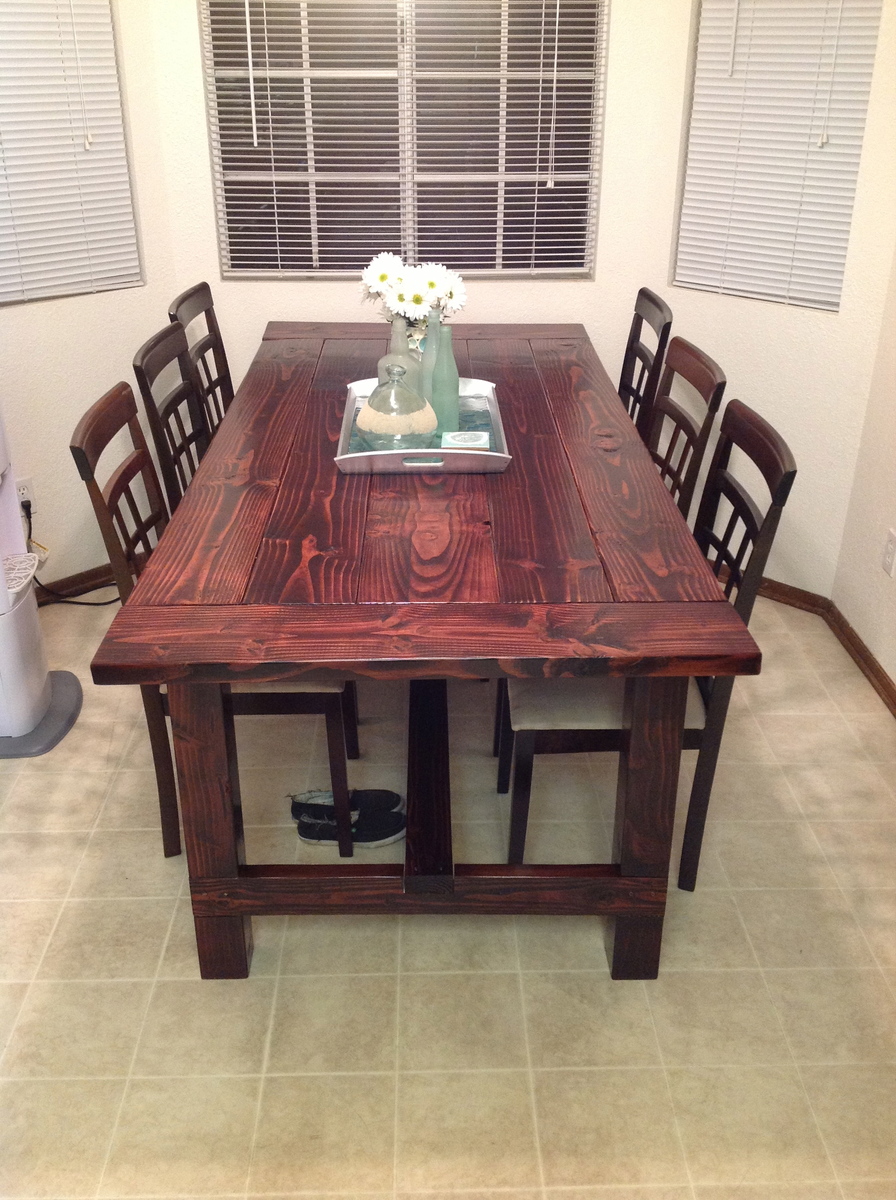
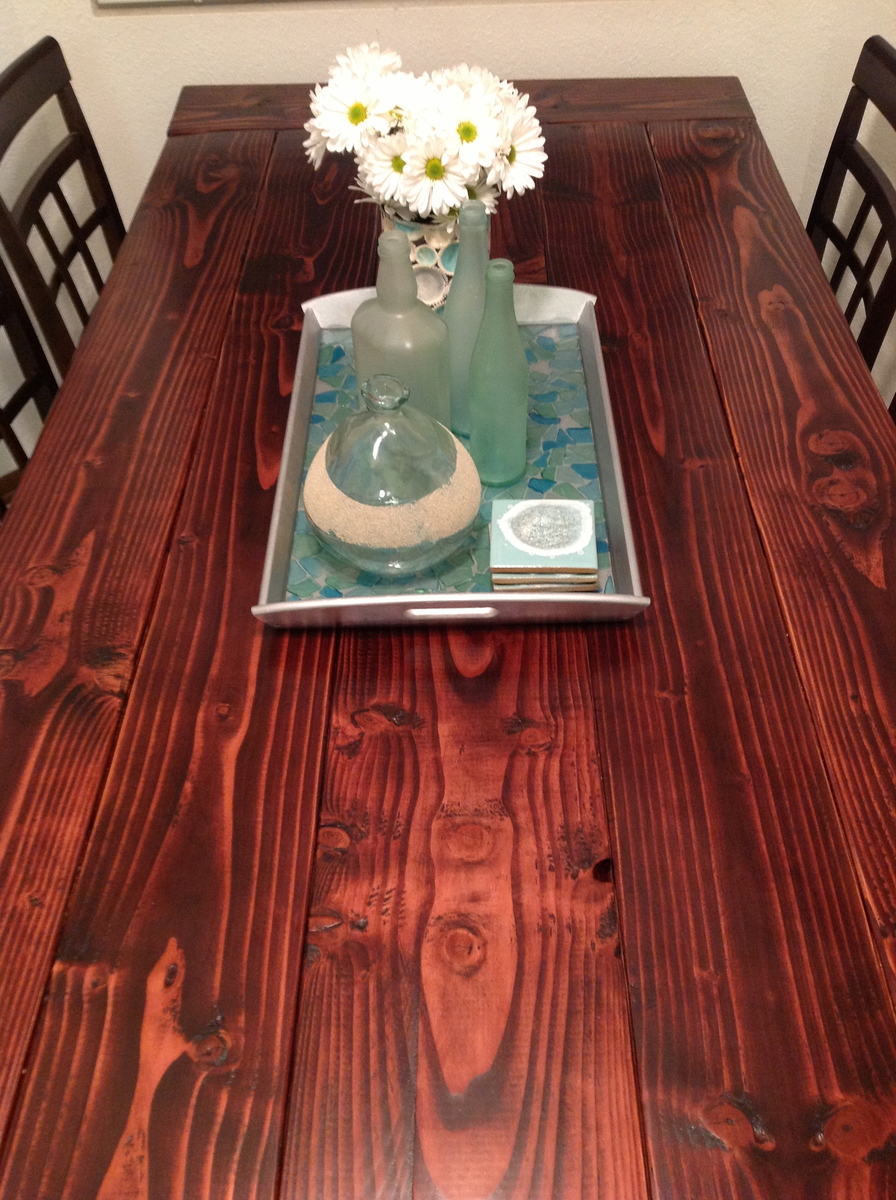
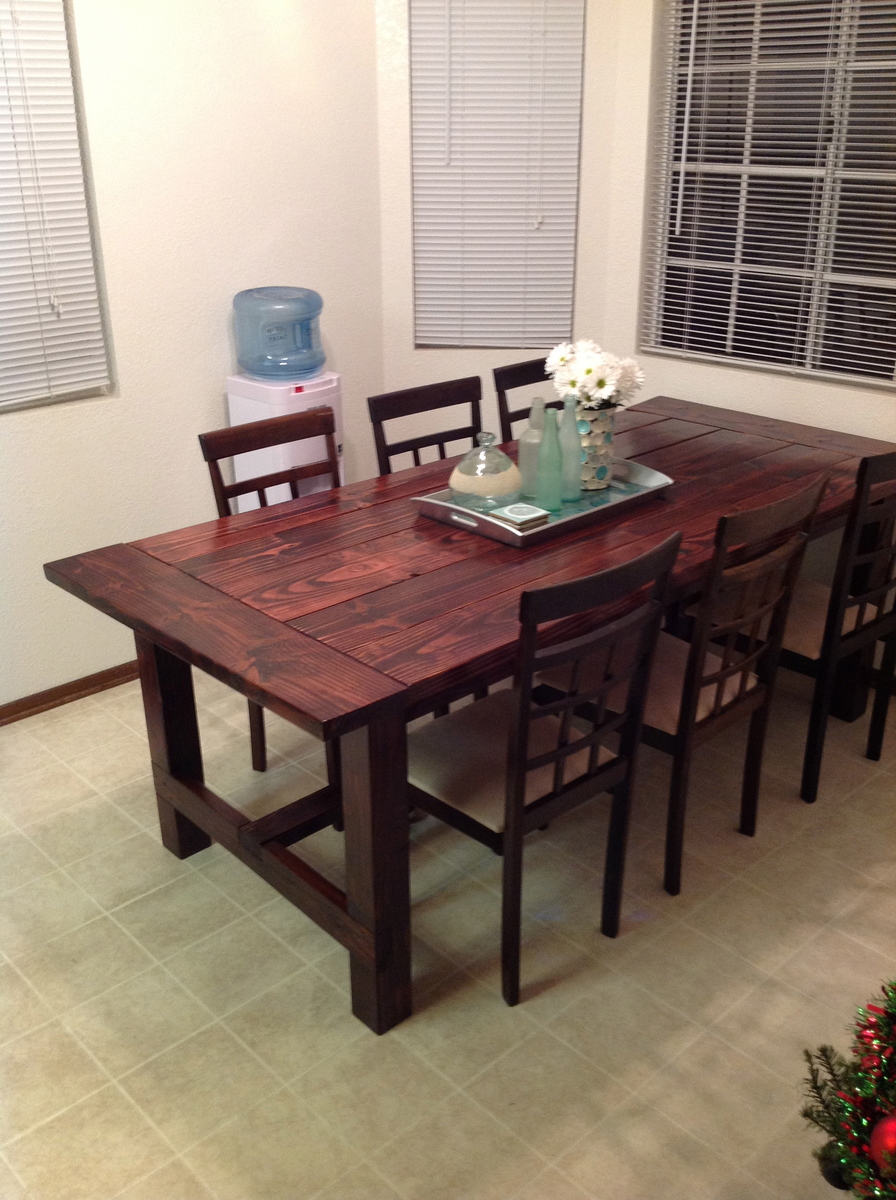
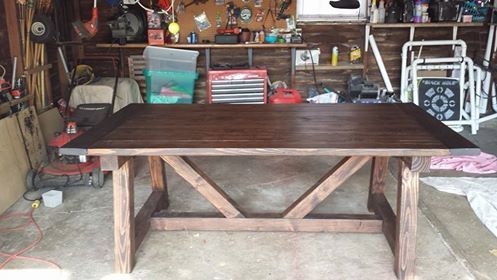
I built this farmhouse table for my beautiful wife for christmas using the update pocket hole plans. It was a lot of work but well worth it.
Bench in the making!
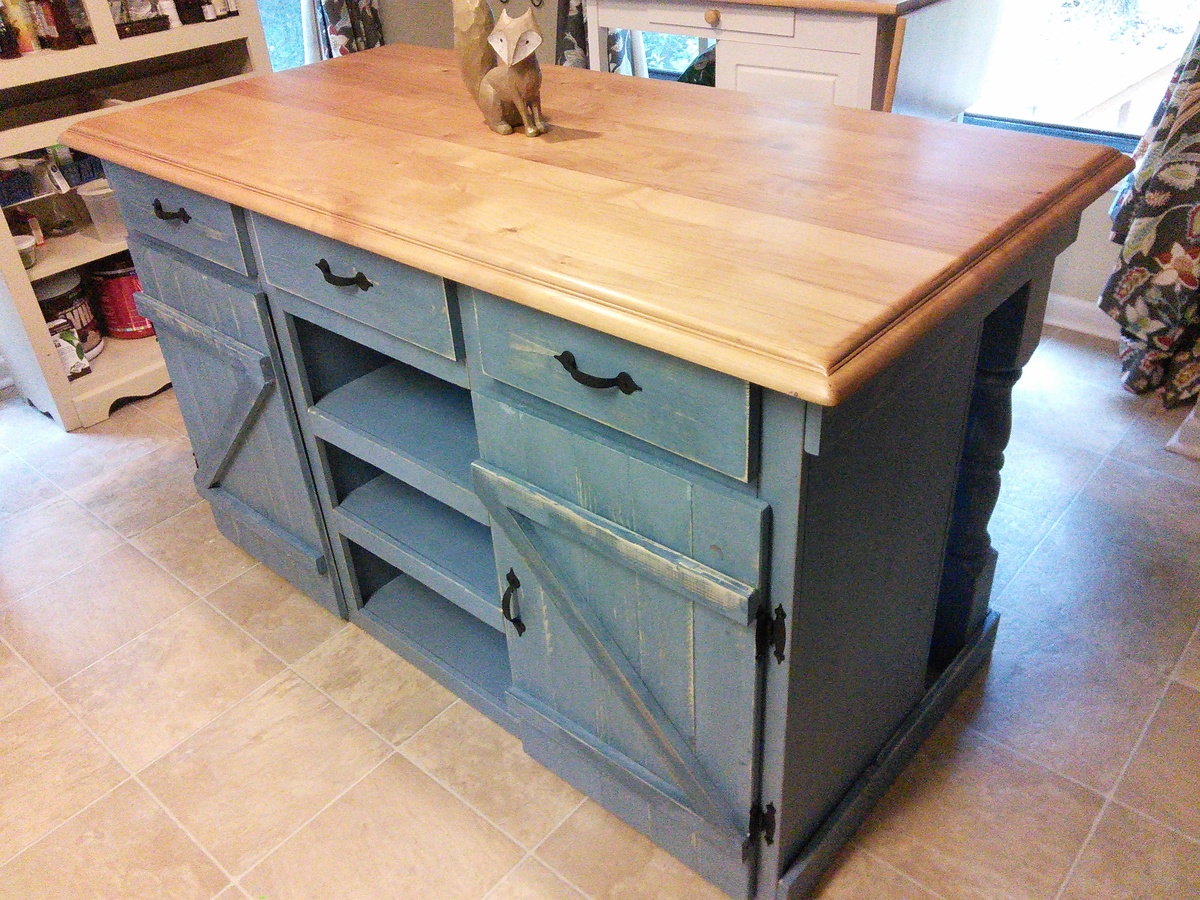
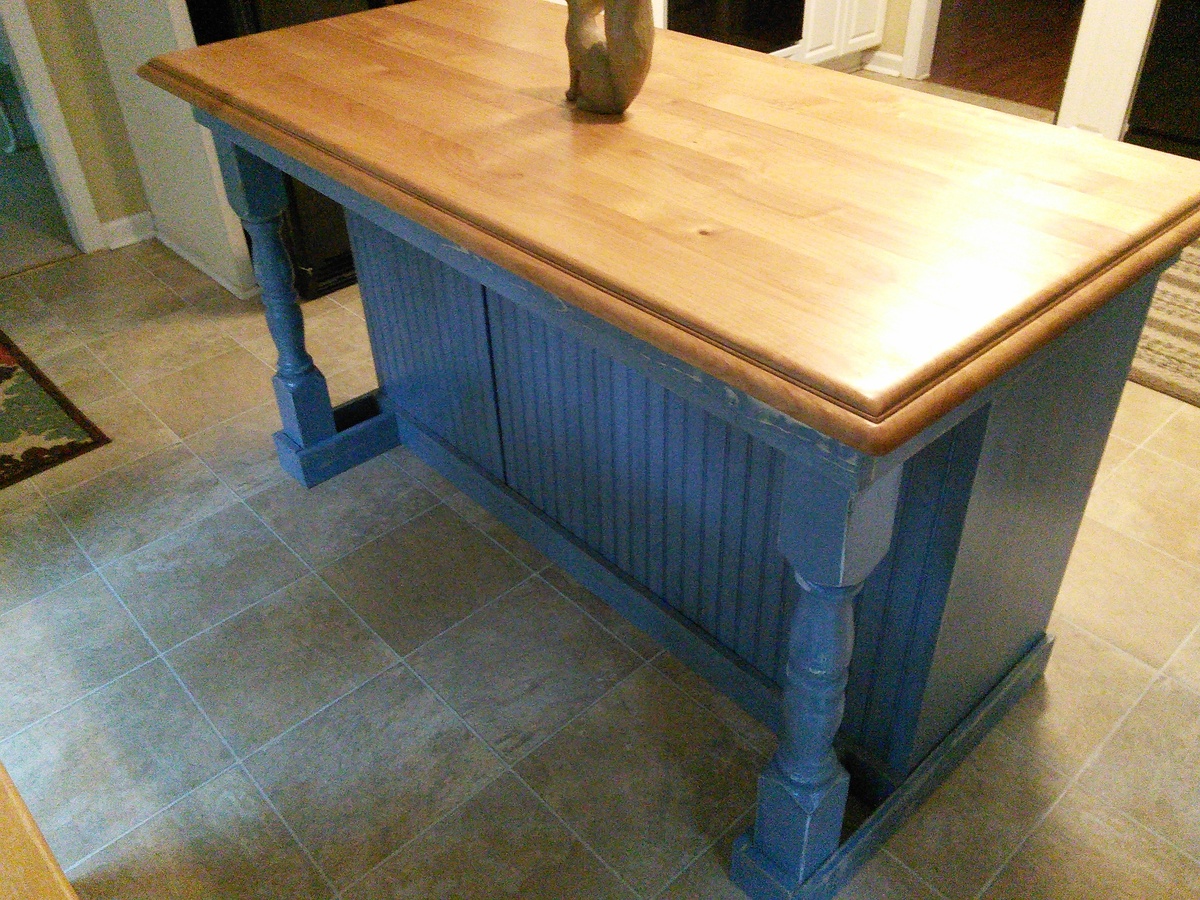
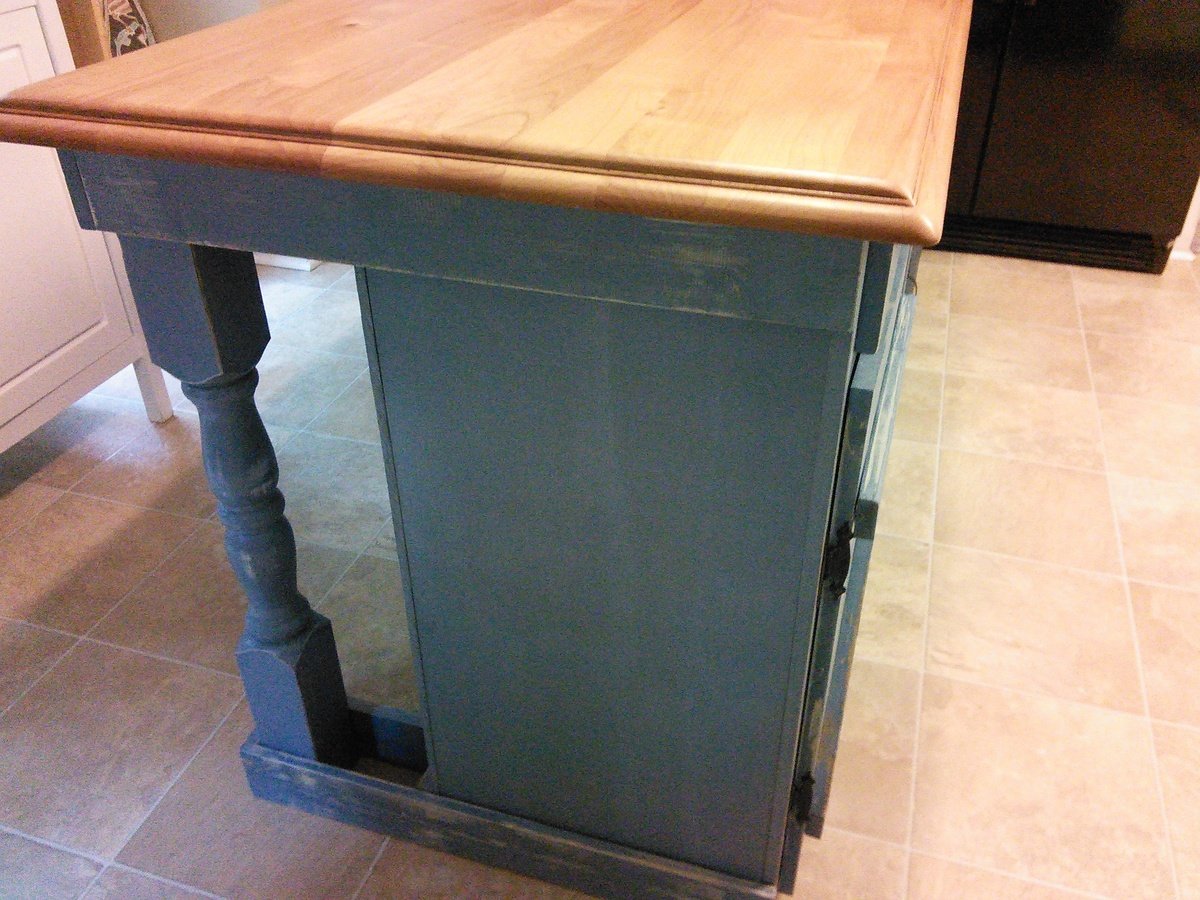
I used the Ana White "Country Kitchen Island" plans to build. The only changes I made was the table top, bead board instead of pine planks, three drawers, and mostly 3/4" plywood. For the island top, i used the top of a maple desk and applied butcher block oil. To make things easier I used plywood to keep everything square and used bead board (very easy to install) instead of having to join boards together. After putting the shelves together I just used pine boards to cover the edges of the plywood. I also installed three drawers for convenient storage.
Wed, 10/26/2016 - 13:48
Do you have more details on how you did the drawers? demensions, etc? Did you just extend the divider vertical bards that are inside all the way up? Or did you build cut 3 holes out of the front facing horizontal board? If you did that were you able to add tracks?

We built this huge 7' buffet for our living/dining room area.
Thu, 09/07/2017 - 07:39
Woud you please share what stain/finish you used on your piece? It is beautiful !
~ Denise
Thu, 04/02/2020 - 16:34
I would love to have the custom stain color if you would share it!
Tue, 04/28/2020 - 15:00
Would you share the custom stain color for your buffet that looks like the one from Restoration Hardware?
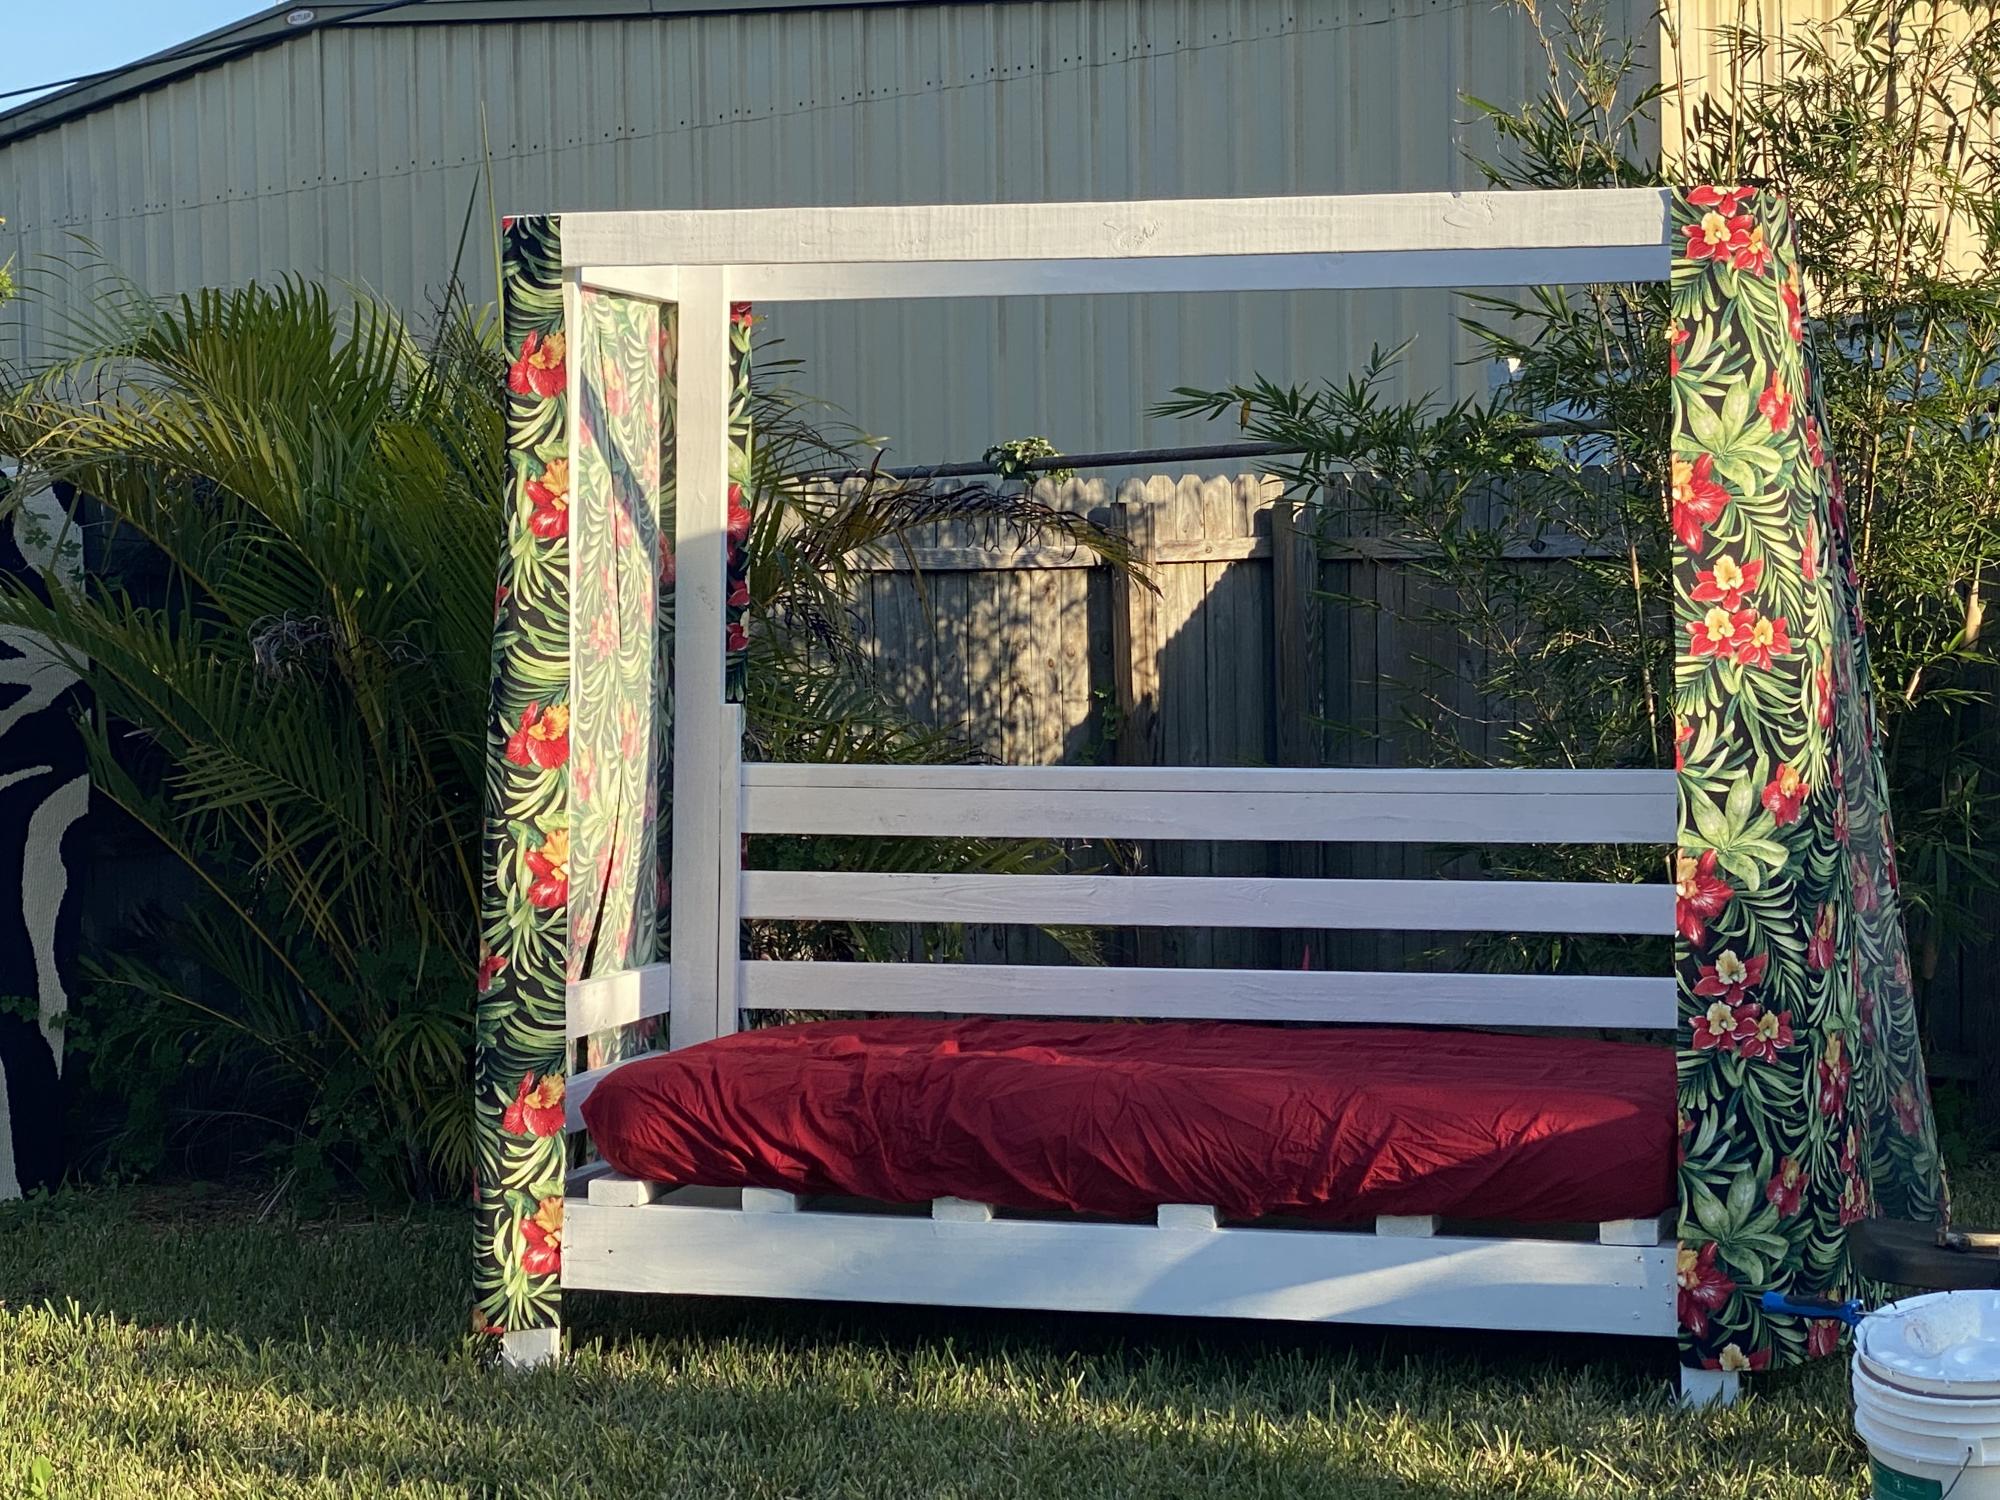
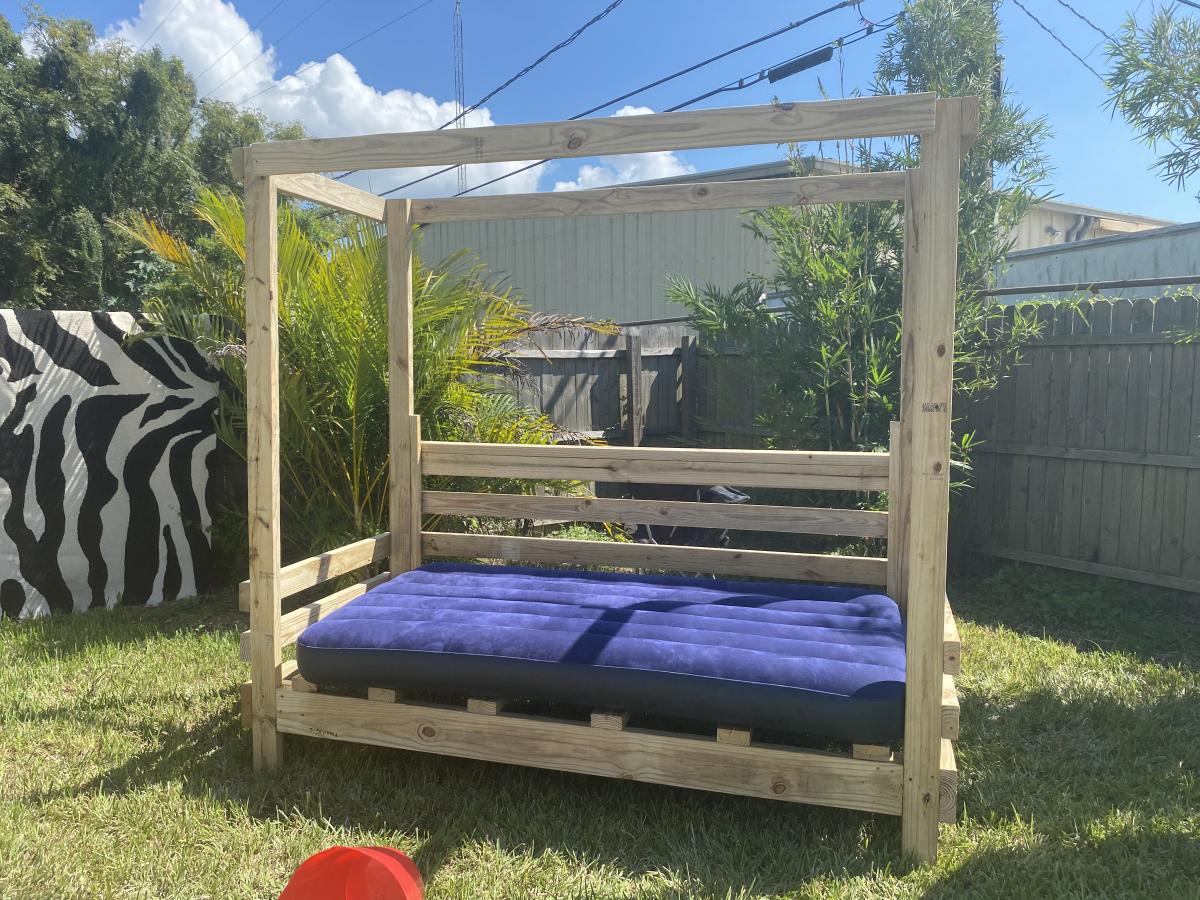
Completed this project last week off of the plans here under outdoor! I Love it and plans were soooo easy to follow!
Mon, 10/19/2020 - 18:39
That looks like a relaxing spot! Great job and thanks for sharing!

We built this bed for the lil neighbor girl as a gift for Christmas. It turned out better than I expected! The Plans were amazing and easy to follow... It is the first project that I used my Kreg Jig! I am so excited to build another one for my daughter now! We decided to pre-finish all the parts after we cut them to ensure proper sealing of all the ends, just in case of any sap or what not. Special thanks to Ana for all of these plans and Ideas! You truely rock!


Tv console with sliding barn doors and an electric fireplace insert. Measures 83" wide x 31.5" tall x 18" deep.

The little tables I had on my front step were super ugly and it was time for an upgrade. I raided my scrap bins for most of the parts and only needed to use 2 new 2x4s but overall it would probably be 7 or 8 - 2x4s and 6 - 8' 1x4s to make all 3 tables


My twins share one pretty large room. They are 11 years old now and getting old enough to want more of their own personal space. This 5x5 cubby shelf was perfect to be used as a room divider!
My challenge was that I typically work in the basement, but their room is on the 2nd floor. I didn't have anyone that would be able to help me carry this massive creation up 2 flights of stairs, so I had to build this "on site." Unfortunately, their room is carpeted (poorly), so I brought up some old subfloor panels that I had to have a more flat surface to work on. It wasn't ideal, but made it possible.
It also took me much longer than it would take most people since I was limited to working only during nap times. It probably could have been done in a day or two if I had the opportunity to work continuously.

Used mortise and tenon joints. Primed, painted and distressed the wood. Top was stained.


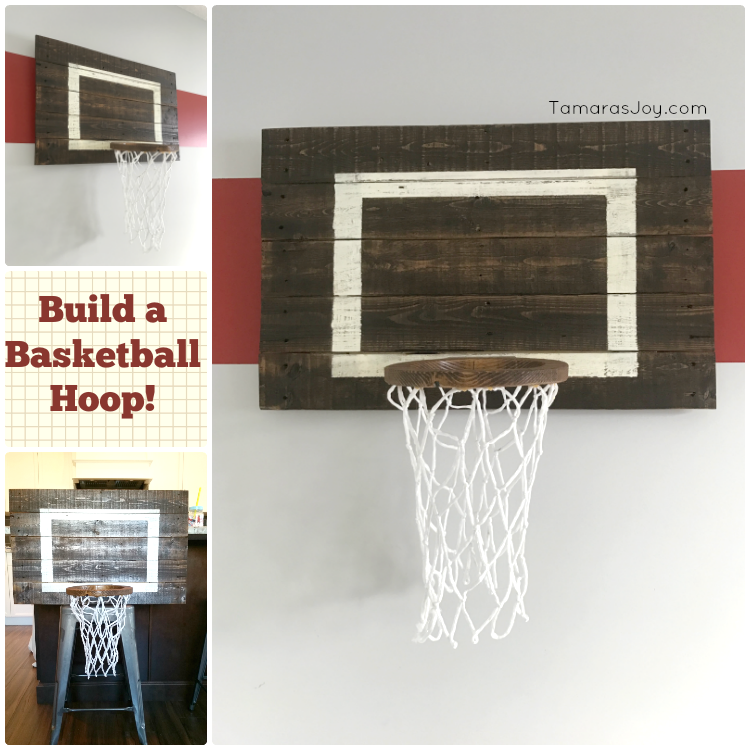
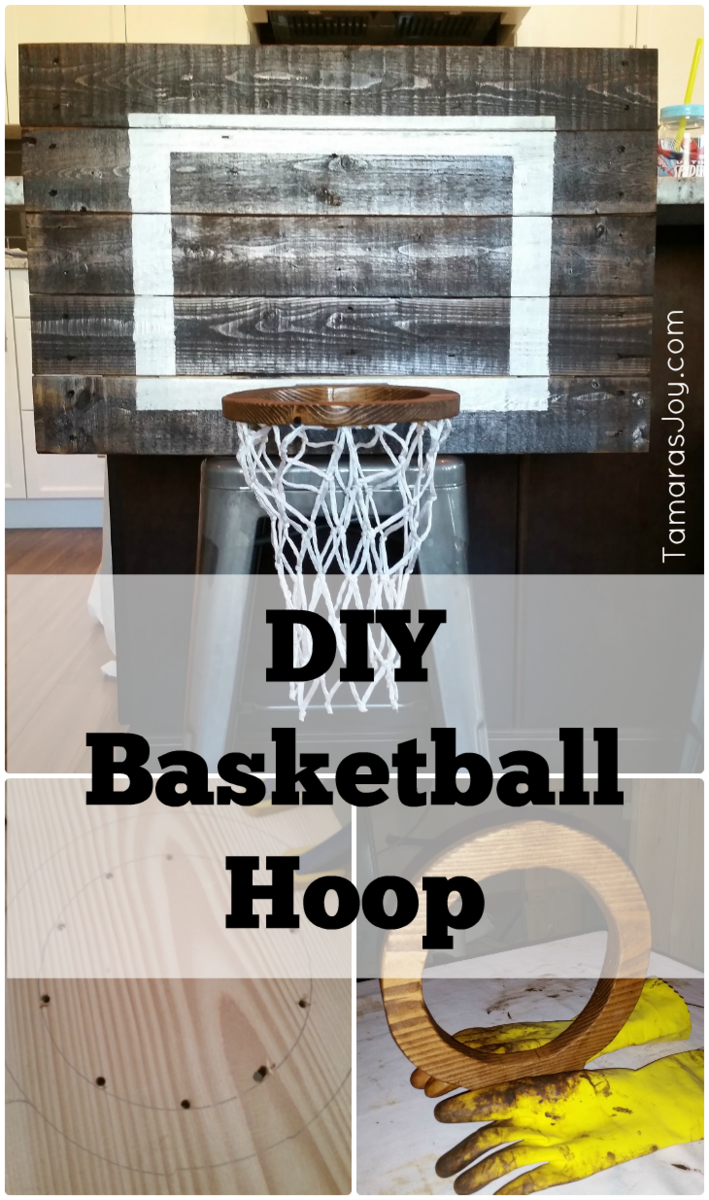
Full tutorial on the blog tamarasjoy.com
I built this basketball hoop for my sons room over a year ago and it has stood the test of time! The wood rim never cracked. Plus it looks fantastic :)
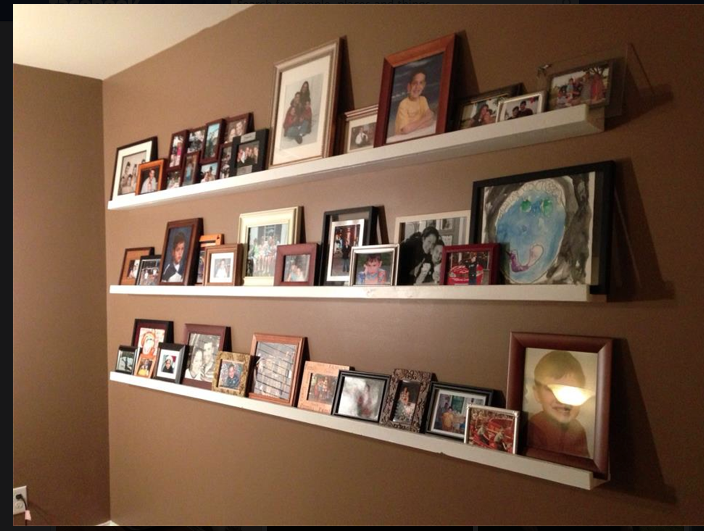
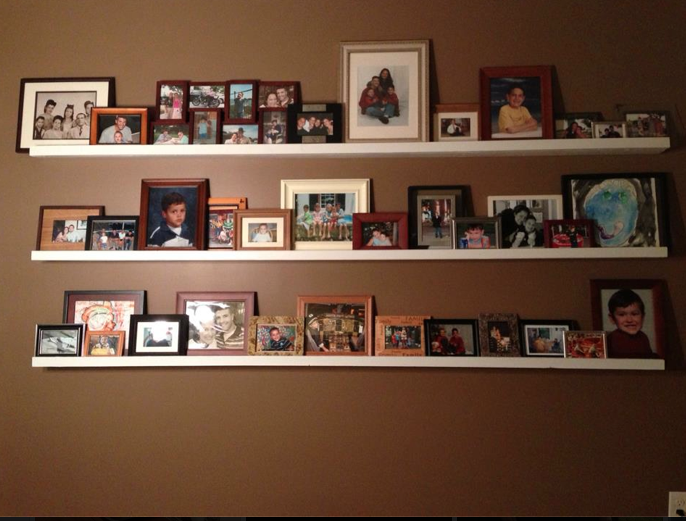
How this beginner project became my B-Day gift: After seeing this on Ana's site I just knew I had the perfect place for these, plus it was a great project to wet my toes :-) After talking my husband's head off for about a week with all the new things I'm going to build this year, we were finally headed to Lowes to get material. Well to my surprise he also bought me a Kreg-Jig(Master Series) I AM GOING TO BE A BUILDING MACHNE! LOL
The cost really is around $10 or less but I spent some extra on Polycrylic to create a nice shine over the wood. I knew I wanted 8ft ledges so there was no cutting involved, wohoo! Here is what I used:
6 1x4 @8ft
3 1x2 @8ft
(I used 1 1/4in screws for project and 2in screws for mounting)
120 grit sand paper
After putting together the wood in a jiffy as described in Ana's plans I then sanded. Even the sanding, which I did by hand was fairly quick. Next the priming and painting took the longest as it had to dry obviously. After a few coats, I sprayed the polycrylic according to directions on can. That's it...
I was so excited as it was going up, I was planning on putting some candles, maybe some decorative stuff to go with the pics. I didn't realize how many pictures I have! Wow! Guess I'll have to dust off my Kreg-Jig and make more. :-)
Built for my son and daughter-in-law. Love it

We have a small house. Okay, a TINY house. We just added a new baby to the mix, had a 5th birthday and Christmas, and suddenly, every room seems more cramped. We knew we needed more storage in our oldest son's room, and this seemed like the best solution!
We used the plans for the bed to a T, and then did the bookshelf on the end to match. We then created a custom plan for shelves underneath, just the right size to accommodate the blue and green fabric bins you see. We also left some spaces for bigger toys, and added a hamper to keep taller toys (swords and such) organized.
We loved the look of the bed painted white in the picture, and since his walls were already practically the same color blue (and a green accent wall), we decided not to stray far from the original design.
Our son loves the bed, and we are thrilled with all the space he has in there now!
We estimated about $350 on the bed, that included the wood, screws, 2 gals Valspar paint, paint accessories, and the fabric bins and hamper.


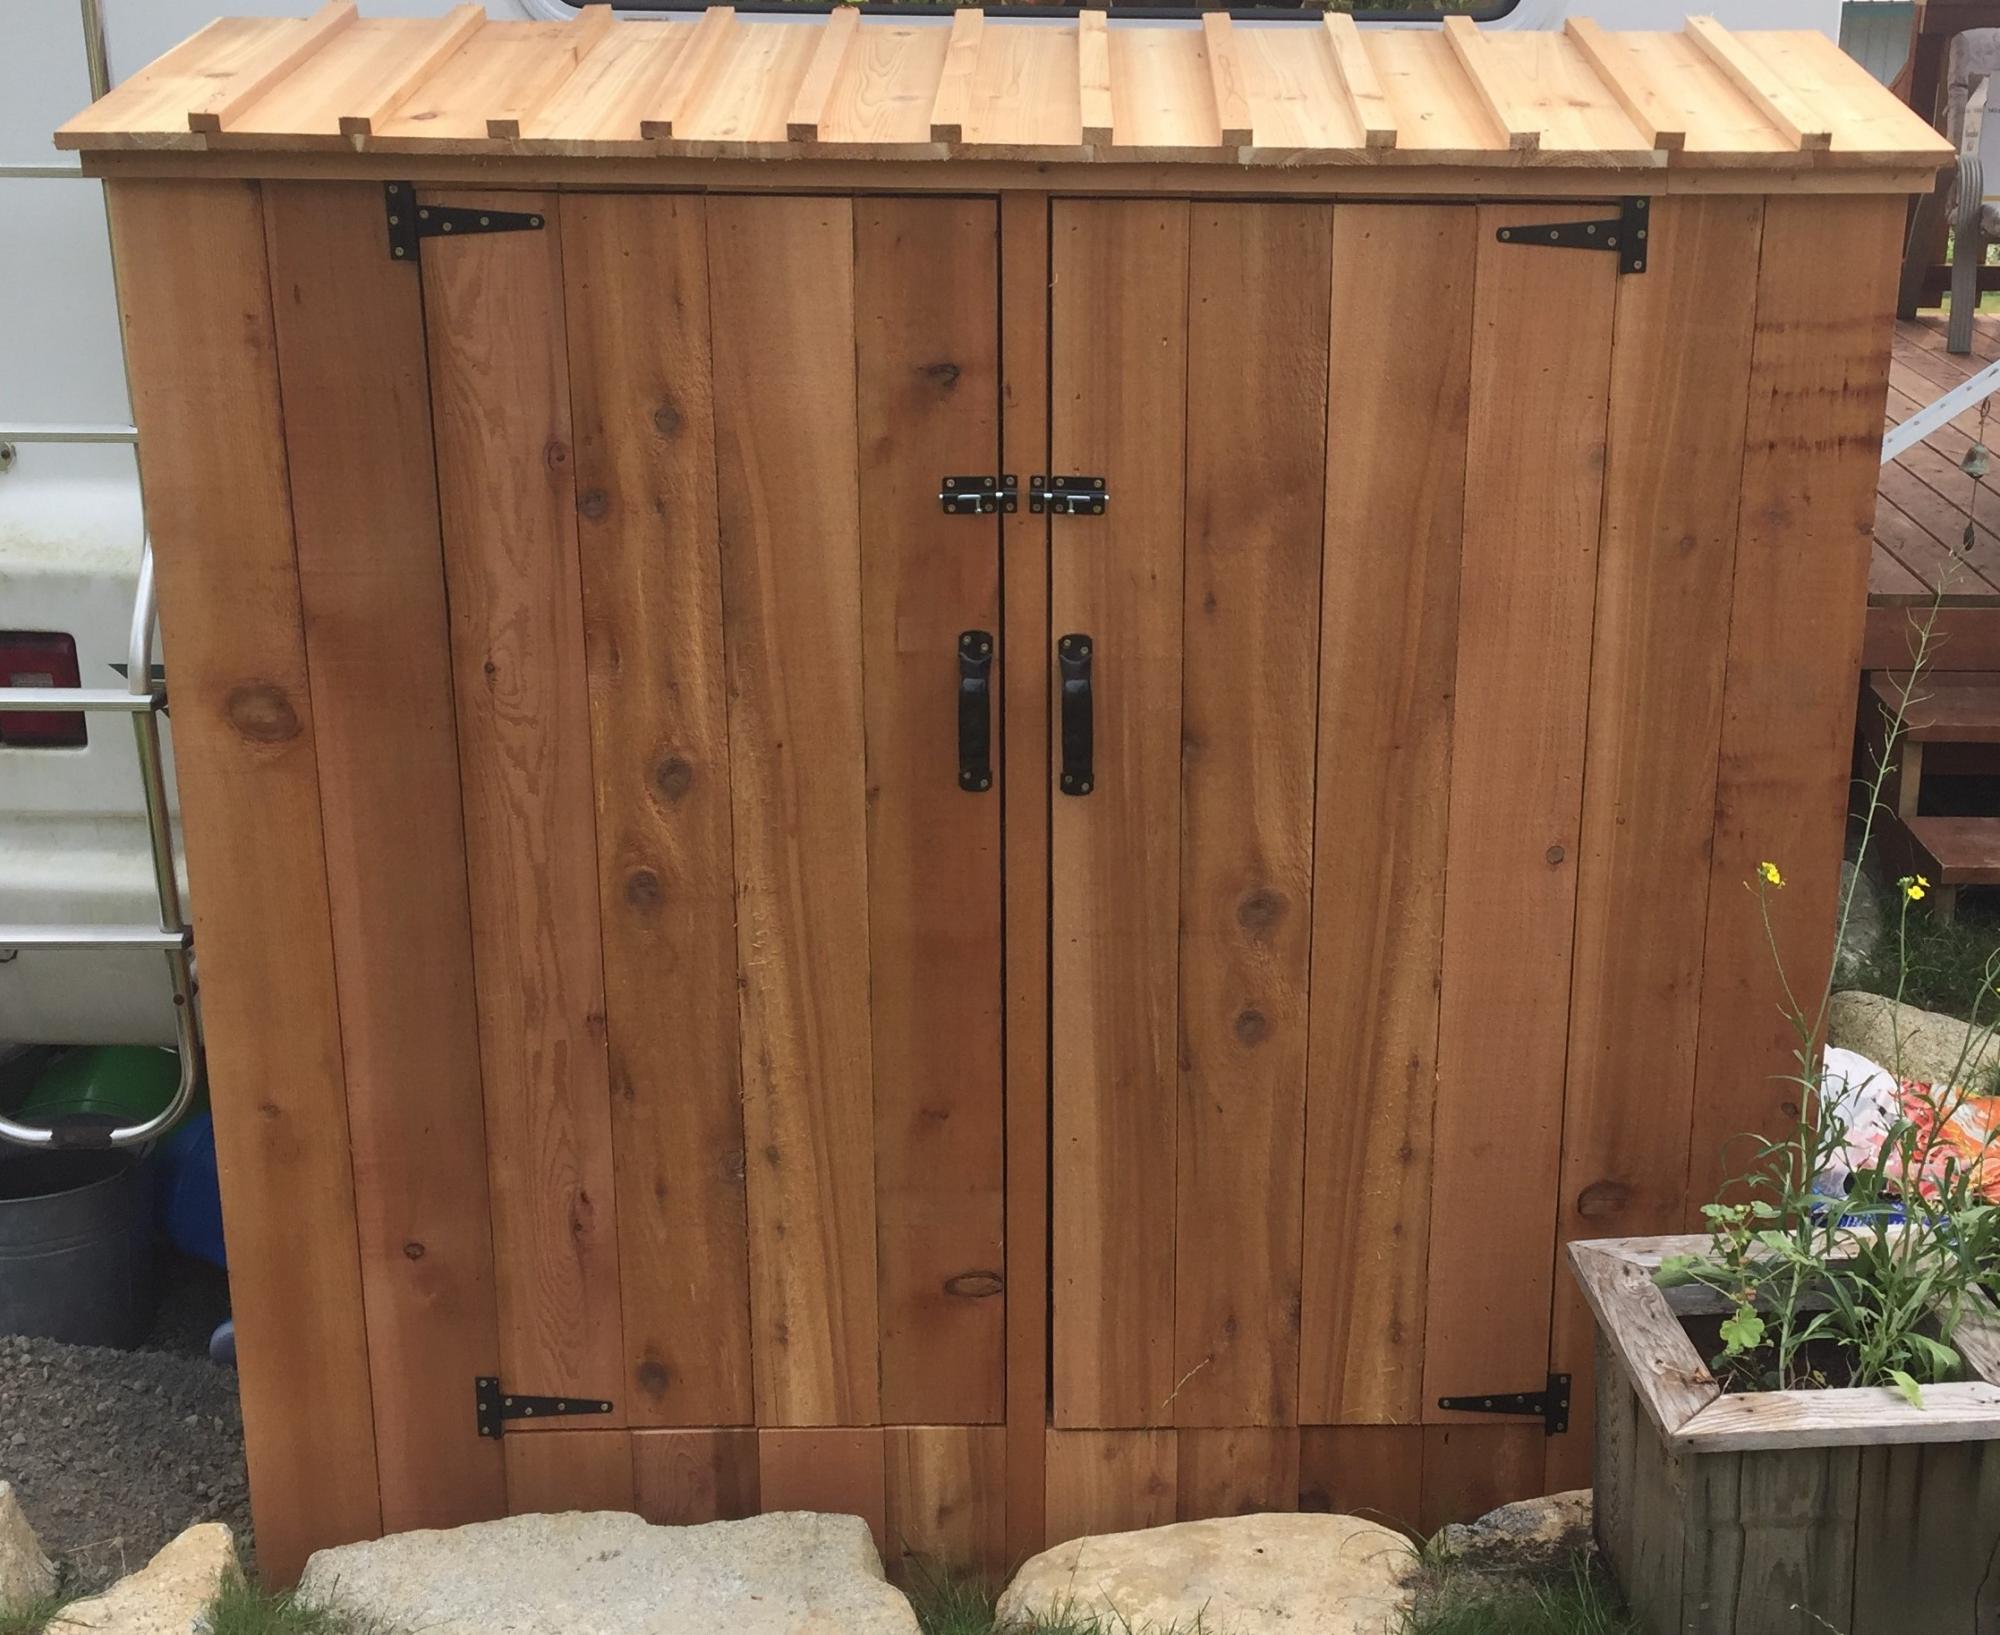
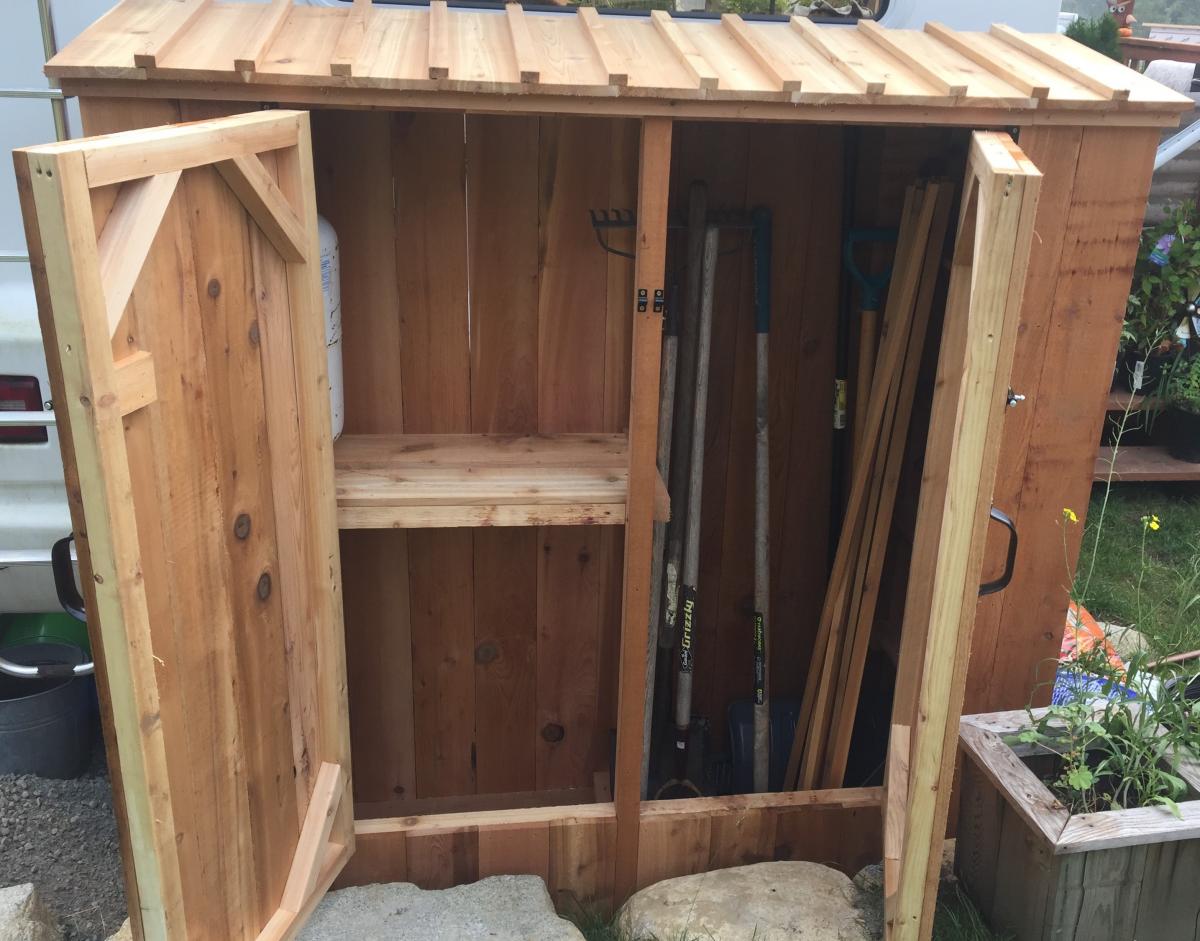
Here is our version of the small cedar shed. Had to raise the door up a bit to clear the rocks. All built from cedar fence boards and a few 2x4's

Calling myself an amateur builder is a colossal overstatement. I’ve never actually built anything, by hand, using wood. I’m quite crafty and very good at hacking things inspired by others {thank you all other bloggers and Pinterest for your continued inspiration}, but to actually build something from the ground up just hasn’t been added to the curriculum vitae…until now.
I actually hail from a family of handy builders. My grandpa used to build everything, from decorative shelves and stools to more utilitarian items, like bookcases and kitchen cabinets. My father, too, is quite handy; he’s the build-a-back-deck weekend warrior type.
This was my first Weekend Warrior project. My deadline: Thanksgiving dinner! I had no other table option. I either built this table or my friends and family were eating on the floor.
Thu, 01/10/2013 - 12:56
Just wanted to say (apart from "i love the table") that your story has inspired me to finally jump in. i too am like you, never physically built anything with wood, but have done some revamps and have done a ton of other crafts (i too would like to thank pinterest). reading what you said has just given me that finally push!!! Thanku
Thu, 01/10/2013 - 17:14
Hi Juanita! Yay, I'm so glad. It really was a fun and empowering project. I can't tell you how many people looked at me like I was crazy, but a little patience and elbow grease can go a long, long way! Good luck and I can't wait to see the finished project.
Fri, 01/11/2013 - 08:37
You did a great job! I'll bet your friends and family were impressed!
Sat, 01/19/2013 - 04:53
You did a great job! I love the finish you chose. Isn't it amazing when you think you can't do something and then when you finish it, you're like wow I did that! Ana's site has inspired me so much and I love to see that she has inspired so many others and to see the beautiful things they are making with their own two hands. Again awesome job and beautiful table!
Needed a storage spot in the living room to hide the wii remotes/games and the iRobot mop, while allowing easy access and charging capabilities. This piece fit the bill and looks beautiful!
We cut a hole in the back, in front of an outlet, and placed a power/USB strip inside the cabinet.
Used routed plywood scraps for the false drawer fronts and they look so real that everyone tries to pull open a drawer rather than swing open a door :)
NOTE: The cut list in the plans say to cut the 1x3s for the decorative top @ 35.5". They should be 37" each, which we realized after cutting and went to put the cabinet together :(

Thank you Ana White for having this plan out there. This plan has made my life so much better, considering my wife wanted this and LOVED the final product. This project took me one weekend to complete from start to finish. There were some learning's for me along the way, but I would bot be happier. I changed the top and used two 1x10x8 popolar wood and I used bead board for rear and door panels. Love the end result and could not have done it without your plan.
I made two little doll beds, complete with bedding, for my two little granddaughters and decorated to suggest 'Swedish Country'. I had such fun making them. I'm going to post them with the rails disassembled so they can be easily rescrewed together.
I reused lots of bits and pieces of wood I had on hand to make the bed. I also used paint and small pieces of fabric I had on hand for the bedding.
The girls are only 20 months and 4 years old and they both play with baby dolls constantly. The four year old has only just started to get interested in American Girl Dolls. I made the beds, thinking of the baby dolls, but big enough for 18 inch dolls, later on.
Fri, 01/11/2013 - 17:03
SO cute love what you did with colors and the fabric!!!! Thank you for sharing, made my day!

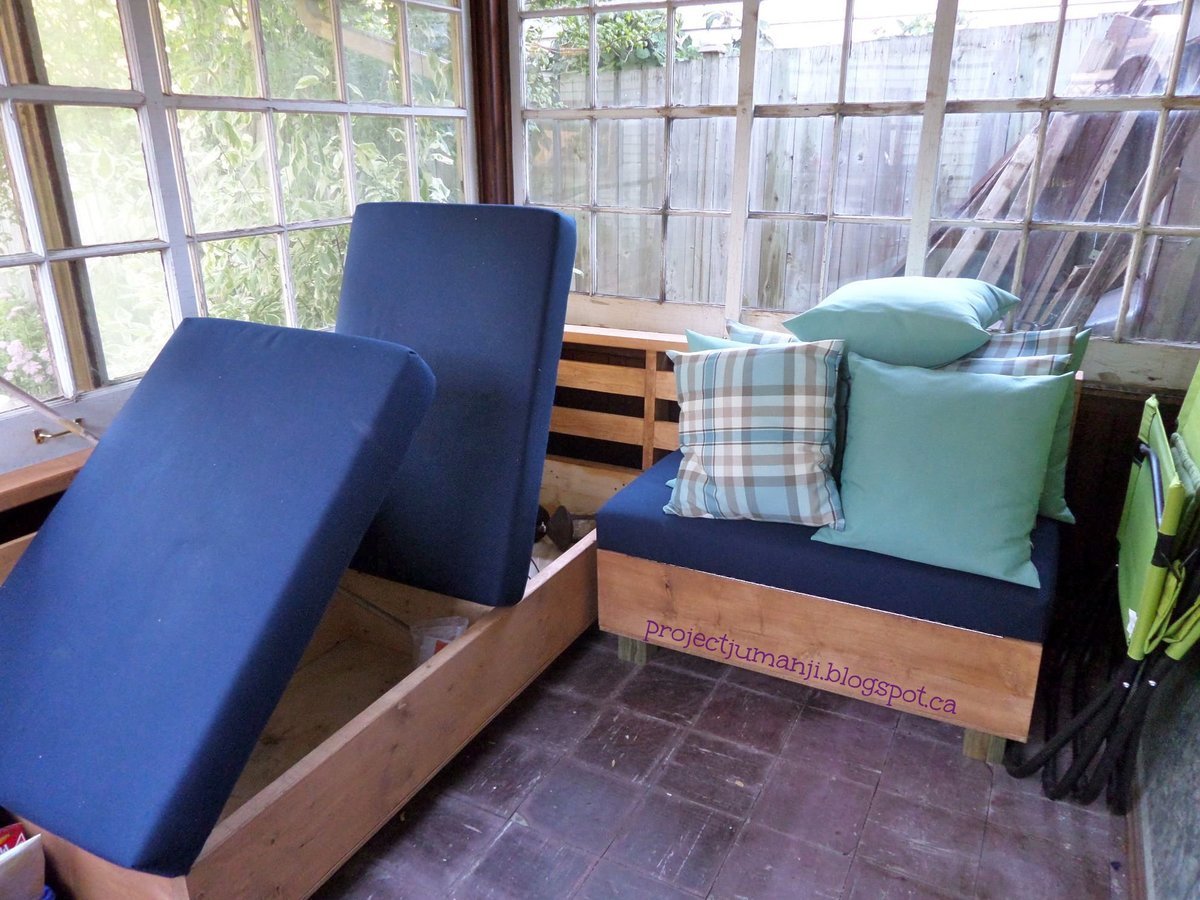
I had a horrible time finding an outdoor sectional that fit in my sunroom and didn't cost a fortune, so I adapted the Storage Sofa plan to work for my needs!
It took a couple of weekends, but I didn't work straight through both days - I would do one task at a time; cut all pieces, assemble boxes, stain, put together cushions, install in sunroom.
I used my kreg jig for as much as I could, and adapted from the original plan to leave the backrest open to give it a more outdoor look.

This was a great project to begin with. I used pocket holes instead of finishing nails. I also added another shelf and trim work.
Comments
Ana White Admin
Fri, 01/27/2017 - 14:21
AWESOME!
Can I come play? This looks amazing:)