Community Brag Posts

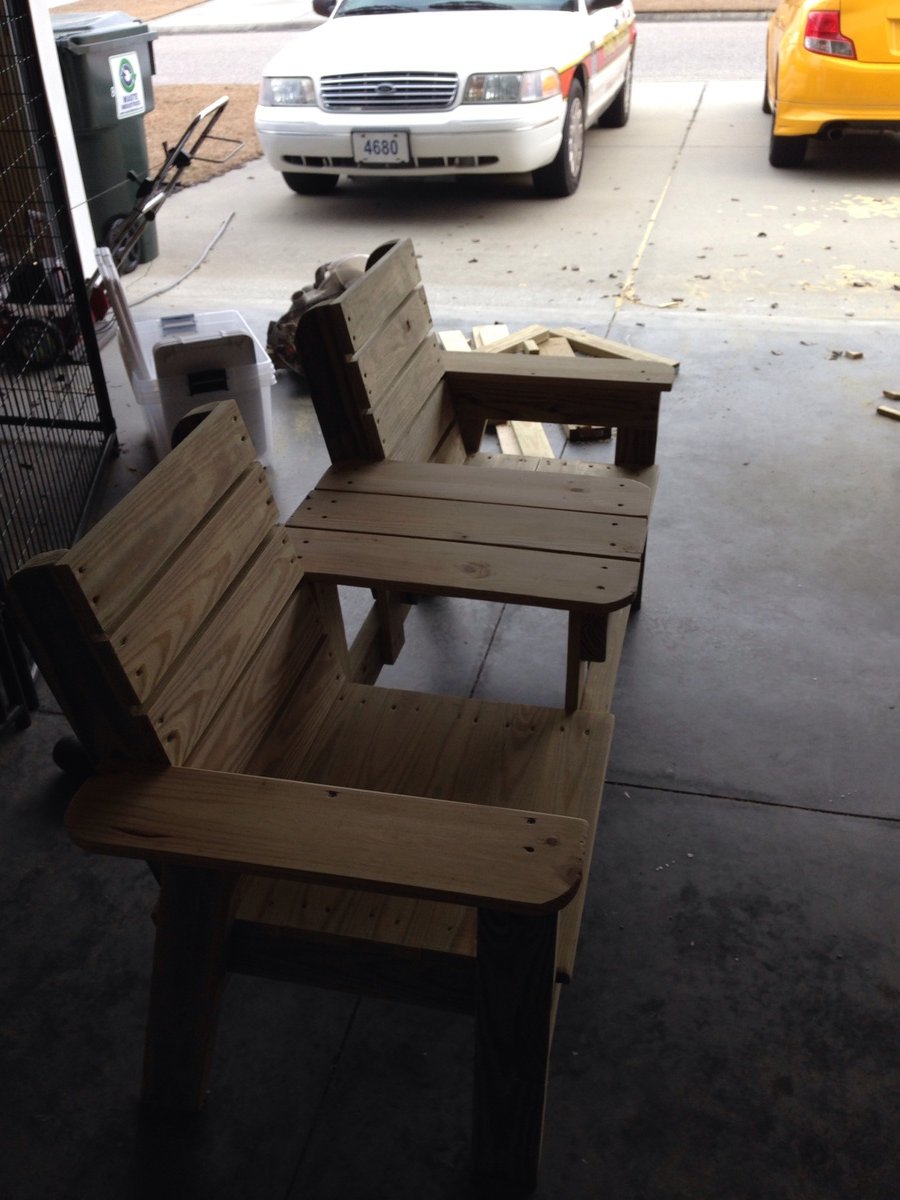
Modern Adirondack Chair

Submitted by Anonymous (not verified) on Sat, 08/13/2022 - 20:12

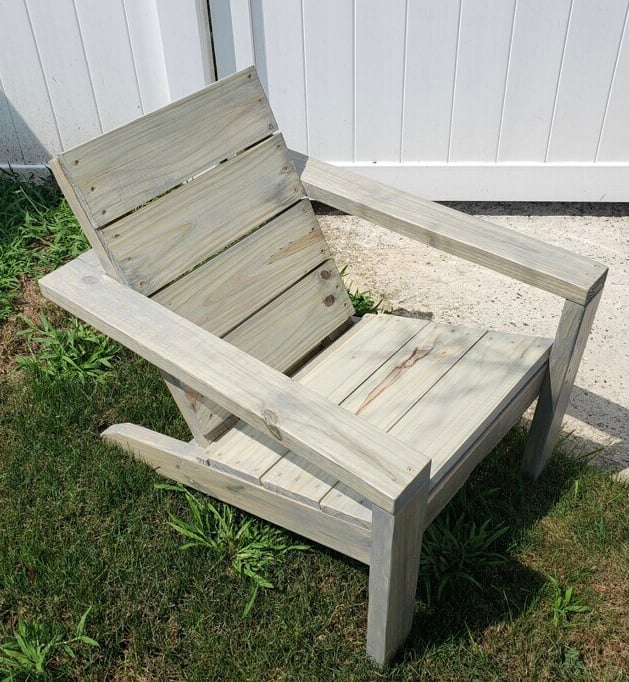
I made this with 1x6 since Home Depot didn’t have any 1x10 treated wood. All the wood I used is treated. I also used the exterior screws and put on a gray poly mixed stain for a little extra protection. I of course messed up the angles twice on the feet, but they just look like I gave them extra decoration now lol. Everybody loves this chair!

Comments

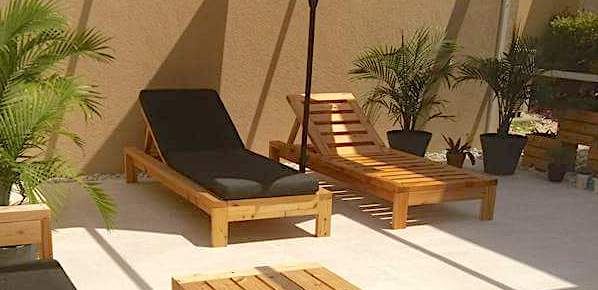
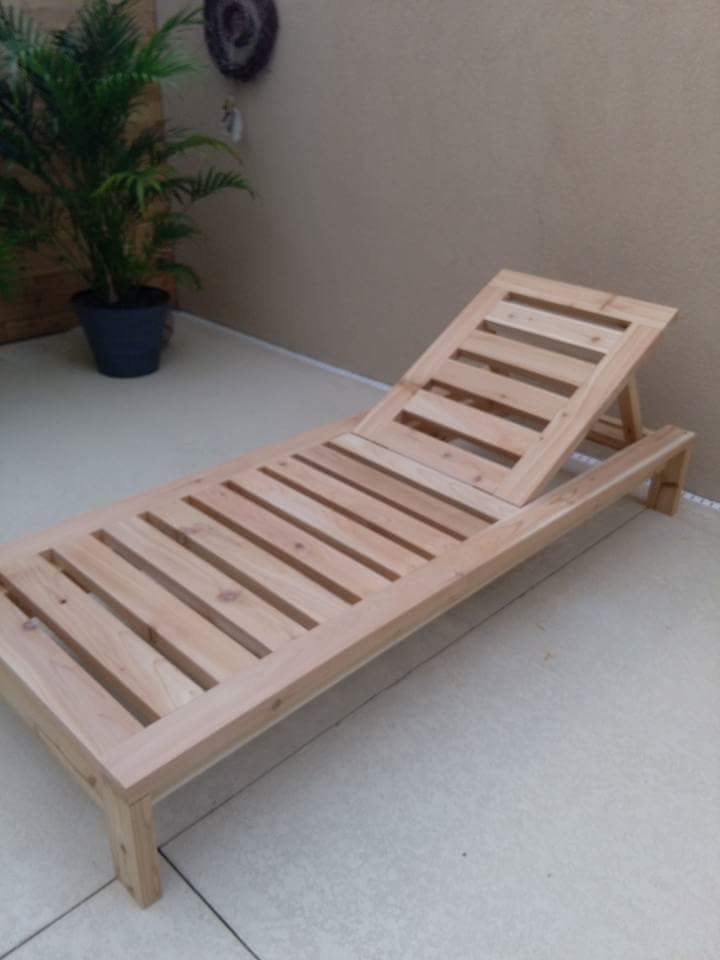
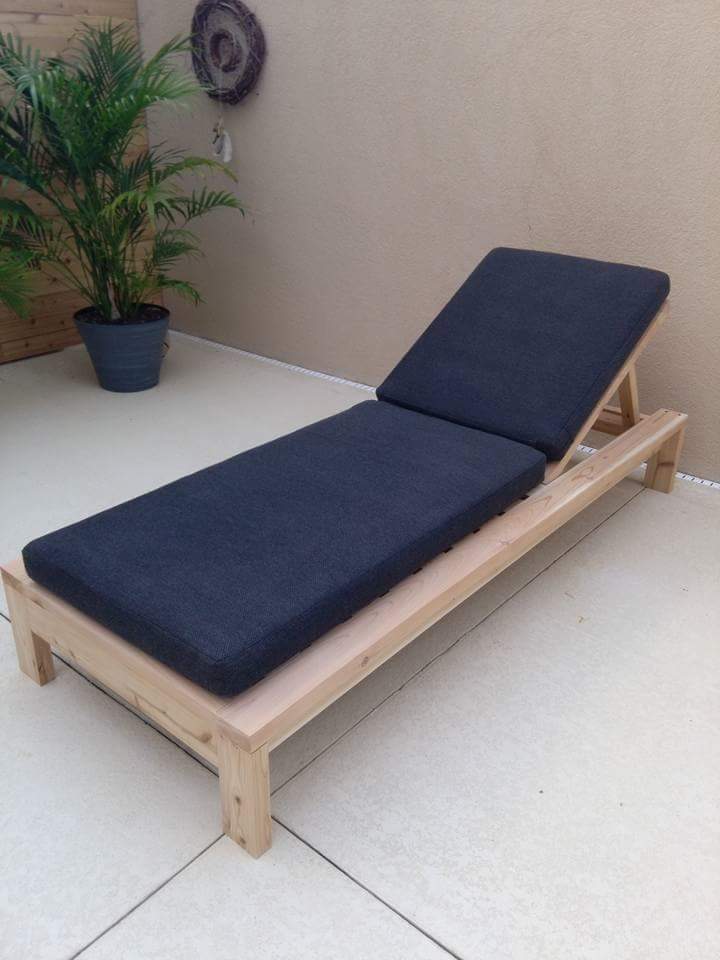
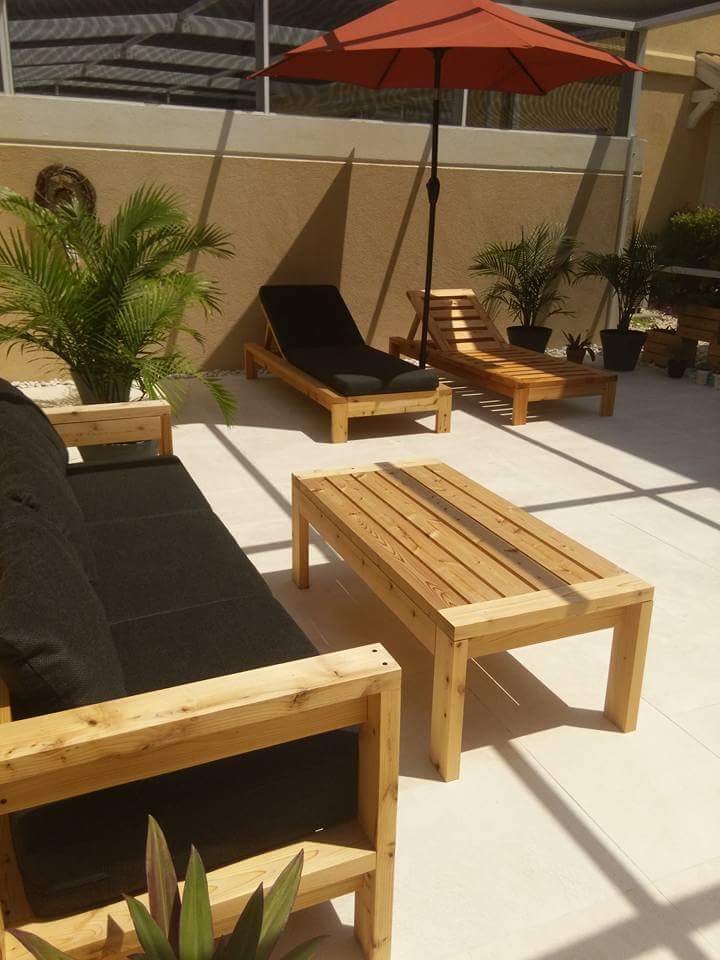
modern outdoor lounge chair

Just finished this beauty, entirely made with 2x4, plans were modify to match our outdoor sofa and coffee table. I think our best looking project so far ;) Thank you for inspiring me to build !!!

Estimated Time Investment
Week Long Project (20 Hours or More)
Recommended Skill Level
Beginner

Comments

Seasonal And Holiday

Garden Tool Shed (based on plans for Small Outdoor Shed)

Submitted by aceecee on Tue, 09/22/2020 - 14:07

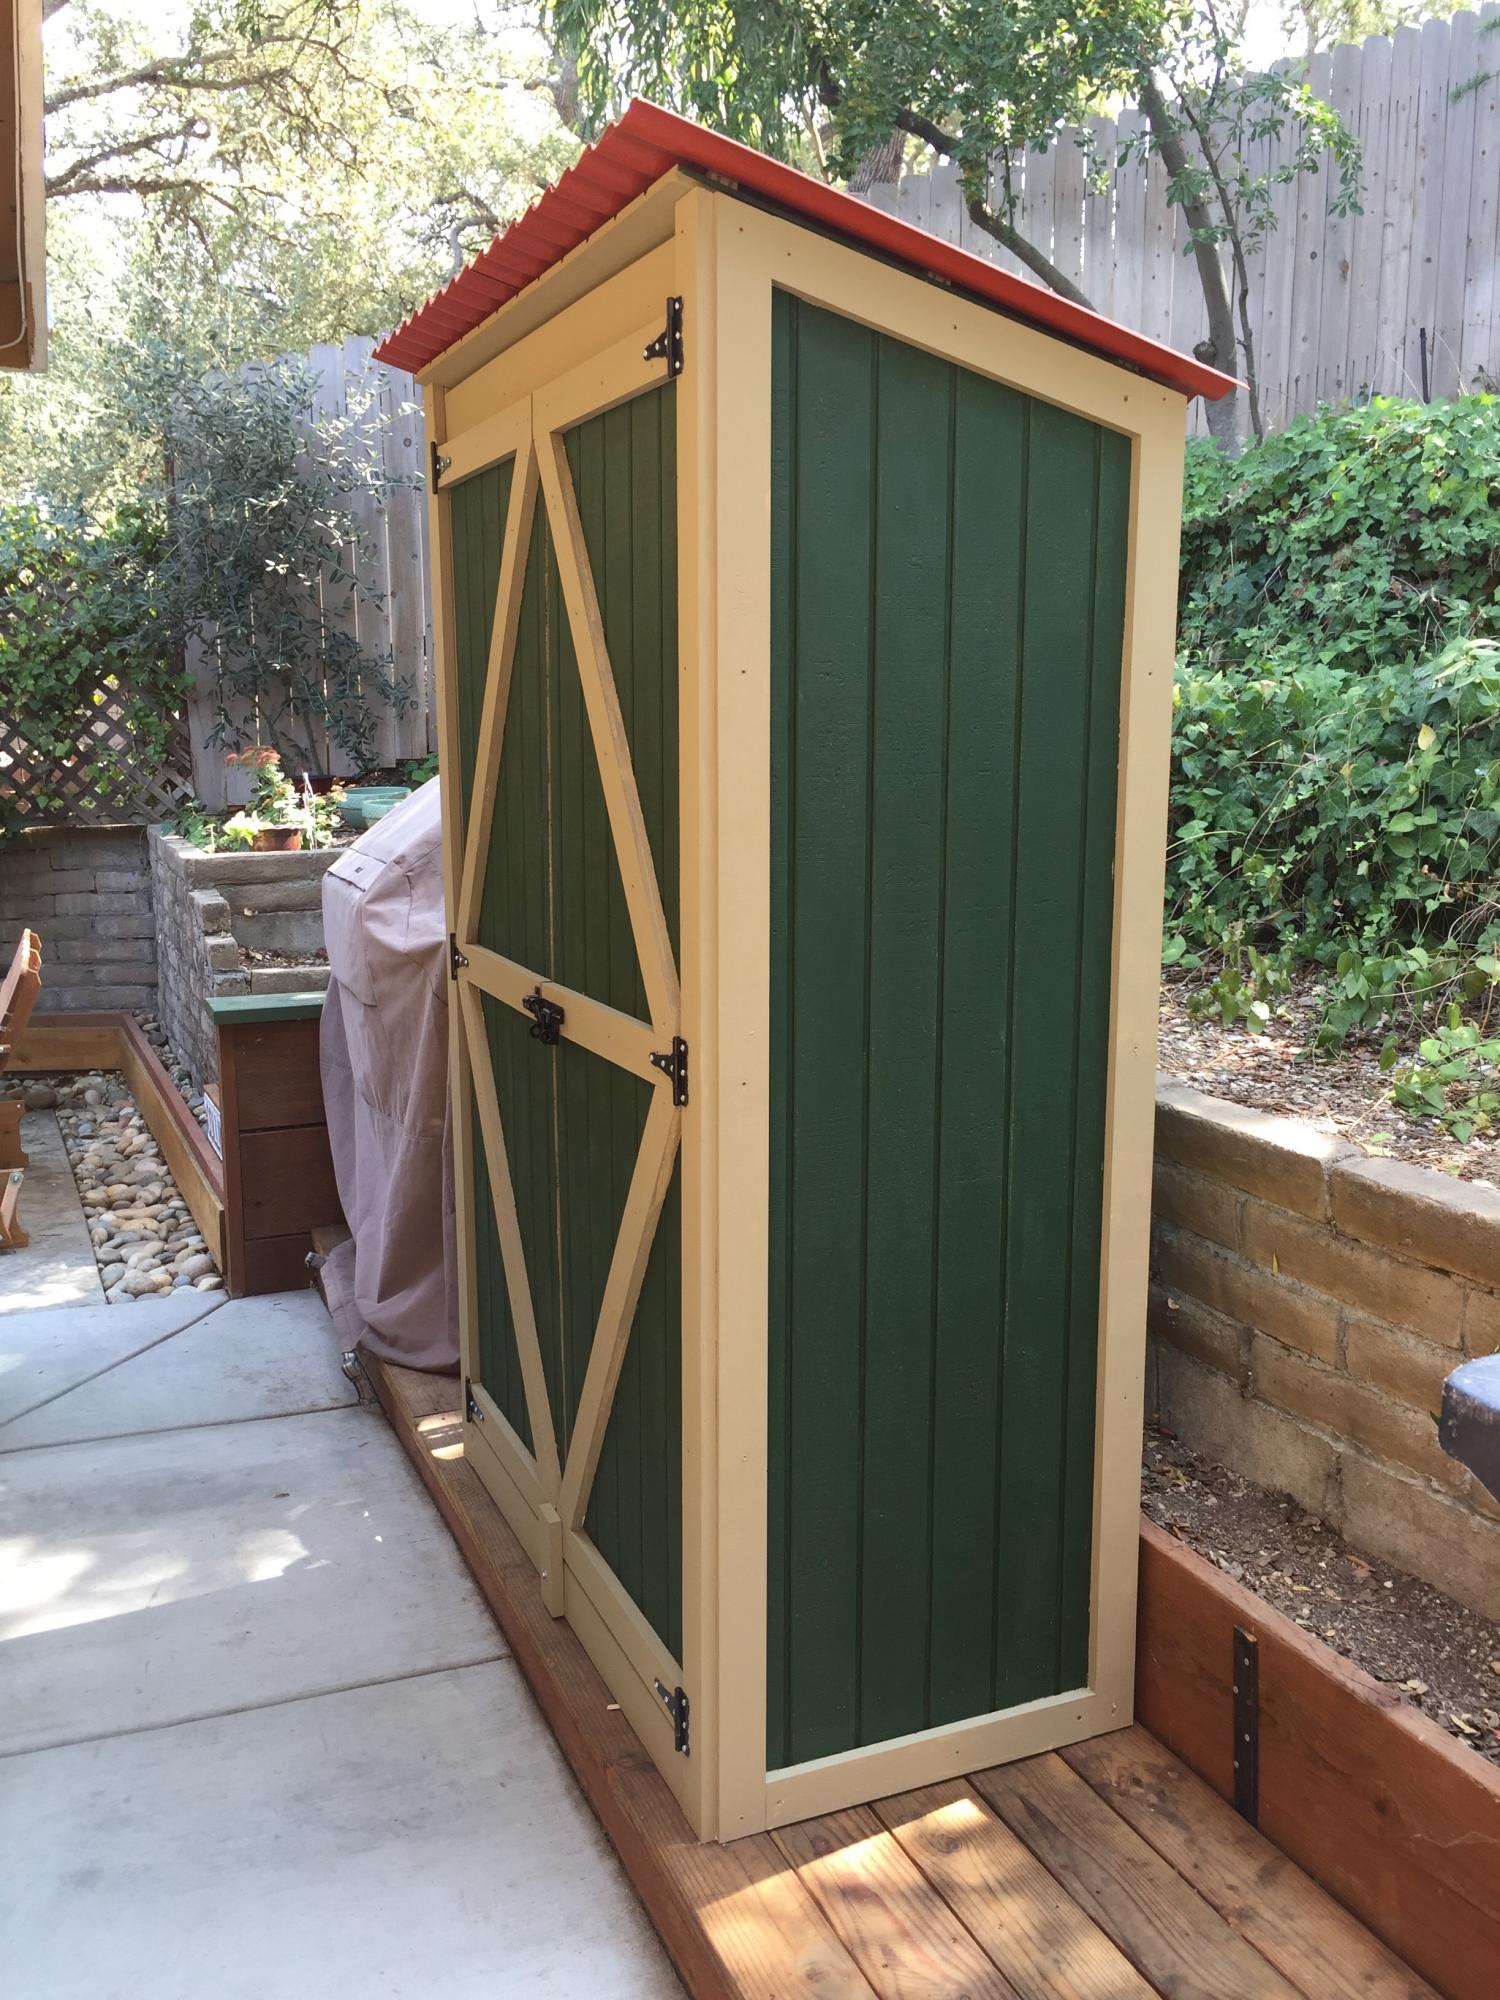
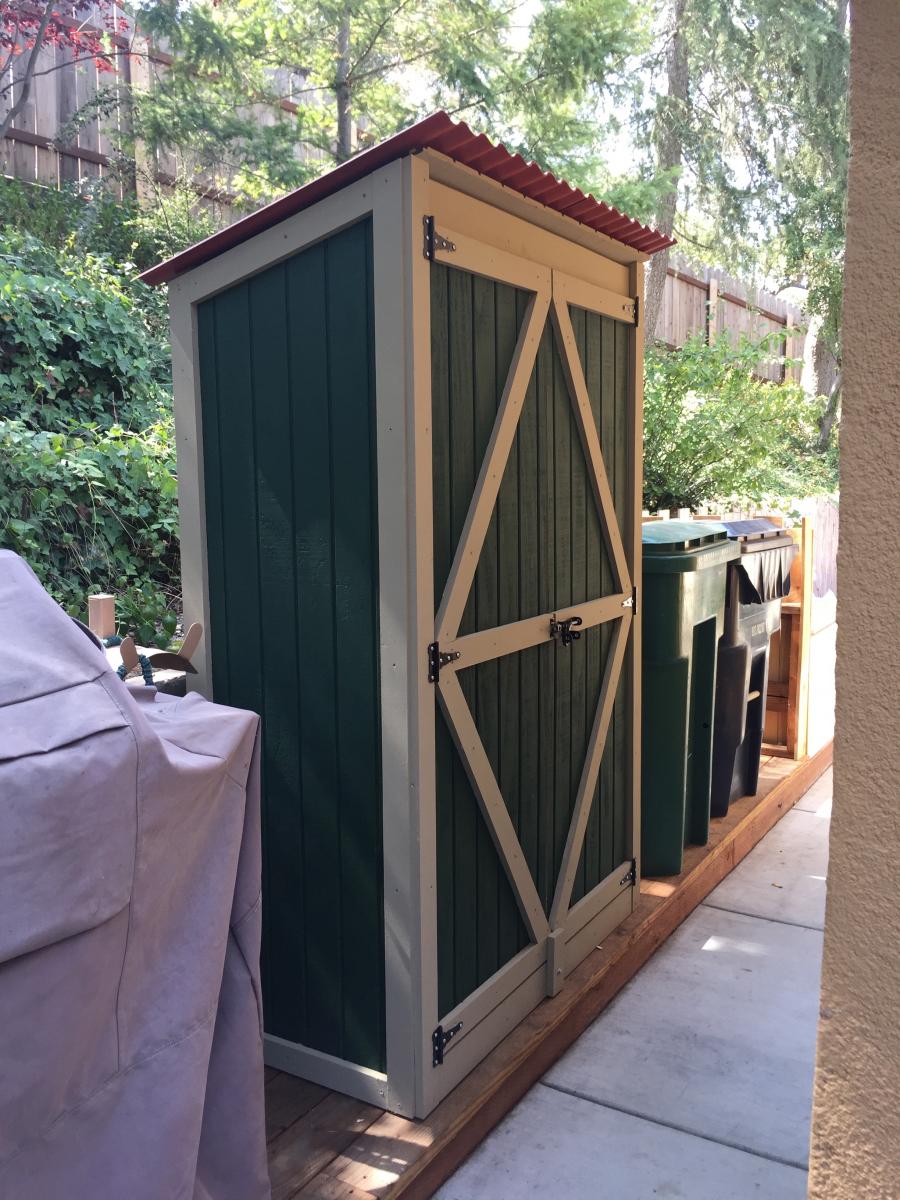
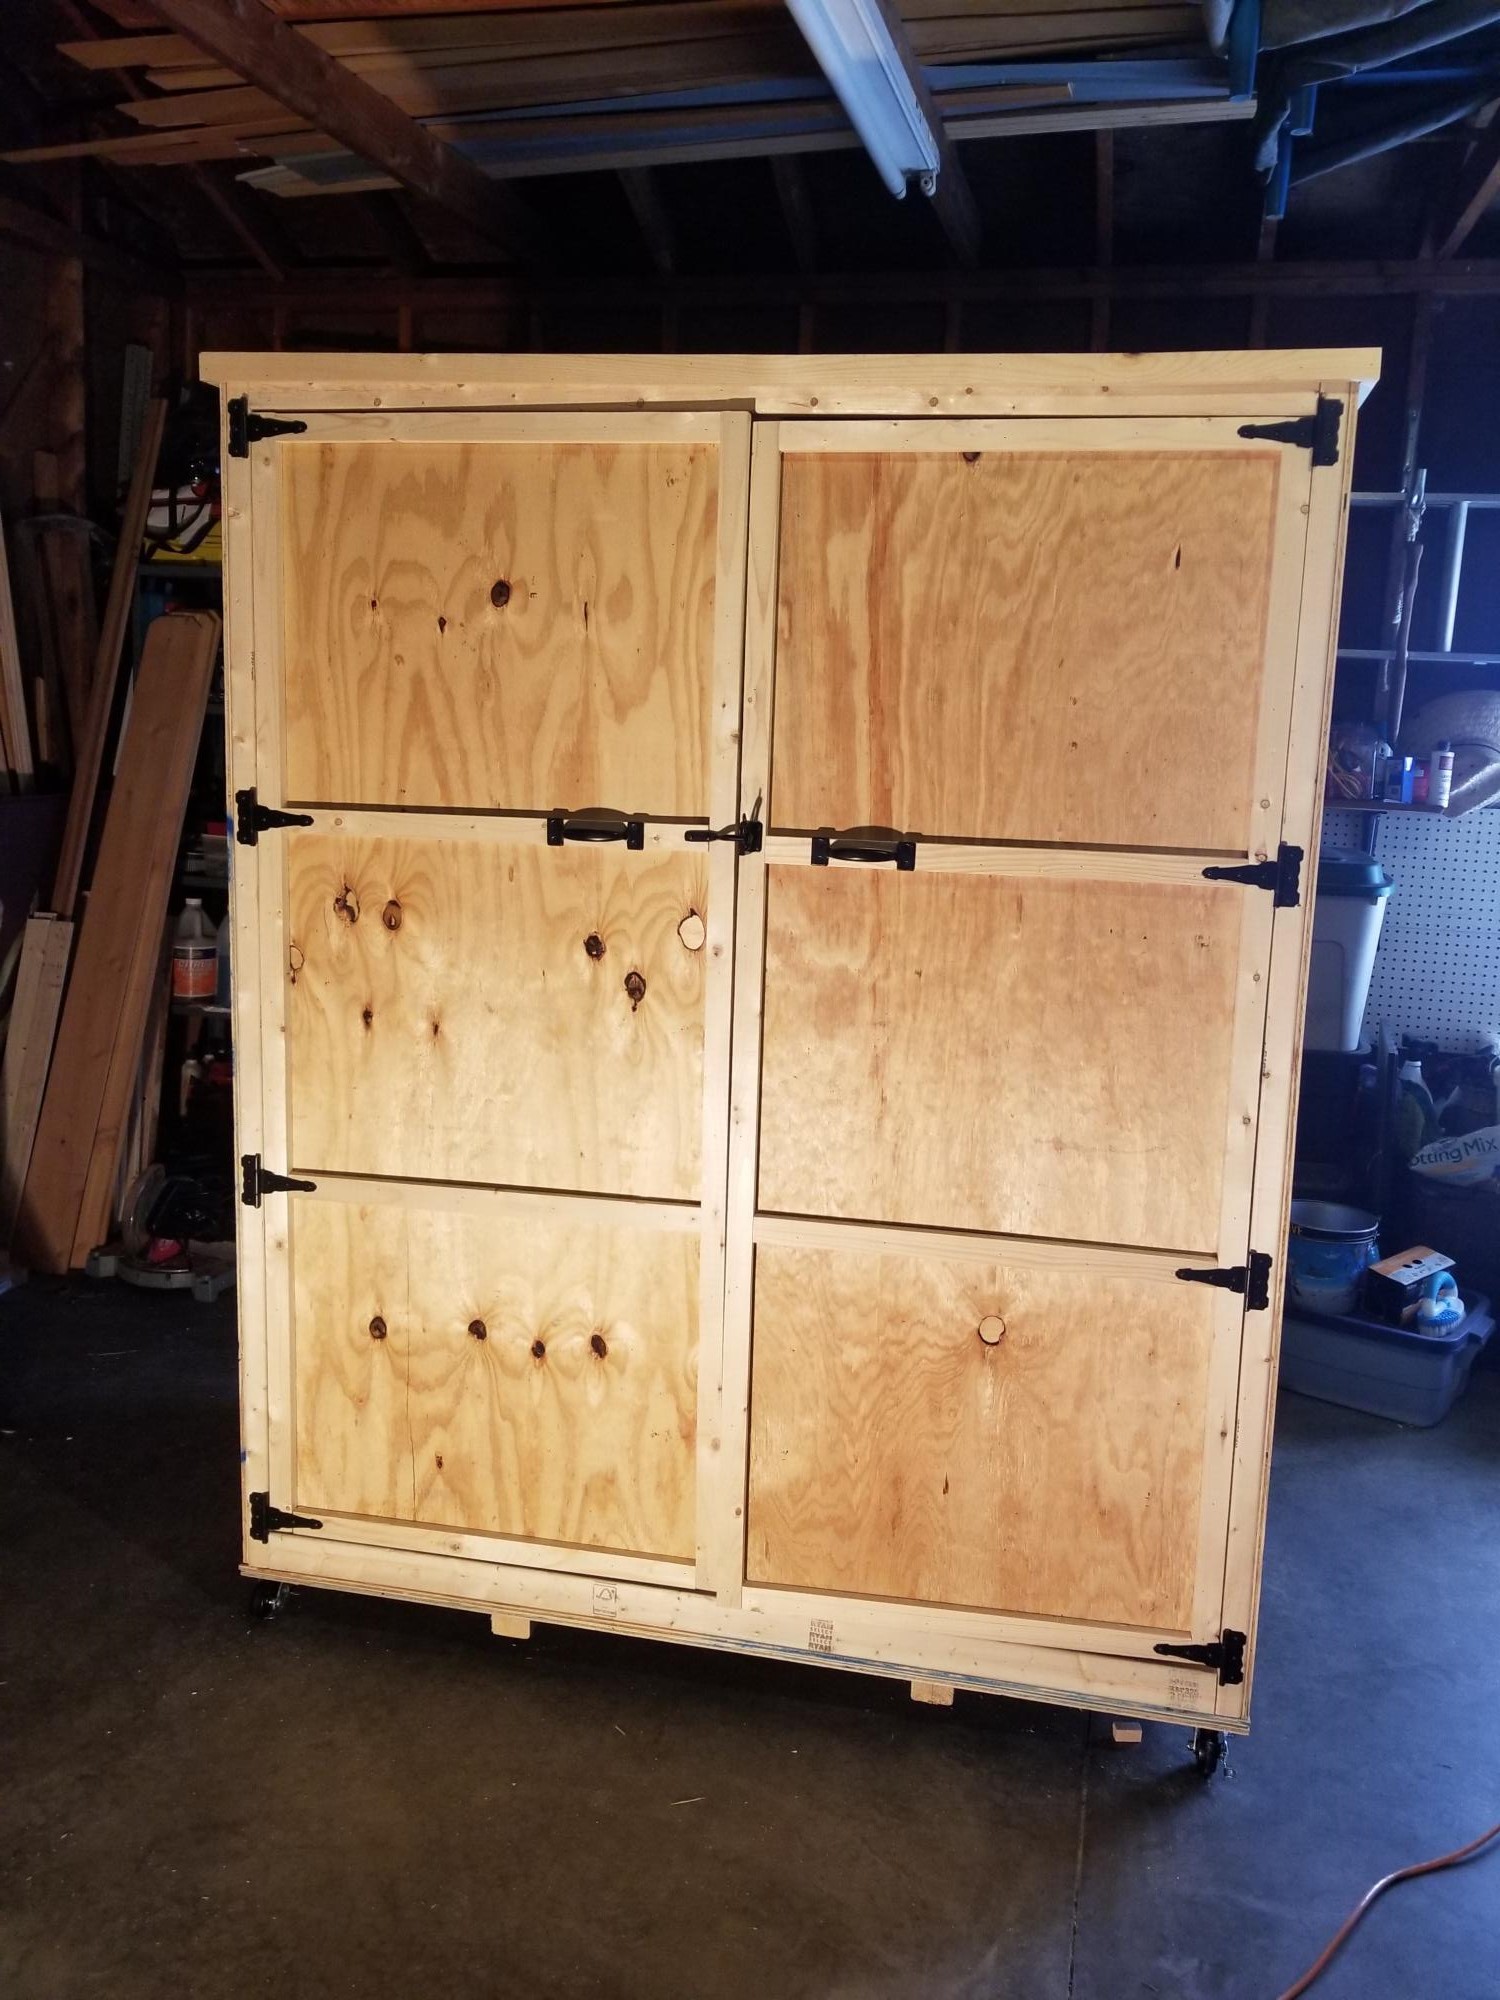
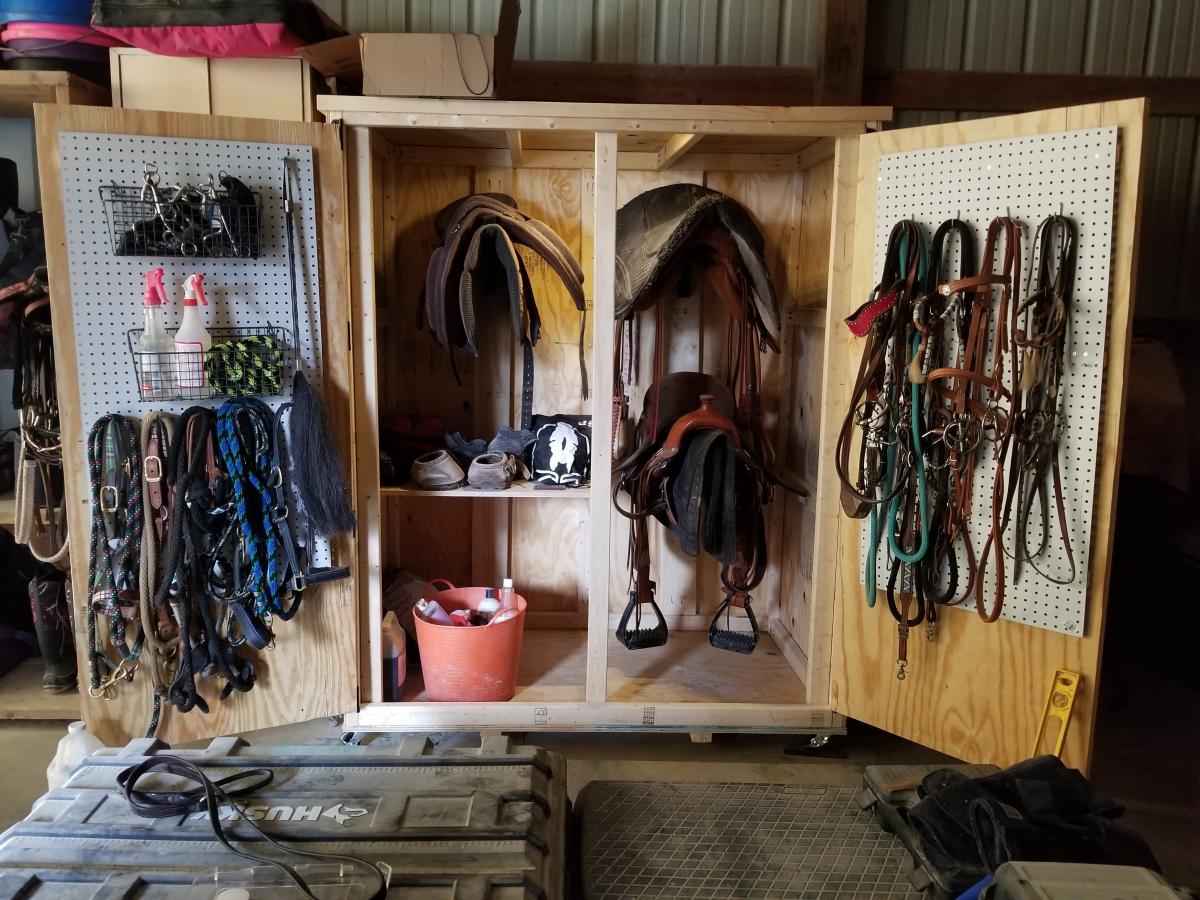
My husband and I built a garden tool shed using your plans for a "Small Outdoor Shed or Closet." We needed exactly this size for our available space. (THANK YOU! The video was really helpful and the plans were very detailed.) We are not handy at ALL, and are definitely beginners when it comes to woodworking. But, when the person who was supposed to build it for us was delayed, we thought we could try it, or at least START.

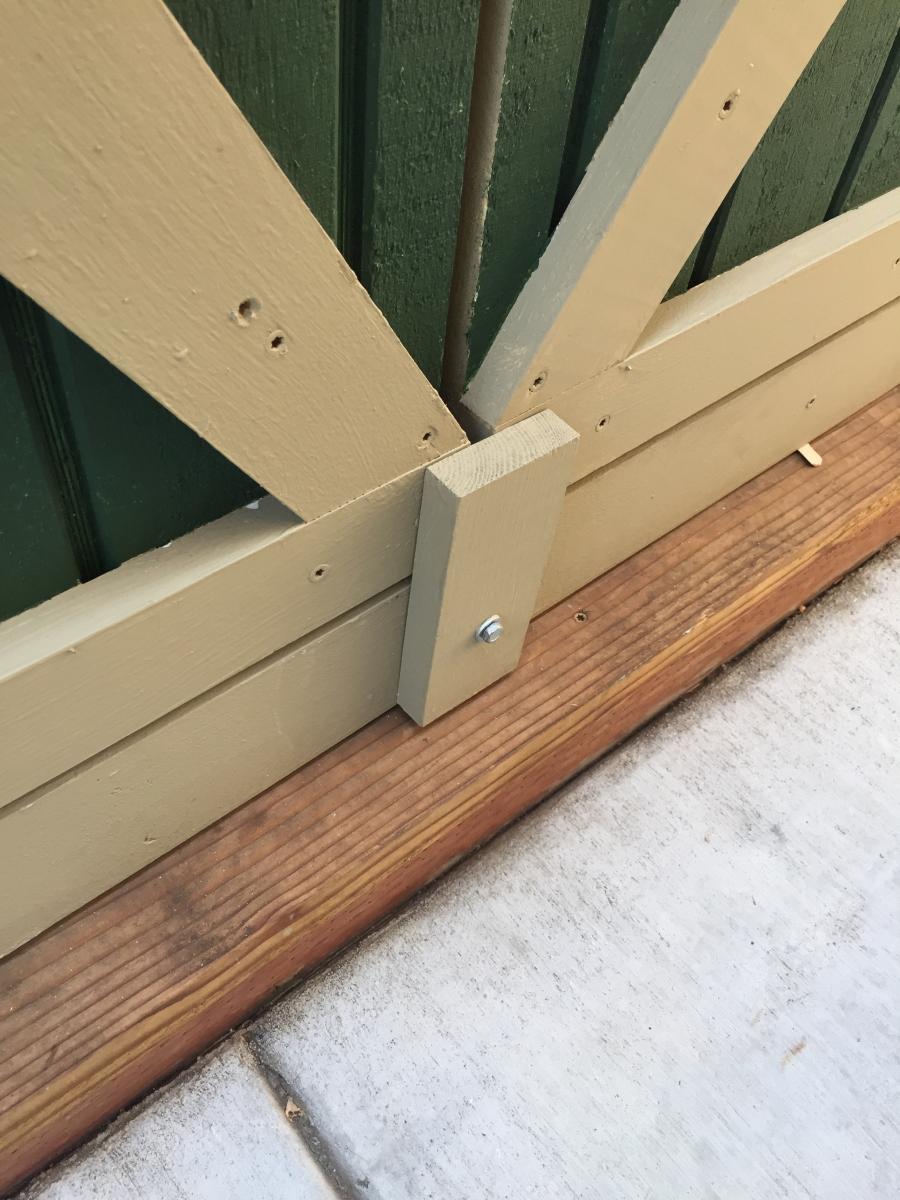
We bought a lower-end Kreg pocket jig and a secondhand mitre saw, and set to work, using T1-11 siding. We ended up building the entire shed ourselves, and were very surprised at the end result (and proud too!). The hardest part was building the doors, since we weren't really sure how to construct them to keep them from bowing. We ended up putting trim all around the edges of the T1-11 plywood doors, inside and out. (We were too far into building them when we realized we probably should have done it differently.) We also couldn't figure out how to get the double doors to stay tightly shut, but ended up using a rotating block (see picture) at the bottom and it works great, especially given that one of the doors had a slight bow at the bottom.

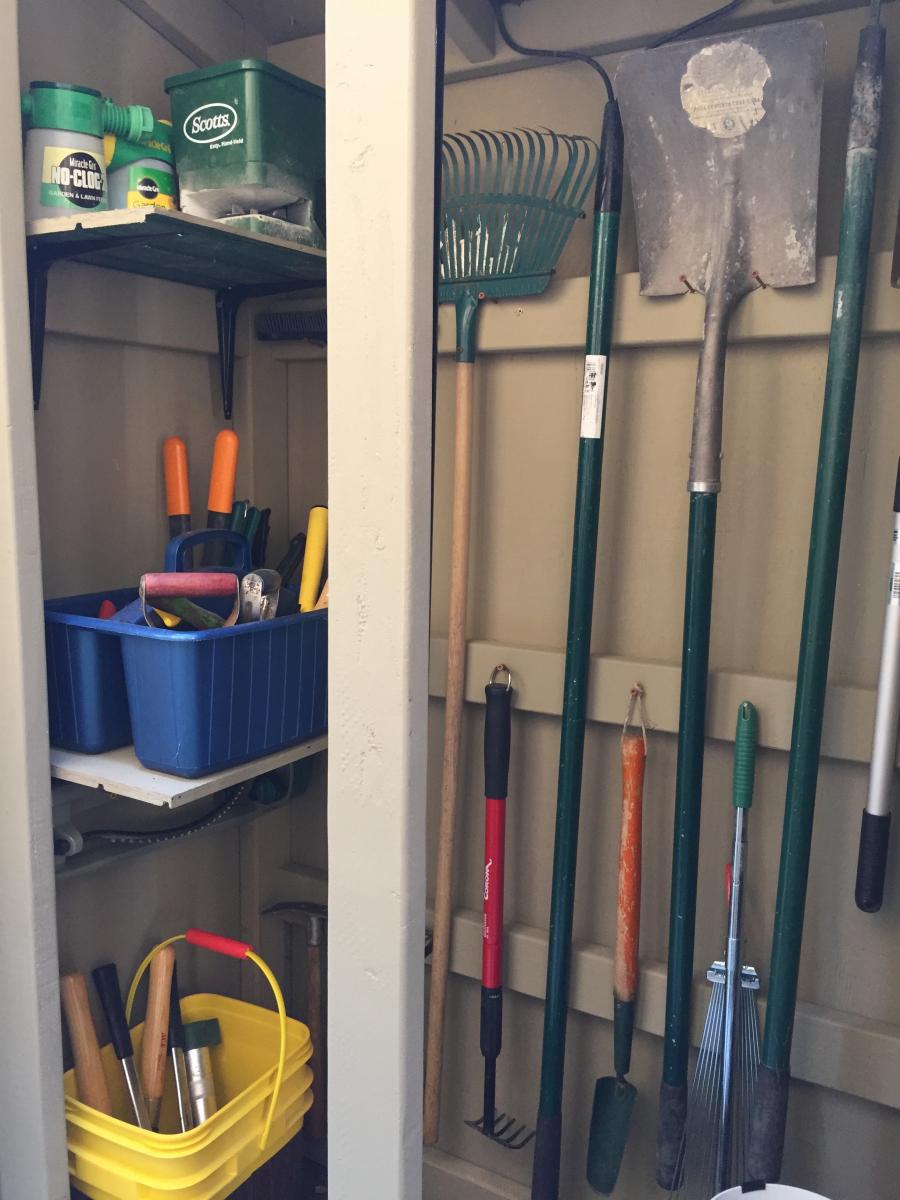
I think the only ways in which we deviated from the plan were that we added trim, an additional 2x4 up high across the back of the shed (for hanging long-handled tools), and two interior shelves on the left (from leftover siding). We used colored corrugated polycarbonate sheeting over the roof instead of asphalt shingles. (Unfortunately you have to use specific screws for the sheeting and one length was too short and the other too long and protrudes through the roofing slightly, into the interior. But we like the pop of color the sheeting adds, and REALLY didn't want to do shingles for such a small area, nor did we know how to do shingles.)

My final suggestions would be that a mitre saw and pocket jig are REALLY helpful and using star head screws is easier. I would also suggest that you paint everything (prime and color coat) before assembly and just touch up afterwards, especially if you use a lot of trim as we did. We primed and painted the siding but just primed the trim, and it was a real pain to put the color coat on all that 1x3 trim after construction.

This plan is listed as an "intermediate" project and I think that's probably a correct designation. As beginners, it just took BOTH of us to figure it all out (we work really well together) and to build it, and it took a much longer time than it would for someone with more experience.
Estimated Cost
I think we probably spent between $300 and $400 on lumber, hardware and paint, not counting buying the secondhand mitre saw and the Kreg jig.
Estimated Time Investment
Week Long Project (20 Hours or More)
Finish Used
Primed and painted, green and tan. (We bought the green and had the tan on hand.)
Recommended Skill Level
Intermediate

Comments

laurawelsh

Tue, 10/06/2020 - 15:56

Well done! I love this! Can I ask what dimension your garden tool shed is? And how did you decide on the new roof size/angle? I have a similar space and am contemplating something similar. Thanks!!

laurawelsh

Tue, 10/06/2020 - 15:56

Well done! I love this! Can I ask what dimension your garden tool shed is? And how did you decide on the new roof size/angle? I have a similar space and am contemplating something similar. Thanks!!

Lean-To Shed

Submitted by Anonymous (not verified) on Fri, 03/24/2023 - 13:17

I’m a first year teacher of construction class at Waterloo High School in Illinois. We recently used your Small Cedar shed instructions with some modifications for a class project. It’s a bear getting cedar right now, so we used T1-11 for the outside and 2x4 for the frame.

Built from Plan(s)

Comments

Playset Addition

Submitted by Derek S on Wed, 06/10/2020 - 08:27

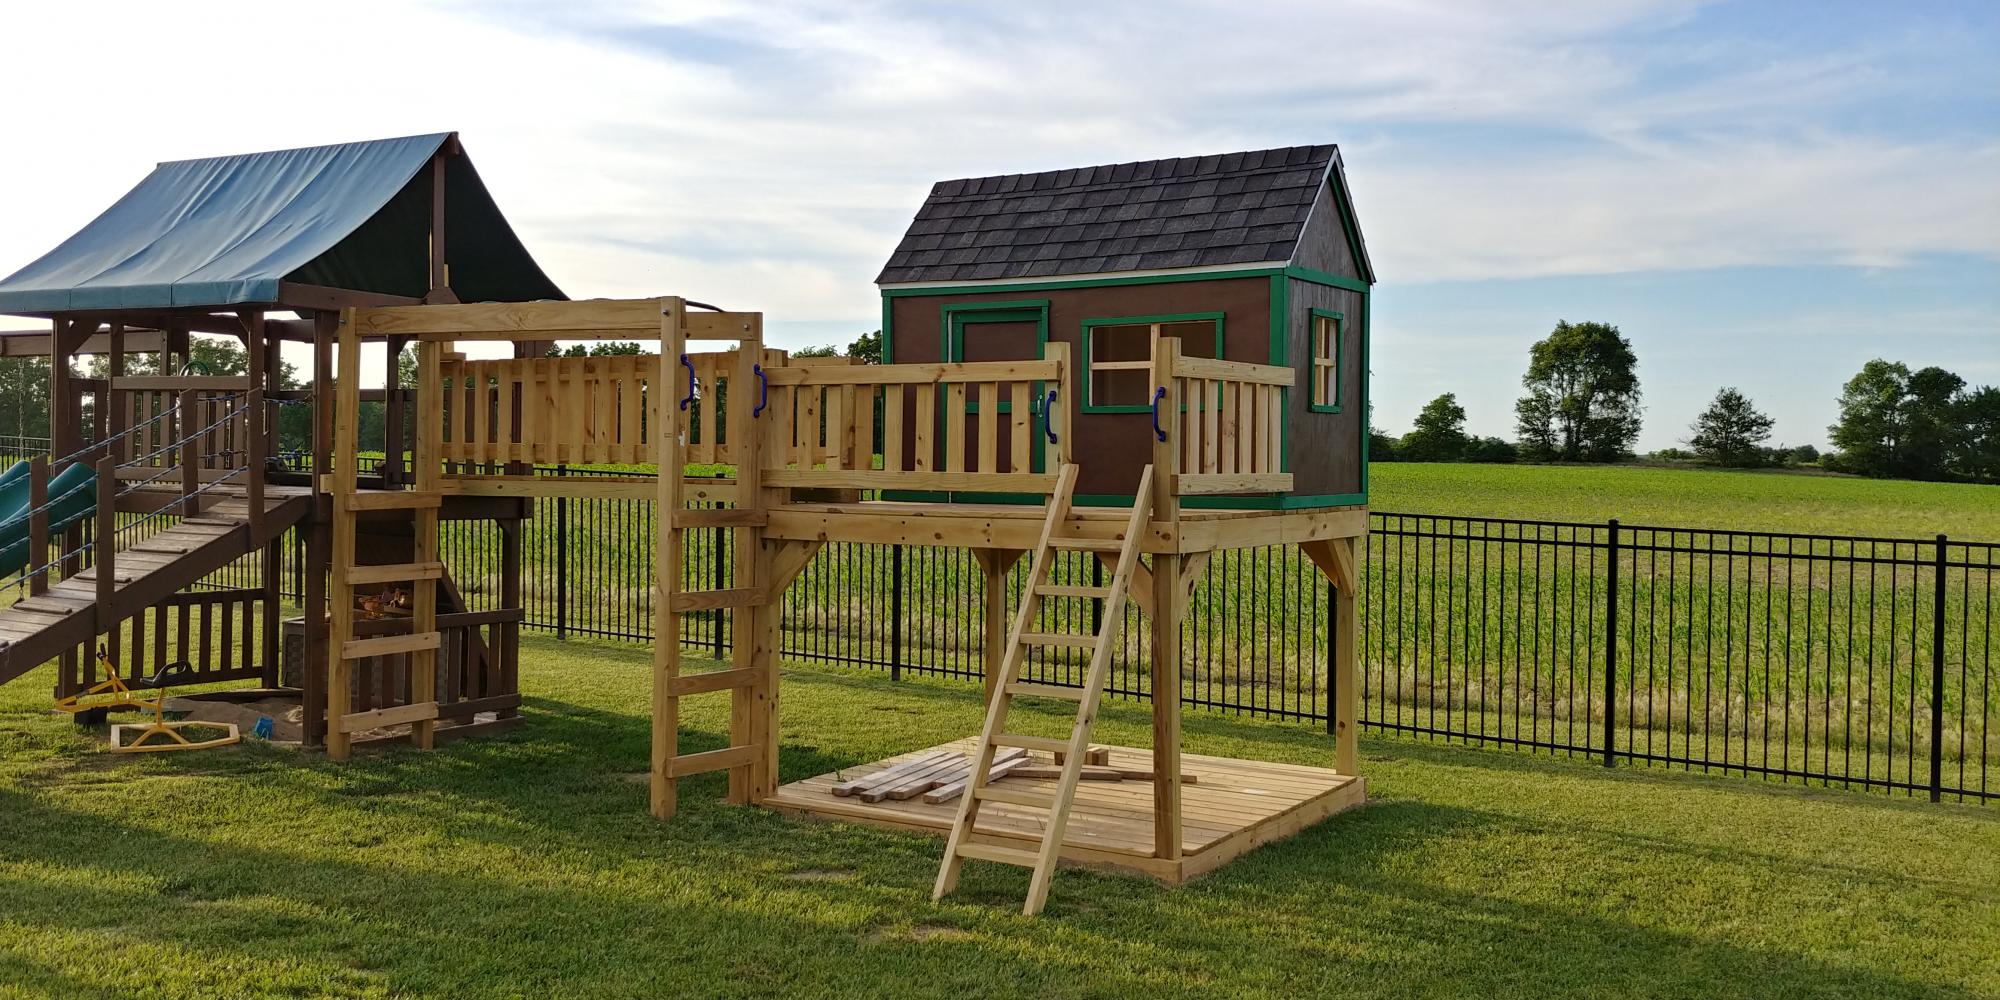
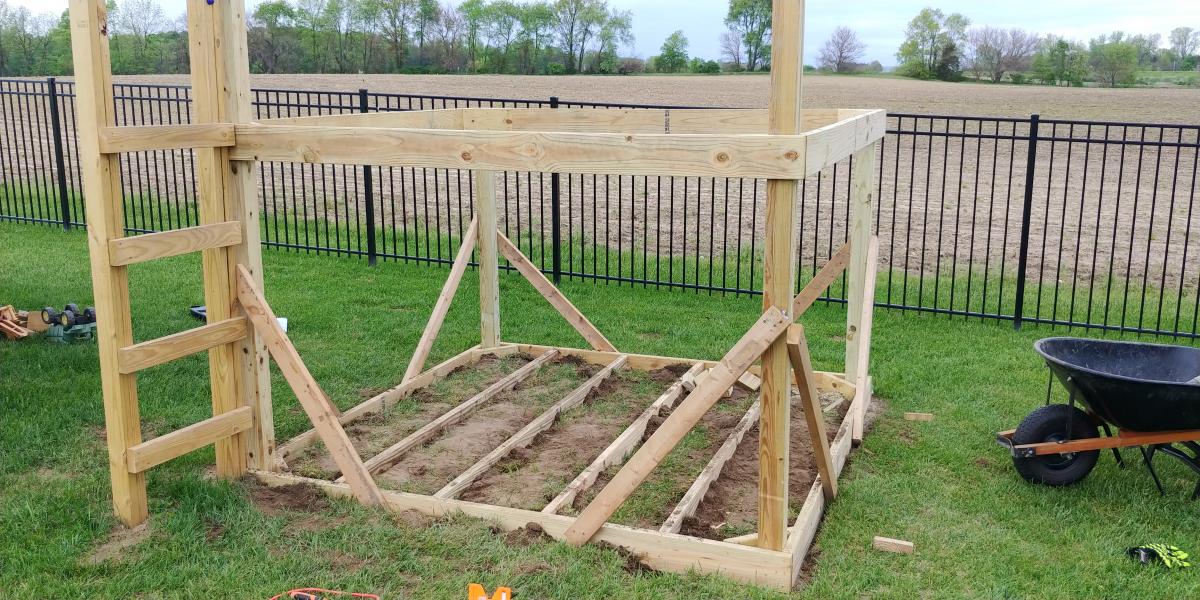
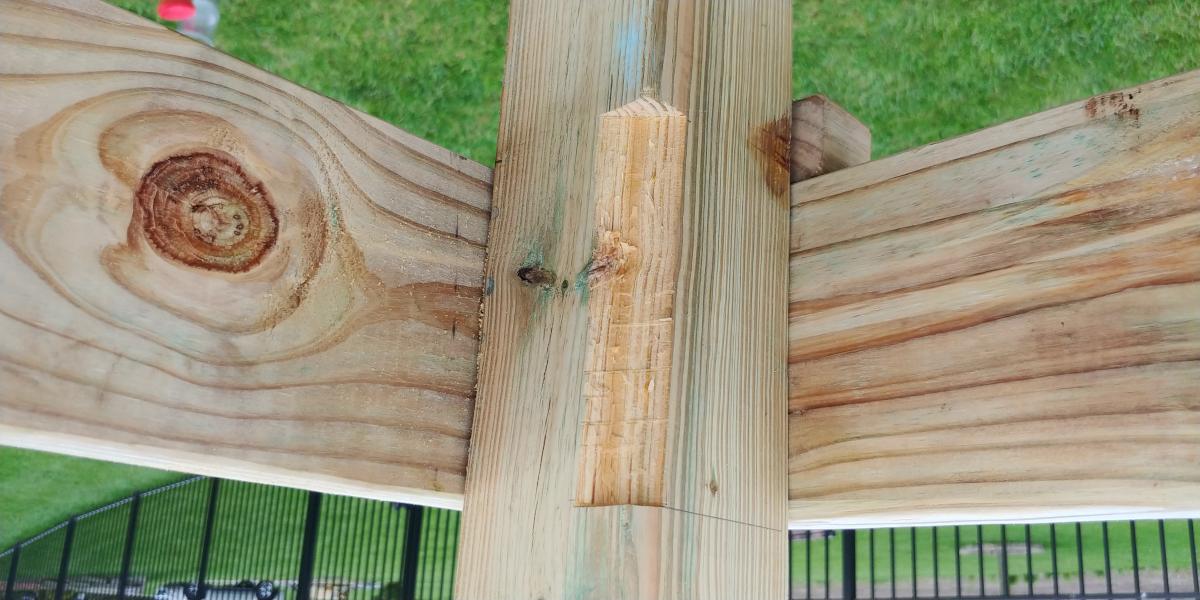
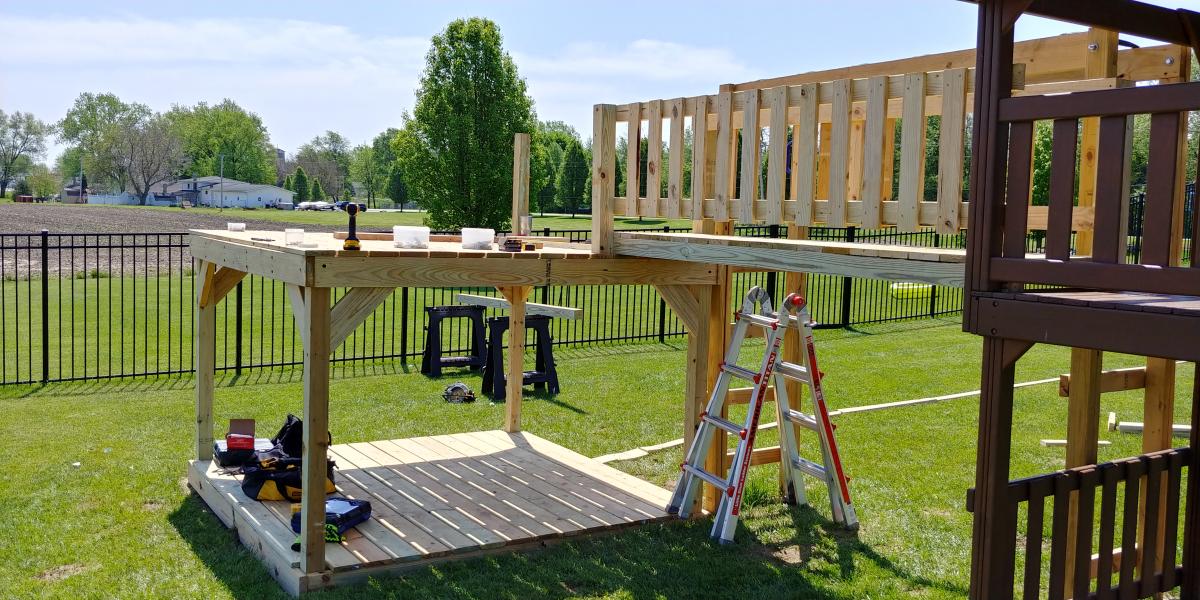
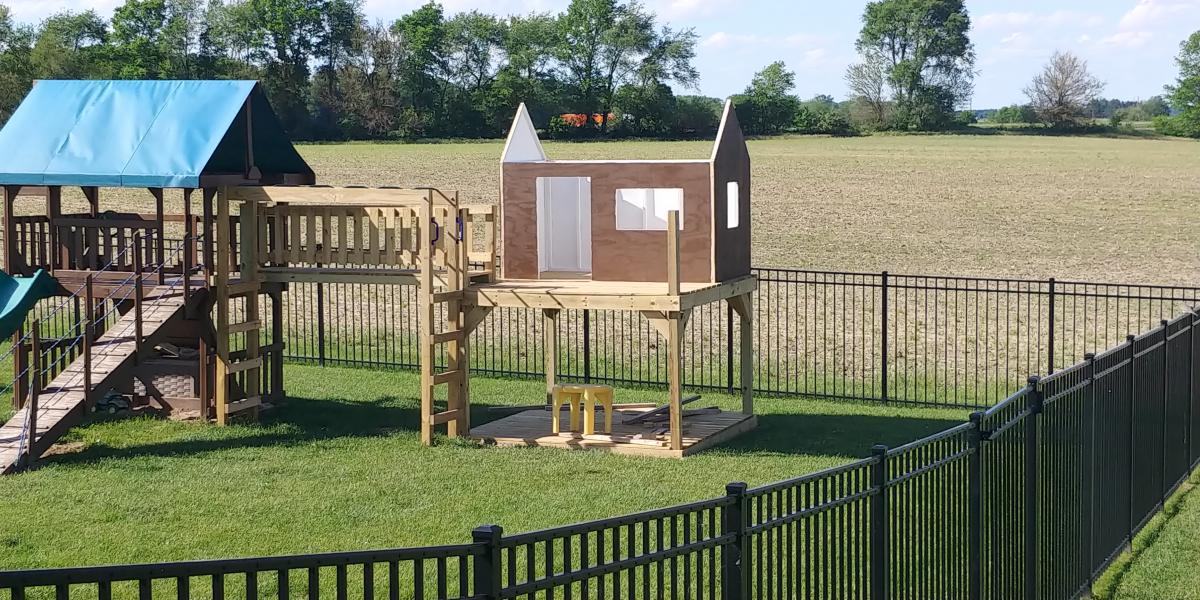
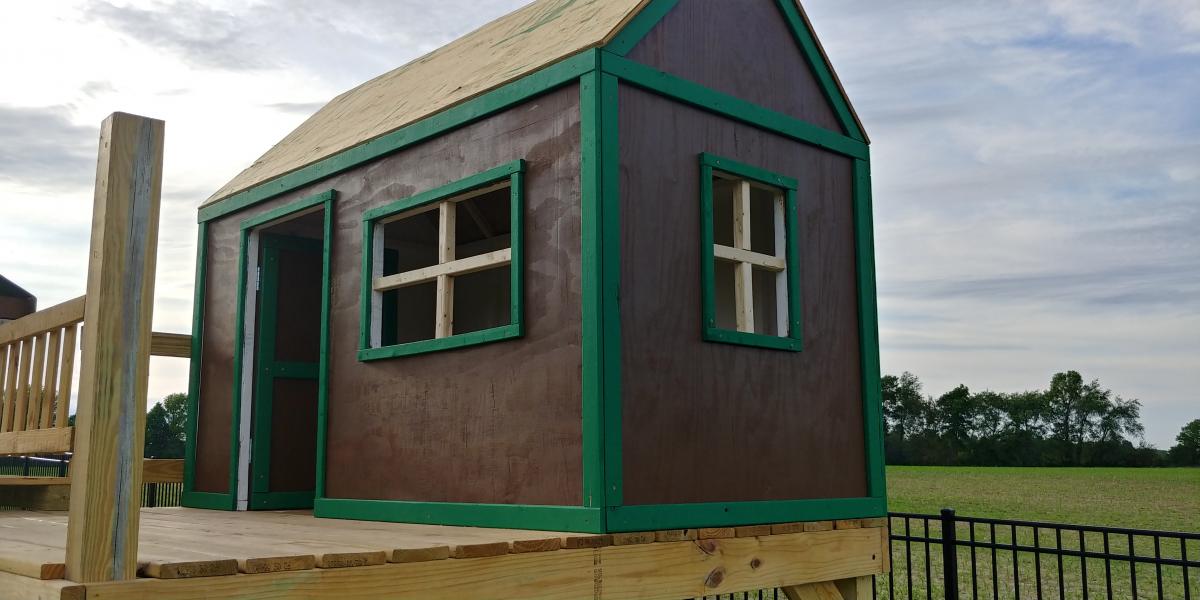
Decided our old play set needed an addition, landed on these plans of Ana's. Sat on them and mulled them over for months. Once the wife said something about adding on to it I made the purchases needed. Connected the two platforms with a bridge. I used 4"x4"x10' for the runners, same boards as the decking for the platform of the bridge(5/4"x6"), 2x4's and 1x4's for the railing. If you look at the 3rd photo, I had to chisel out the 4x4 post to get the 2"x6"x12" support to fit correctly. This should measure 2"x6"x13". Another change I made was to cut the bottom and top trim pieces longer on the front and back sections so that the trim would cover the framing of the gable end walls (see last photo). my son wanted windows so I faked in some windows with scrap 2x2's. I used 2x6's as supports from the 4x4's to the 2x6 framing (see photo 3) I added the monkey bars about a month before deciding to do the platform/deck and playhouse. The ladder is based loosely off of a couple of plans I found online. I was able to do all of this work myself except for the roof. Need my dads help to lift the plywood, he then helped me with the rest of the roof.

Estimated Cost
$1000
Estimated Time Investment
Week Long Project (20 Hours or More)
Finish Used
I used a dark wood stain fore the house, green exterior paint for the trim and white exterior paint for the interior of the house.
Recommended Skill Level
Intermediate
Seasonal And Holiday

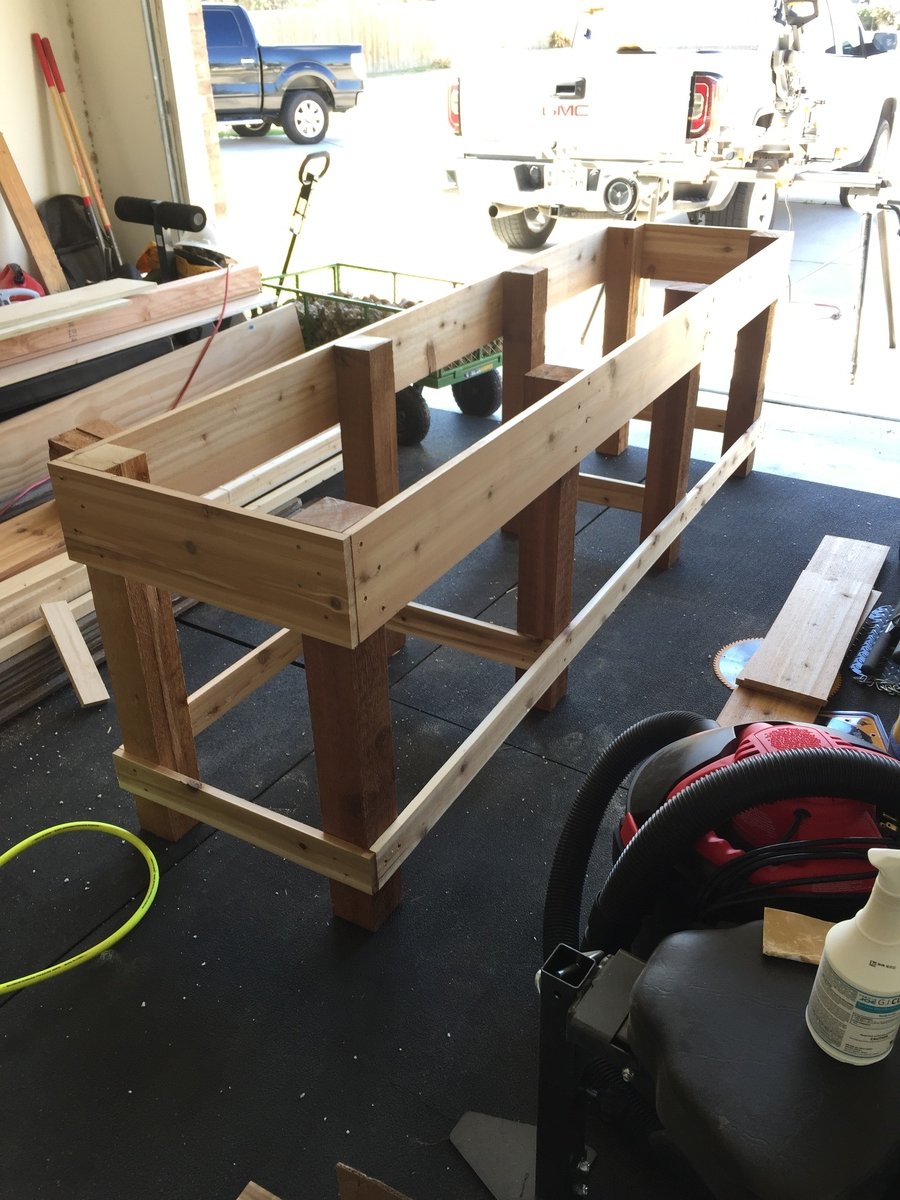
XL Modern Craft Table

I modified this plan so I could have 4 total work areas. Total Size: 48" x 96"

Built from Plan(s)
Estimated Time Investment
Weekend Project (10-20 Hours)
Finish Used
White paint to match walls and trim (SW Alabaster)
Recommended Skill Level
Intermediate

Comments

briannamcelfresh

Tue, 09/08/2020 - 19:42

Is there anyway you can share these plans with me!? I drew out some plans for an identical table but I think my cuts may be off! It would be so helpful.

My first project!

Submitted by J_Weeks13 on Sat, 03/07/2015 - 10:26

Thanks for the awesome, easy to follow plans!! All that's left to do is stain it and build another one- I'm going to have 2 on my back patio! A successful first project! Thanks!!

Estimated Cost
$130.00
Estimated Time Investment
Day Project (6-9 Hours)
Recommended Skill Level
Beginner

Comments

thecityalaskan

Sat, 03/07/2015 - 12:27

So awesome!!! Especially for your first project! Super inspiring for those of us who would like to attempt a project like this! Thank you for sharing!

Doggy Door or Baby Gate

I installed a half door to isolate our dog from the laminate flooring when he sleeps at night.

It was only $25 for the hollow core 6 panel door from HD, which got cut in half.
$25 for the passage knob.
$10 for top plate and trim
Less than $5 for the hinges.

Not having to replace the laminate flooring priceless!

Some Tips:

The $25 door is not prehung. Buy the $14 dollar irwin door jig to install the door "http://www.homedepot.ca/product/door-lock-installation-kit-carbon/904157" It will come in handy if you are remodeling and installing new doors to replace those old flat panel doors. You will also have to chisel out the hinges.

When installing and marking the hinge locations in the door frame shim the door a 1/4" off the floor.

Estimated Cost
$65 materials + $15 jig = $80
Estimated Time Investment
Day Project (6-9 Hours)
Finish Used
White paint
Recommended Skill Level
Intermediate

Comments

Shoe Dresser

Submitted by Anonymous (not verified) on Sat, 04/01/2017 - 08:26

We used the shoe dresser instructions with some modifications to make it longer

Built from Plan(s)
Finish Used
Stain, polyerthane, chalk paint and wax
Recommended Skill Level
Advanced

Queen Murphy Bed

Submitted by Jenga on Sun, 12/06/2015 - 12:59

Not too bad of a project but had to a good bit of guess work so I could changed the plans for a queen size bed and flip in on its side.

Estimated Cost
$200 if you already have the bed
Estimated Time Investment
Week Long Project (20 Hours or More)
Finish Used
White Paint and laminate flooring left over from the floor.
Recommended Skill Level
Beginner

Comments

Arilie

Sun, 05/29/2016 - 18:50

Good evening!

I am new at wood working, and would be very interrested in knowing the different measurements you changed to get from a twin to queen murphy bed. If it is posted on this page, I tried but couldn't find it. Thank you for your help. Have a good day.

Marie-Julie

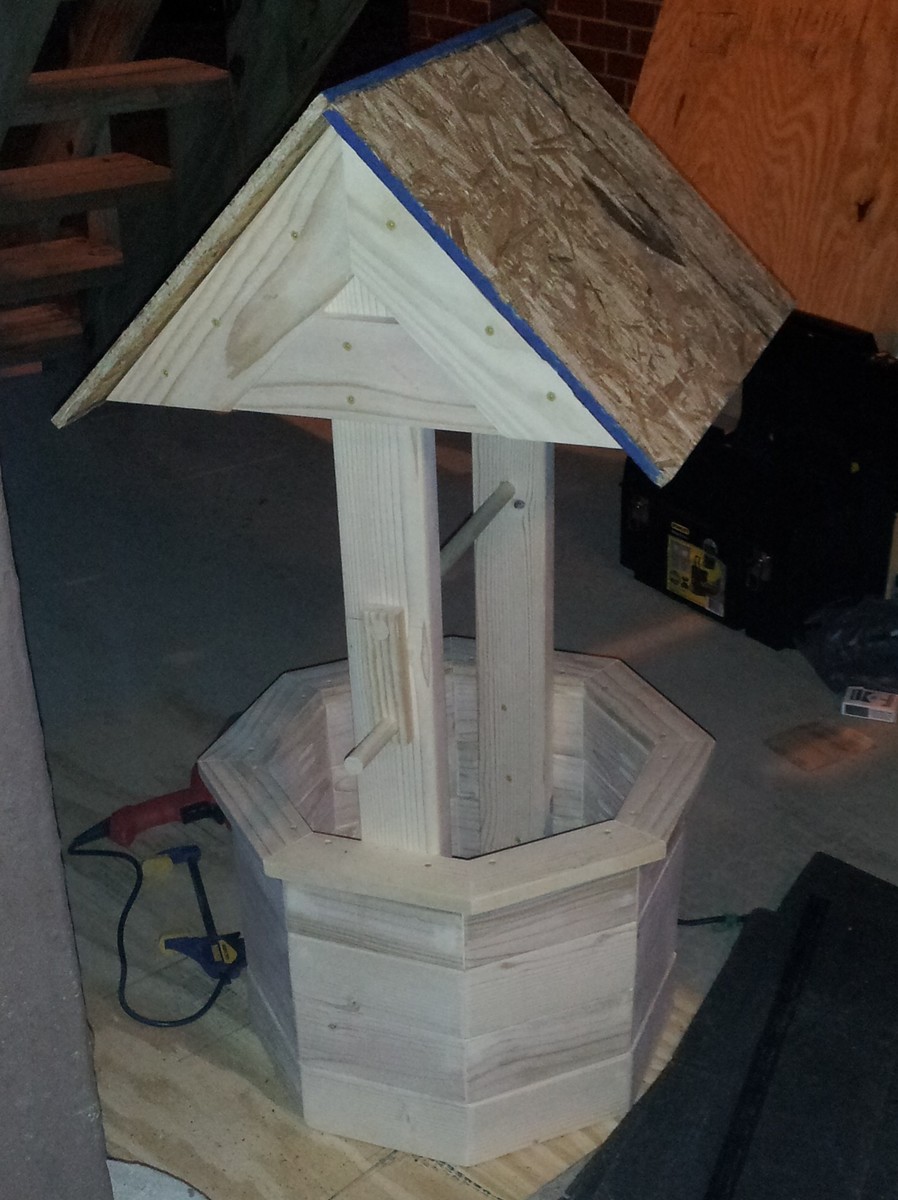
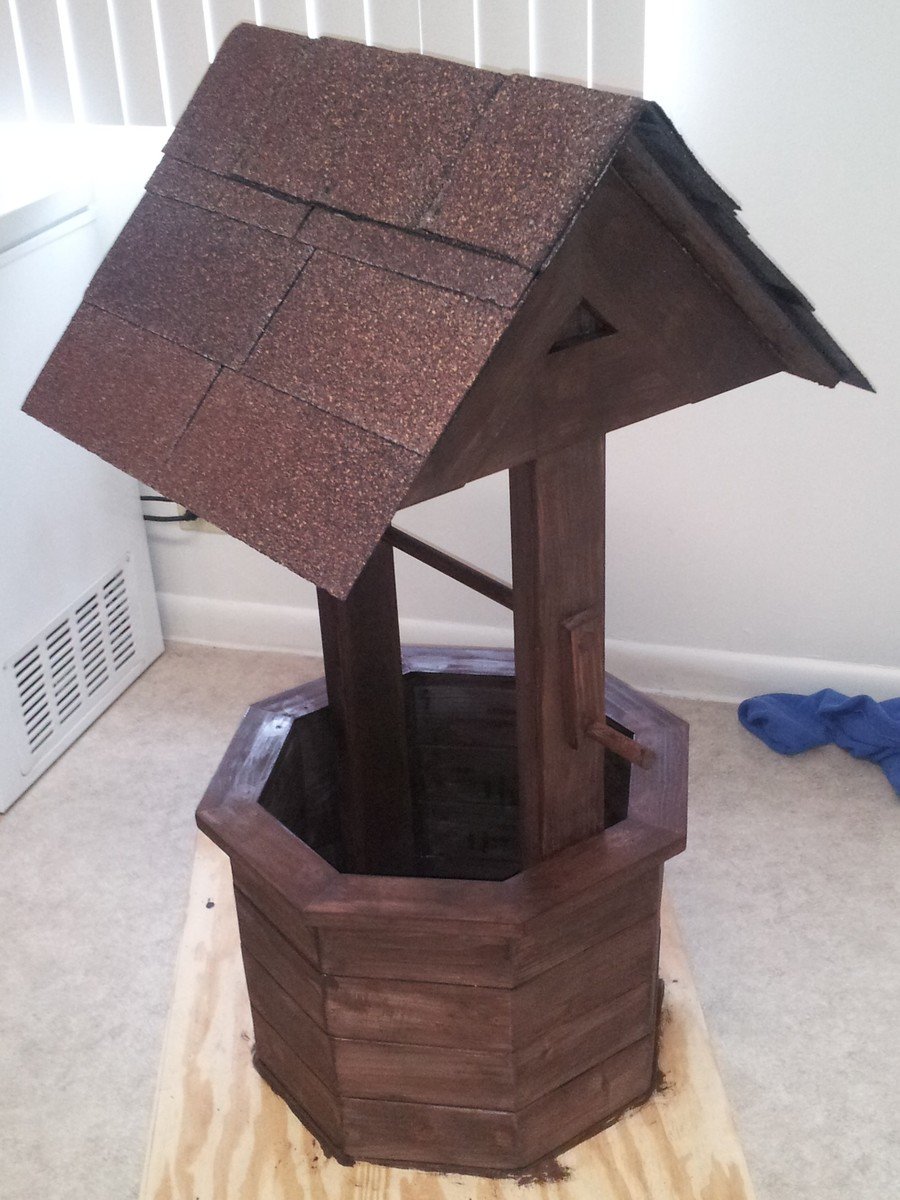
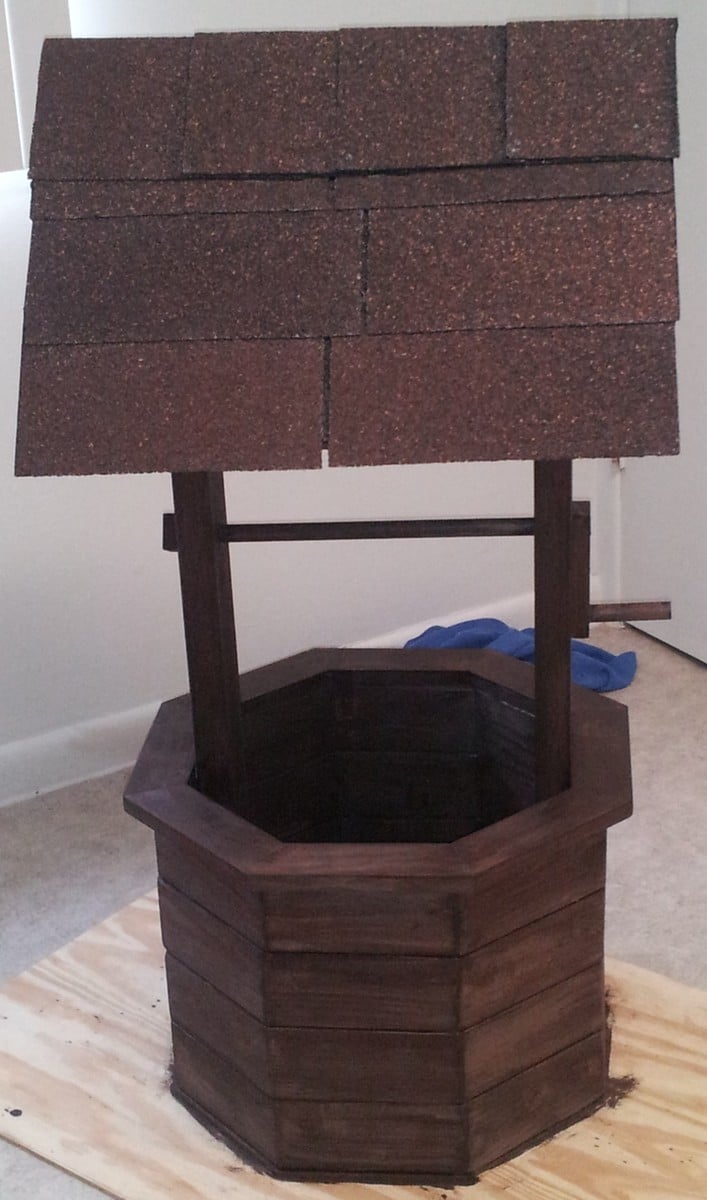
Wishing Well Planter

Submitted by RobKelly3 on Sat, 03/16/2013 - 16:57

This is a wishing well I made for my sister for her wedding. It will be used during the wedding for people to drop "wish you well" cards into and afterward she can use it as a planter in her yard.
I followed ideas from multiple plans here on Ana-White.com, but I didn't follow any specific plan. Mostly I followed tips and instructions for cutting angles, drilling pocket holes and some finishing tips. This is the first "big" project I've done and I"m quite proud of it.

With everything, it measures 44.5 inches high. The well measures 21 inches across and 15 inches high. The roof measures 22.75 inches by 23.75 inches.

I hope y'all like it. I worked hard on this! :)

Thank you, Ana and everyone who contributes to this site. It's been so much fun and I've got lots of ideas for more stuff. If I was any good at all at Google Sketchup I'd put up the plans but I'm not. If anyone could help me with that, that would great. :)

Have a great day!

Estimated Cost
about $100
Estimated Time Investment
Weekend Project (10-20 Hours)
Finish Used
Olympic Maximum Stain and Sealant in One, Semi-Transparent, in Oxford Brown. Use 2inch stain brush. Used 100, 150, and 220 grit sandpaper before staining.
Recommended Skill Level
Intermediate

Comments

bellows86

Mon, 07/21/2014 - 20:04

Anyway you can please tell me the angle for the boards ont the walls. I reallly like your well, and would like to build this for my wife but im not sure on what angles to use thank you

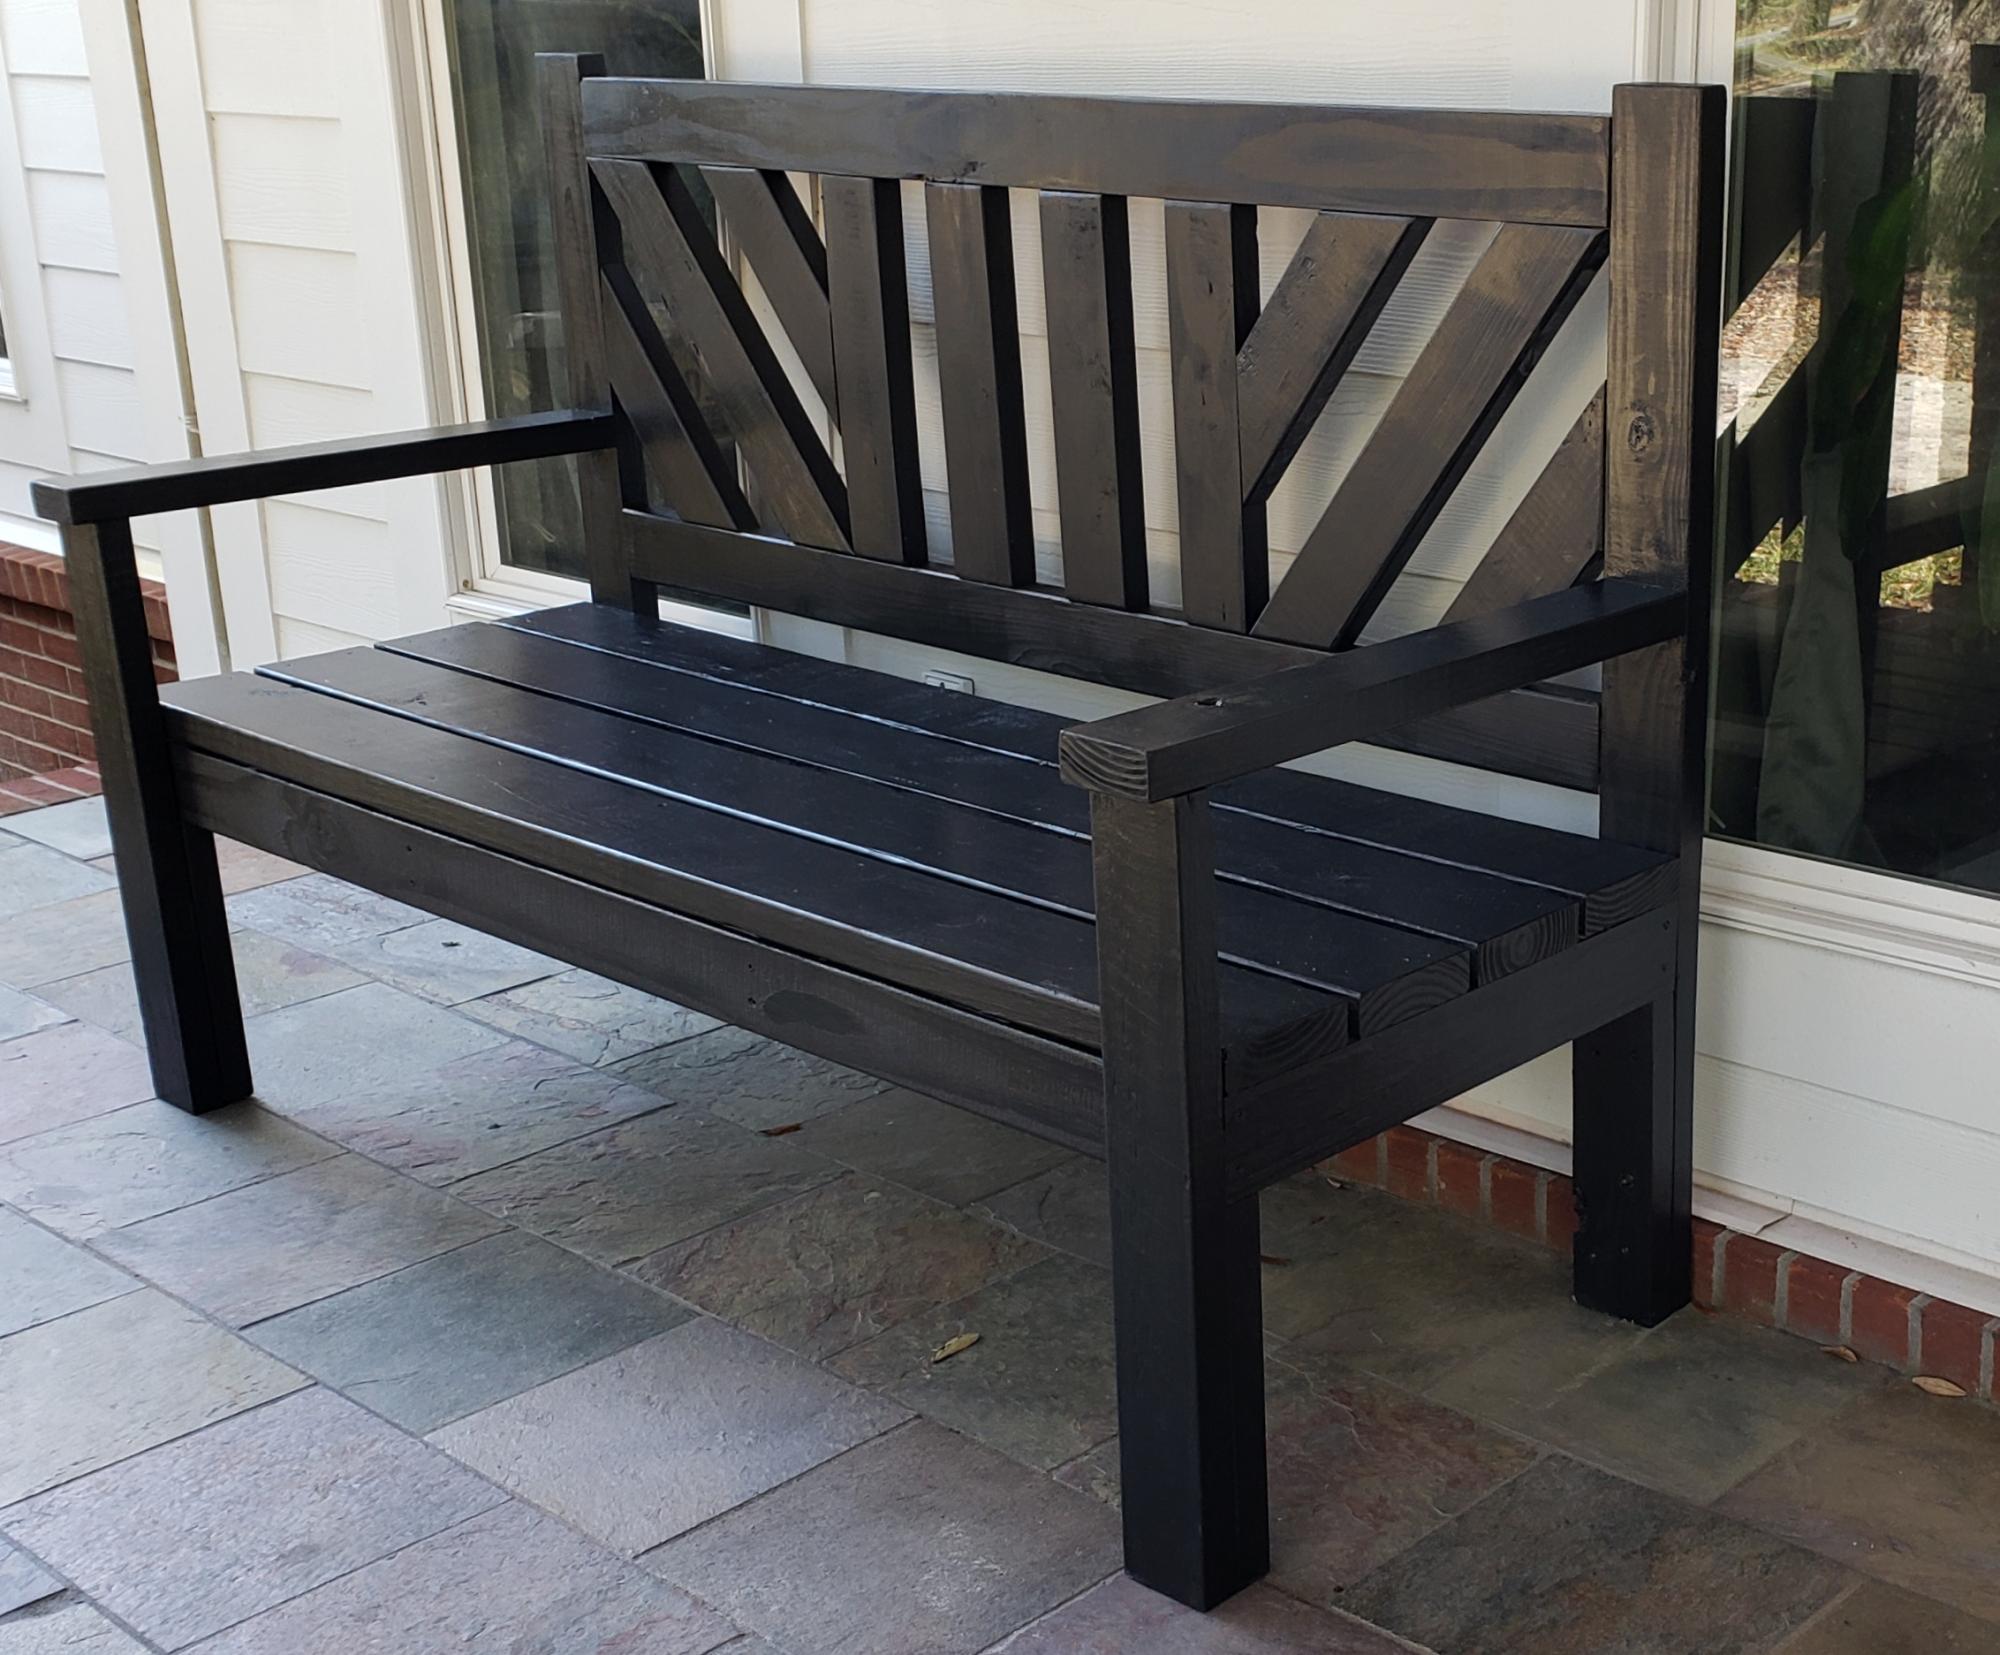
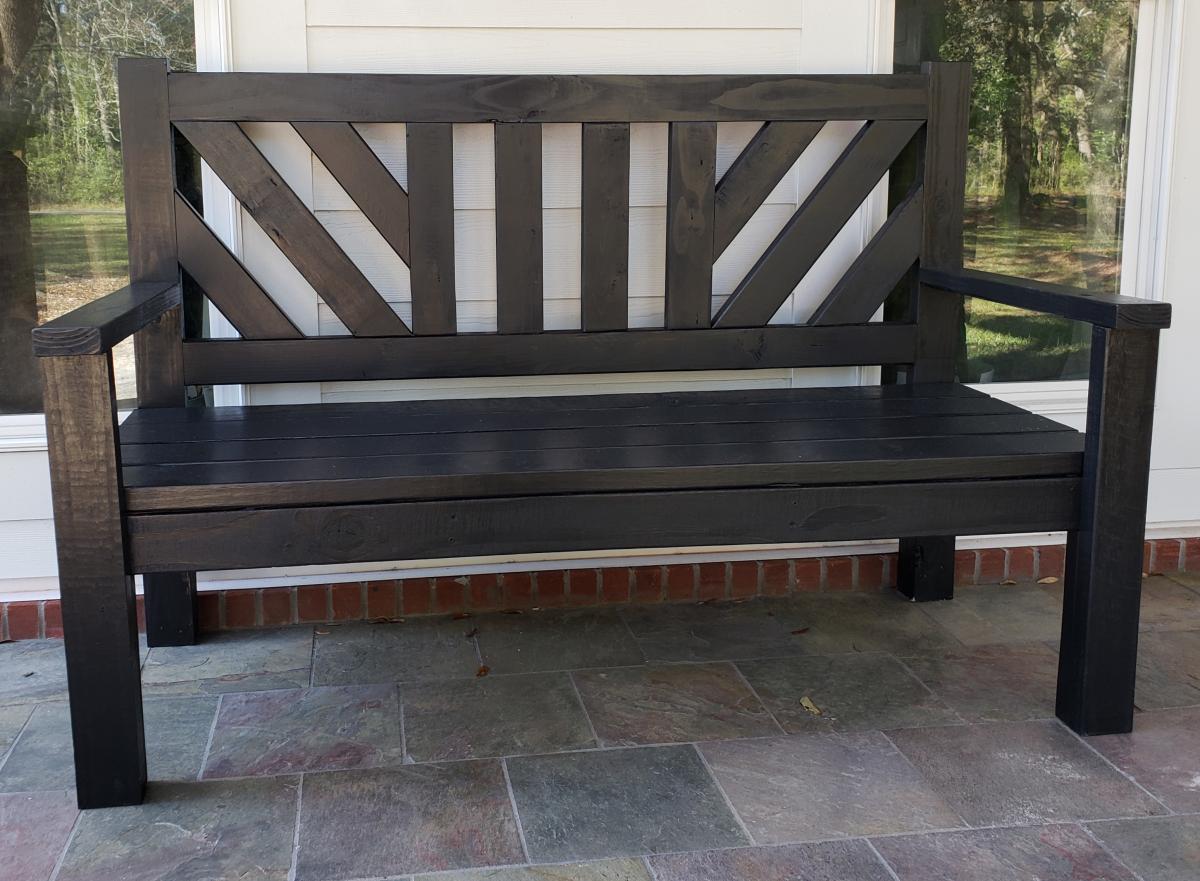
Large Porch Bench

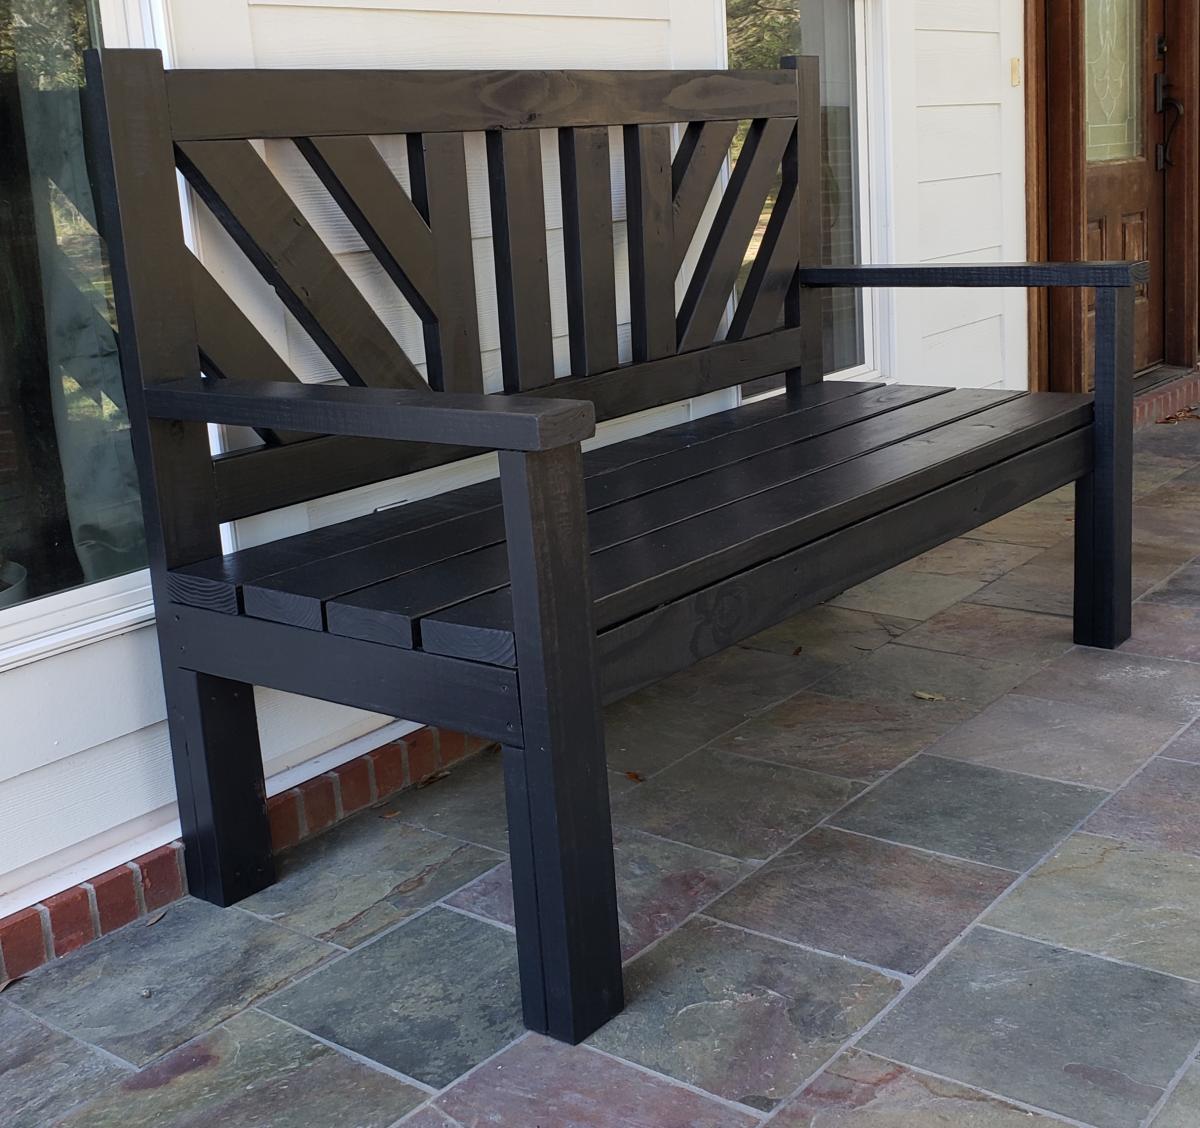
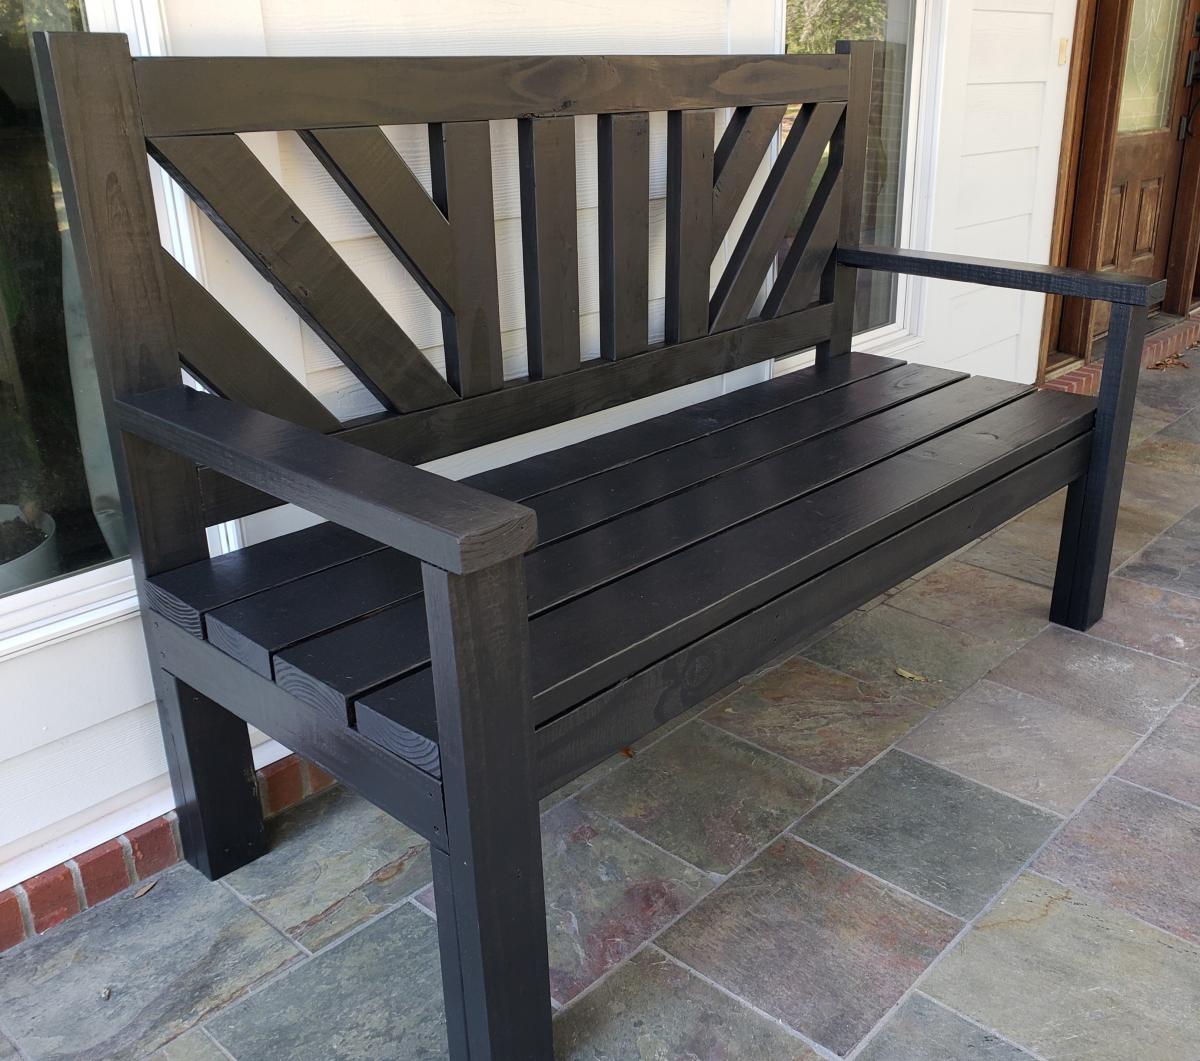
Submitted by kwildman on Thu, 11/14/2019 - 18:55

I used untreated pine for this project and painted with benjamin moore exterior paint. 

I modified the back a little and I love how it turned out.  I also added an extra brace against the back of each leg that fits under the seat for more support. 

Very easy to build.  I love the plan.

Estimated Cost
75
Estimated Time Investment
Weekend Project (10-20 Hours)
Finish Used
Black exterior paint
Recommended Skill Level
Intermediate

Comments

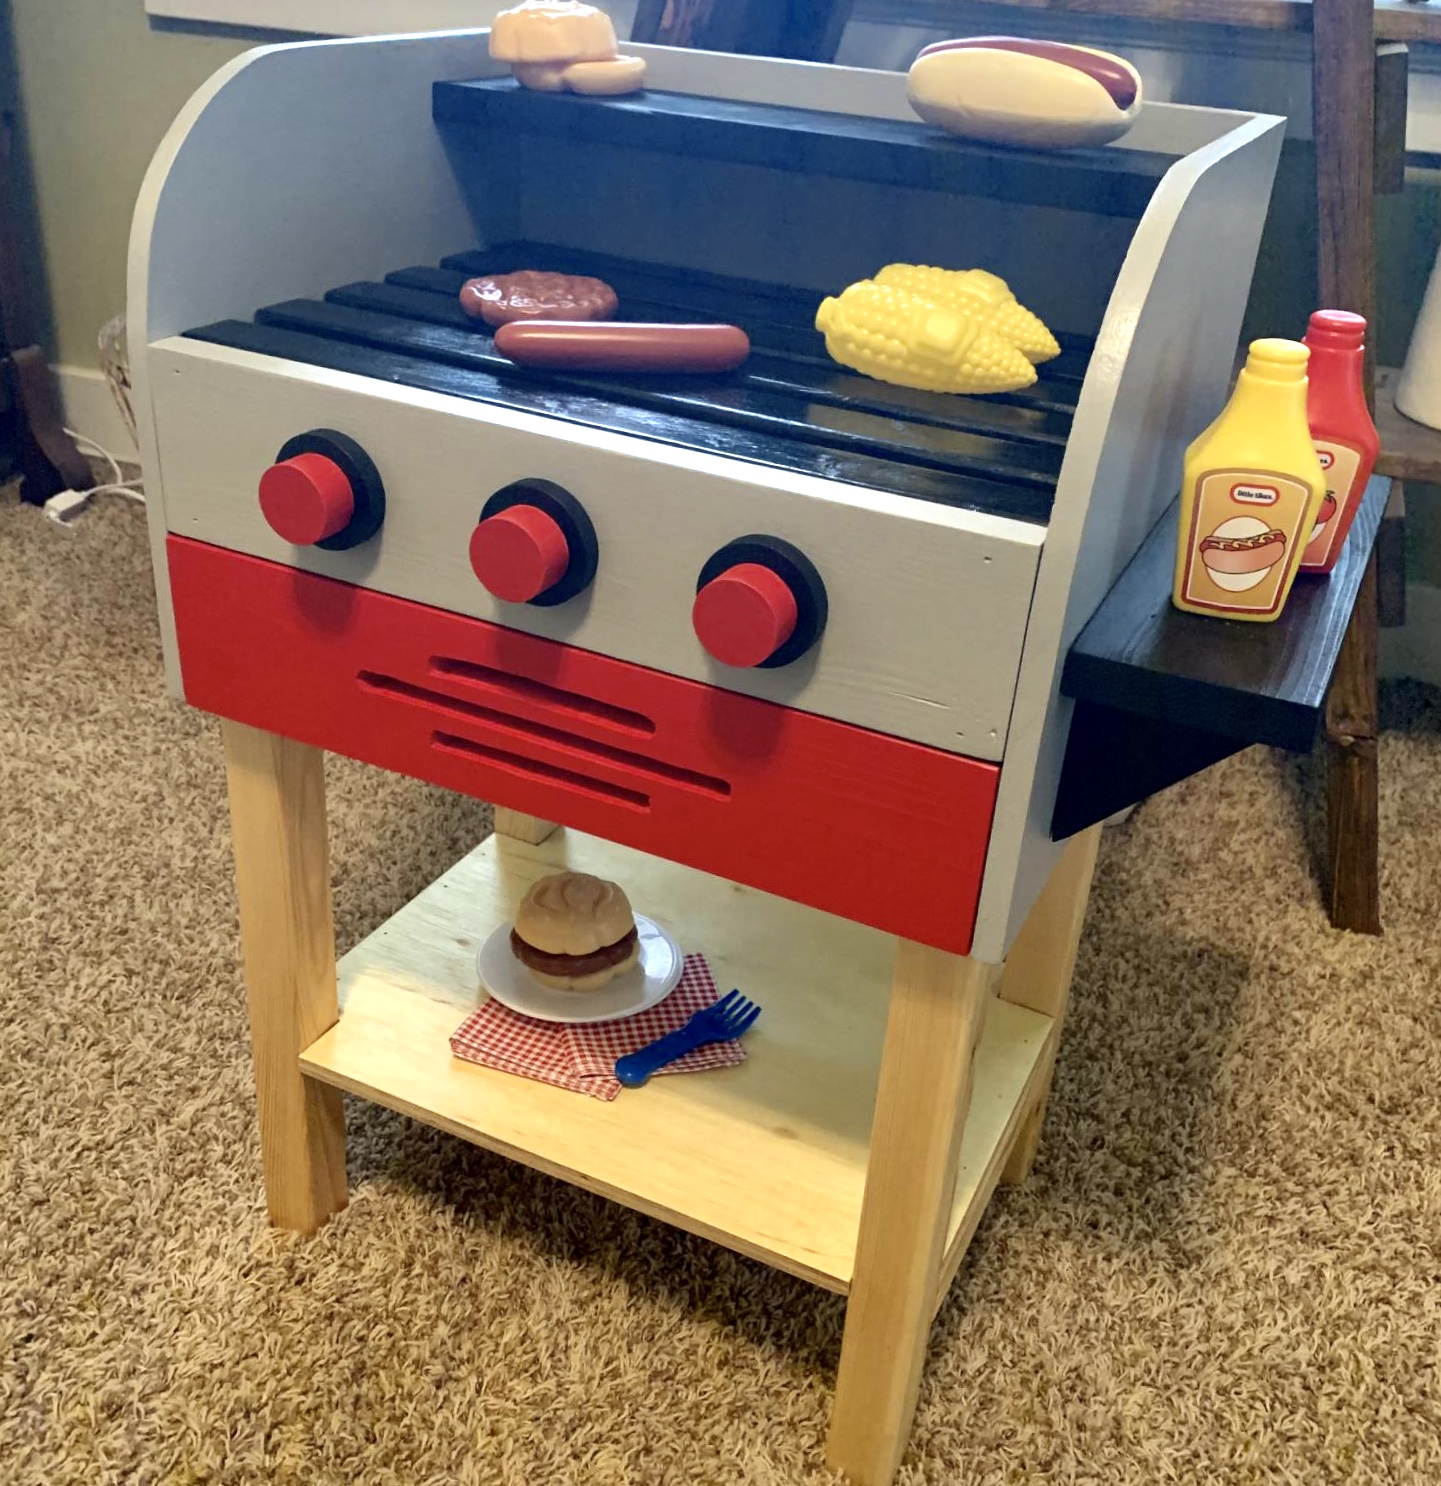
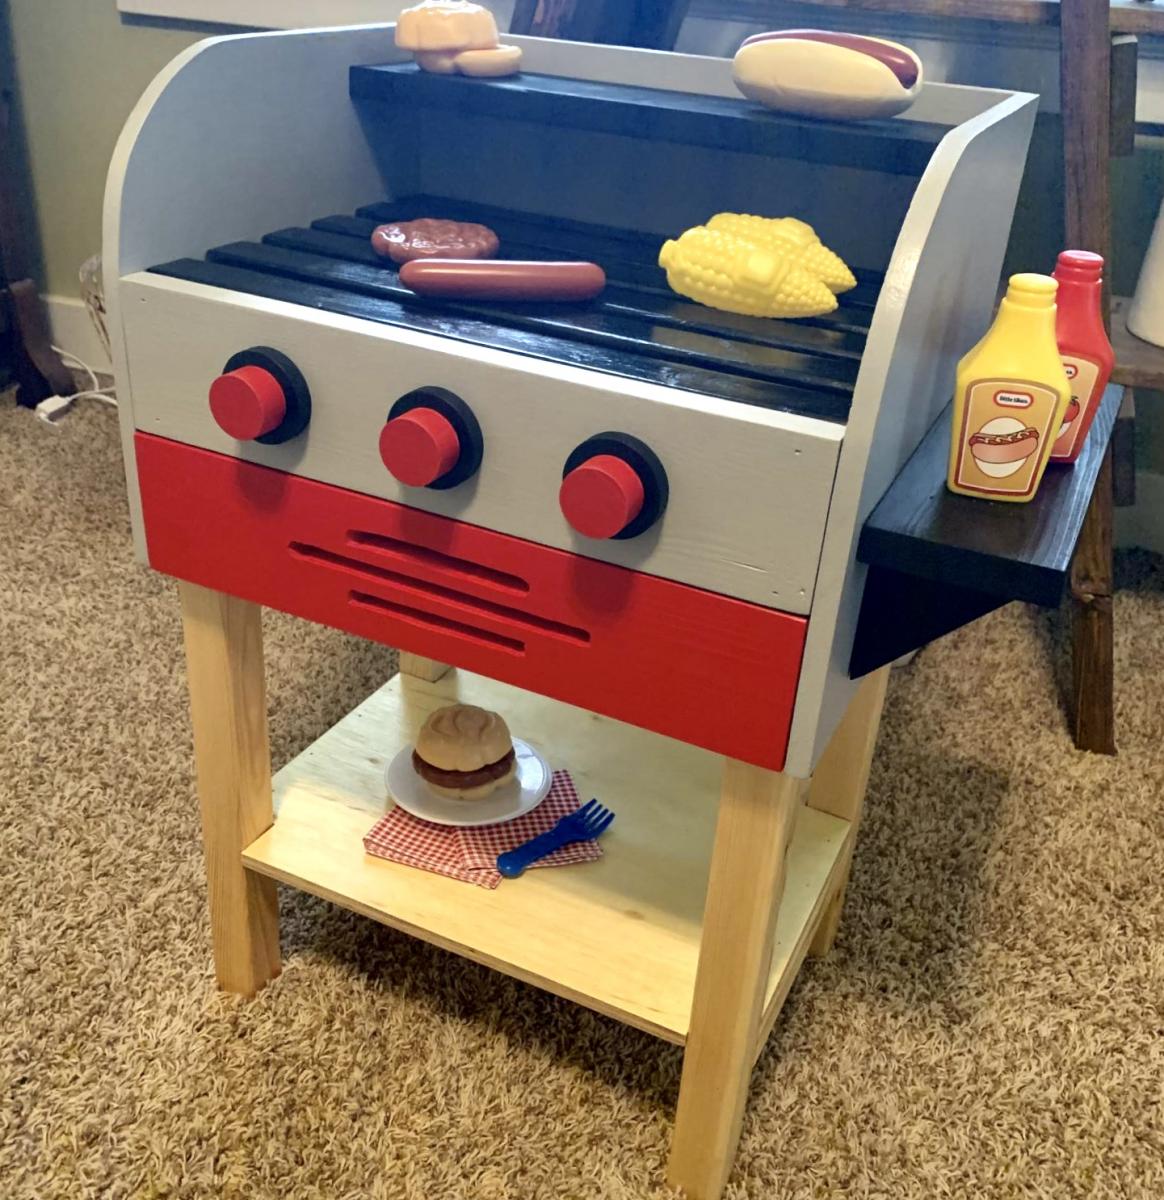
Kids Wooden Play Grill

Submitted by Anonymous (not verified) on Sun, 11/03/2019 - 17:10

Built this toy grill for my nephews first birthday. Went together without many hiccups. I will say these plans seemed less detailed than other Ana White plans I have worked on...but for the better I guess, as it forced me to figure somethings out on my own. I opted to add the drawer behind the grill plate, like the blogger who also made this grill did. Kept the same color scheme as well. Pretty proud of how it turned out.

Built from Plan(s)
Estimated Cost
$40
Estimated Time Investment
Day Project (6-9 Hours)
Recommended Skill Level
Intermediate

Computer Desk with hutch

Submitted by SusanStory on Sat, 12/19/2020 - 07:19

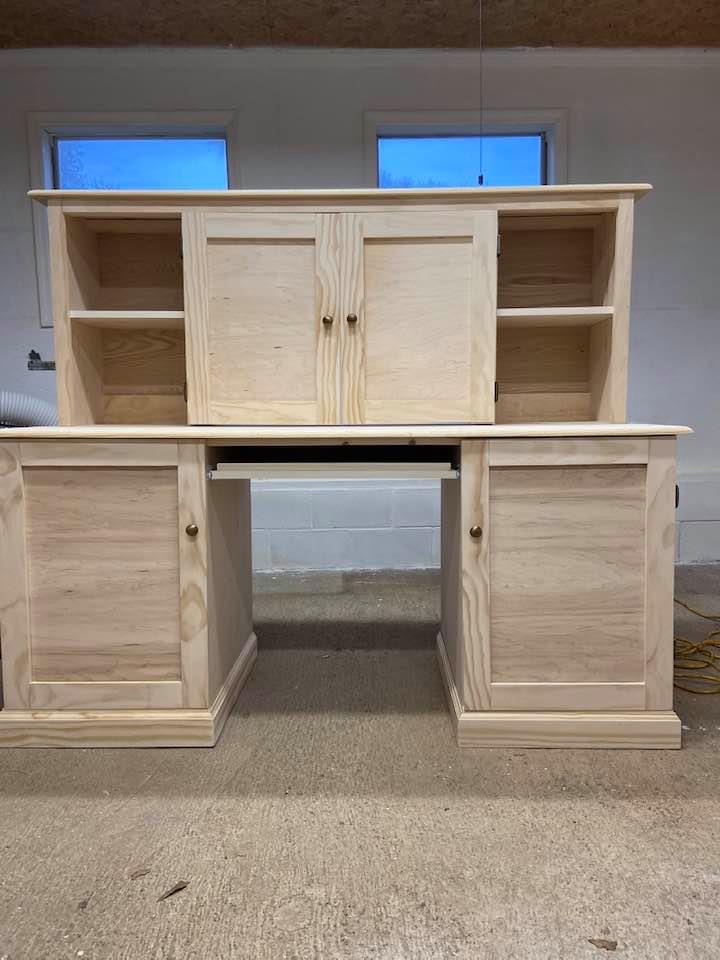
My cousin needed a computer desk but wanted it to look like a piece of furniture when not in use since they have limited space. The left side stores her tower, the right side has a pullout shelf for her printer and storage for printer paper & supplies. She works with 2 monitors so the center on the hutch will accommodate both but be hidden when she isn't working. This was a fun project and using Shelfhelp made it a joy to build. They will be my "go-to" place when building large pieces of furniture.

Estimated Cost
$400.00
Estimated Time Investment
Weekend Project (10-20 Hours)
Finish Used
Unfinished as they will stain to match their furniture

Comments

Kitchen Island

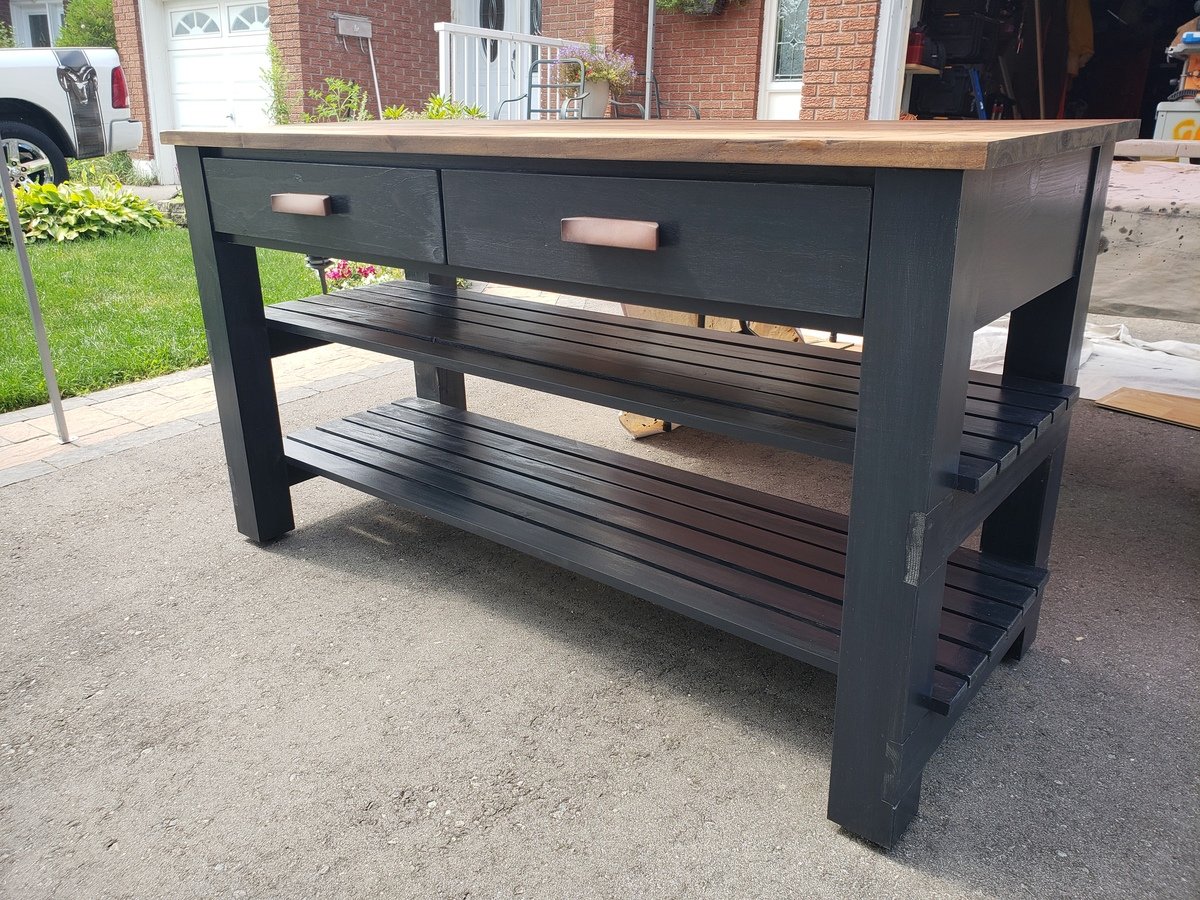
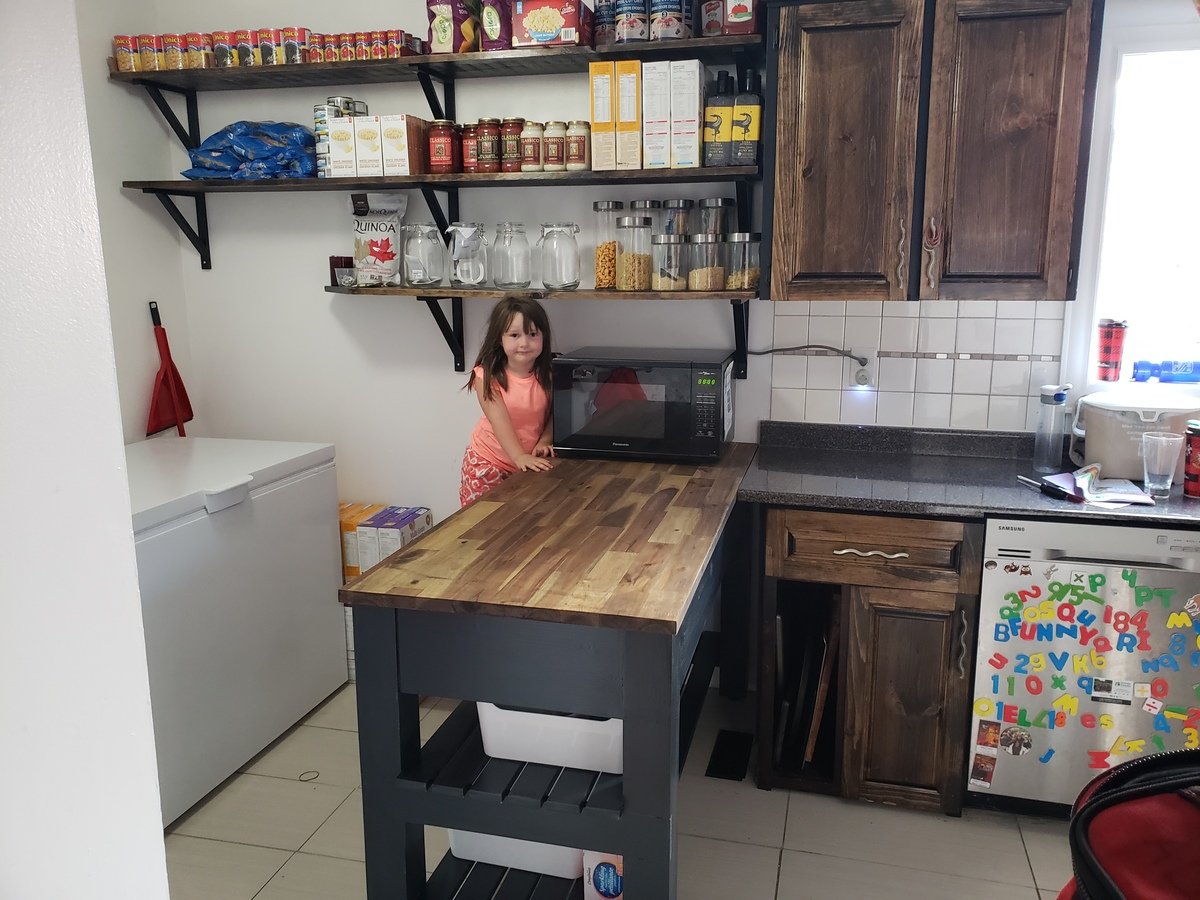
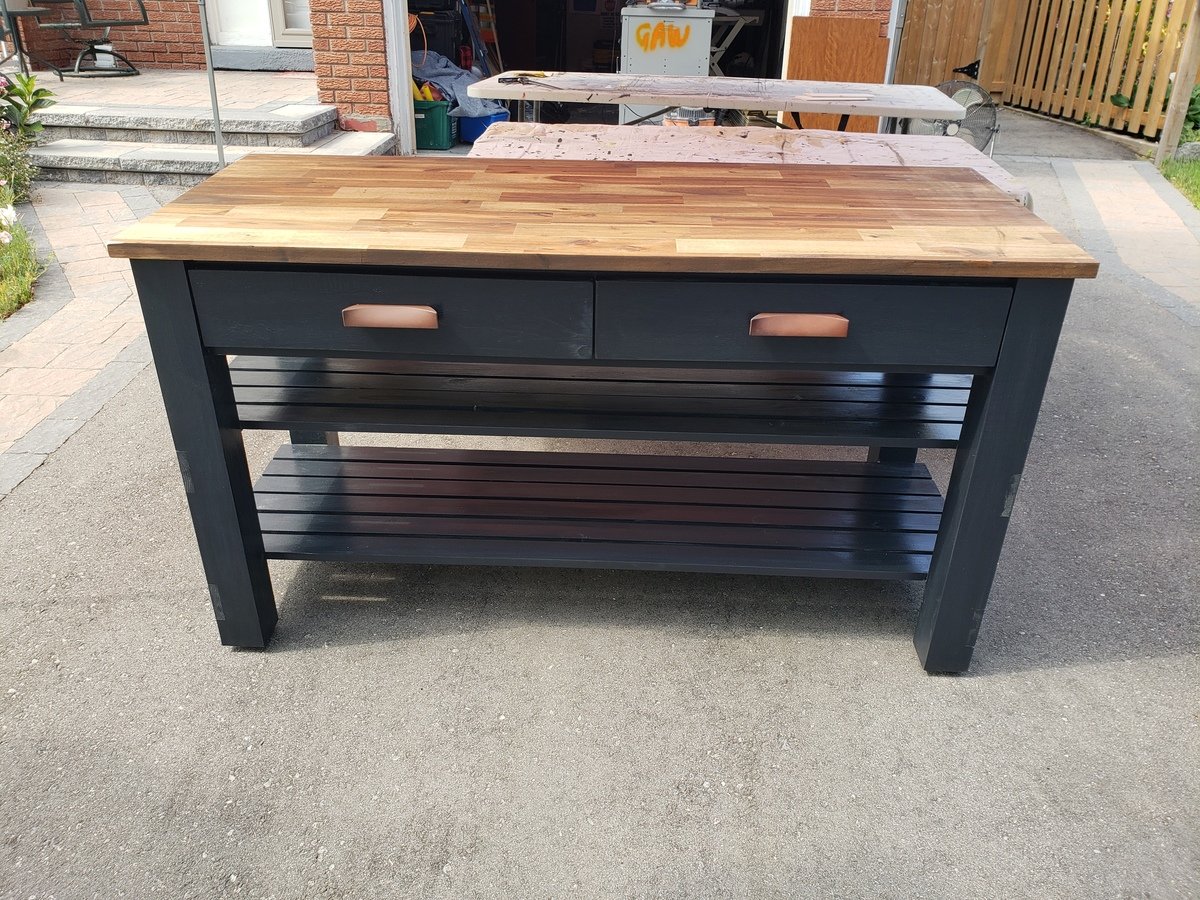
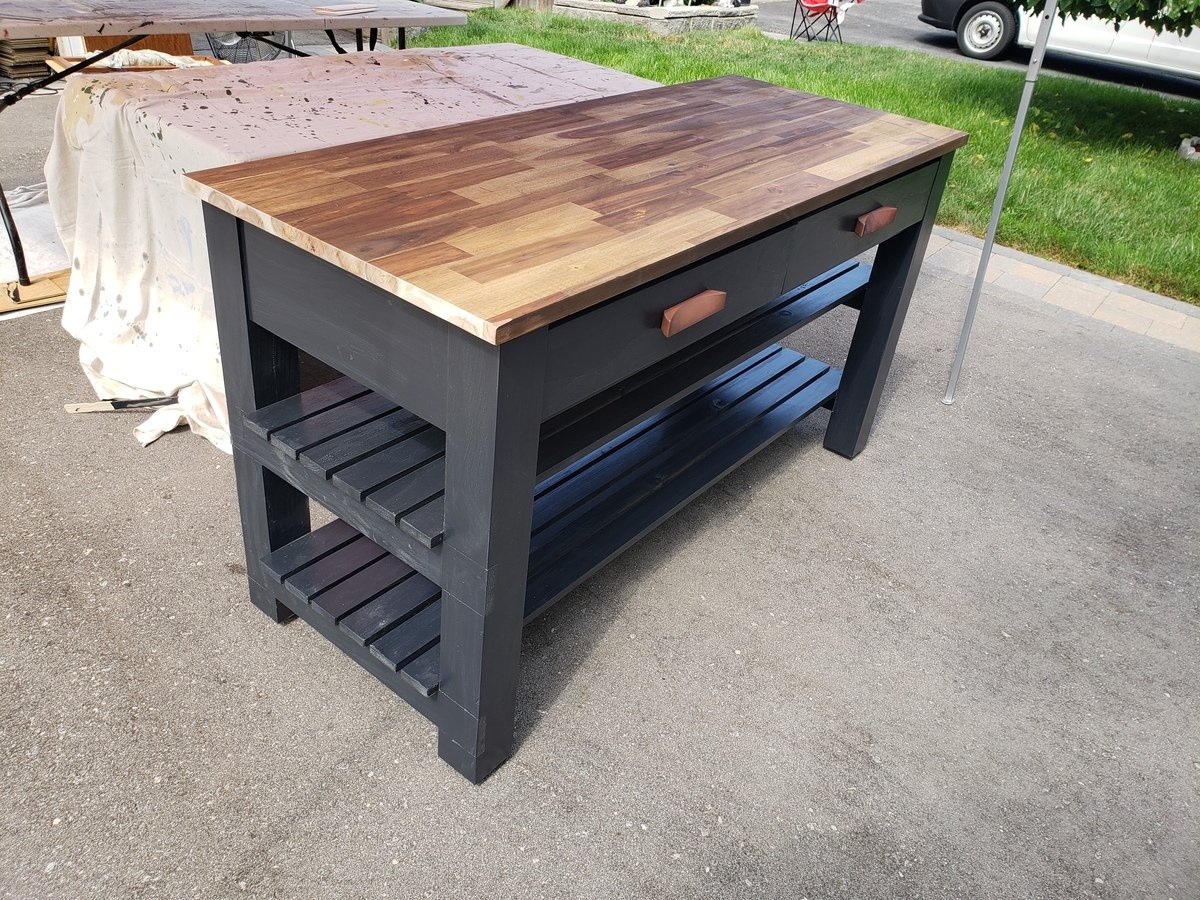
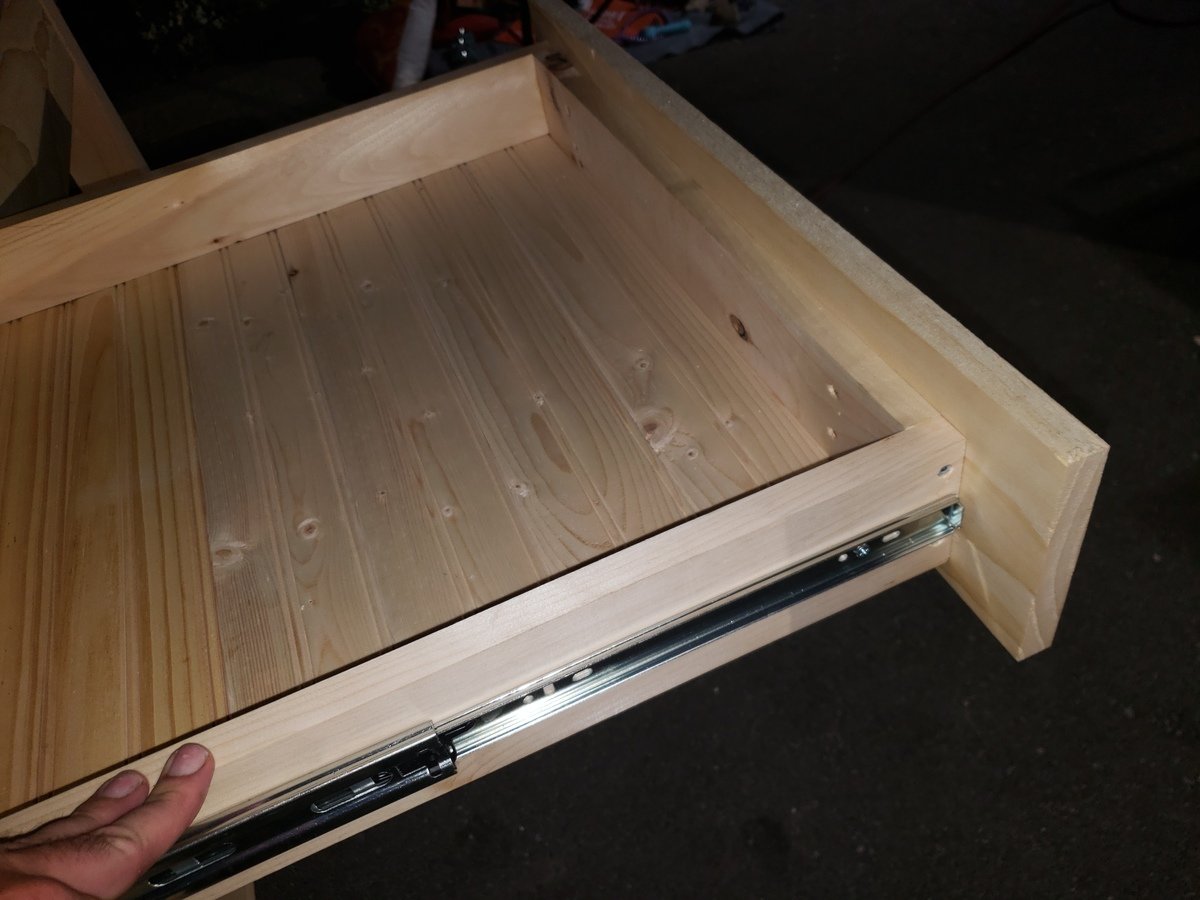
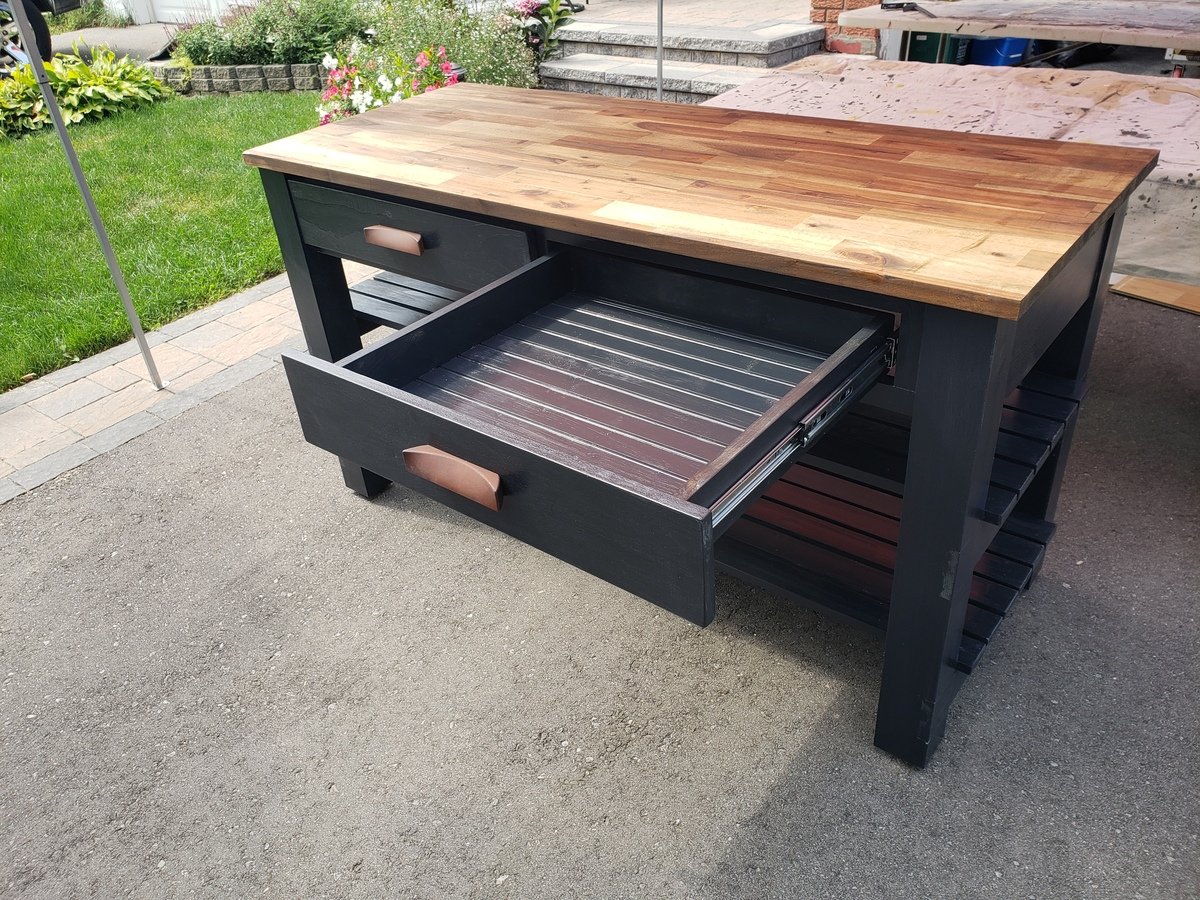
Took roughly 15hrs and $500... We bought the top at Lowes for $150 on sale (Acacia), because it turns out butcher block counter tops of this size (considered an "Island" top) are like $500 and I don't know who can afford those shenanigans but certainly not us. Interesting point: in as much as I totally appreciate the design (Thank You Ana!) the instructions are mostly beautiful but have a few key areas with room for improvement. If you are thinking of building this take some time to go over all the materials and really map out the project. I purchased everything in 8' lengths as per the shopping list, I realized afterwards that because my unit is only 5' long I now have many 3' cut-offs.... had I purhased 10' lengths, you see where I'm going with this yes? I would have paid more per board but had less leftovers. I think I also have a package of unopened screws and an extra board from the shopping list, no big deal, it's like the 10 hot dogs for an 8 pack of buns conundrum, I've now entered an infinite loop. I also realized too late that to use the pocket hole screws to secure the counter top I would need to drill the holes (using my handy dandy Kreg Jig) before putting the slats on the top shelf or else I couldn't get my drill in, rookie move I know...You may find, as I learned, Lowes/Home Depot do not carry such things as 4x4s that are not pressure treated and therefore not ideal to have in one's kitchen...I ended up purchasing all the lumber at an actual lumberyard (Peacock Lumber, Oshawa, Canada), which was cool, because now I know where that place is, and it smells nice. Have fun with your build. I tried to post some other pictures but they kept coming up sideways, story of my life. Take a look on Facebook if you want Adam Connor in Pickering, Canada, I'm not shy ;-)

Built from Plan(s)
Estimated Cost
$500
Estimated Time Investment
Weekend Project (10-20 Hours)
Finish Used
Lowes: Valspar paint (Kettle Black)
Recommended Skill Level
Intermediate

Square Picnic Table

Submitted by Anonymous (not verified) on Sat, 11/04/2023 - 14:52

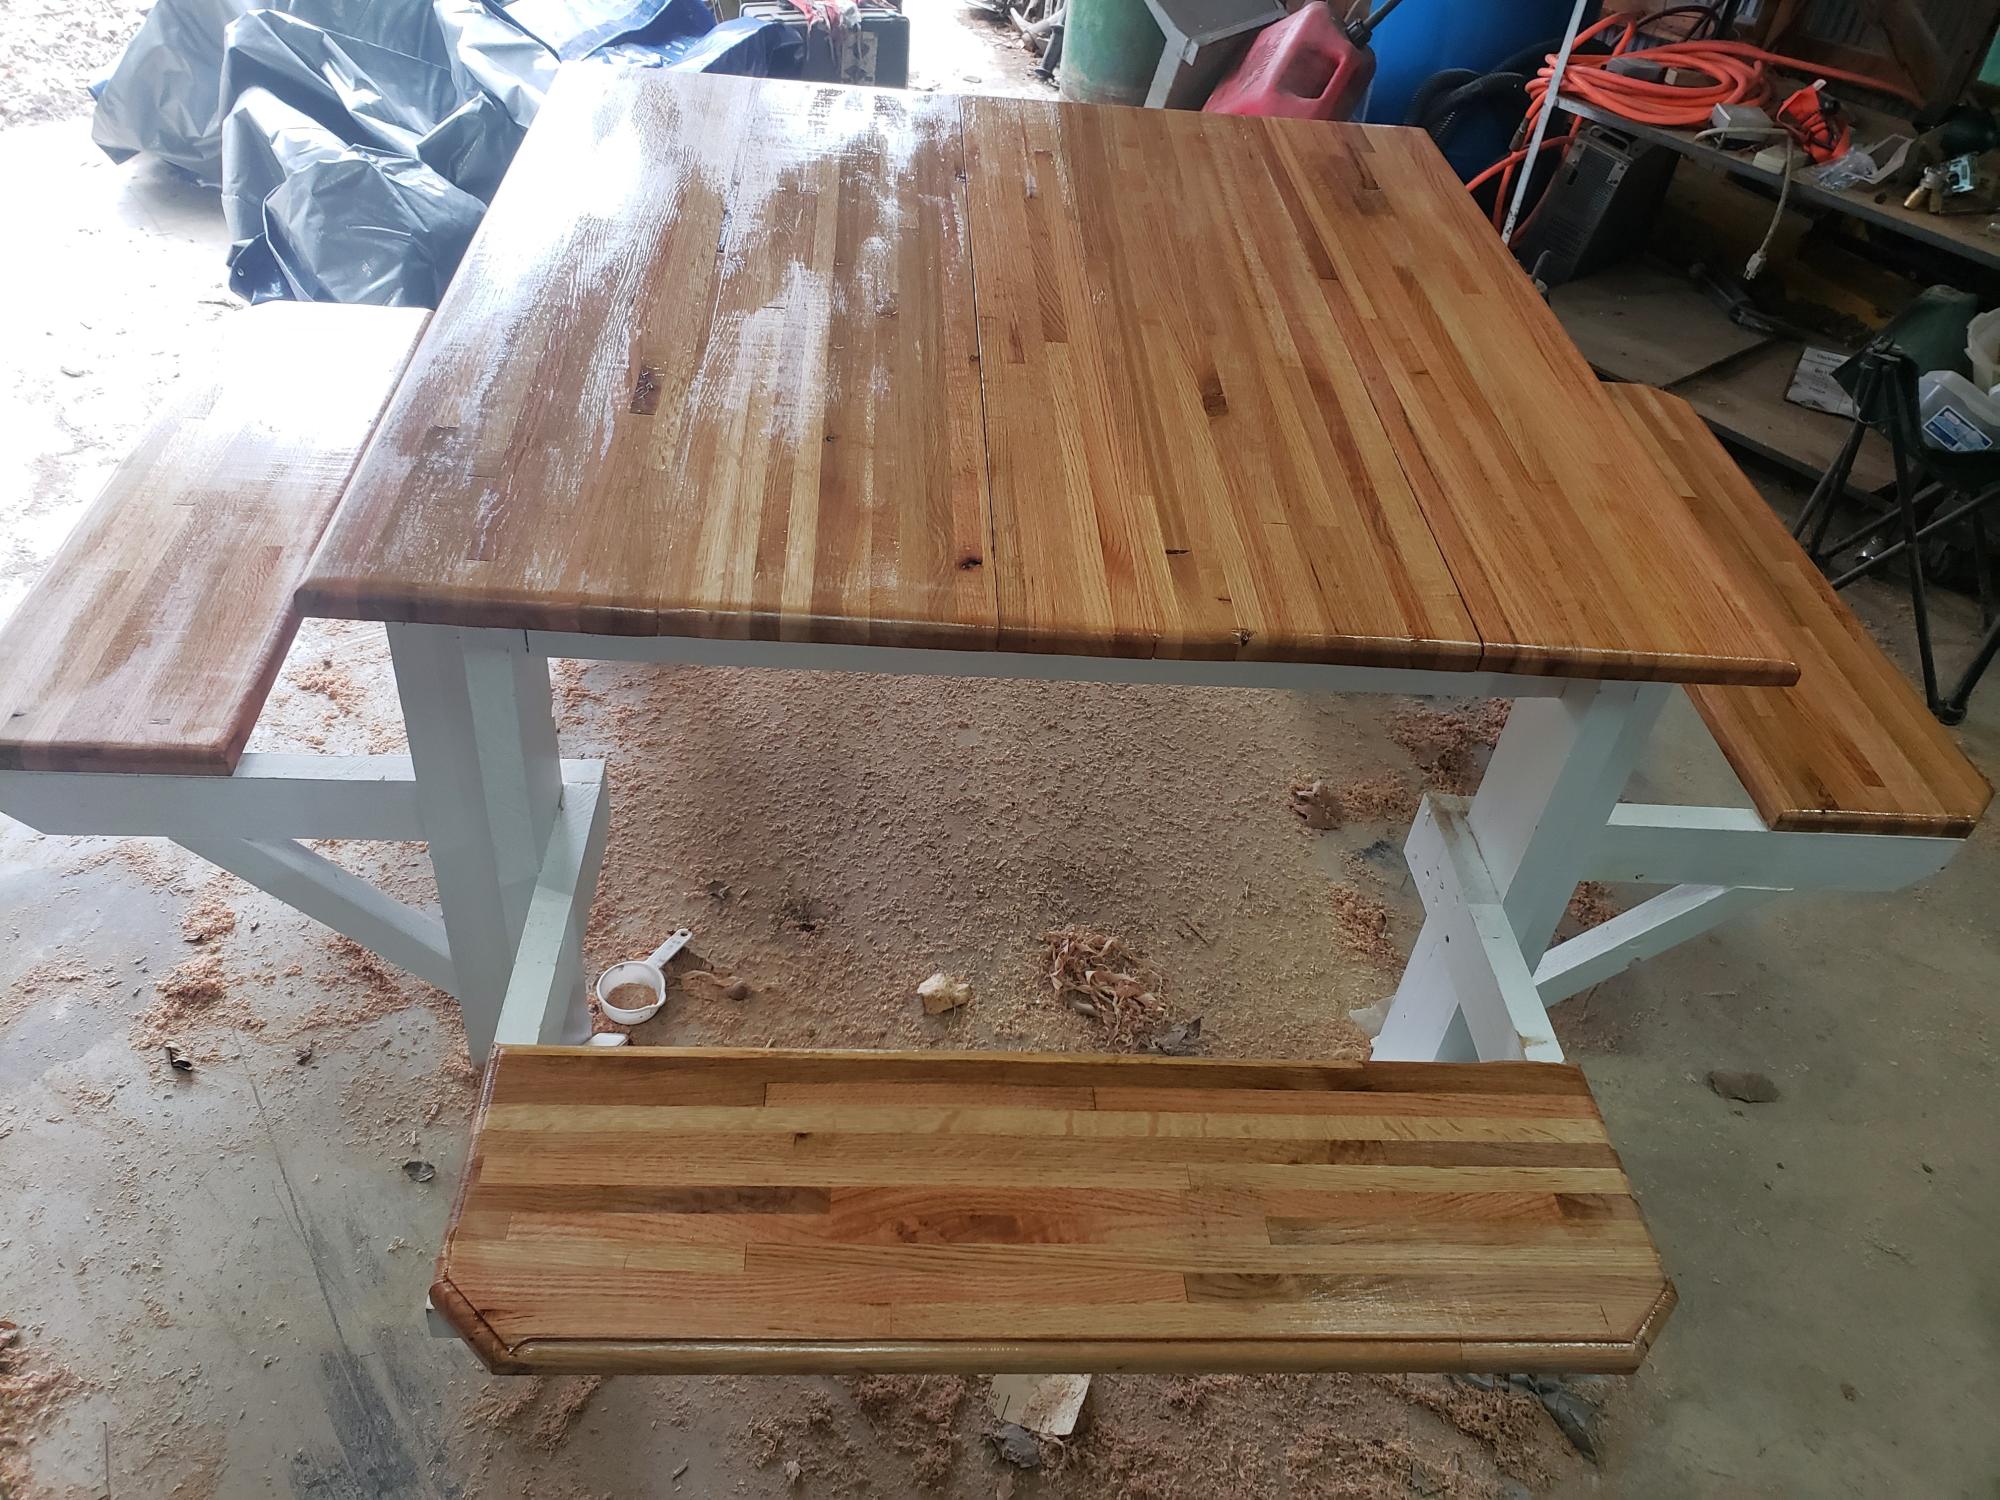
I used the picnic table plans with a minor modification for the top and seats. I used flooring for trailers that were rejects. I made this for my wife for her birthday and she loved it.
 

Alan Welch

Built from Plan(s)
Back