Crate Christmas Tree
I made all the crates and put them together to make this interesting 'christmas tree'.
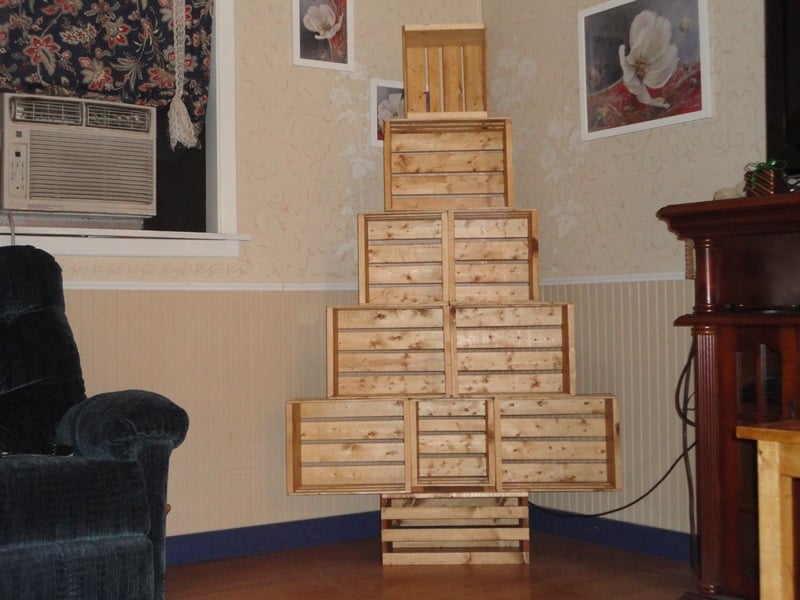
I made all the crates and put them together to make this interesting 'christmas tree'.


We've been desperate for more storage in our little house and this build really helped. The whole bench is 103“ wide and each drawer gives us 24"x17" of usable space. We had to do some custom shaping for the benchtop (two joined fir 2x12's) fit as the walls are not square but in the end we were really pleased.
The hardest part of the project was getting all of this built and in place while working around a busy family as this is our only meal space and the majority of cutting/forming was done either on the weekends or after bedtimes. If I were to do this again I'd prioritize sending the kids to grandparents for the weekend and know king everything except for paint out in one go.
We could have spent less time with the benchtop by using plywood like in the plans but we wanted the look of a separate benchtop. We may replace the fir with stained oak down the line but this should be plenty sturdy for the next several years.

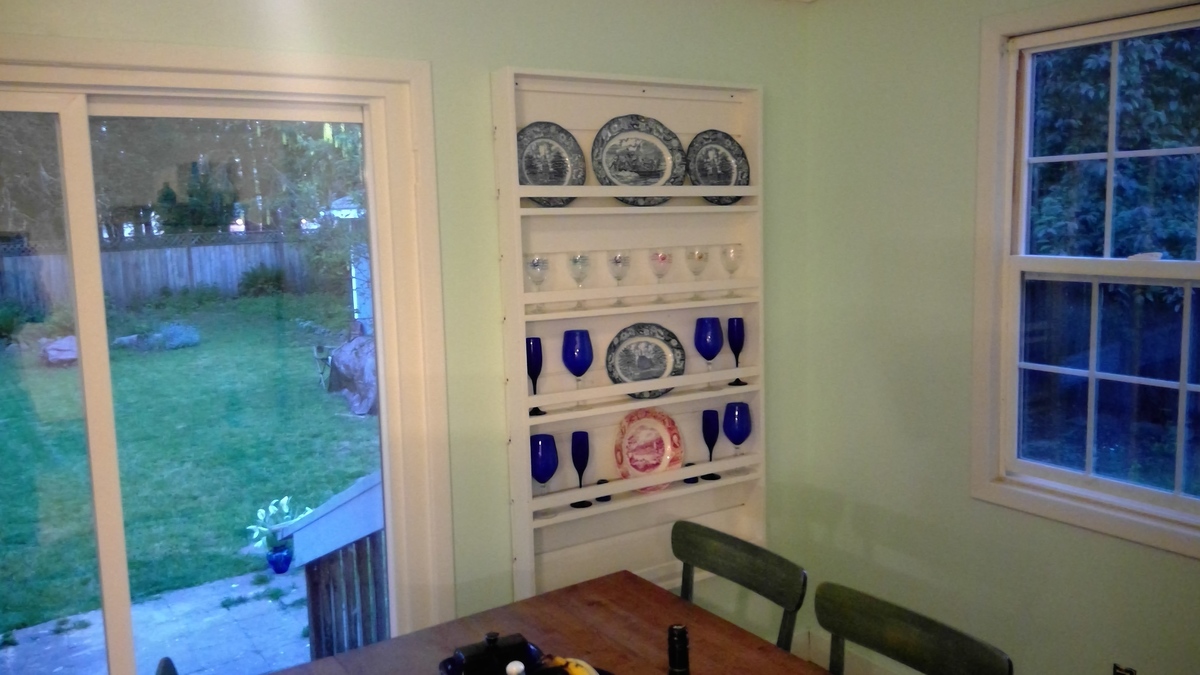
I came across the plans for the pate rack and realized it would be a perfect fit in my dining room. My house is just shy of its 100th birthday and I have been tackling renovation one room at a time. I have been trying to find new ways to use all of the materials that have been removed or replaced during my renovation. I was able to use the damaged shiplap and warped baseboards from my first room's renovation and create a plate rack shown.
Thank you for the plans!
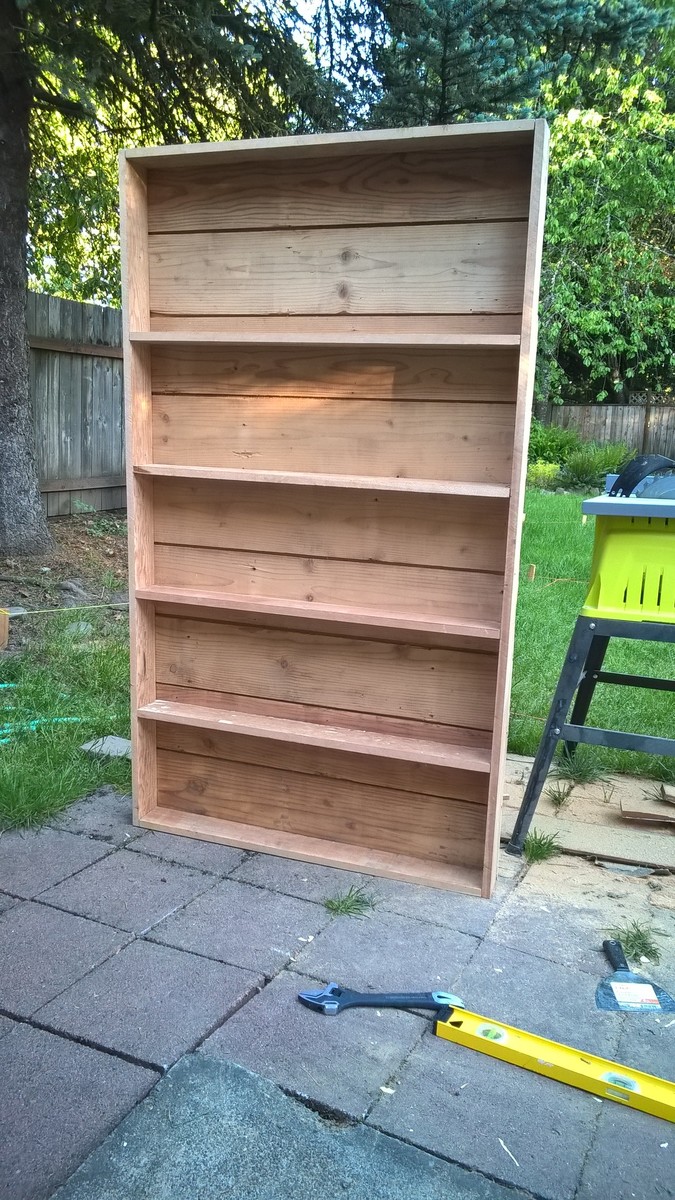

I modified the origianl plans by making the cabinet taller. I also built 2 cabinets and trimmed them both together to make it appear as if it is 1 giant cabient. It measure over 7 feet tall and just over 6 feet wide. I did add an additional 1x2 brace in the center of the cabinet to help support. I also cut an additional 1x4 to use a brace when anchoring it to the wall. I also chose to add an additional 2 trim pieces to each door because they are much taller than the original plan doors.


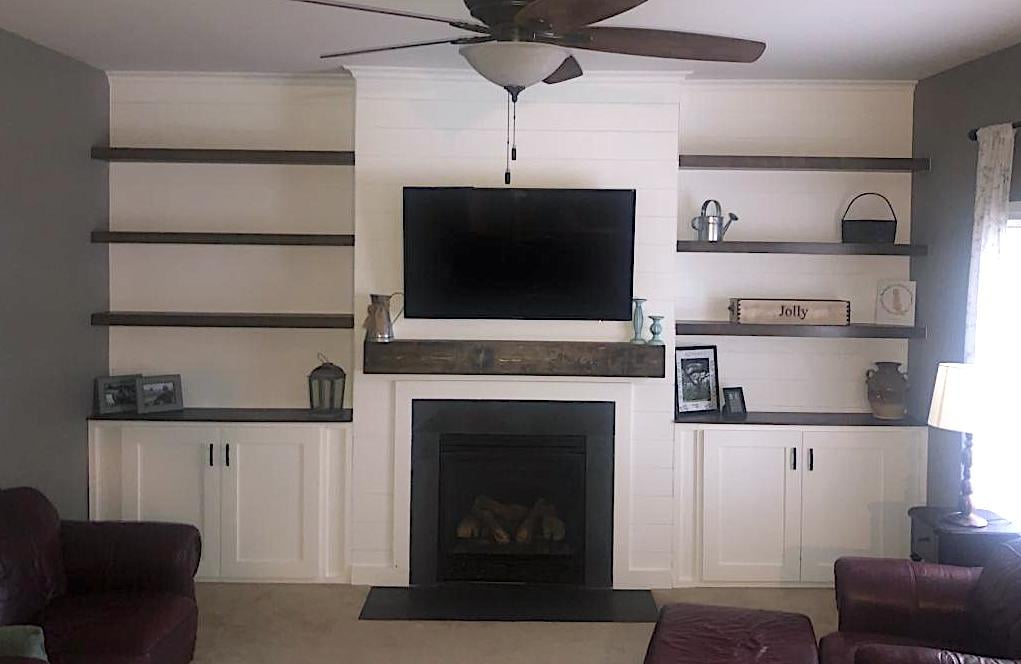
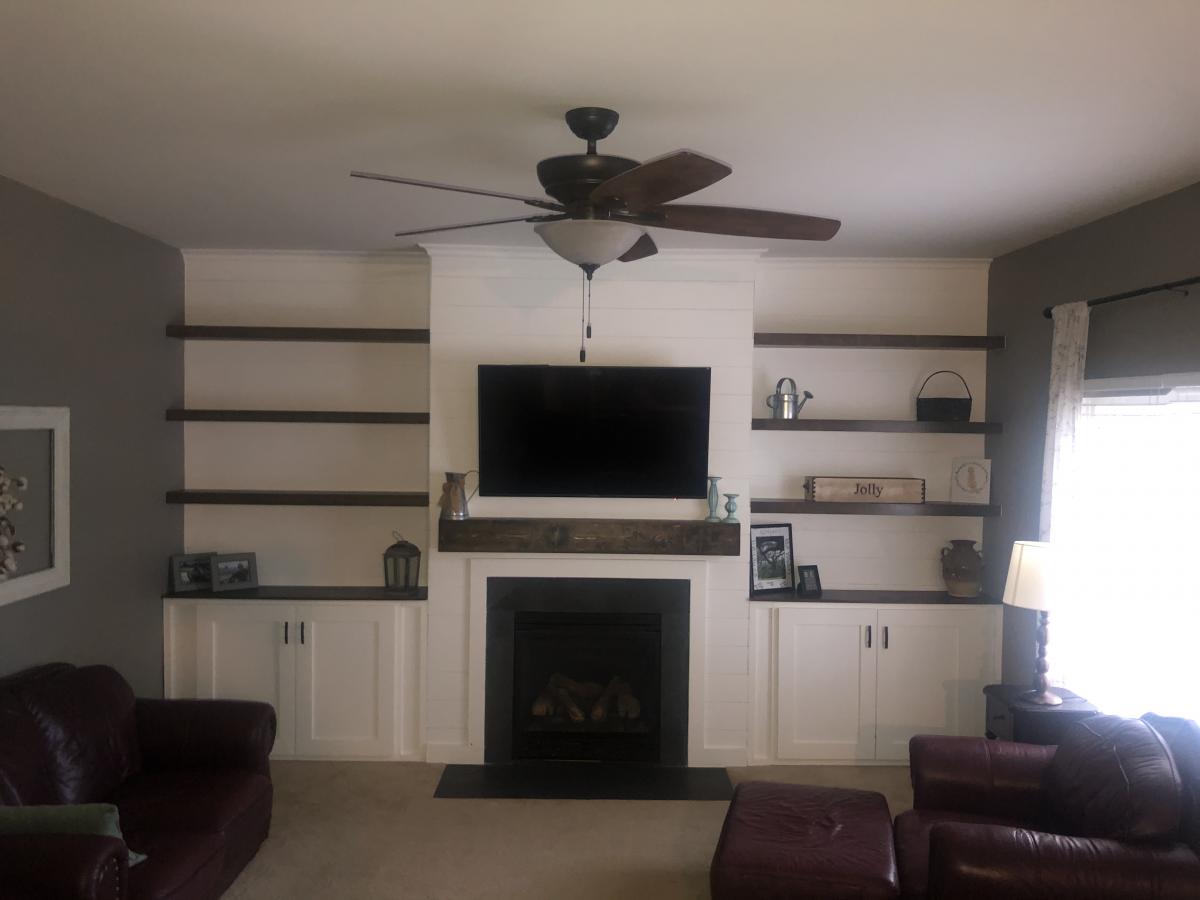
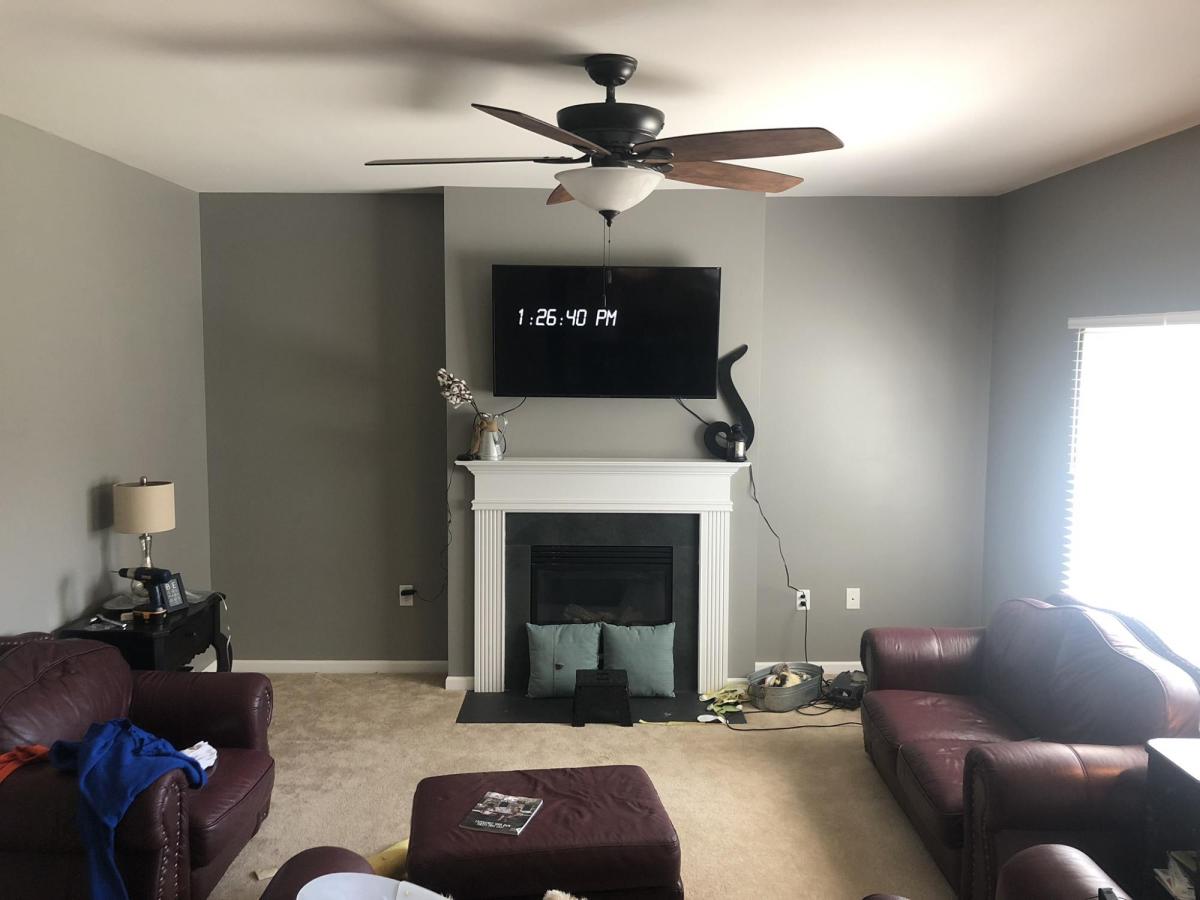
We have lived in our home for 2 yrs now and have been trying to figure out what we wanted to do with the plain boring wall with cords handing from out behind the tv due to no power outlet on that wall. We finally decided to do the whole wall in shiplap but the the cost of lumber going through the roof I went with 1/4 underlayment that I had ripped down to 6in strips at my local hardware store. I cut them down to size with my miter saw the painted them white before I attached them to the wall with 1 1/4 brad nails and used nickels for my space in between each row. The cabinets are 36 in tall. The carcass is made fro 3/4 in MDF and the face frames are made from 1x3 pine and attached with wood glue and brad nails. Cabinet doors are made from 1x4 pine for the frame and 1/4 underlayment for the center. I used my hand router to route out a 1/4 deep groove for the center to drop into the frame I used wood glue and brad nails to attach it to the frame and filled in any gaps with paintable caulk. They are attached to the studs in the wall with 3 in wood screws. The mantle is made from 1x6 pine boards and attached to a wall bracket made from 1x6 that are attached to the wall in each stud with 3 in wood screws. The mantle is attached with wood glue and 1 1/4 brad nails. The shelves were made out of 1/2 Poplar 4x8 plywood sheet ripped down to size. The wall brackets are made from 1x2 pine attached to studs with 3 in wood screws. And the shelves are attached with wood glue and 1 1/4 brad nails. I added 3 1x2 spacers to each shelf between the top and bottom board to prevent them from sagging before attaching the face of the shelves with wood glue and 1 1/4 in brad nails. This project took about a month to complete because I worked on it during free time. Also this was the first major build I have ever done so I was also learning along the way. Some parts were frustrating but most of it was fun and a great learning experience. Also this project evolved as I was building it. My wife loves the finished product. Now it’s time to find my next project.
Sun, 05/30/2021 - 11:05
What a beautiful space you created, thank you for sharing!
Tue, 12/05/2023 - 11:47
Surprisingly makes your living room appear so much larger compared to the before picture! Thank you for sharing your photos with us and congrats on a great result!
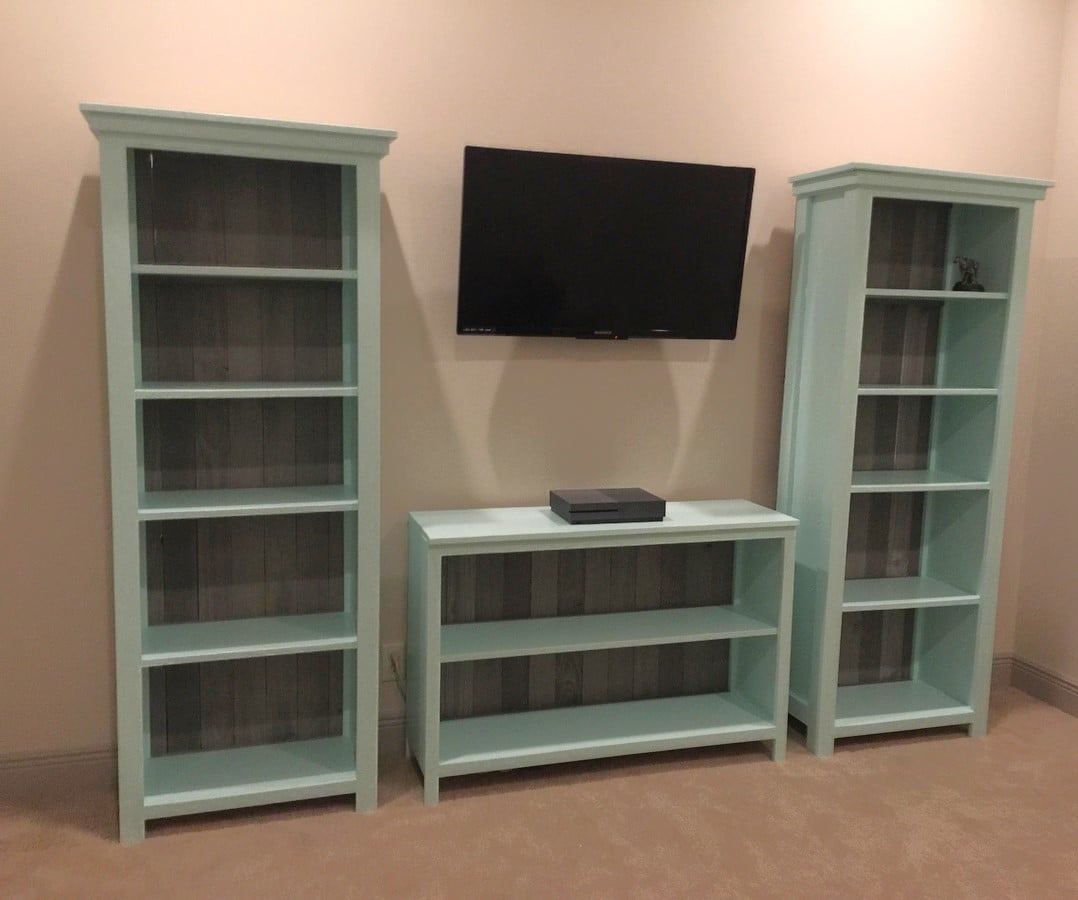
Our playroom needed serious help so as my first Ana White project I decided to tackle these shelving units.
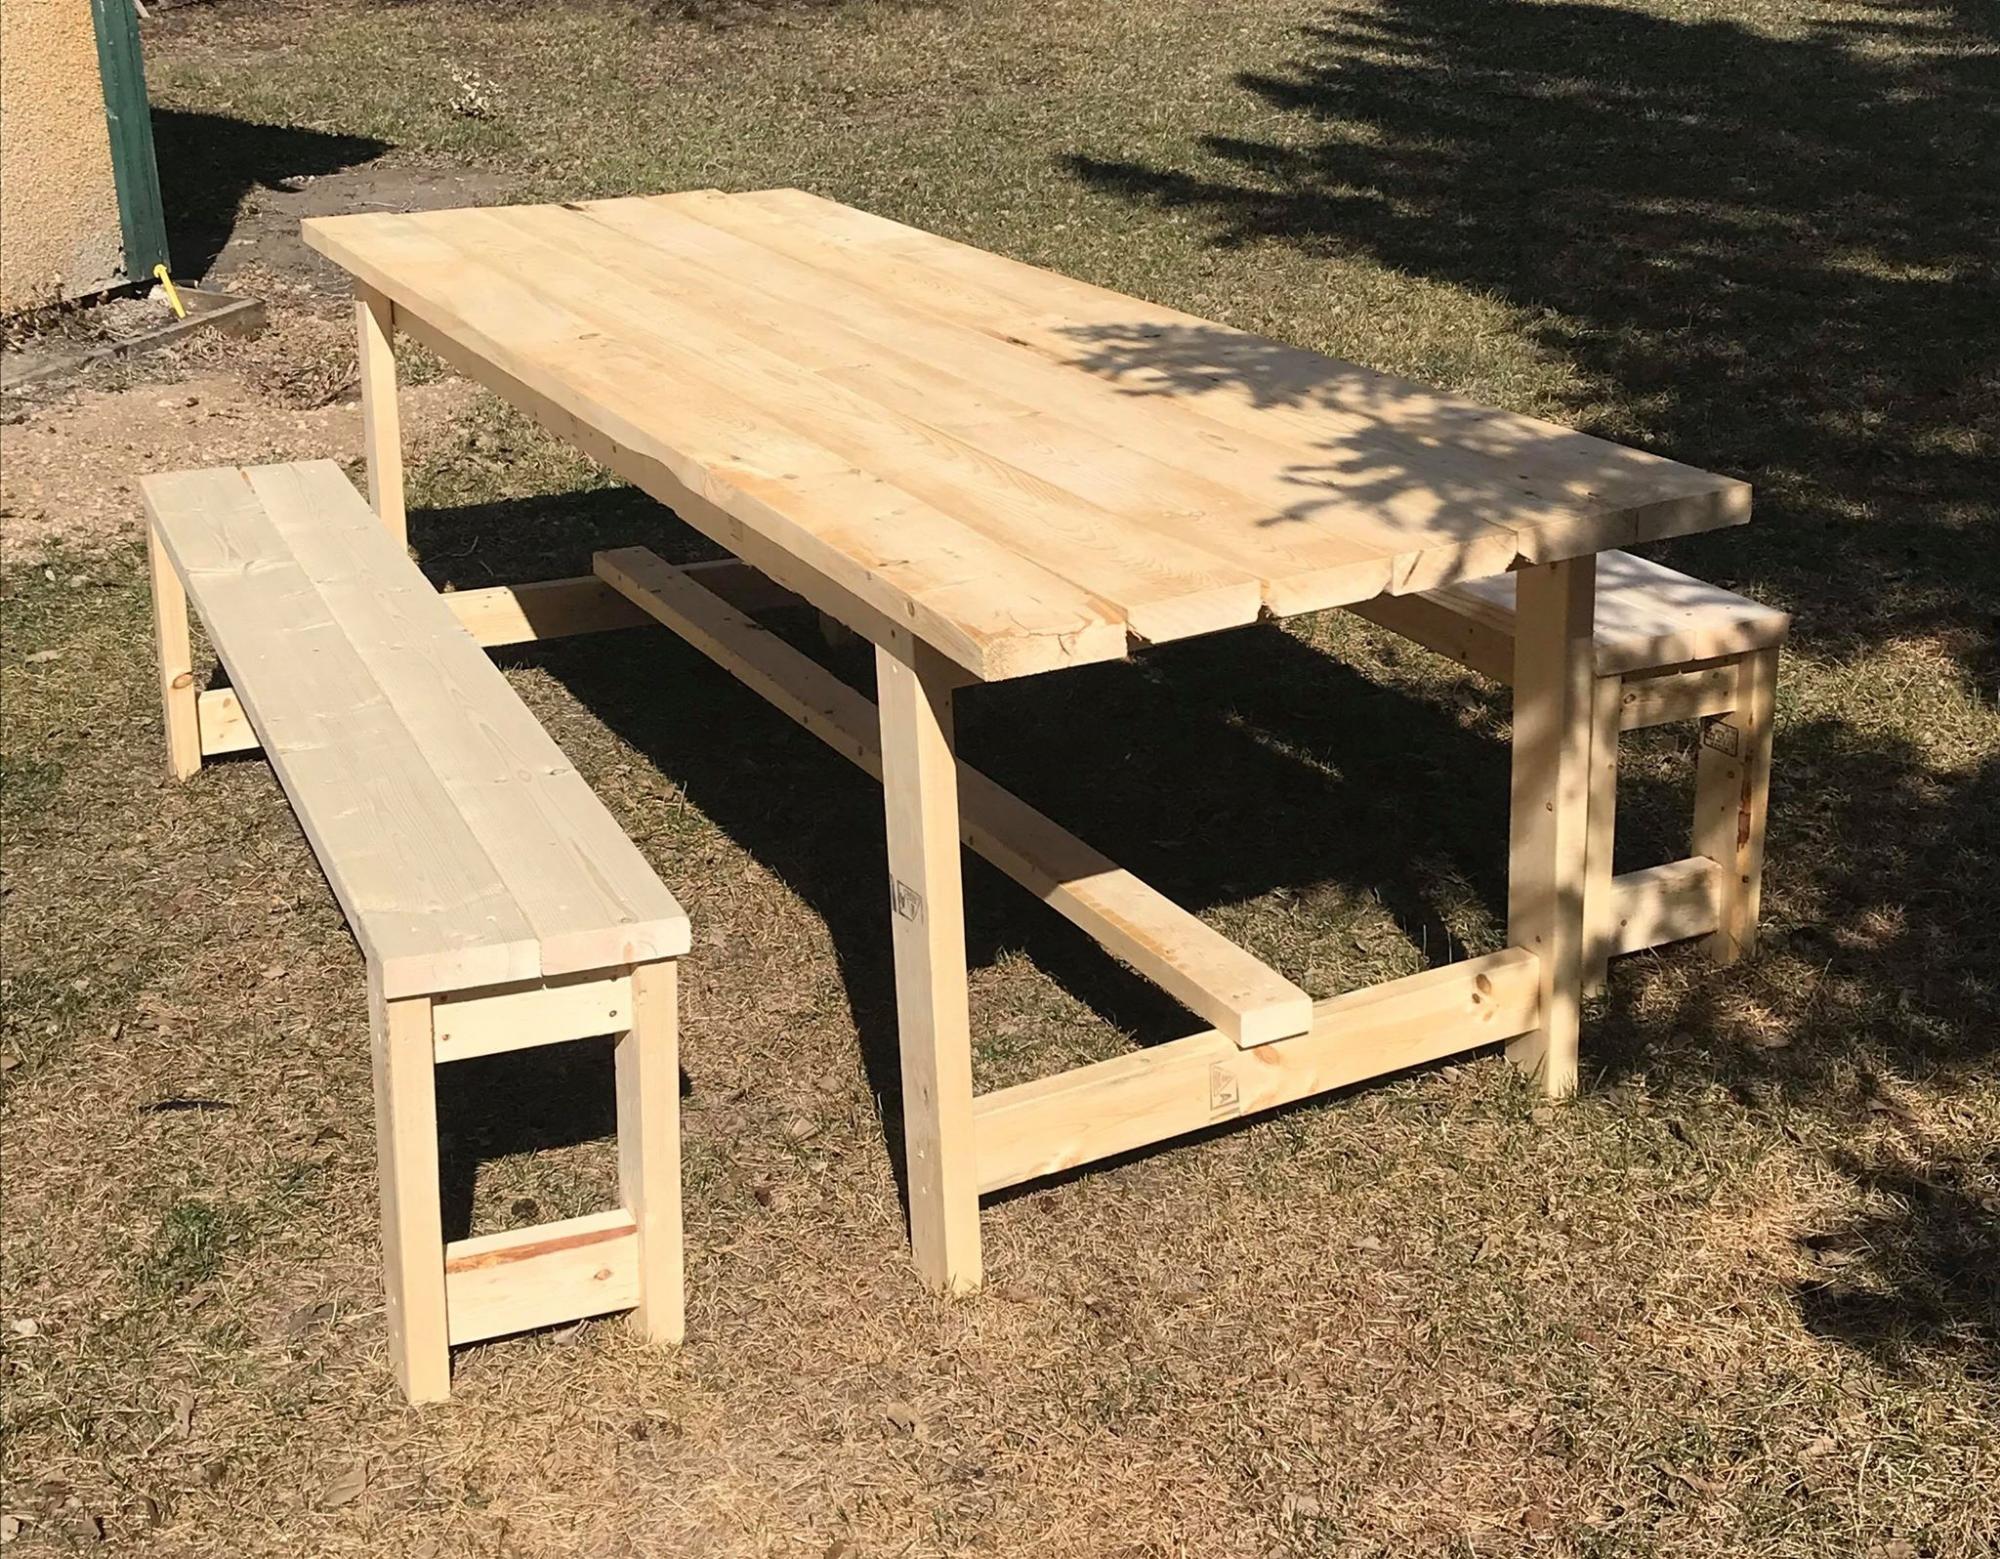
This was my first time building anything! The plans were so easy to follow along! Once I master some things like this, I can work on fine tuning things a bit more so I can build some more intricate plans. Thanks so much for your website! My kids are loving the BBQ's outside at the table!
Tue, 06/02/2020 - 15:09
re the farm table. your cut list calls for 8 2 x 4 at 28 1/2 inches but the plan actually only needs 4 of them. The pics do not show you doubling the 2 x 4s for legs. Am I missing something.
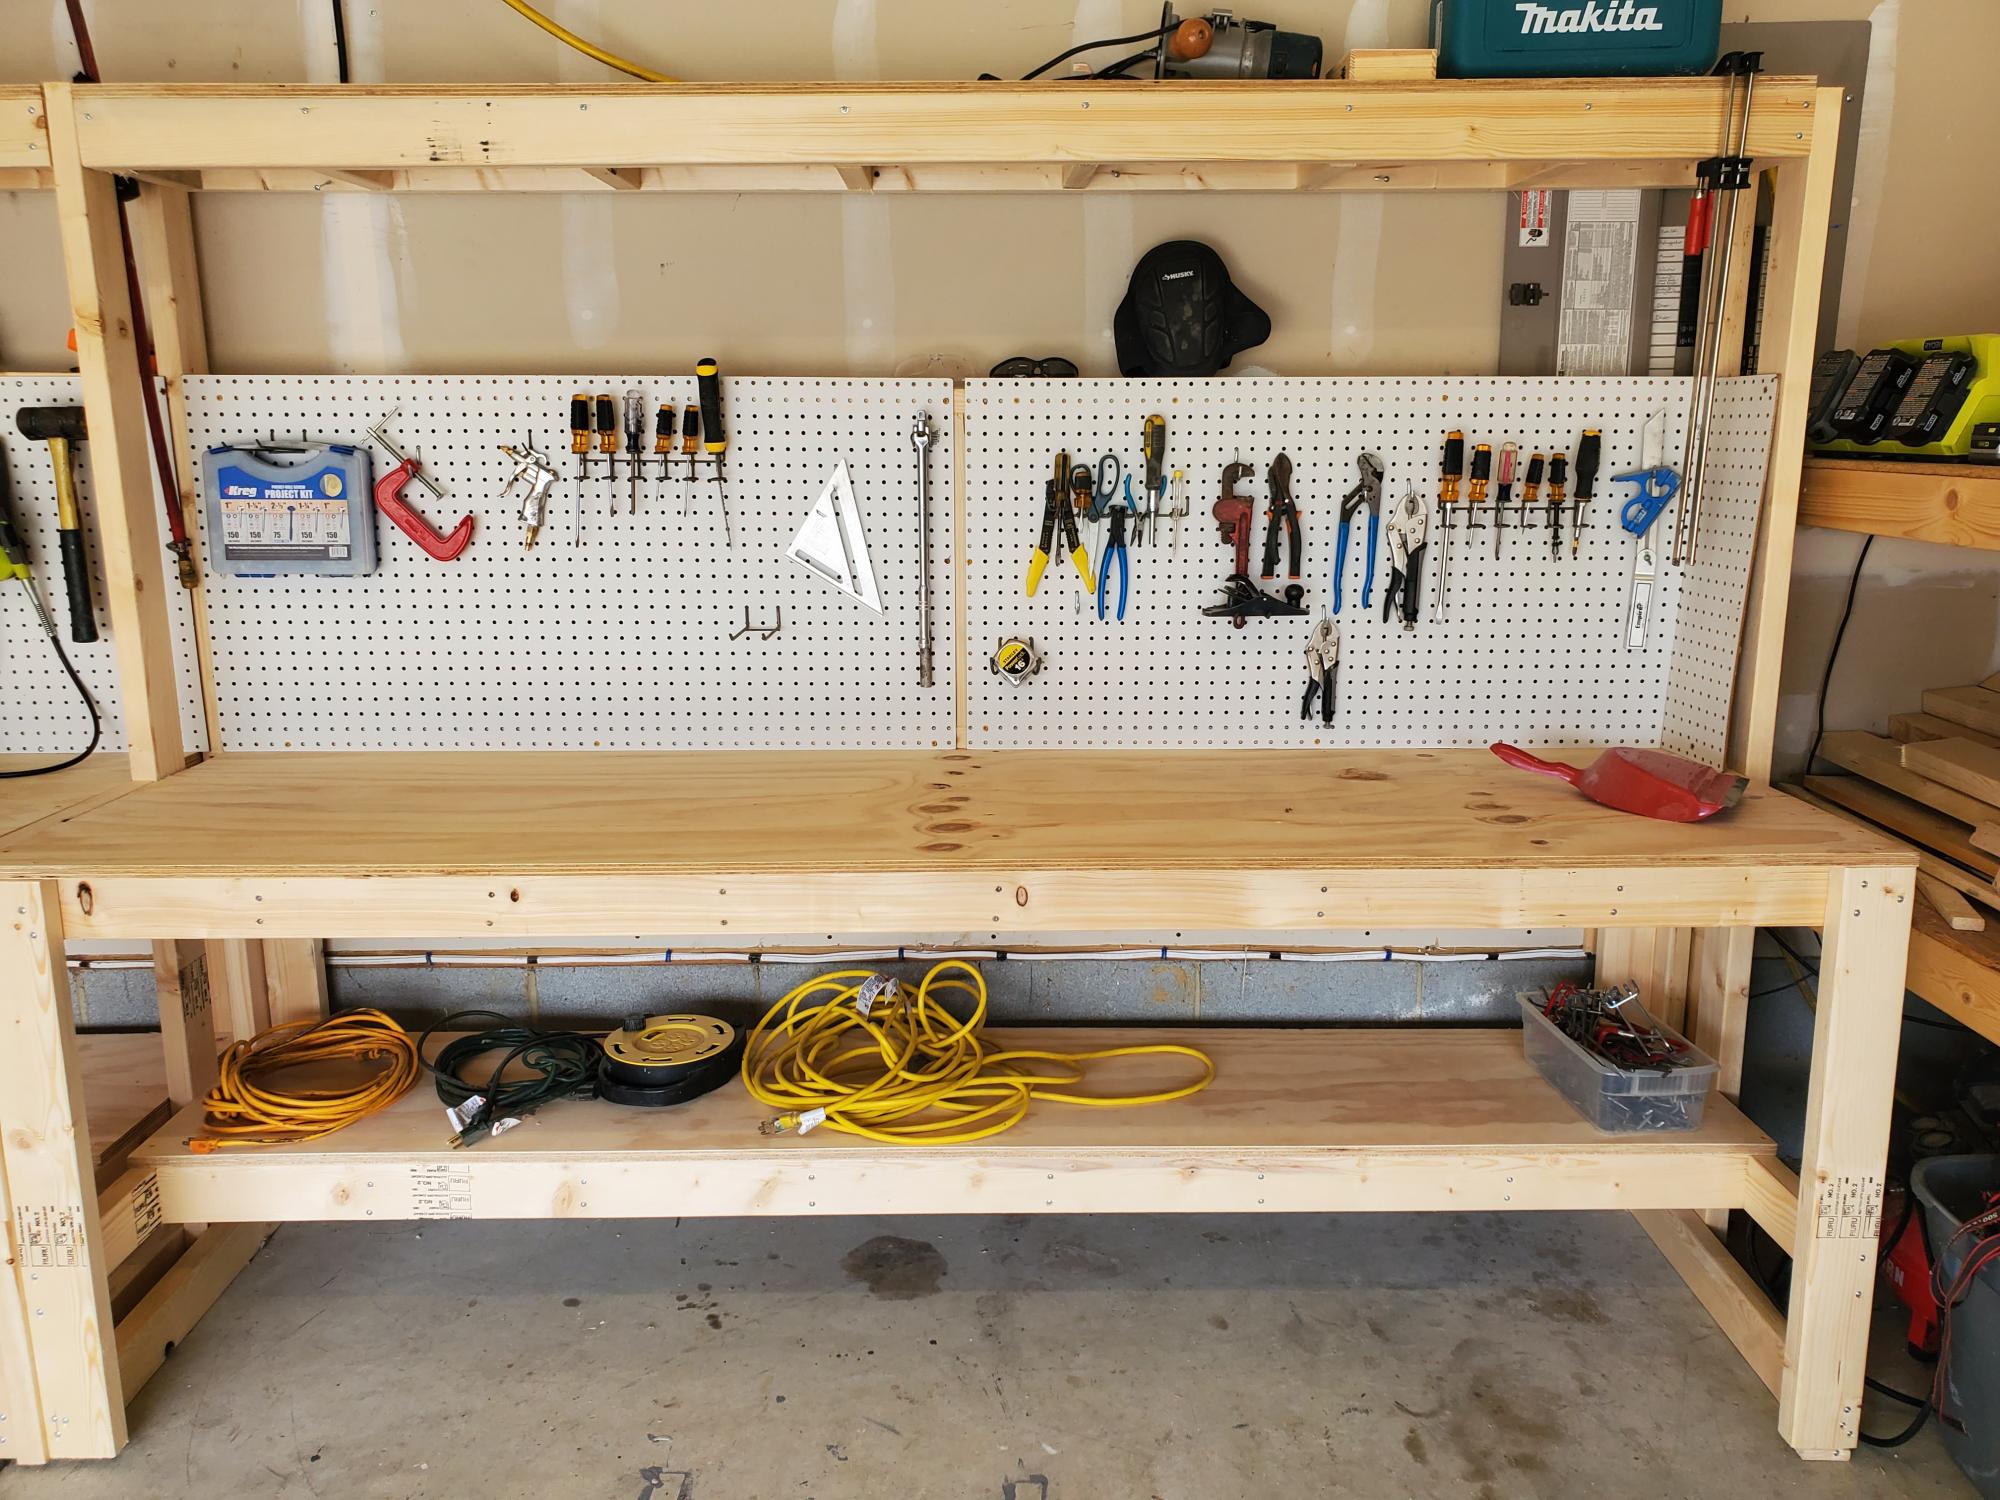
I made a workbench for my garage it was pretty easy. I also made an instructional youtube video if you want to learn how to make it. #diy #workbench #bench
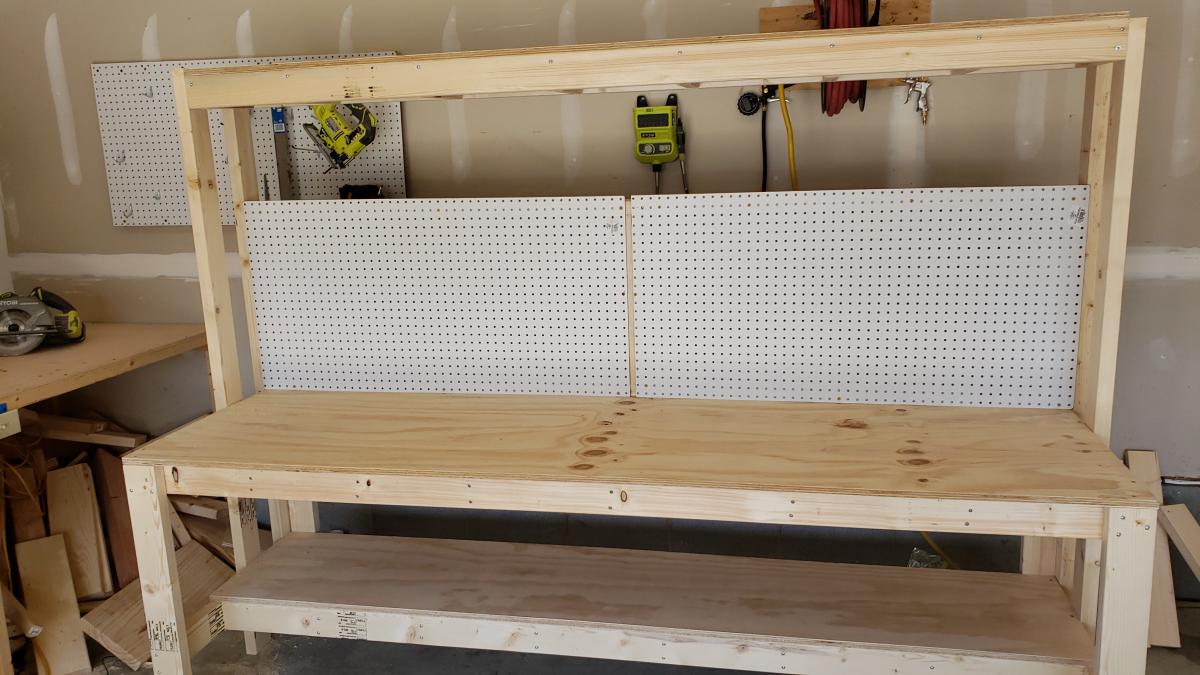
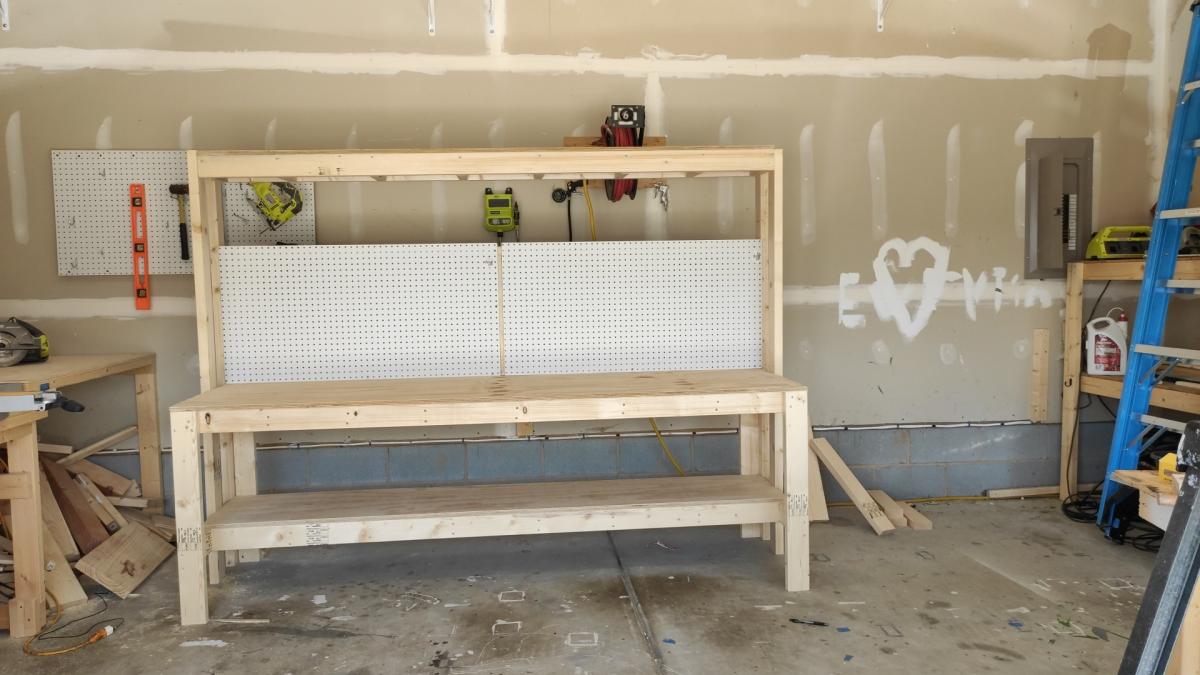
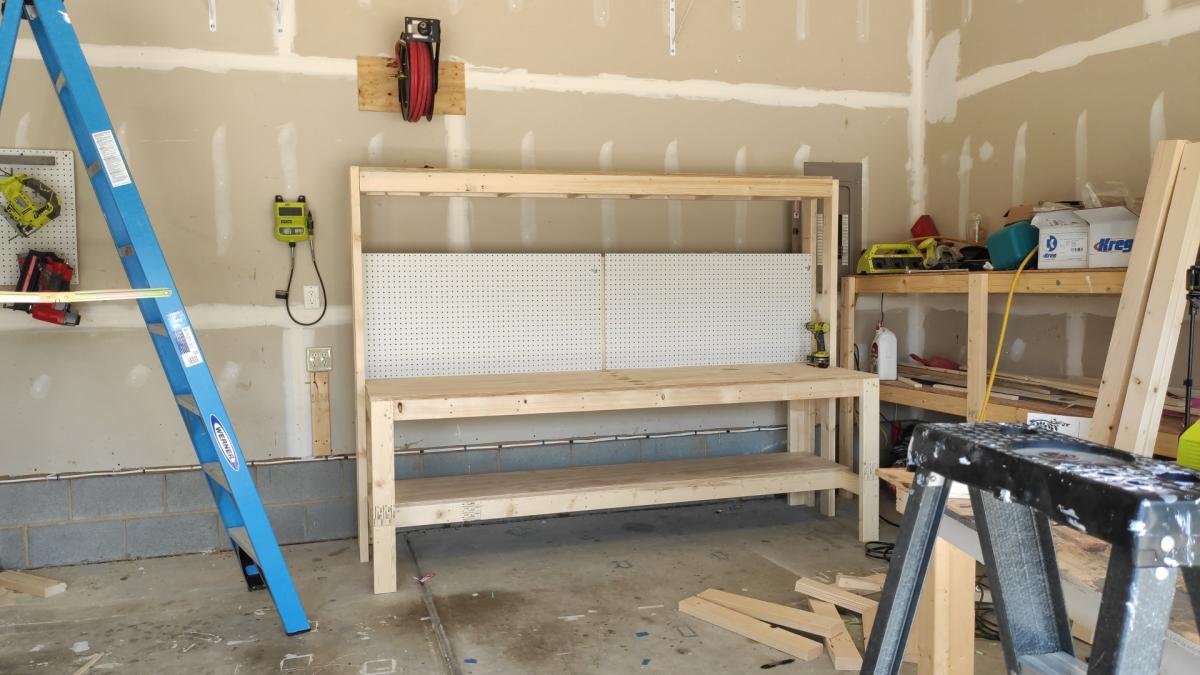

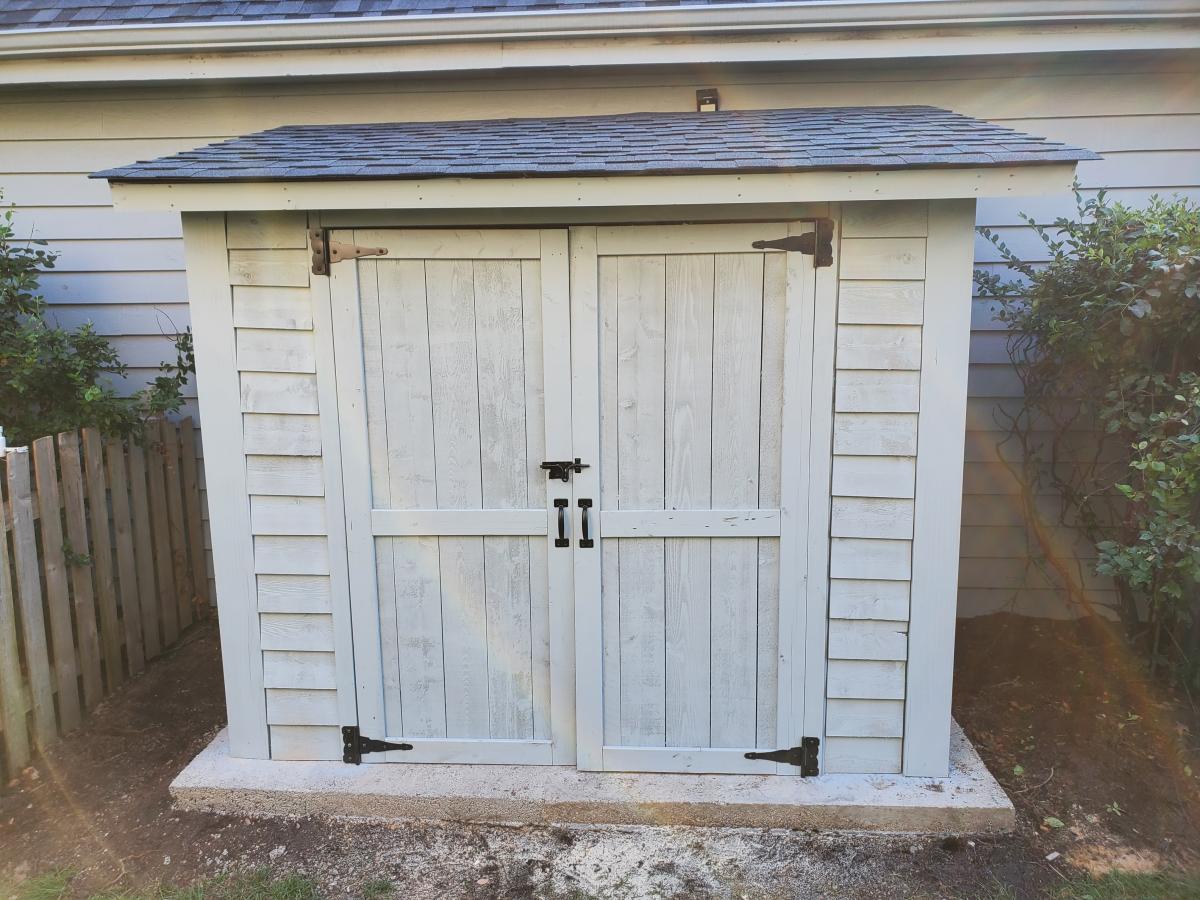
Thank you for the plans, shed turned out great! My association required me to match the siding color, roof color, and anchor to a concrete slab. So I poured 25 bags of 80lbs concrete to make a 9x5 slab. Redid the plans for an 8x4 shed, built the frame with 2x4s and not 2x2's, installed flashing, ice/water shield + felt + matching shingles since I'm near Chicago, and used a flexio finishing sprayer to paint the shed. Saved some $ by using 2 Redwood Grain Fiber siding panels for $22 each at HD.
All in all very happy with my shed and all my dangerous yard tools and woodworking tools can be put away from my toddler.
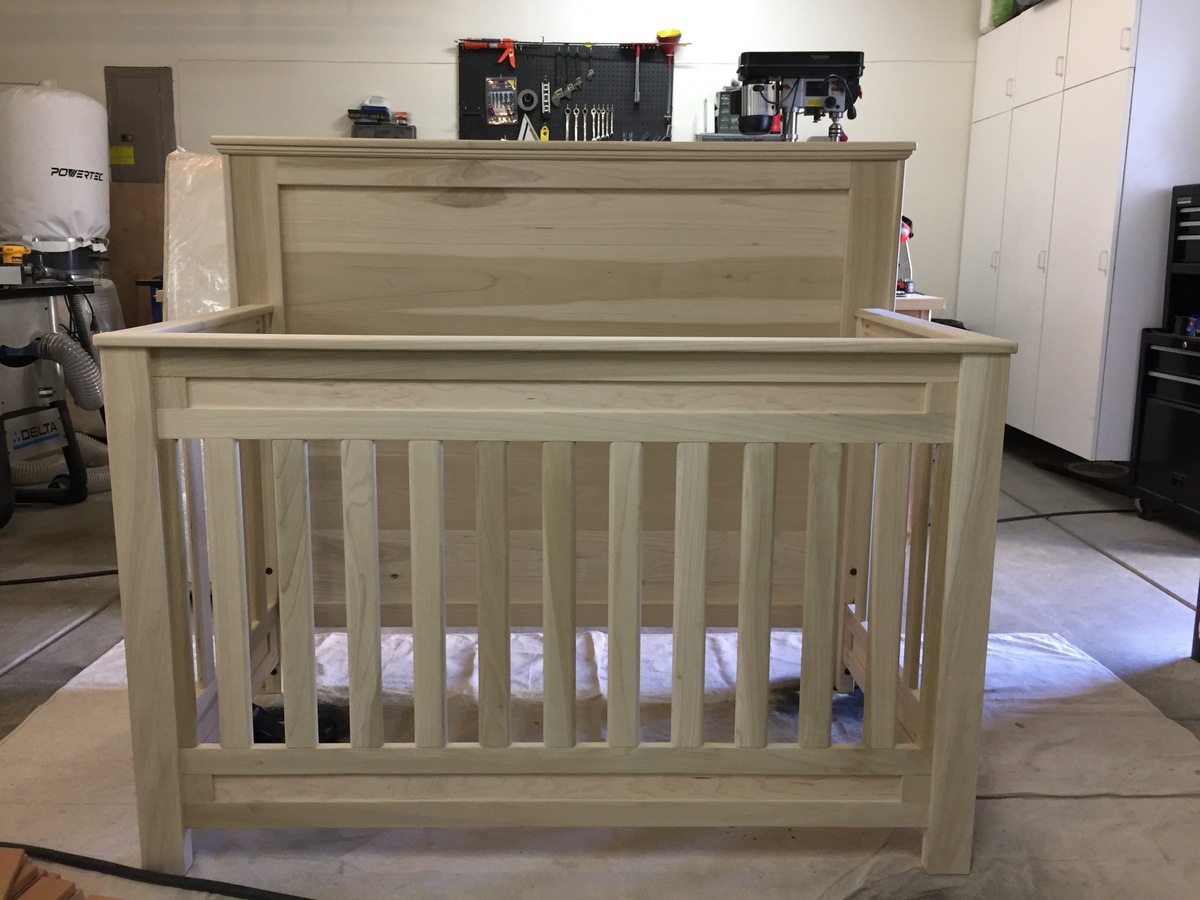
So this is my first post of one of my projects, and super excited to share! I have to say this is one of the most rewarding projects I have ever done. First time Dad and so excited to meet her! My wife is now 35 weeks. I have built many furniture projects in the past but I will admit this one intimidated me more than anything. There are so many safety regulations on cribs and so many stories and blogs online about child safety it made my head spin. I almost let the fear get the best of me and just bought a crib.....but the DIY in me said NO, and here it is! After it is all said and done I couldn't be more happy and a proud Father at the same time! I am still working on finishing this project, so I will add more pics as they come along. We will be painting it a light gray color and top coating with a water based polycrylic. This is made to be convertable, and will also become a Full size bed. Thank you Ana White and other users for inspring us all!
Tue, 12/26/2017 - 18:34
Do you have any more pictures of the constrction? How did you join the sides?
Sun, 12/31/2017 - 09:26
I would love to make something similar for my first grandson, Clayton. Can you share more pictures with me? Thanks.
my email is [email protected]
Tue, 02/27/2018 - 12:02
This crib is terrific and just what I am looking to build for my son and daughter in law. Do you have any dimensions or even rough plans you could share? I will certainly work ast sketching m own but if you have something you are willing to share it would serve as a great starting point.
Thanks so much,
Mark
Sun, 06/23/2019 - 08:46
Did you happen to get any plans or dimensions for this project?
Wed, 02/28/2018 - 06:37
My wife and I are going to be first time grandparents in the spring and have been asked by our son and daughter-in-law to build a crib - one just like the one you built. I think it wil be a fun project. Could you share any dimensions, drawings or other pictures rom your build? You can reach me at my email address: [email protected].
Thanks,
Mark
Sun, 06/23/2019 - 08:47
Where you able to get any plans or list of supplies for this project?
Fri, 07/03/2020 - 08:08
Did anyone ever get additional details or photos? Would really appreciate anything! Have our first coming in about 20 weeks and want to make something awesome like this for him!
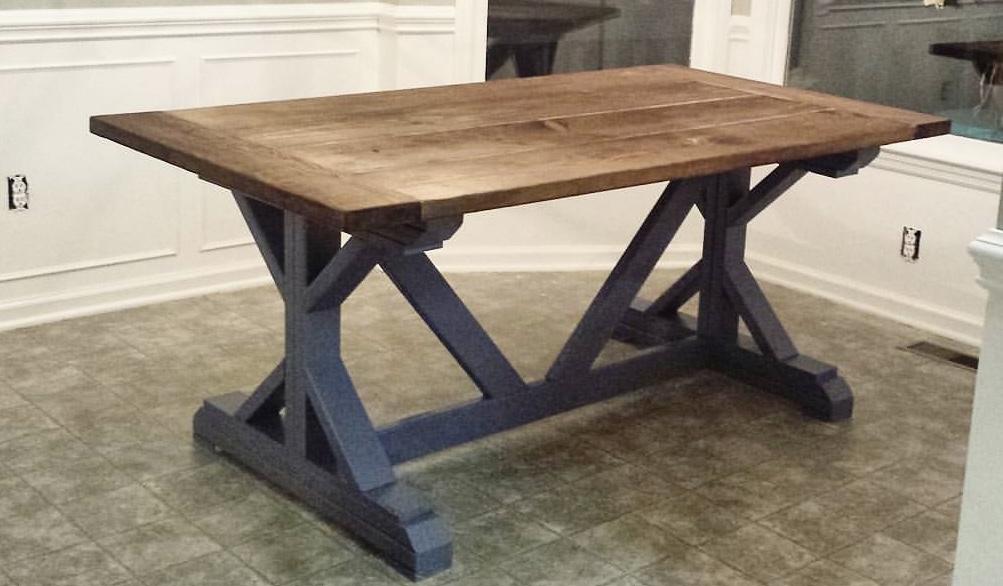
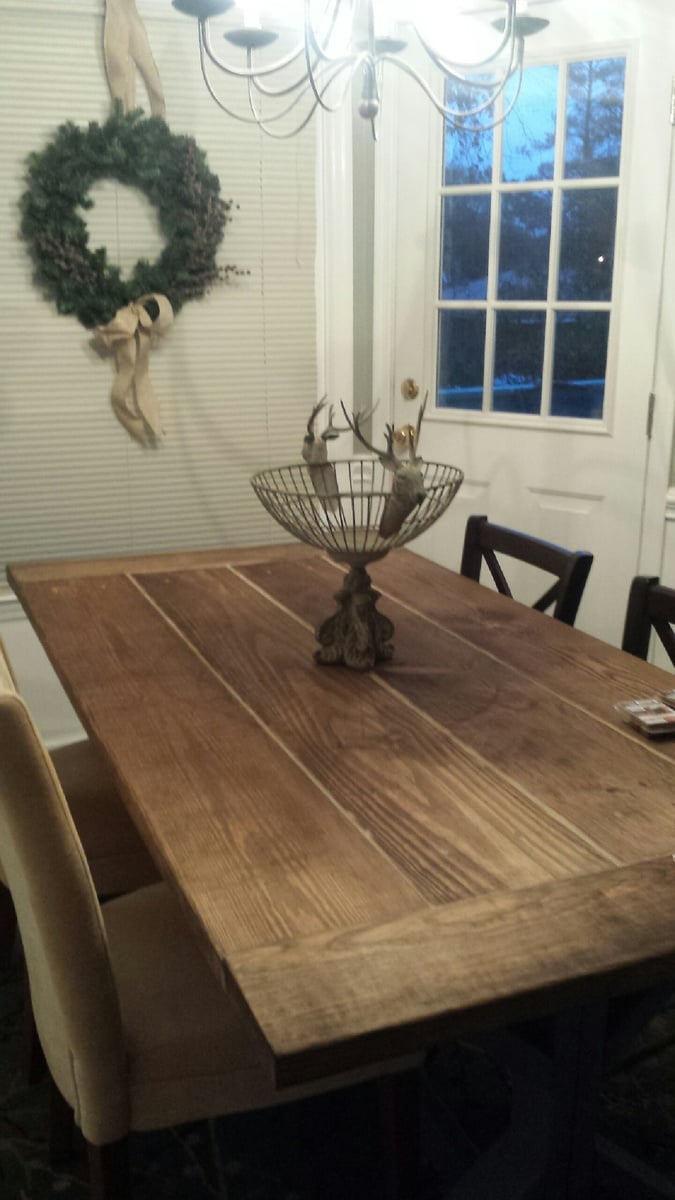
I modified this plan just a little on the ends, and I can not tell you how pleased I am with it! I did run into some issues with lining the boards up properly due to imperfections (and not laying the boards out ahead of time in the store because I was rushing at closing time), but in the end, I decided to add a wood filler in between the boards and everyone just raves over it. I could not imagine it having come out better. I would not do it any other way.
Thank you Ana!!
PS... I have a wonderful idea for a loft bed, but the plans are not provided. I know you would do it justice.. how do I submit the photo????
Tue, 07/30/2019 - 08:01
Jeff,
I do apologize for not having seen your comment! I will work on plans as soon as possible and let you know when they are available. Thank you! :)
Sat, 05/30/2020 - 07:34
I also liked this table but never found the plans for it. I did find a very similar table with plans at:
https://www.shanty-2-chic.com/2012/06/fancy-x-farmhouse-table.html
Looks like just the bottom of the legs are different...

This table was so much fun to make. I couldn't use an 8 foot table so this is 5 ft. My table top has some blemishes that I could have tried to fix but at the time I just wanted to see it done. I think using better than big box store wood would have been a great start. The table is so sturdy. The bench was harder though because it had a wobble that just wouldn't be fixed.
I used pine for the top and Douglas fir for the legs. I used minwax wood conditioner, minwax early american stain, then minwax red oak stain for a couple of minutes then wiped off. Then topped with 4 coats of poly.


We have a frosty faced blind girl and an aging tri-pawed that we wanted to be able to continue snuggling with us so we adapted the Farmhouse Bed with Storage to make it a king size. We made the drawer boxes deeper which allowed us to get rid of our dresser to create more space in our room. And we added a flight of stairs for the pups.


Fri, 12/30/2022 - 07:53
This is exactly what I’m looking for! Perfect for our dogs. Although, I wonder if a ramp would work or if it would be too steep? Hmmm
Great project! I'm new to wood working and have been looking for simple but challenging builds. Needless to say this fit the bill... This grill cart was a great starter build and ultimately became a Father's Day gift! My Pops loved it!
I did add a couple of custom pieces: a foldable table top extension and towel bar... things Dad will undoubtedly need as he's an outdoorsman who loves to BBQ!
Thanks for the idea/design plans!

Made the outdoor sectional. The coffee table was made out of left over pieces!
Wed, 10/02/2019 - 09:54
So smart to make the coffee table out of the spare pieces.
Looks amazing!
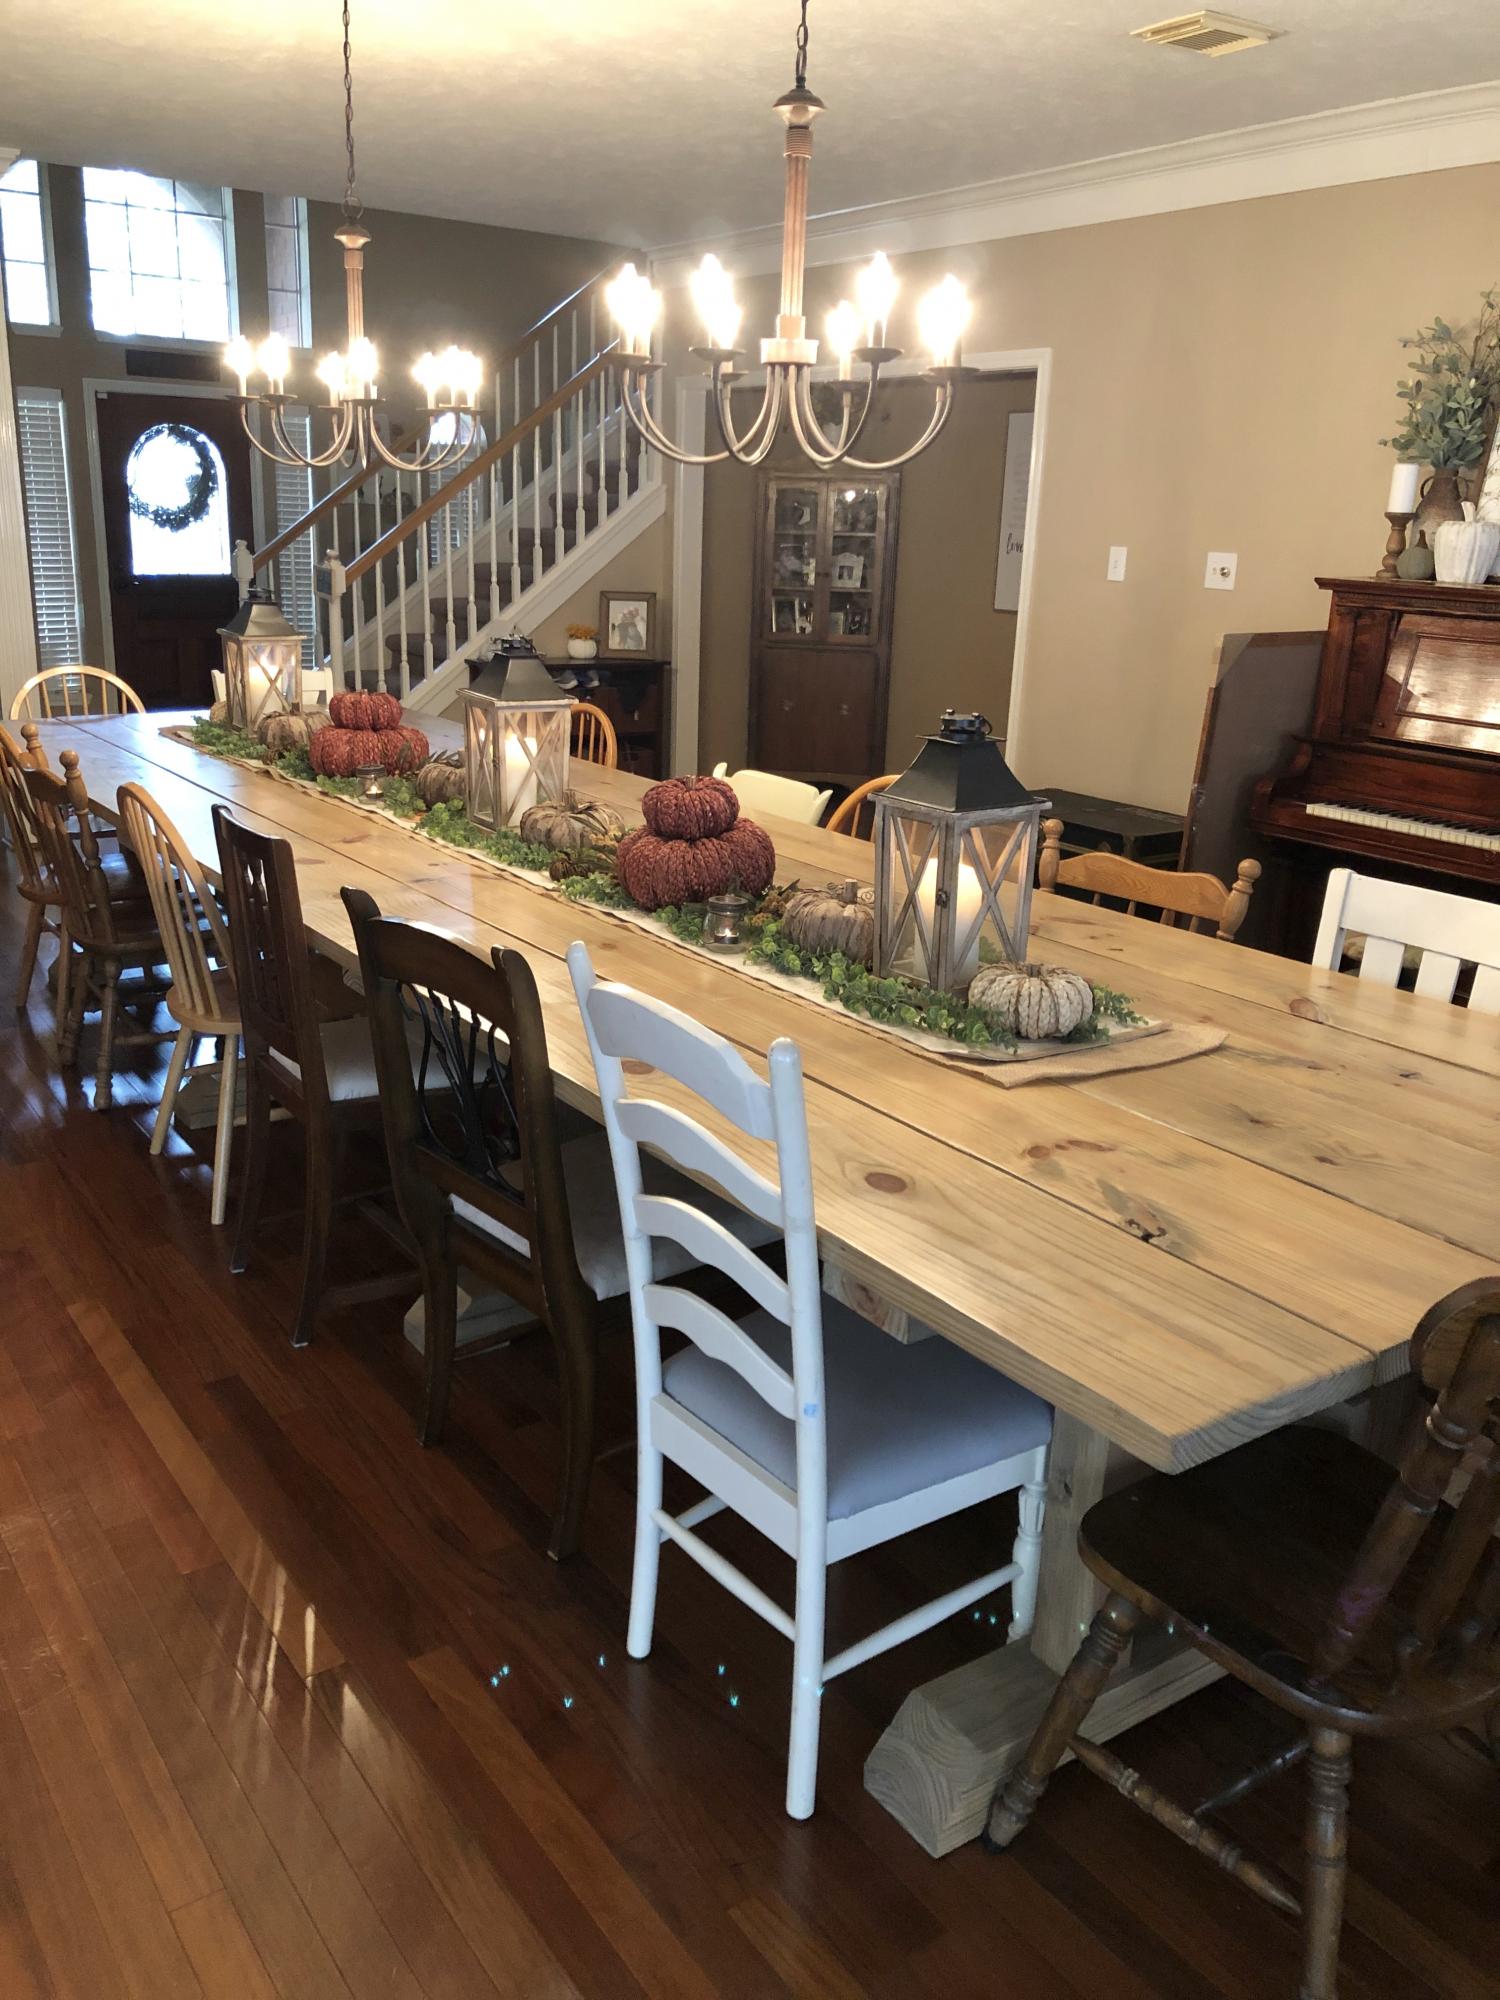
This table was created using a variety of plans. It can seat up to 20 people comfortably. The table top was built with 5 pieces of 2x12. The legs were a combination of 4x4 posts and 2x6s. 2 coats of Minwax Weathered Gray was the stain and then 3 coats of varathane semi-gloss finish. We sanded between each coat of poly.


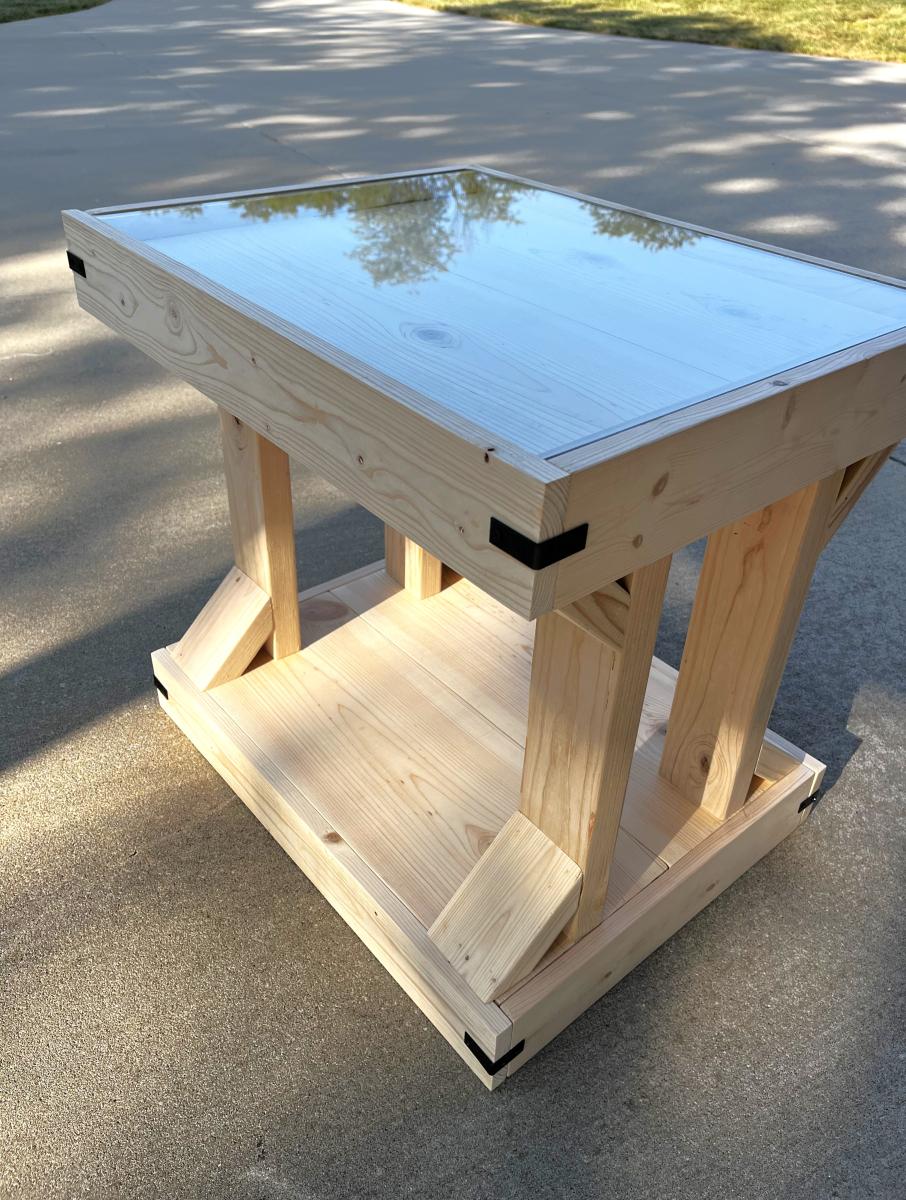
I made two of these side tables for my niece and her new husband as a house warming gift. I dropped the top down 1.25 inch and added a glass top so she could display items. They are going to be a surprise, so I left them bare. She can stain or paint them whatever color she wishes.
Donna Cox
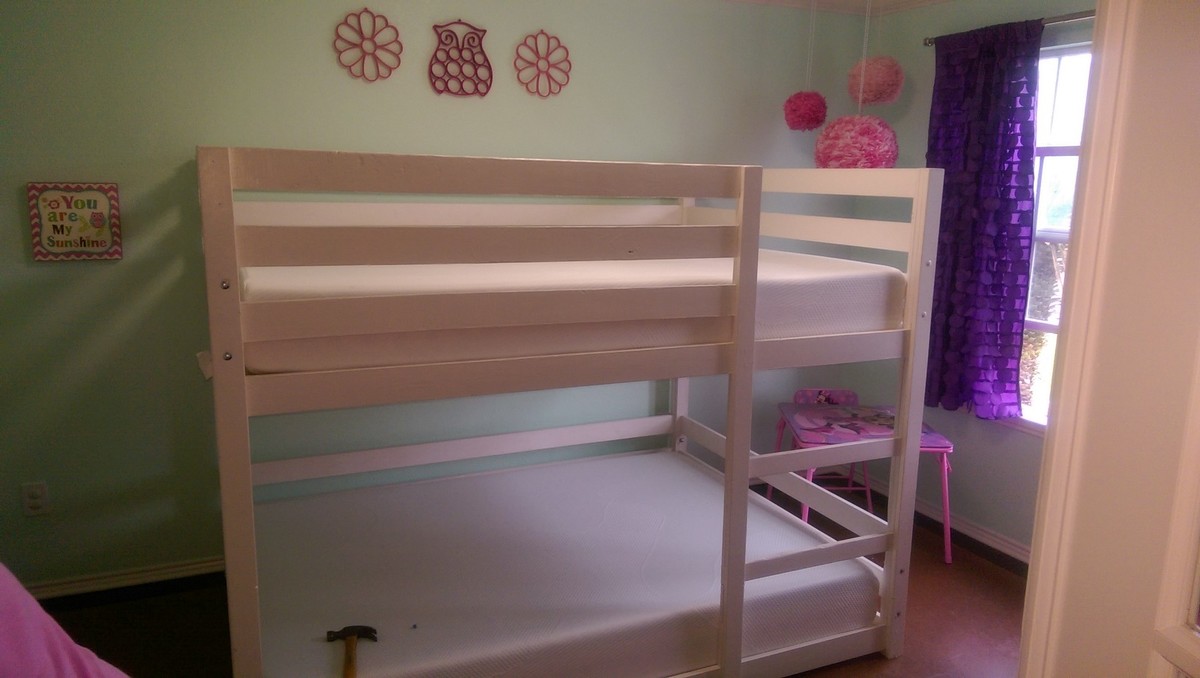
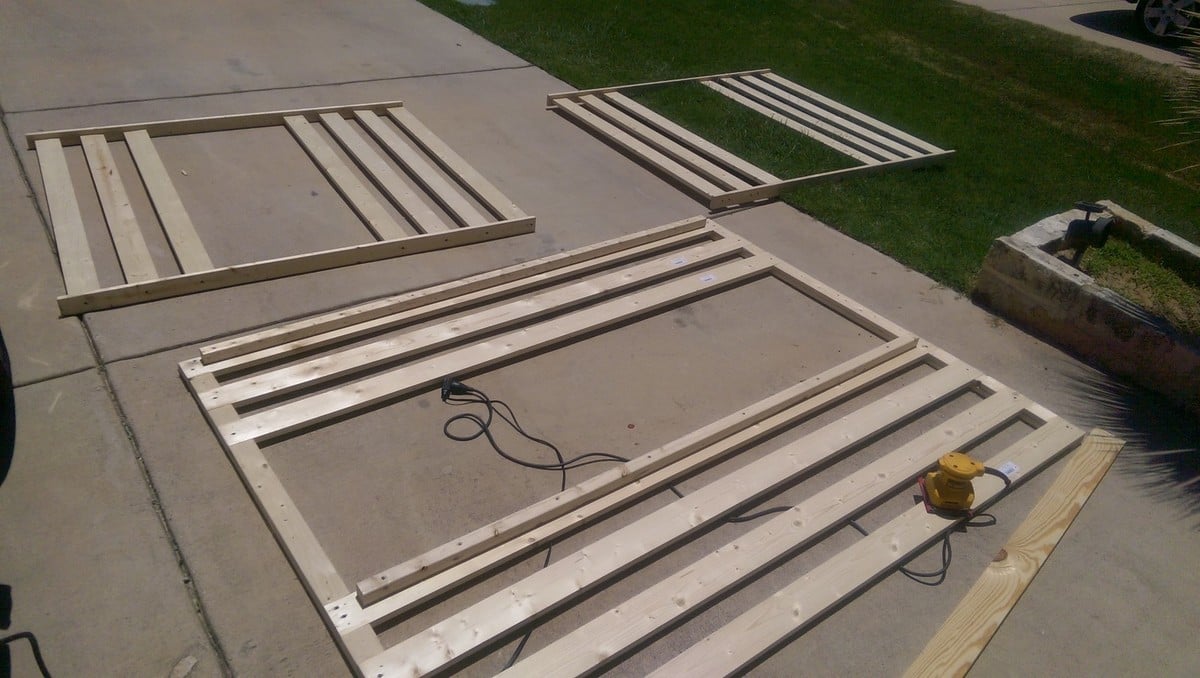
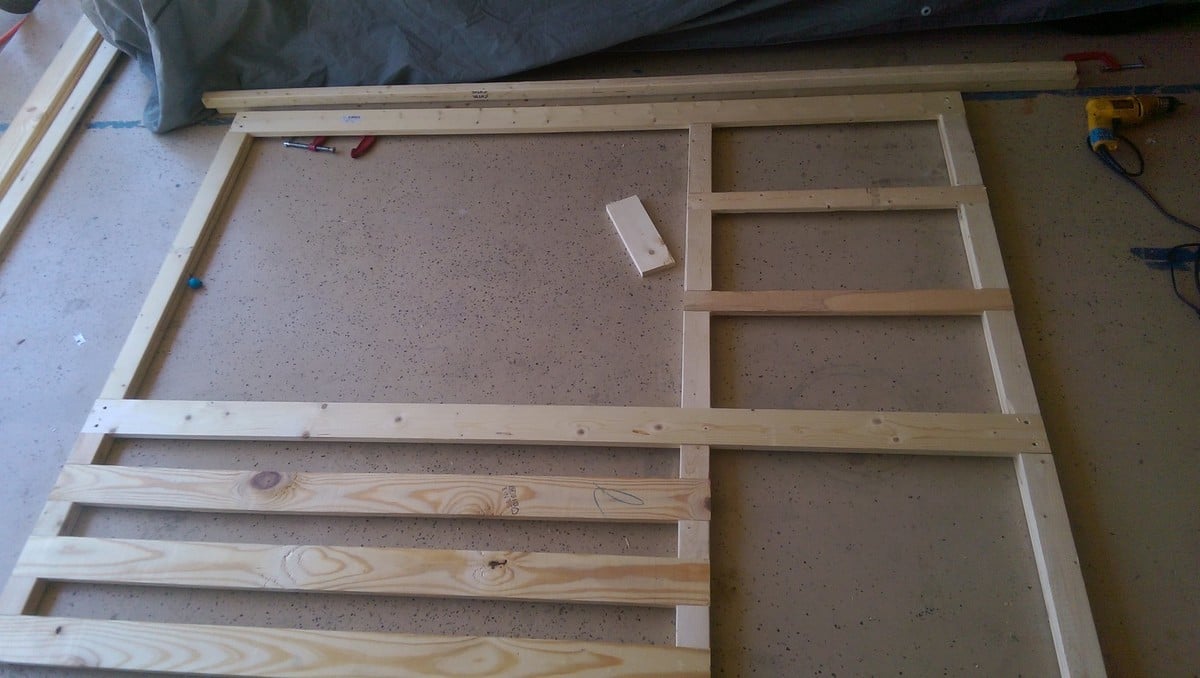
Full over Full bunk beds. Adjusted for Full from a twin measurement. only 1" off floor for more head room.extra rail bar coverage upstairs for my daughter who rolls out of bed regularly.
Wed, 12/30/2020 - 12:15
Would also love to know dimensions used for the full! Thanks for sharing your amazing talent!
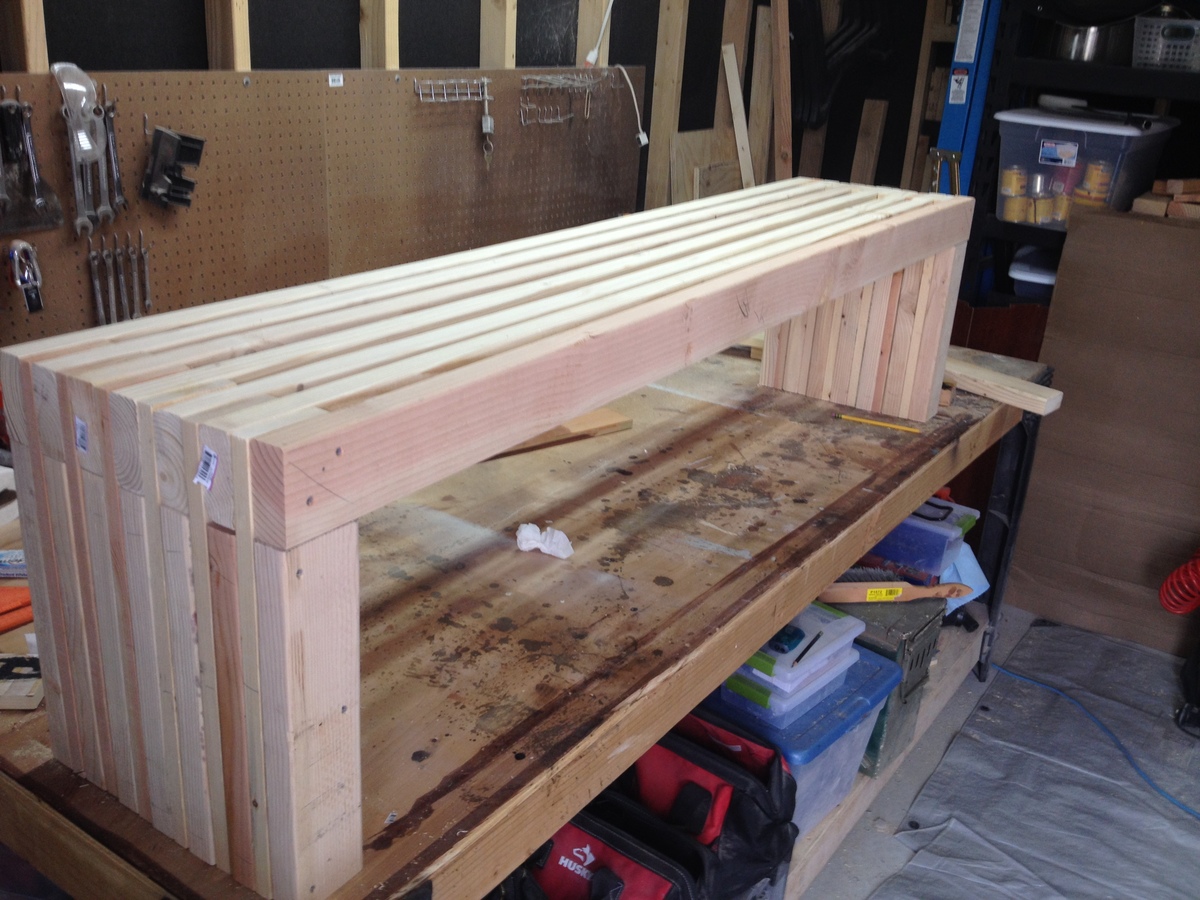
This was a super easy and fun bench to make.
I ended up having enough 2x4 and 1x4 scraps for the legs and only had to pick up a a couple of 2x4s.
TIP: Others pointed said that you should paint slats before assembly... I highly recommend it as well. It was a bit of a pain trying to get between the slats to prime and paint though would likely be easier w/ a sprayer..
Finished it with some oops paint in a nice color and a 3 coats of spray urethane.
Great beginner project for sure. It may take a couple of days to finish but most of that time is spent waiting for paint/urethane to dry between coats :)

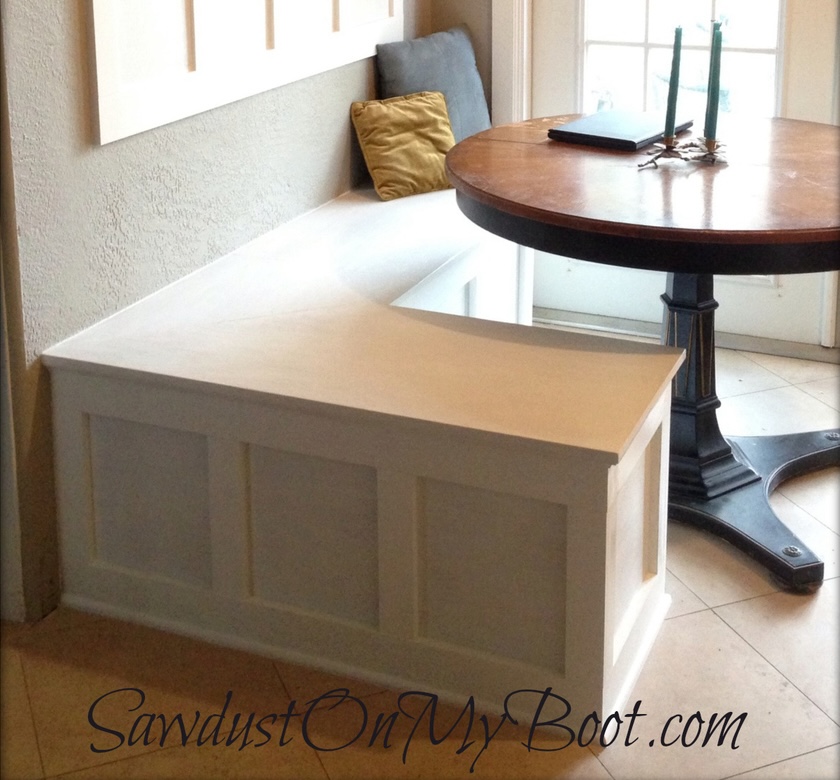
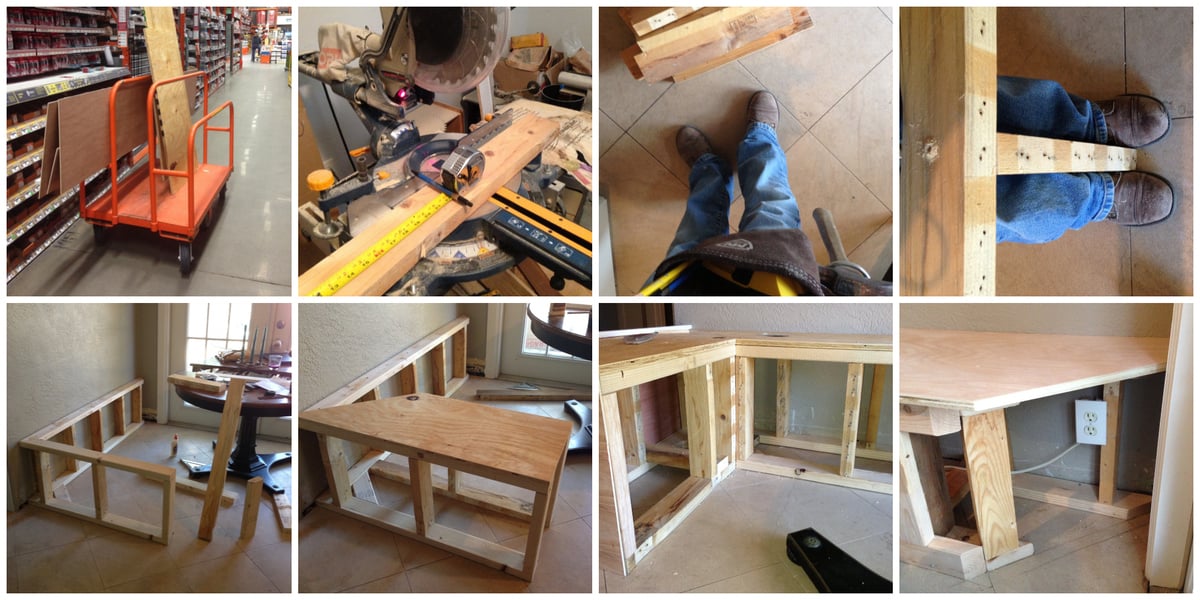
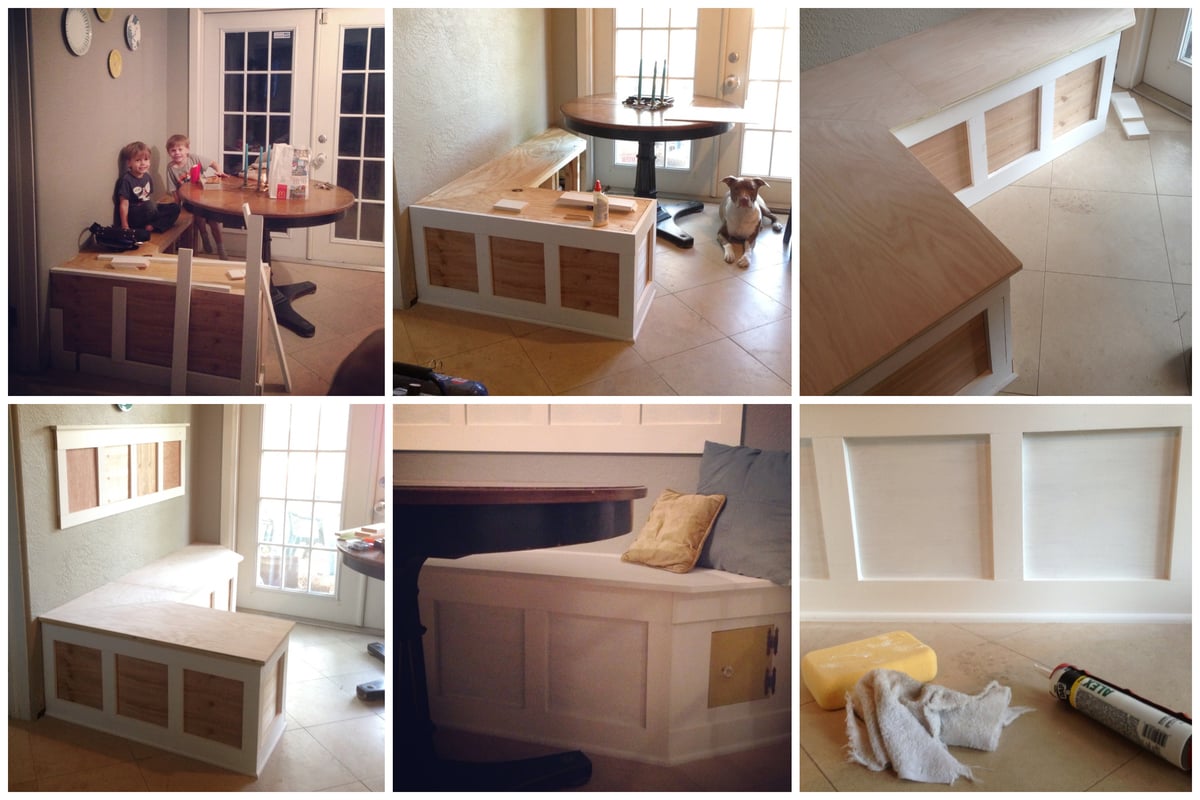
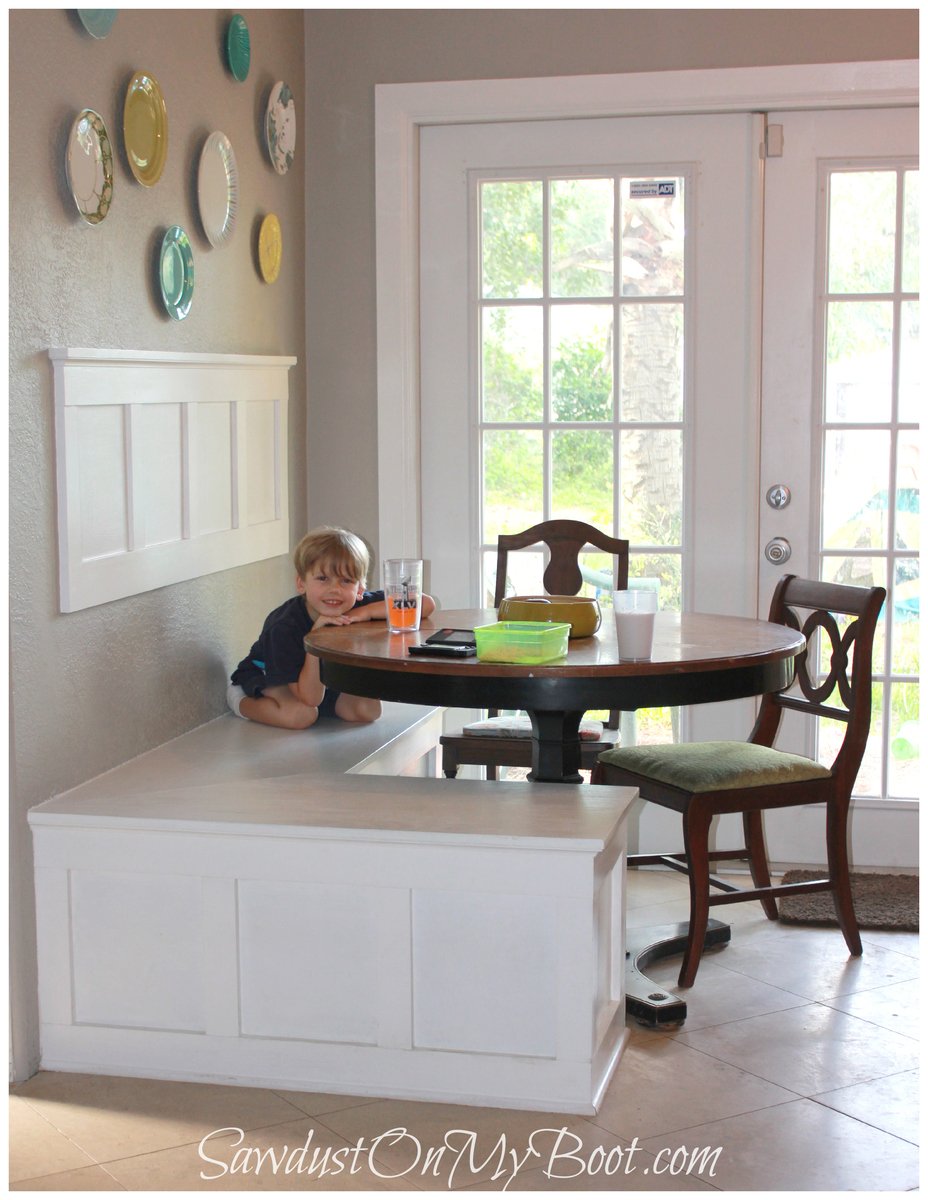
My family needed a seating area for our tiny kitchen and a built-in banquette solved our spatial design problem perfectly! I basically built it like a short and wide freestanding wall with a board & batten design and plywood top for seating. More details on my website post...

Comments
MaryMurray
Sun, 12/15/2013 - 07:03
Tapeulator
I found the best app ever. "Tapeulator" If you are tape measure challenged like me you will love this app. For example: what is 8 3/8 - 6 1/2? It can be hard to figure out...just type it into the tapeulator and get your answer, it also shows the location of the answer on the measuring tape. I love it!
My husband gets so aggravated when I measure something and say it's 4 and 2 lines...lol. I really do know what the little lines are, it is just quicker for me. haha