Custom Workbench

It was a fun project over two weekends. Thanks to this platform. - Teji


Built from Plan(s)
It was a fun project over two weekends. Thanks to this platform. - Teji
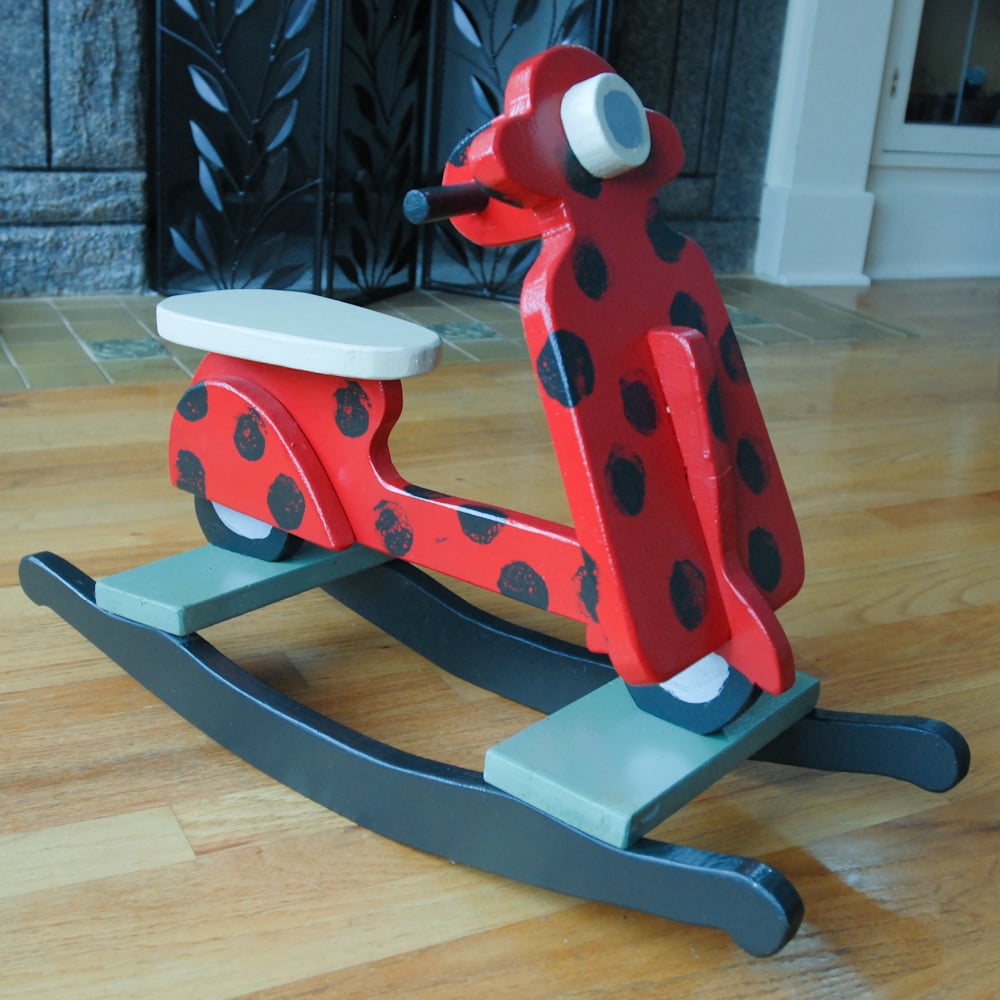
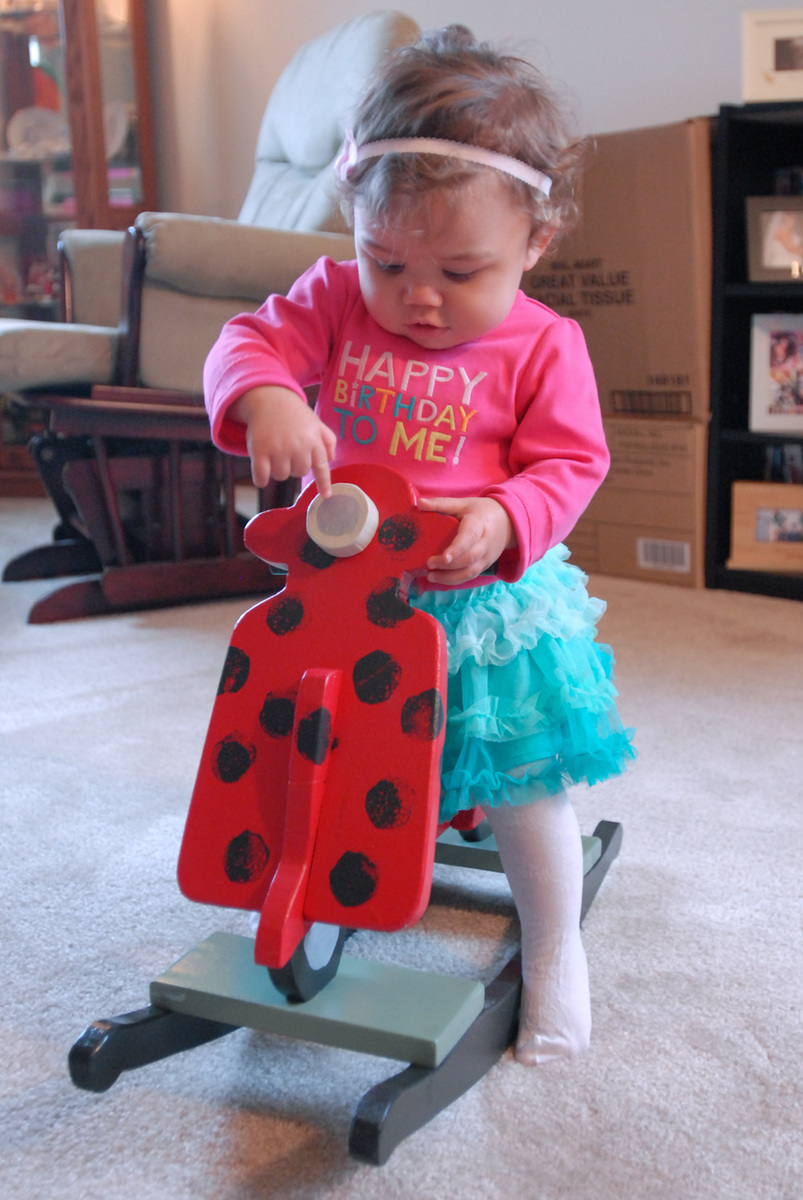
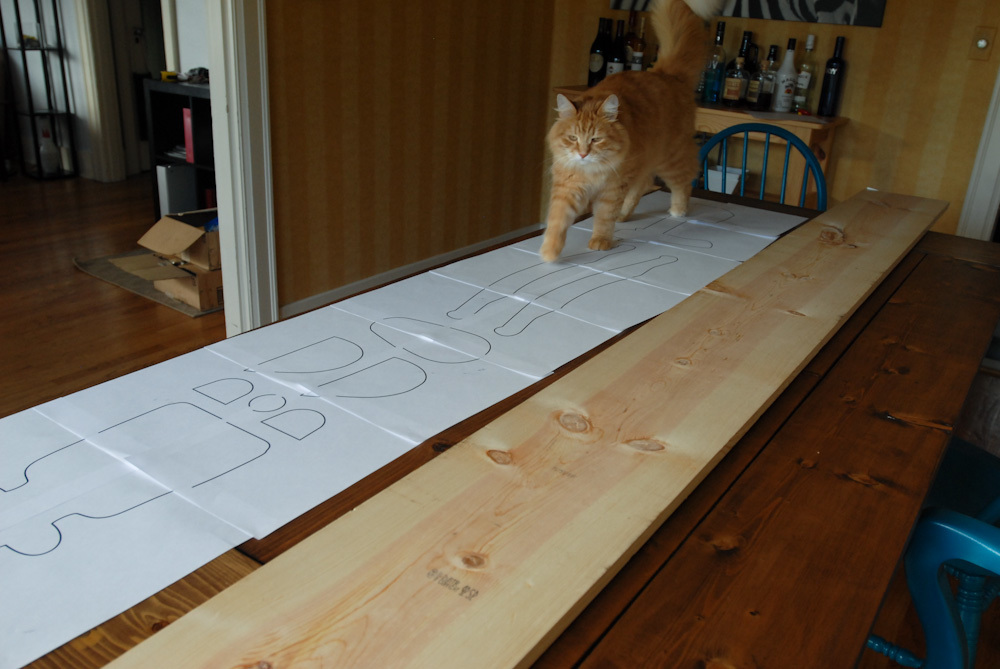
There were some parts missing from the plans. I wrote out what I did to build this rocker on my website.
http://www.domesticated-engineer.com/1/post/2012/12/ladybug-moped-rocke…
Make sure to use hard wood! My rocker broke within the first hour. Wood glue fixed it but it gave me a good scare!


I built the Lydia Daybed for my nephew's new big boy bed. Was a little worried about doing the fancy decorative corner pieces, but just adapted the design a little so it was not such an intricate cut. Everything turned out great and there are a few more pictures on the blog, www.atouchofarkansas.com. Thanks! JM


Fri, 03/08/2013 - 18:58
Hey Jeff!
The details on this Lydia Daybed are beautiful! Looks great!
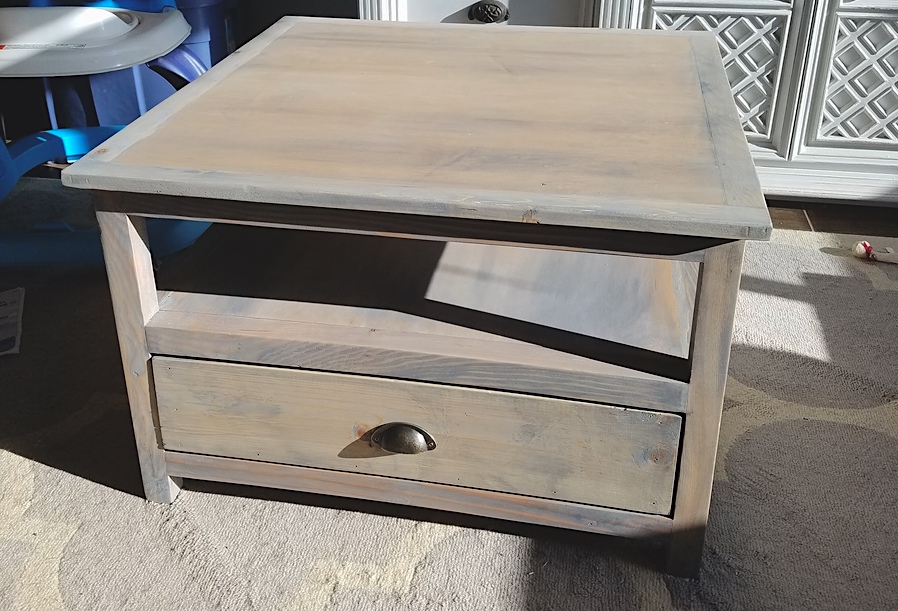
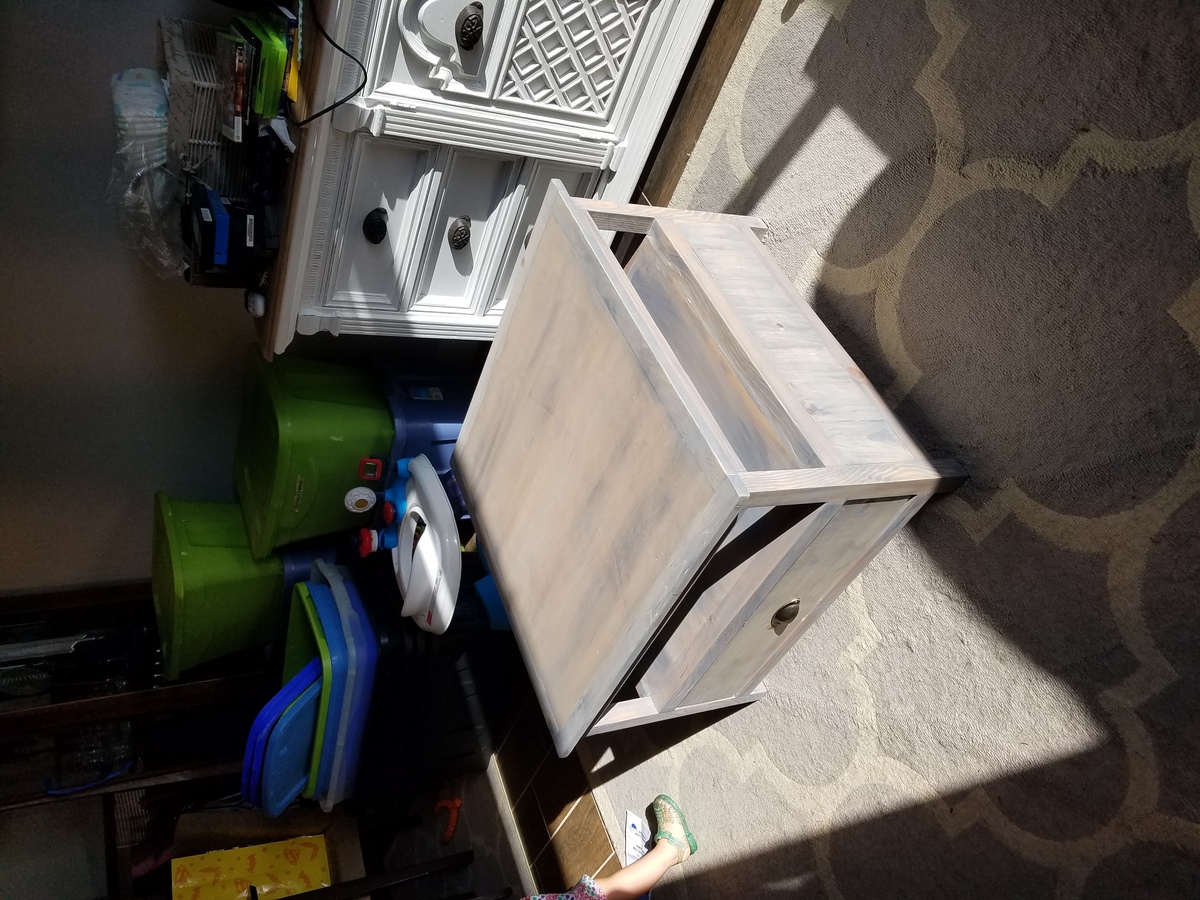
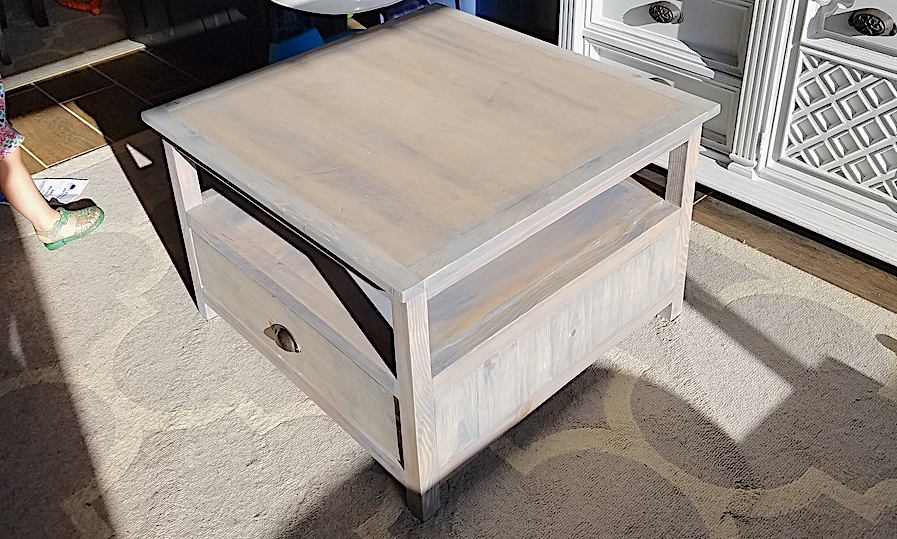
Shrank it down to 28" x 28" to match the size my wife wanted. At that point a single drawer on each end made more sense for them to be practical. This was my first furniture project, so lots of mistakes were made, but I learned a lot. I look forward to many more projects from this site.


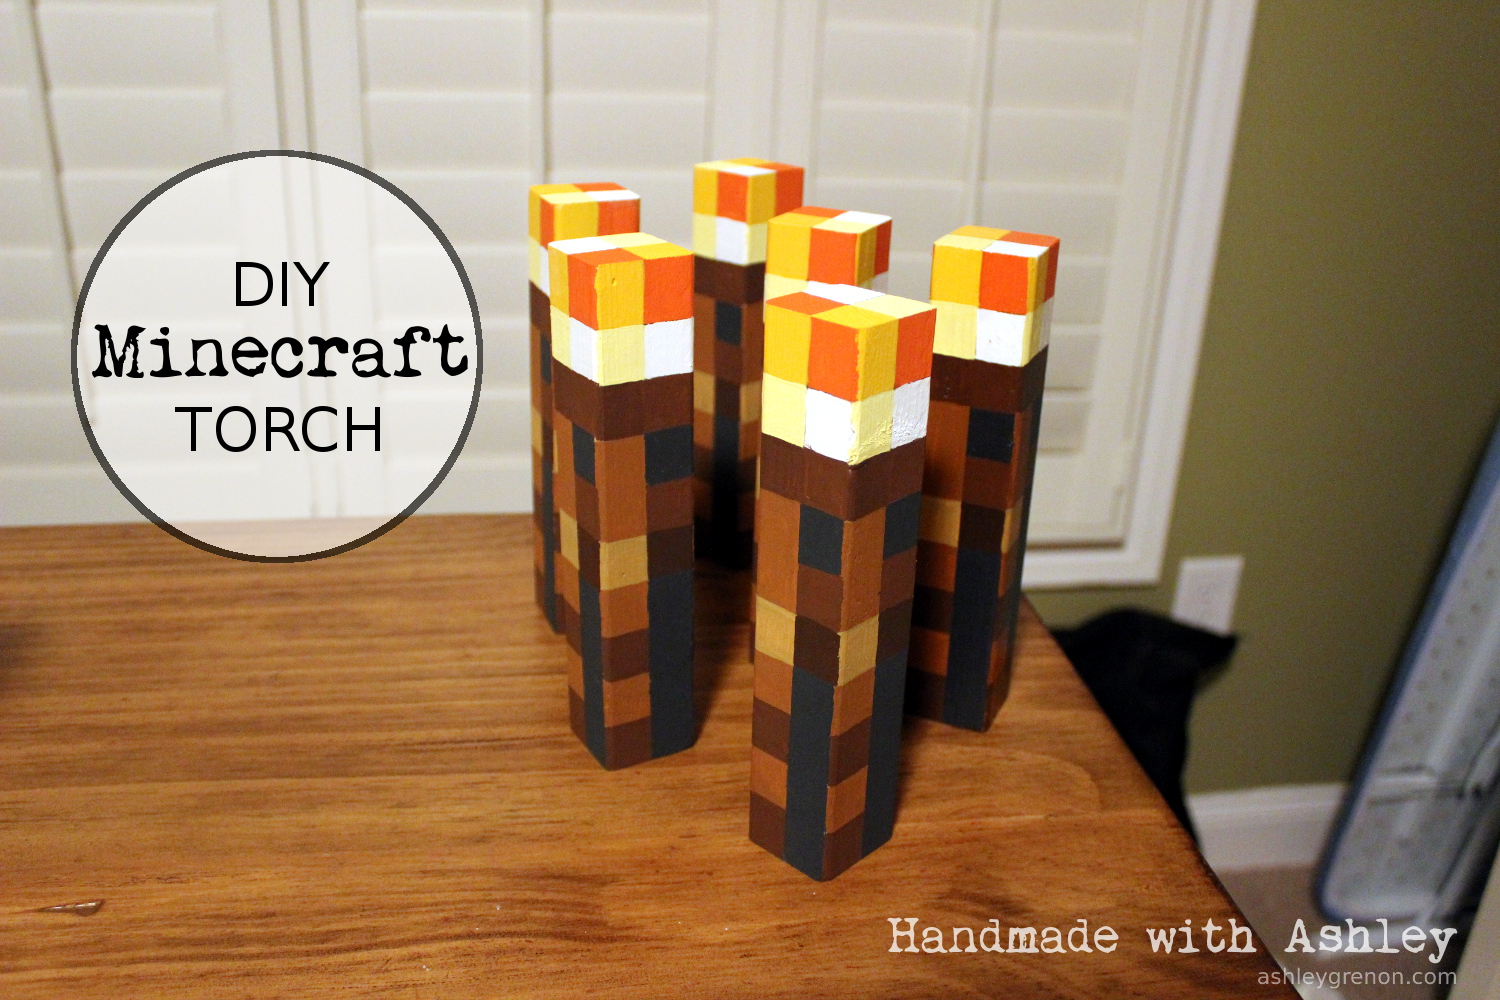
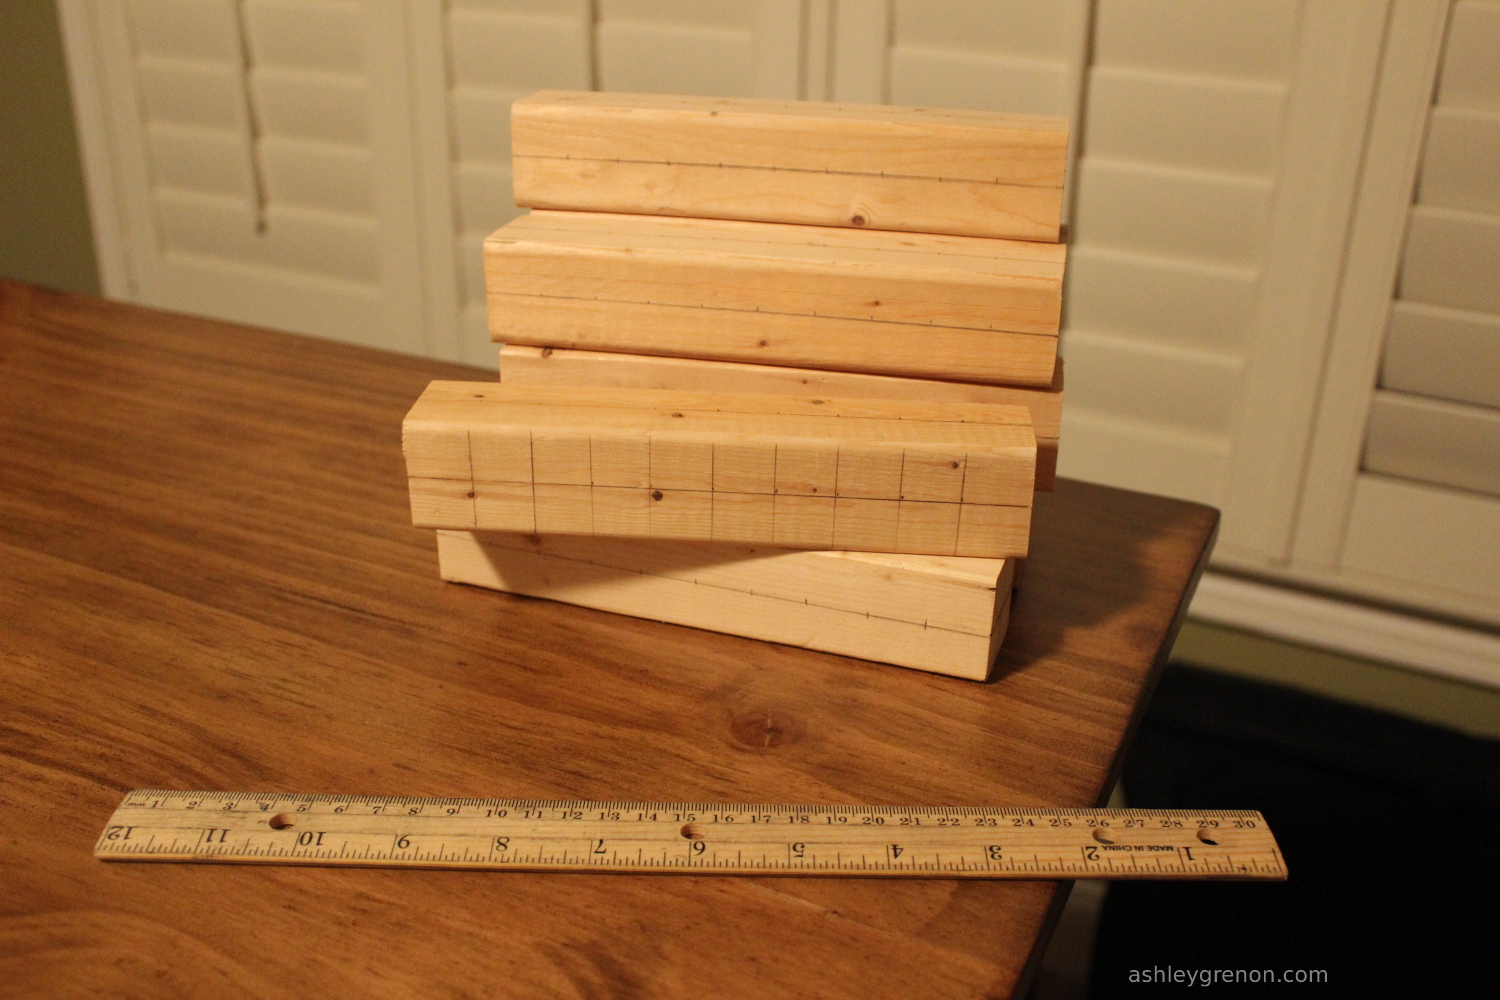
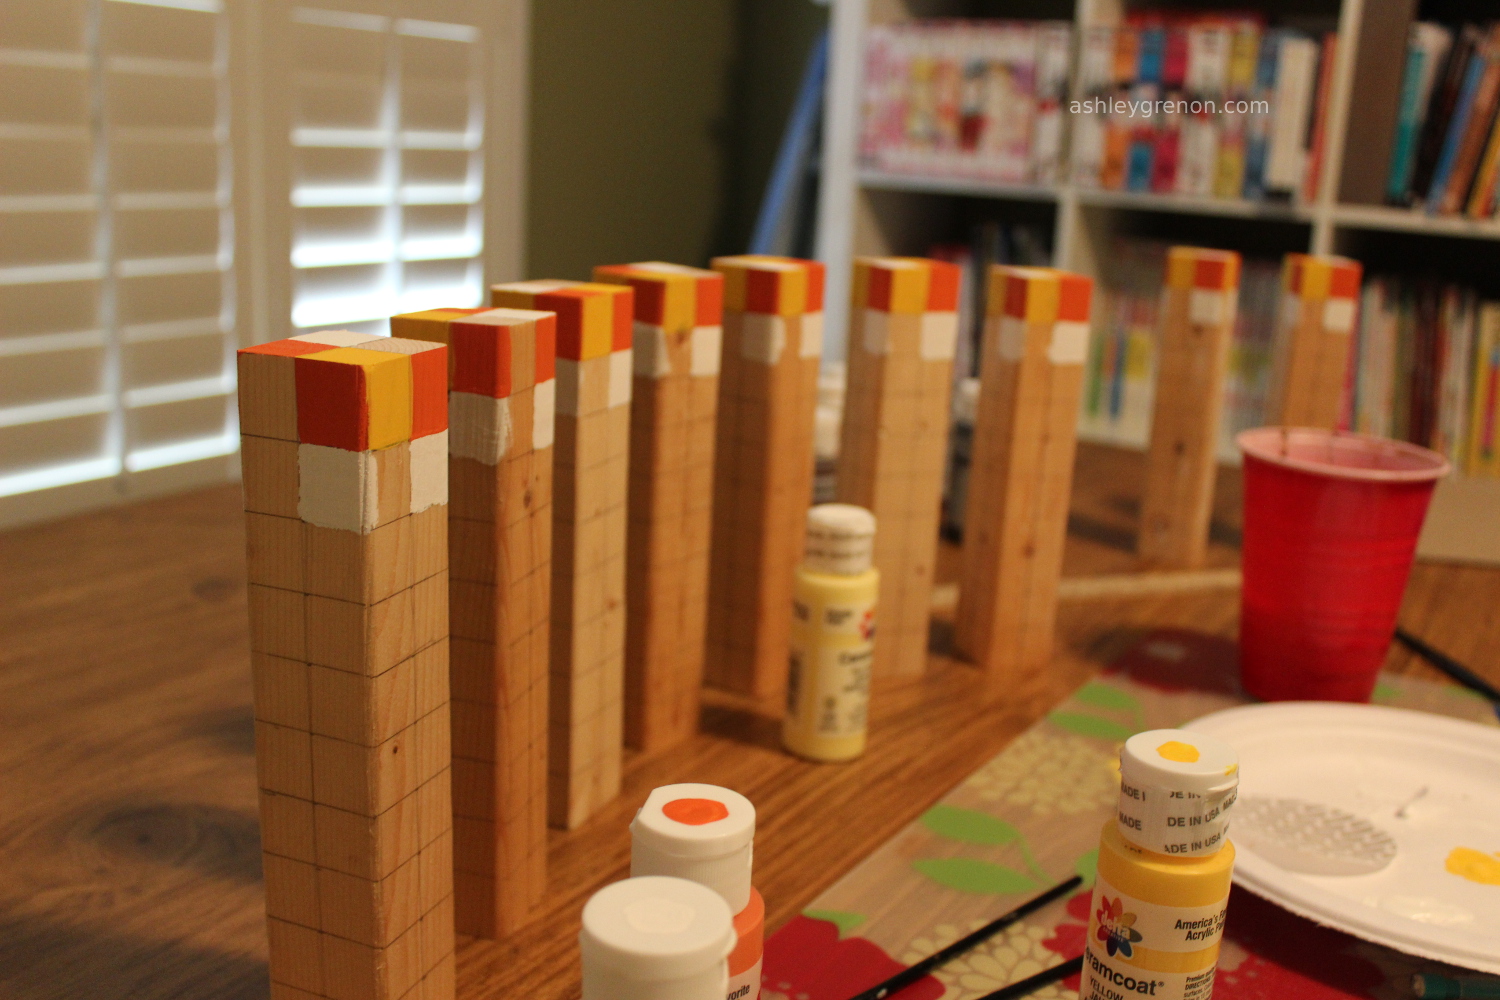
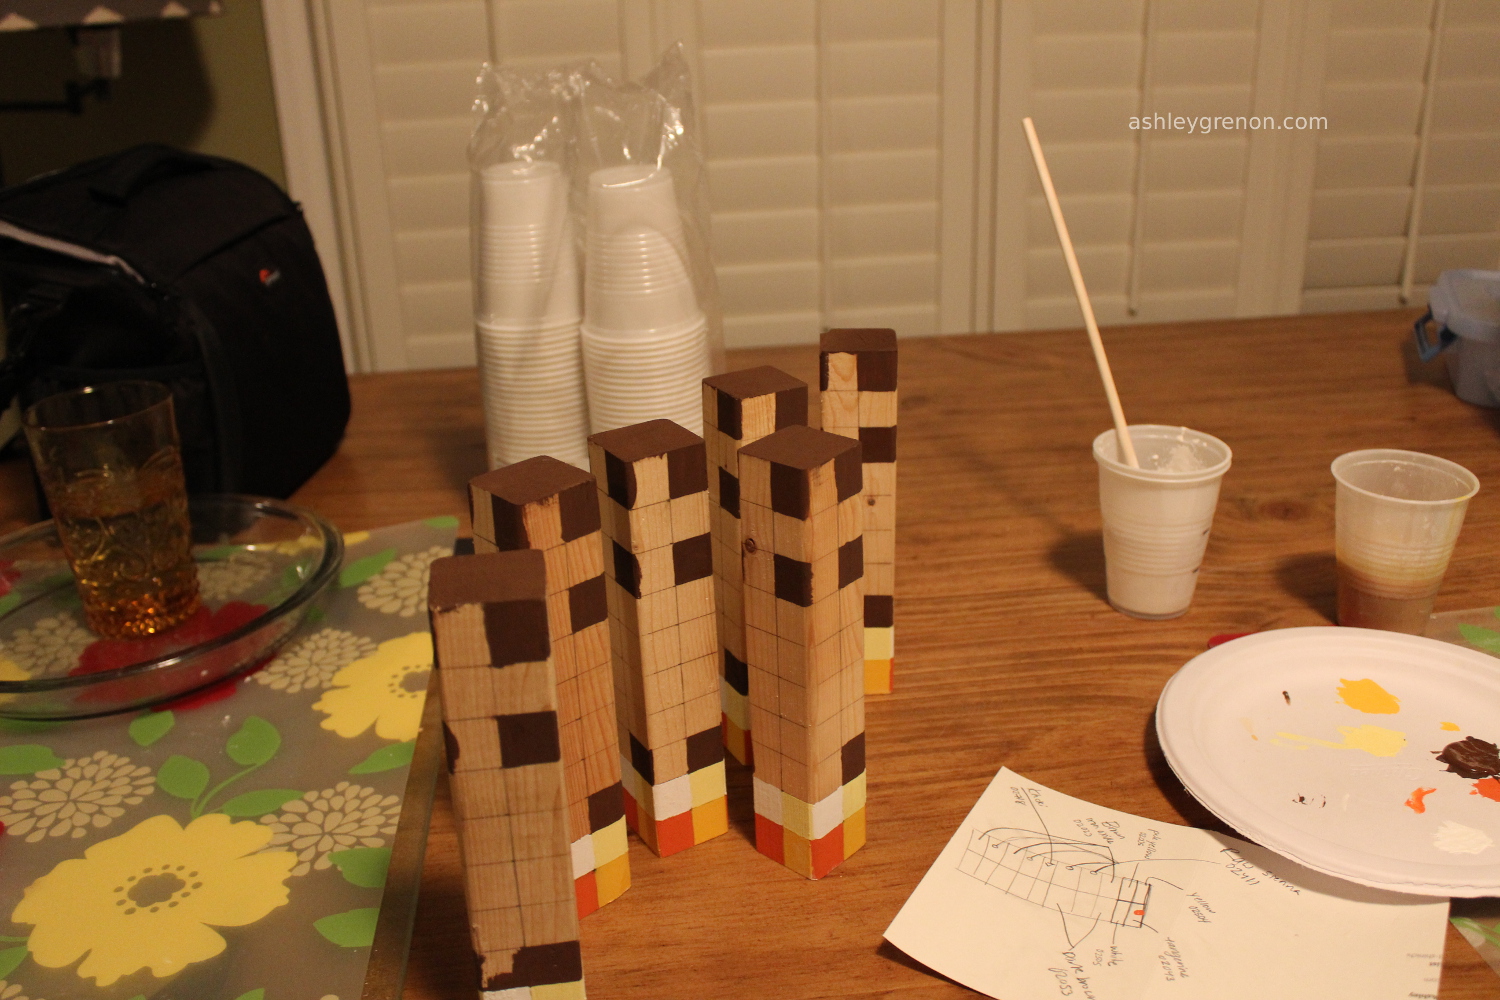
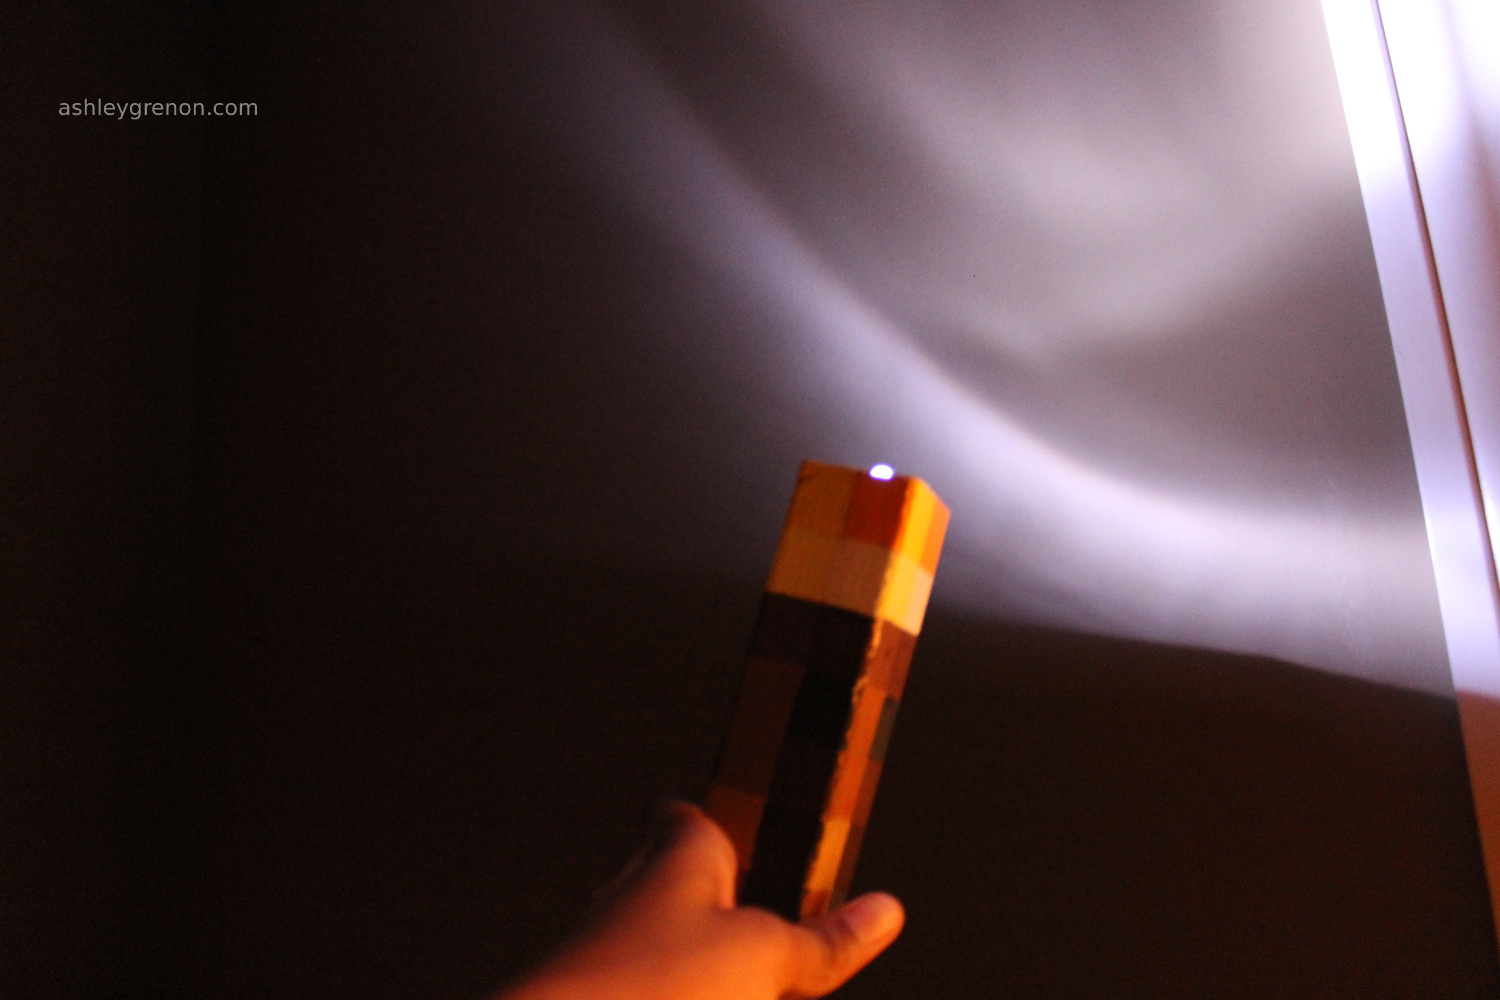
My favorite 7 year old recently had a Minecraft themed birthday party. For party favors, I made Minecraft torches from a 2×2 board. Painting each pixel of the torch was an incredibly time consuming process. This is definitely not a project you want to procrastinate on. I would budget two hours per a torch. The torches are 1.5″ wide and 7.5″ tall. The scale for the pixels is 0.75 inches. I am pretty happy with how the torches came out. It is a great way to use leftover 2×2 boards in the garage and a neat treat for fans of the game.
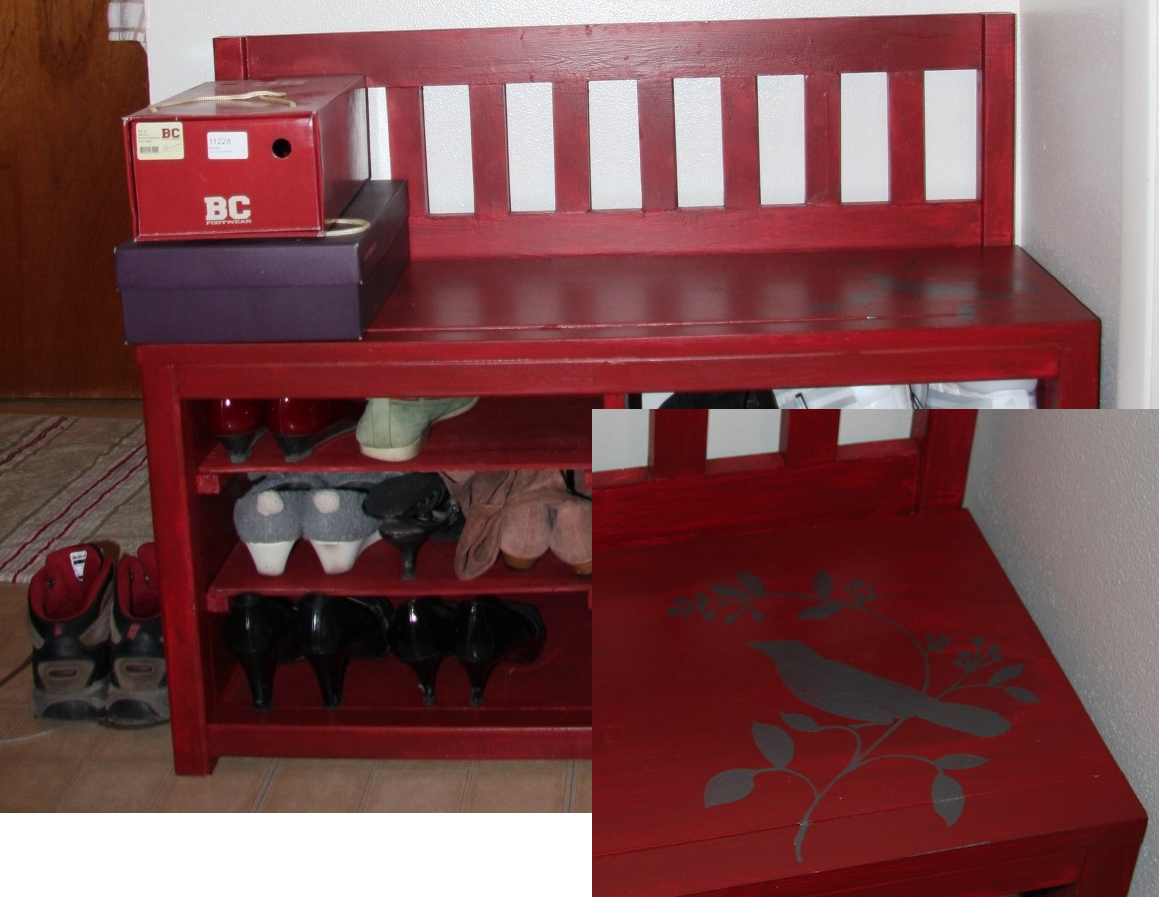
Only slightly modified cottage bench - I made the storage area bigger and added shelves to put my shoes. Only my second project so it's not perfect (especially the paint job) but I loooove it! Sure, the shoe rack I had was perfectly functional and bigger, but this is waaay prettier.


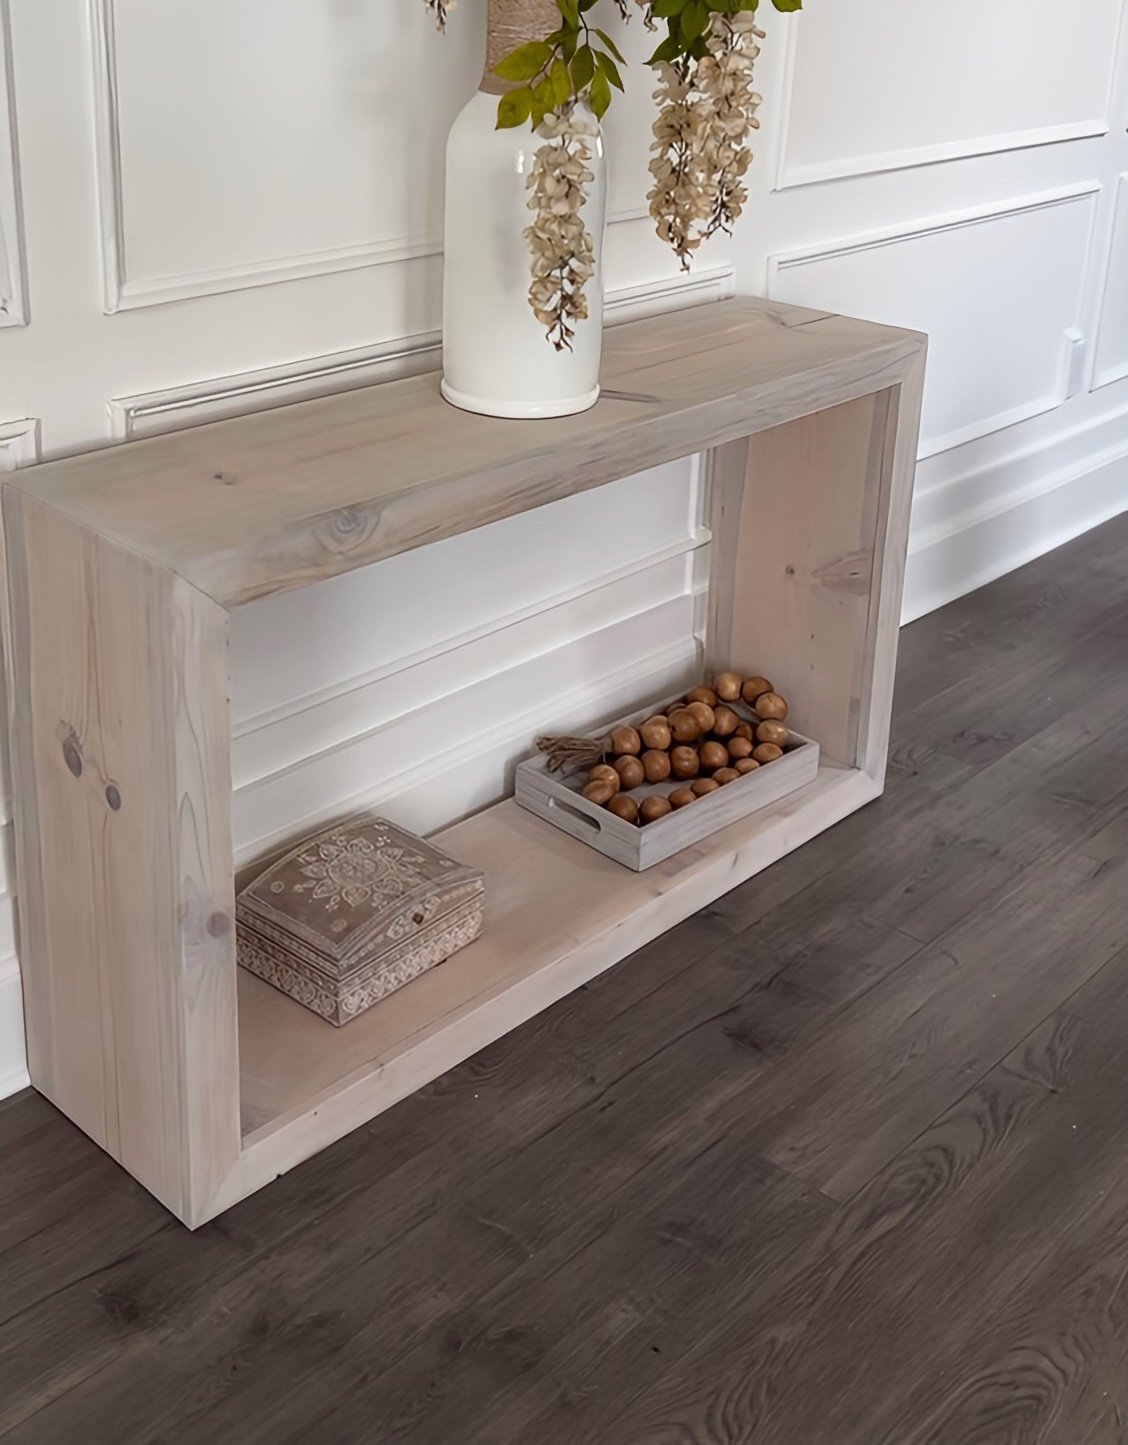
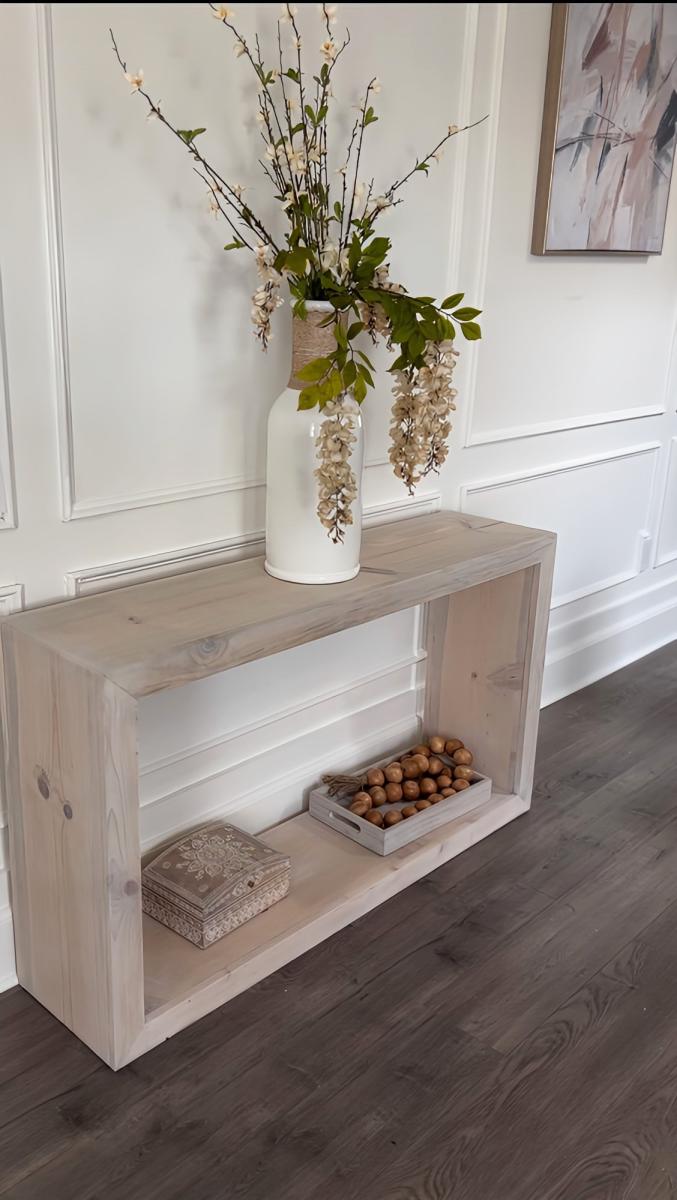
I used a combined/modified version of the Logan and Kristen's modified version as well. The opening in the middle houses the mirror currently, but was designed to fit a 27" flat panel tv when Ceira is older (maybe, LOL). I used regular pine to build it. I built it in two pieces (top and bottom). I couldn't put a back on it, as the heater (baseboard) is there, as well as outlets, and I didn't want to have to move either one. I adjusted the top portion to be slightly wider to cover the distance between the wall and the base bookshelves. This actually worked out well, as when we do eventually install a tv, we will be able to install and hide the wiring easily, and without having to add/move electrical outlets. I made sure to attach the shelves to the studs behind the wall as I am convinced some child, at some point will attempt to climb them. :)
Things I learned from this project - paint BEFORE assembling. This was a huge pain to get inside all of the upper shelves after it was already installed. Also - I hadn't had the carpeting installed at the time I built the shelves (it came about 2 weeks later). Make sure you either do your flooring first, or keep enough scrap flooring to cover the space behind the bottom shelves and under the radiator. Fortunately, I had enough (this time).

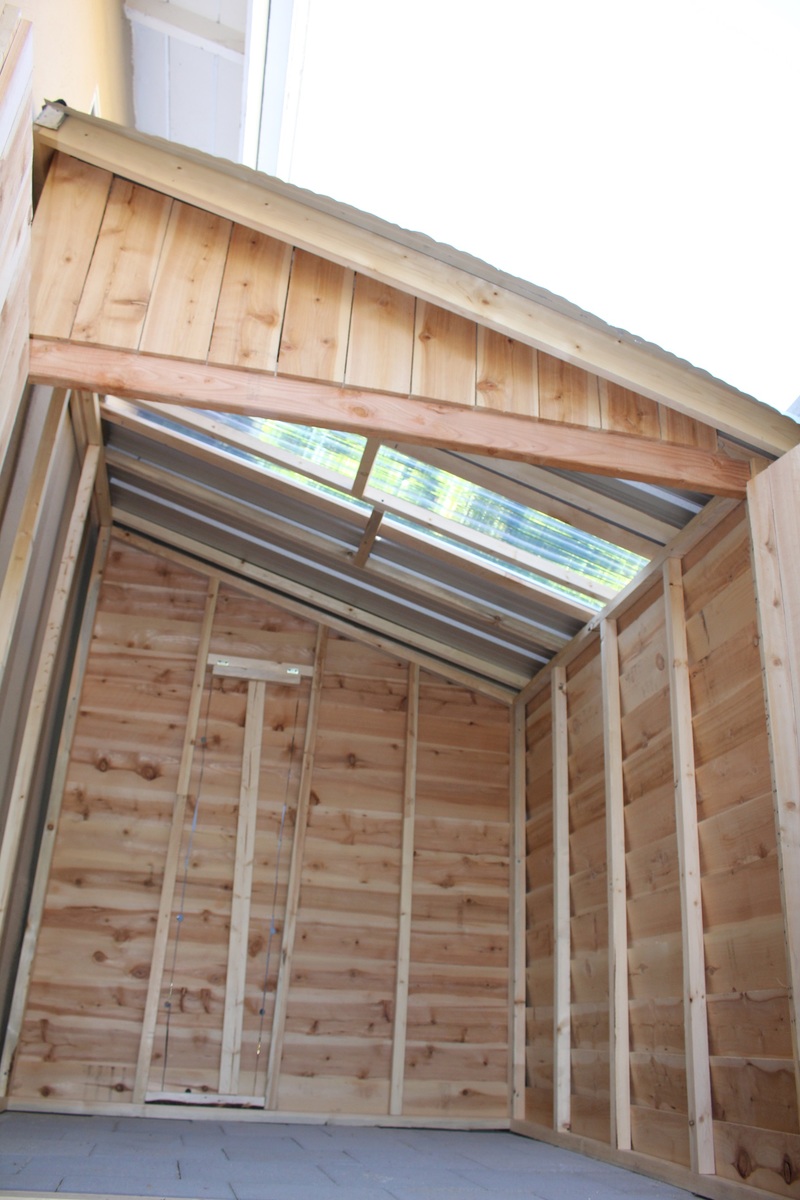
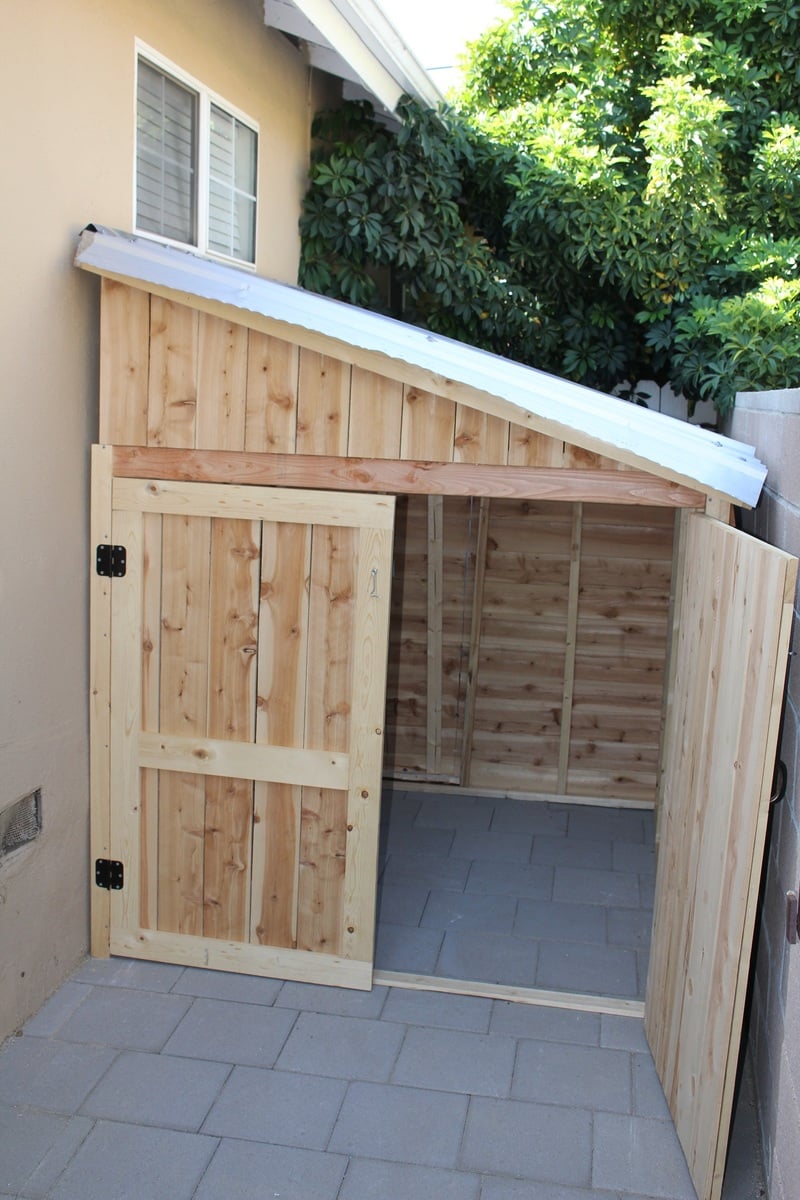
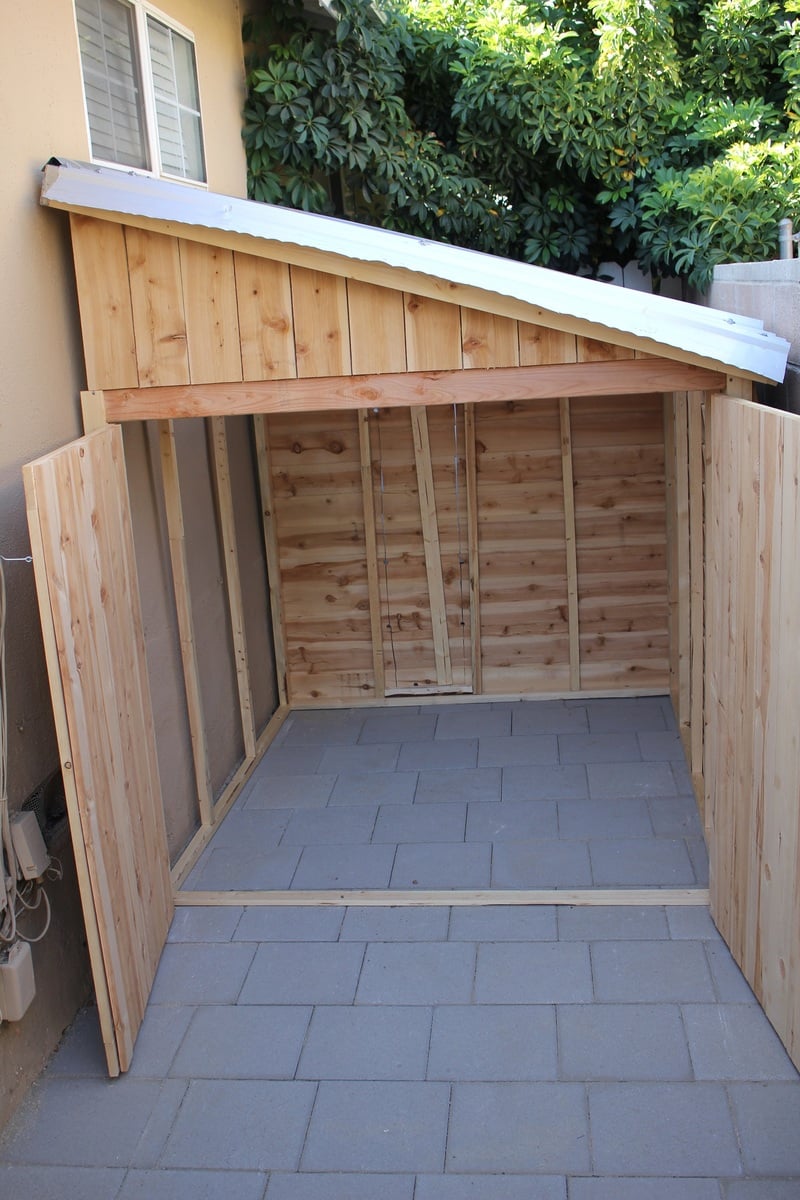
Needed a shed to store bikes and mowers, etc, so I'd have more room in the woodshop : ) I made a lot of modifications to the plan to fit my space and make it much larger. The completed size is 7 foot tall at the peak, 6 feet deep and 5.5 feet wide. I made it as a 3 sided shed, using the wall as the 4th to save on cost, increase air flow, and make the exterior house wall accessible. I also made an egress in the back of the shed in order to get behind the shed if needed.
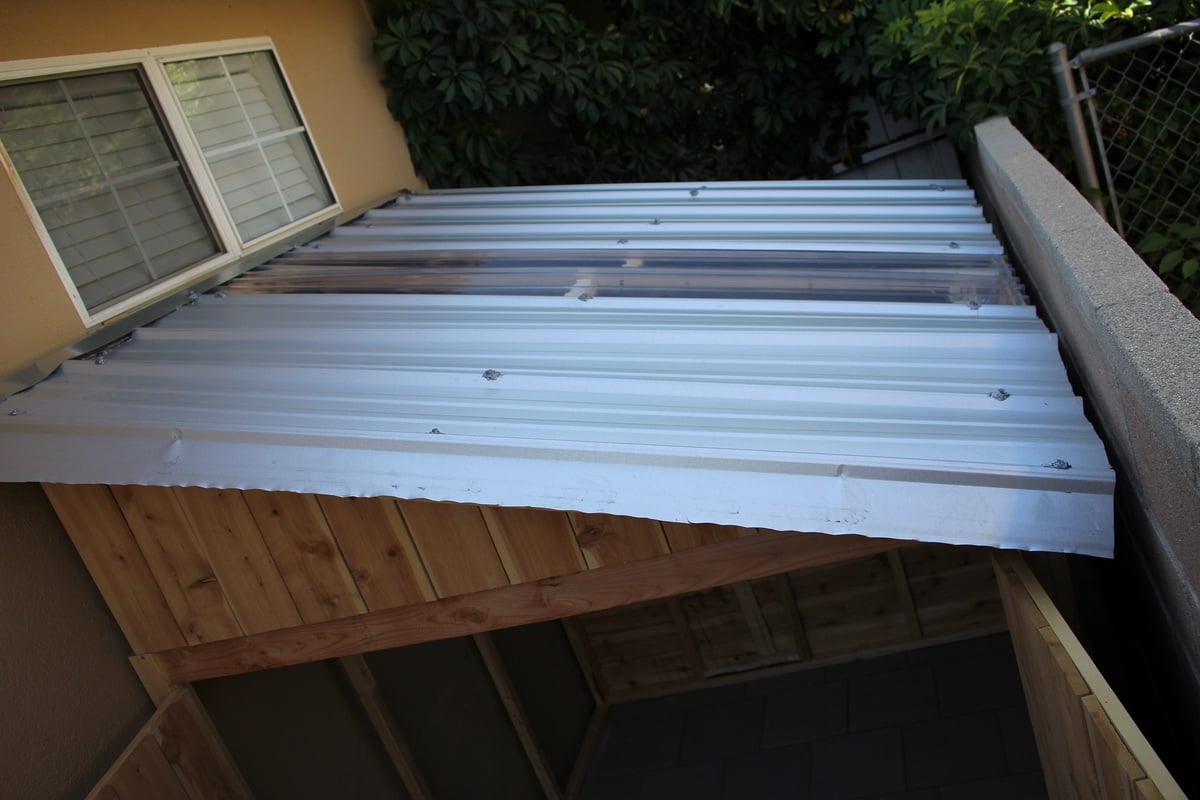
Instead of roofing shingles, I opted for ribbed metal sheets and one clear sheet in the middle to make a skylight, so there would be light in the shed. This is my favorite part of the project. It was a huge pain to attach the roofing from a ladder with very limited access, but it looks great and I love the light coming in. We have very little rain in CA, so I'll have to wait until winter/rainy season in order to test out its waterproofing.
Since the shed sits between the house and the neighbors block wall fence, and I wanted to use as much of the space as I could, I decided to design the shed to have the side wall against the house rather than the back wall, as shown in the plan. This took a large amount of modifications, but with careful planning and measuring, it can be done. This also meant blocking off access to behind the shed, so I cut an egress in the back wall and added hinges so you can lift the back cut out panel, and rest it on a stop block attached to the fence behind it in order to have access. That's what woodworking is about- problem solving. Love it.
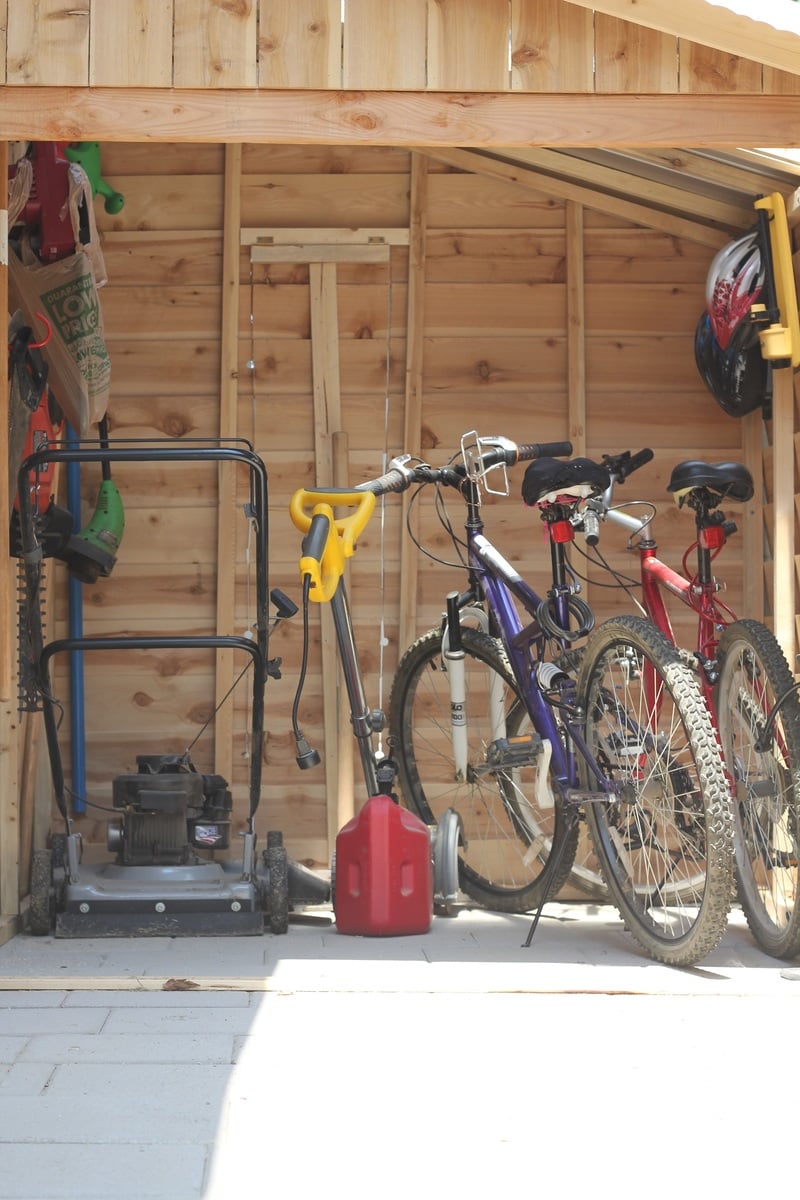
As you can see by the full shed picture, it fits a large amount of stuff- 2 adult bikes, mower, edger, trimmer, chainsaw, hedge trimmer, garden tools, shovels, etc, with plenty of room for more. I now have a free corner in my garage that I've already filled with a DIY rolling workbench and more pegboard space for tool hanging. Woodshop increased space= happy Brittany.
I should also mention that building the frame and adding the pickets was quite a quick and easy job. The hardest and most time consuming part was the roof (I didn't have metal cutting tools), rolling each very heavy wall to the site (I was alone) and the previous 2 weeks in which I built the paver patio the shed sits on. Hard work, but worth it. I love it!
Thu, 08/20/2015 - 05:56
And for under $300! Nice touch with the skylight also. Two thumbs up.

In reply to This is awesome! by Cross35
Thu, 08/20/2015 - 09:42
Thank you! I'm very pleased with how it turned out!
Mon, 04/27/2020 - 10:28
SWEET!!! What a great use of space! That skylight was a brilliant idea. No lights needed to see what you need to get at in there. Well done!
In reply to SWEET!!! What a great use… by carewarner
Mon, 01/25/2021 - 13:15
It has been incredibly useful for storing! One thing about the skylight- Over time the sun has warped it and there is now a hole and crack there. So I wouldn't plan on the clear roofing being a long term solution- I will be replacing it with either thicker clear roofing or 2 layers.
Wed, 05/06/2020 - 13:15
Love the design and space saver idea, brilliant! How can I get the dimensions? Tks
In reply to Love the design and space… by shed man
Mon, 01/25/2021 - 13:25
I just went out and measured- 6' wide and deep, 7' tall at its tallest point, tapering down to about 5' tall. Hope this helps!
In reply to Love this! by V2theicki
Mon, 01/25/2021 - 13:14
I based it off of this plan, but heavily modded it to fit our space. https://www.ana-white.com/woodworking-projects/small-cedar-shed
Hope that helps!
Tue, 06/23/2020 - 20:26
This is exactly what I want to do for the side of my home , I also would love to get the plans for this .
In reply to This is exactly what I want… by ajg1972
Mon, 01/25/2021 - 13:16
I used Ana's plans here, but heavily modded it to fit my space: https://www.ana-white.com/woodworking-projects/small-cedar-shed
Sun, 02/21/2021 - 09:39
Did you use cedar pickets?
And what did you use for the roofing material?
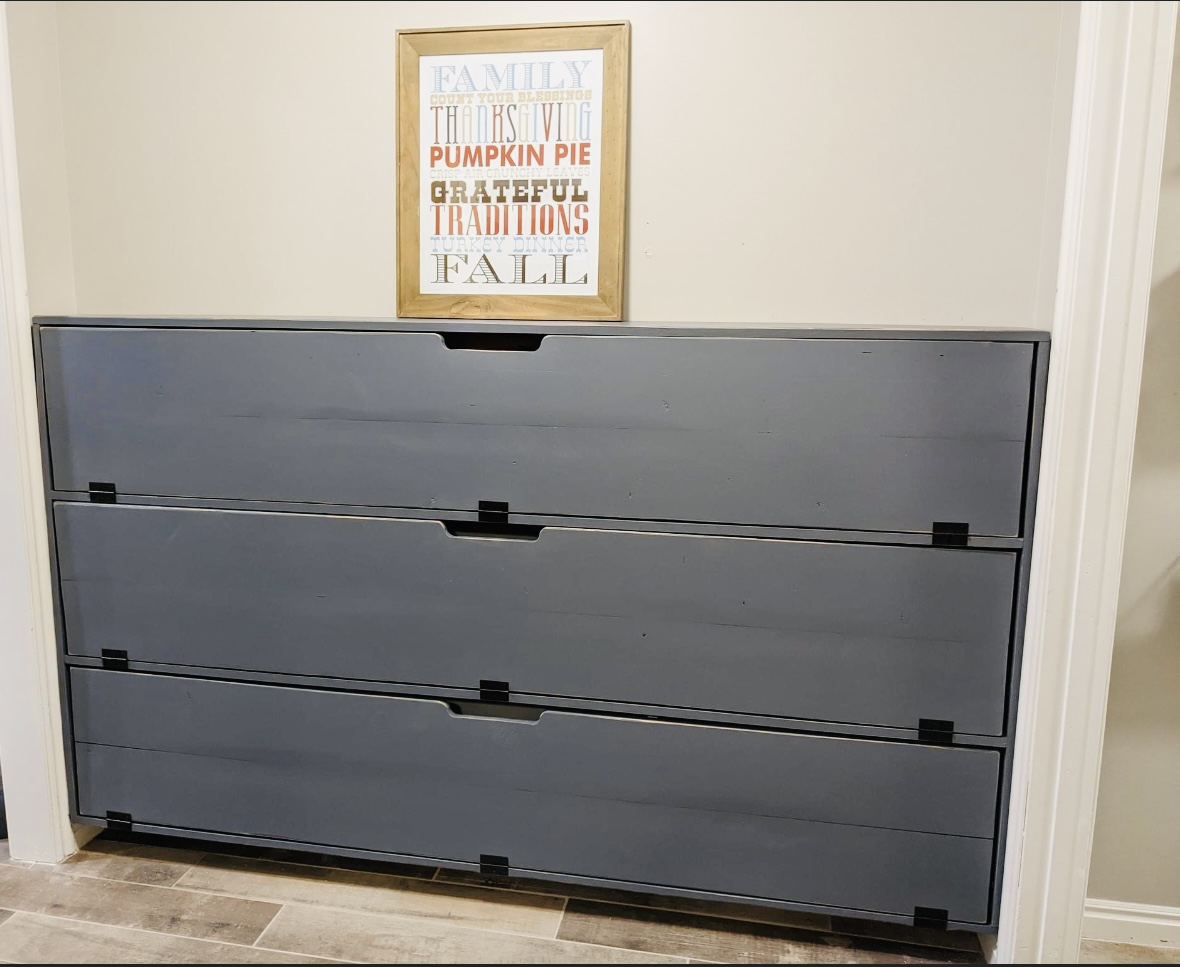
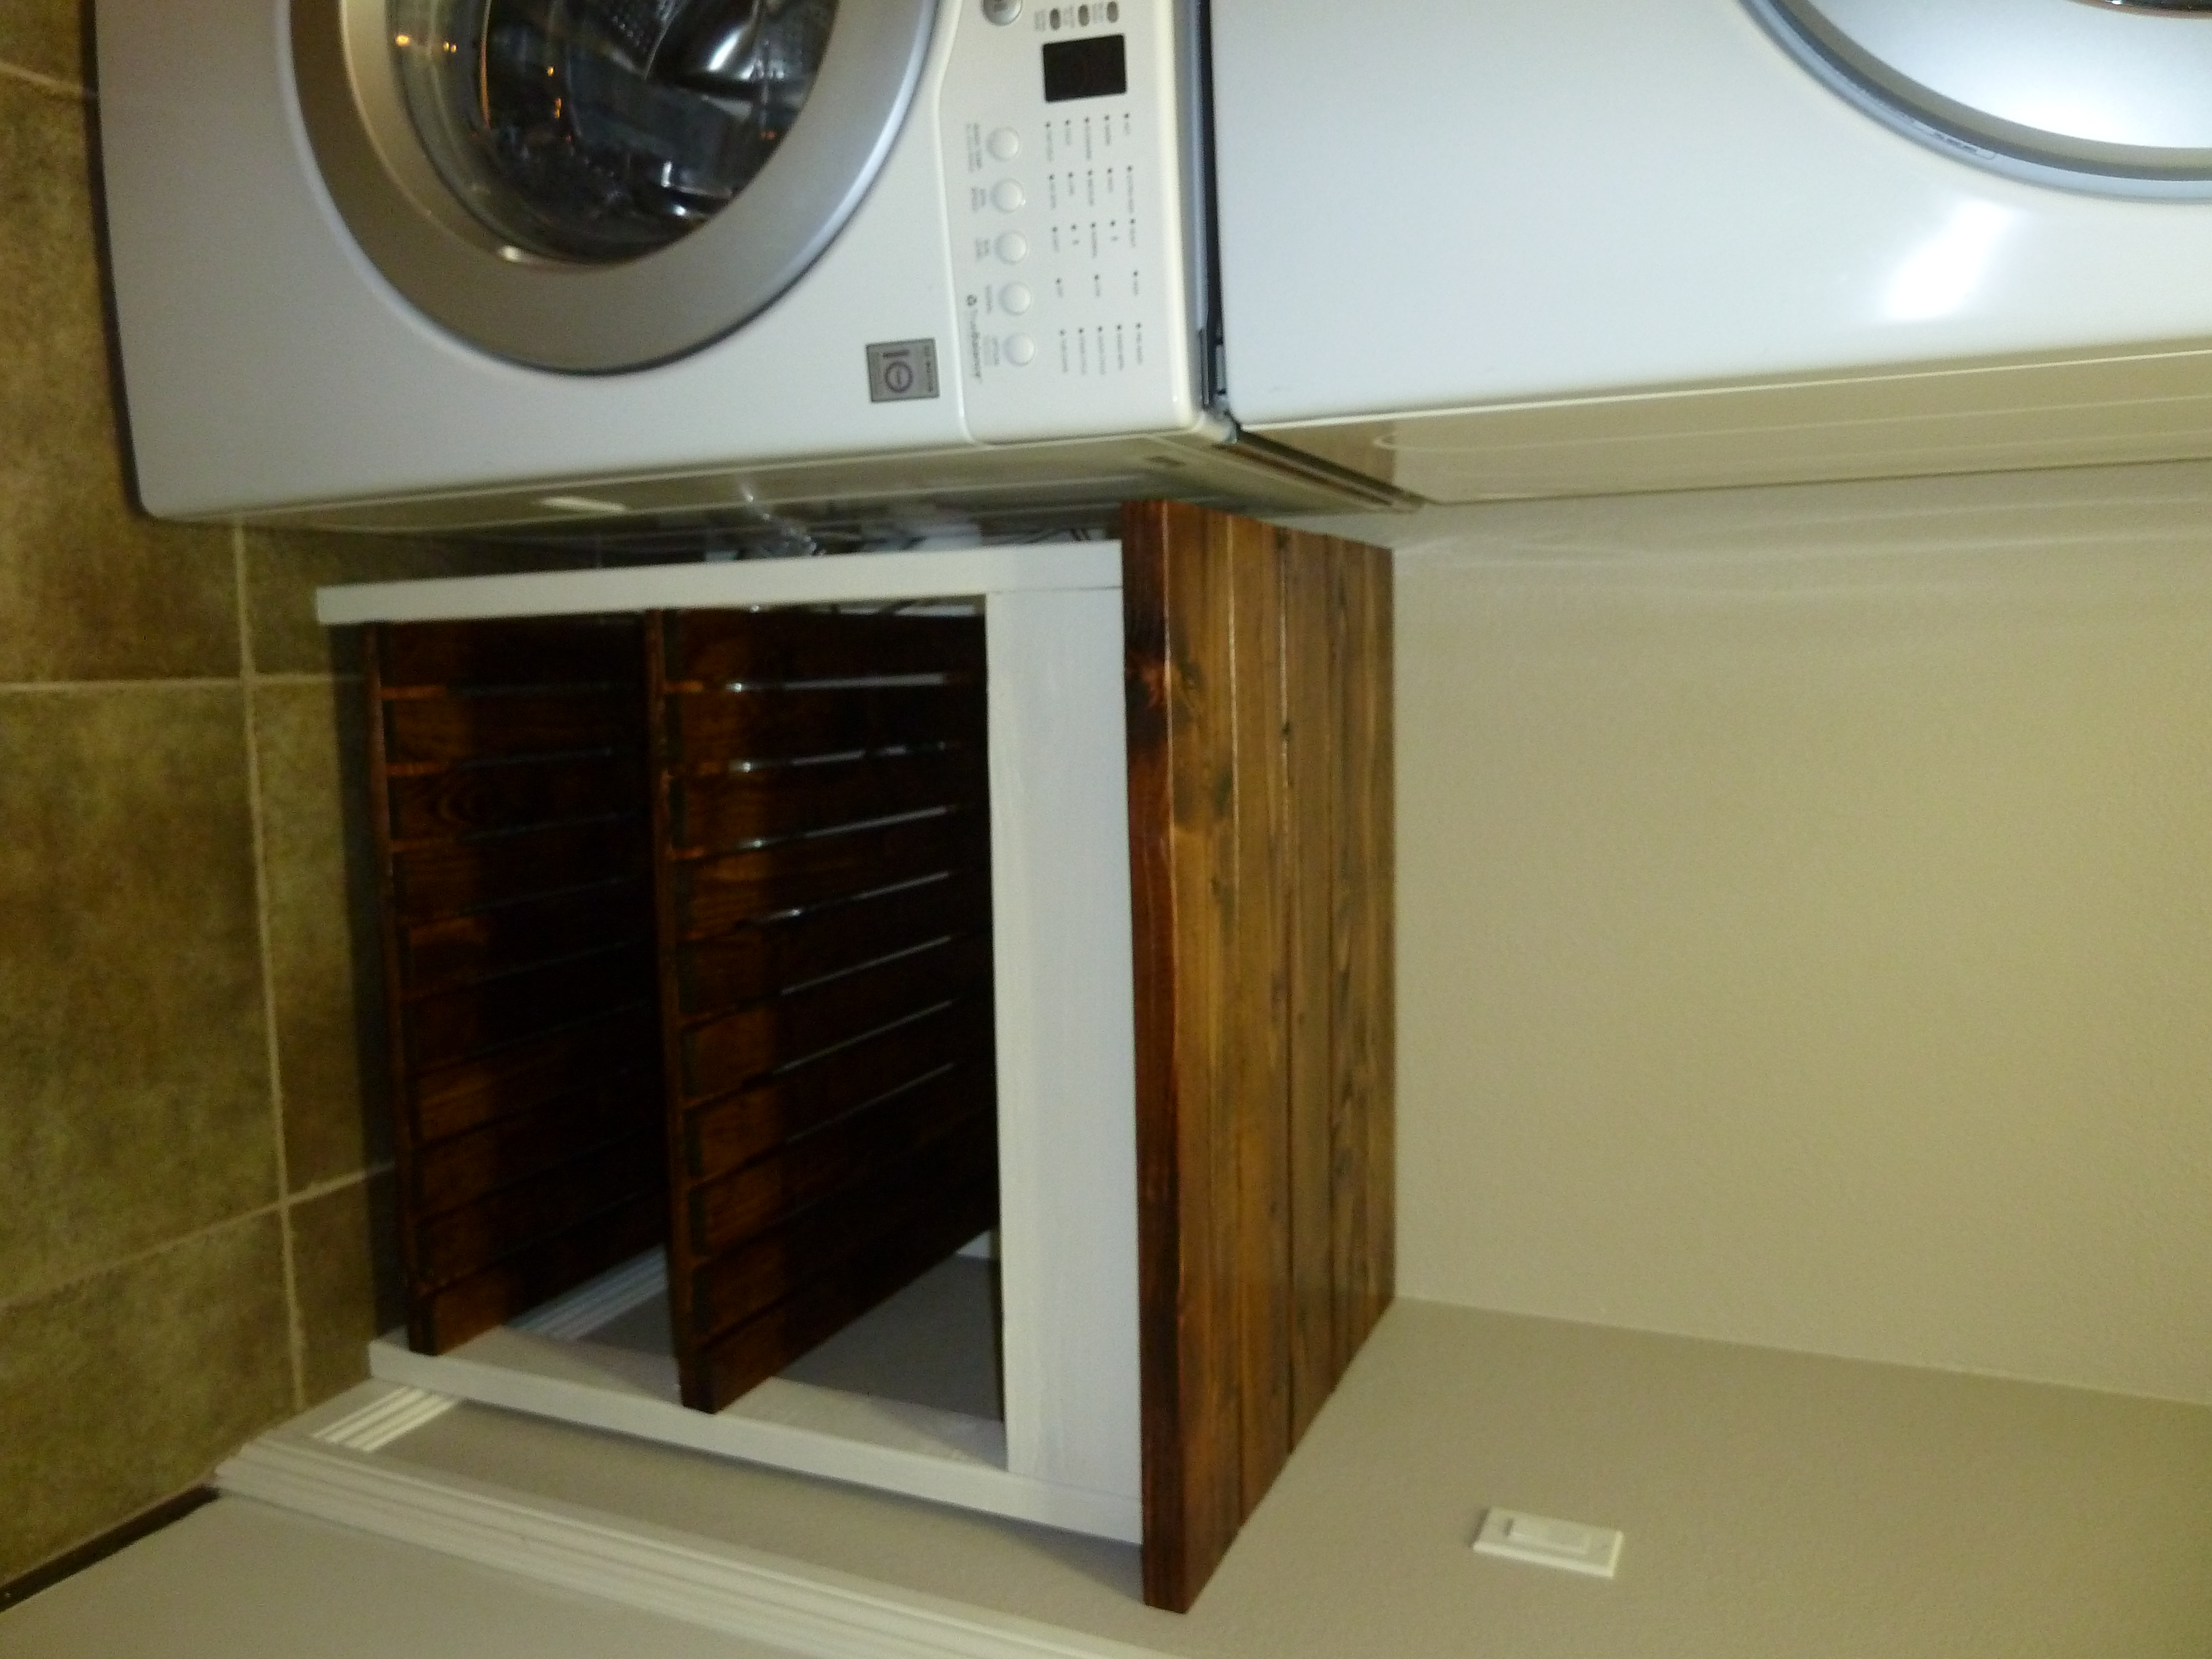
Modified the shoe dresser dimensions to fit the space.
Built by Janae
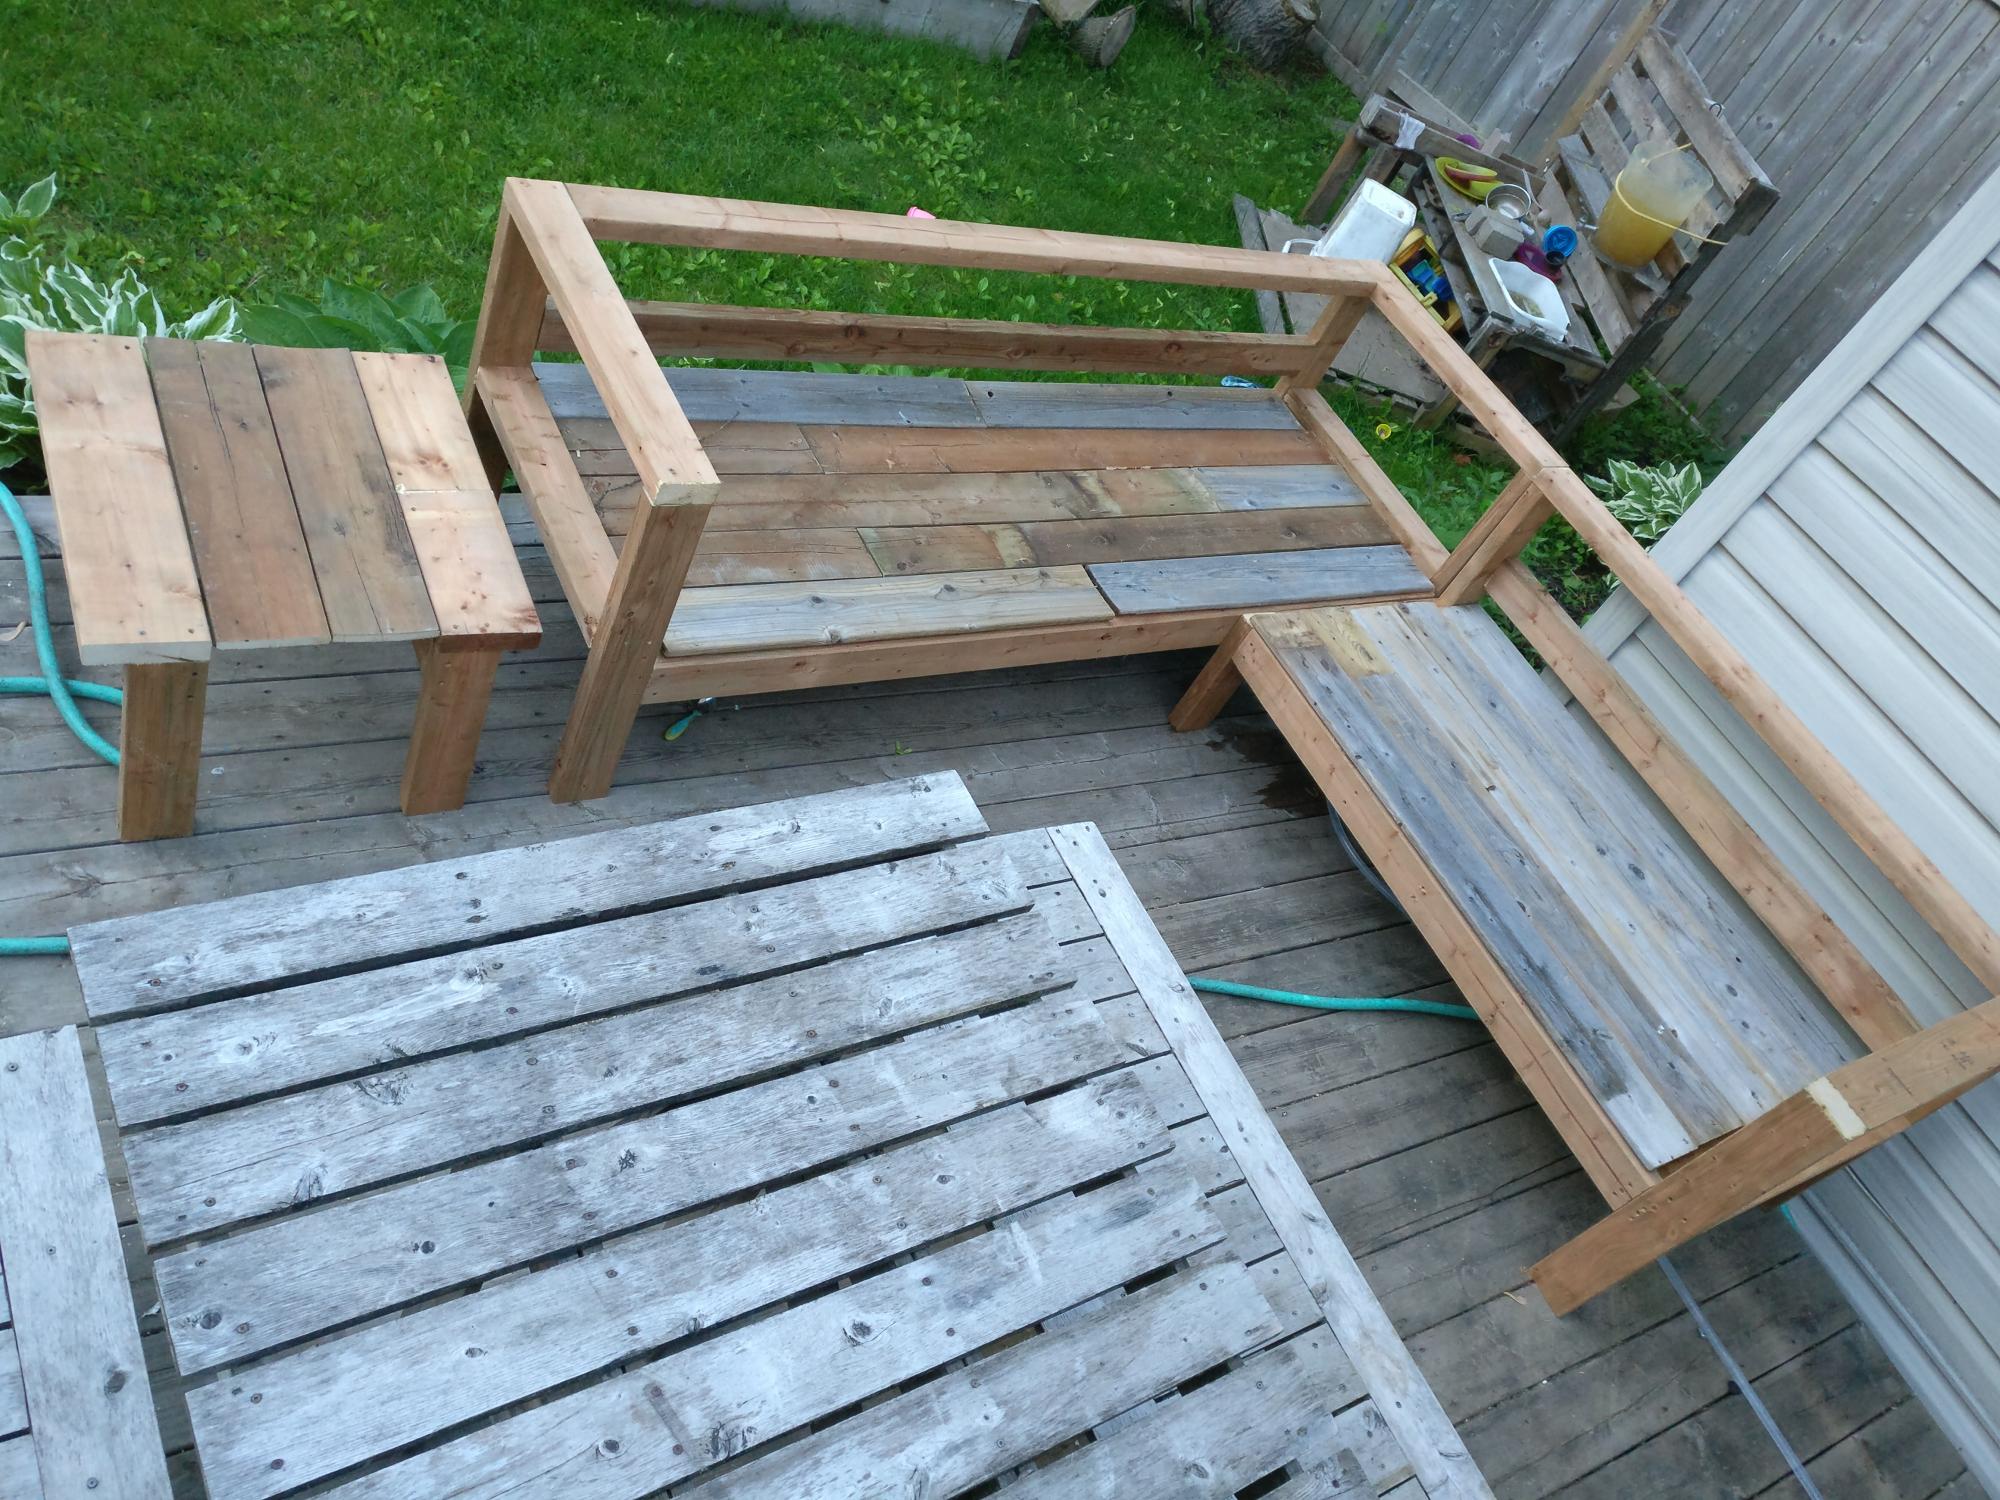
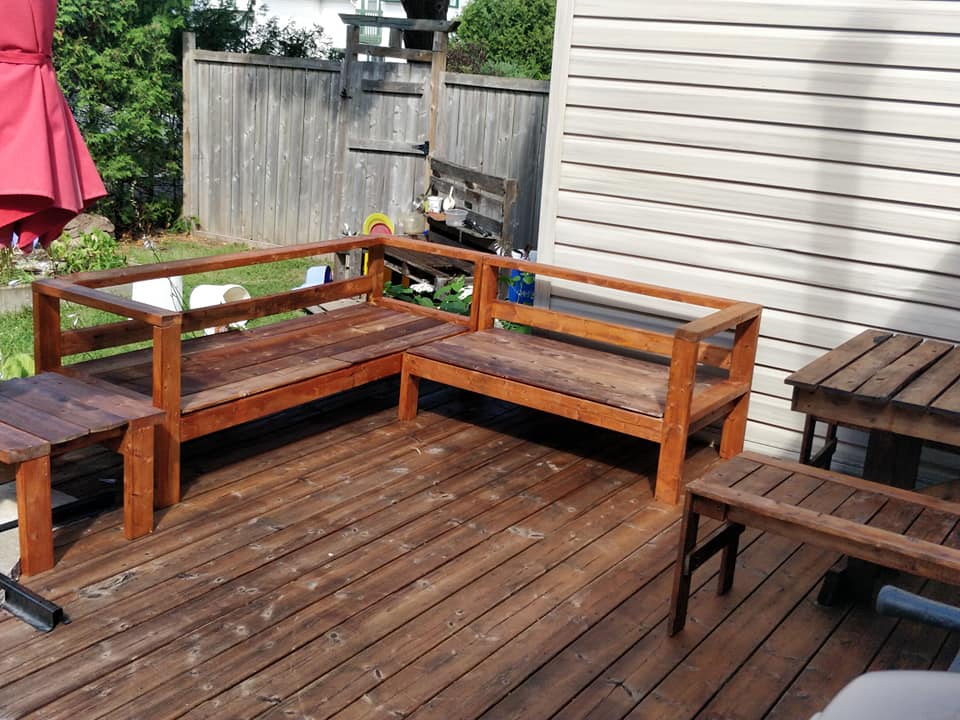
Bought enough lumber for one sofa but ended up using old fence boards for the decking so had enough lumber to make the sectional and a shortened coffee table.
Great way to save some cash even if u have to buy the fence posts.
Added a reinforcing piece to the one armed sofa between the legs using a kreg jig to stabilize the legs a bit more.
Waiting on my foam from Amazon to finish off this project!
Used inspiration from the beer/wine cooler patio table and made the middle of the table removable to add a buck underneath later.
Note the 5 year old patio set, also an ana white project from back in the day!
Super quick build!
I did find that the measurements for customizing it for your cushion size seemed about 1.5 inches too big for all the depth pieces so I sized down but I haven't received my foam yet so maybe I'm wrong but Smth to think about. I didn't want my cushions to slide around so I took that into consideration when building.

I made this Brookstone headboard (and then made up a bed frame). Total cost for headboard was $30. This is my 3 year old son's big boy bed, and I love it! For the stain I used Minwax water-based, clear tint base, with some black in it.


Thu, 04/26/2012 - 10:26
That's a great looking bed. Love the style and the finish on it.
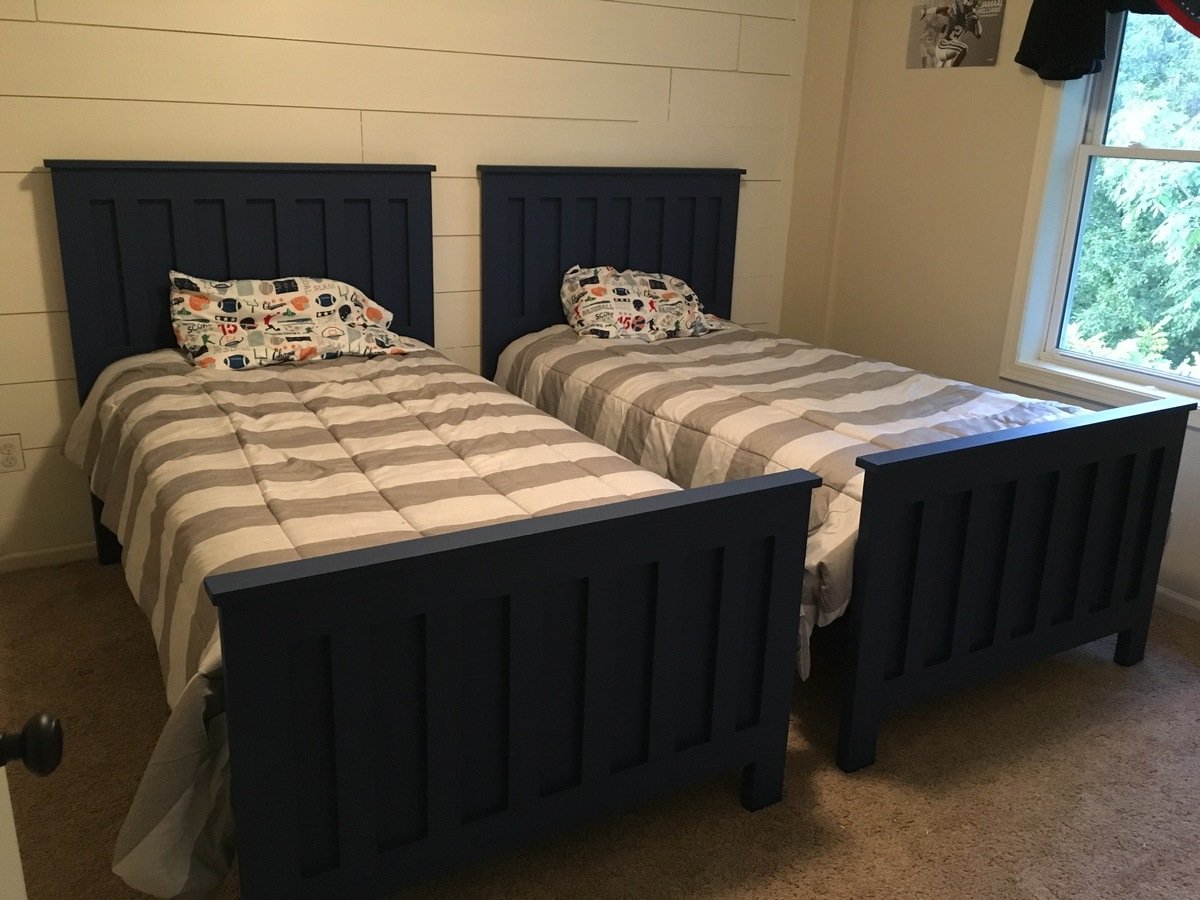
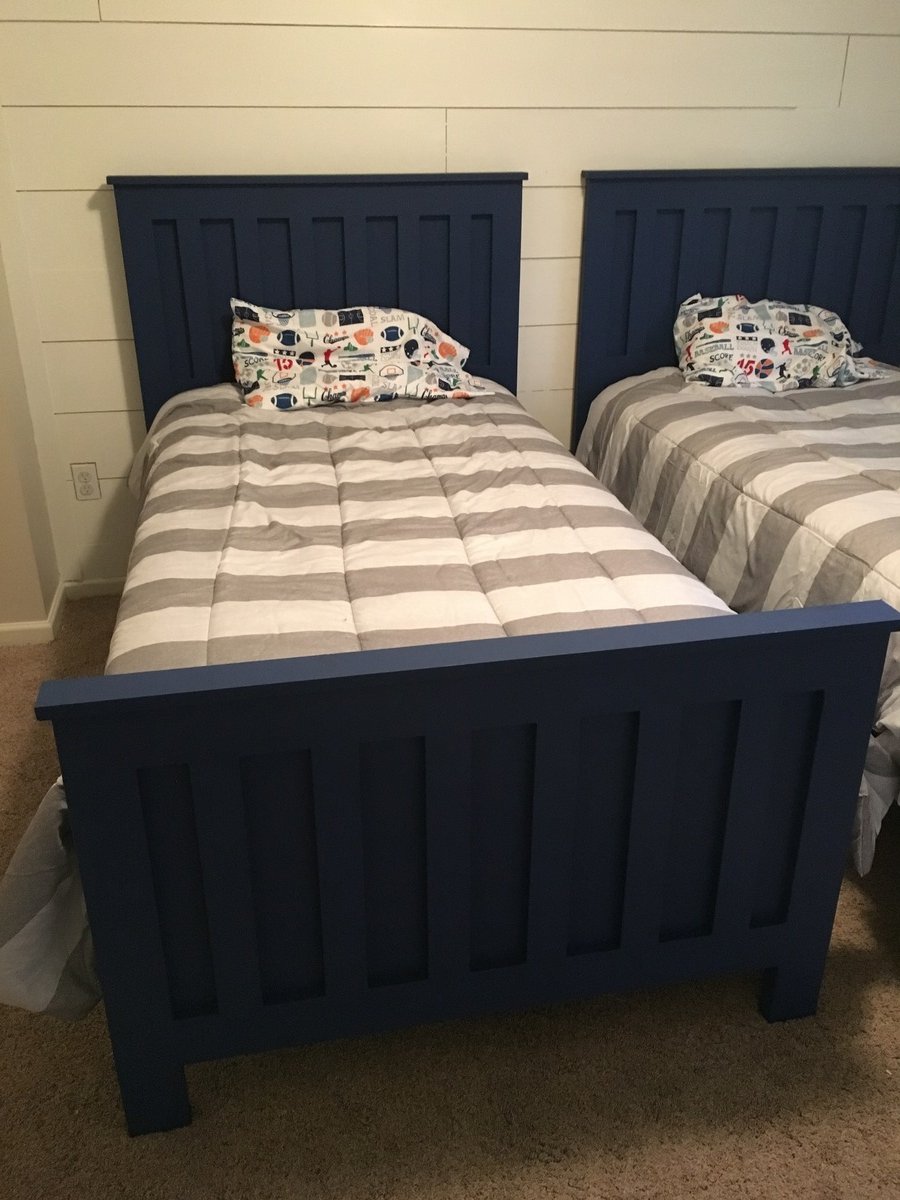
I made twin beds for my boys. It was the first time making furniture. It was a pretty easy plan to follow. Lowes did all my cuts for me so I didn't even need to find a saw.
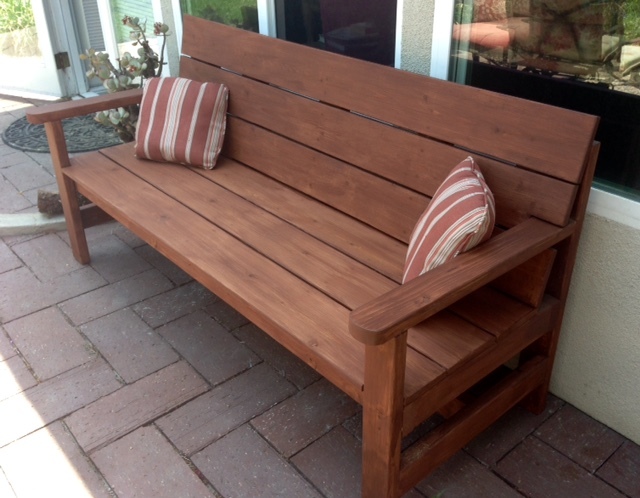
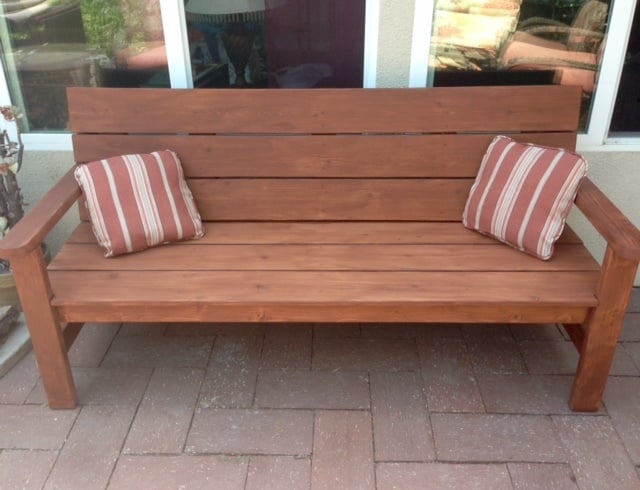
Great plans! I modified the bench by adding a slanted back (which enabled me to put the slats closer together), extending and curving the front of the arms and extended the seat to the outside of the legs.

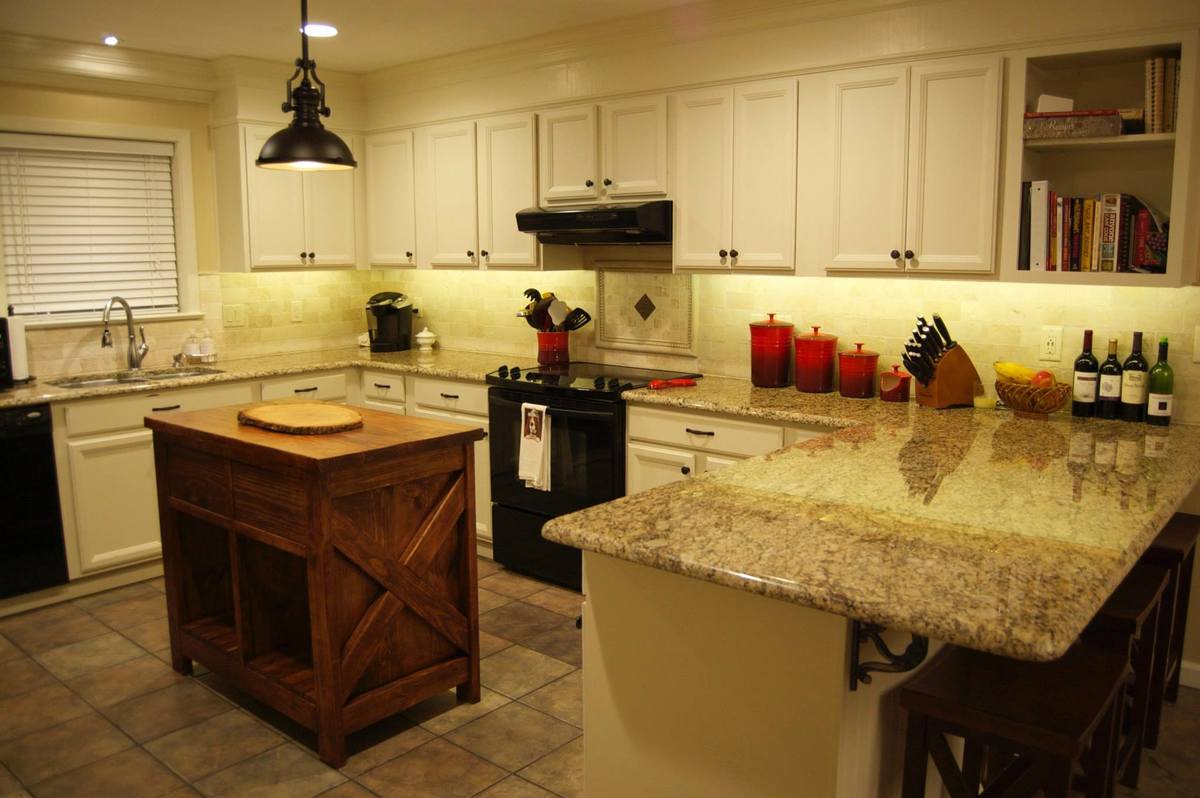
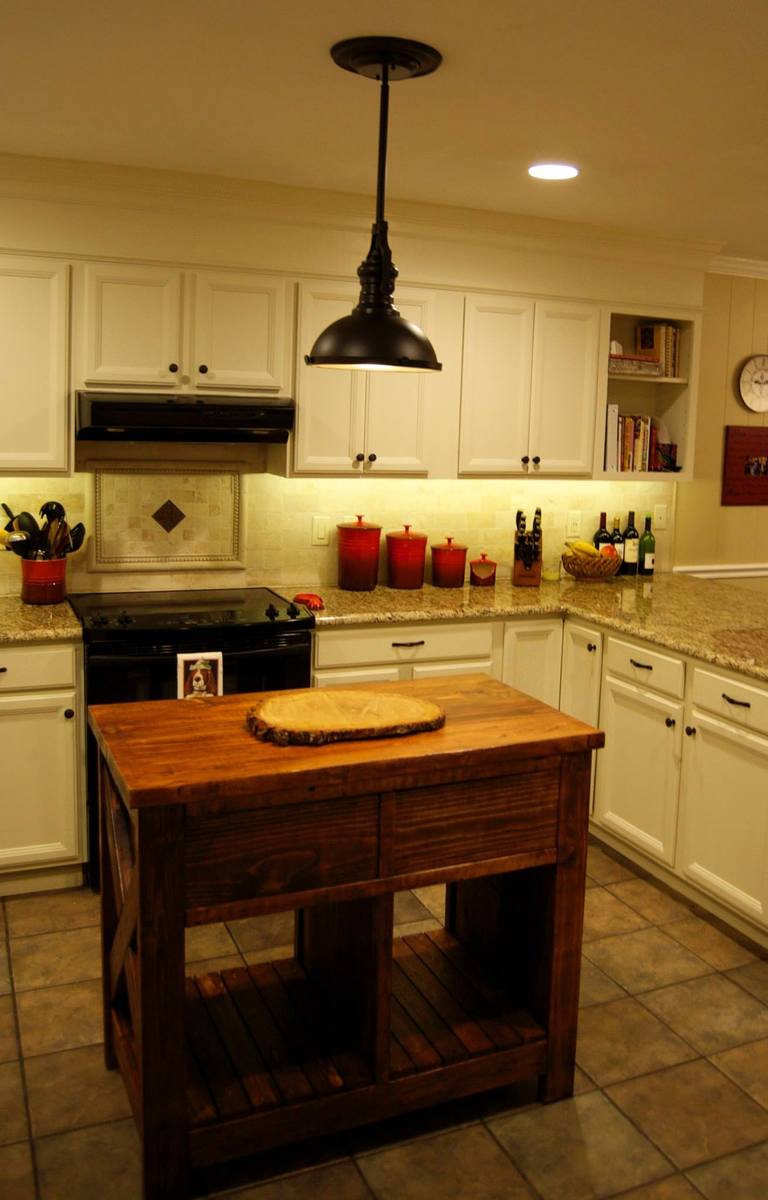
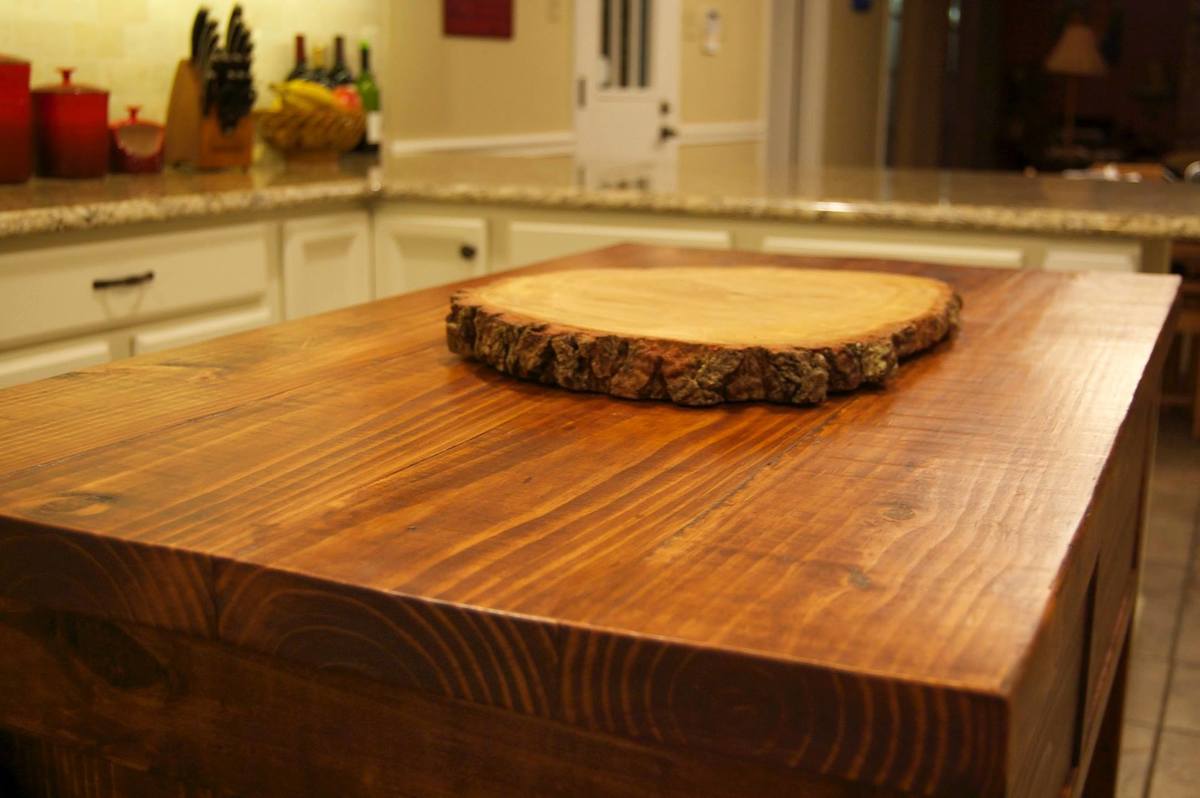
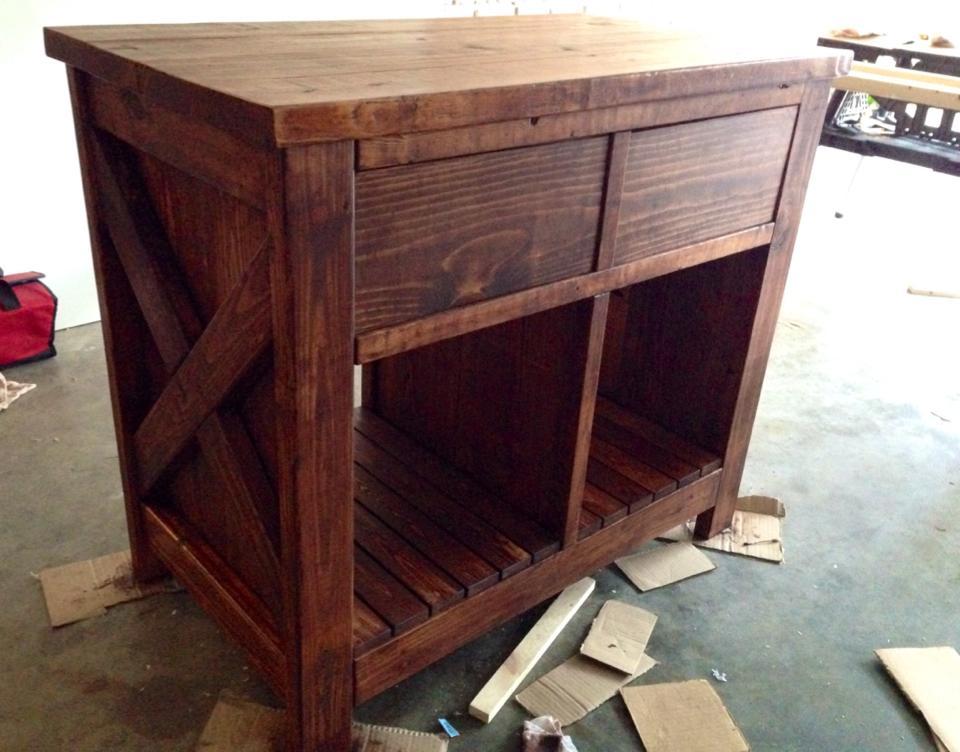
This is a my take on the Rustic X Kitchen Island. I couldn't find an island that was the right size for my space, so I modified this plan to fit. It is 24x42. I built the slat shelves, drawers, and side boards to go the full width of the piece. I also made the top by ripping 2x8's, and joining them with Kreg pocket holes and wood glue. Instead of using casters, I just cut the legs a little bit longer. This thing is pretty heavy and does not move. After it was in use, I added some additional 12" deep shelves. I finished it by hand rubbing with General Finishes Gel Stain in Brown Mahogany and their Gel Topcoat.


I wanted a good flat and level workspace to continue projects. This workbench folds up to the wall in my garage so I can still park when not working on anything. I made it pretty stout with 2x4s and 2x6s since it would need to support fairly large pieces of furniture without deflecting. It is very heavy as a result though (good core workout folding it up and down :) )
I used two folding shelf brackets on the legs to keep them from accidentally being kicked out from under the table while it's out. (http://www.woodcraft.com/Product/2001690/2615/Folding-Shelf-Bracket-8-P…)
I used four heavy strap hinges to connect the table to the 2x6 (which was lag screwed into studs). Two gate latches were used to secure the edge of the table to studs when the table is folded up.
I cut the legs approximately, and then when the table was hung I cut and shimmed them to get the table level on the uneven surface of the garage floor.

Fri, 08/15/2014 - 16:32
I really like this fold up bench design. It may be heavy, but I bet it's incredibly sturdy. I also have a really compact garage. I have pegboard on my walls, so a bench that folds UP doesn't work for me when I want to get a tool.
My own bench is more light duty. It's a sheet of 2x4' plywood attached to a frame made from dimensional lumber. It folds down so I have access to the tools at all times. It's based on a design on the Family Handyman website, although you can find the same design all over the web.
Thu, 02/05/2015 - 18:50
Great idea! I need to build this. Can I please get a picture of it folded up, so I can see the hinges on the legs and the latches holding it while folded?
Fri, 11/06/2020 - 13:55
Can you show another picture of the hinges you used on the legs that can fold out when lowered?
Thanks! Kate
Turned out great! Instructions were very easy to follow. My first attempt at building a piece of "furniture".

I had a therapist that uses sand therapy asked to build this. It's all made of oak.


Mon, 03/24/2025 - 17:18
That sounds like a unique and meaningful project! Sand therapy can be a powerful tool in therapeutic settings, helping clients express emotions and process experiences in a non-verbal way. Building a sand therapy box from oak must have taken a lot of effort, but using a sturdy and natural material like that adds to the calming experience. Many therapy approaches, including those used by professionals at amae , incorporate creative and tactile methods to support emotional healing.

Lanterns for my sons wedding.


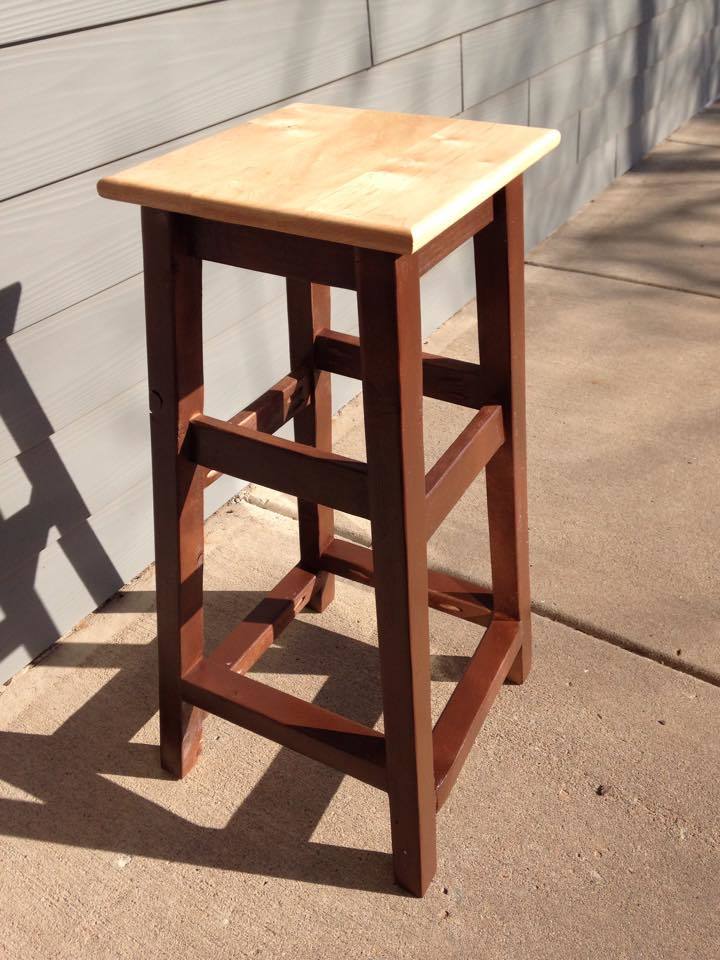
Ripped a 2x4 down the middle for the legs and bottom rungs, so custom 2x2s. 1x2s for the mid and top. Biscuit jointed and edge glued 12x12 Hard Maple Top. Glue and pocket hole joinery.