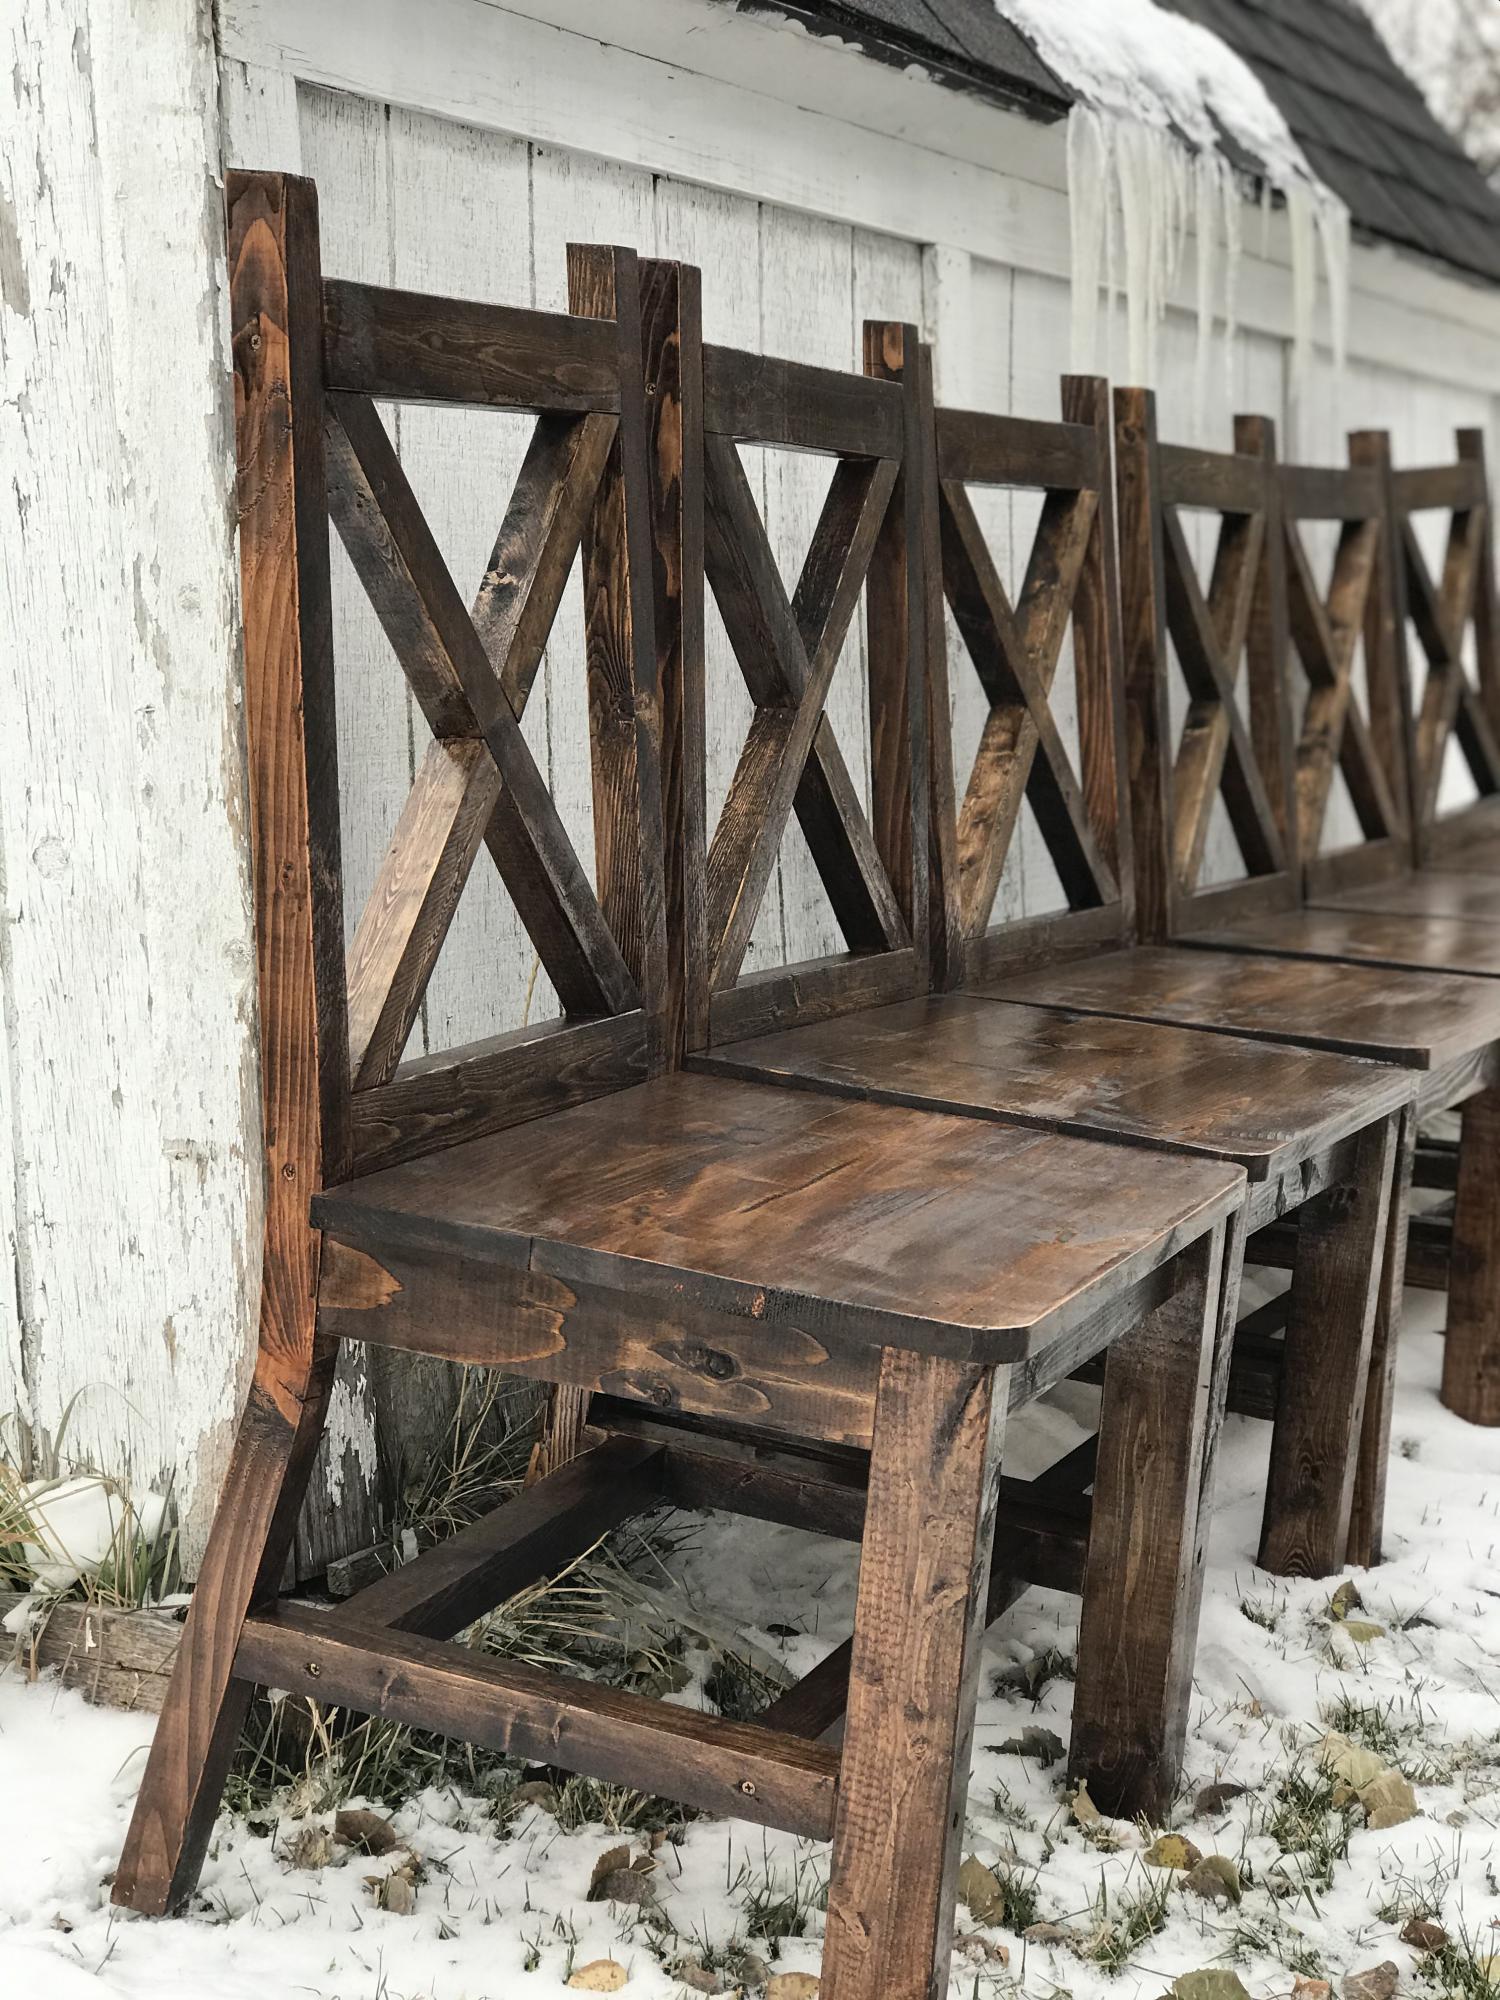
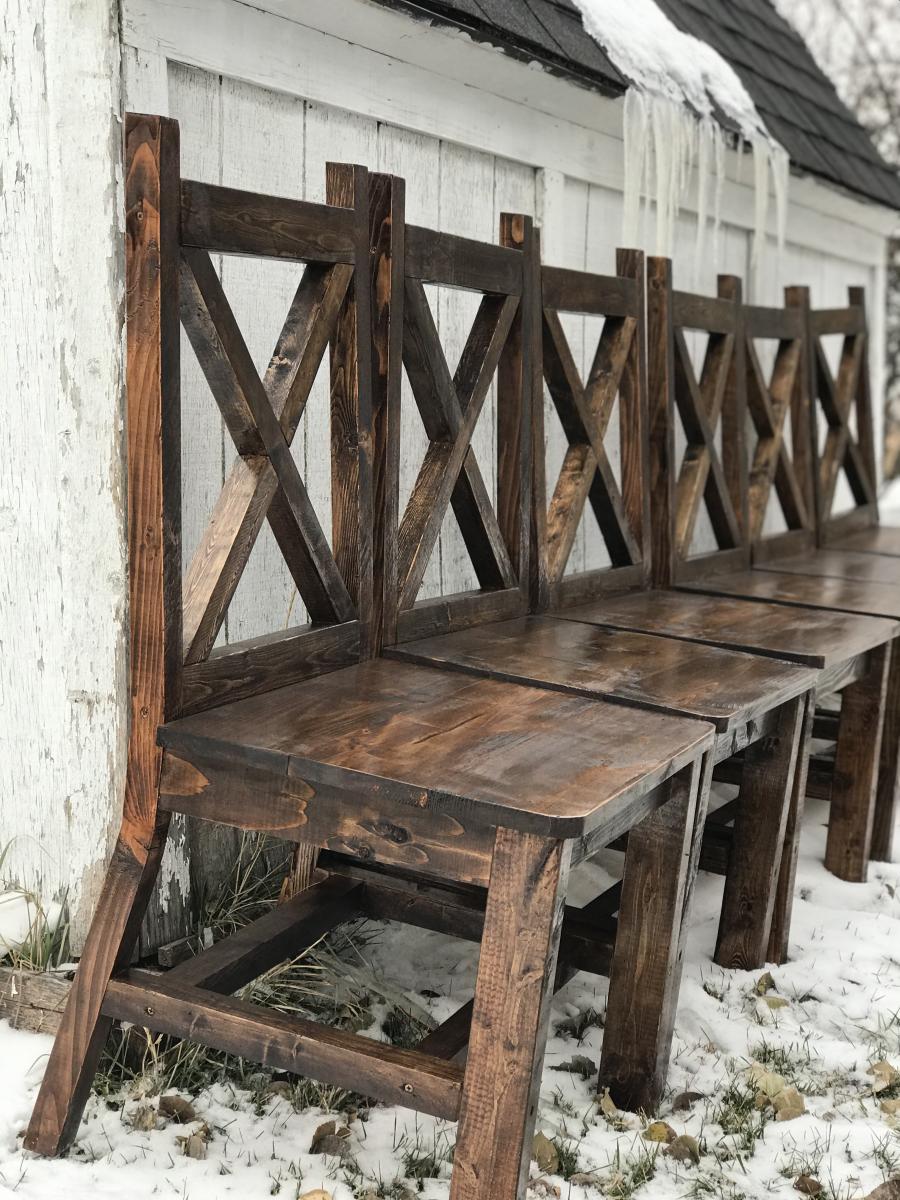
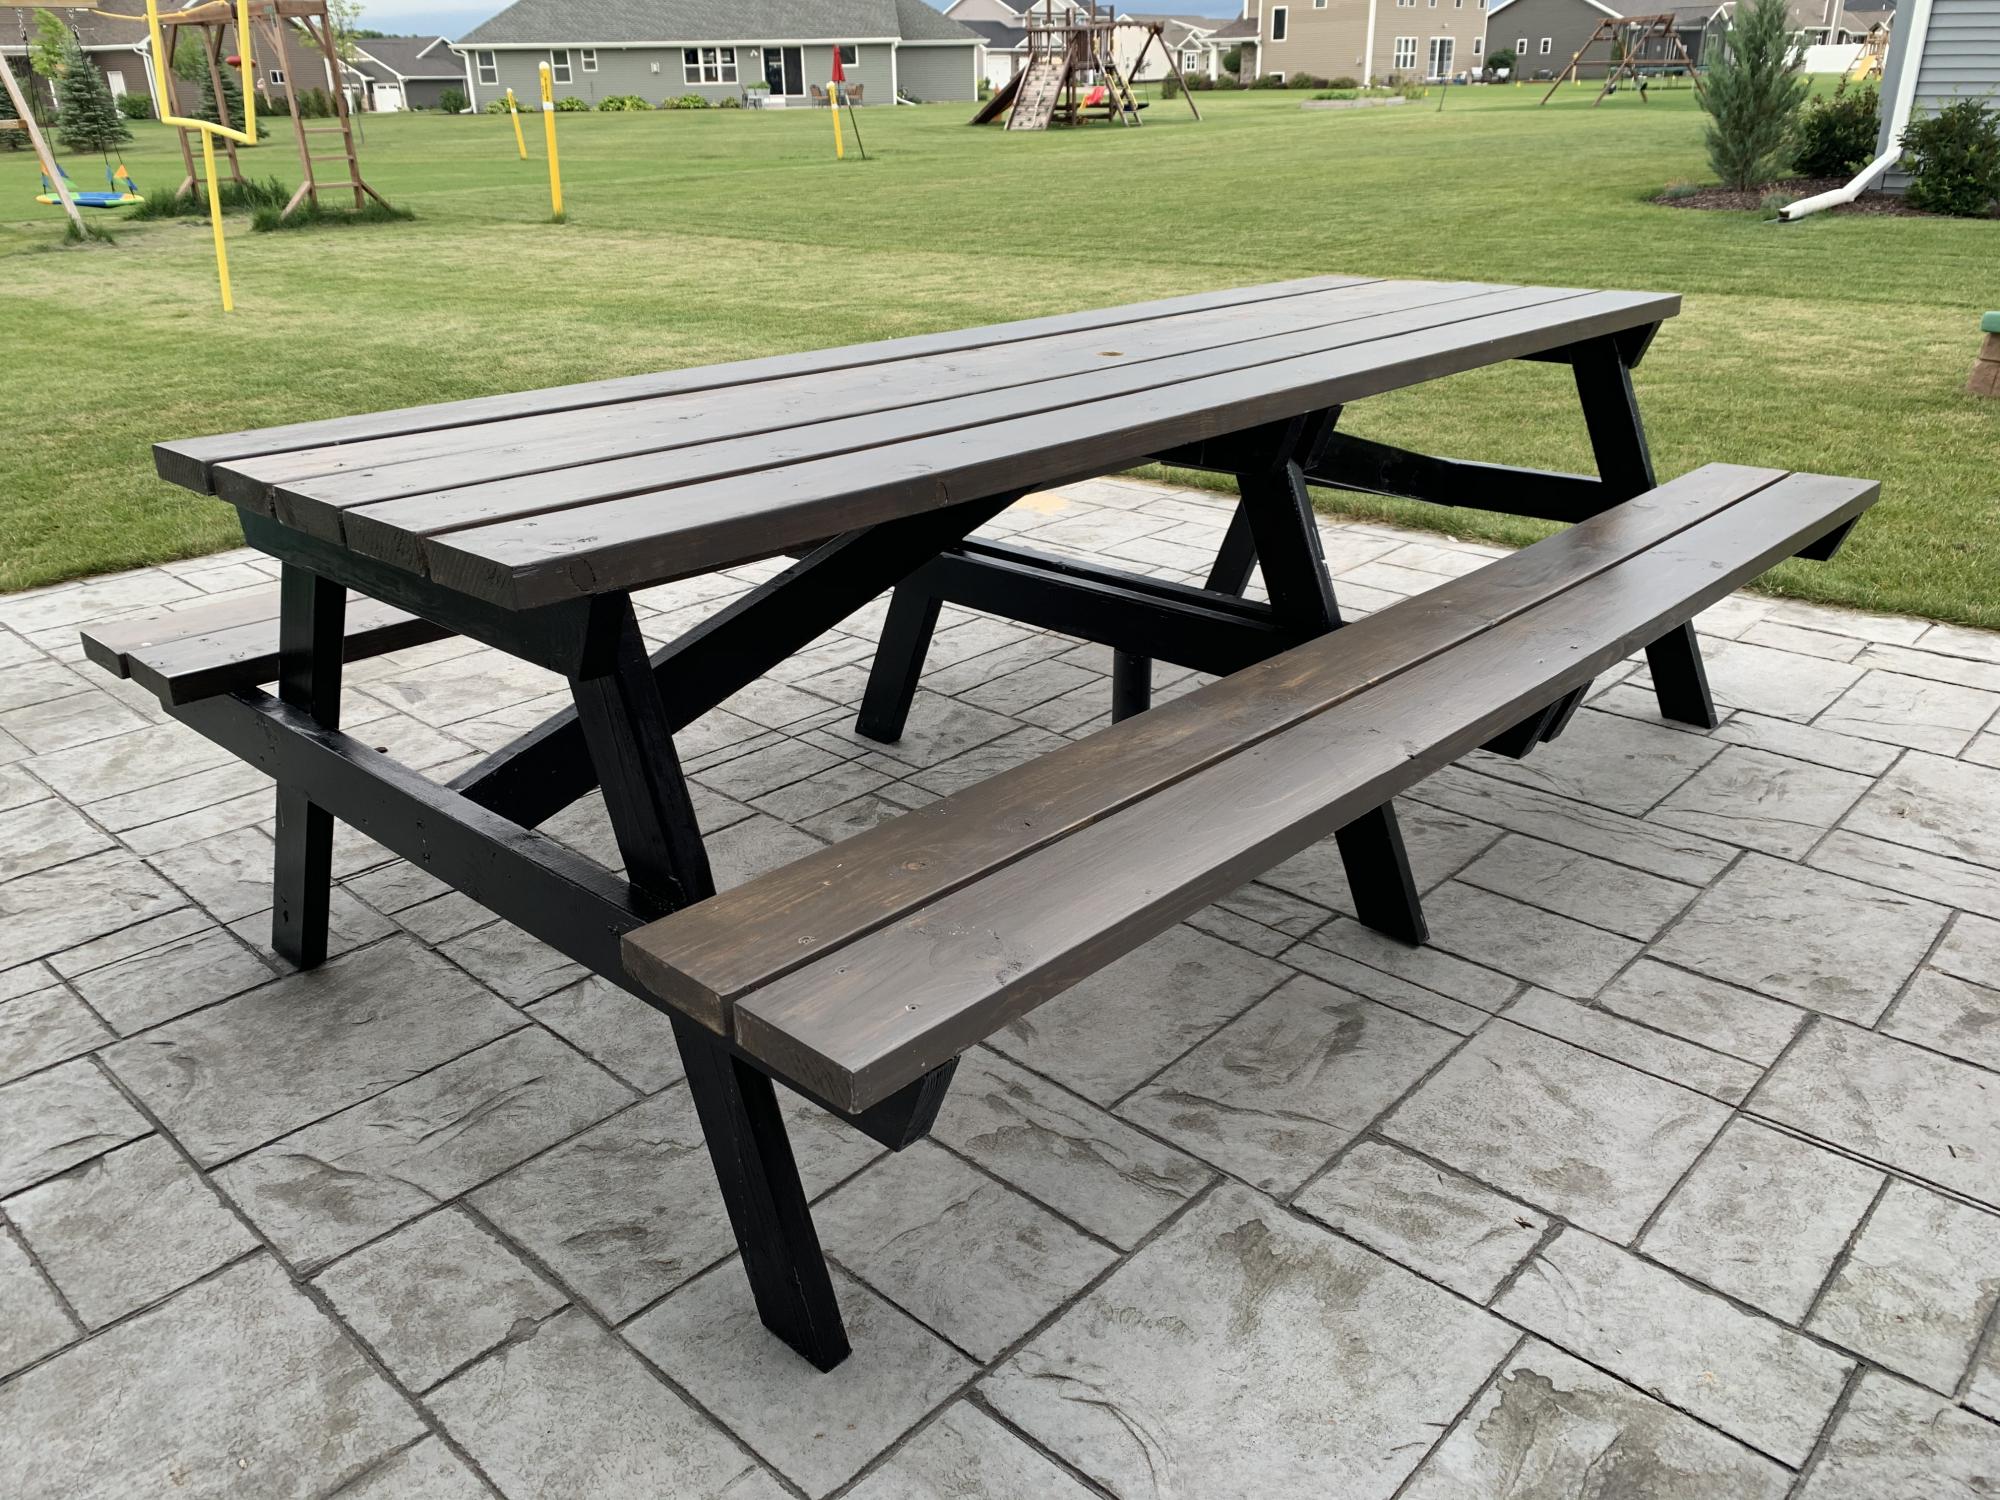
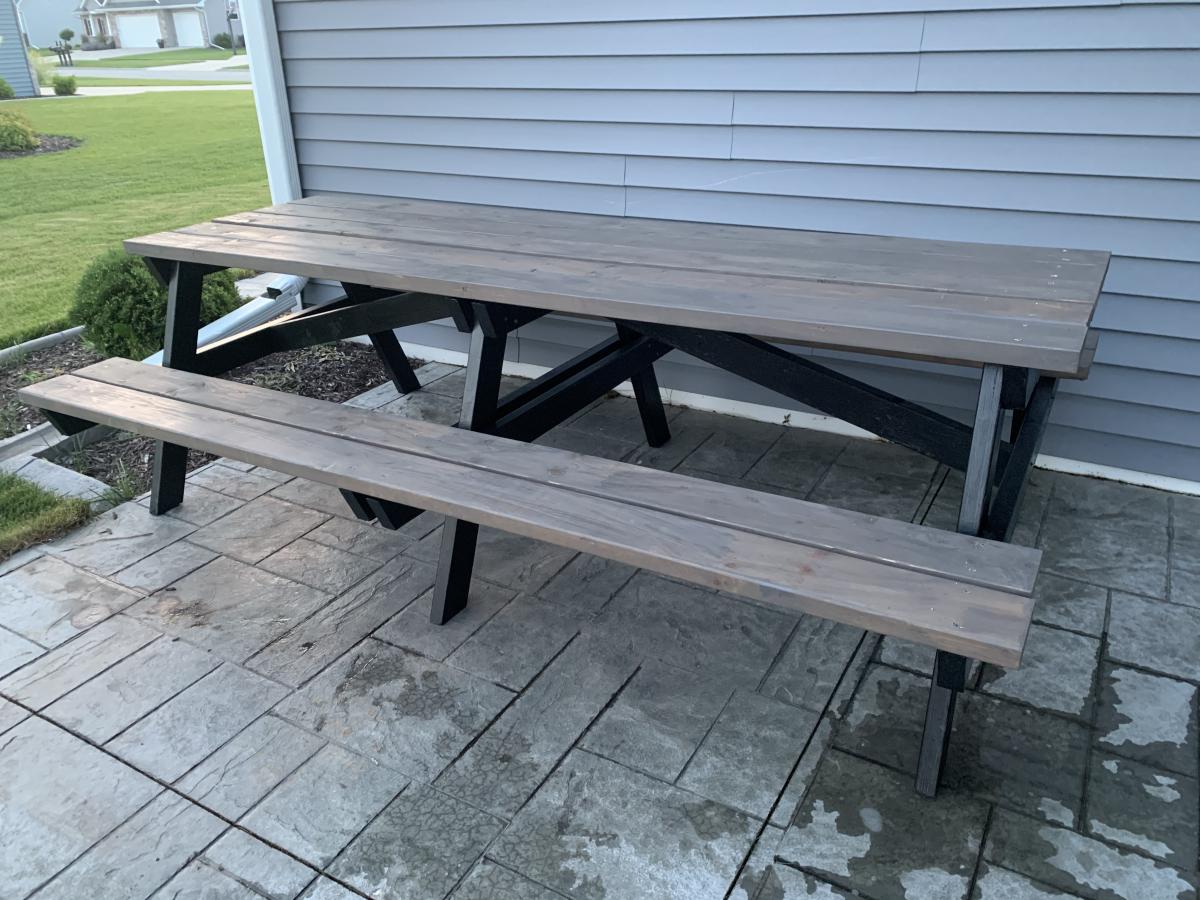
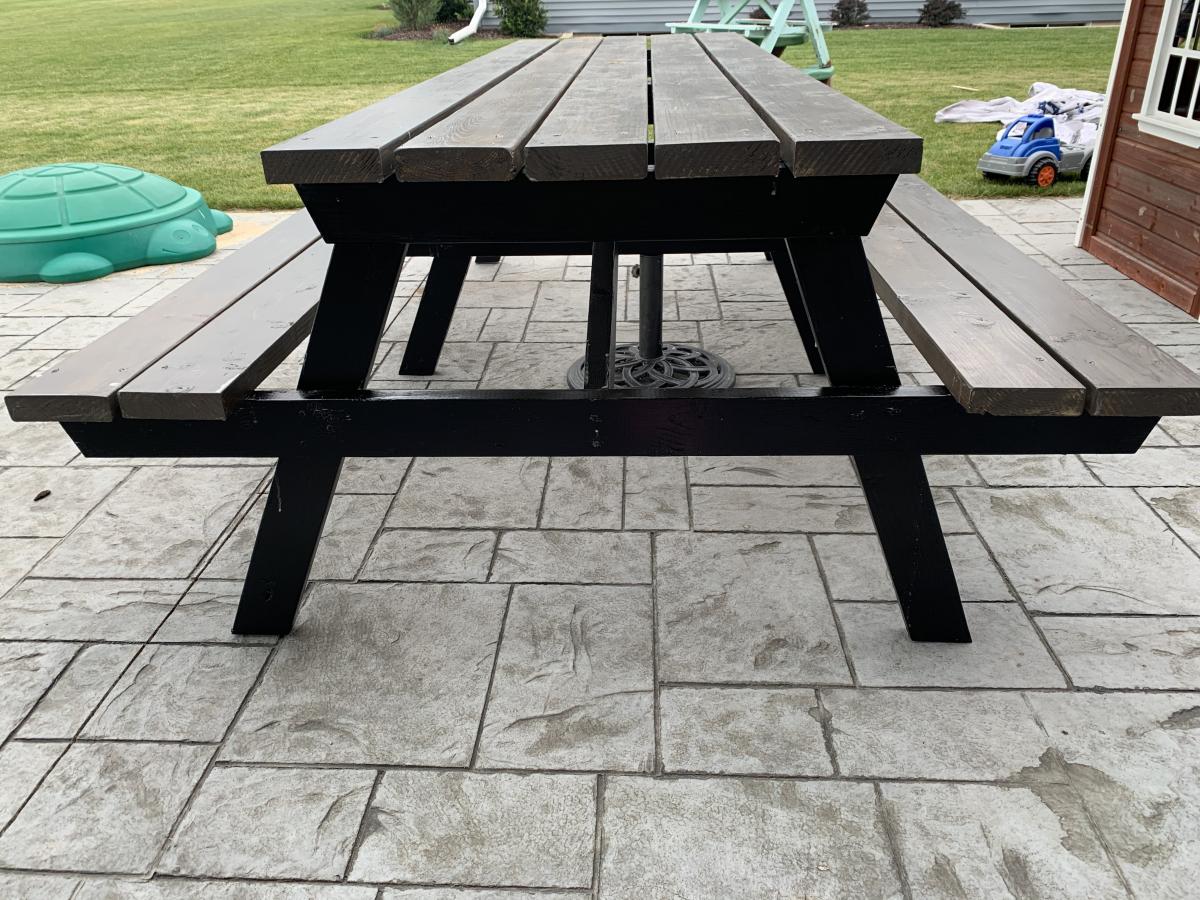
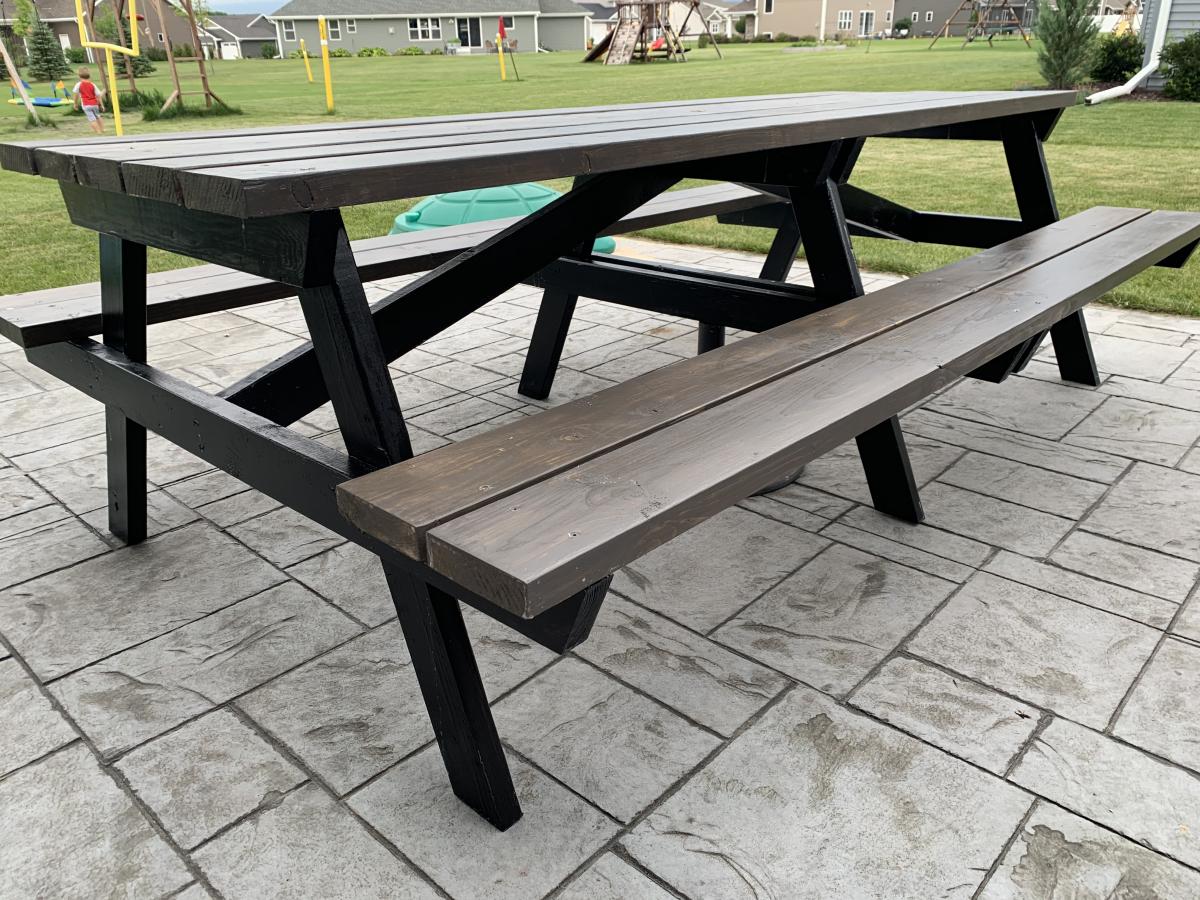
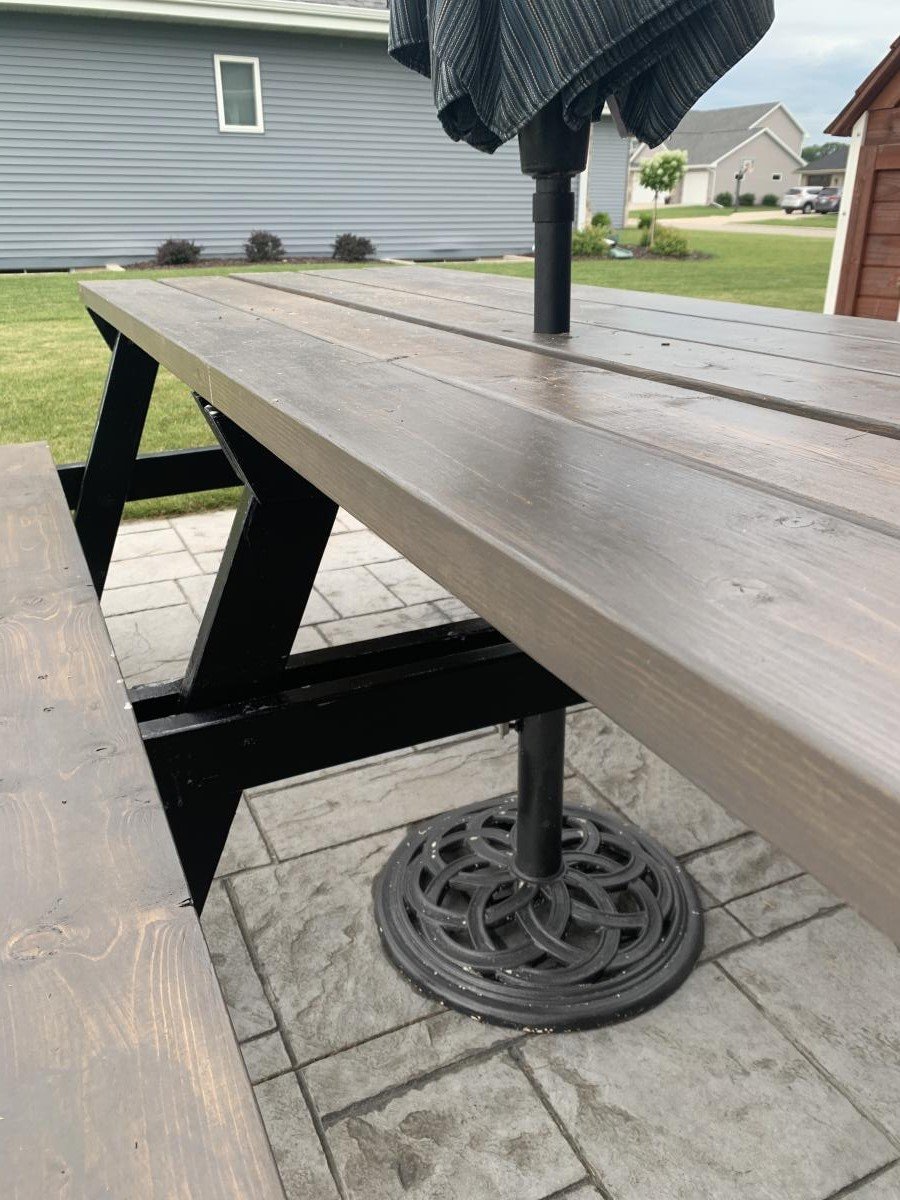
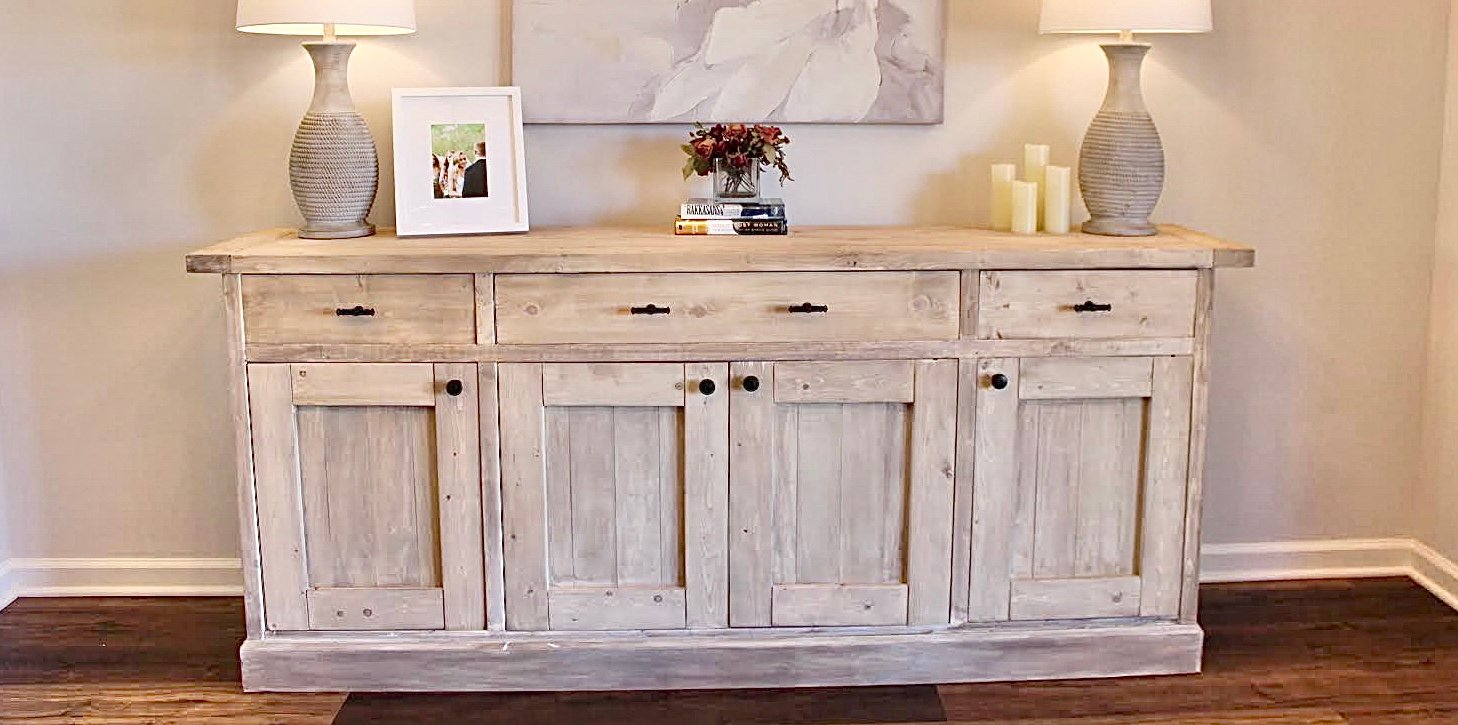
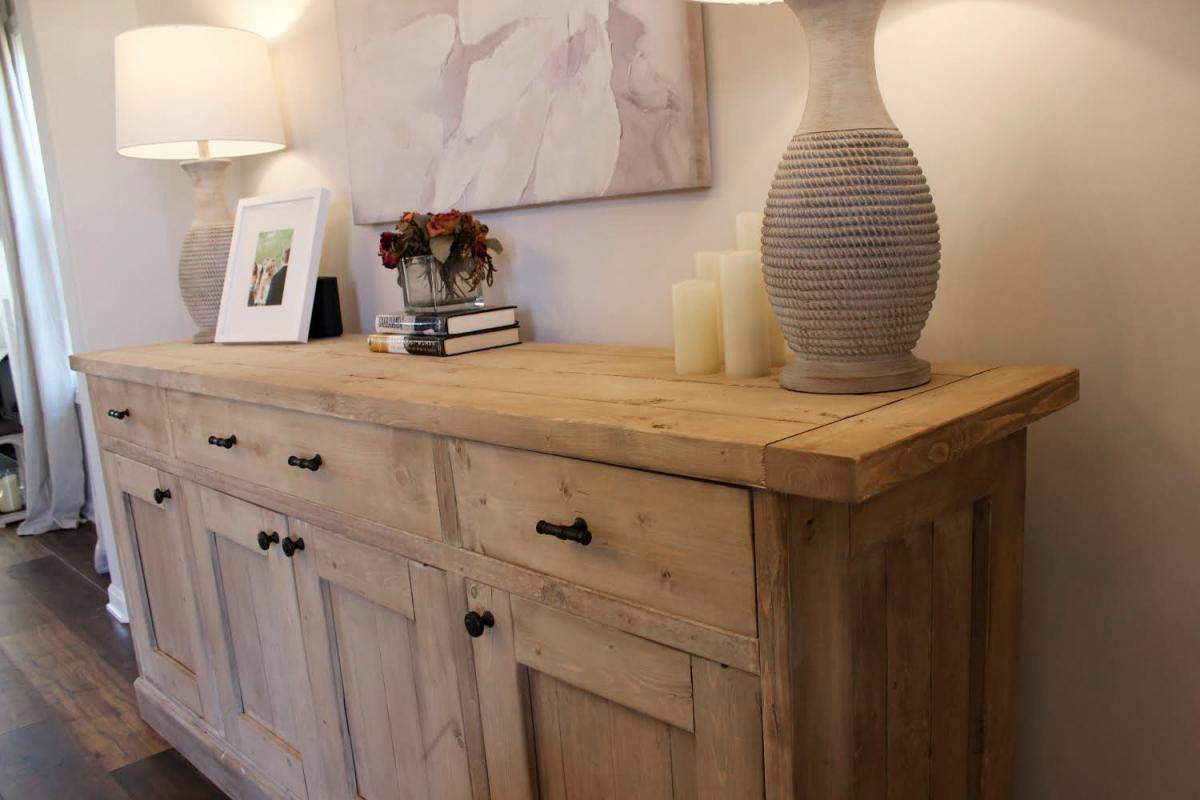
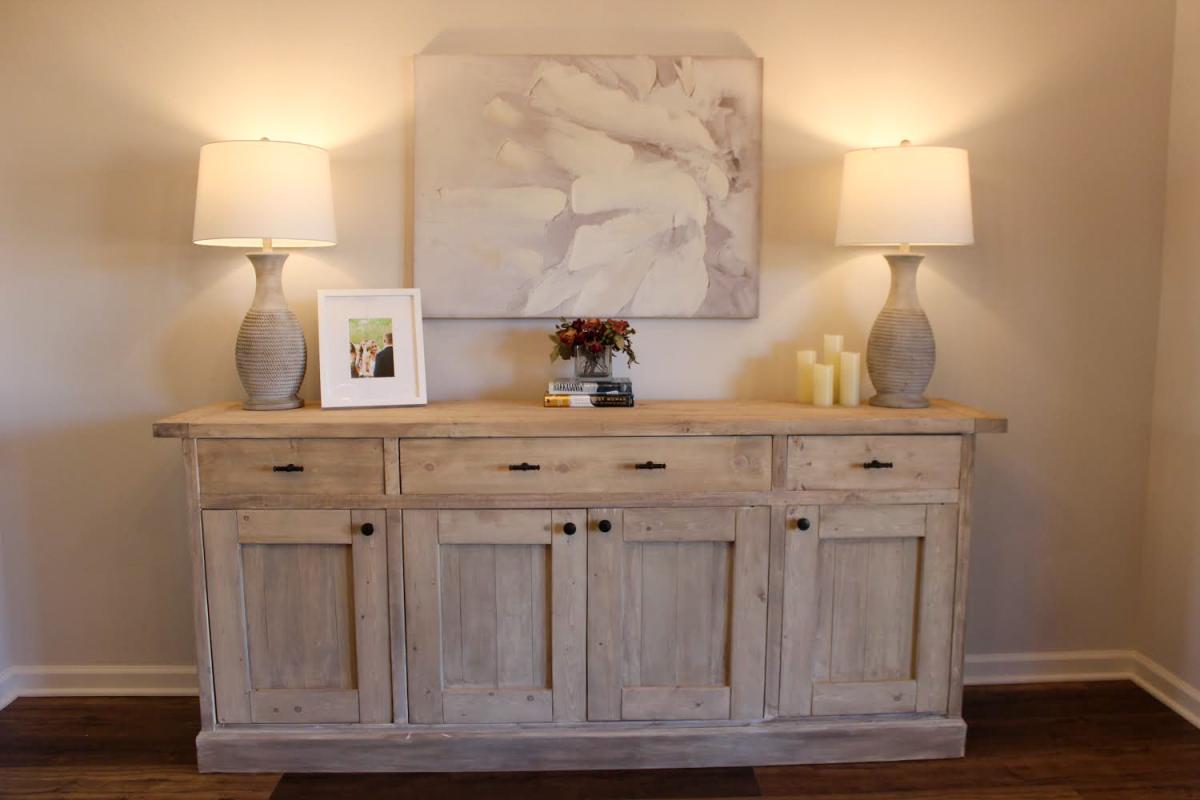
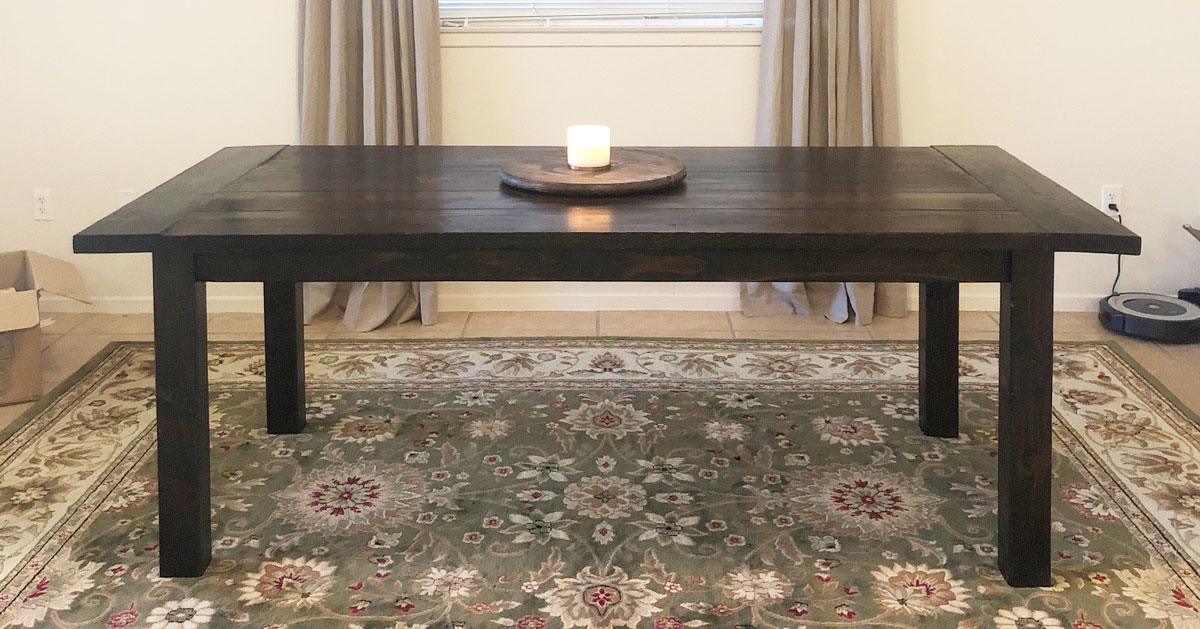
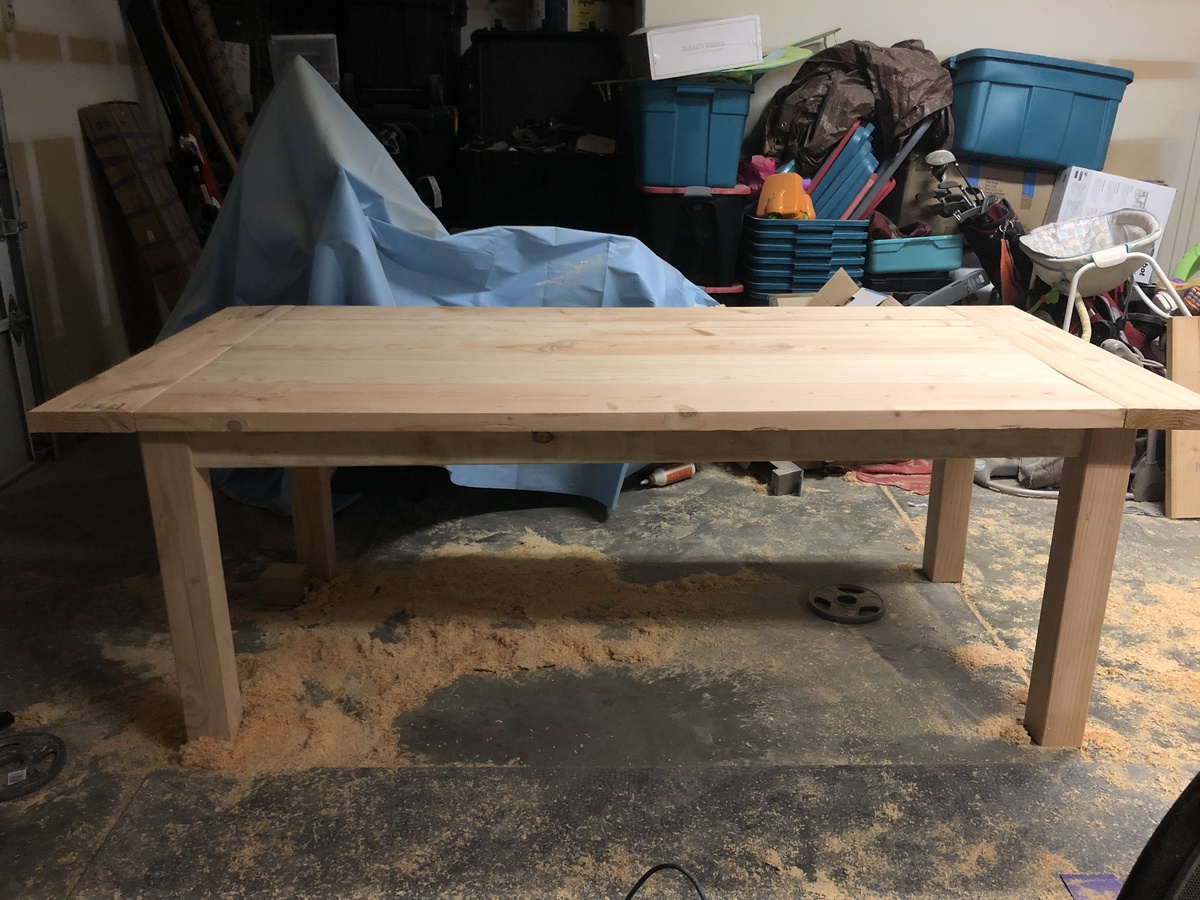
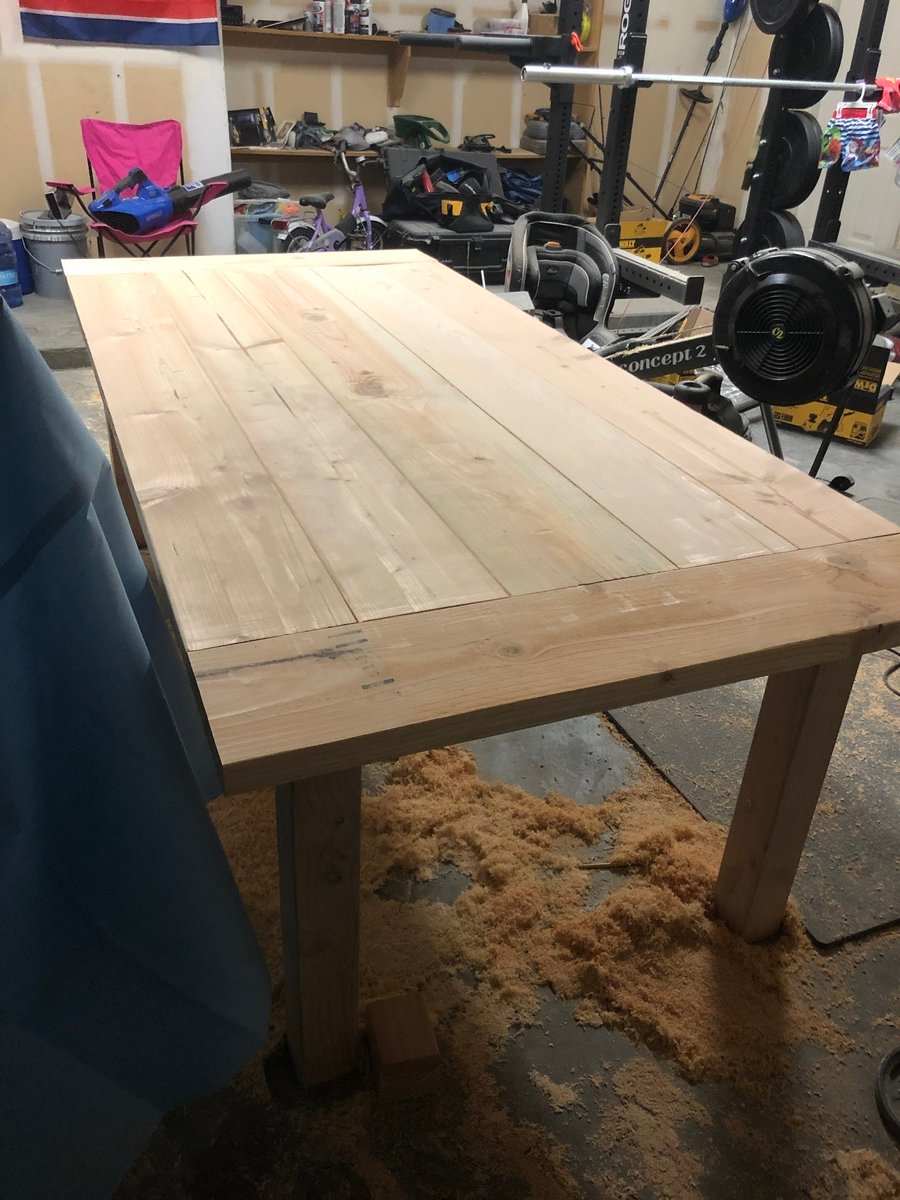
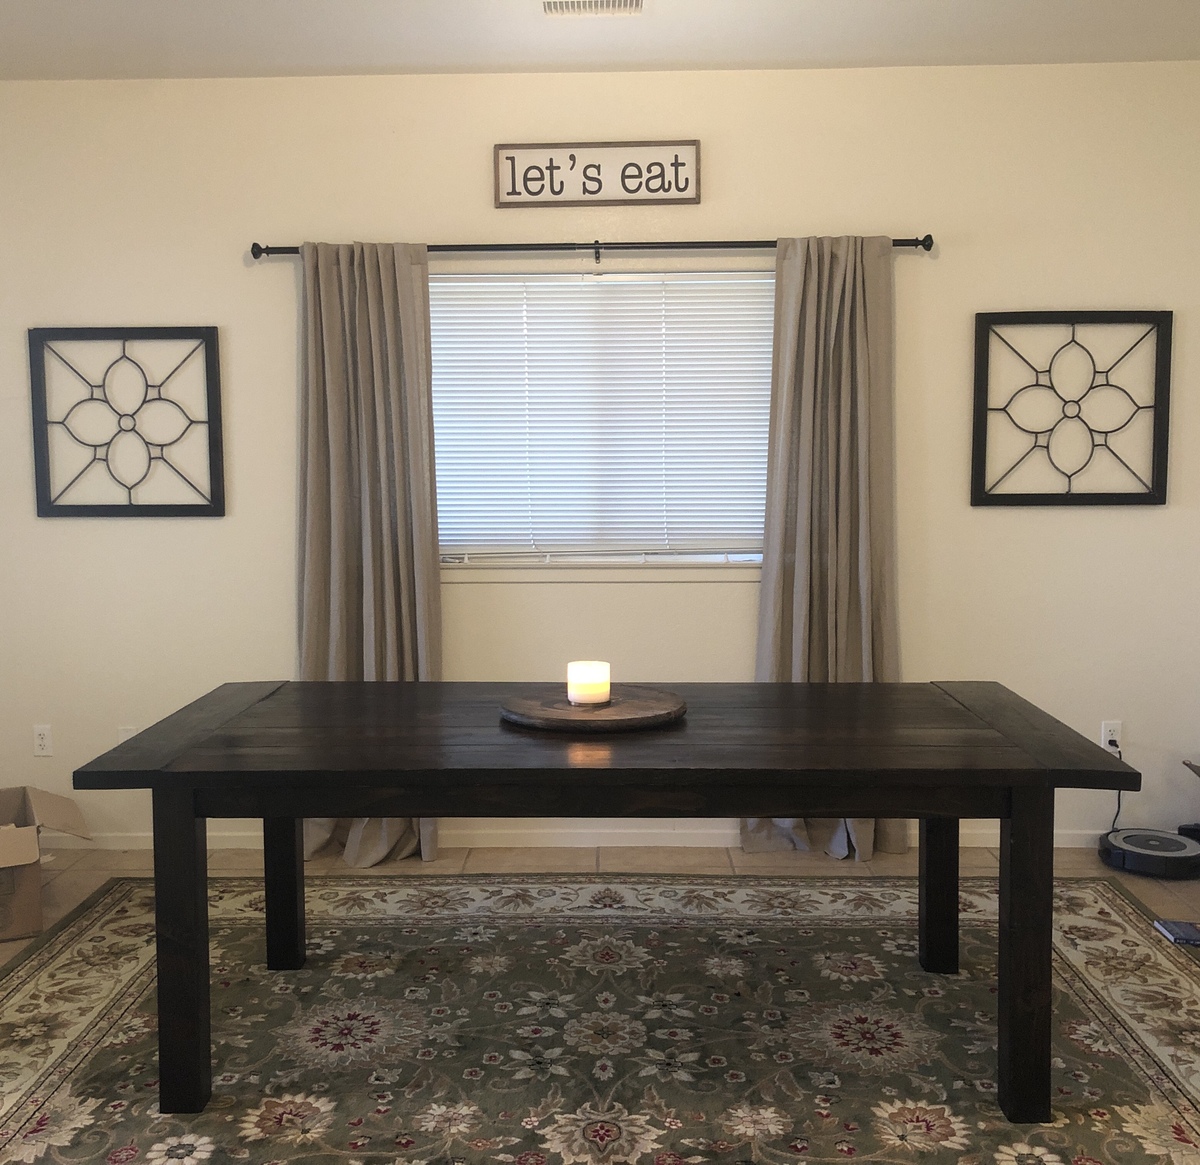
Farmhouse dining table
This was our first build together and first furniture piece from woodworking. The kreg jig really helped out and we didn’t have any major issues while building except for some board being warped but we fixed it with a planer.
Finished building the entire table in one day and staining and coats of poly took 2 extra days. It was a very easy build. When we move to a new area that has better access to lumber I’d like to remake this using oak/maple.
Built from Plan(s)
Estimated Cost
$125
Estimated Time Investment
Weekend Project (10-20 Hours)
Finish Used
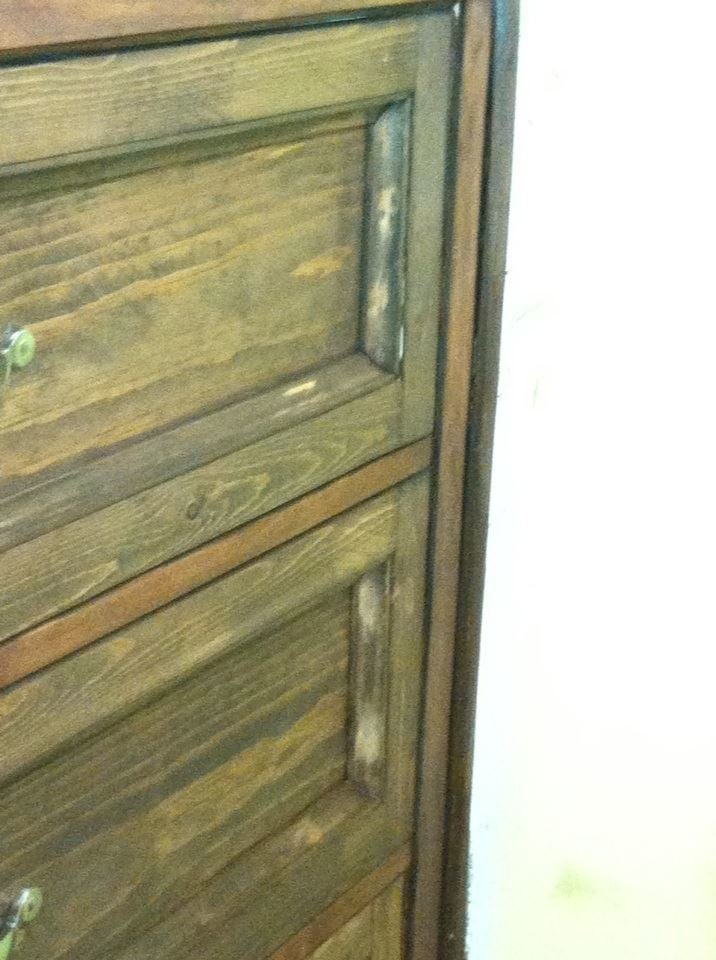
Minwax Jacobean
Recommended Skill Level
Beginner