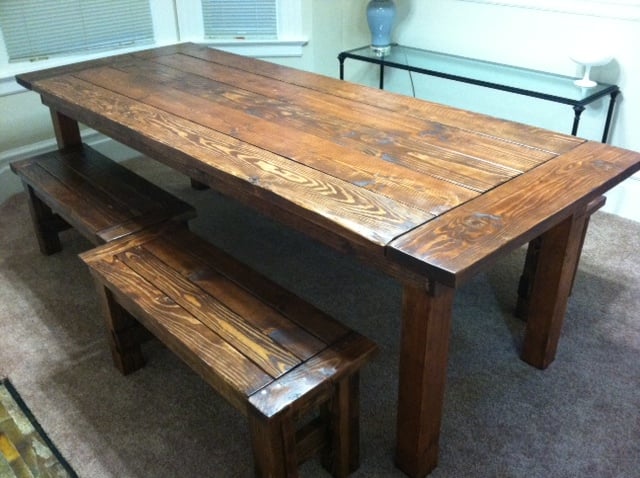
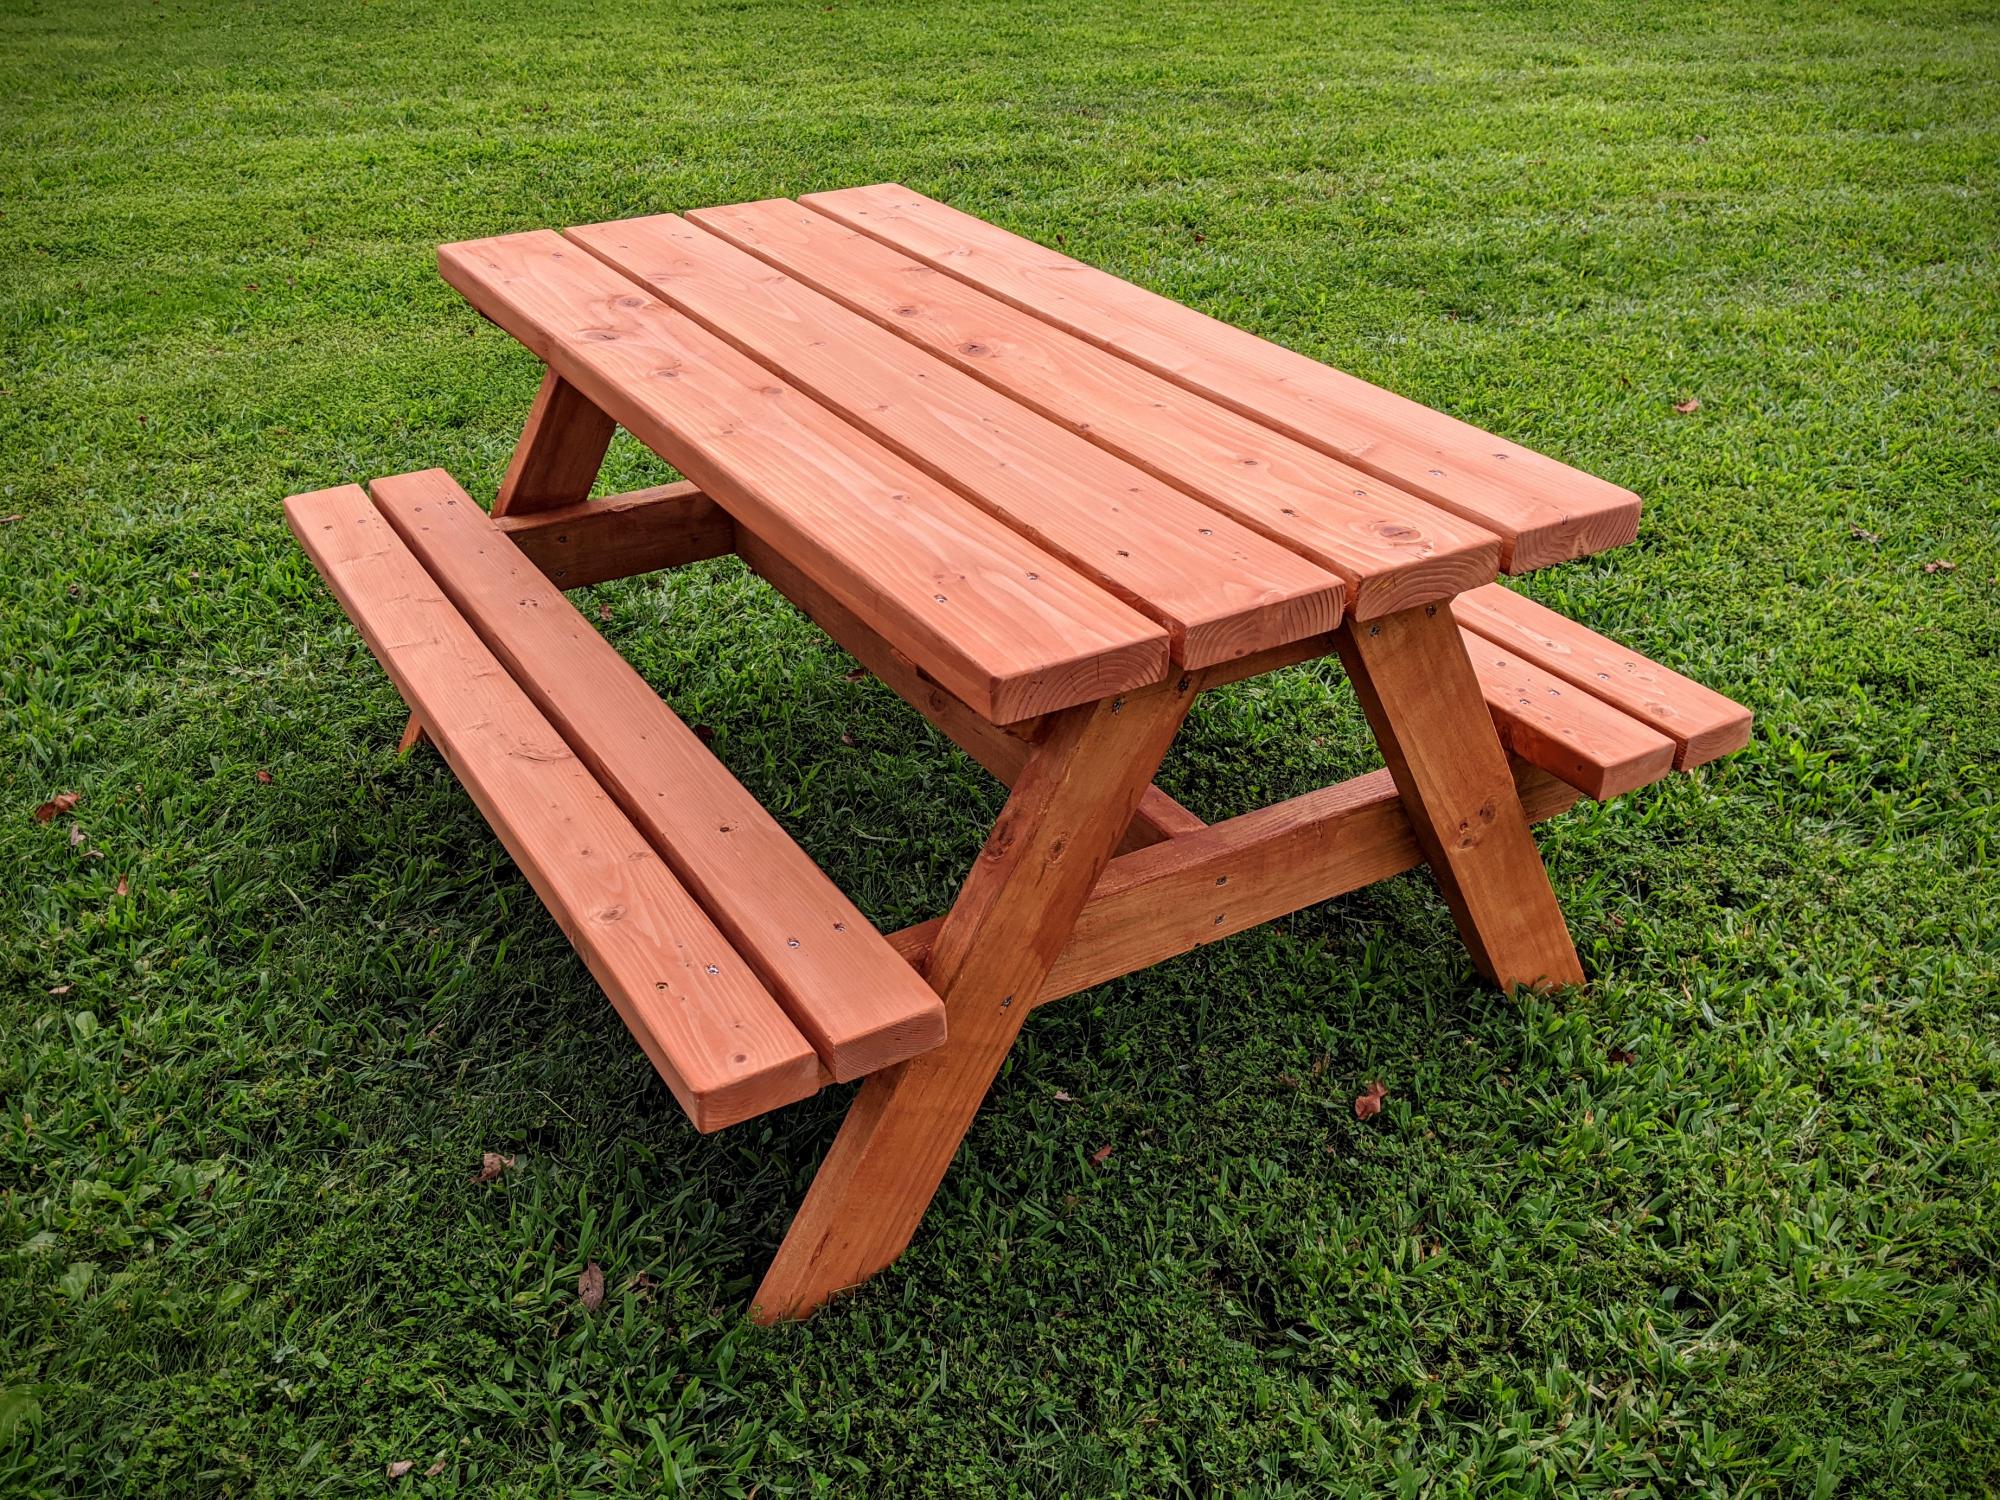
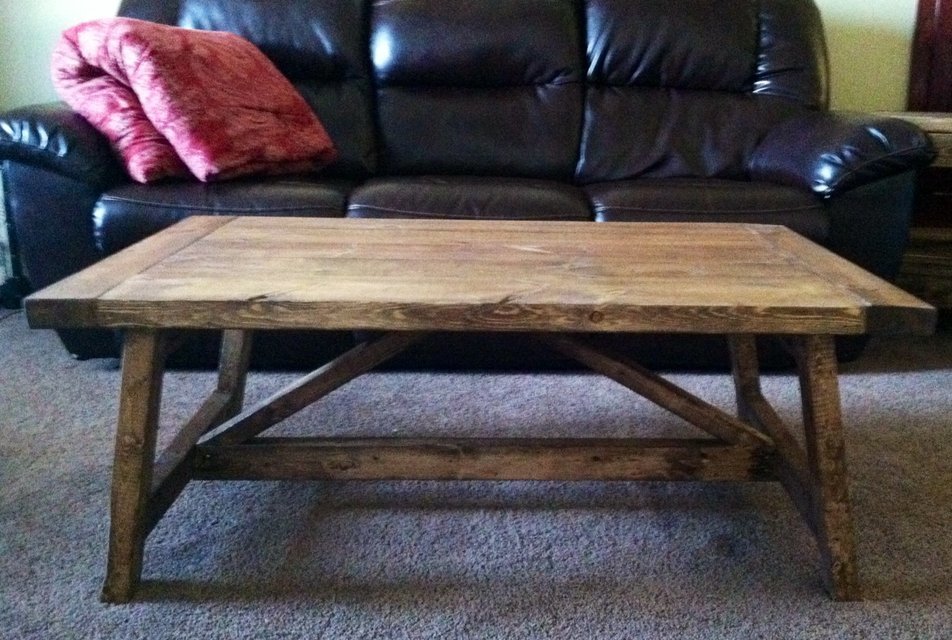
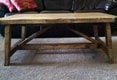
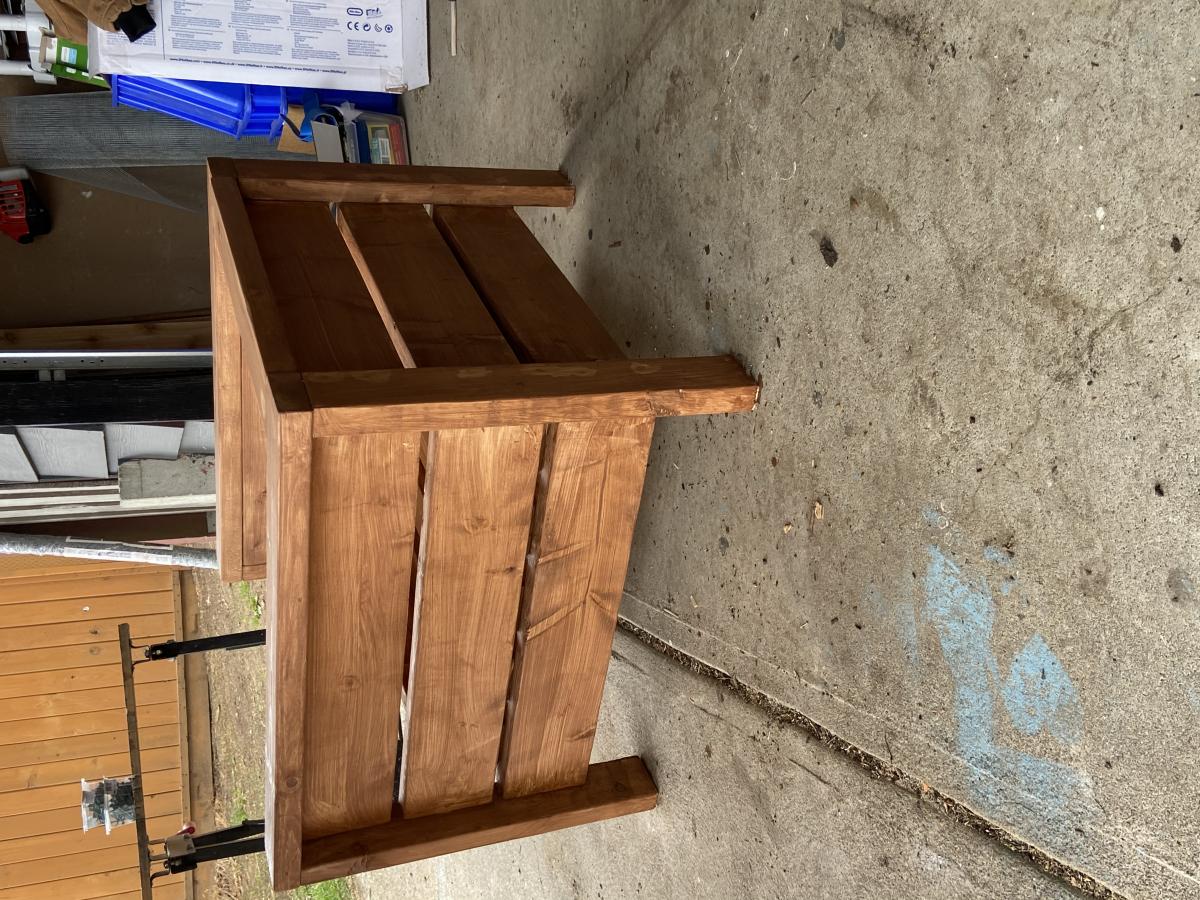
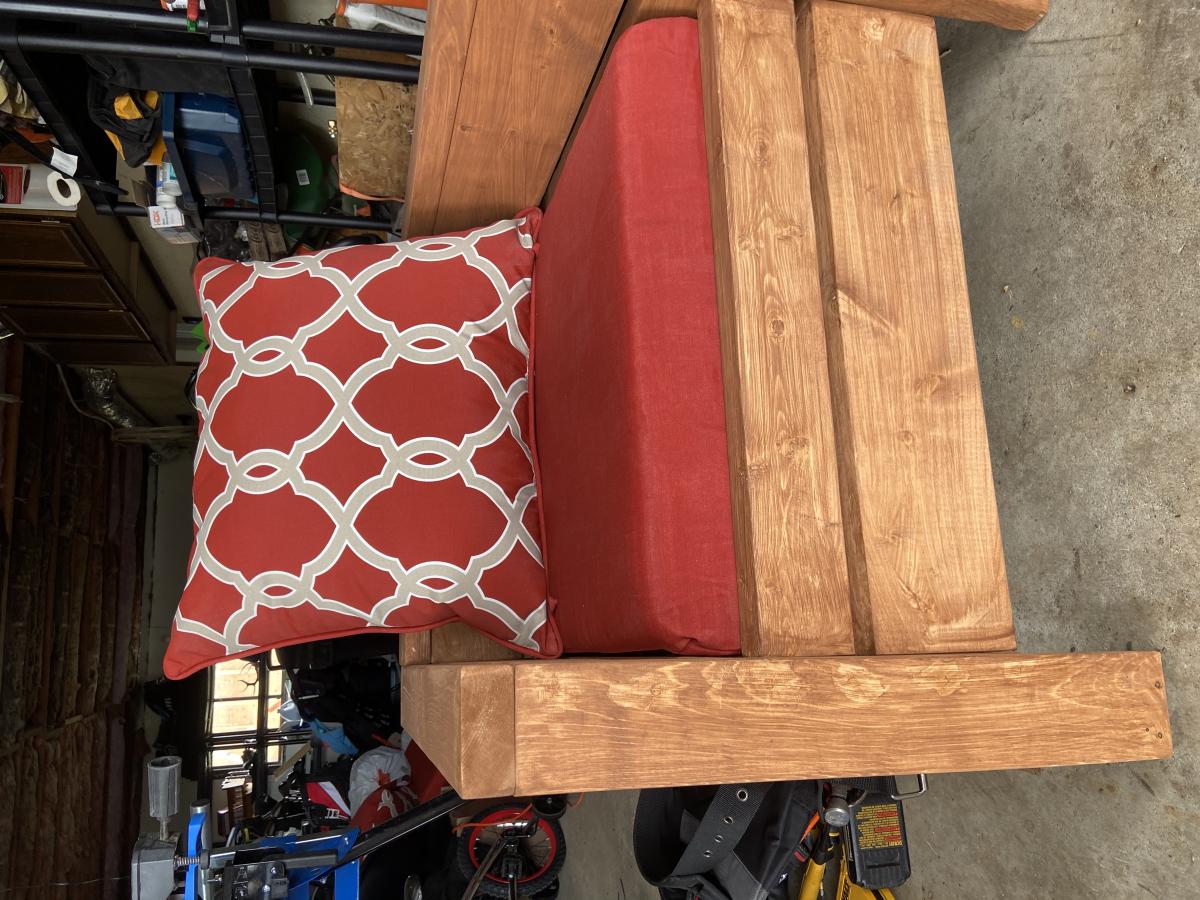
Farm House Table and Benches

I wanted a big rustic farm table, didn't want to drop thousands on one from a store, so I decided to make my own!
I built it in the (formerly empty) dining room, with tarp on the floor and plastic to seal the doorways.
Was a big project and my first project so I started with the benches as this site and users recommended.
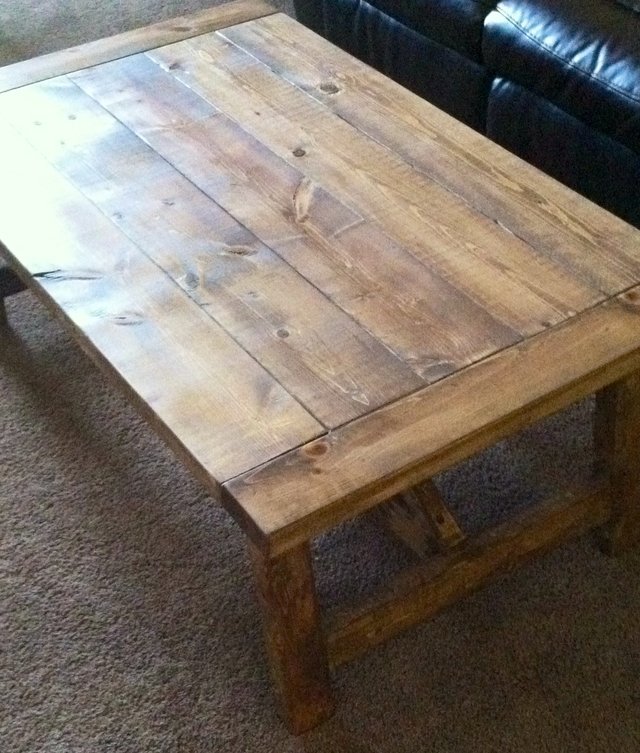
I used the farm house bench plan - just shortened the dimensions so that I could have two benches on either side of the table. Then I merged the two table plans so that I could have the top with the bread boards but legs that attached underneath (like the rustic table) so that they could be removed when we move. I'll work to upload my plans too.
Used Minwax Wood Stain in "english chestnut" and Deft Satin Wood Brushing Lacquer (instead of a Polyurethane).
Deft Satin Wood Brushing Lacquer to finish.
I prepped the wood by sanding it down to 220 (could have done an even better job sanding, and sanded the table and bench tops even finer).
Used a sponge brush to apply the wood stain, wiped off rather quickly (only a few minutes on the wood).
Used brush to apply Deft Sating Wood Brushing Lacquer. Used spray can of Deft when I ran out of liquid. Didn't go on as thick. Although using a brush is more of a hassle, it had a better coat.


Comments
LifeofChaos
Fri, 09/23/2011 - 21:33
Very Nice
Love the table !!!
Guest (not verified)
Sun, 09/25/2011 - 12:18
Great Work
Your use of short benches makes the set more family and guest friendly. I usually hand rub my finish, I think i want to build this and probably use 0ak 2X12's (know it will be heavy).
Suggestions?
I will use it on a Florida roofed concrete deck for an outdoor dining area. Typically more formal dinners. Deck overlooks beautiful cove.
Guest (not verified)
Thu, 10/13/2011 - 11:00
Can you explain how you
Can you explain how you merged the plans to add the bread boards? I would love to do the same!
StuartD (not verified)
Tue, 03/06/2012 - 01:30
Would love to see the plans
Would love to see the plans for this!
Looks amazing!!
Are the table legs 4"x4"?
Jon Guinther (not verified)
Sat, 05/19/2012 - 19:01
Plans
Can you send the plans for this to [email protected]?
Thanks
Jeff (not verified)
Fri, 06/01/2012 - 09:09
Exactly what I am looking for
This is exactly what I am looking for in a table to build. We want bread boards on the end and we don't want stretchers on the bottom. How did you combine the two to do this. Can you send me a copy of your plan? [email protected]
Mike Flynn (not verified)
Fri, 06/08/2012 - 12:59
farm table
i would the plans for that table my daughter loves and wants me to build her one
send to [email protected]
merv (not verified)
Mon, 06/11/2012 - 13:19
Farm Table
We love this table! Could you please send plans to [email protected]
Thanks so much!
merv (not verified)
Mon, 06/11/2012 - 13:21
Farm Table
We love this table. Please send plans to [email protected]
Thanks!
britt (not verified)
Fri, 06/15/2012 - 10:00
Exactly what I'm wanting to do.
Your table turned out awesome!
I already have old boards waiting on plans to be turned into a table. Any chance you could send the plans for your table to [email protected]?
Tony (not verified)
Thu, 07/19/2012 - 01:47
Would like these plans. Great
Would like these plans. Great job!
Stacey Regan (not verified)
Wed, 08/01/2012 - 14:24
Exactly what we want...
Would love these plans for our dining room table!!
Kimberly Dassel (not verified)
Sat, 08/04/2012 - 13:35
Plans for this table.
Could you please send me the plans for this table? I love it and would love to attempy making it. Thanks so much!
CJalex42 (not verified)
Sun, 09/23/2012 - 14:37
Plans
Hi, Can you please send me the plans to make this table?
Thanks!!
Alex ([email protected])
Megan fontenot (not verified)
Sun, 09/30/2012 - 18:34
Love this
I love this table. Can you please send the plans to [email protected]
Lauire (not verified)
Sun, 11/04/2012 - 11:07
Farmhouse table
I would love to attempt this!Would you please share your plans?
[email protected]
Thanks so much
Linds (not verified)
Sun, 11/04/2012 - 17:17
Loving the farmhouse table
This table is exactly what I've been looking for!! Could you please share your plans? [email protected] Thank you.
Linds (not verified)
Sun, 11/04/2012 - 17:25
Loving the farmhouse table
This table is exactly what I have been looking for! Could you please share your plans? [email protected]
J (not verified)
Tue, 12/18/2012 - 07:42
Great Job!
Can I get some plans? [email protected]
thanks!
Carmen flowe (not verified)
Tue, 01/01/2013 - 06:09
Can you send plans for this
Can you send plans for this table build to [email protected] thanks.
Joe (not verified)
Wed, 01/02/2013 - 15:53
table plans
Your farm table and benches were exactly what I was looking for. Please send me the plans if they are available. Thanks
Faye Sawatzky (not verified)
Wed, 01/02/2013 - 19:18
Love the Table Plan
I would love your table plan. This is absolutely gorgeous!! Please forward table plans to [email protected]
Faye Sawatzky (not verified)
Wed, 01/02/2013 - 19:23
Farmhouse |Table
I would love a copy of the plans for this gorgeous table you made. I am inspired.
SandraLauer (not verified)
Sun, 01/13/2013 - 18:01
Rustic Table
Can you email me the plans, [email protected].
ChrisWP (not verified)
Fri, 01/18/2013 - 18:01
plans please!
Could you please send plans? I love the look of your table!
[email protected]
Kelly Lucas (not verified)
Tue, 01/22/2013 - 15:26
Plans
Would love, love the plans for this project if you are willing to share. Many thanks! :)
danno2084
Fri, 01/25/2013 - 20:57
Plans
I'm sure you've heard this a hundred times already, but we've been looking for a very long time for a table like this. We would also love the plans if you're sharing. Thanks for the great blog!
jsh2001
Tue, 01/29/2013 - 07:47
Great Job
Getting ready to build my own and now you have me thinking I prefer this design with no stretchers on the bottom. Looks great!!!
ziggymn
Tue, 03/12/2013 - 19:53
plans
Can we request the plans as well? Beautiful! [email protected]
Mammavof3
Sat, 03/16/2013 - 20:12
Beautiful table!
Can I please please please have the plans? I have a very narrow dining area and this table is PERFECT. Thanks
PorkyPok
Wed, 05/08/2013 - 13:30
plans
I too would really love/need these plans. PLEASE. Thanks :)
Cbreck21
Sun, 05/12/2013 - 14:30
Plans
I would REALLY like the plans for his version as well. I am going to combine them. Can someone ask him to post or his he sending via email? If so, [email protected]
Thank you SO much!!!
JustinTime
Wed, 06/26/2013 - 13:09
Awesome!
This looks great!! Could I also get the plans please??
[email protected]
Thanks!!!
CortneyWestfall
Thu, 06/27/2013 - 13:34
Plans?
I love this table!
Could you please send me the plans you used?
[email protected]
Thanks!
kpeasy34
Fri, 06/28/2013 - 10:49
Plans
Great table! I too would like plans - please send to [email protected]
Thanks!!
wendykeeler
Mon, 07/15/2013 - 09:48
plans
just bought a cabin and need all sorts of furniture. I love what you did and would sure love to have your plans and how you merged the two----both for the table and especially for the benches. Trying to do a 10' table for huge family gatherings. Thanks so much! You rock!
wendykeeler
Mon, 07/15/2013 - 09:49
oh and send plans to
oh and send plans to [email protected] :D thanks!
Sarina88
Tue, 07/23/2013 - 14:28
Perfect
This table and bench set is exactly what I am looking for. You did such a great job!
Do you have plans that you wouldnt mind sending to my email? [email protected]
KailuaGirl
Mon, 08/26/2013 - 13:09
Merged Plans
Hi! I noticed MANY requests for the merged plans. Did you post them somewhere or can you please email the plans to me at [email protected]?
BIG THANK YOU! Tina
bnfrank
Fri, 09/06/2013 - 13:49
Pretty please can I get the plans?
I would love the plans for this table... could you please email them to [email protected]?
Thank you so much!
Beth :D
KailuaGirl
Fri, 09/06/2013 - 14:25
request
Hi There!
It seems like there are no replies to the many requests for the merged plans.
I'm guessing he used the top of one set of plans and the bottom portion of the other set of plans?? I will attempt to tweak myself..
Good Luck!
markelll
Fri, 01/09/2015 - 19:54
Plan Guidance
Hi everyone,
Well I didn't see all these comments! Sorry to have ignored your requests for plans!
This is the bench I made (I did four of these, and adjusted the measurements so they were each about 40" long)
http://ana-white.com/2011/01/farmhouse-bench
I was going to do this table, because it matches the benches, but decided I wanted a table with removable legs so it would be more maneuverable when we move!
http://ana-white.com/2009/12/plans-farmhouse-table-knock-off-of.html
I ended up using more of this plan in terms of how I assembled it, but adjusted the plans to have the tabletop include breadboards (the plank on top perpendicular to the long tabletop planks) and I used 4x4s for legs, plus the top was from 2x8s not 1x10s. I put in the optional cross supports too, and additional supports under the breadboard to connect it to the table frame and table top slats.. this is more info than you need, all to say, plans are flexible and you can do what you want!
http://ana-white.com/2010/03/plans-very-rustic-table-and-cool.html
Sorry I don't have detailed notes. I was very picky about the dimensions (based on space) and how high I wanted the table (about 1.5" taller than a normal table). I also measure the distance between the underside of the table and the tops of the benches so I could cross my legs under the table (an odd requirement).
Happy Building!
ebailey
Sat, 03/21/2015 - 17:34
Plans for table from two plans
could you send me the plan for this rustic table that was made from the farm house and rustic table if they are available? Email to [email protected]
biff
Sat, 03/28/2015 - 12:45
plans please
can you please send me the plans [email protected]
i love it!!!
brentlbg
Wed, 04/01/2015 - 15:10
love the color
I like the english chestnut stain. That works so well with this type of lumber. Great job. I plan to use the same stain on the Tryde coffee table I am building. Thanks for sharing your work!!!
jersey_girl123
Sat, 08/08/2015 - 12:30
plans please!
I love this! Could you please send me the plans to [email protected]?
Thanks!!
Jessica C
Thu, 08/13/2015 - 19:17
Previous comment is NOT spam
Sorry! I accidentally hit the spam button but I really would like the plans for the table. Sorry for the confusion!
Jessica C
Thu, 08/13/2015 - 19:23
Third time's the charm
Ok, now I feel really silly. Obviously, this is my first time leaving a comment. I love the table. It is exactly what I've been looking for. Could you email the plans to [email protected]?
Thanks!
AppleTizzle17
Fri, 01/08/2016 - 17:38
Table and Bench Plans
Great make! Could you please send plans to [email protected]?
Thanks!
AppleTizzle17
Fri, 01/08/2016 - 17:40
Table and Bench plans
Love it! Could you send plans to [email protected] ?
Thank you!