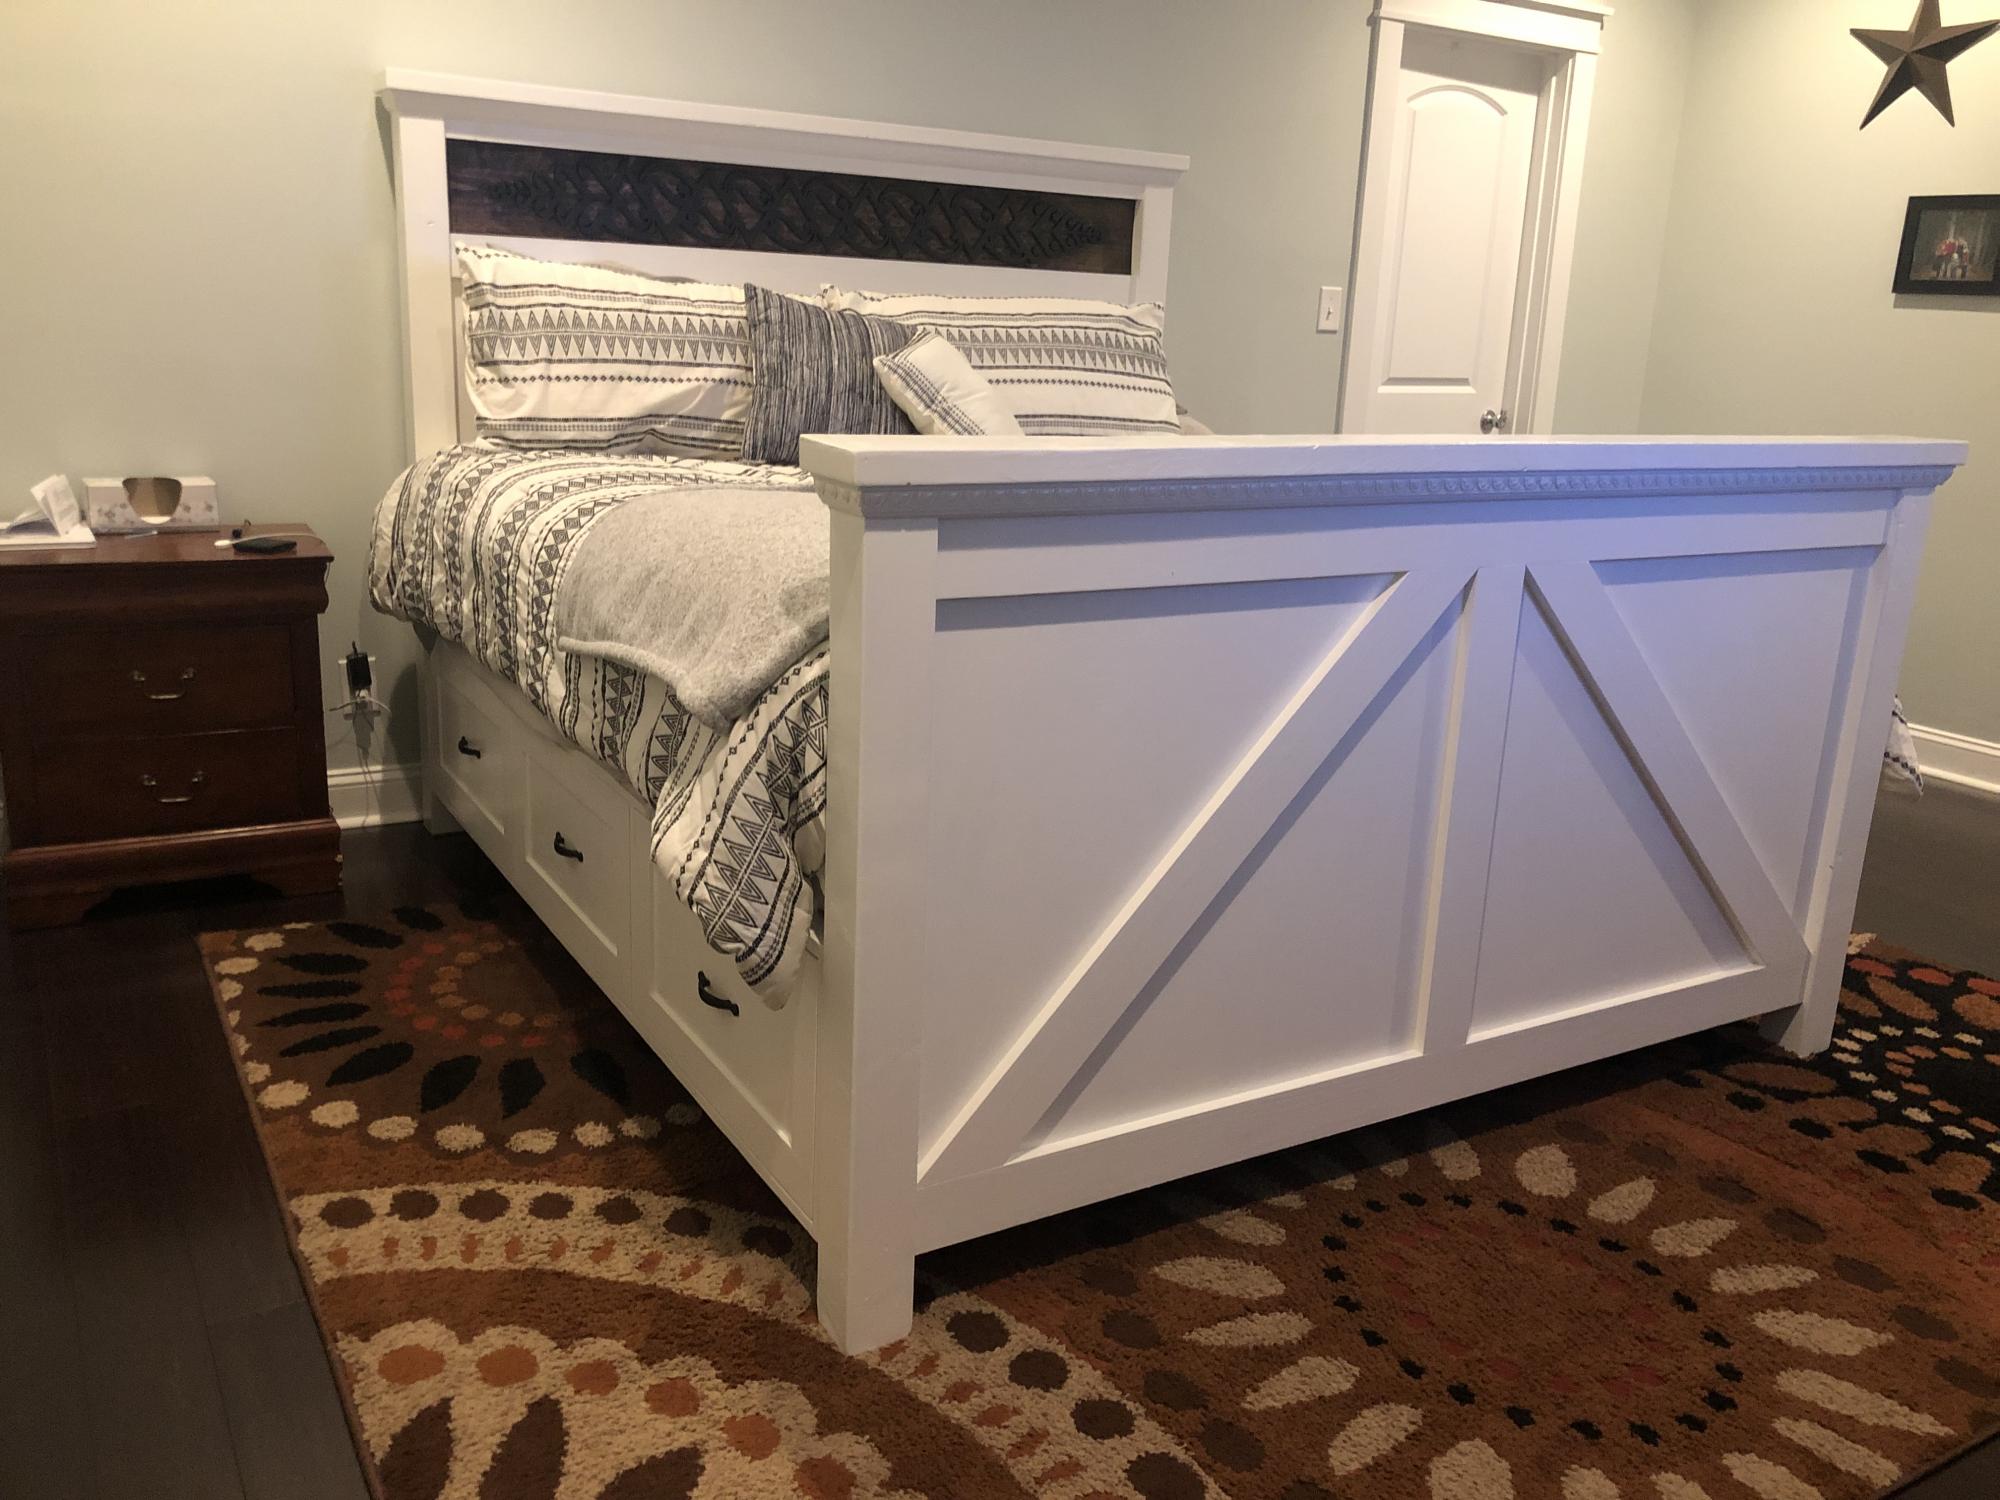
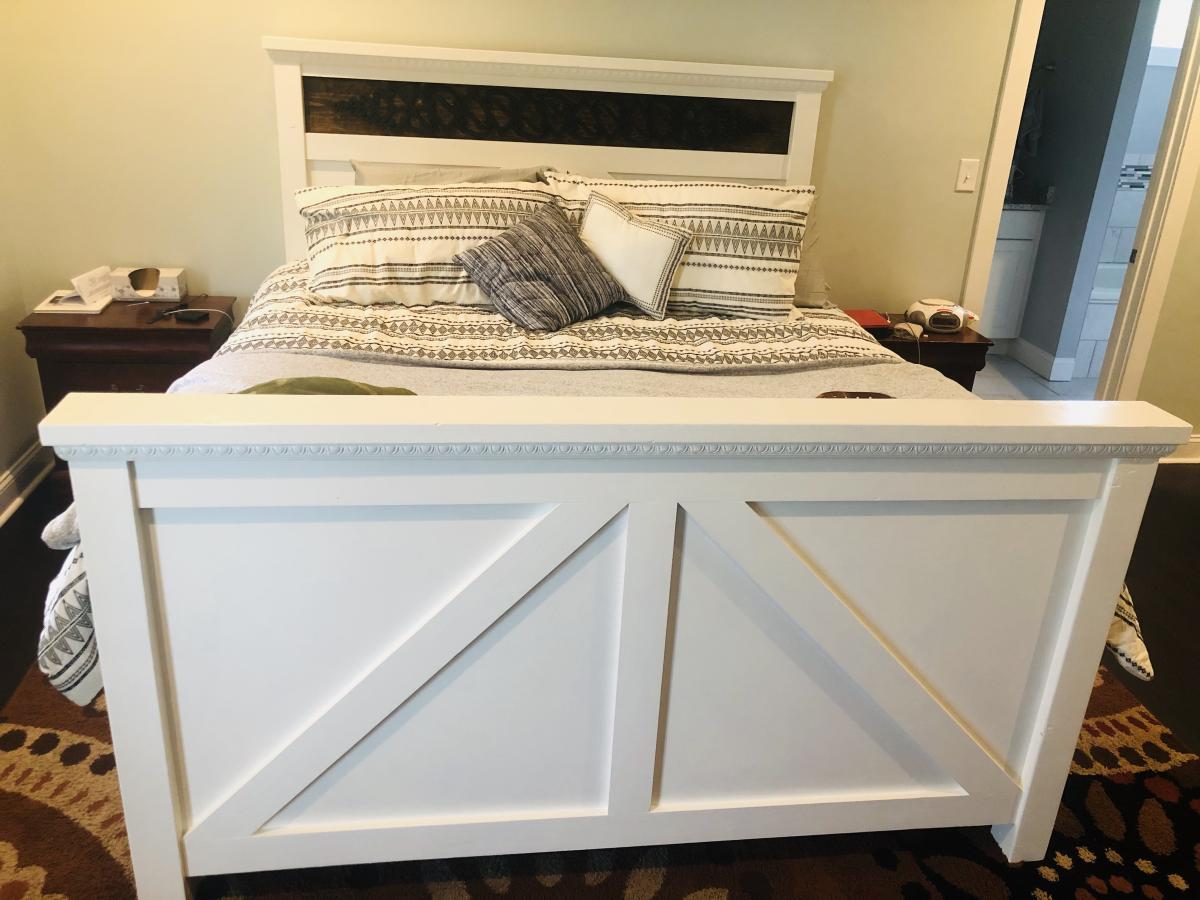
Modern Farmhouse Bed
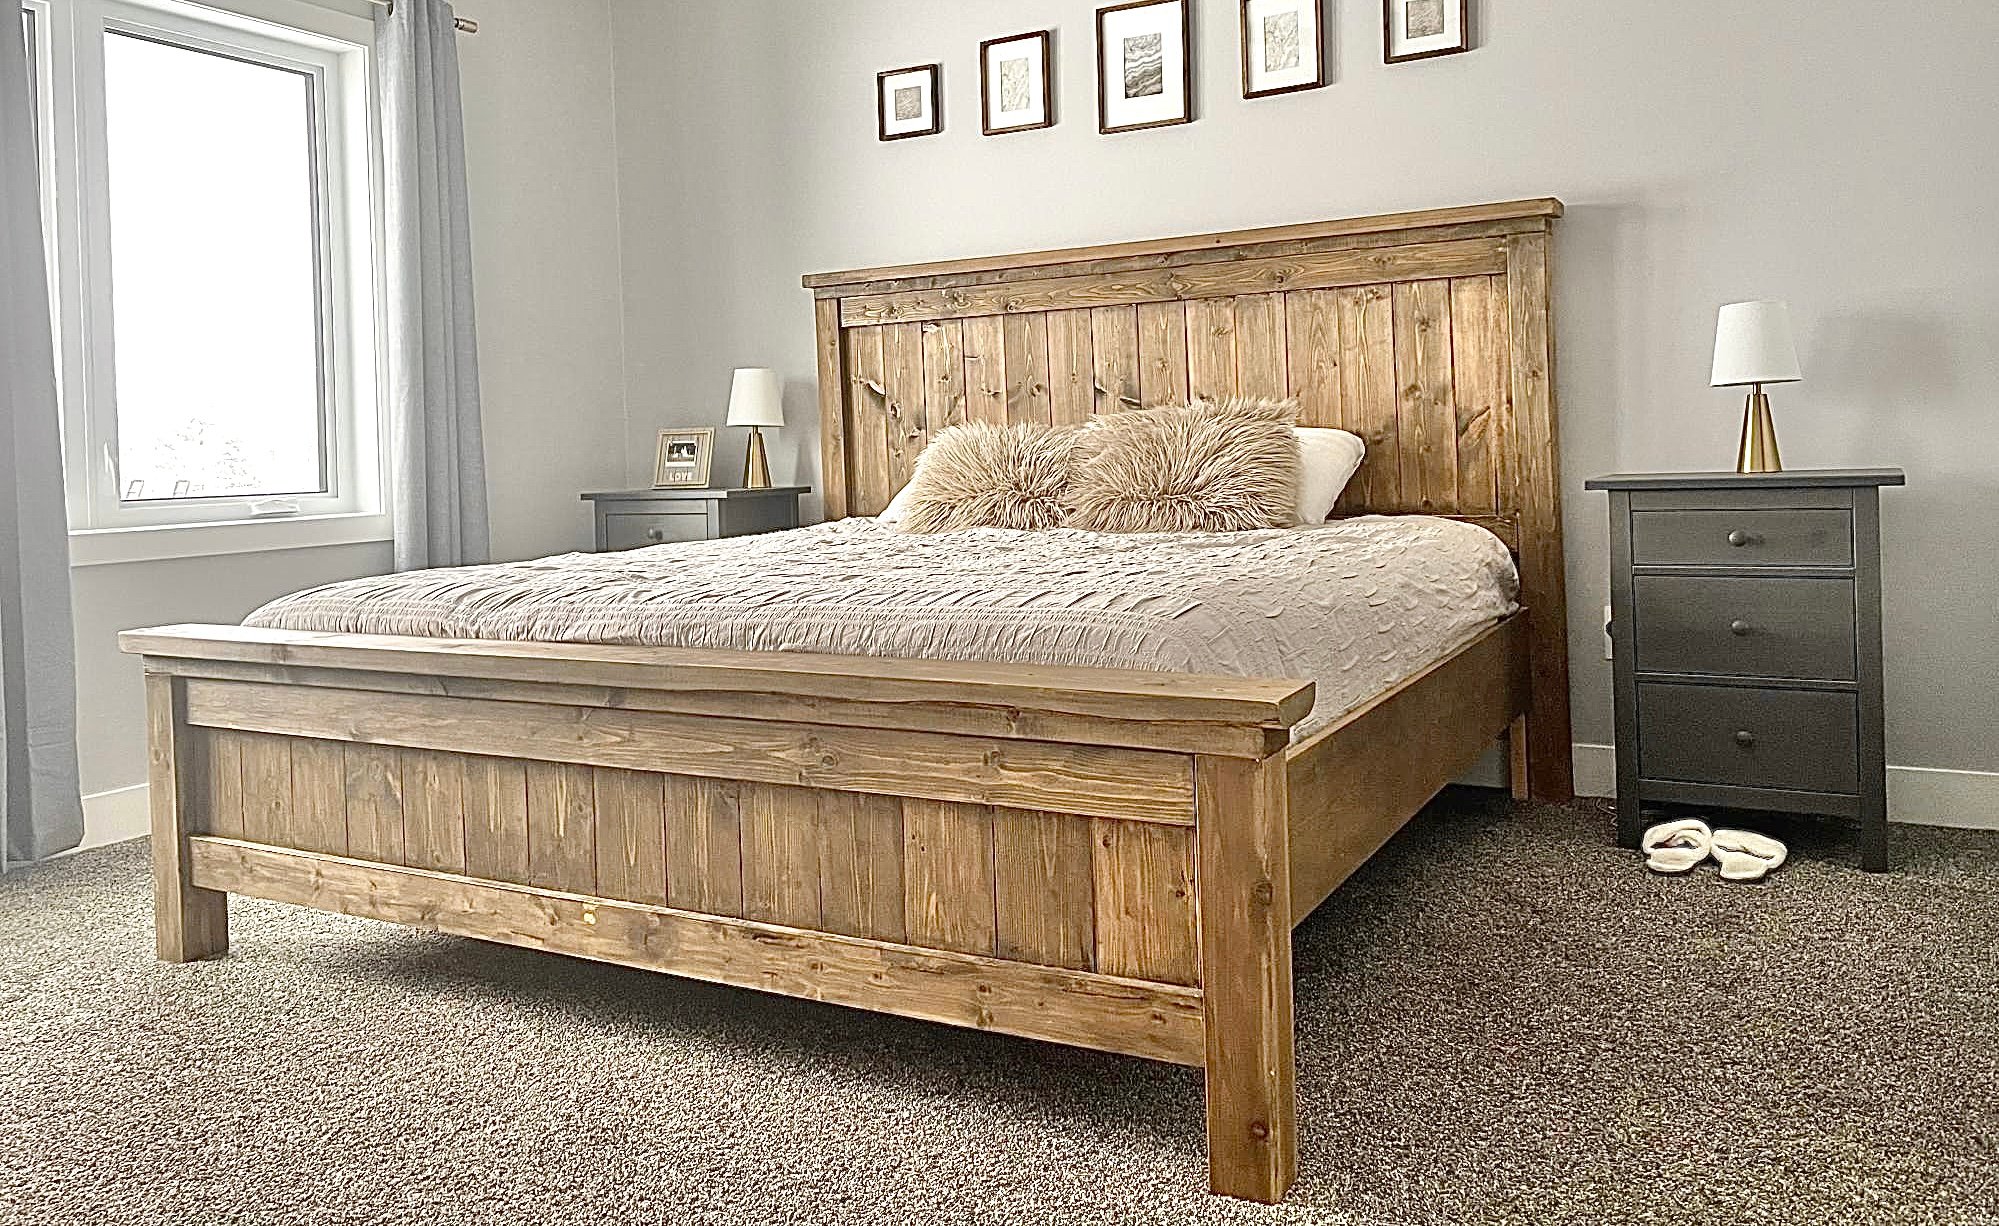
My husband and I had worked on this bed together, and we are so happy with it! We went with taller side tables that we purchased, and just stained the wood instead of painting it.
Built from Plan(s)
My husband and I had worked on this bed together, and we are so happy with it! We went with taller side tables that we purchased, and just stained the wood instead of painting it.
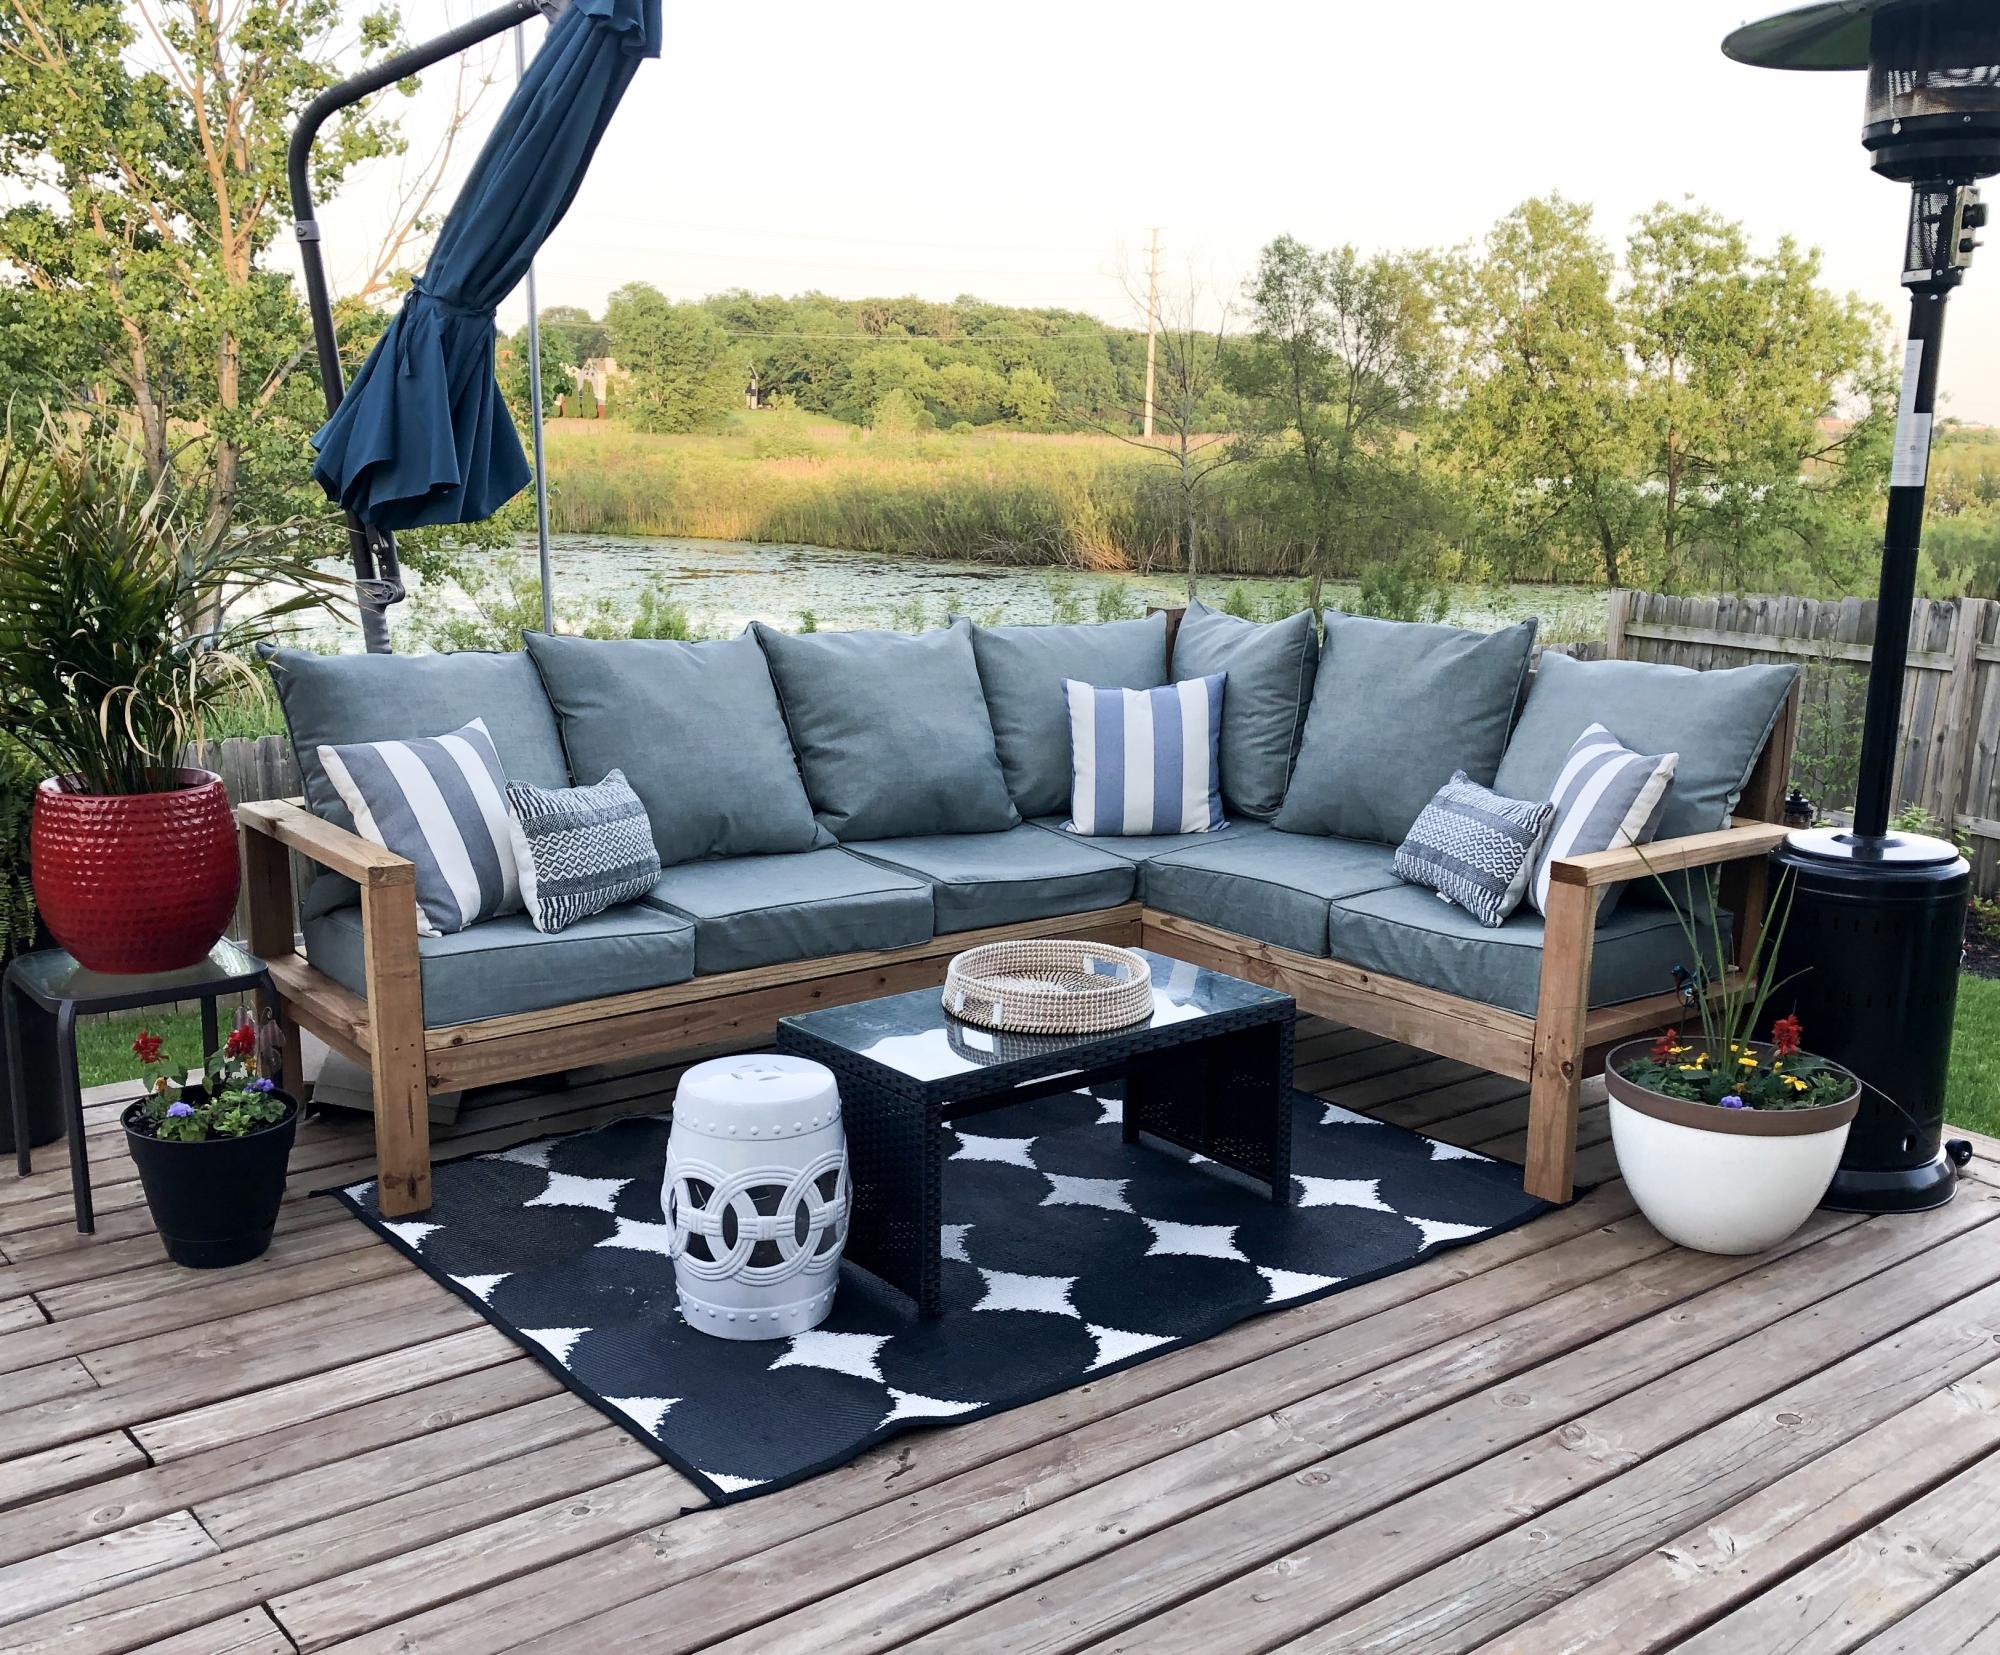
We built Ana’s outdoor sectional in a few hours and it’s made a huge impact on our deck! It saved us so much money but looks like a high end piece! Thank you for the simple and structured plans!

Fri, 06/07/2019 - 10:53
This is gorgeous! You really have an eye for putting different colors, textures and patterns together! Thank you so much for sharing a brag post.
Great plans and easy to follow!
Great pans and made my own hardware with the link that was on the site....
After a successful attempt at Ana’s farmhouse desk I decided to make a bed for my wife... needless to say I think she likes it! Thanks to Ana and Pretty Handy Girl’s plans! (This is my 3rd woodworking project)
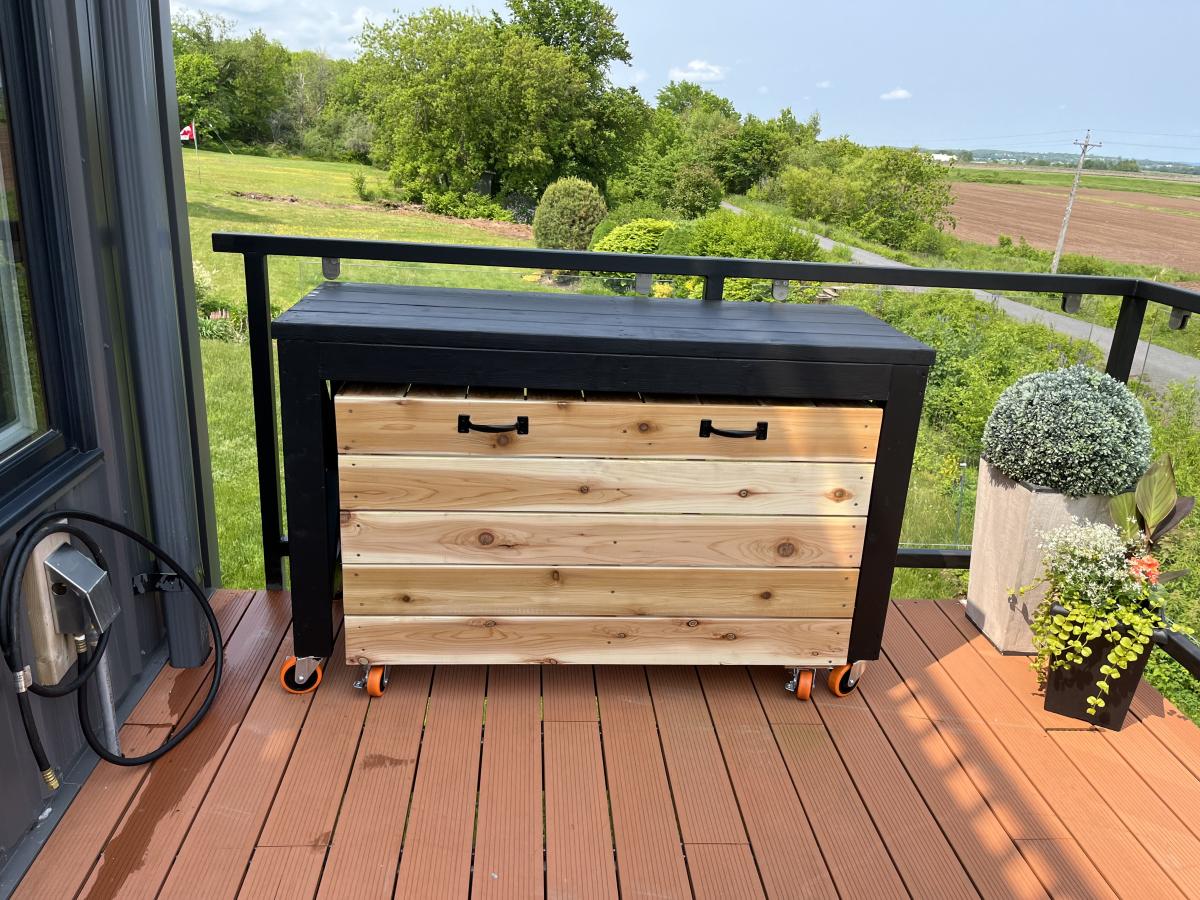
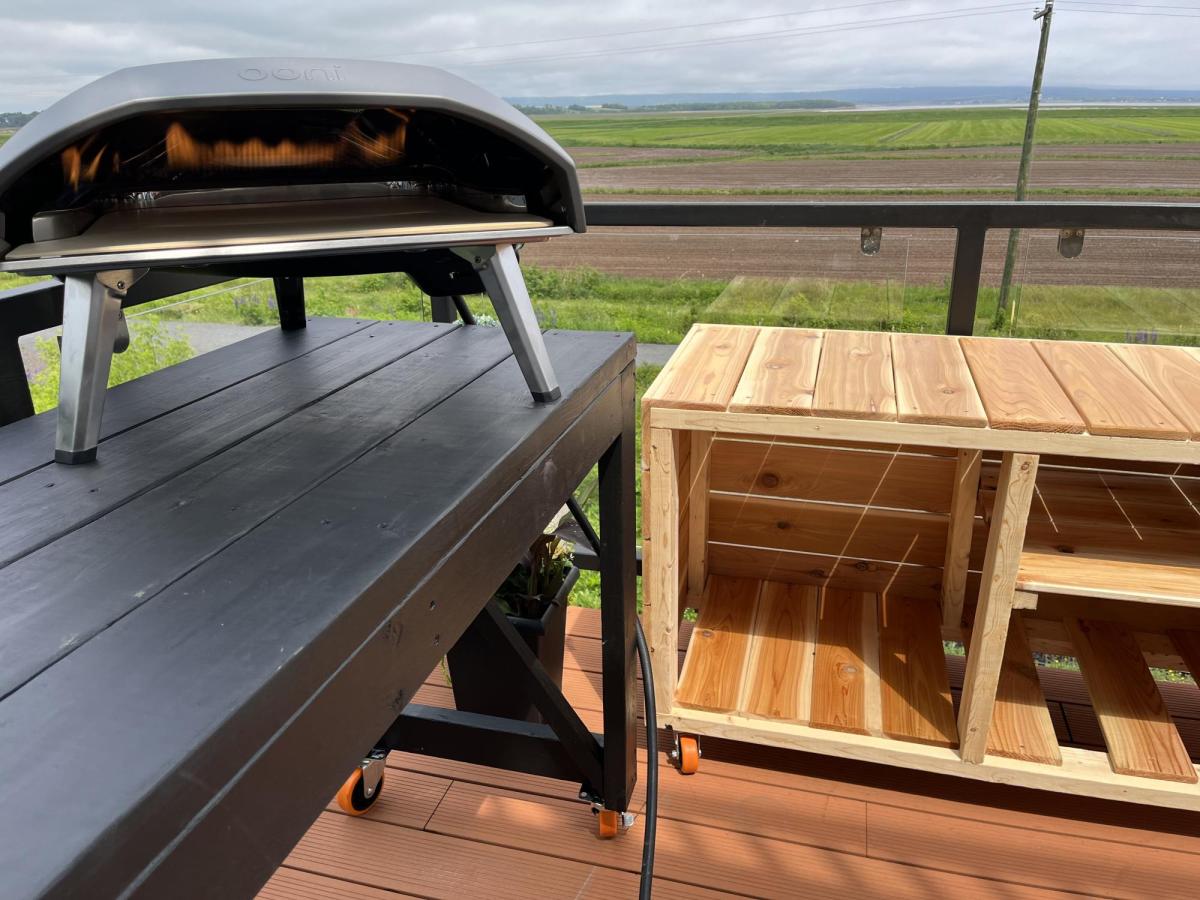
Not quite big enough for Pizza Oven, but love the plans!

Sat, 06/10/2023 - 07:25
Not quite big enough for Pizza Oven but love the plans!!

I had so much fun building this and has already proven to be helpful. Thanks for the wonderful plans! Can't wait to begin my next building project for this small space.

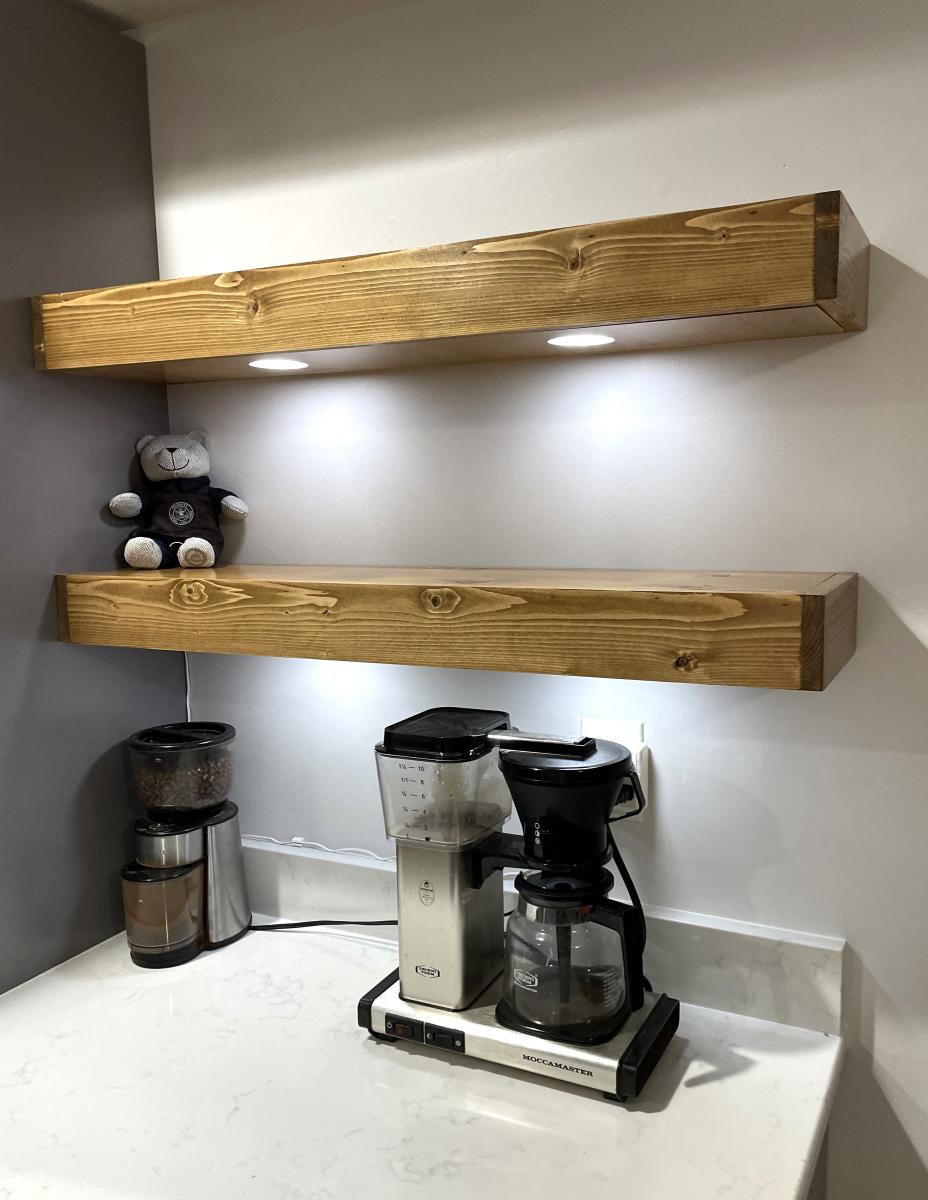
This was our first build from wood to finished product! I had done some refinishing furniture project, but never a project from raw wood like this. It was easy to do, the hardest was installing the smart lights and making sure they worked!

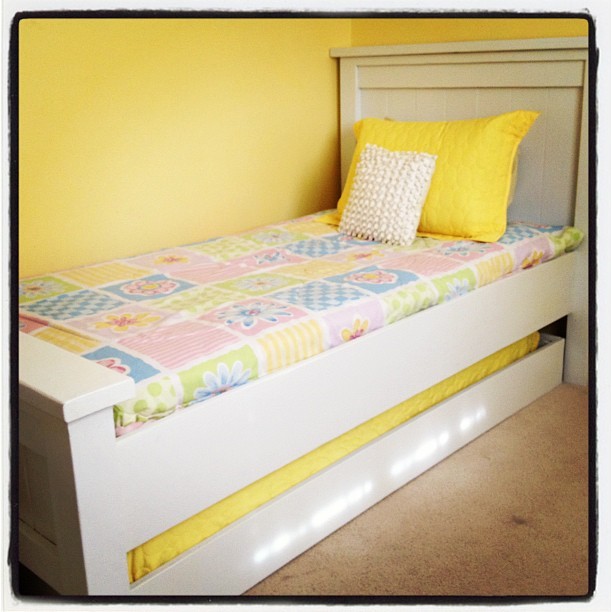
This is the twin farmhouse bed and the matching trundle. We chopped about 8 inches off the headboard since we were not using a boxspring for our mattress. Other than that it's as written. I'm so thrilled to free up space in our girls' room!
Fri, 08/22/2014 - 16:27
This is exactly what I'm looking for!
My husband and I would like to begin building this ASAP. Could you please clarify for me that the original measurements for the Twin Farmhouse bed and the trundle bed will certainly be able to accommodate one another? I just want to make sure it'll fit! I think I saw someone else comment that they changed some of the measurements to make a trundle bed fit underneath, but they didn't go into detail.
We also won't be using a box spring.
Thank you for your help!
Ana,
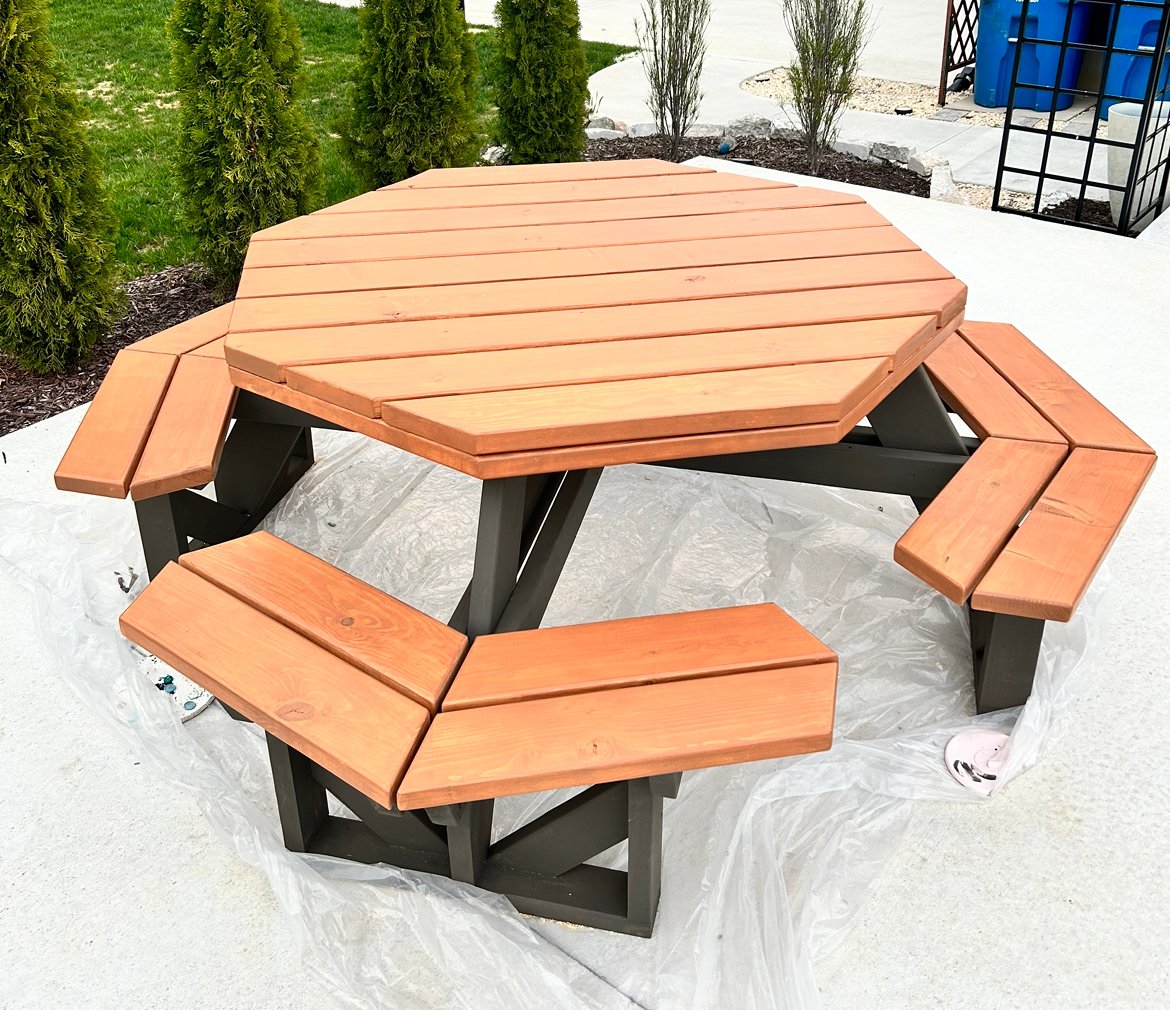
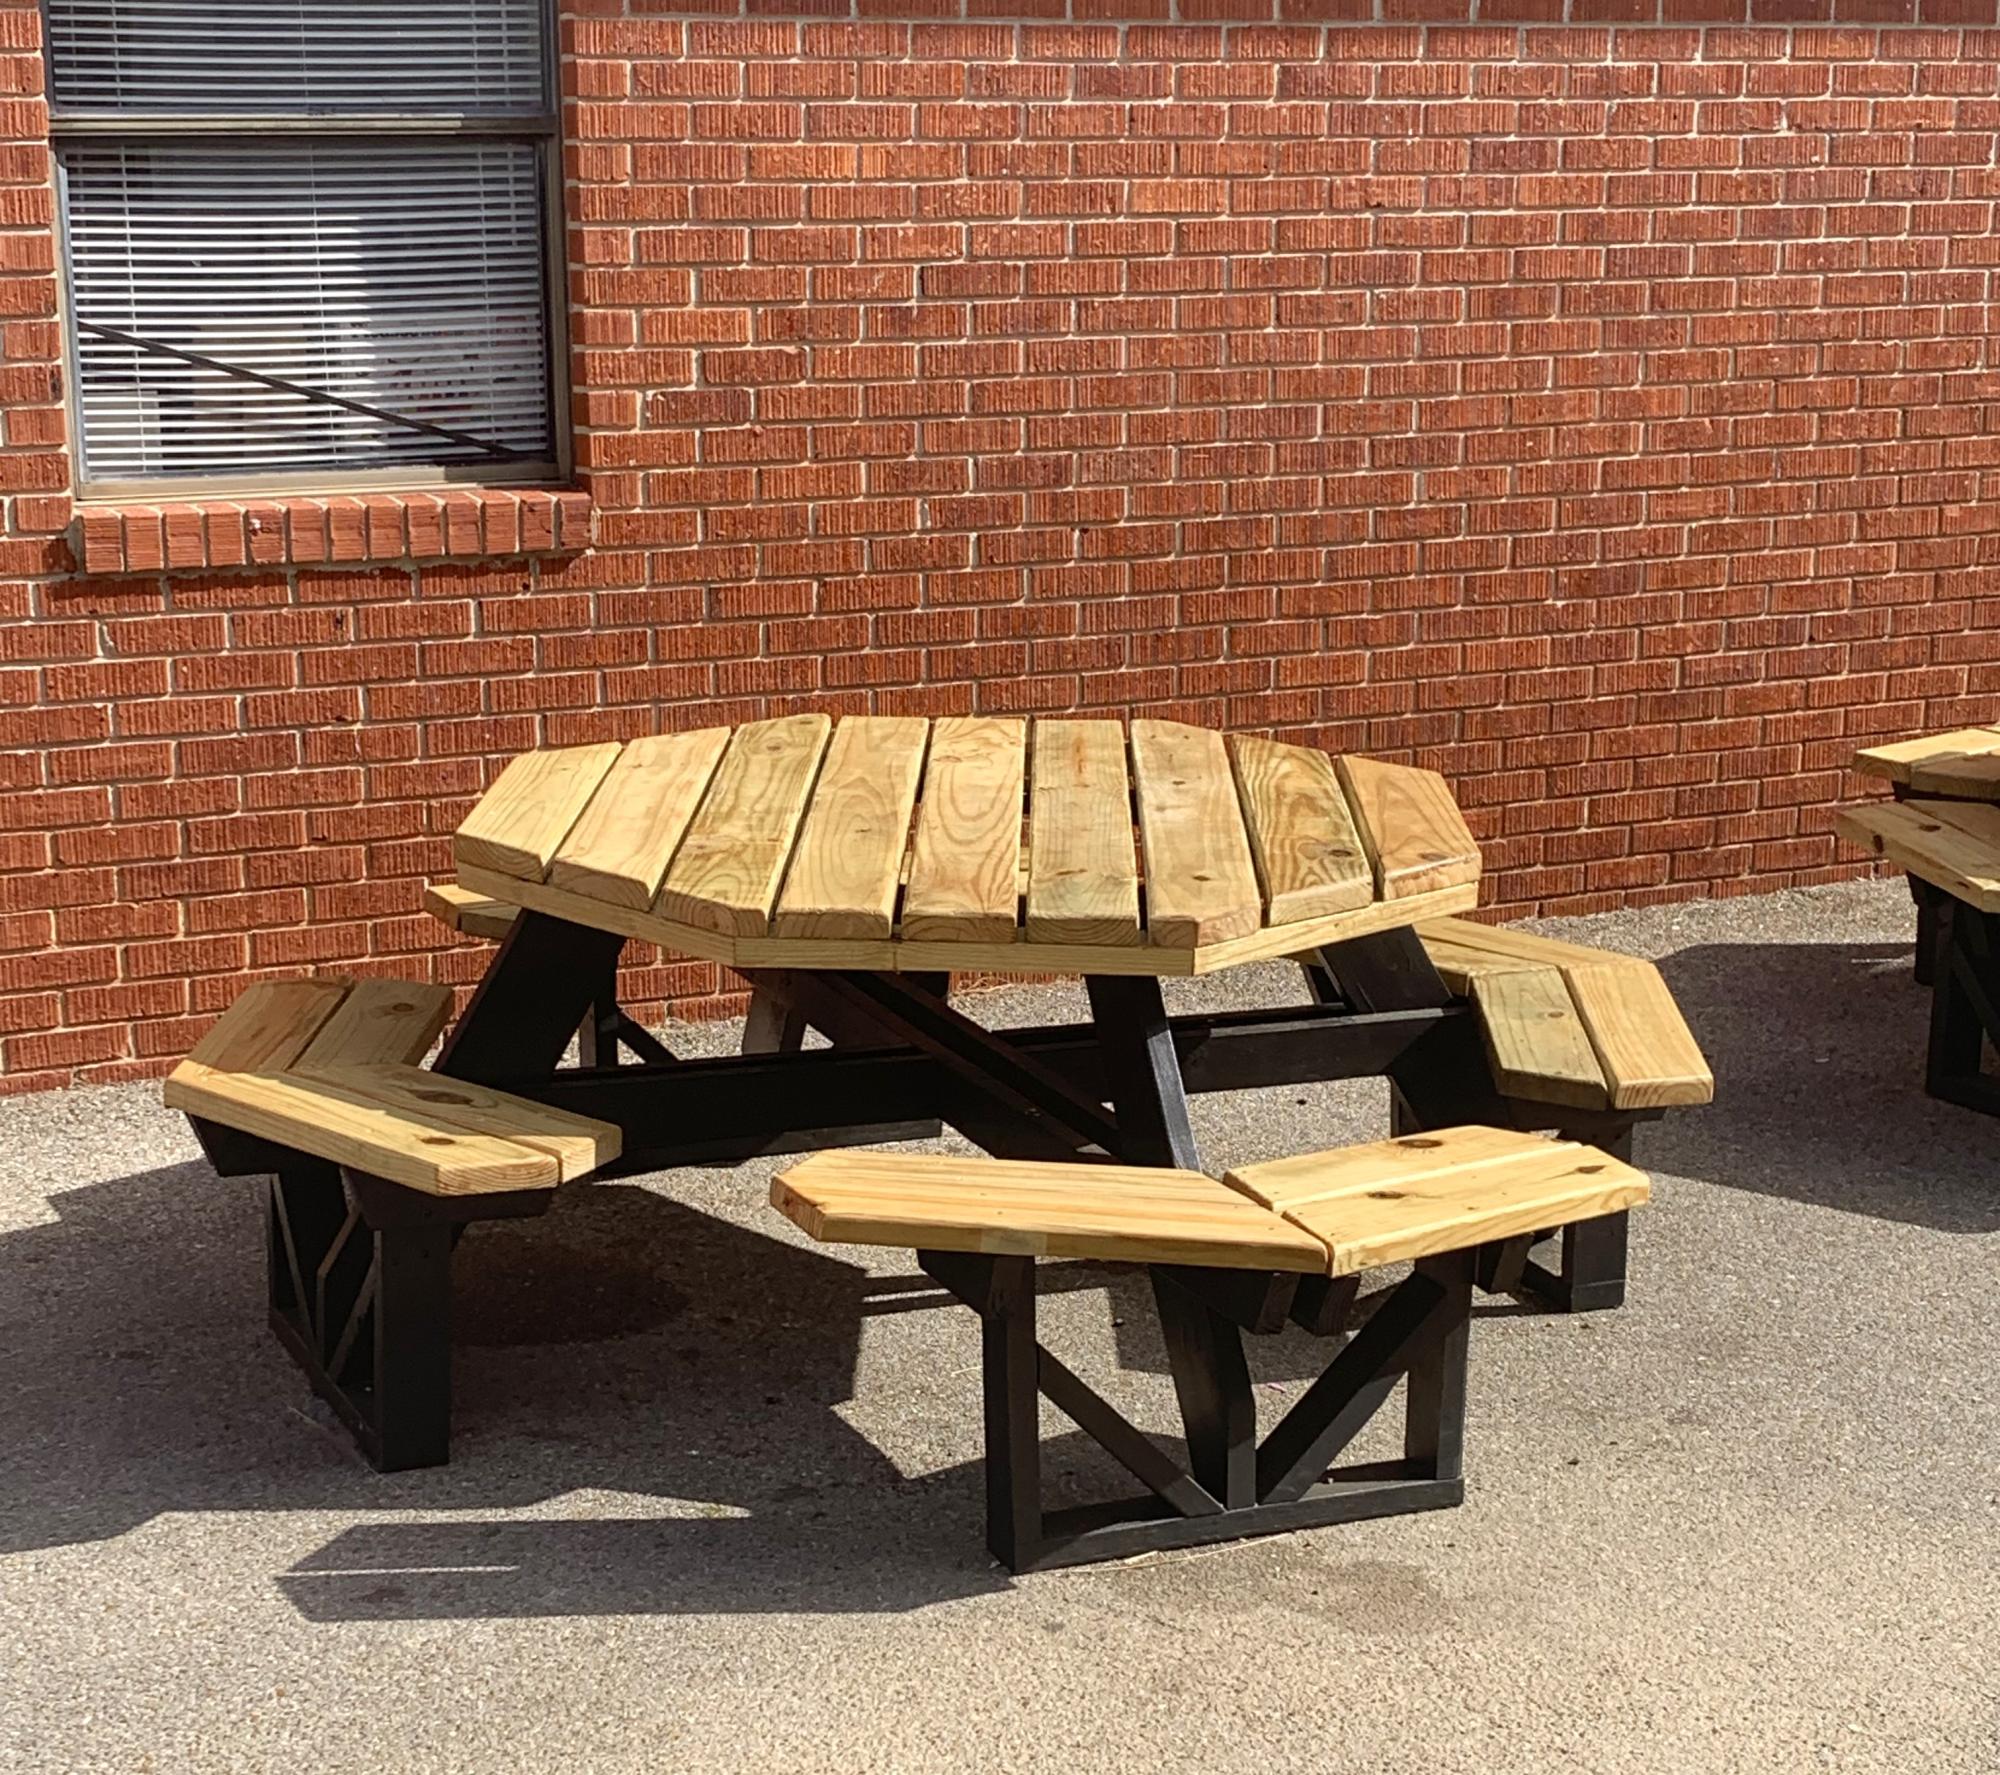
Thanks so much for your octagon picnic tables plans. I teach a Life Skills Class at Russell Christian Academy for middle school. This class of 18 students completed the build of 4 of these tables (with a little assistance from me) and are now being used as an outside dining area for all grades K-12. It was a great experience for the kids and I have received many positive comments about these tables.
Thanks again…
Dewayne Knight of Meridian, Mississippi
Sat, 11/18/2023 - 13:03
I love seeing these student projects. It's great that they are seeing them put to good use and people enjoying their hard work!
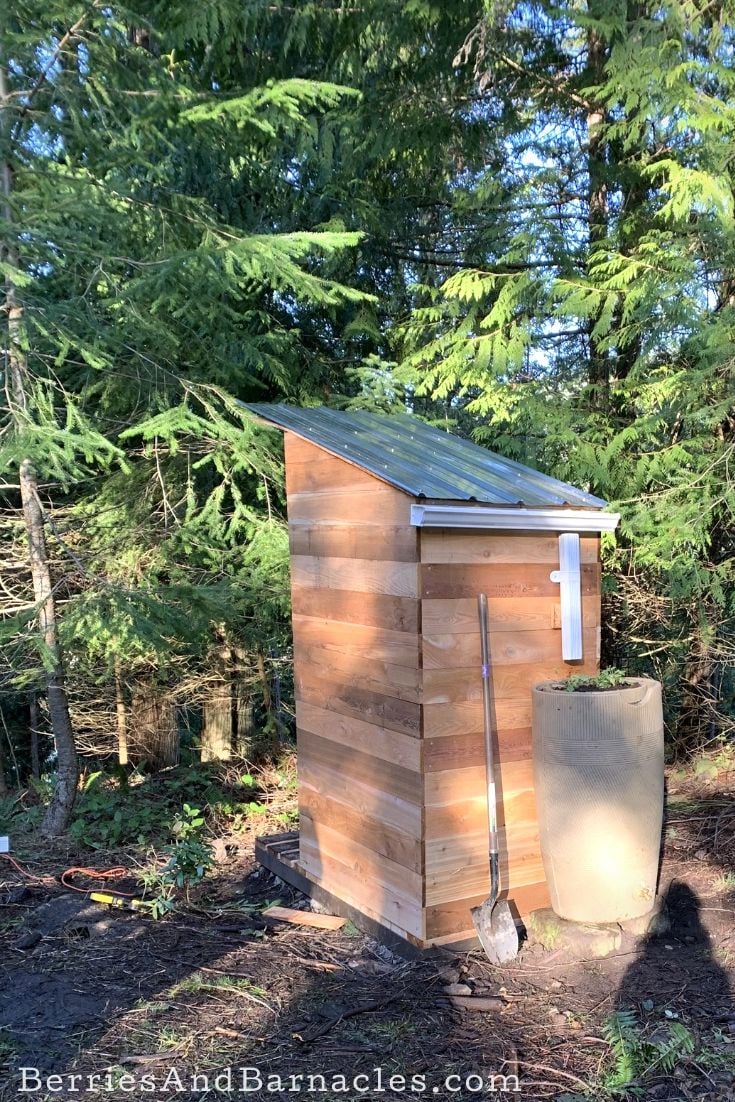
We built this composting toilet as one of the first things we did on our piece of vacant land. (How can you build anything else without somewhere to go when nature calls?)
An eco-friendly design was important to us, so we used cedar fencing instead of plywood. Otherwise, we followed Ana White's simple outhouse plans. It came out perfectly! It even has a rain barrel for hand washing.
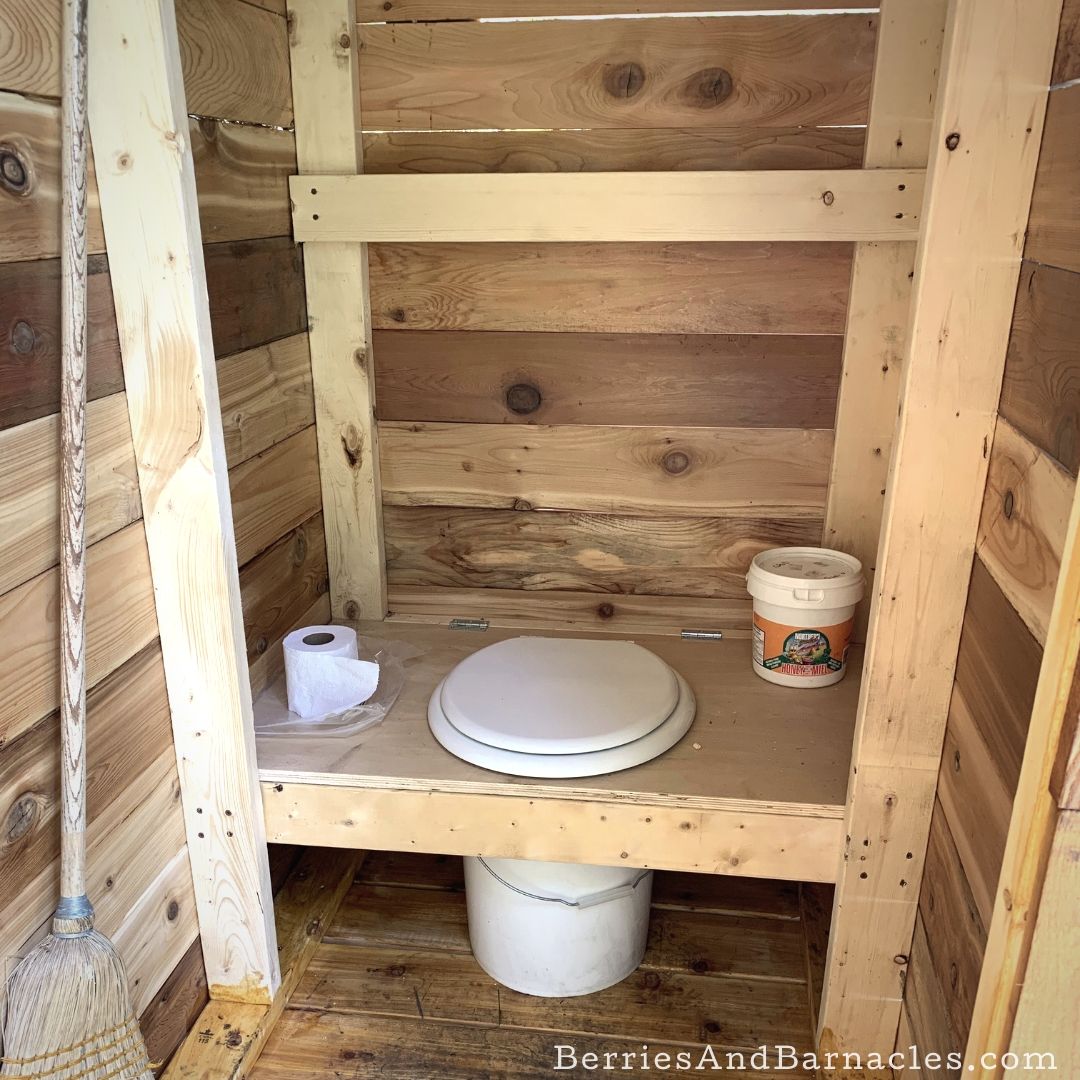
I altered the original plans in the following ways:
I'm not that experienced with projects so here are a couple of things I learned:
Thanks for the great plan! Now I can start on all the other projects on our improvement list.
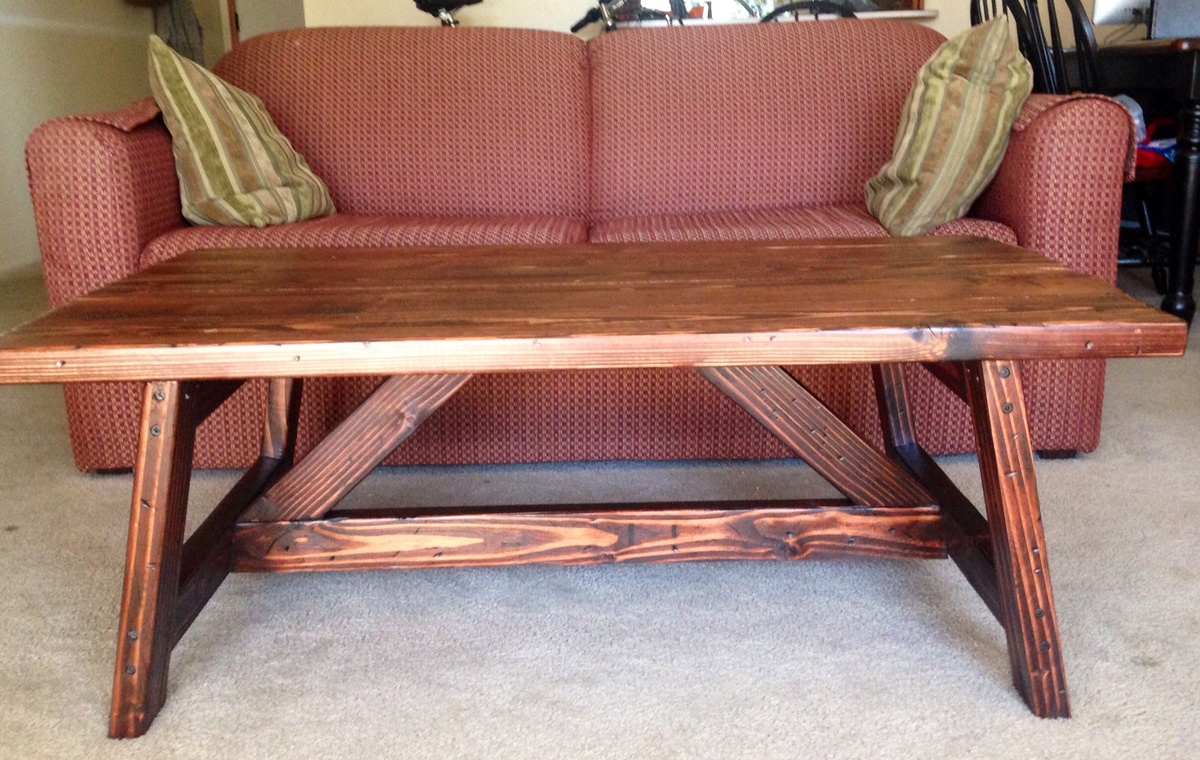
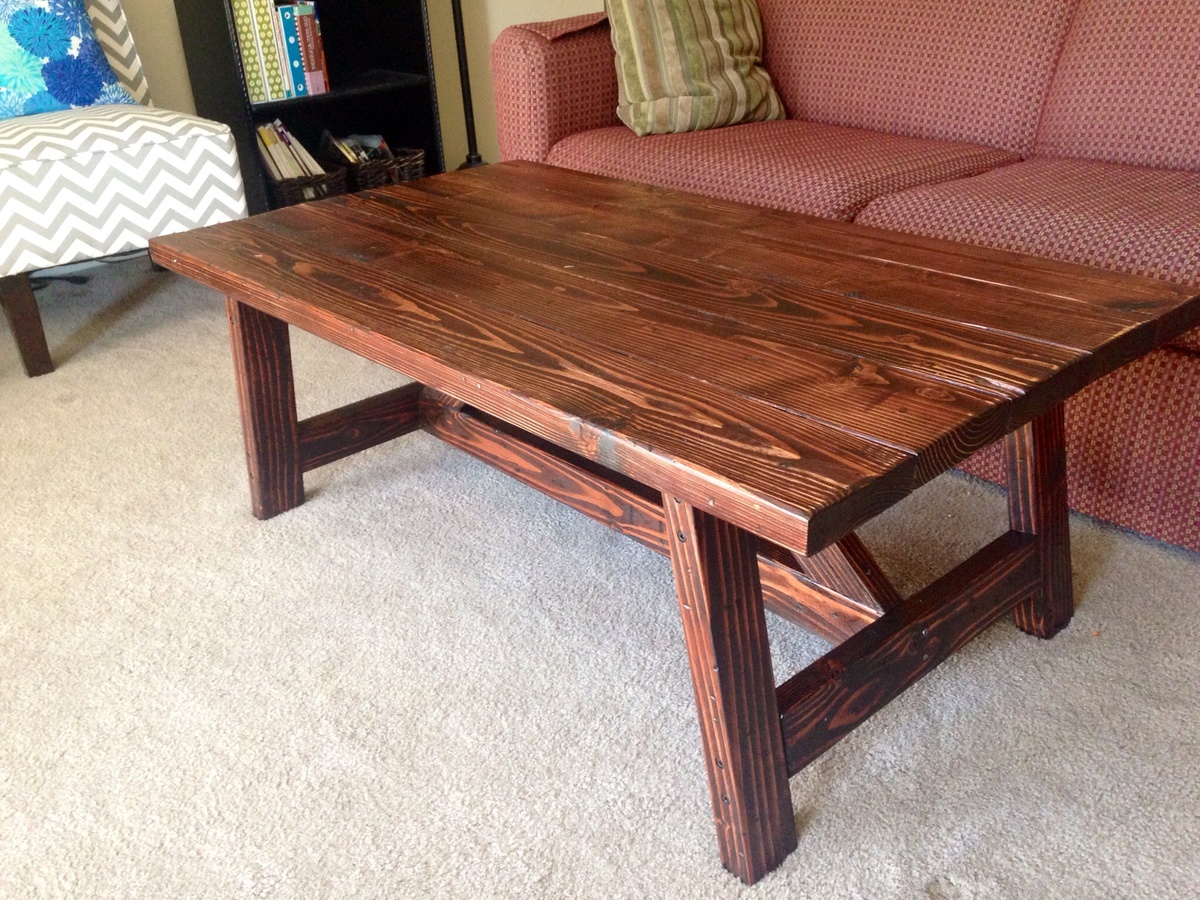
The first larger project I've done on my own. I distressed it some before staining it but no other changes were made to the plan.
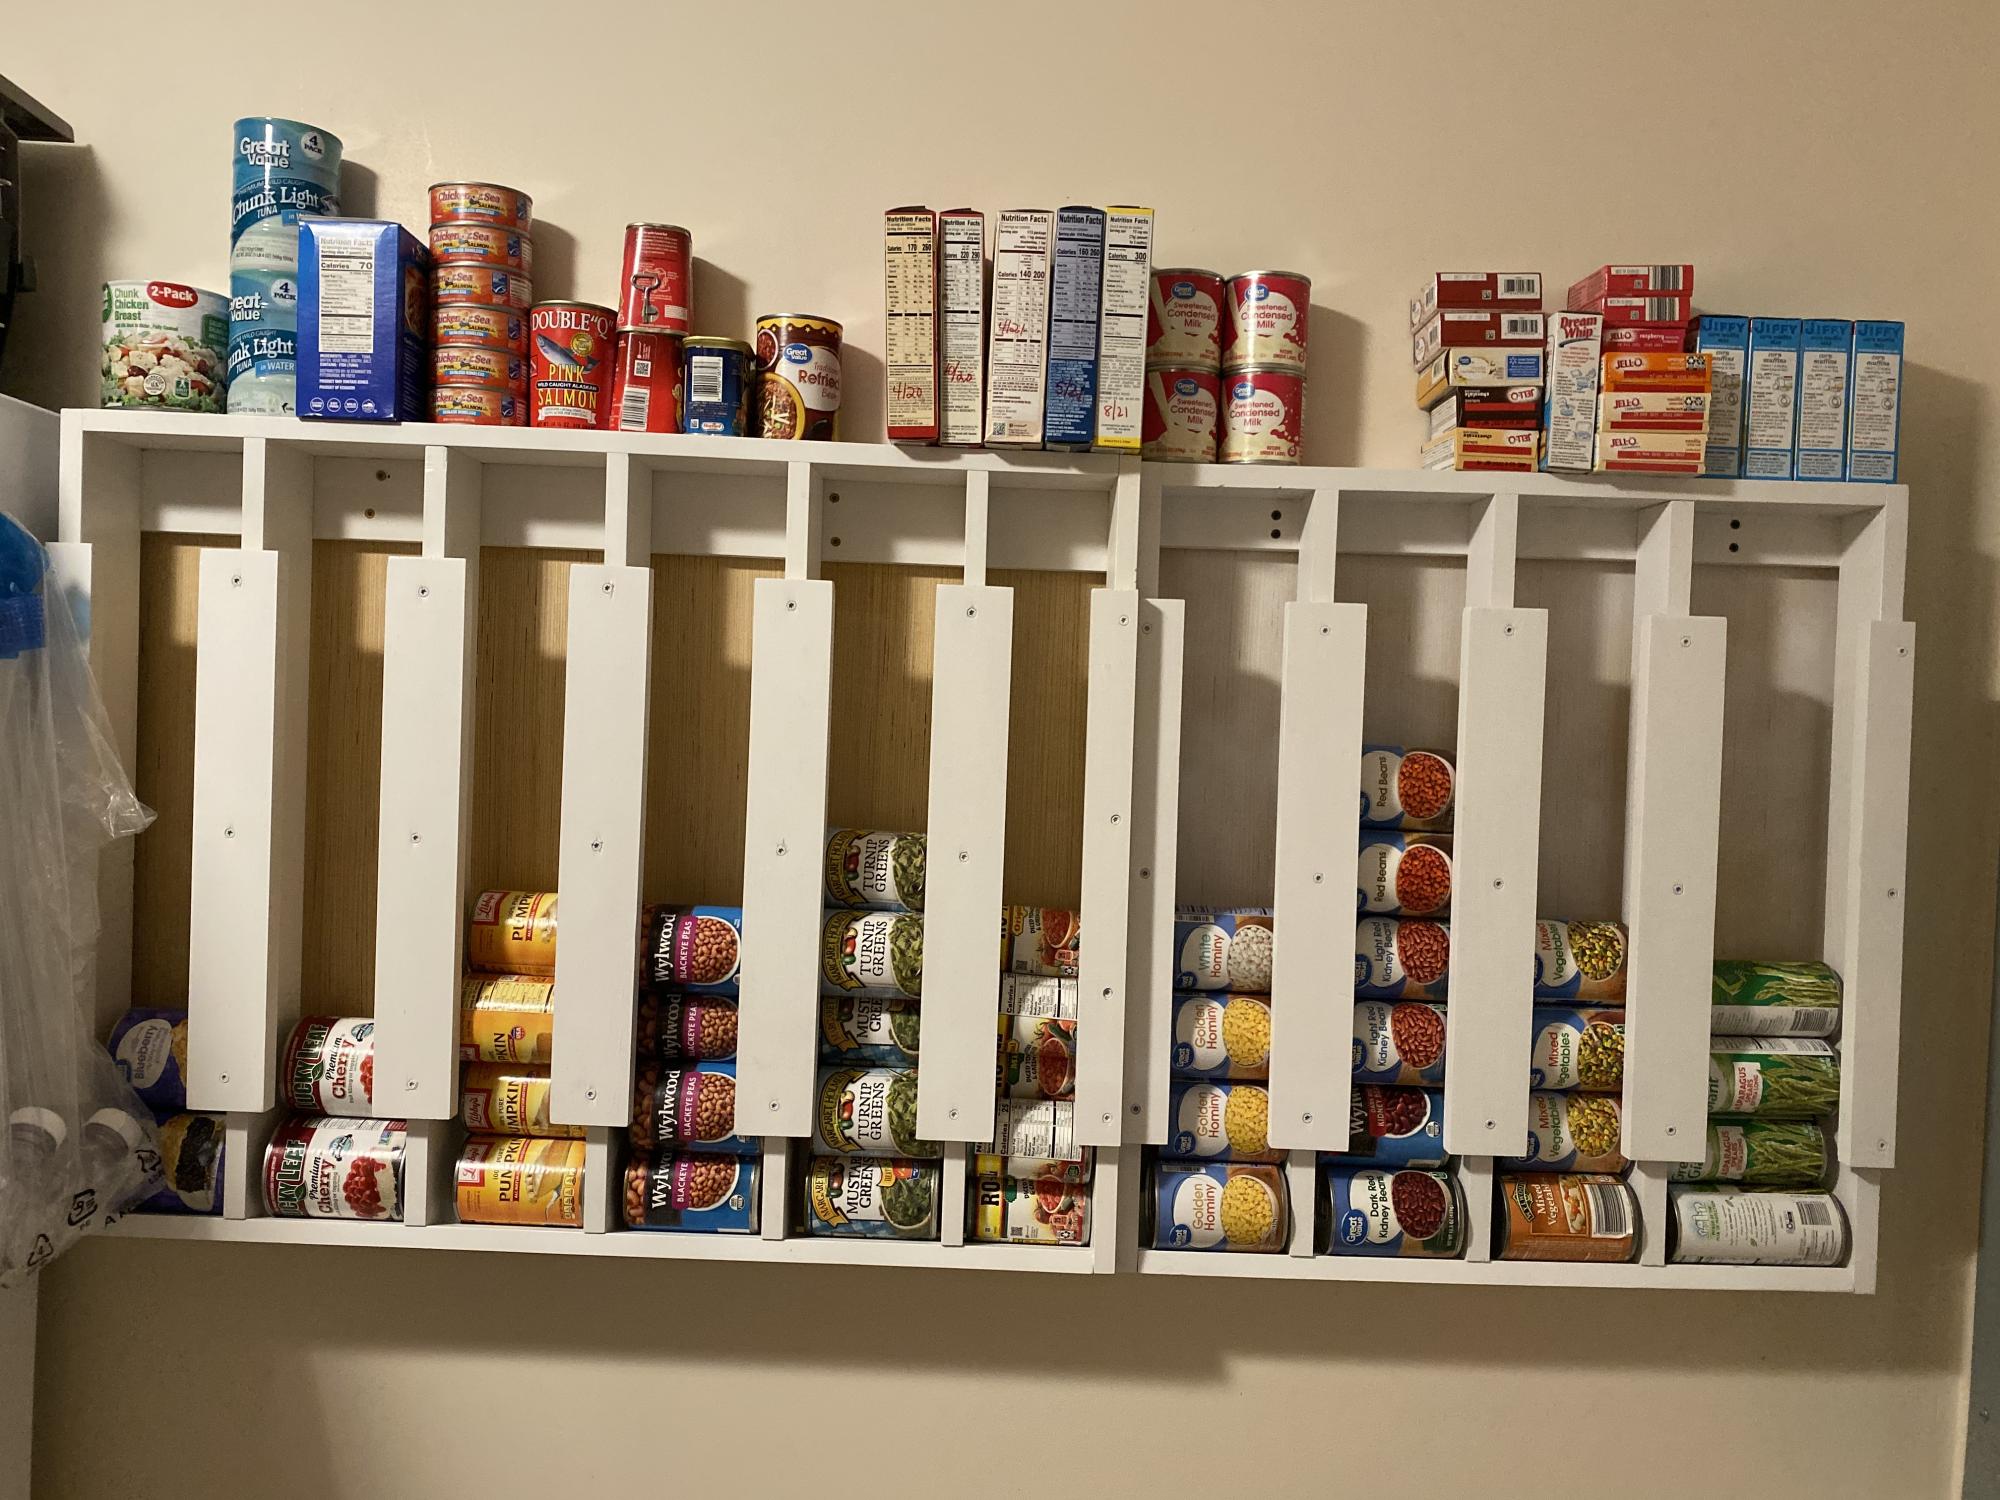
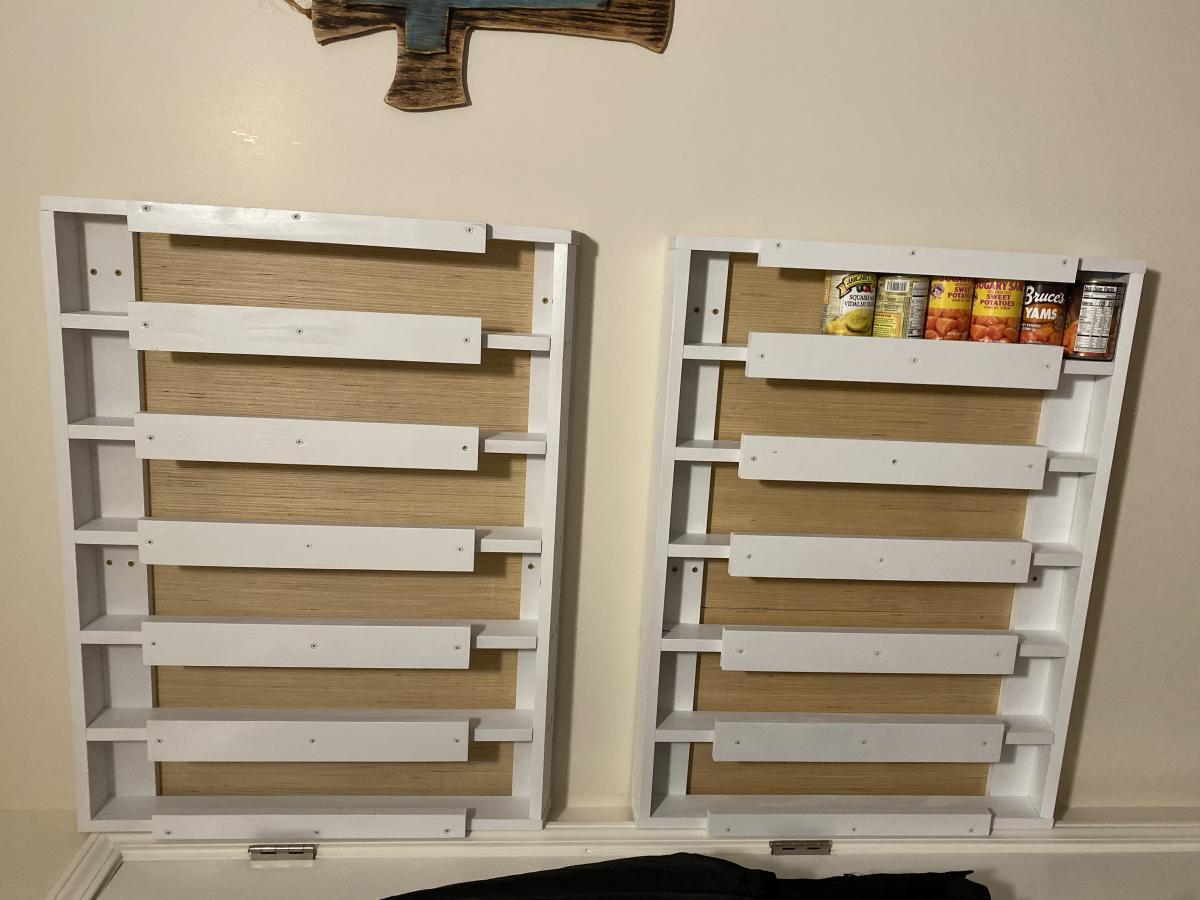
Added a backing of thin plywood to prevent the cans marking up the walls. I knew how many types of canned goods I wanted this to fit and adjusted the width to meet our needs. Love how this is going to save space in the pantry and with just a glance I can see what we have on hand.
Thanks Ana for another great plan!
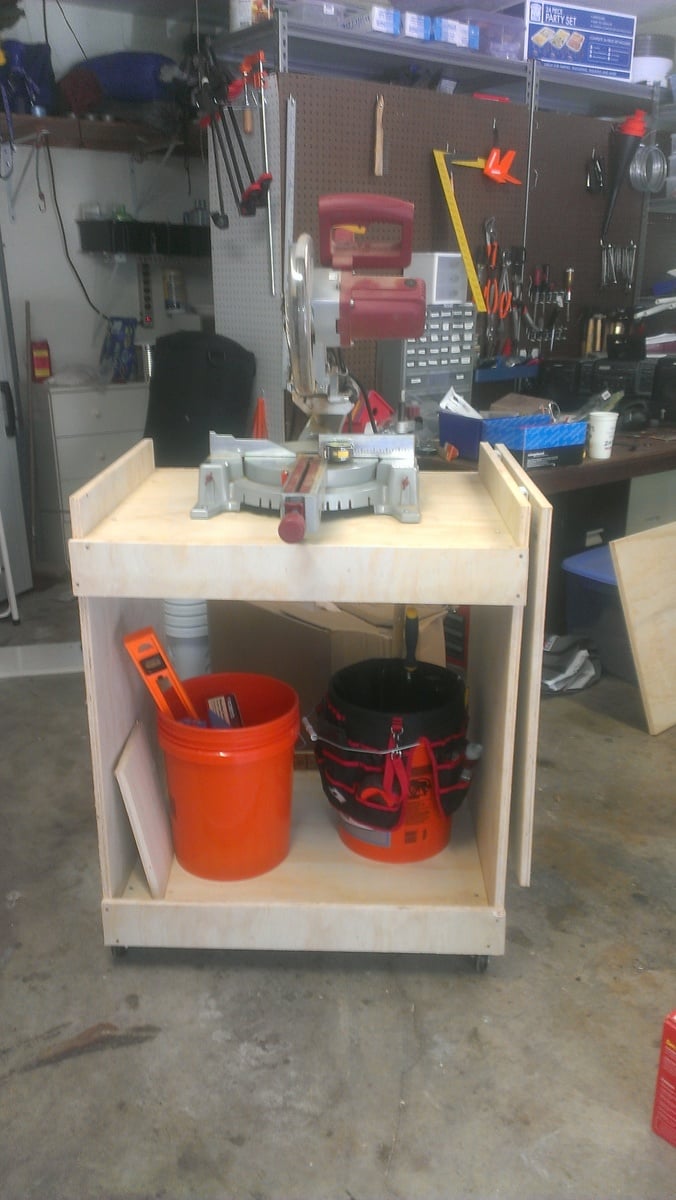
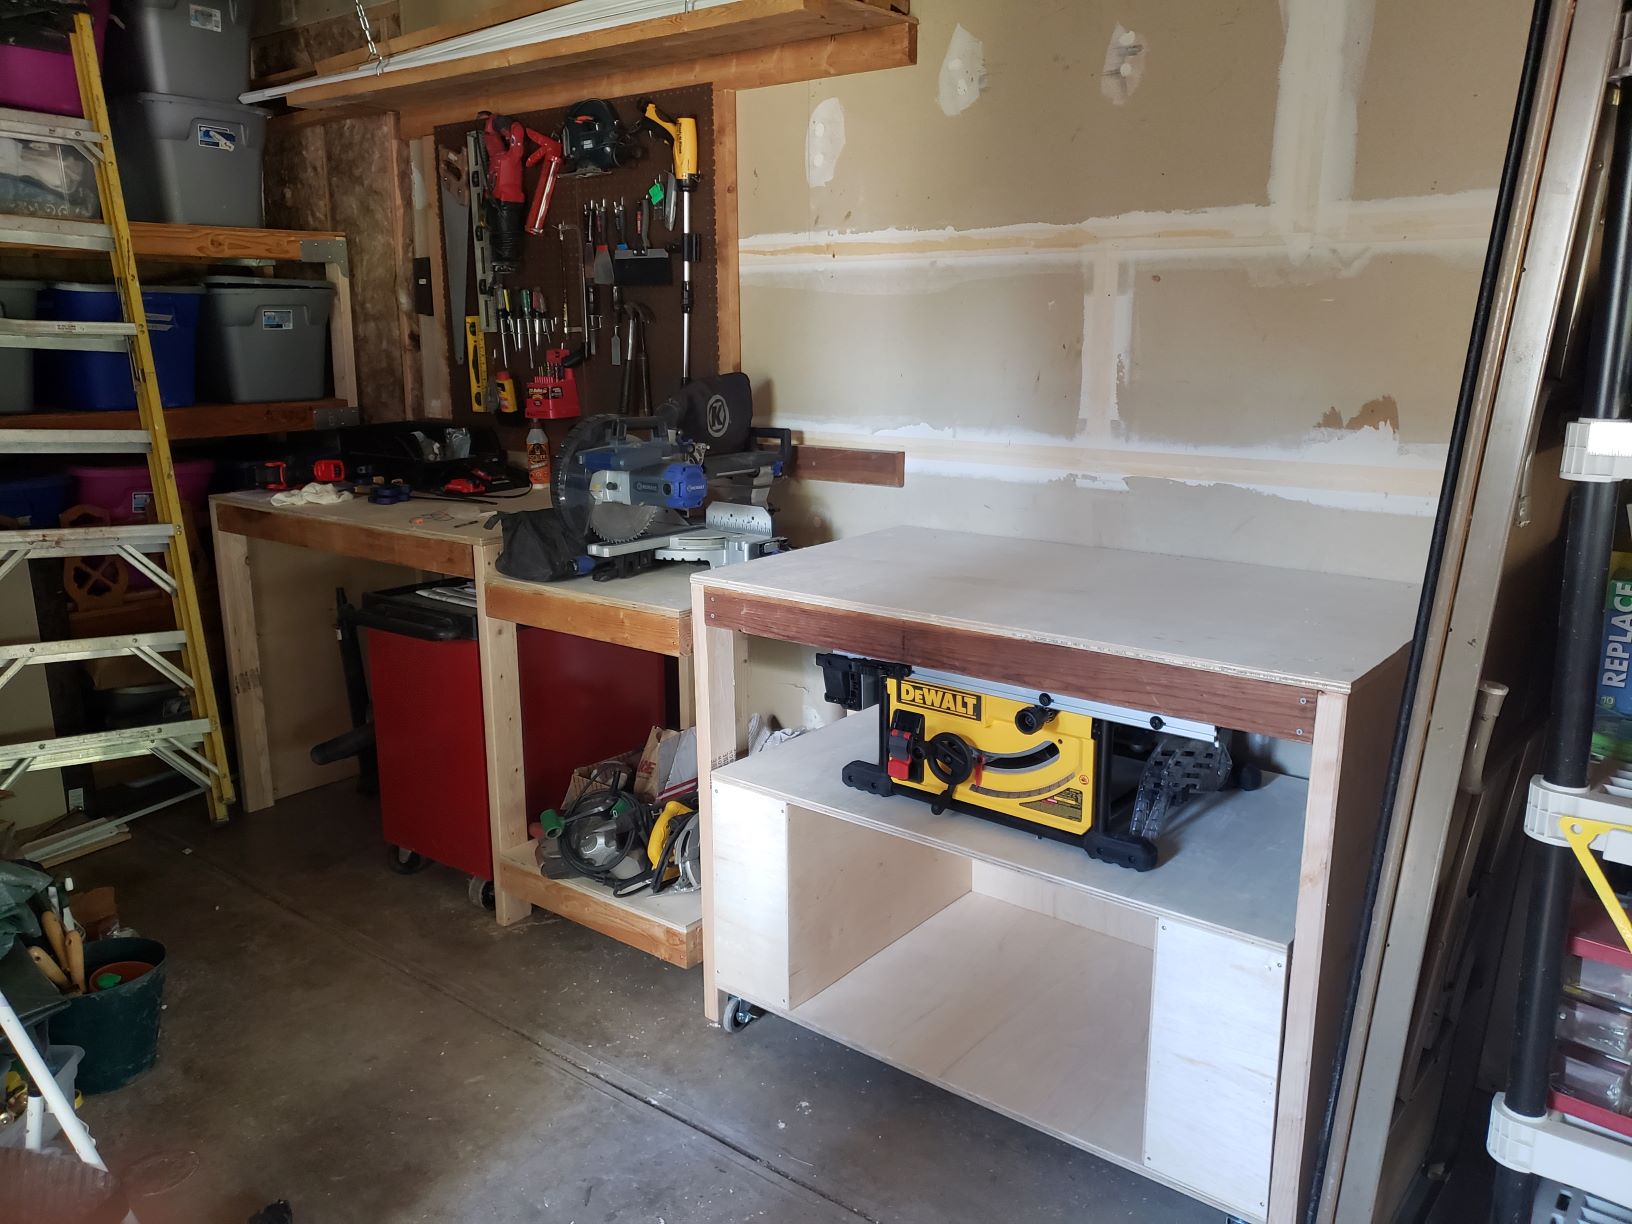
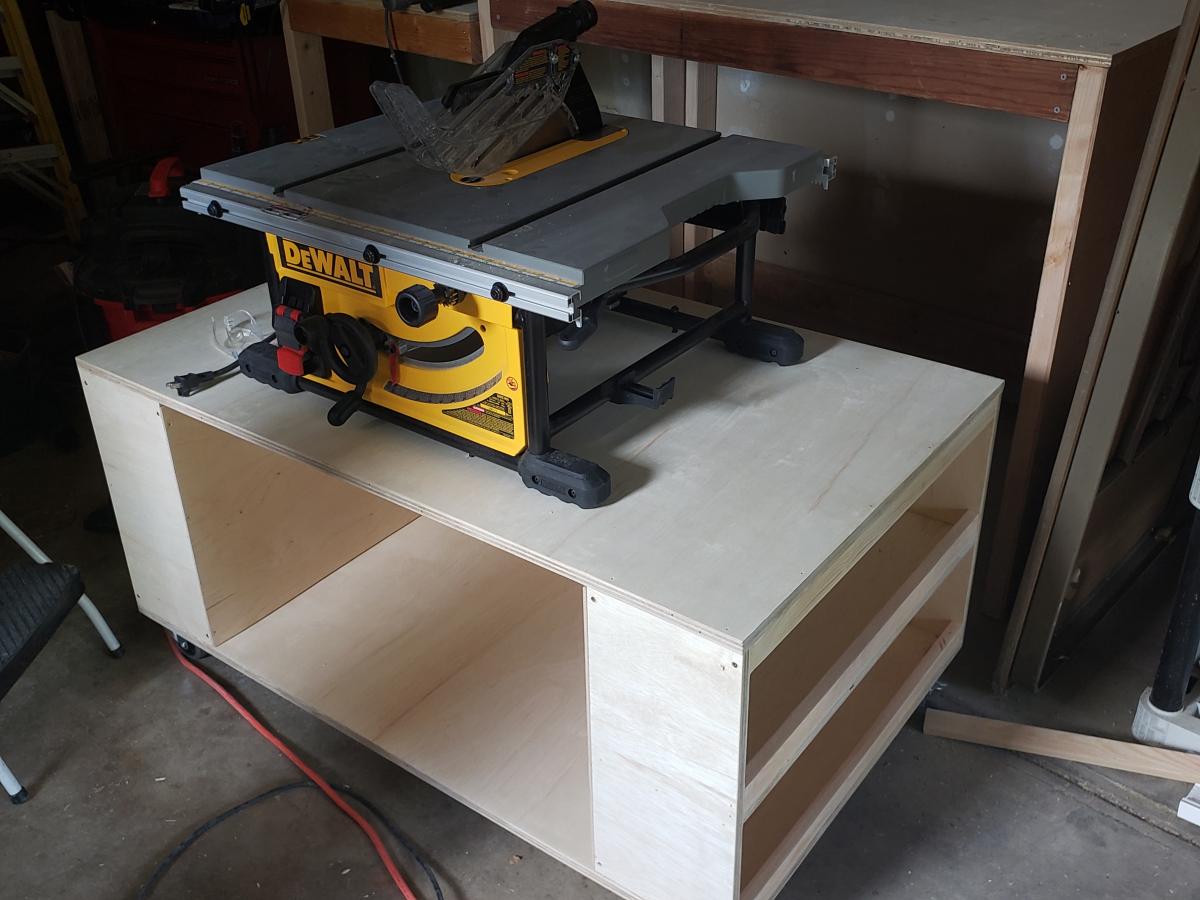
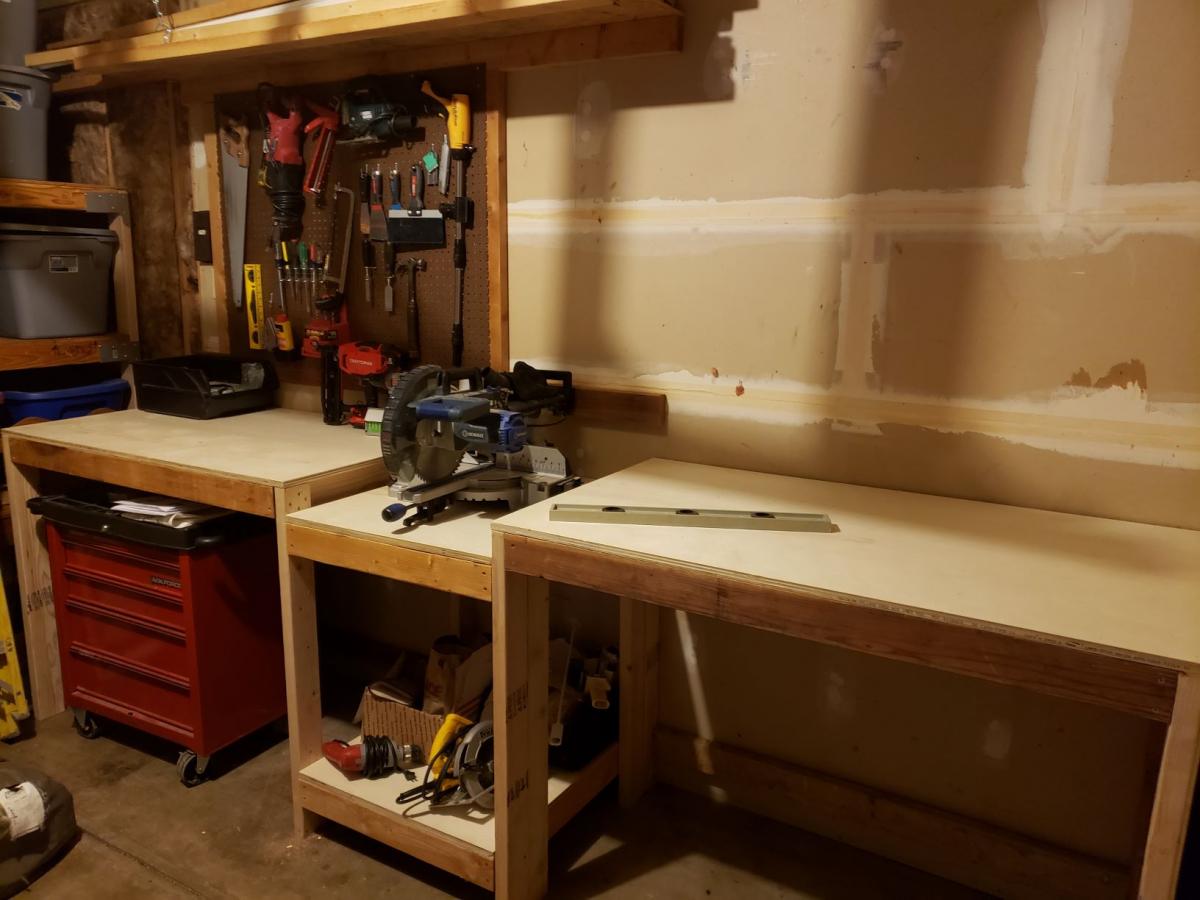
I made the miter saw cart today. It took me about 2.5 hrs, but I was going slow and taking lots of breaks.
Fri, 04/05/2013 - 10:46
Looks great! I really, really need to build one these. Are you happy with the way it works?
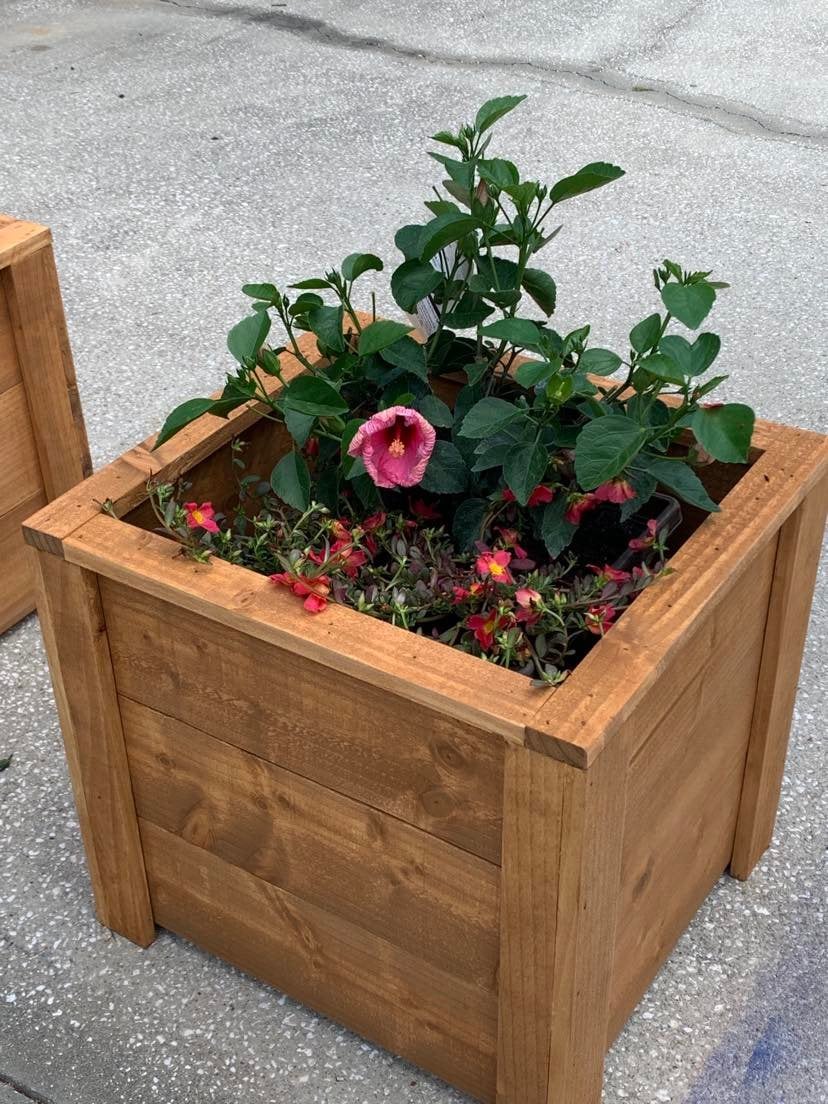
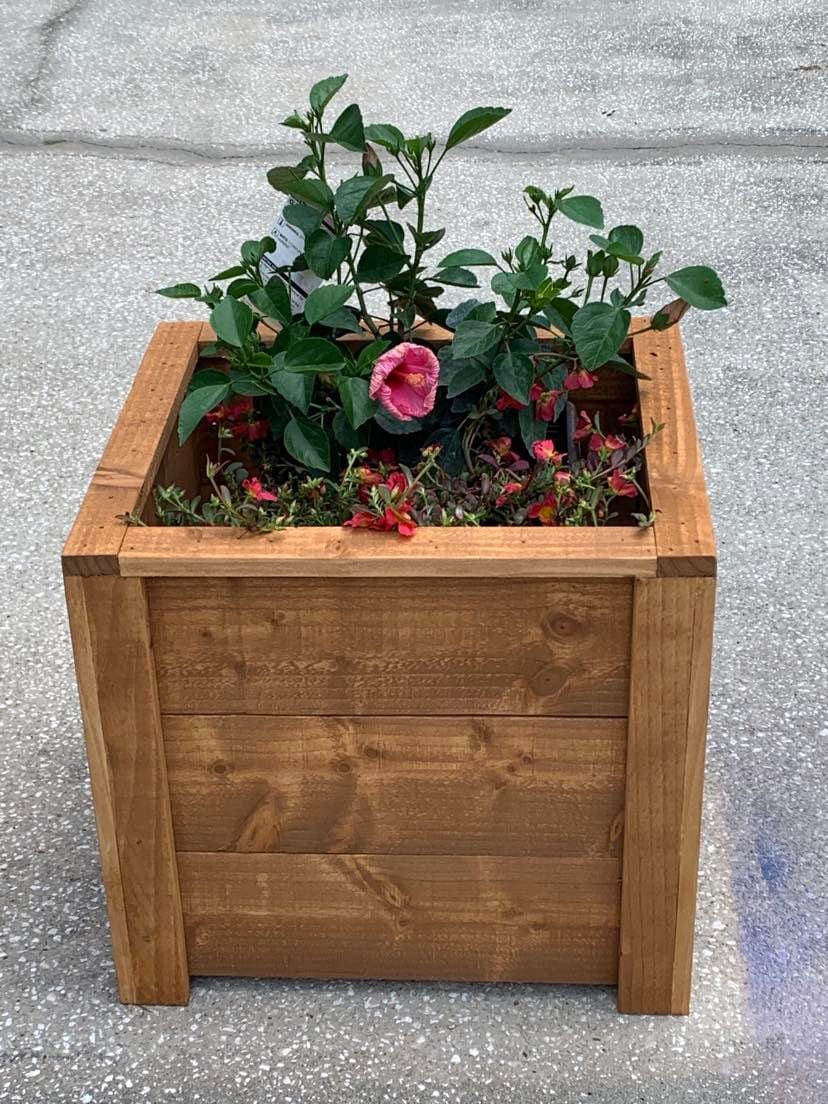
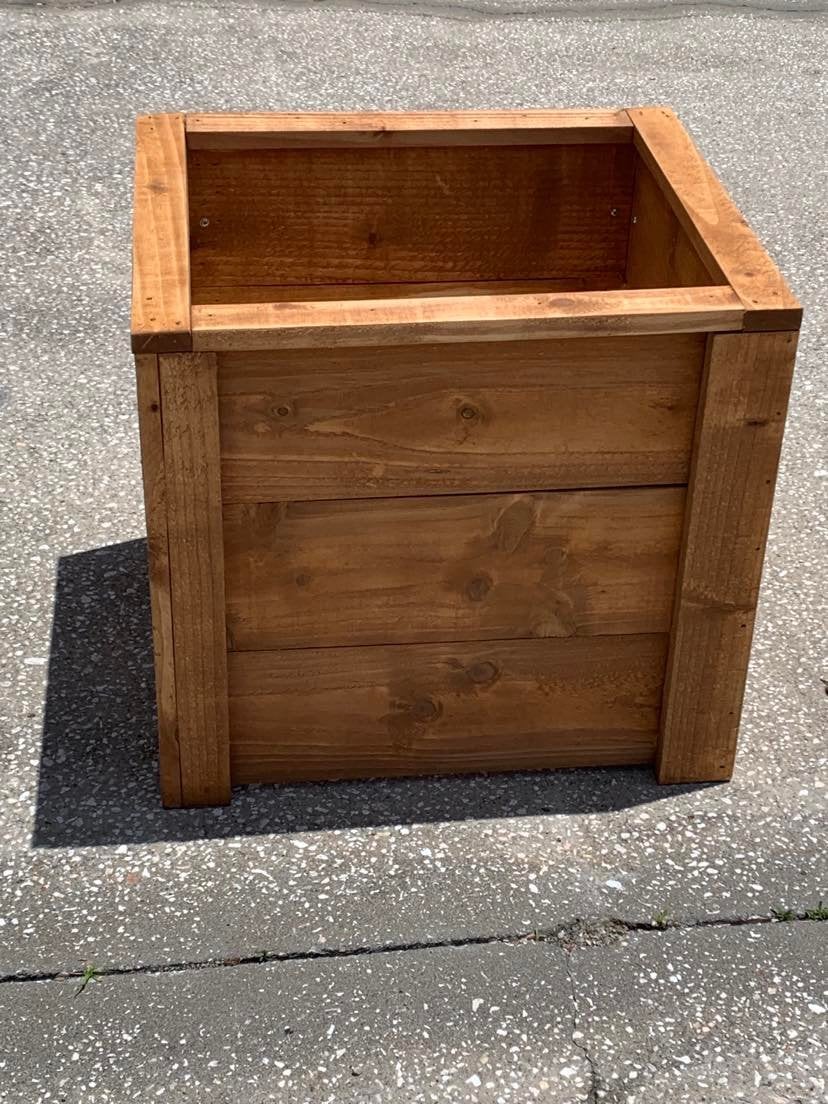
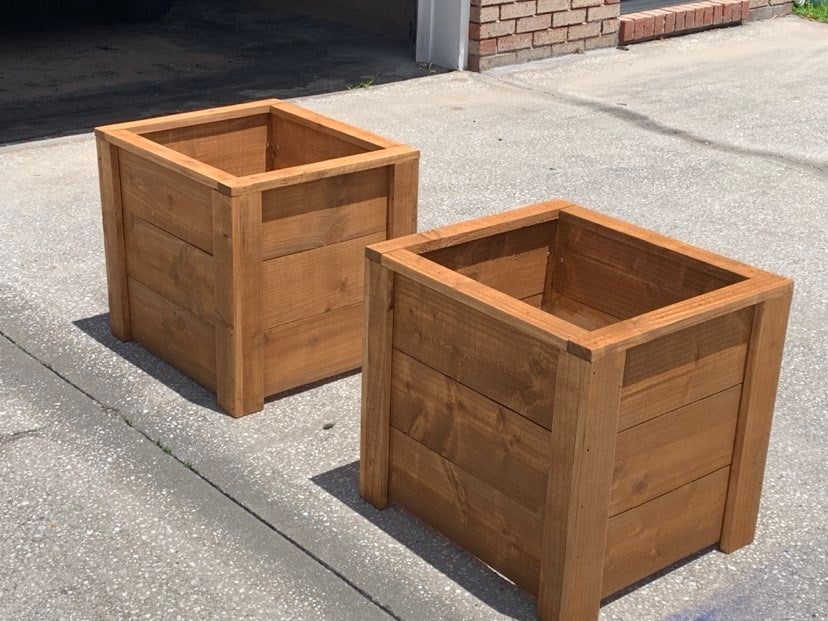
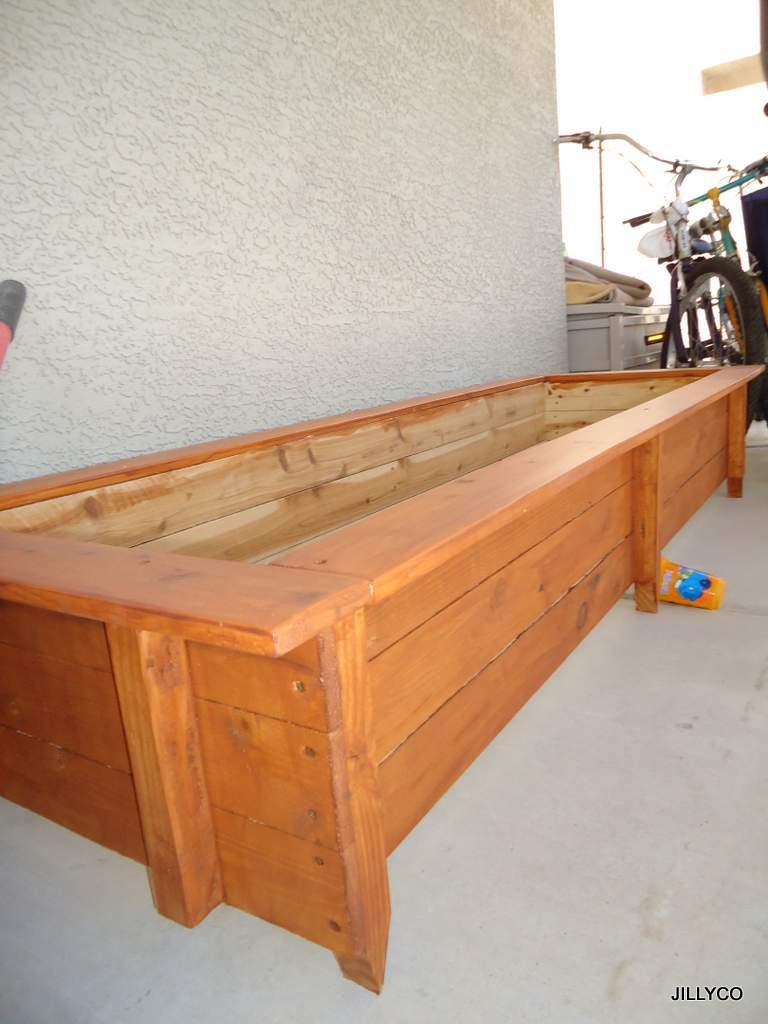
Thanks Ana, I built your planter box, actually built 2 of them, one for each mom. The were a huge hit and I already have people asking me to build them one.
So loved building this planter box. Thanks for all you do for your fellow woodworkers!
Dale G
Callahan, FL
Tue, 05/10/2022 - 07:05
Love these, wonderful idea for a mother's day gift, thank you for sharing!

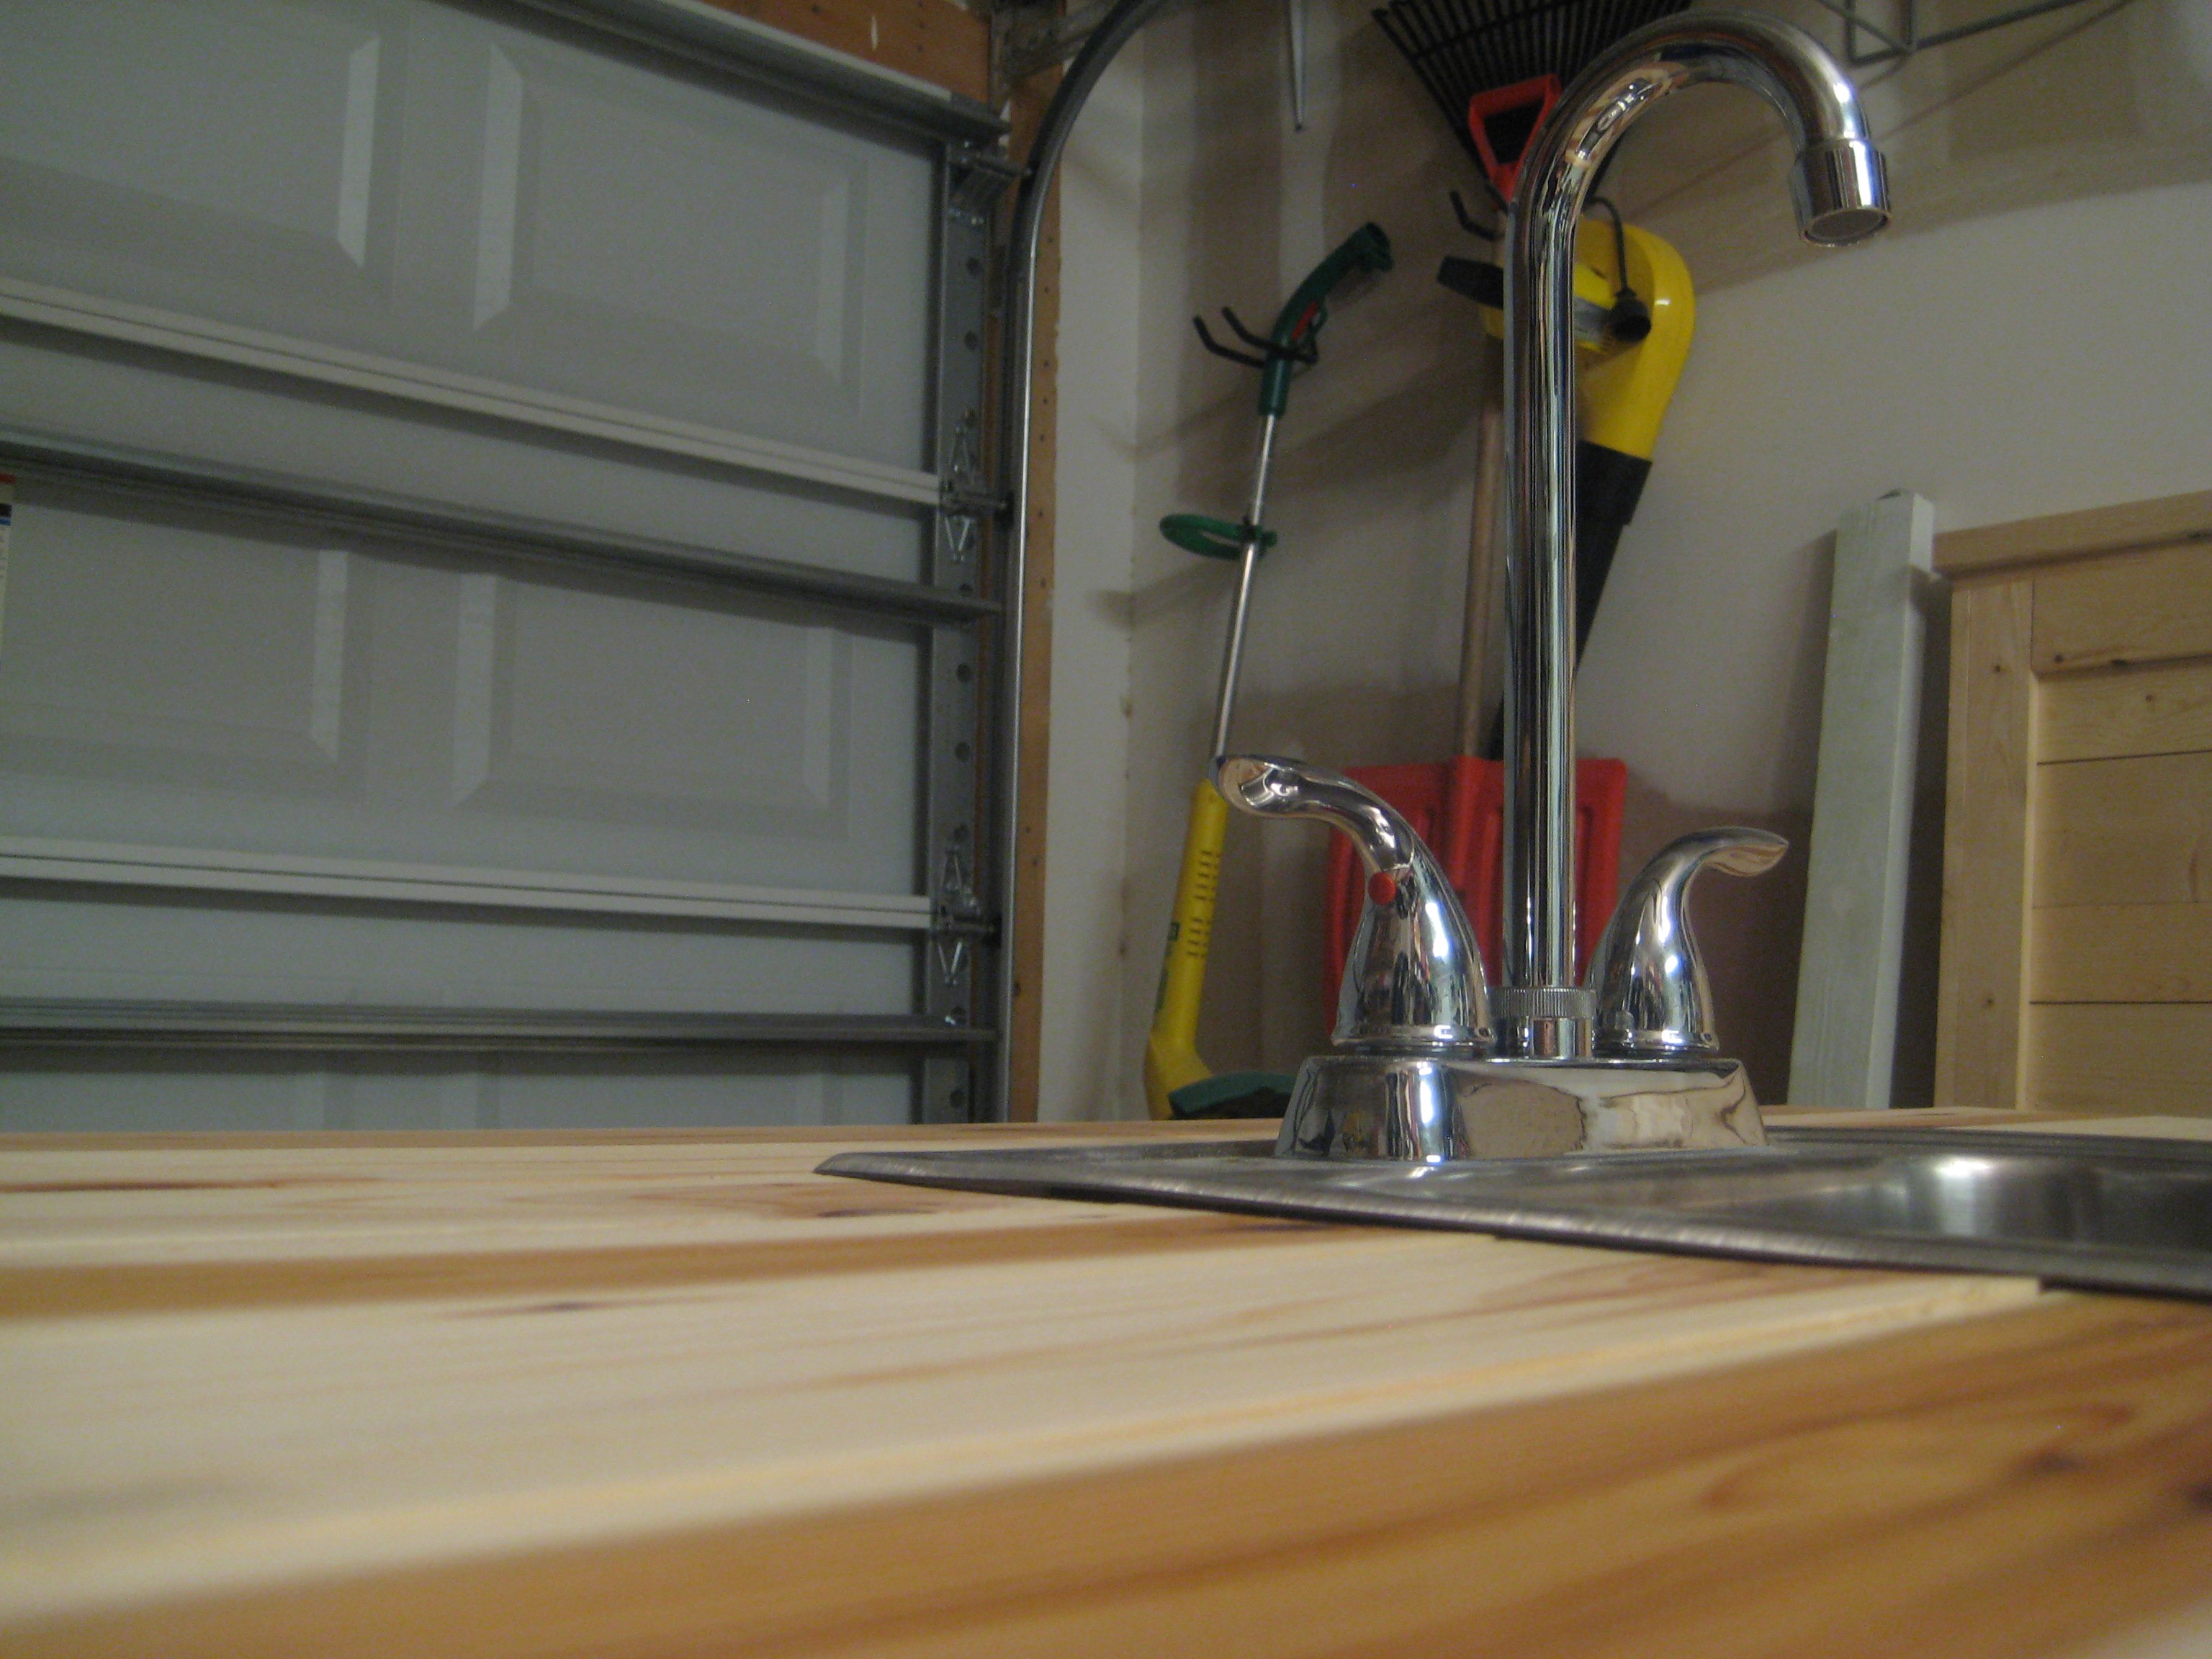
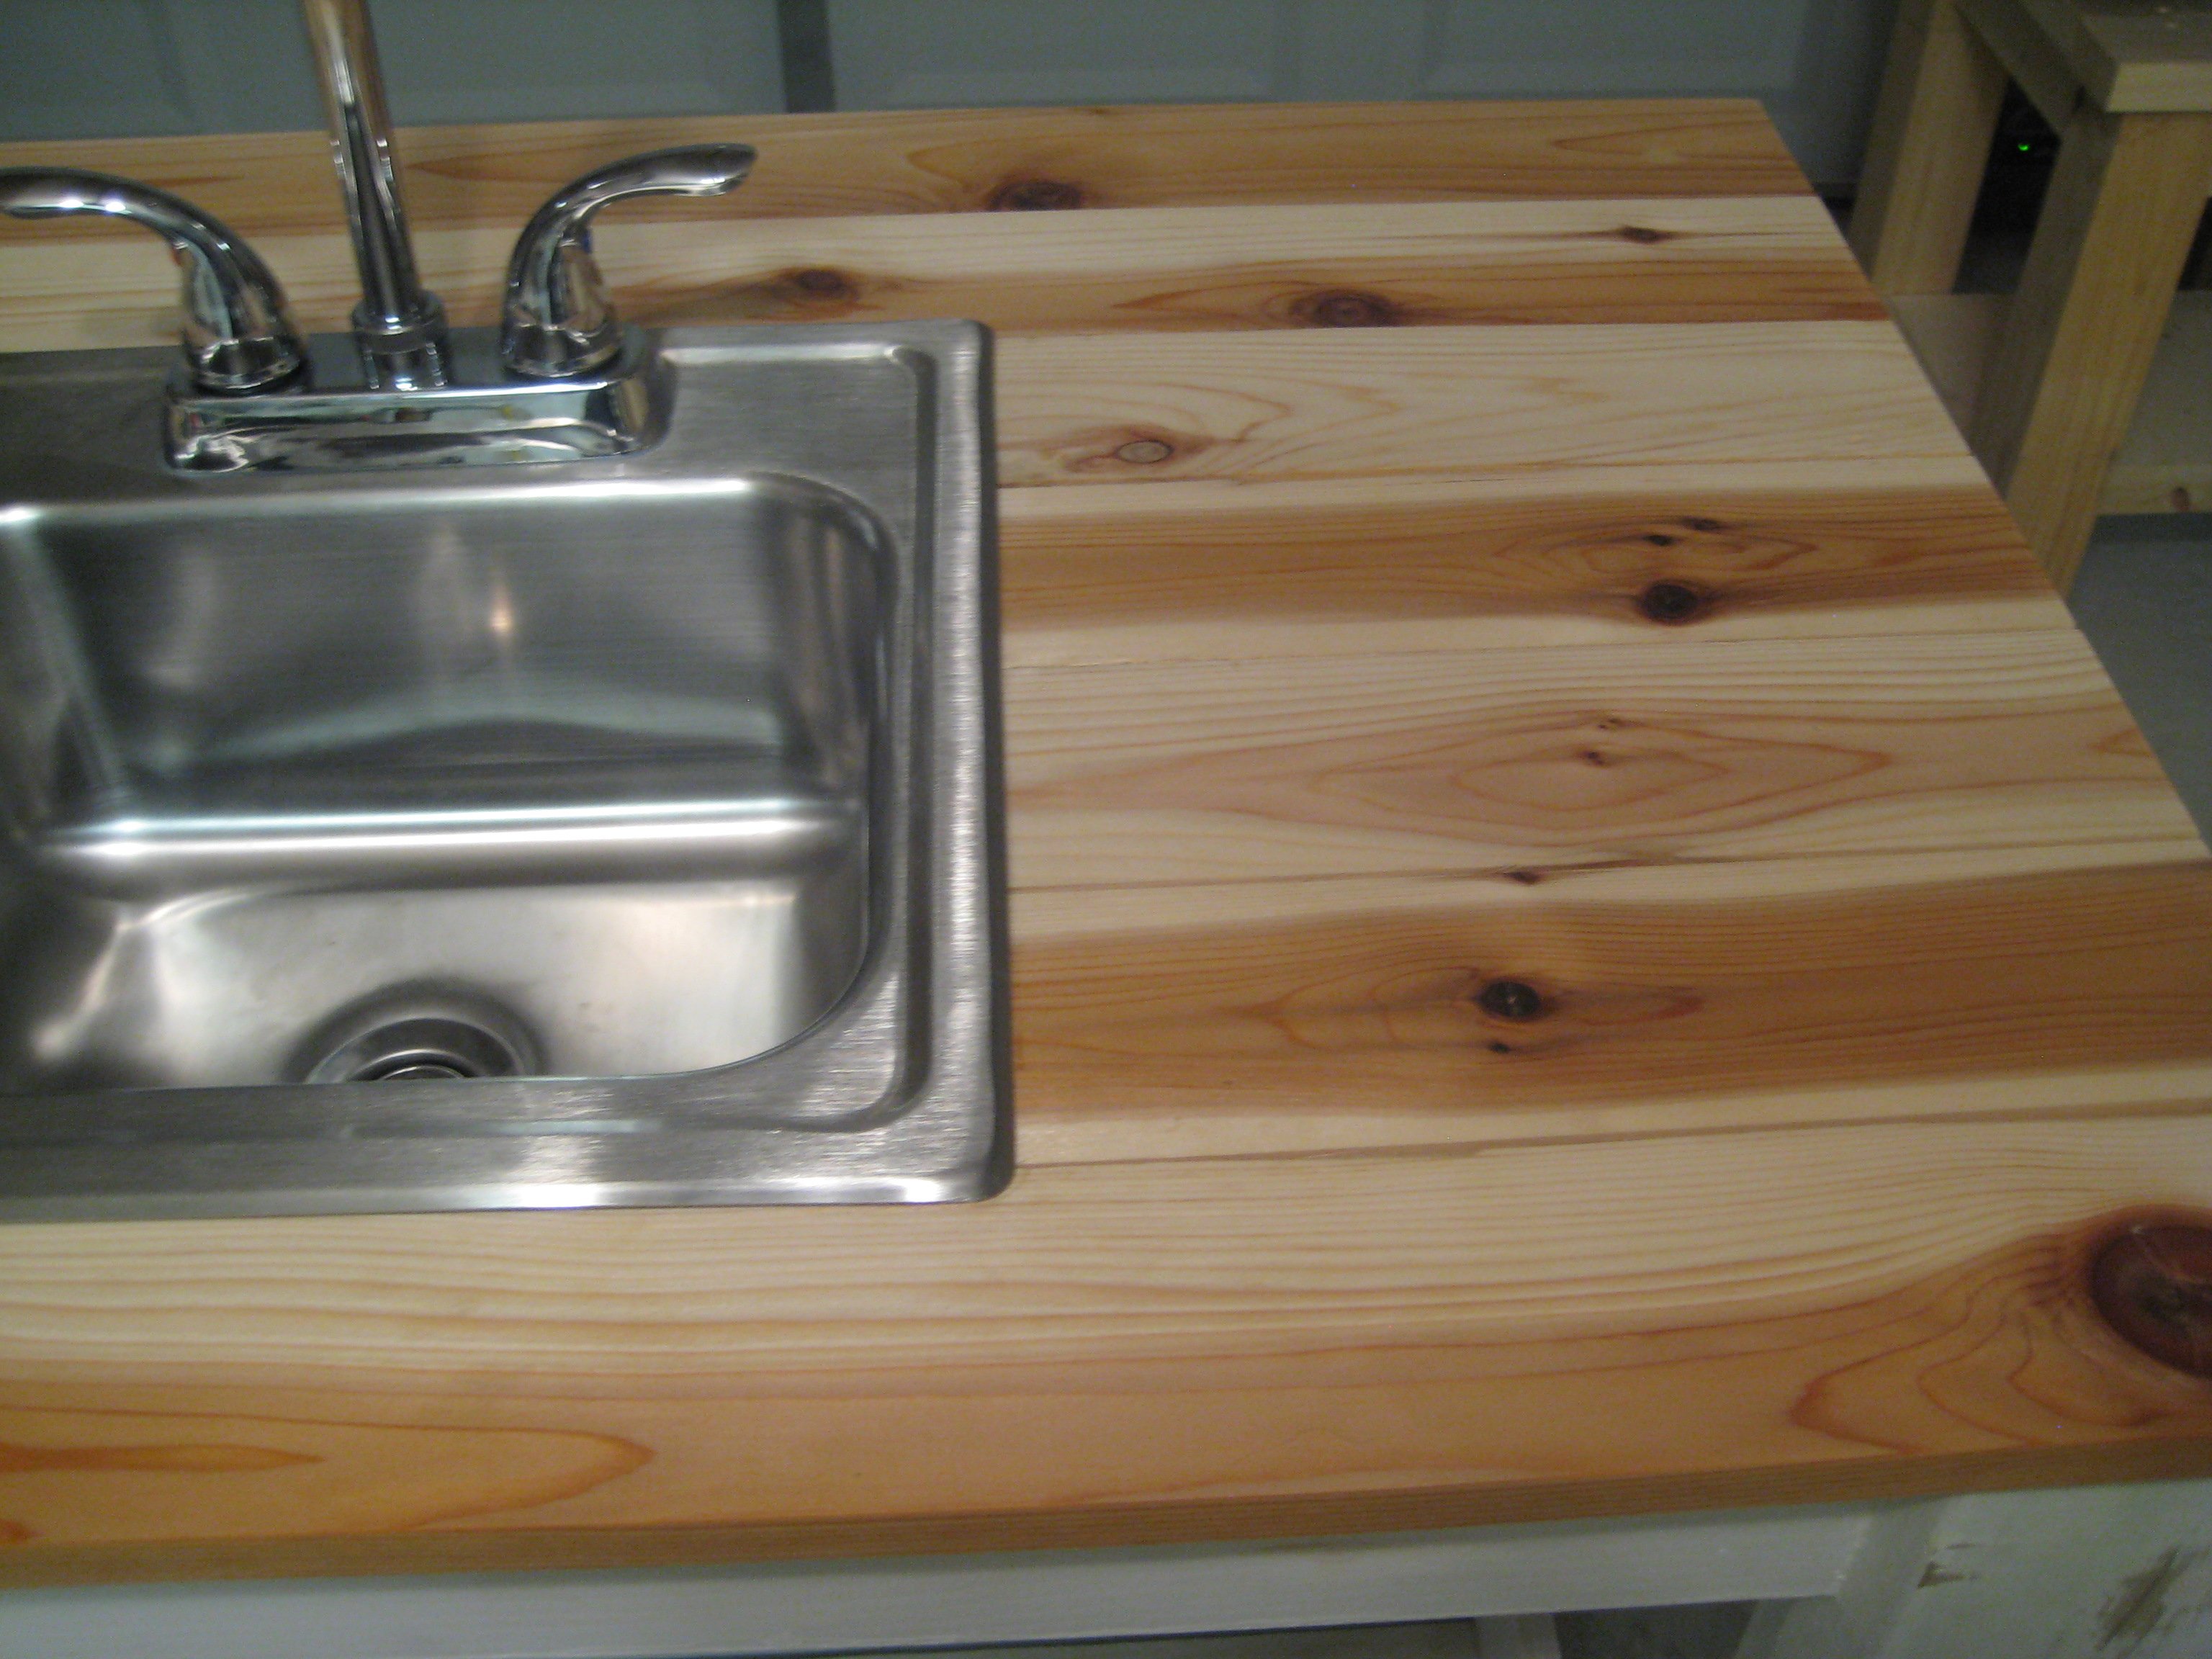
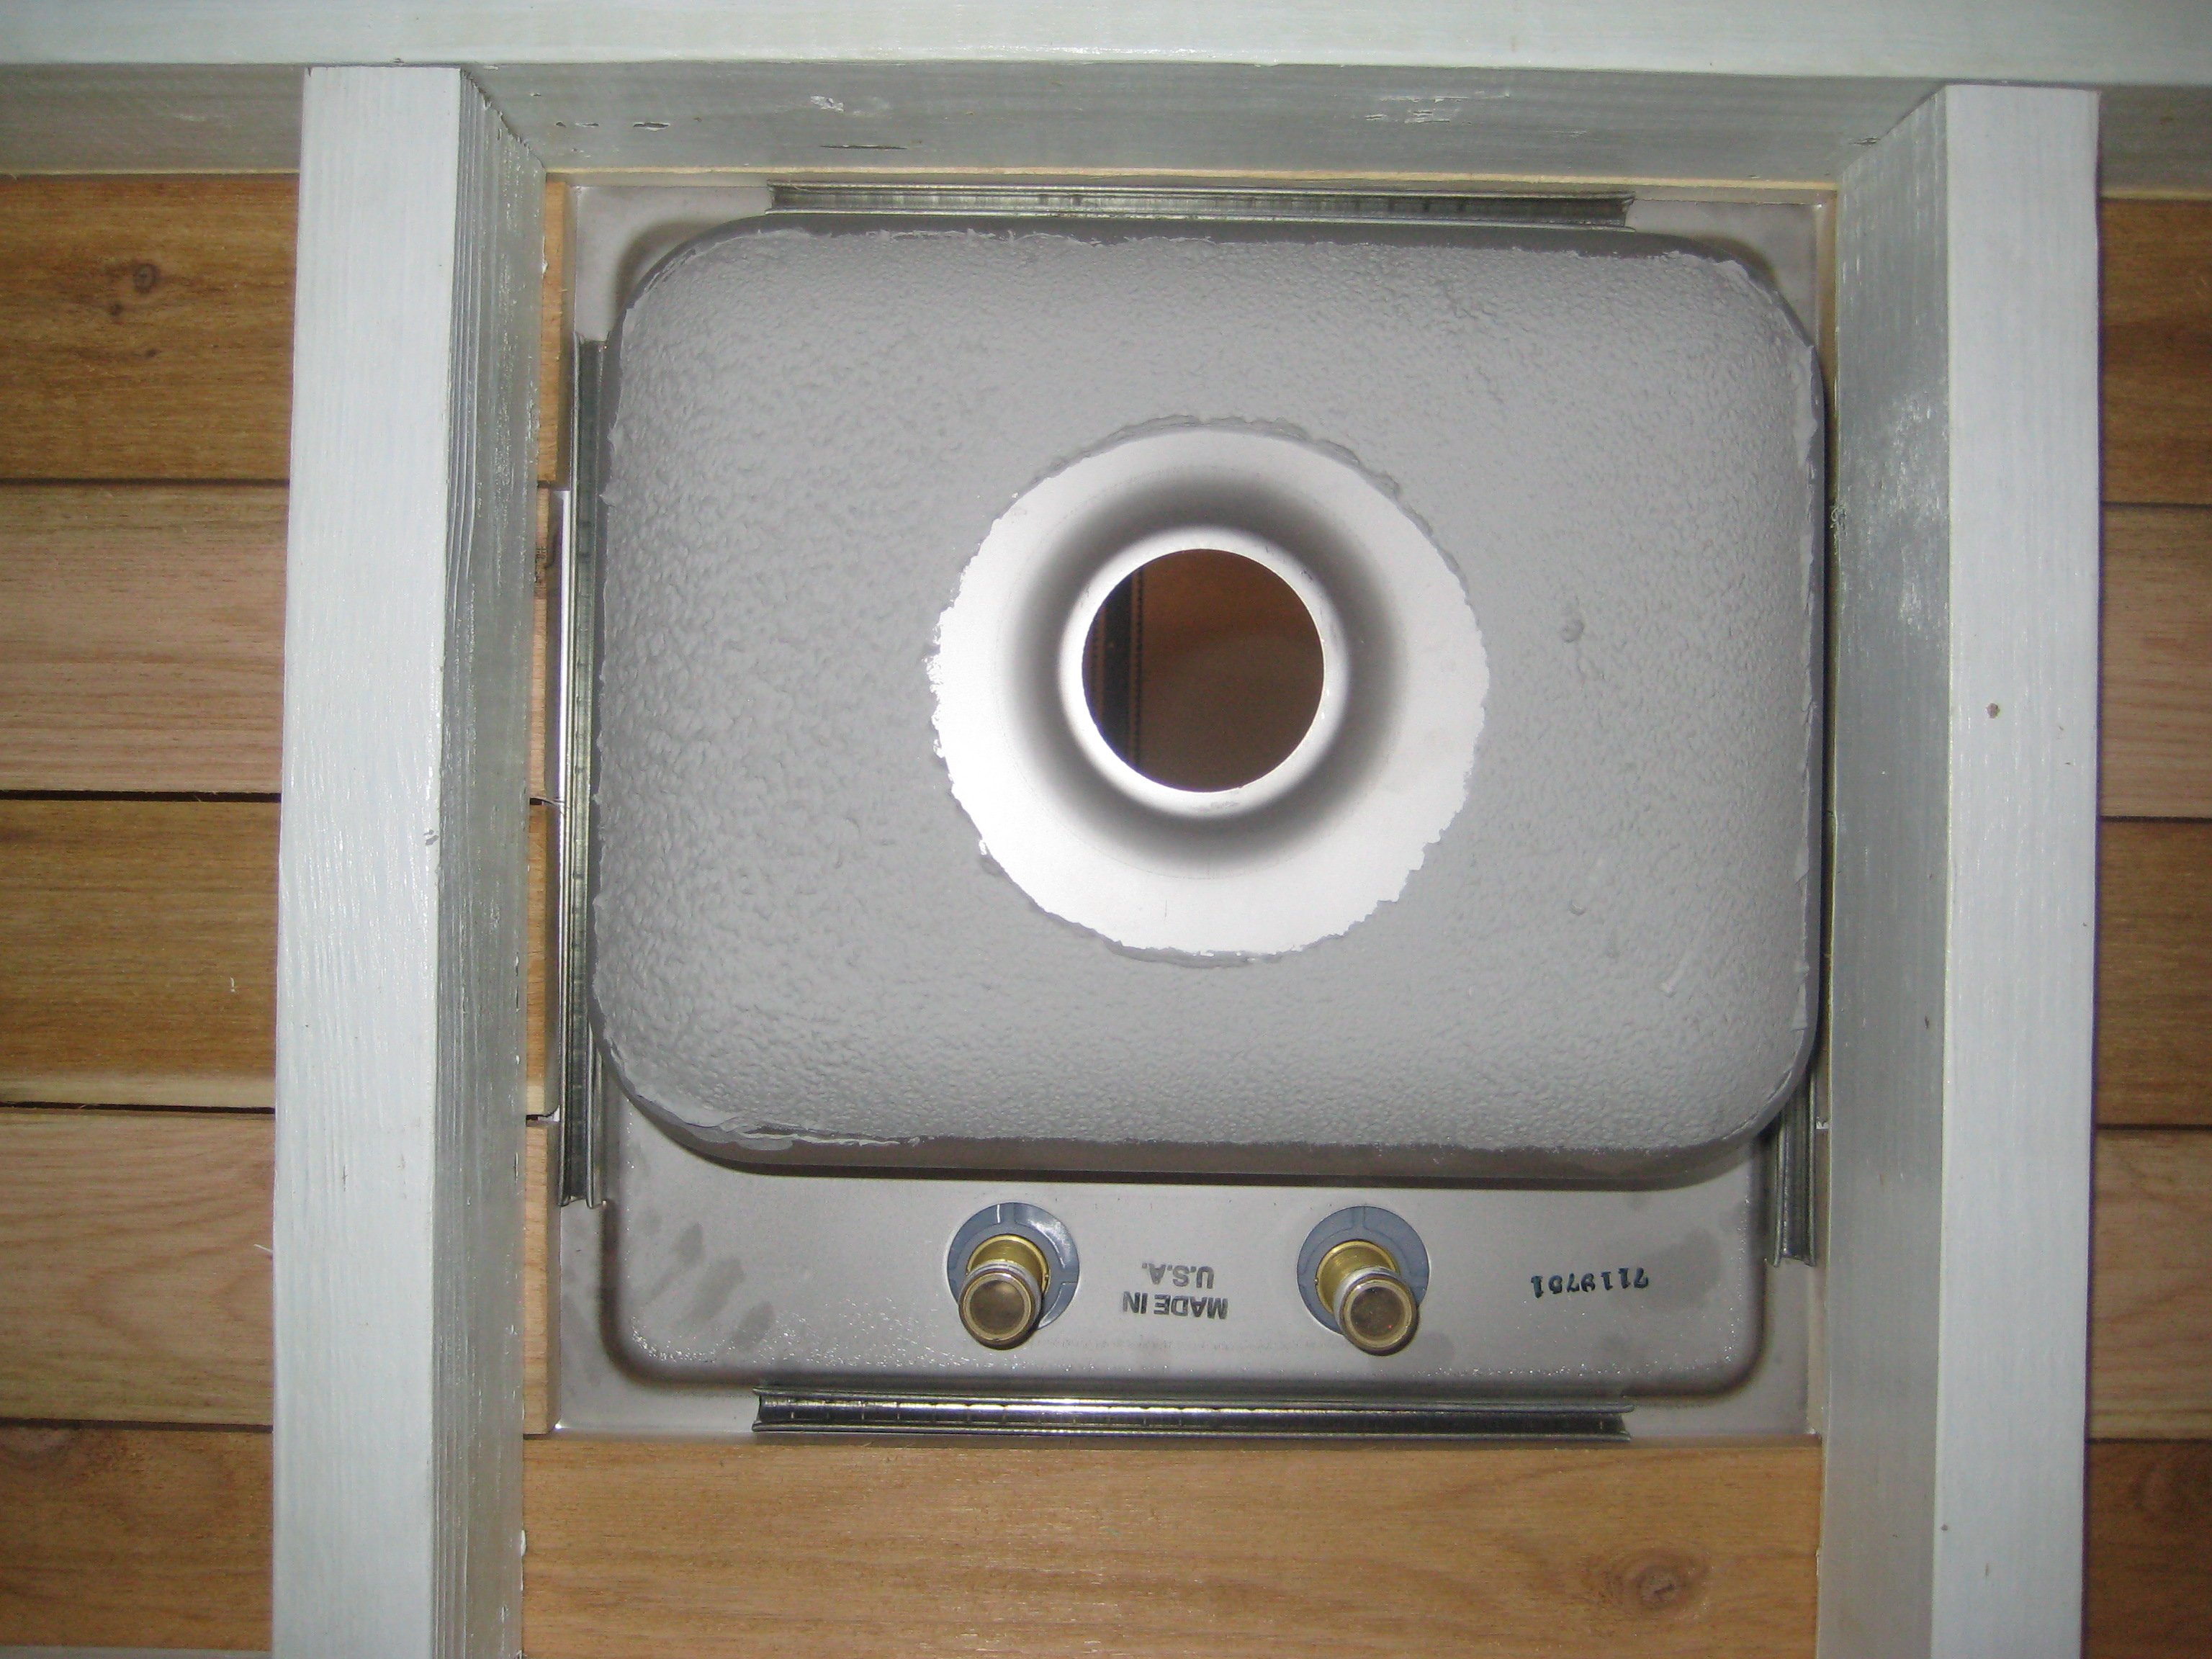
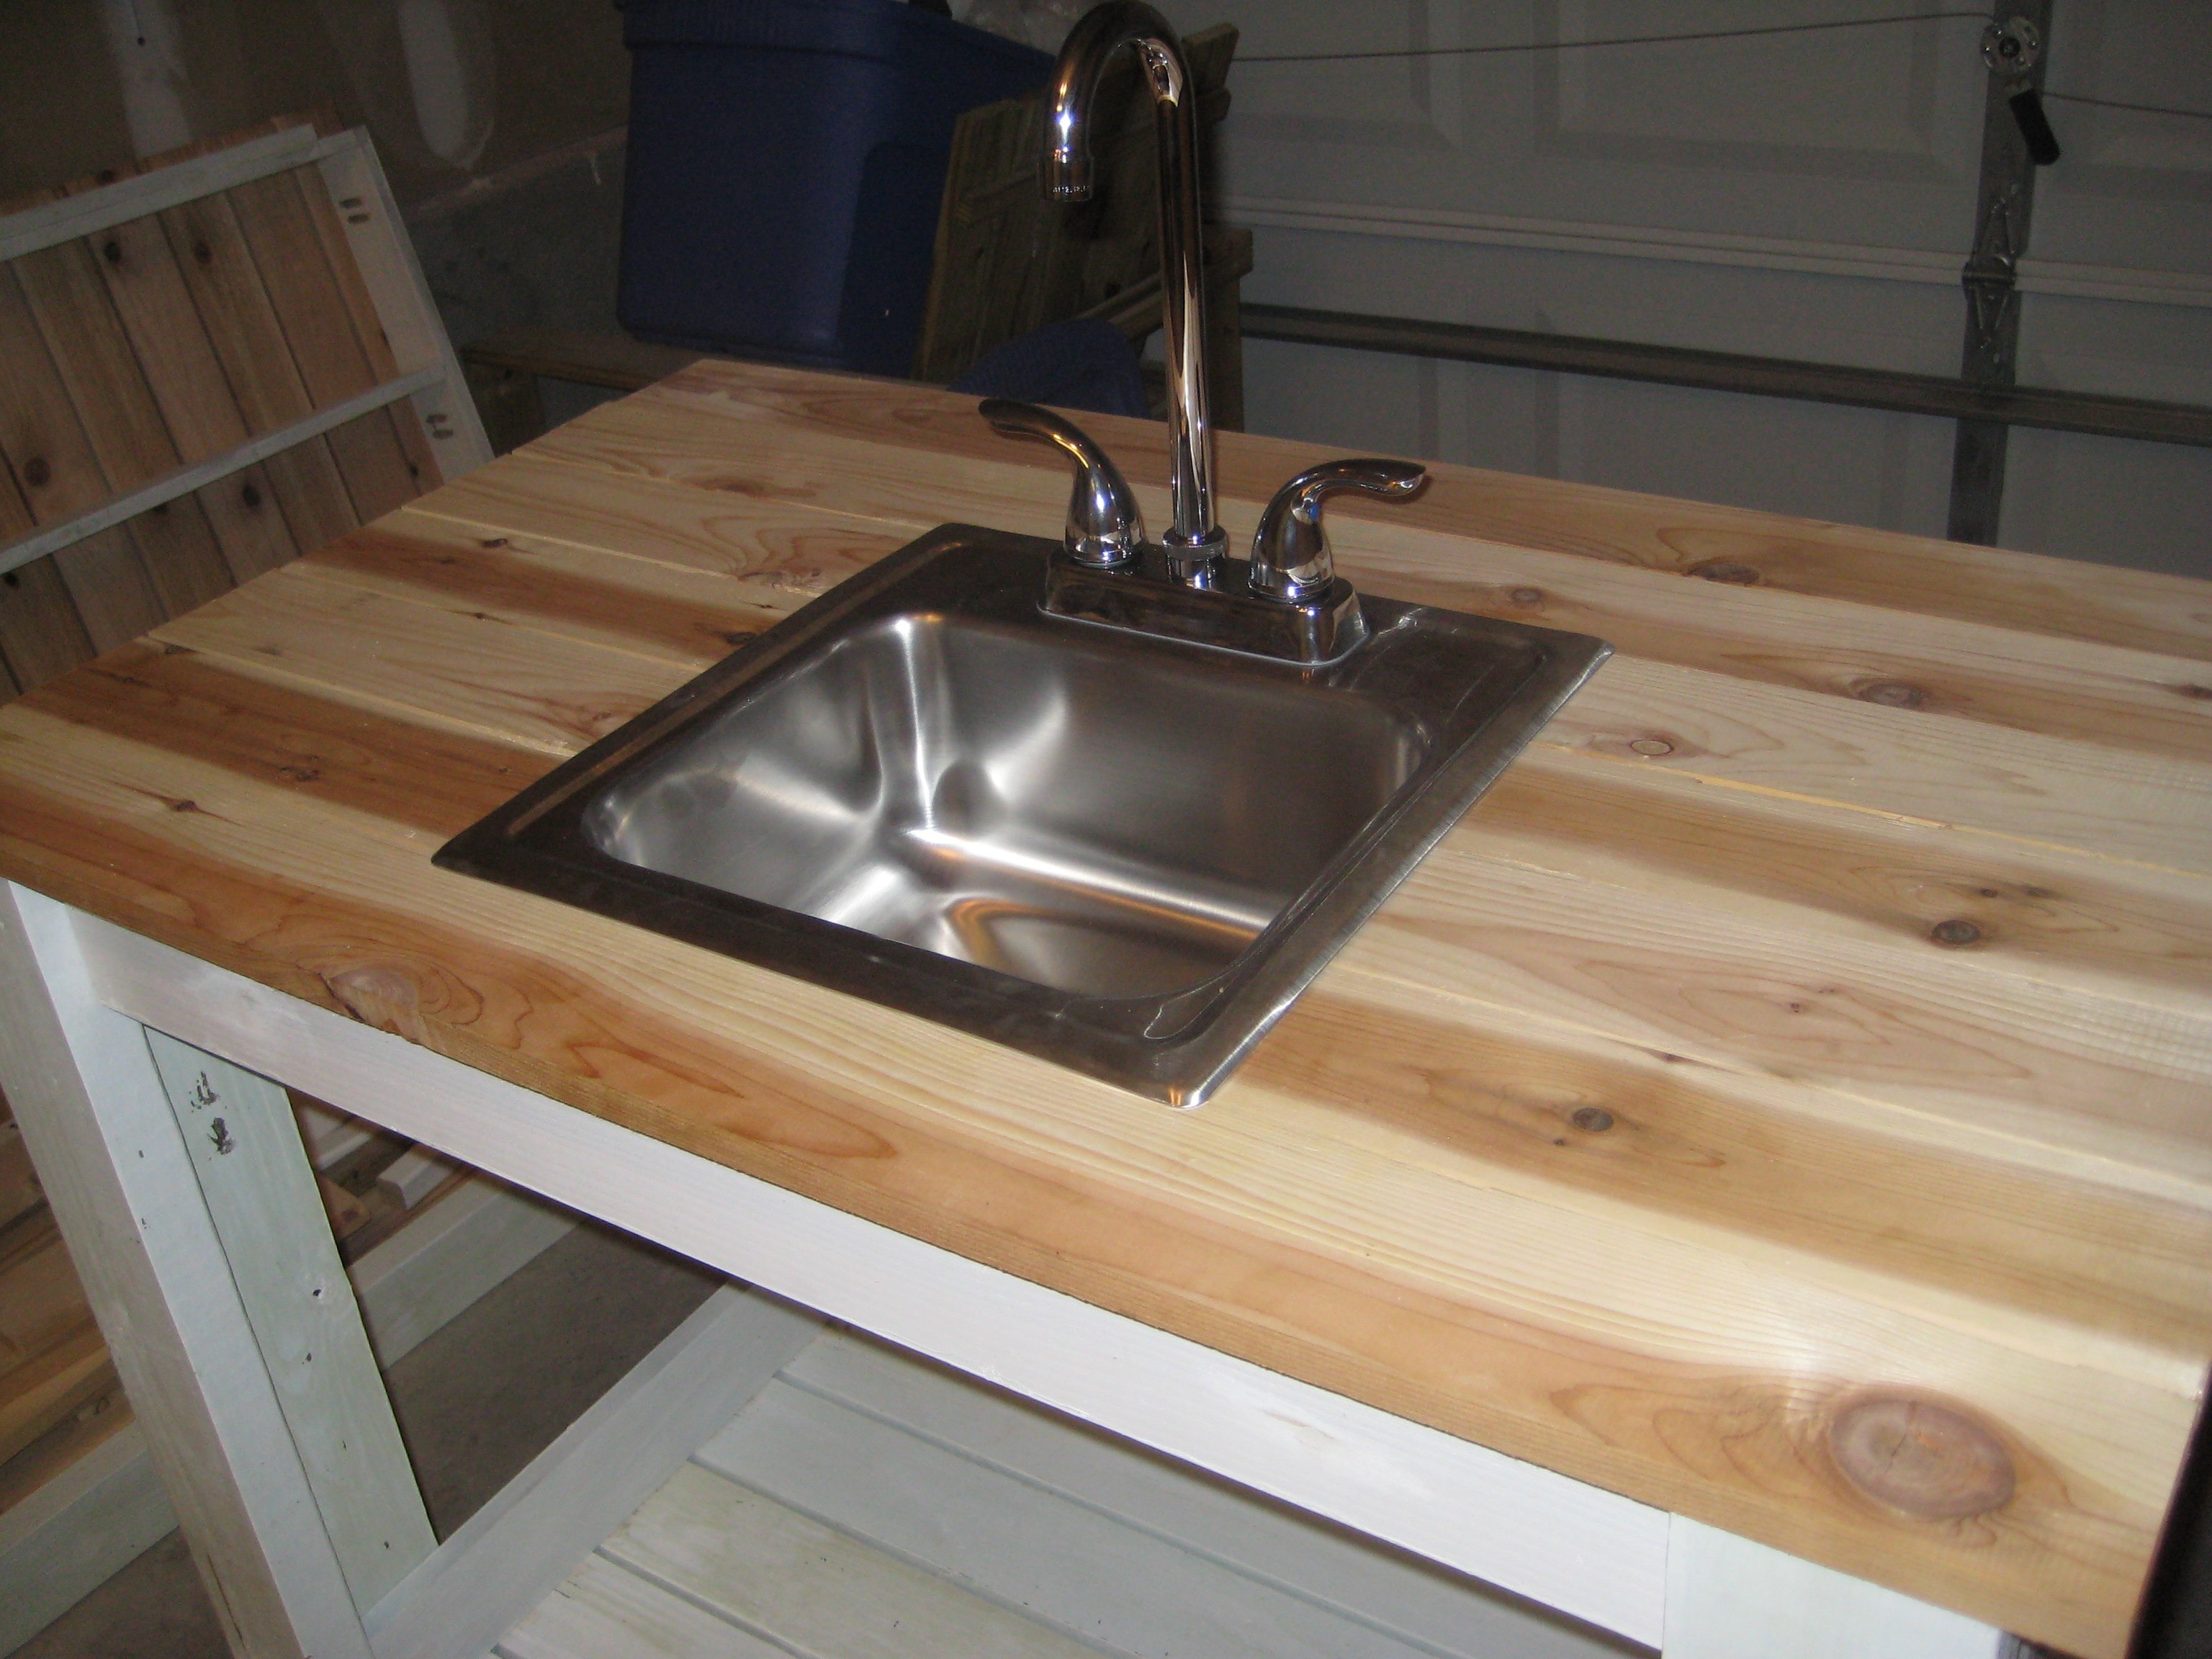
I finally completed the last piece to my customized simple two-toned outdoor collection...an outdoor kitchen sink!!! It still needs a couple of touch ups... but more on that later. This is by far my favorite and easiest project to date. We plan on using this as a grill caddie/garden station. This will eventually go onto a 24x12 deck up against our kitchen window (The indoor and outdoor sink will be against each others backs). I decided to go with the Sturdy Workbench plans for the base mainly because of the weight. We wanted something that's going to be difficult to move since it will be hooked up to outdoor plumbing. I used treated 2x4's for the base, cedar 1x4's for the top. I bought the bar sink for about $70. I also used a Kreg Jig to screw in the cedar slats from underneath so the screws won't be visible from the top. FYI - Wait a couple of weeks before you paint soaking wet treated wood. The green chemical from the 2x4 is starting to leak through my white paint. I'll have to go and prime/paint it again when it finally dries. Other than that, it came out 10 times better than I could ever imagine.

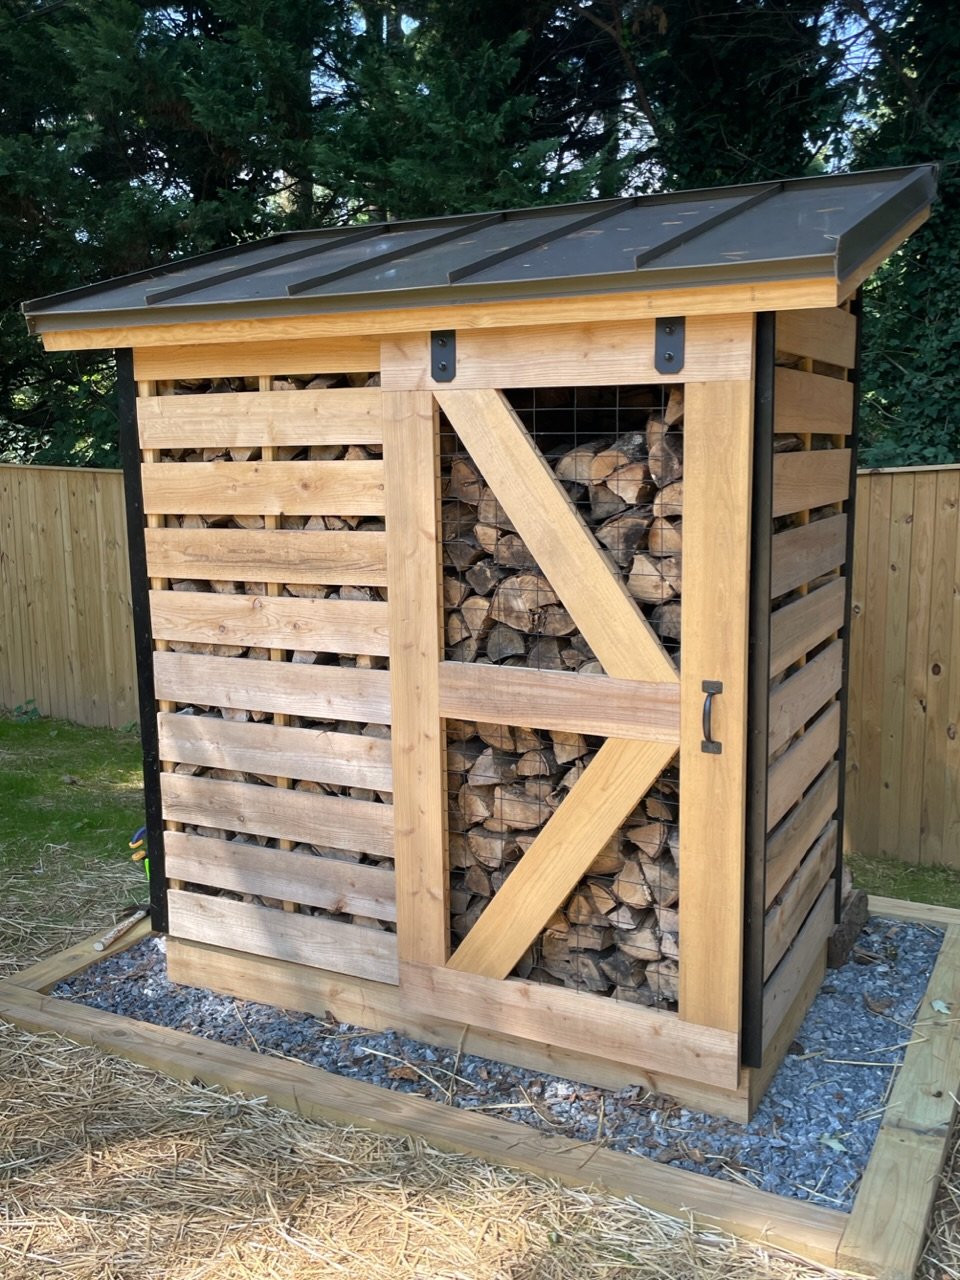
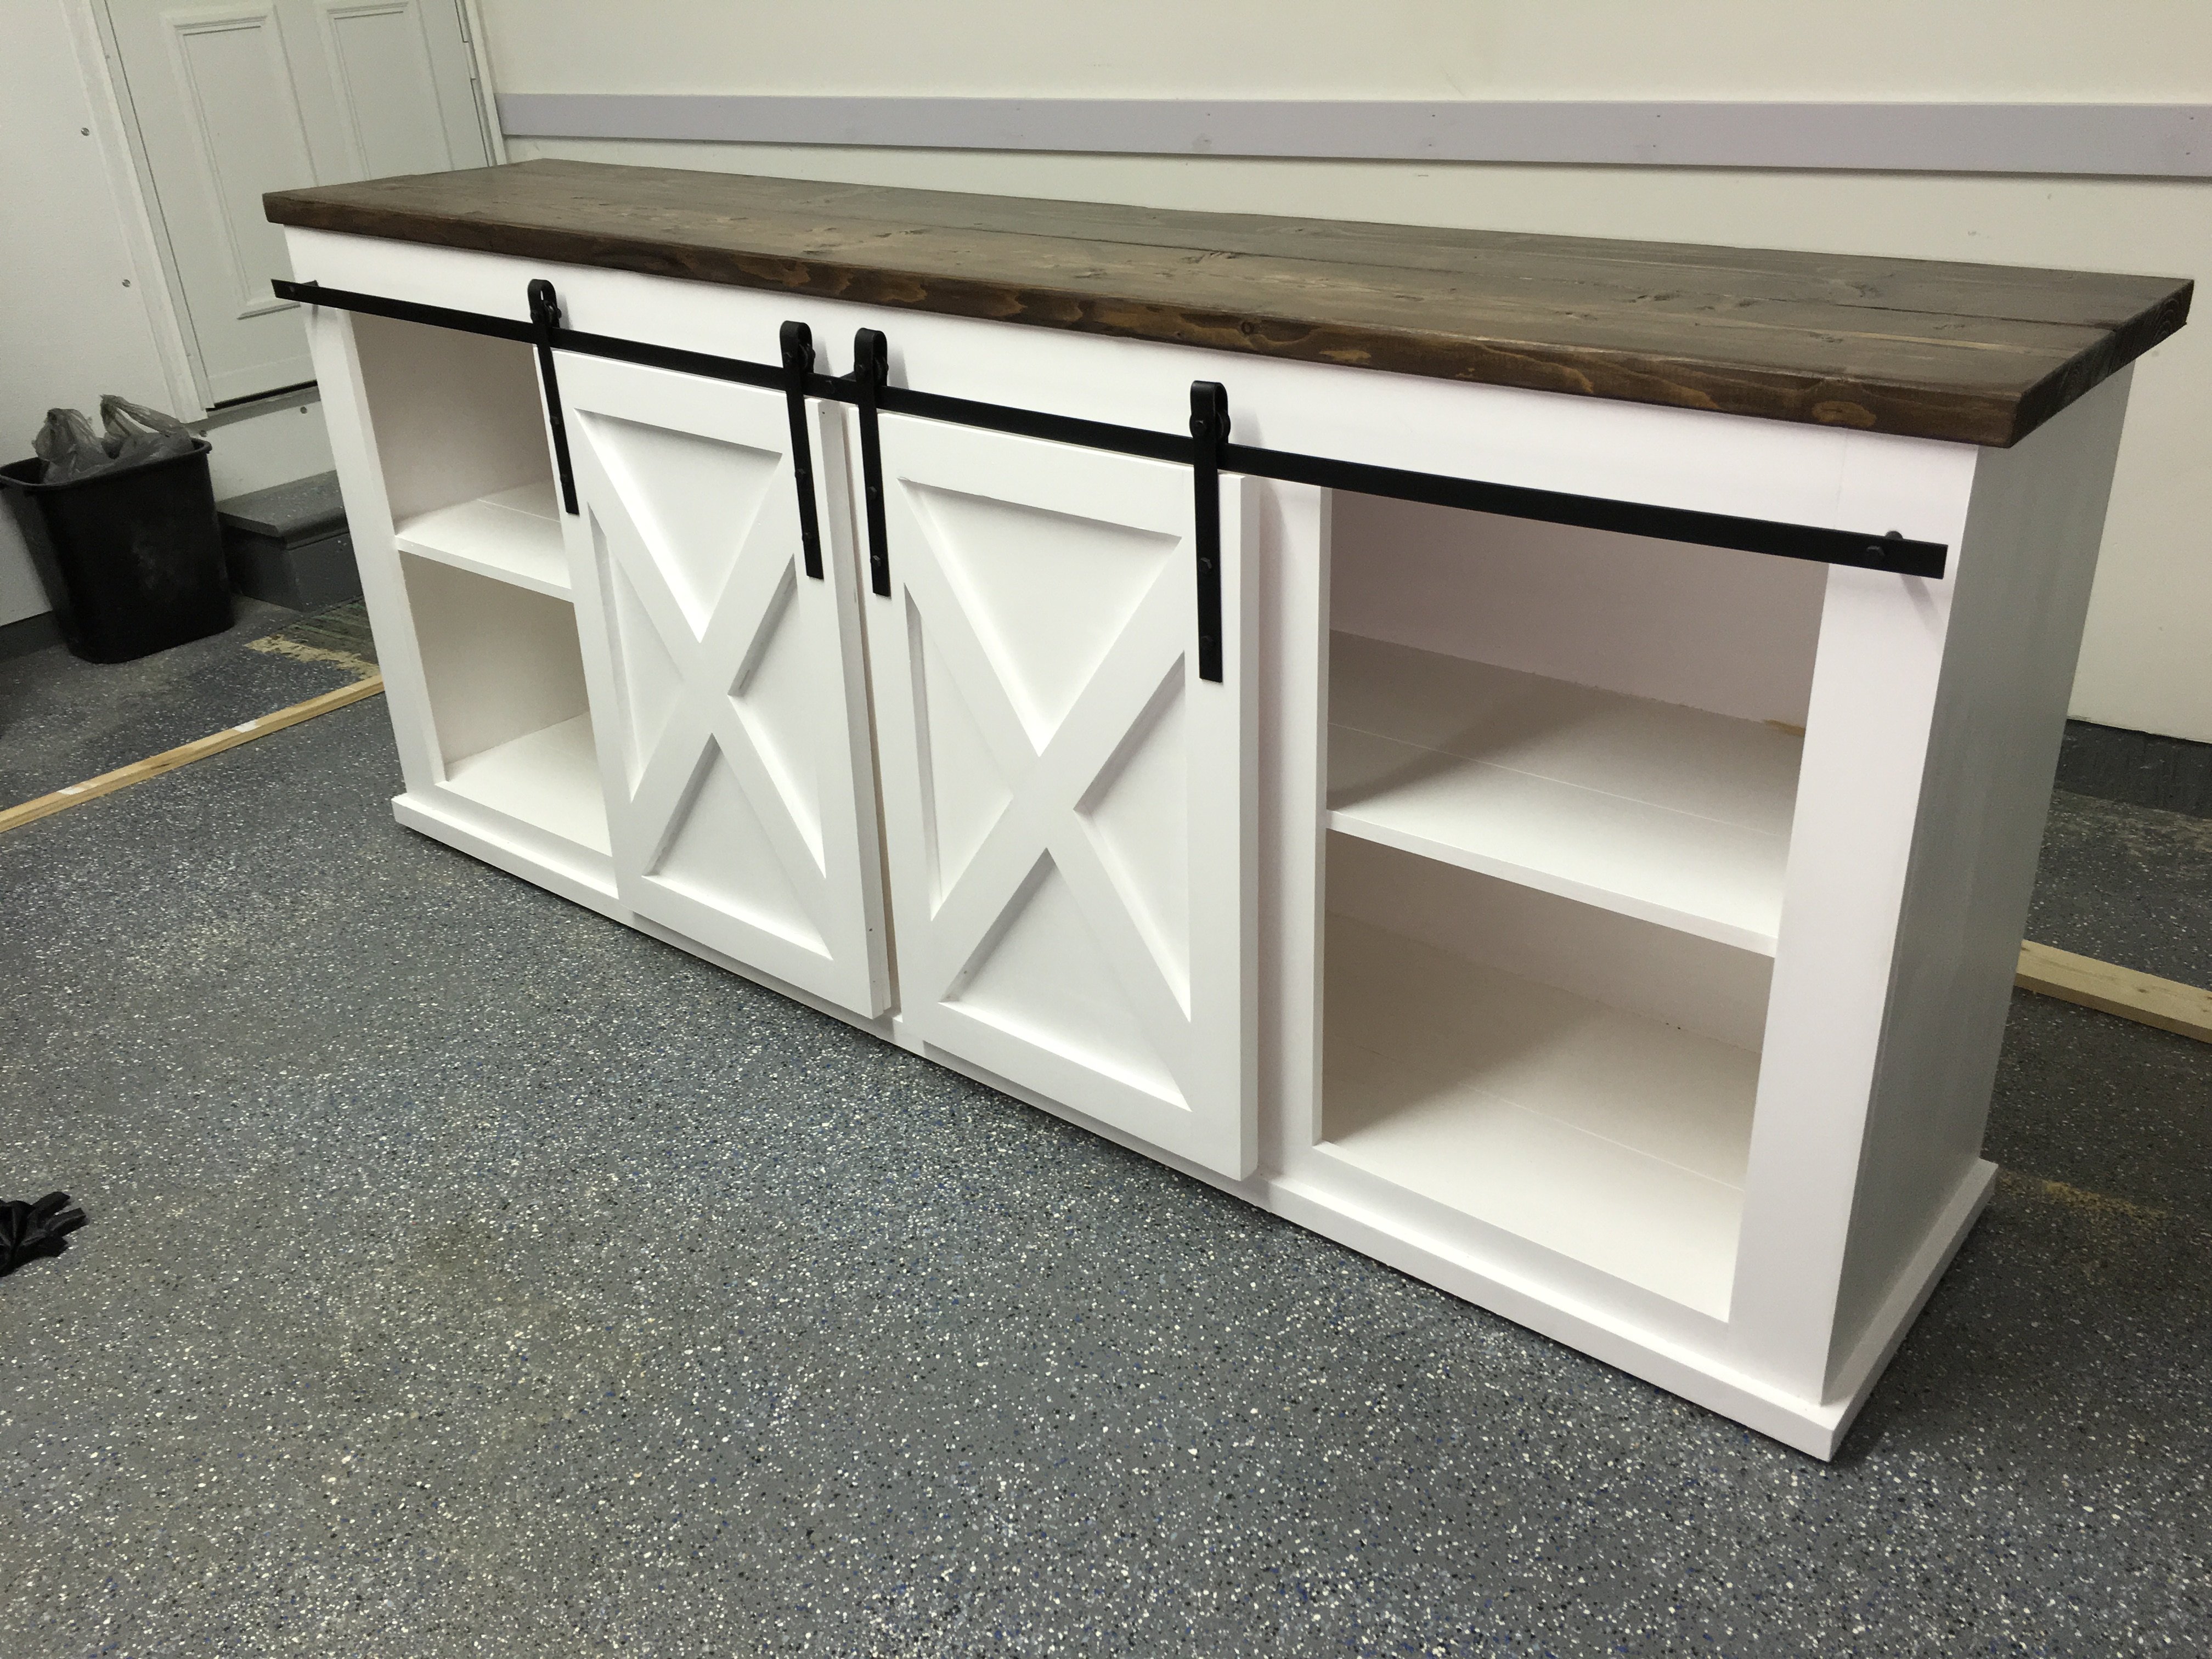
Spaced out the boards to allow airflow; did a sliding barn door and metal roof. Thanks for the plans!
Wed, 10/19/2022 - 08:23
This is totally awesome, way to think outside the box! Thanks for sharing.

Reader submitted photo

THANK YOU Ana's your plans are a life saver and pocket book saver as well. You make your plans so easy to follow and use. For my project I used the cedar fence pickets and redwood 2" x 2" stakes that where on sale at the orange box store for "6 pack bundle" for only $.50 each. All I can say is SCORE! ;') Since we live in Arizona I treated all the lumber with a outdoor weather proofing wood finish (Cedar Color), lined all the interior beds (only the Wood Sides) with 4 mil plastic to keep the cedar from absorbing all the water and wired mesh on the bottom of the garden prior to adding dirt. This keeps my local rabbits/other creatures from eating my roots from the bottom up. And I have my dog from the top side. We are already a 100 degrees here and we needed to get our seedlings in a garden asap. Thanks Again for the Plans, Ana! I will be making more of these garden boxes to come.
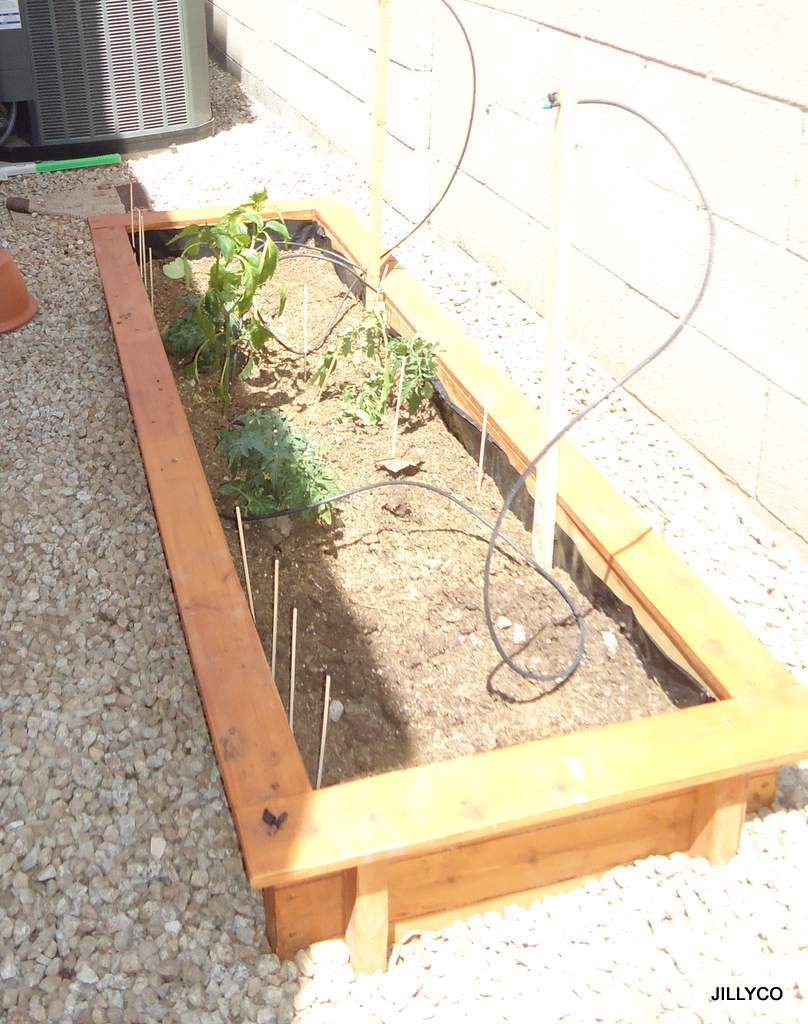
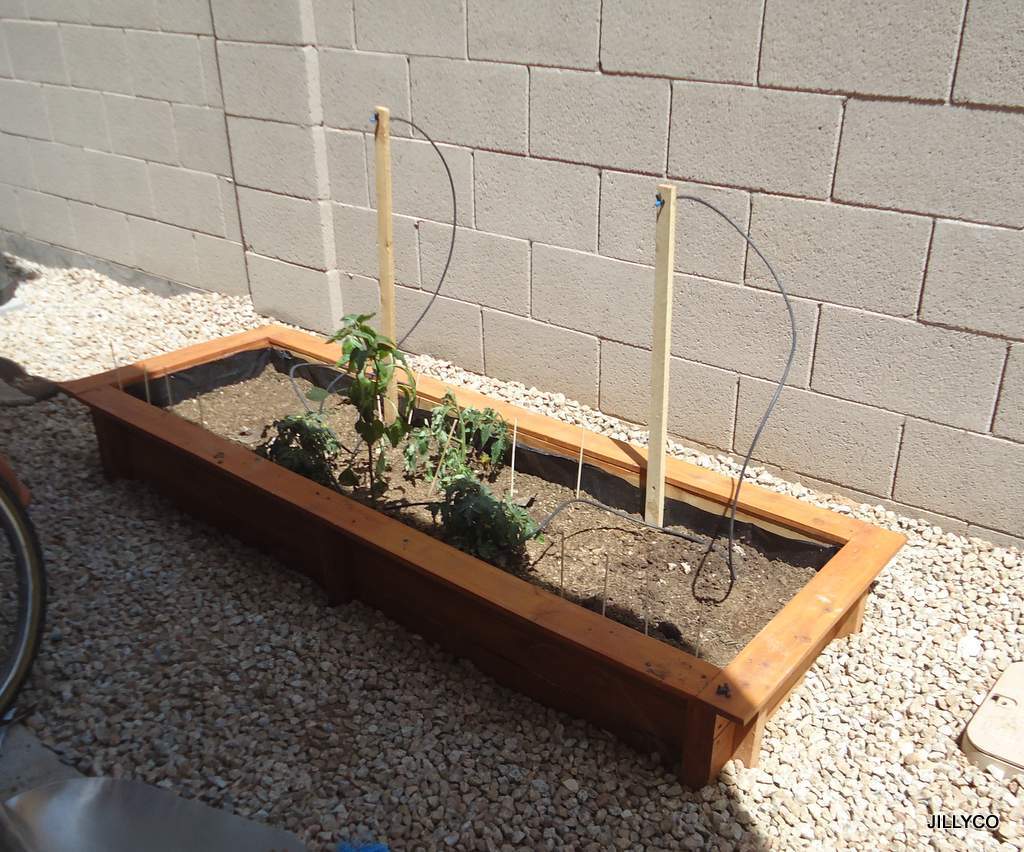
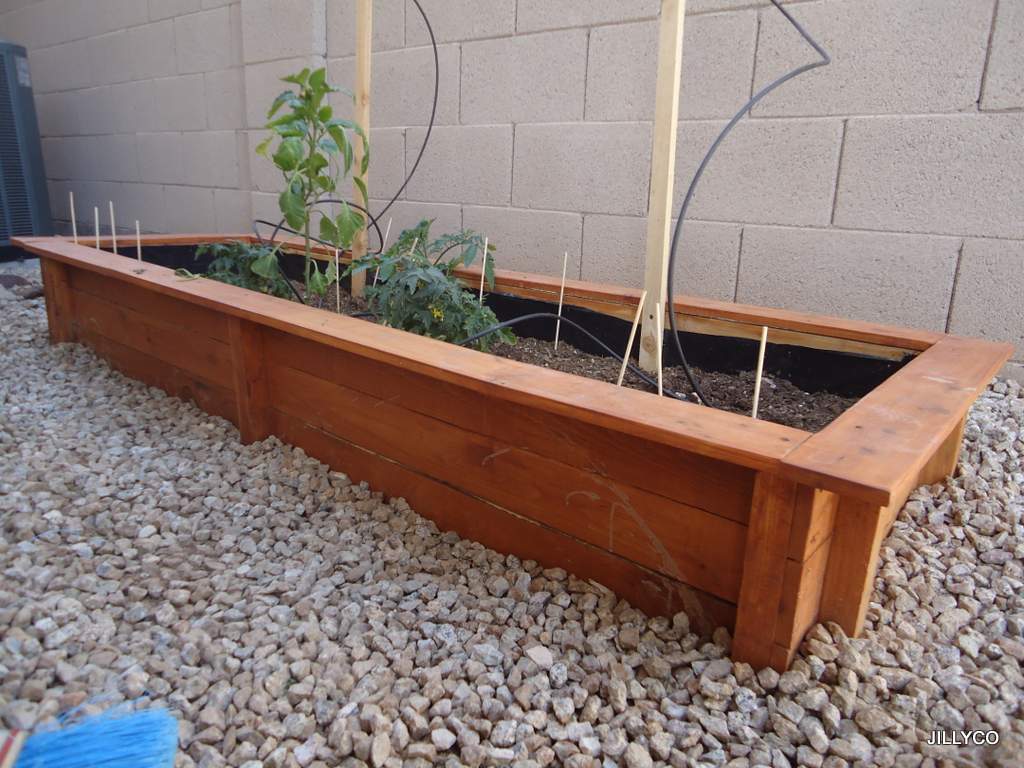
Thu, 08/08/2013 - 09:39
Love this! We are new to Phoenix - originally from the Midwest - and I really would like to add some raised beds to our backyard. I appreciate your comments on how you adapted these for the desert! May I ask what side of your house they are on? I'm thinking to put mine on the east side so they get morning sun, but not the scorching afternoon rays. Thanks for your AZ advice!
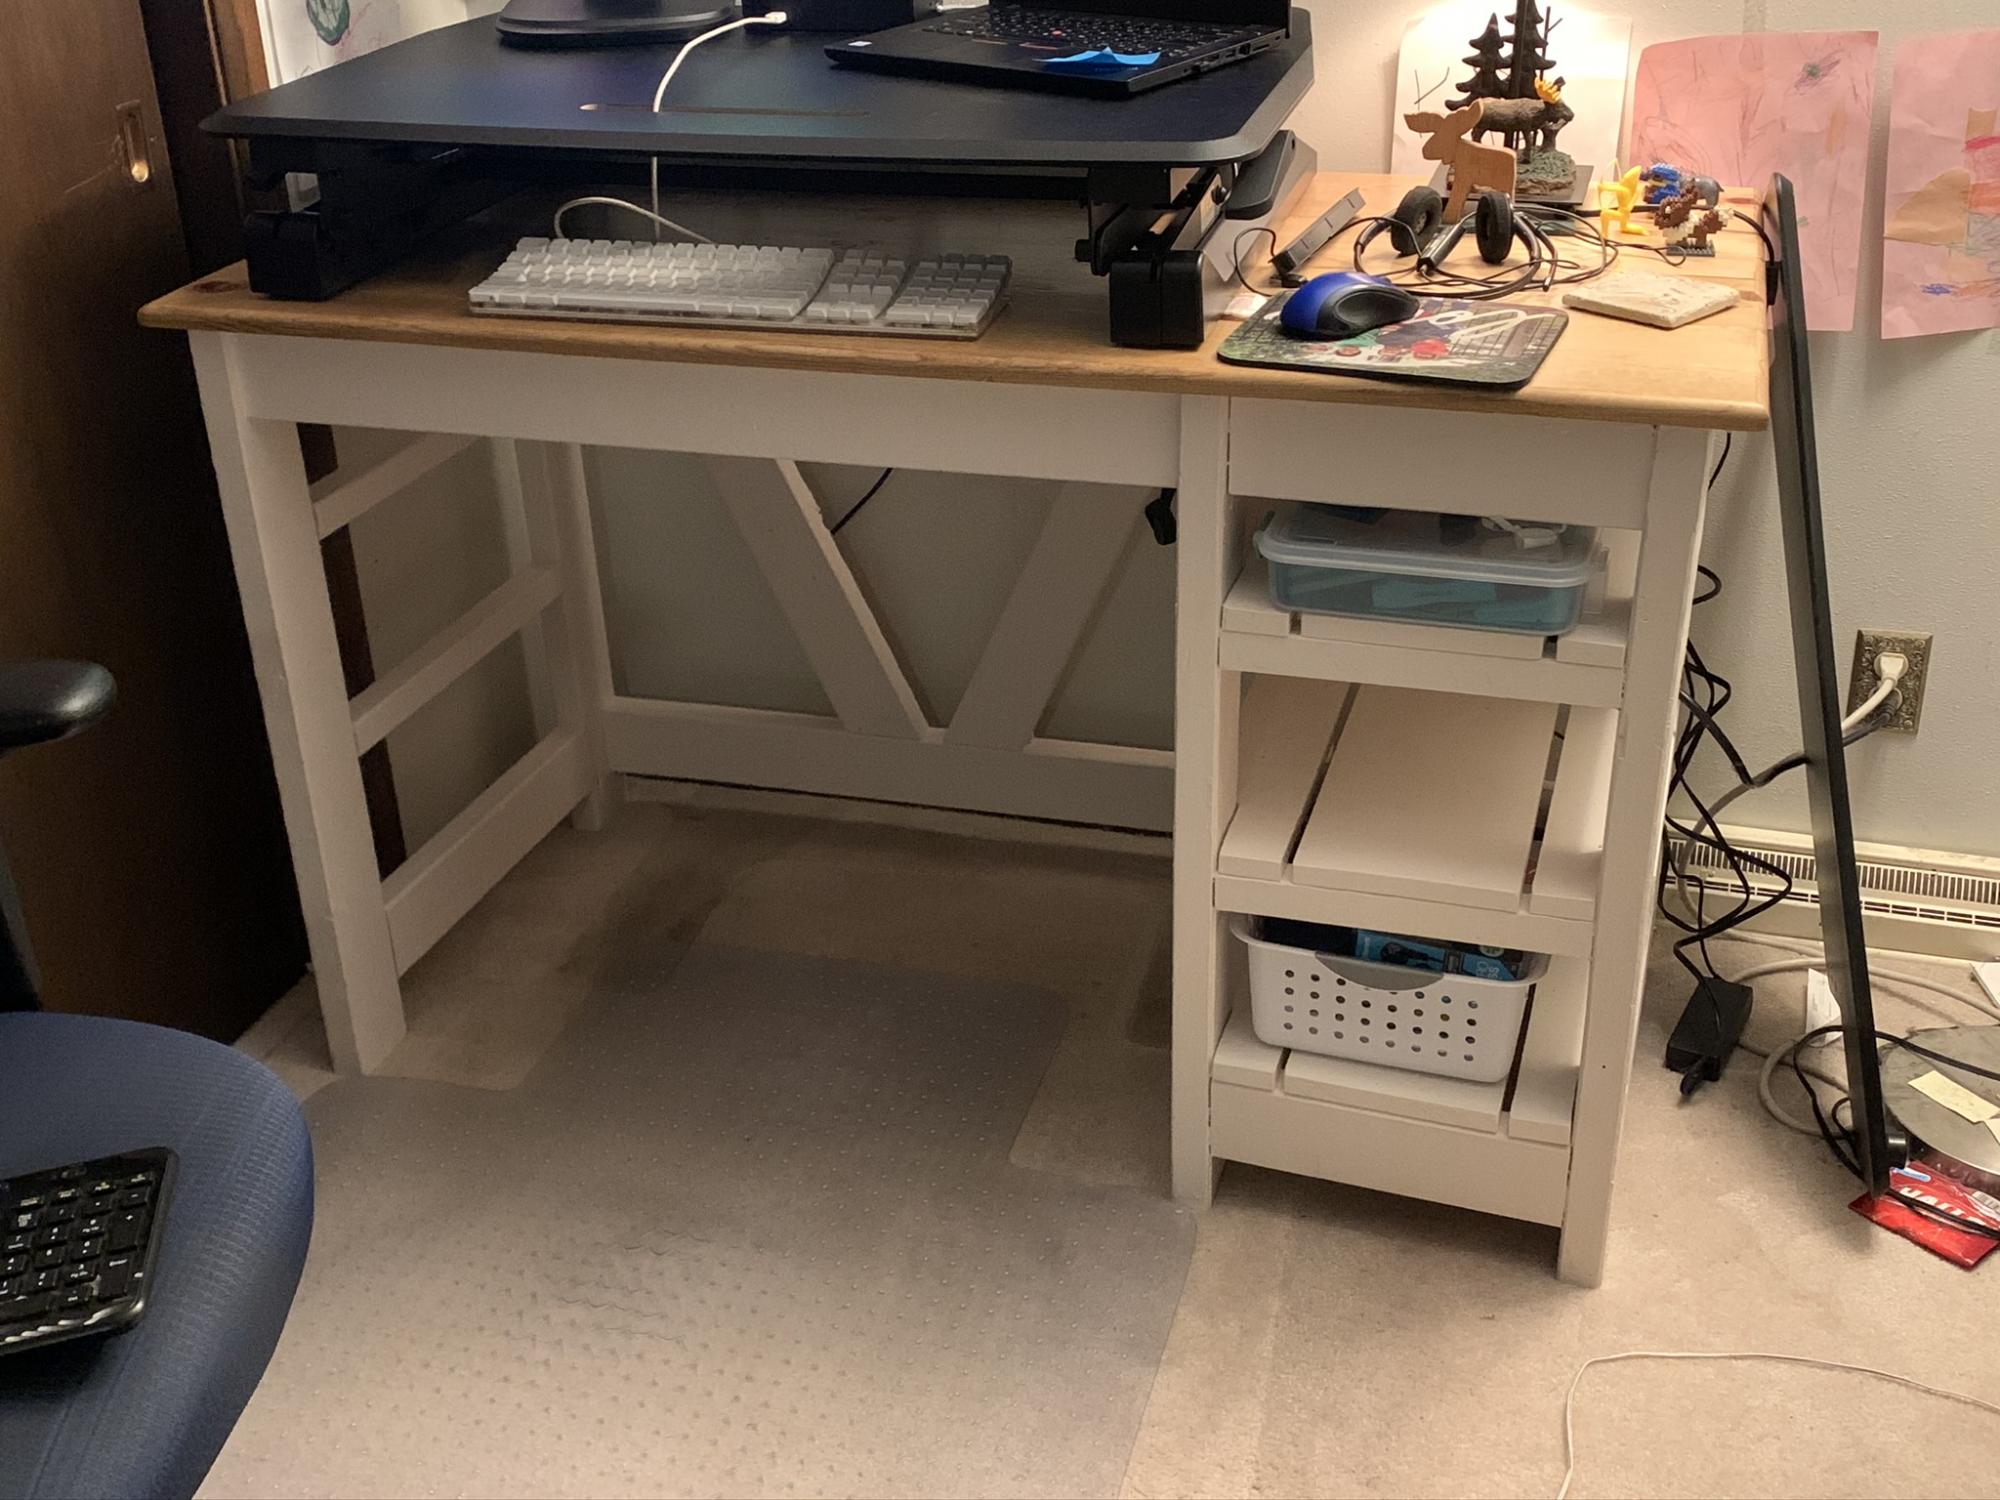
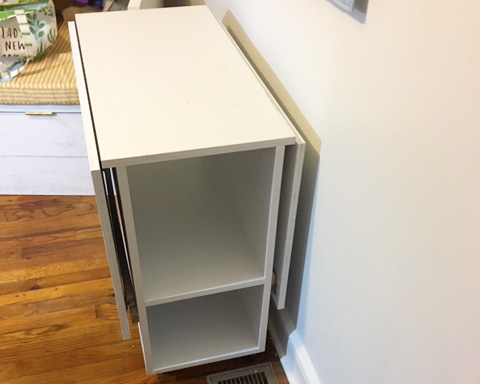
I changed the design a bit and added shelves to fit bins and a pencil box.

Comments
Ana White Admin
Sun, 01/15/2023 - 20:21
Thank you!
Gorgeous, thank you for uploading a brag post!