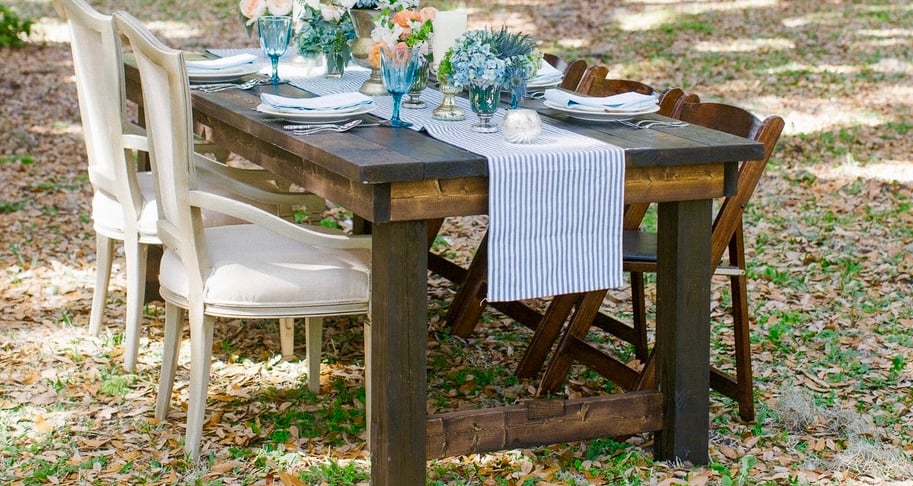
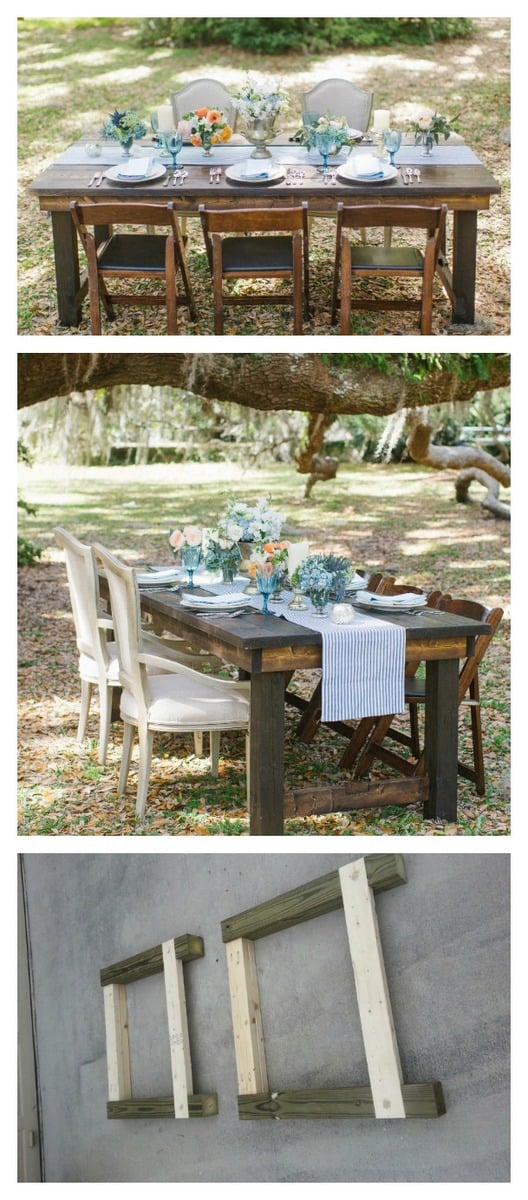
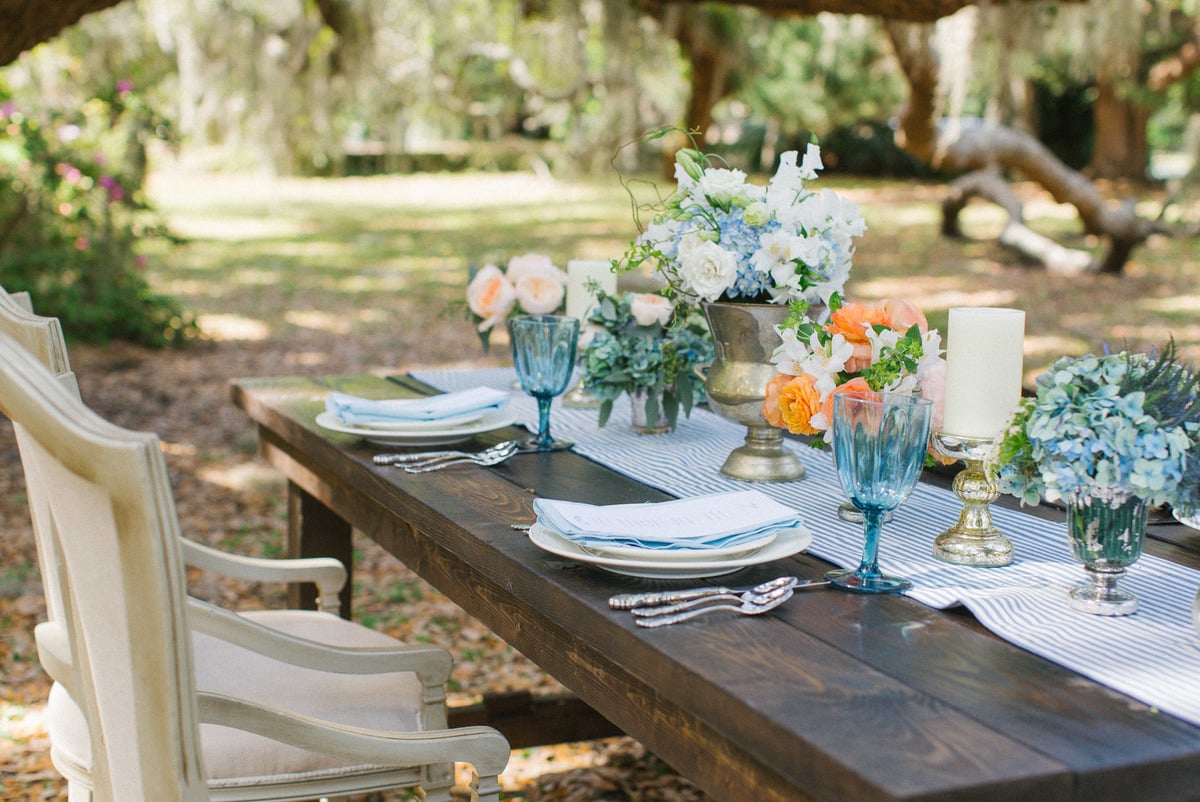
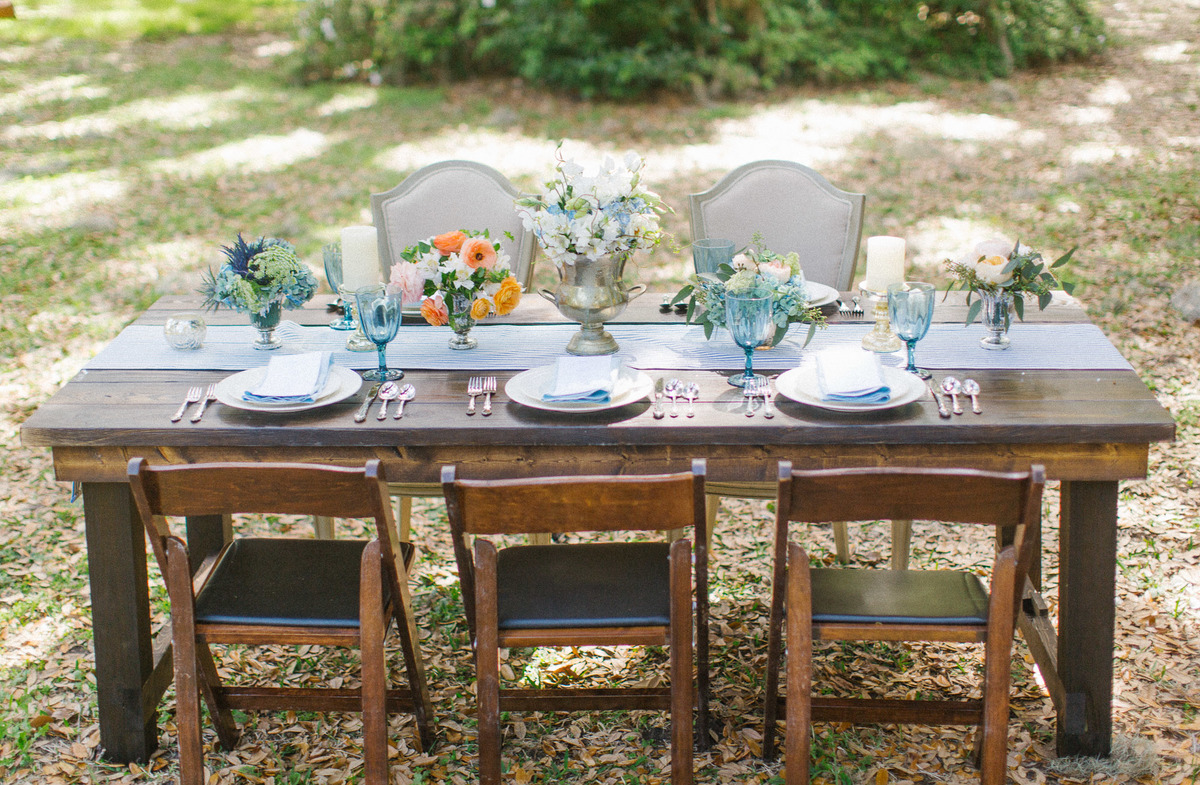
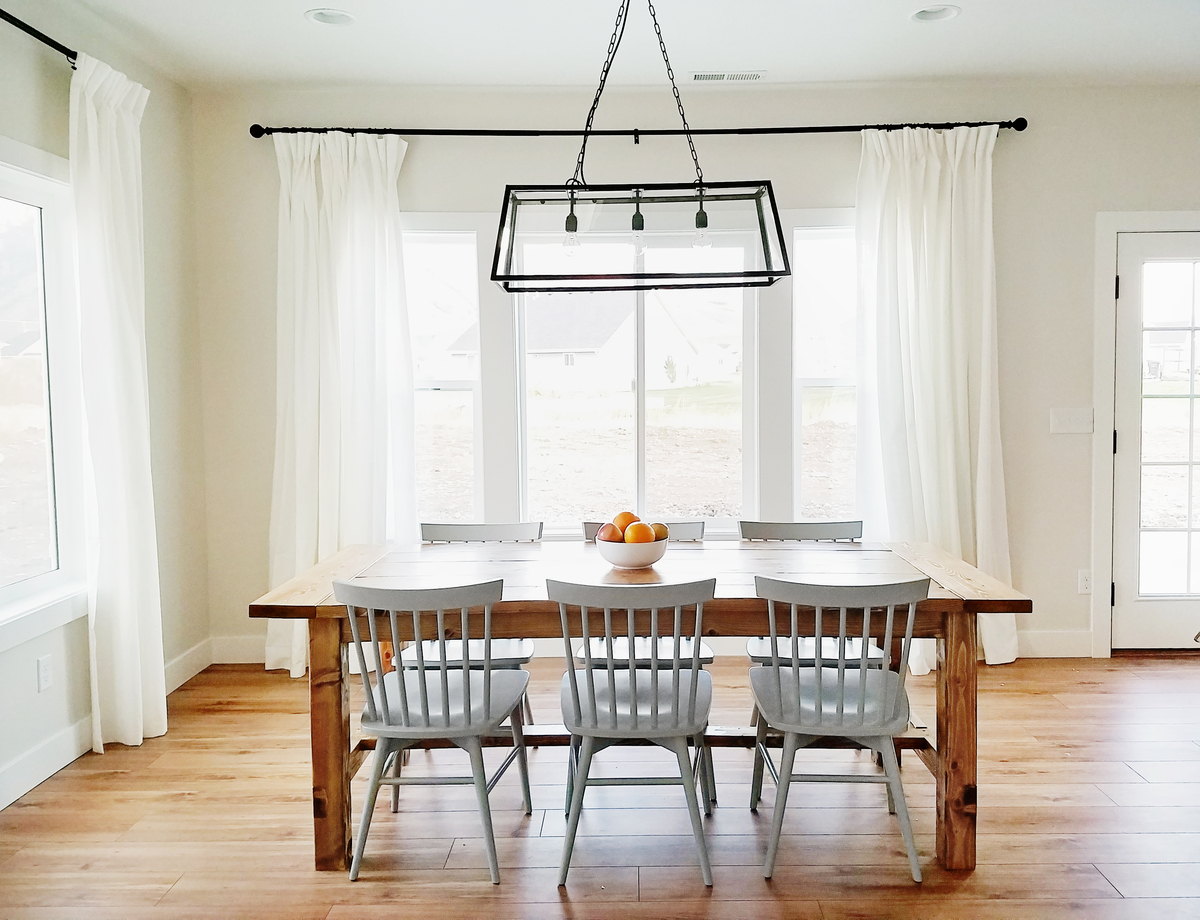
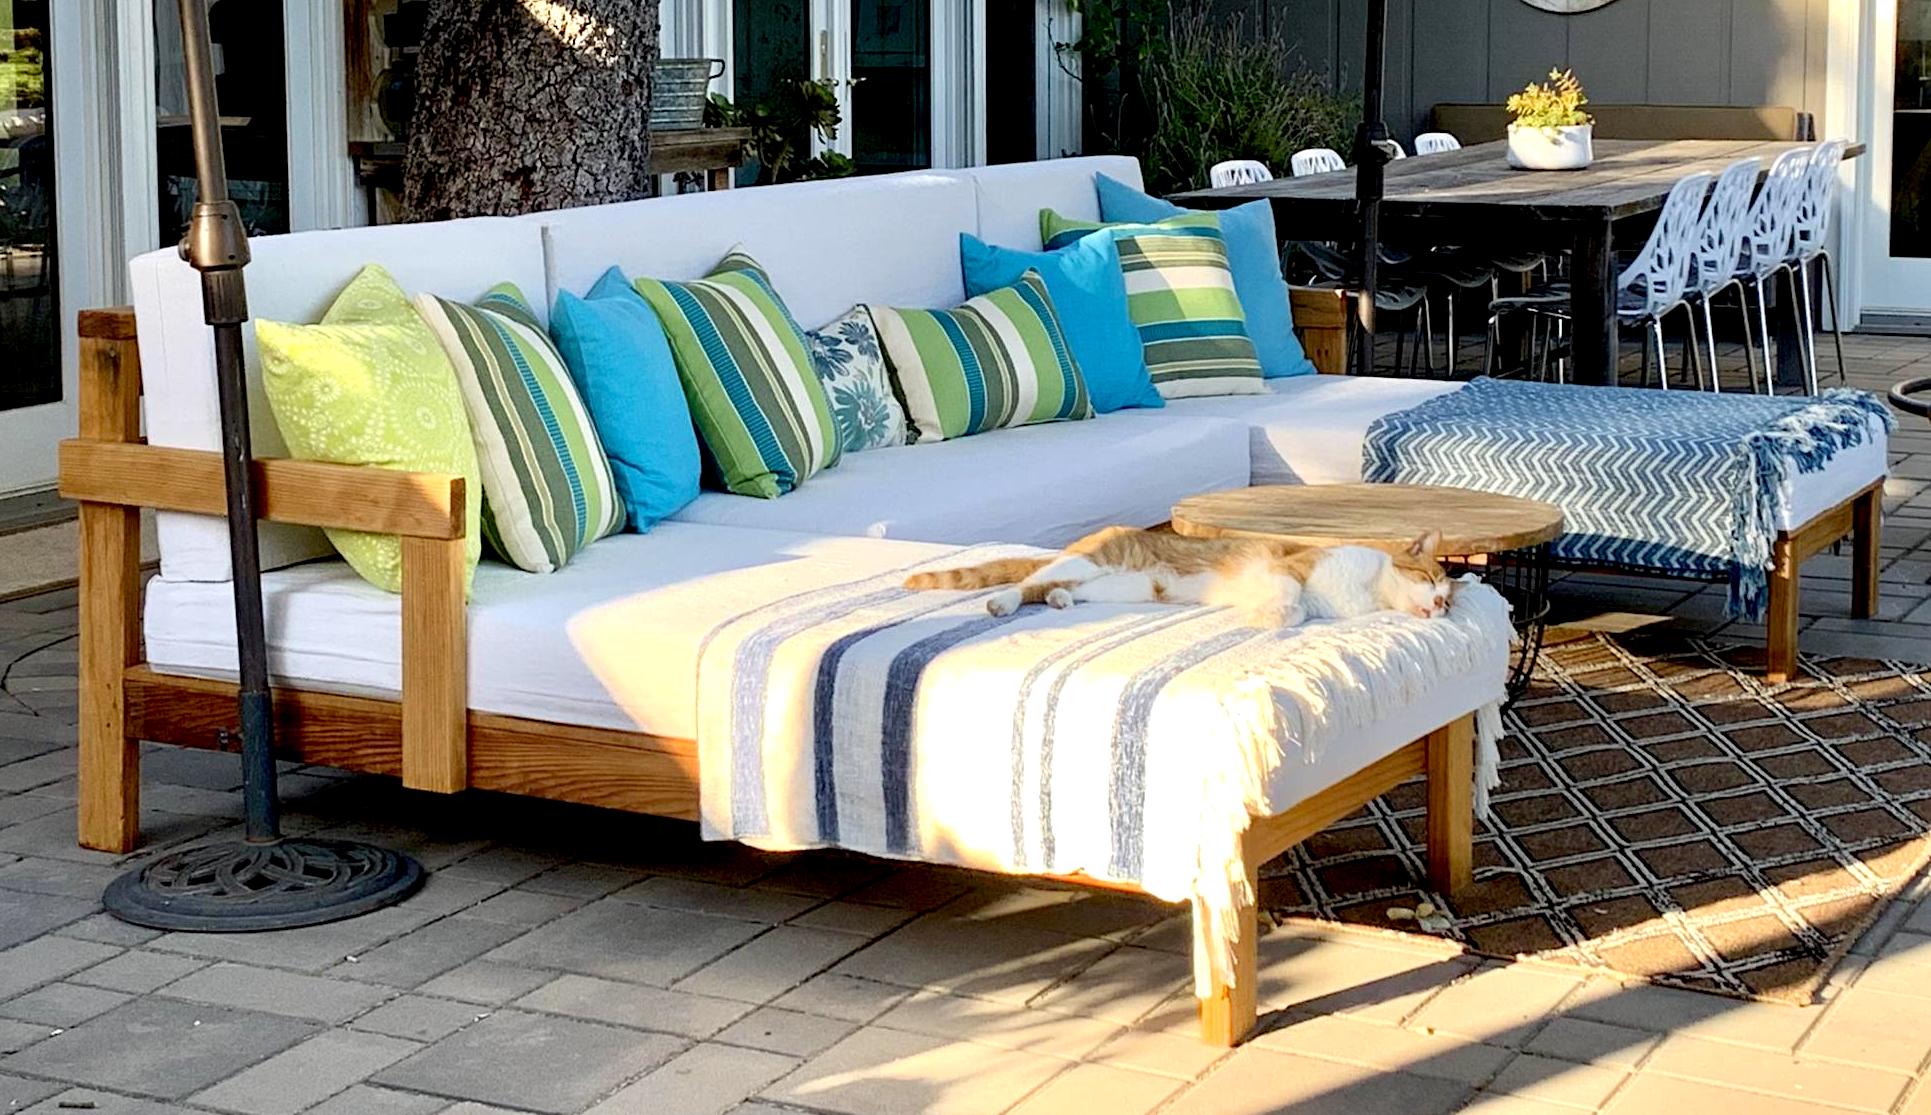
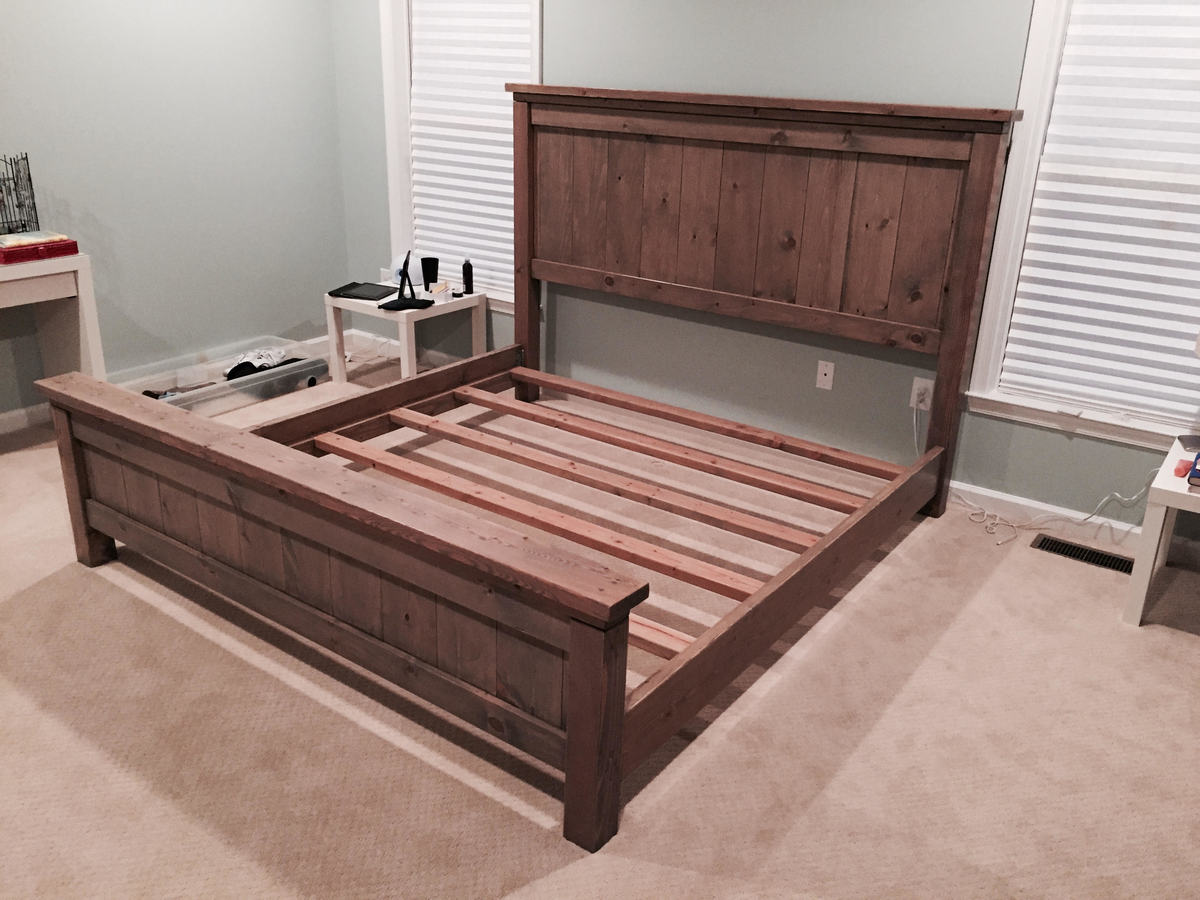
New Kitchen, New Table!
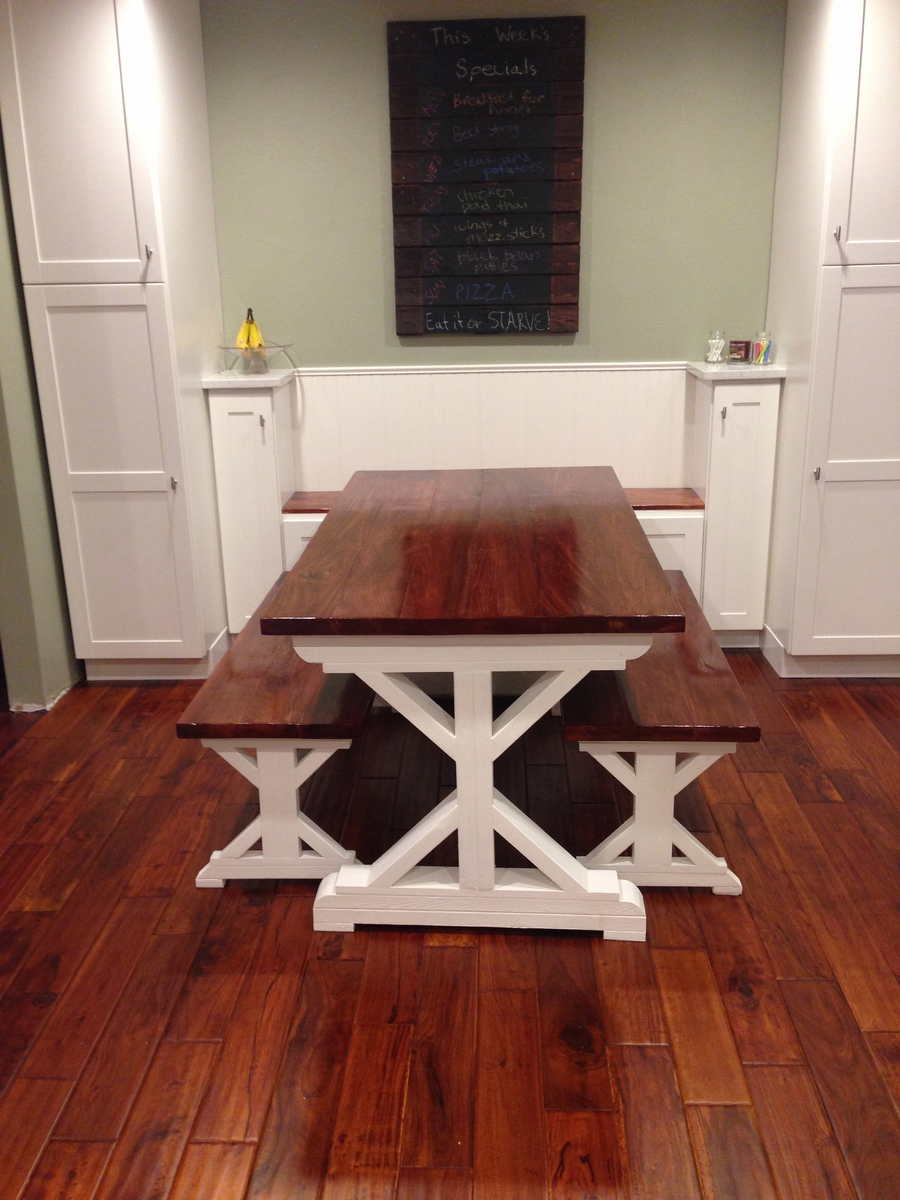
We just finished our complete kitchen remodel, from tearing down walls to new cabinets, appliances, hardwood floors, and countertops. I assembled the cabinets and installed them myself, along with tiling the backsplash and nailing down the floors. So I though I'd try my hand at furniture building. It was my first time building anything like this and I thought it turned out pretty nice!
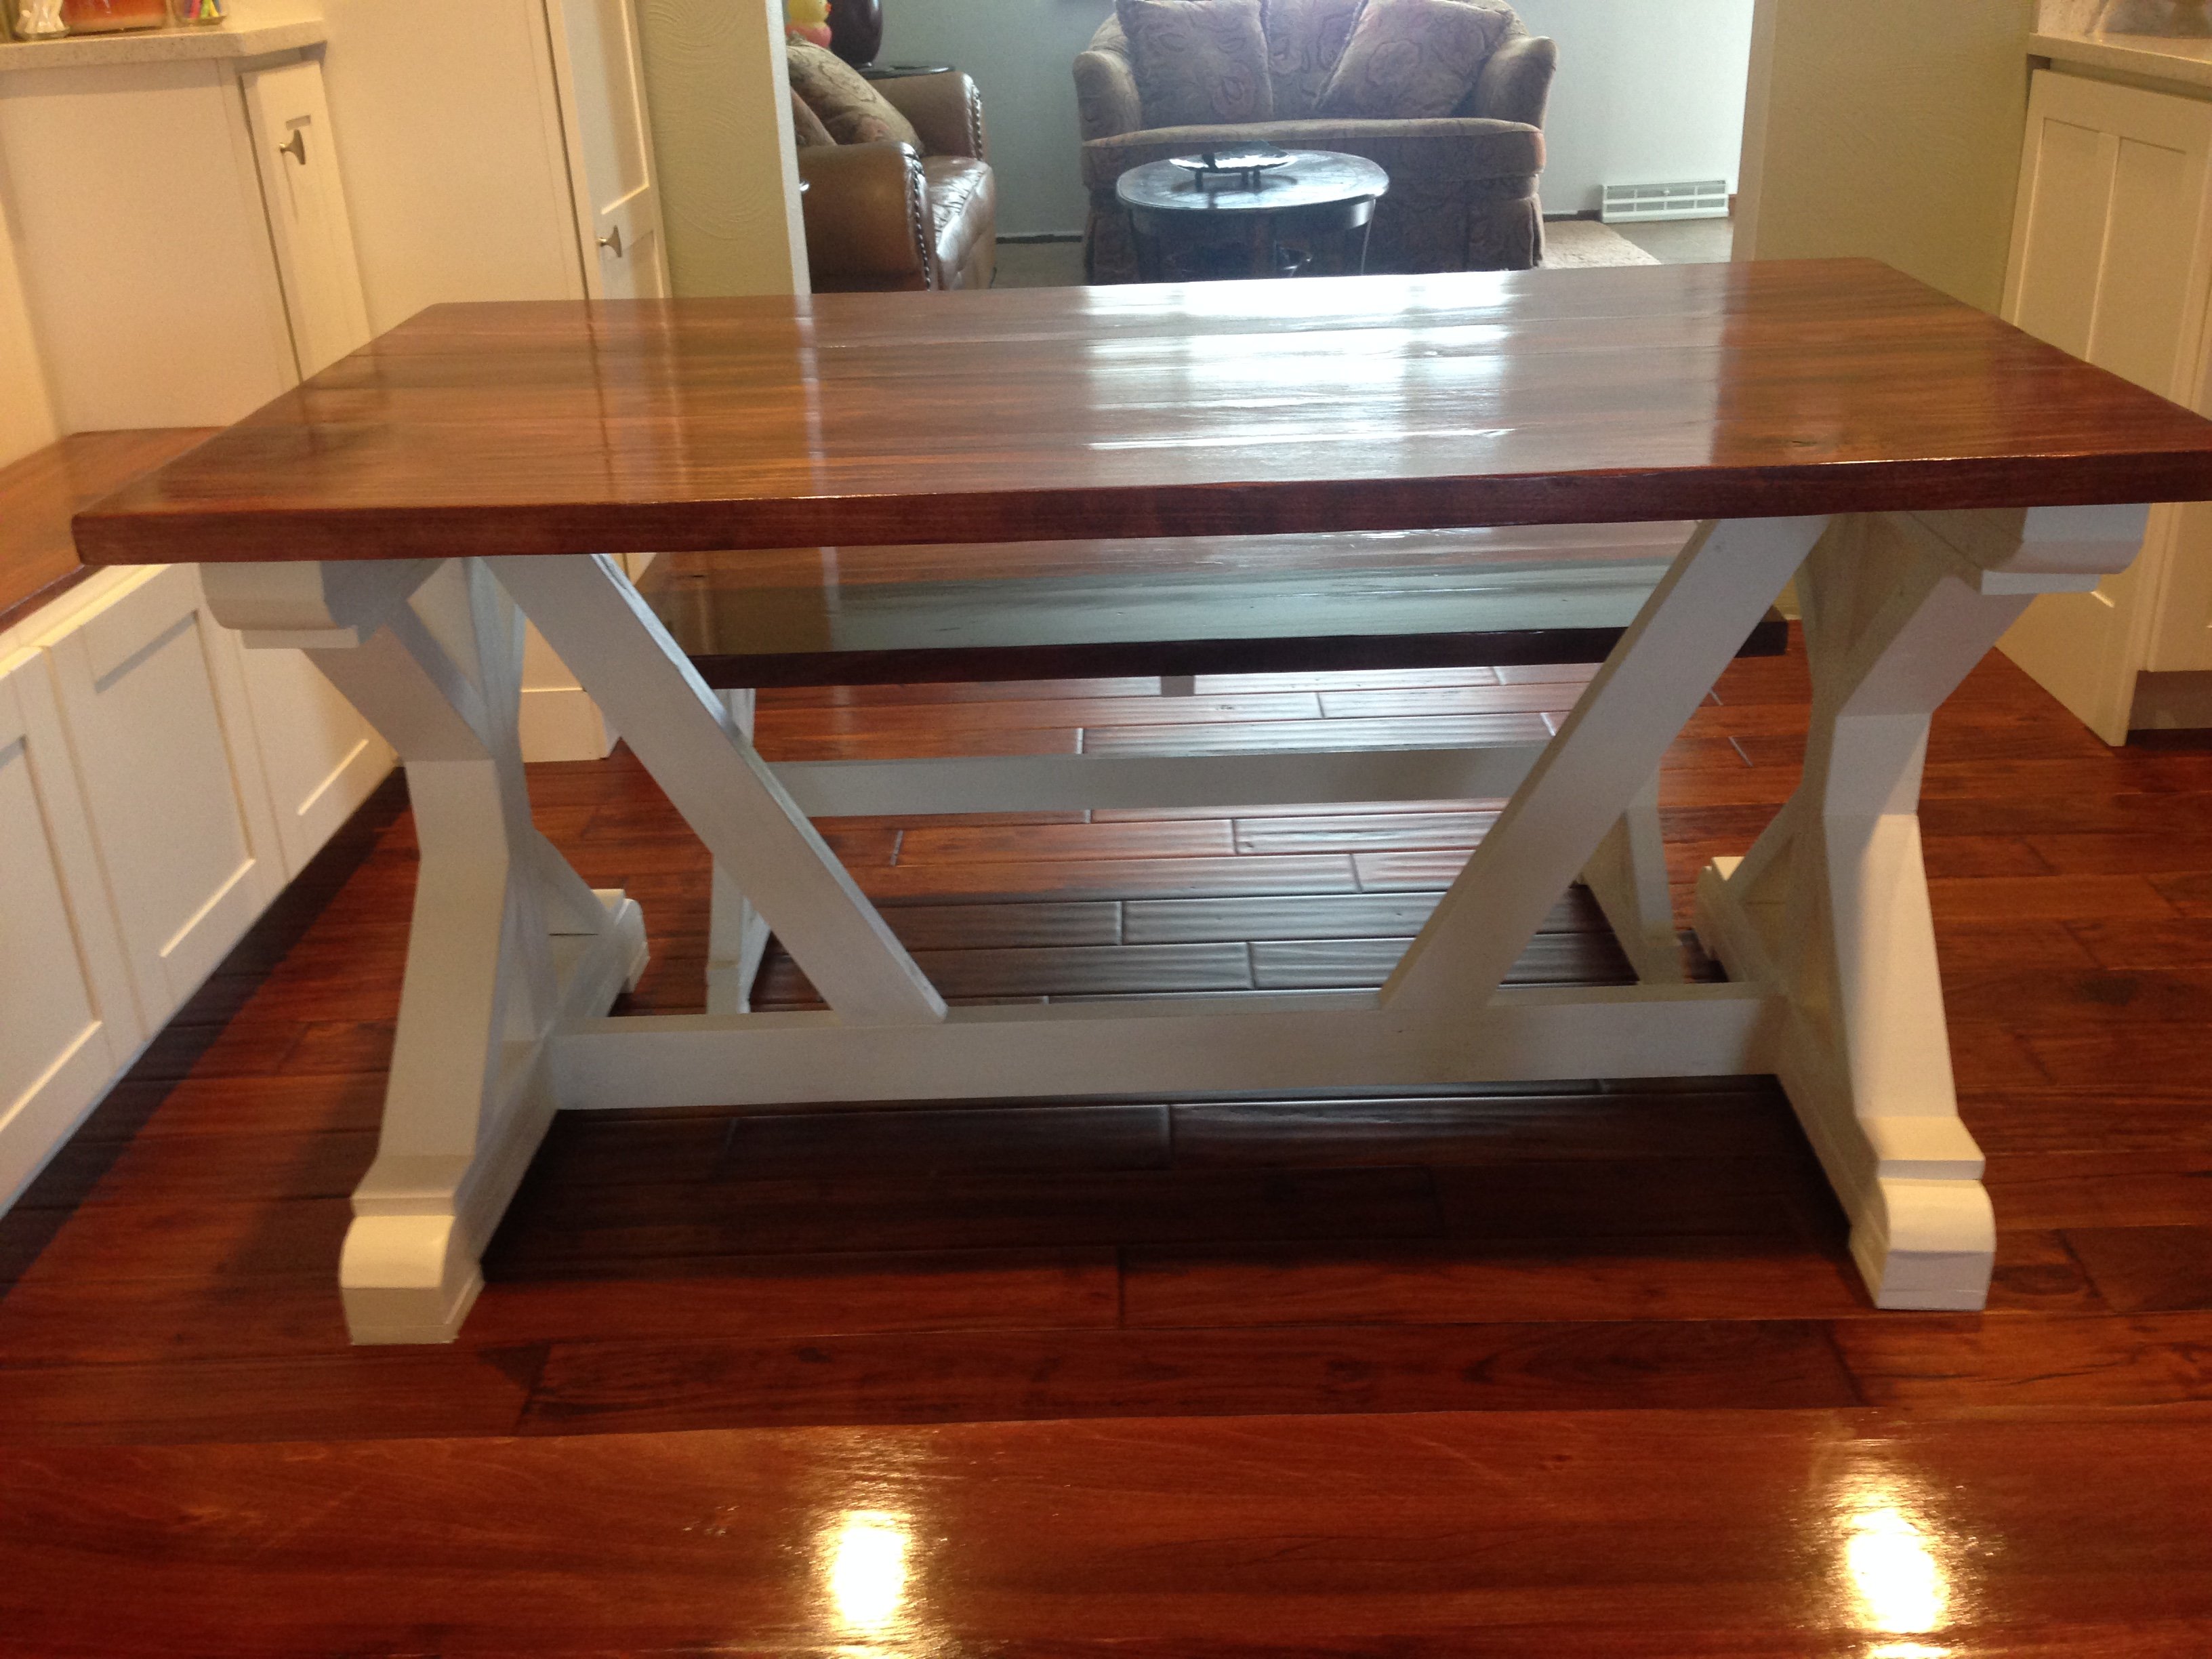
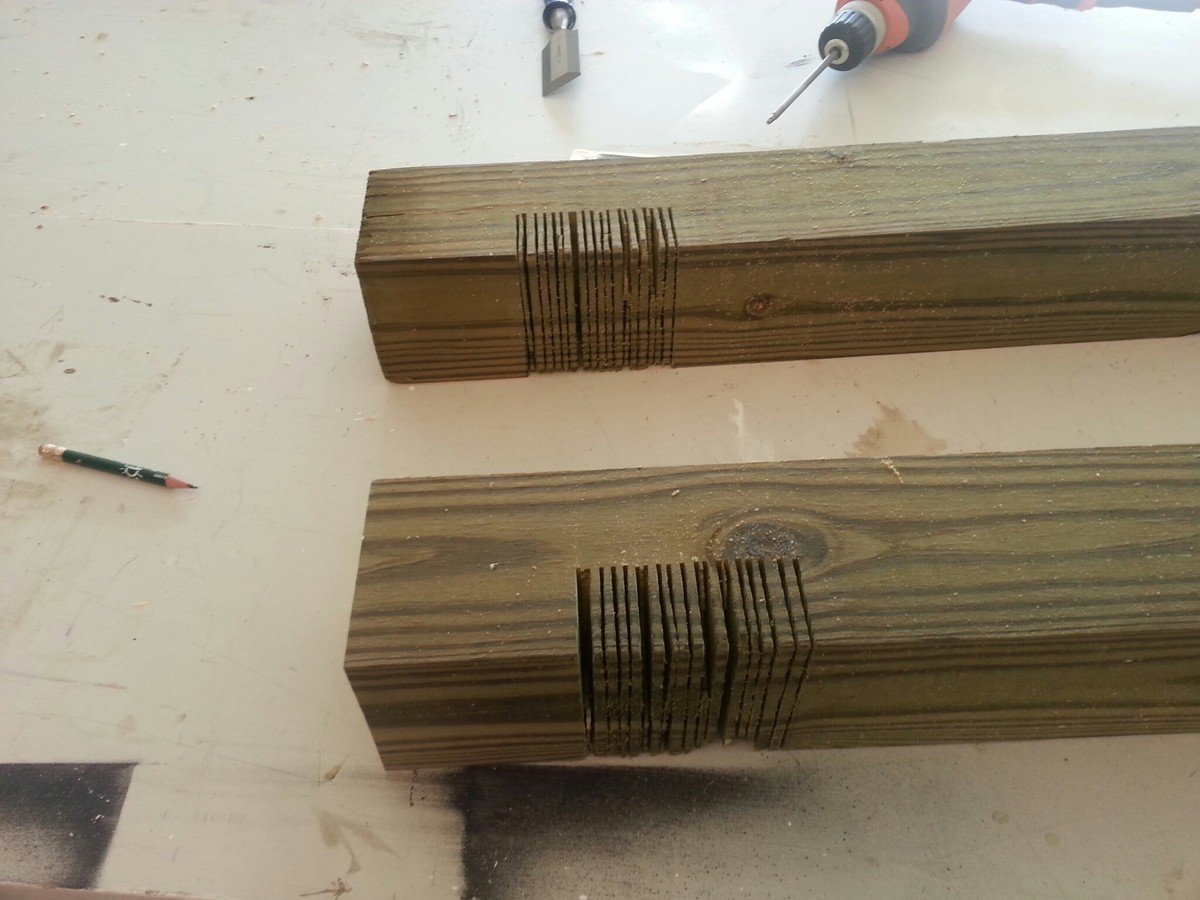
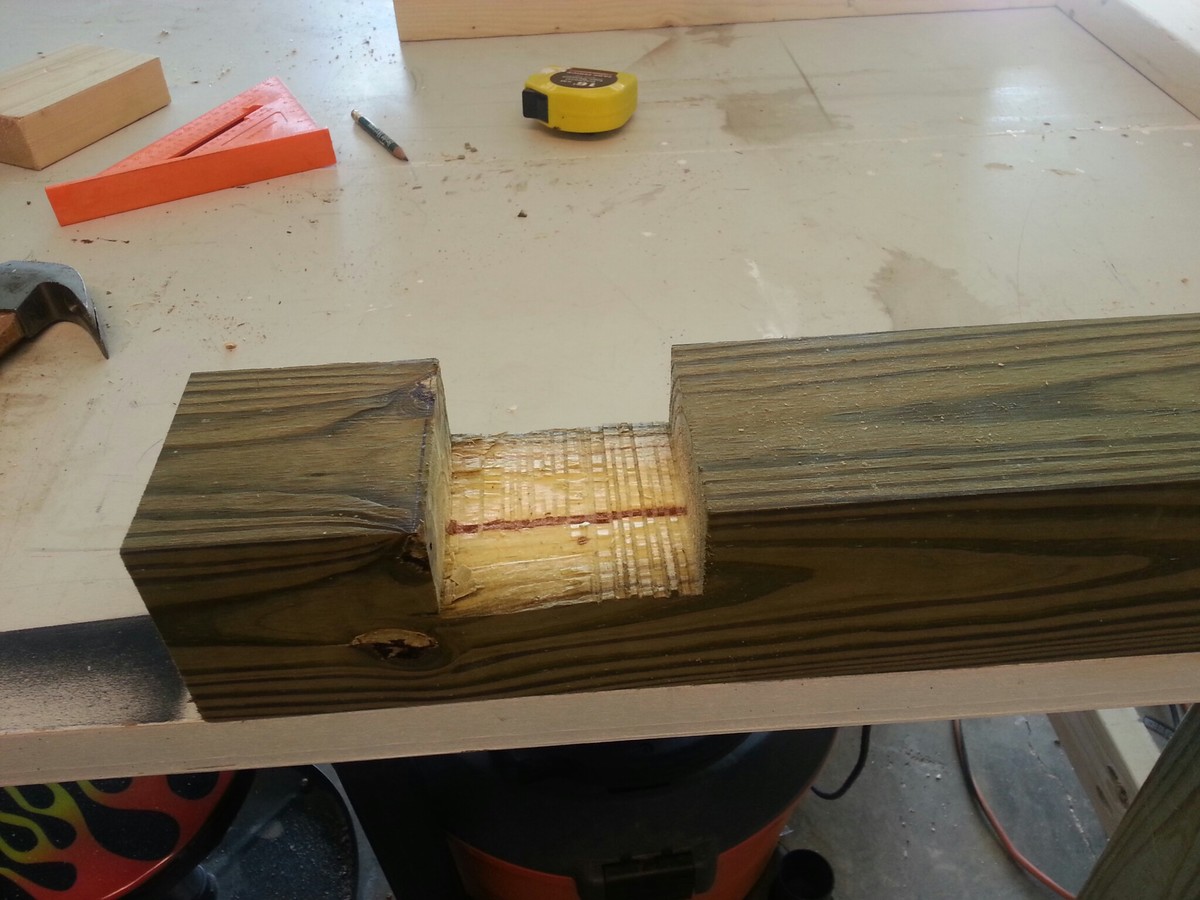
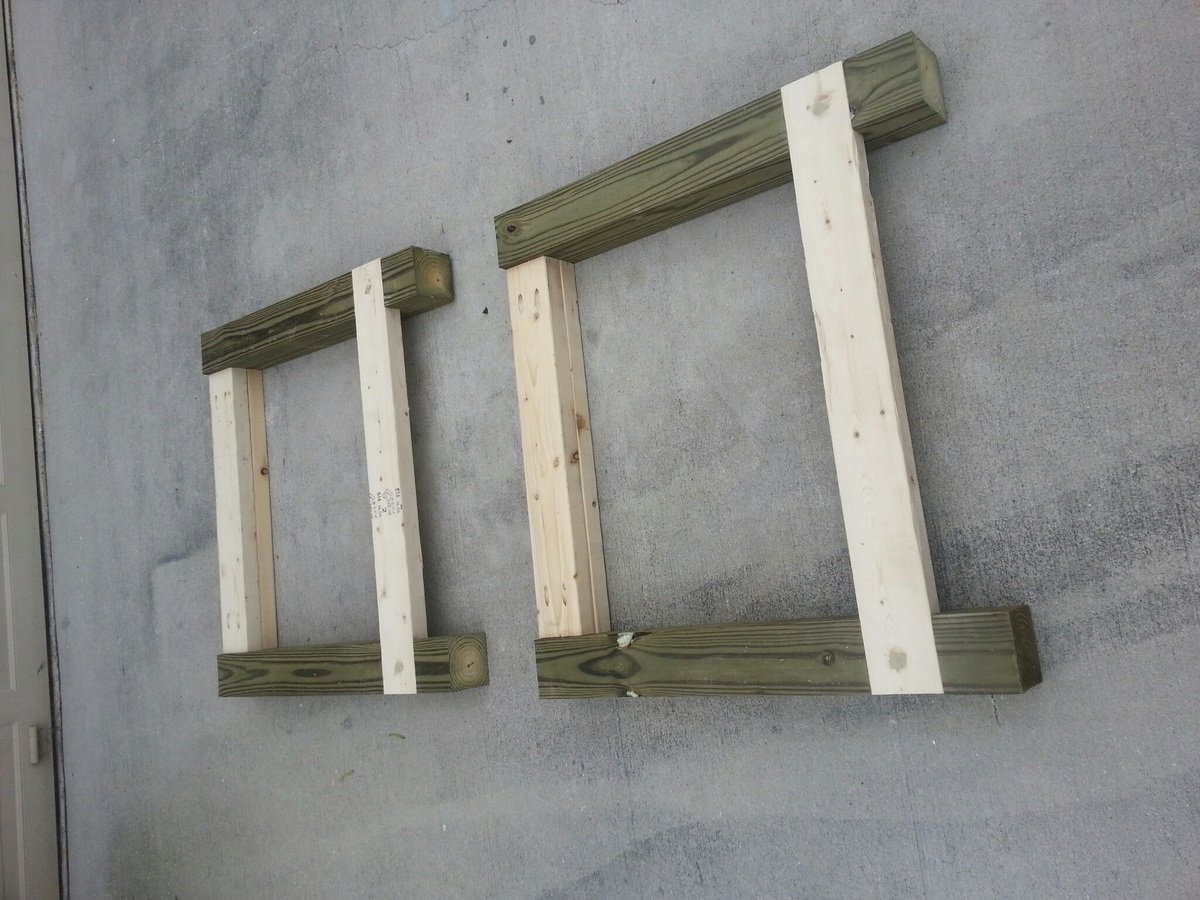
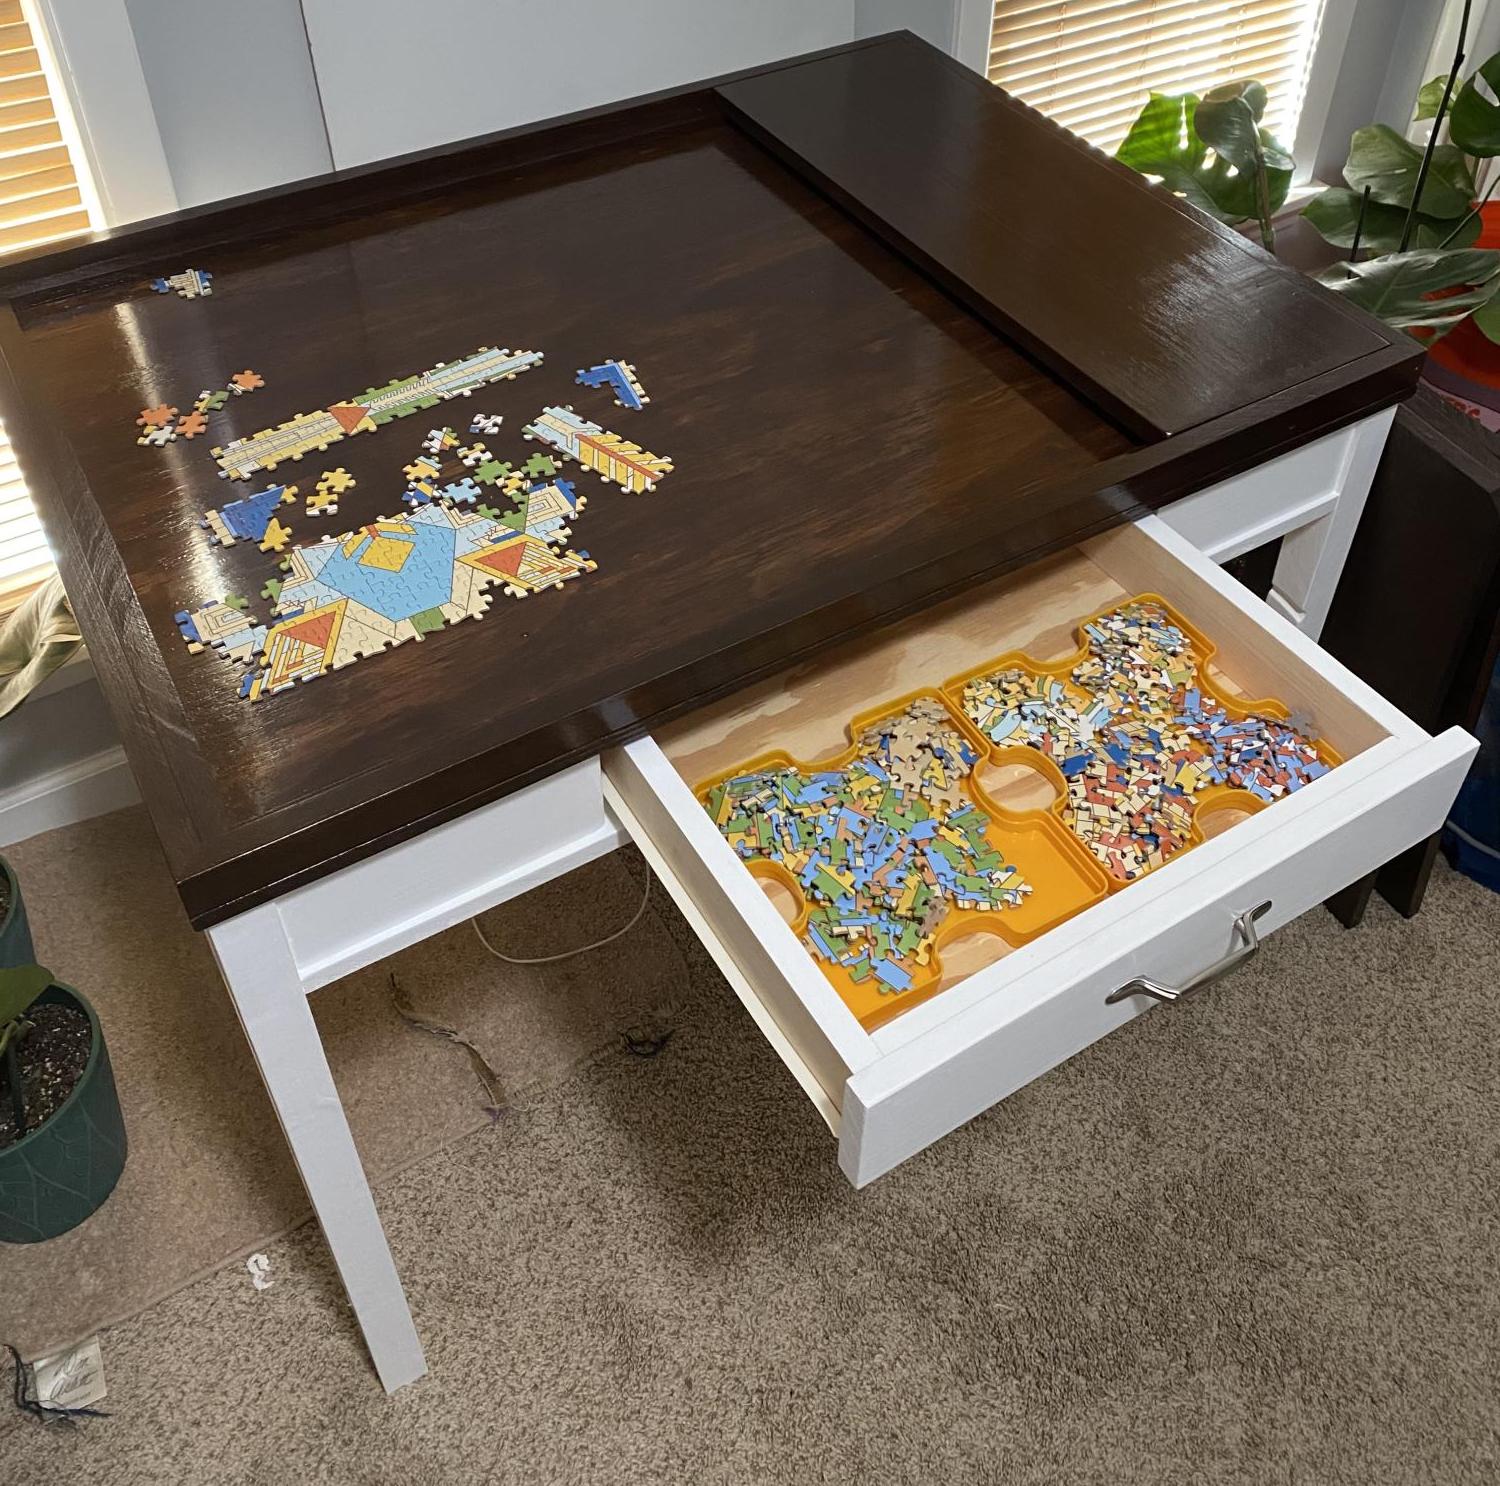
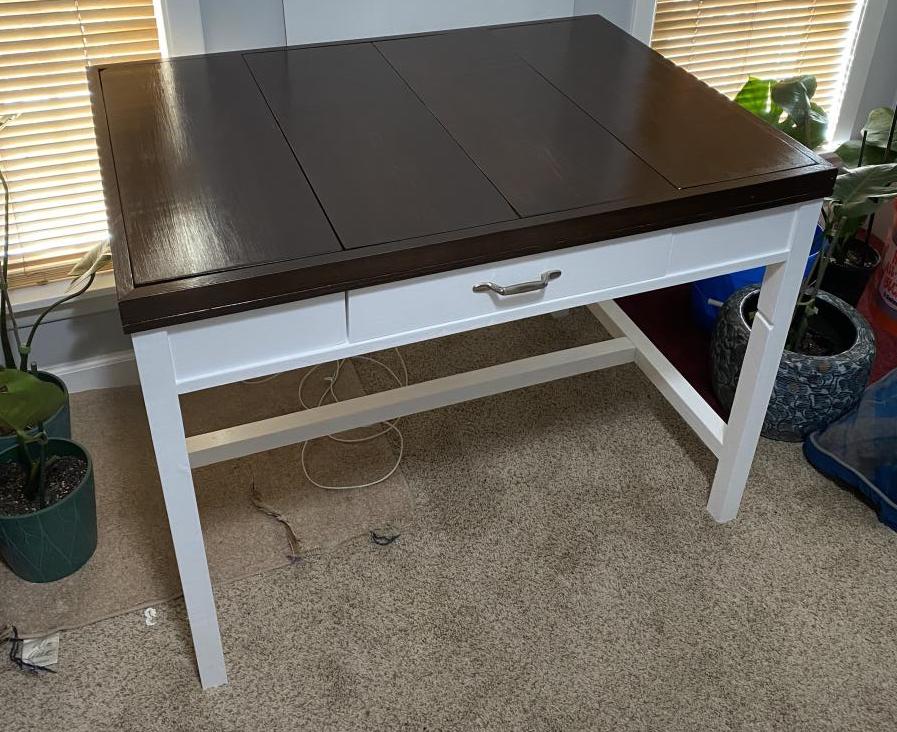
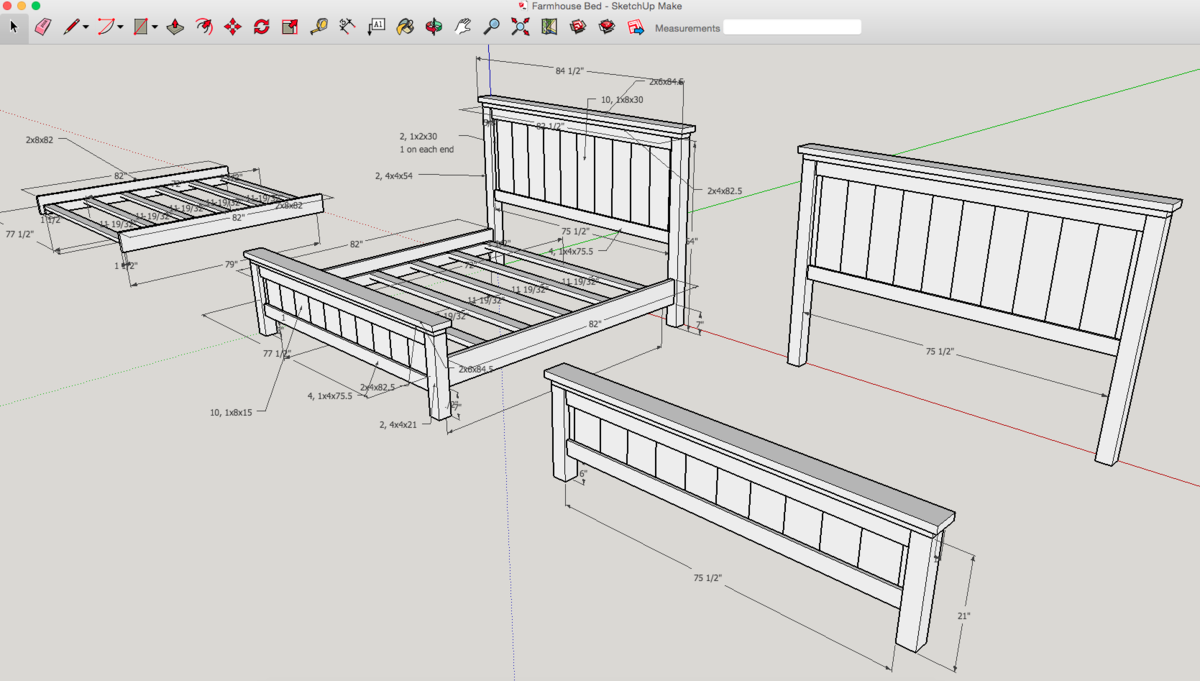
I used left over boards from the removation for the bases of the table and benches and 2x6 poplar boards for the tops. I made some adjustments in the size since we're only a family on 3. Since I made the table shorter, I changed the 45 degree cuts on the cross braces to 30 degrees so they would fit.
Built from Plan(s)
Estimated Cost
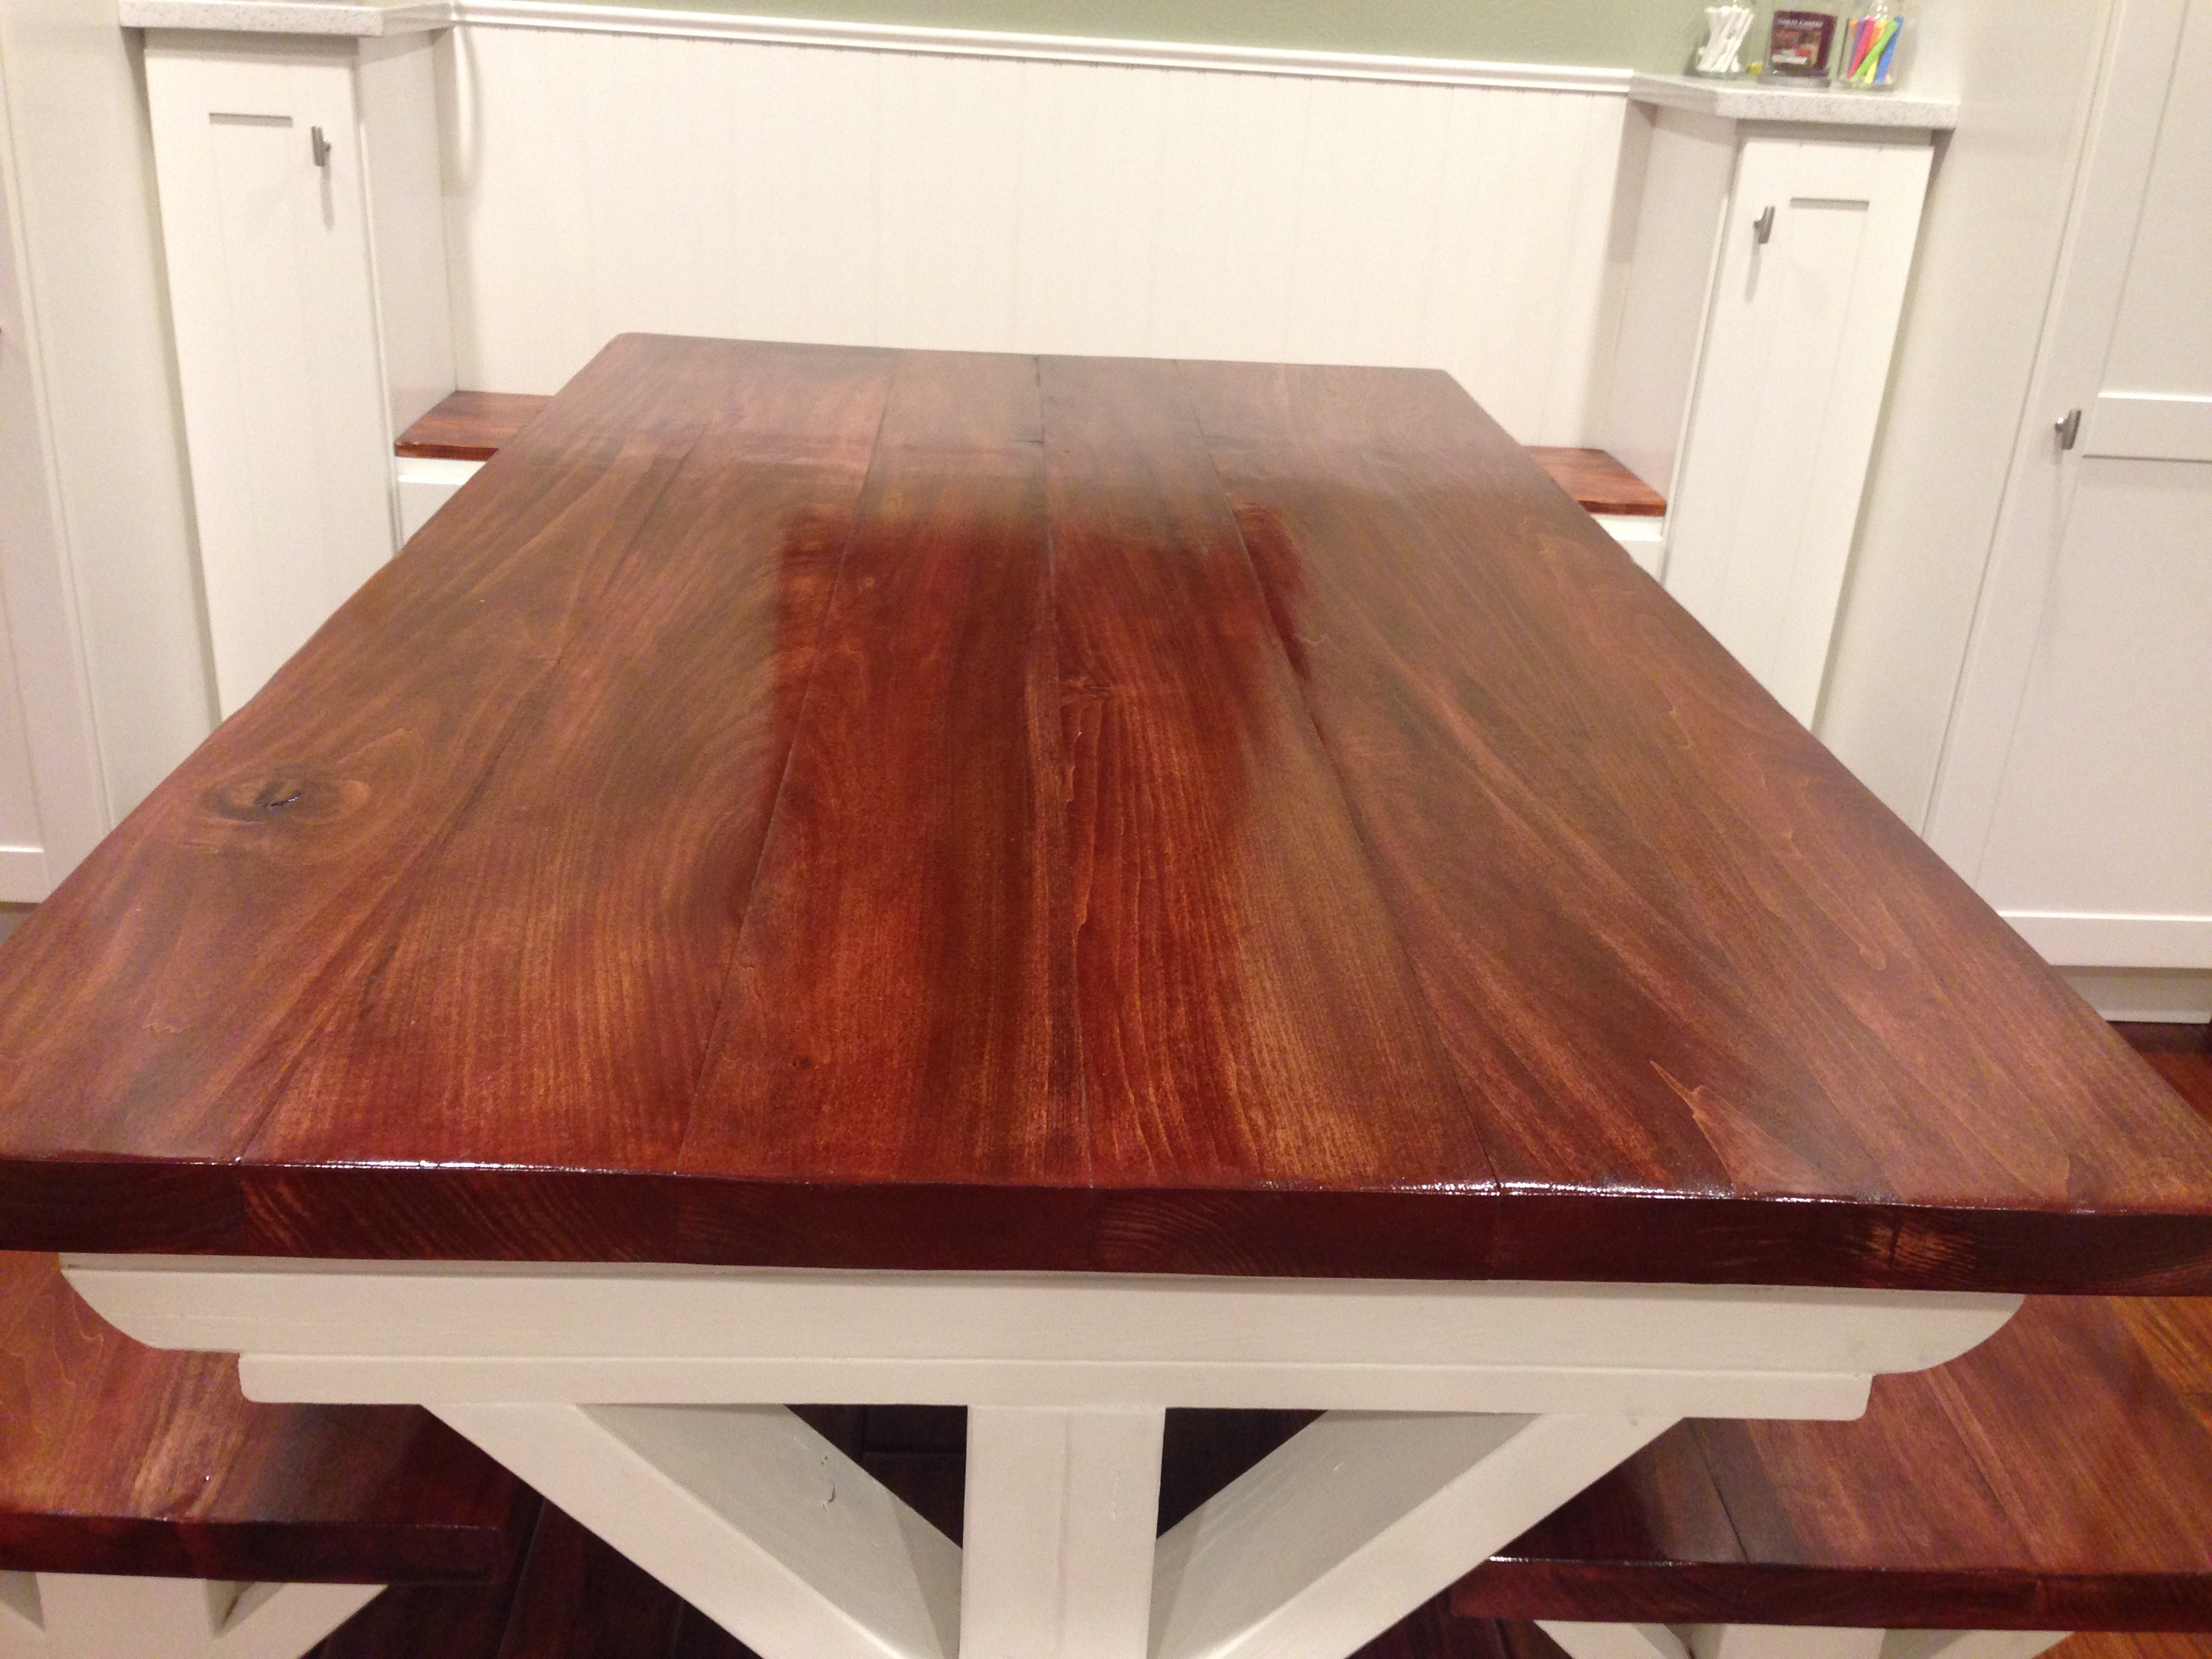
$300 just because I bought high quality poplar with the edges planed so they would fit together with no gaps
Estimated Time Investment
Week Long Project (20 Hours or More)
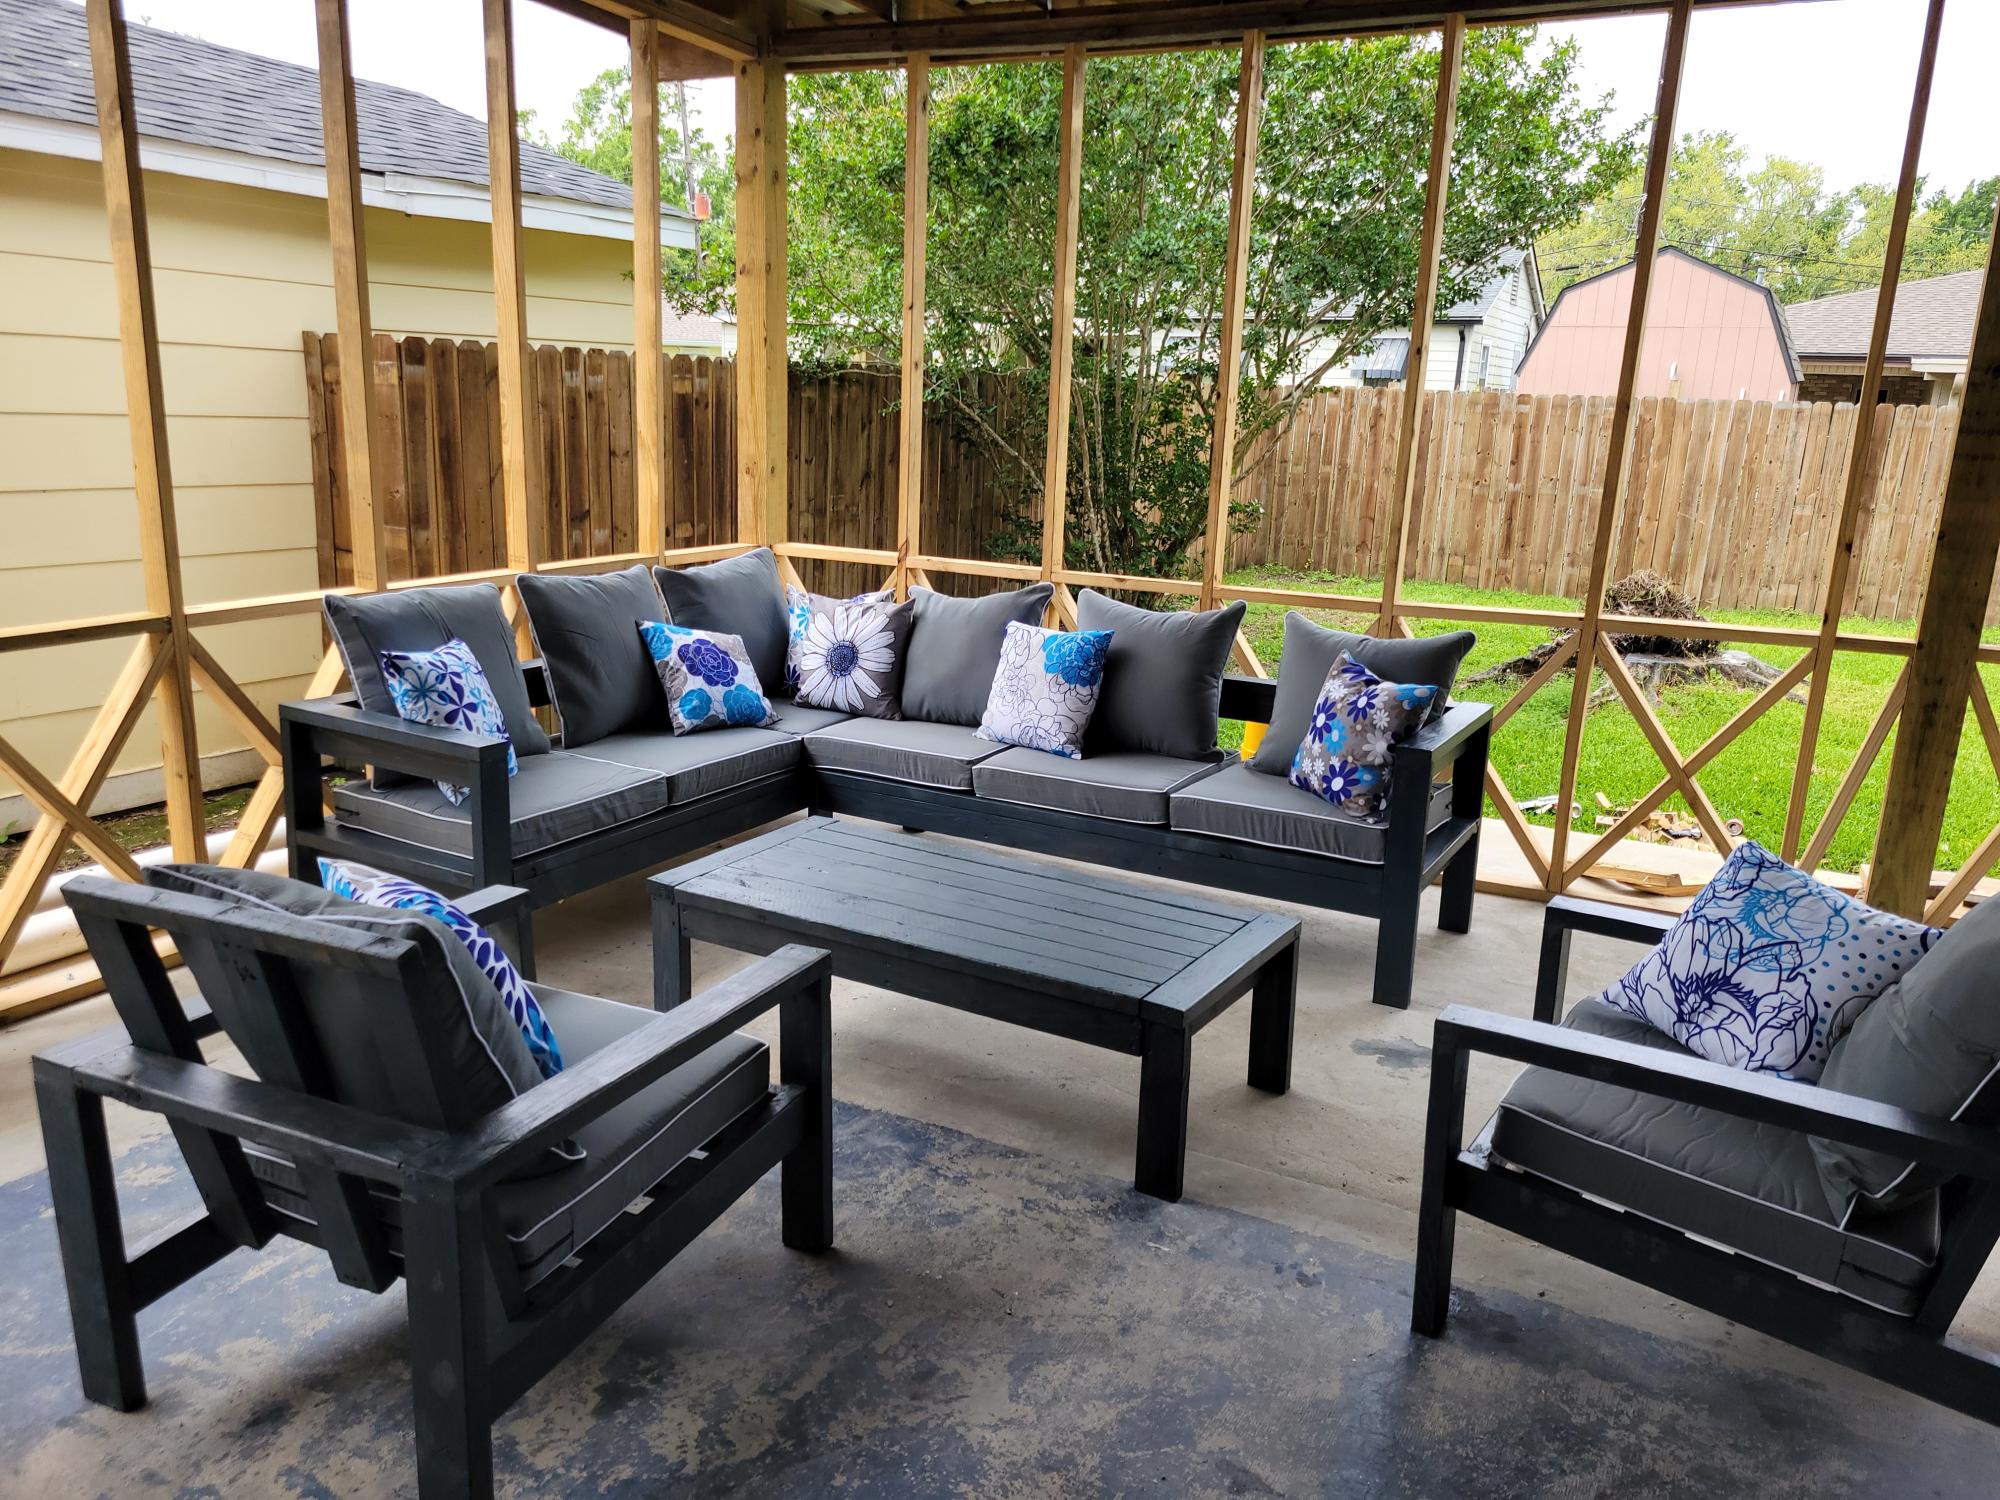
Finish Used
minwax sedona red
zar merlot
minwax red mahogany
in that order, but I found that the stain effects poplar differently than it does pine
3 coats of brush on polyurethane sanded with 220 in between coats
zar merlot
minwax red mahogany
in that order, but I found that the stain effects poplar differently than it does pine
3 coats of brush on polyurethane sanded with 220 in between coats
Recommended Skill Level
Beginner


Comments
Ana White Admin
Tue, 04/07/2015 - 13:06
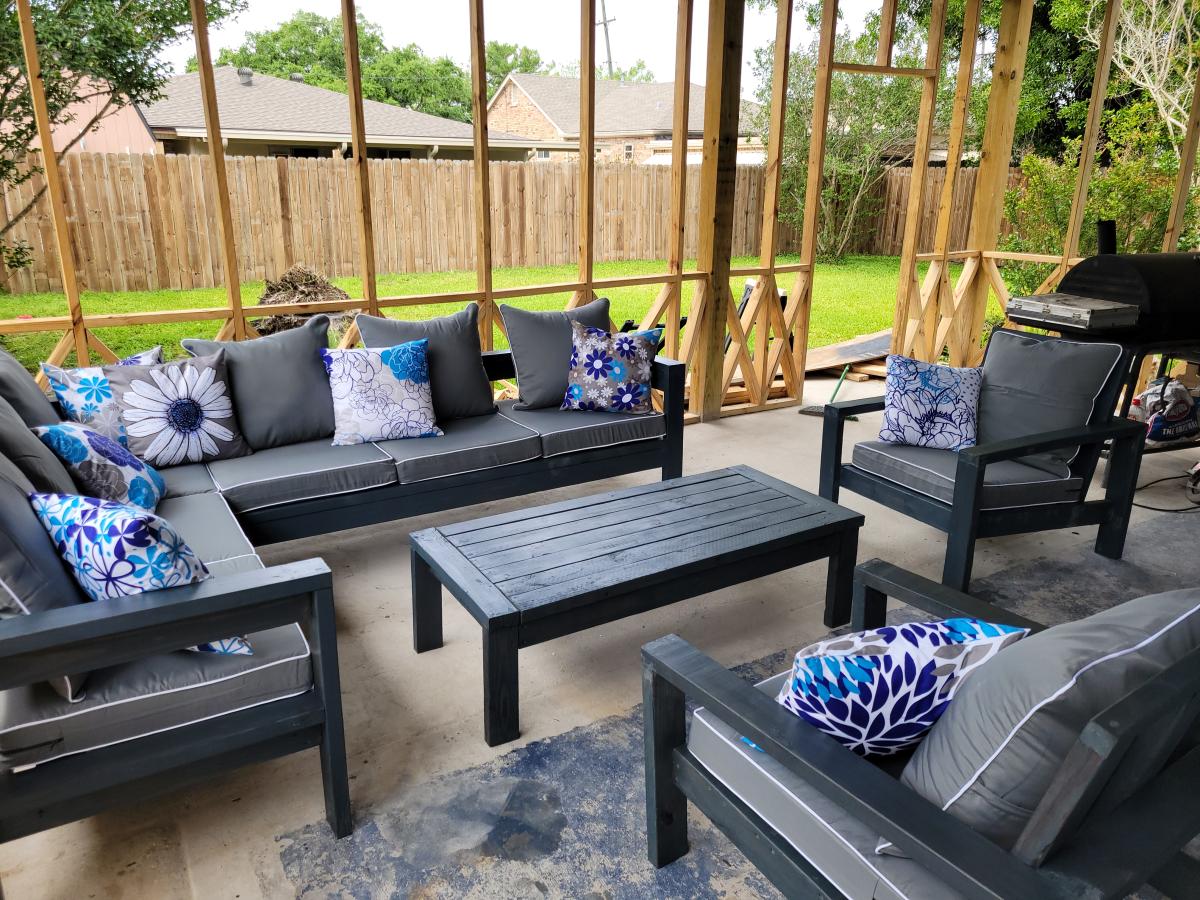
So Fresh!
Such a pretty space, great build and color choices! Thanks for sharing!