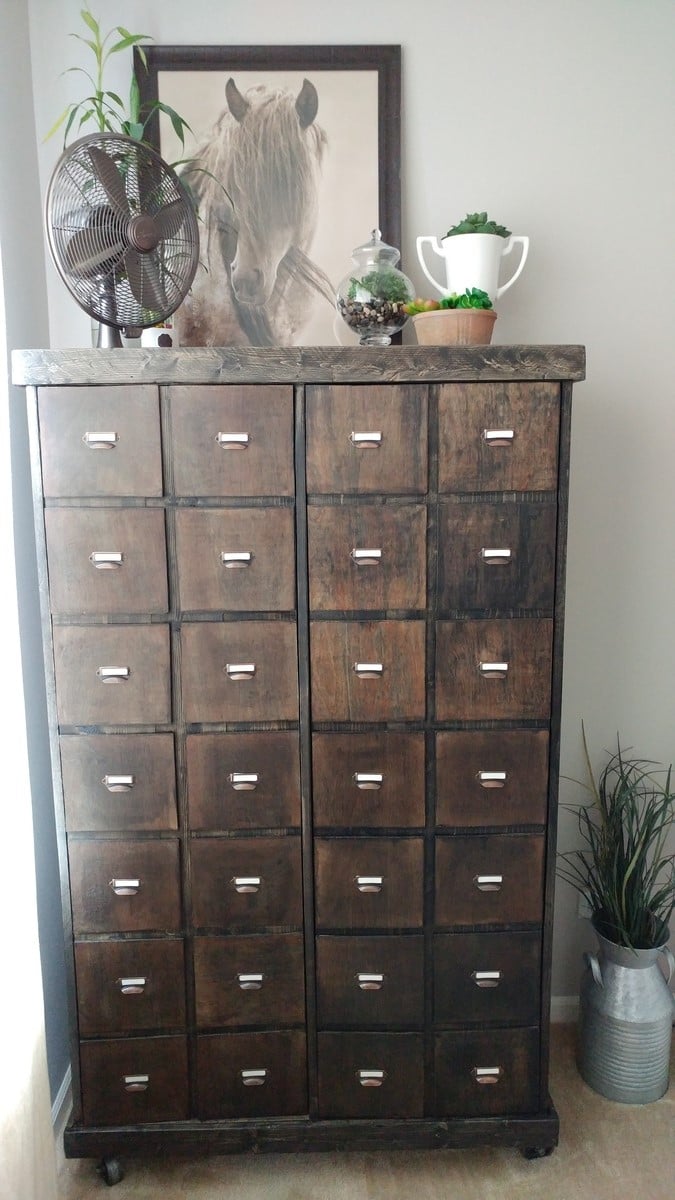
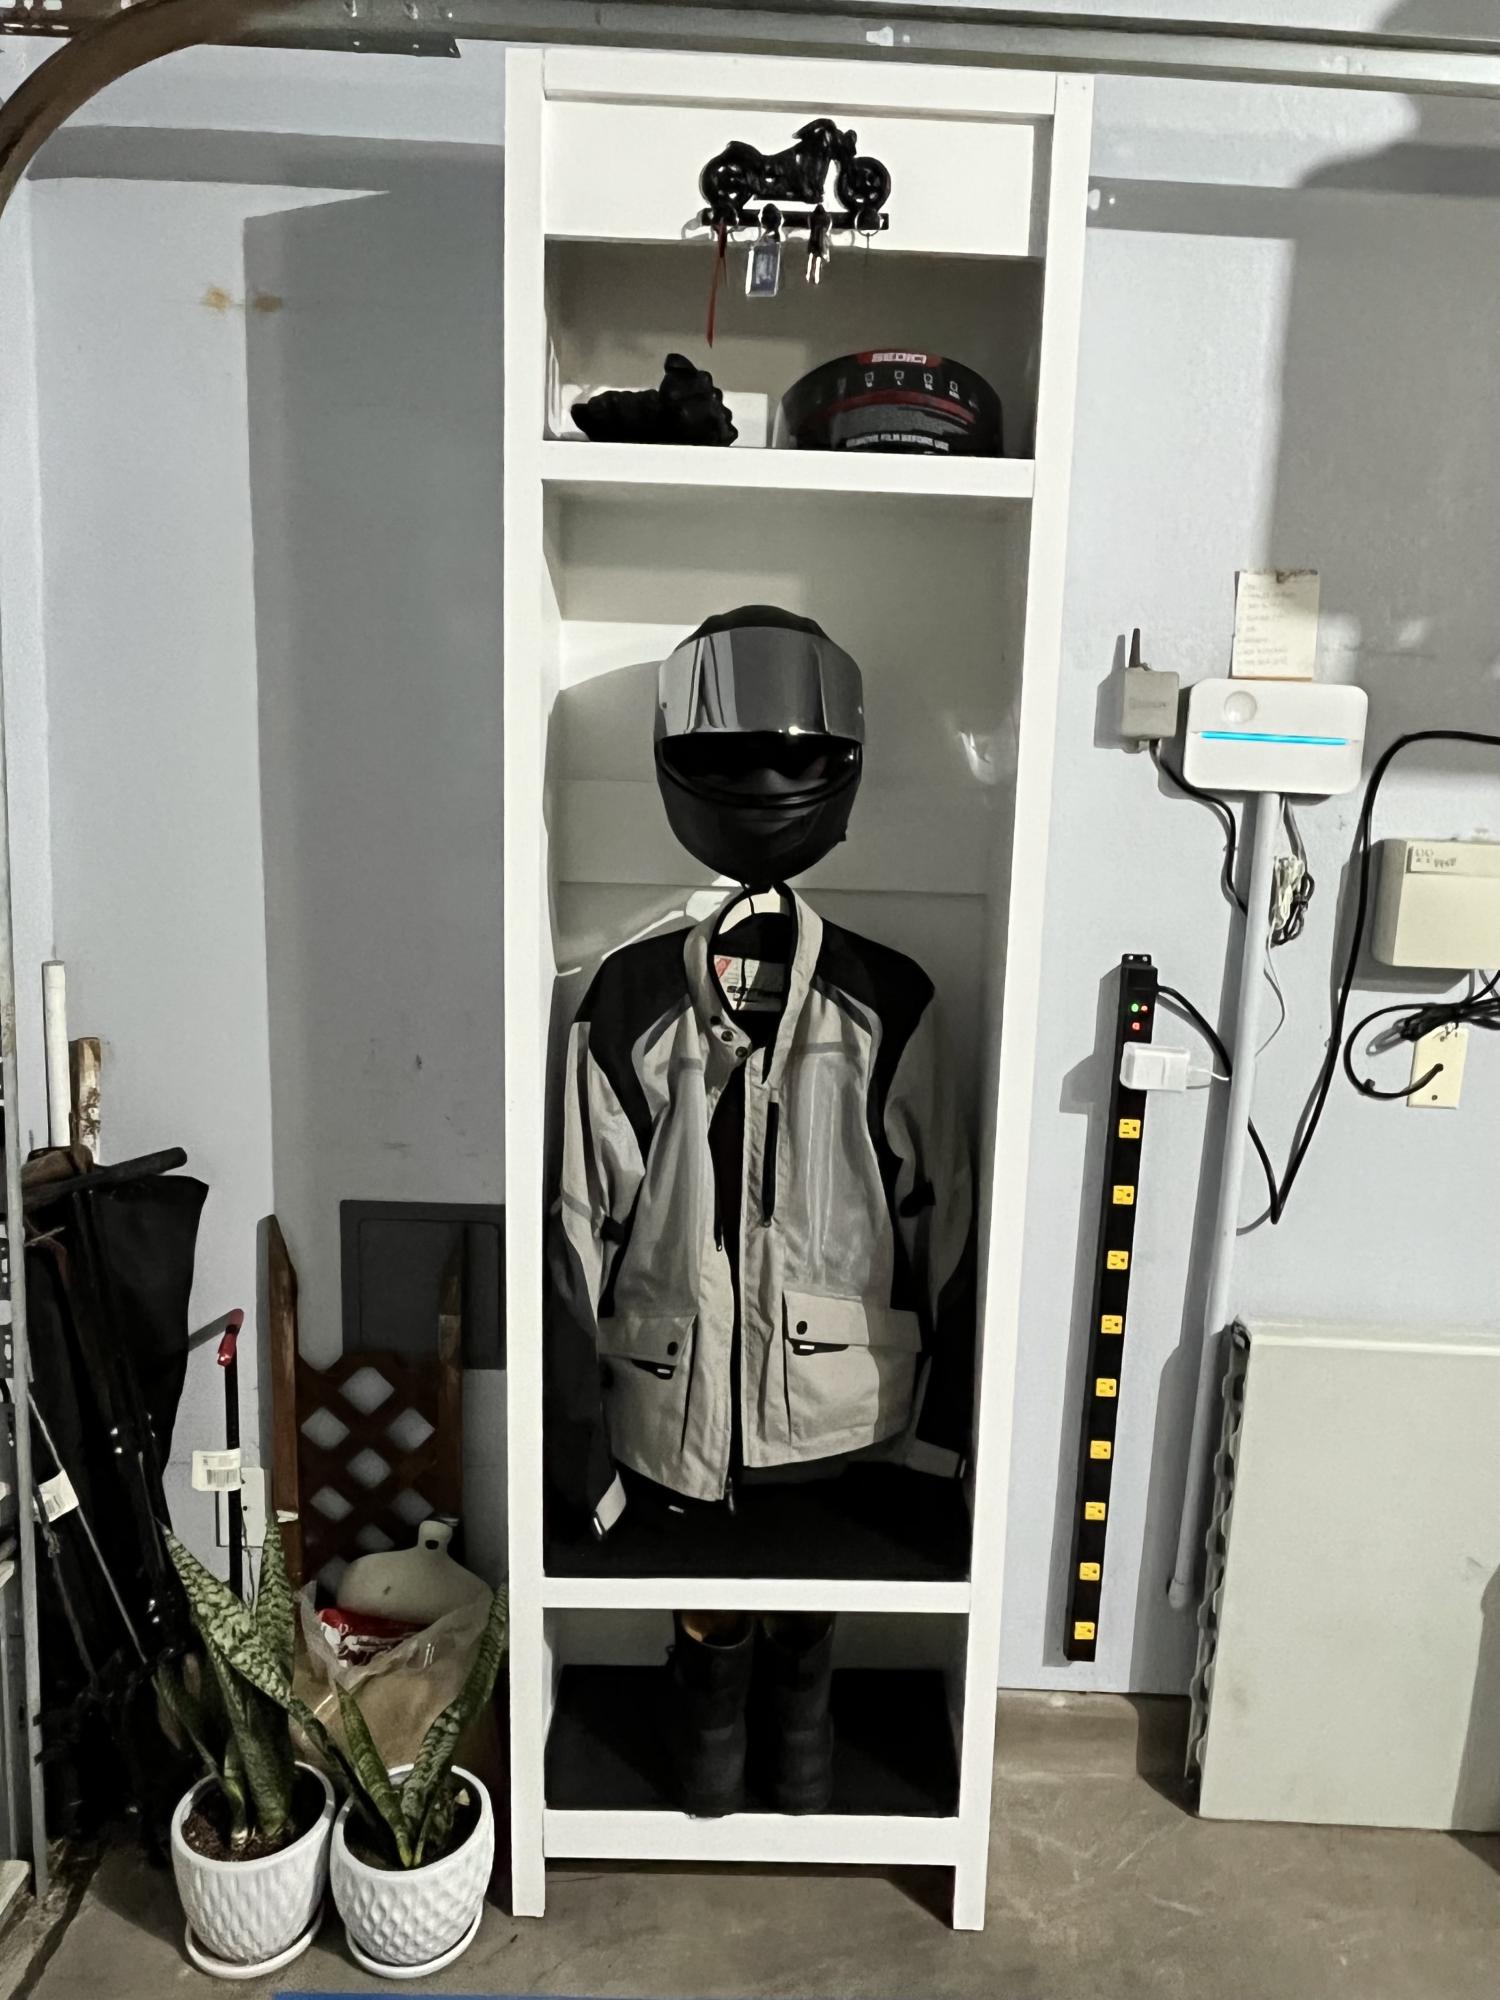
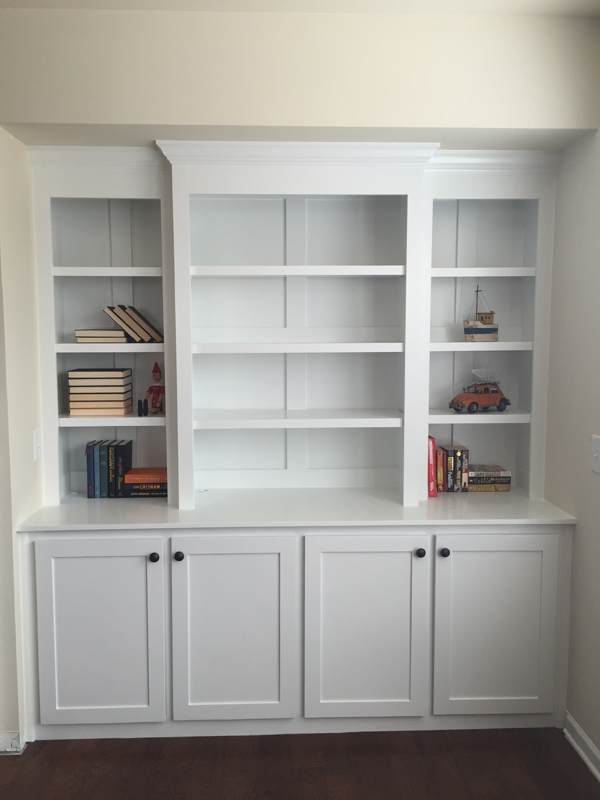
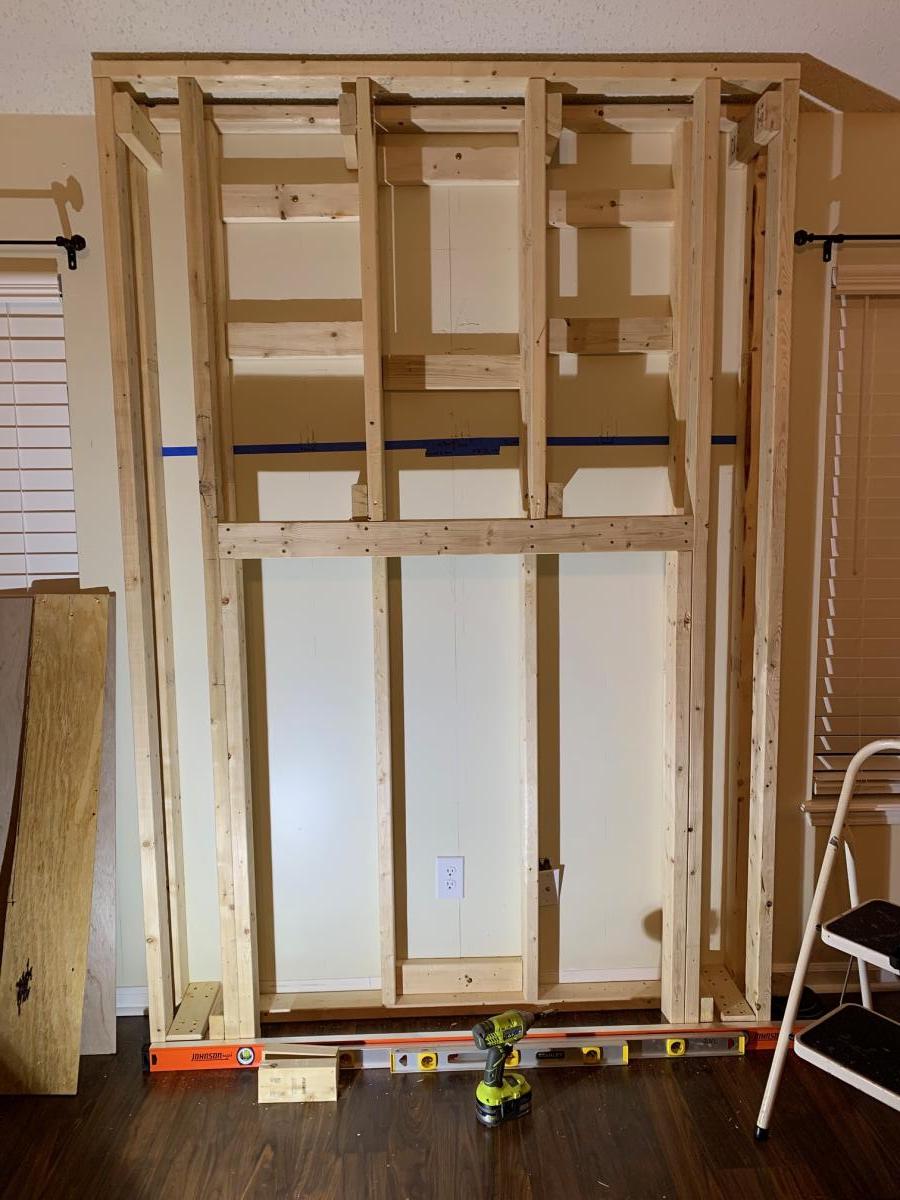
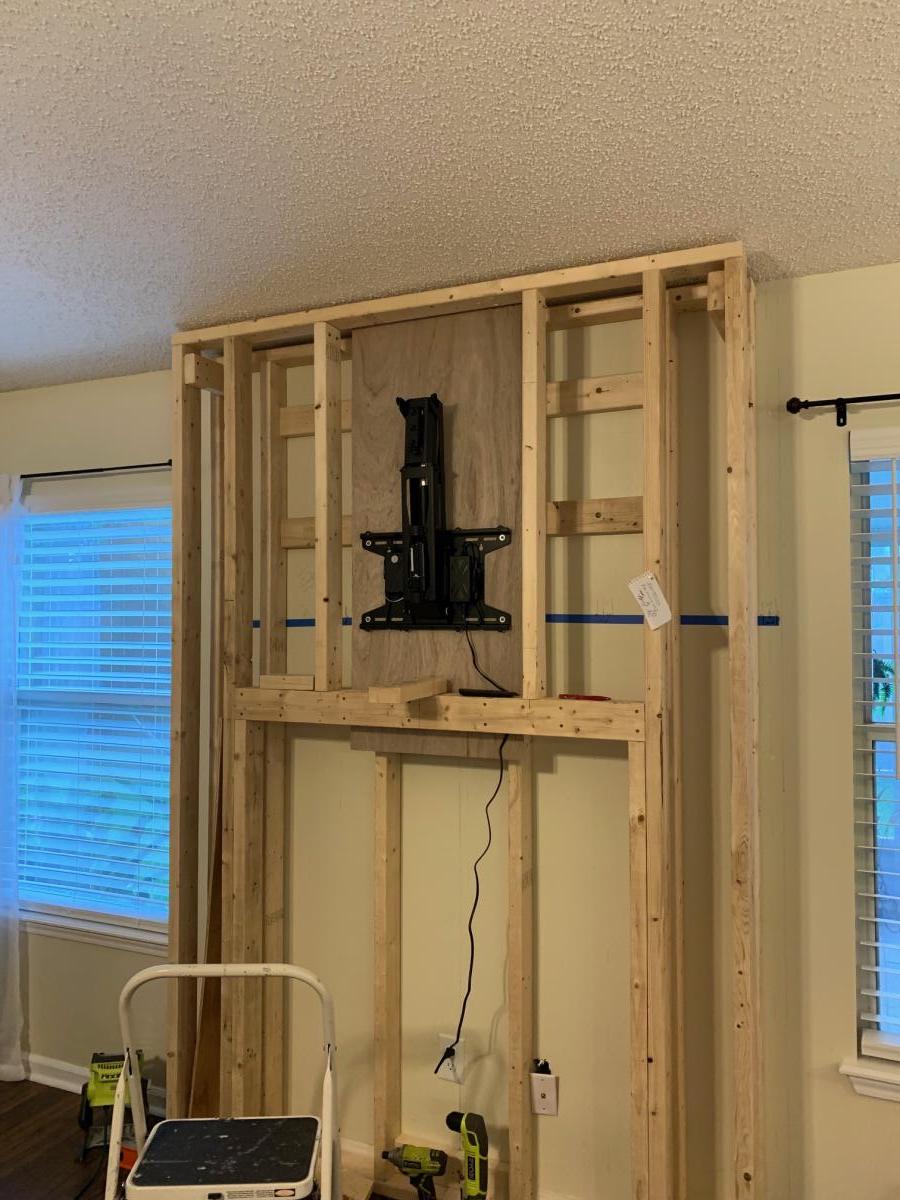
New Closet

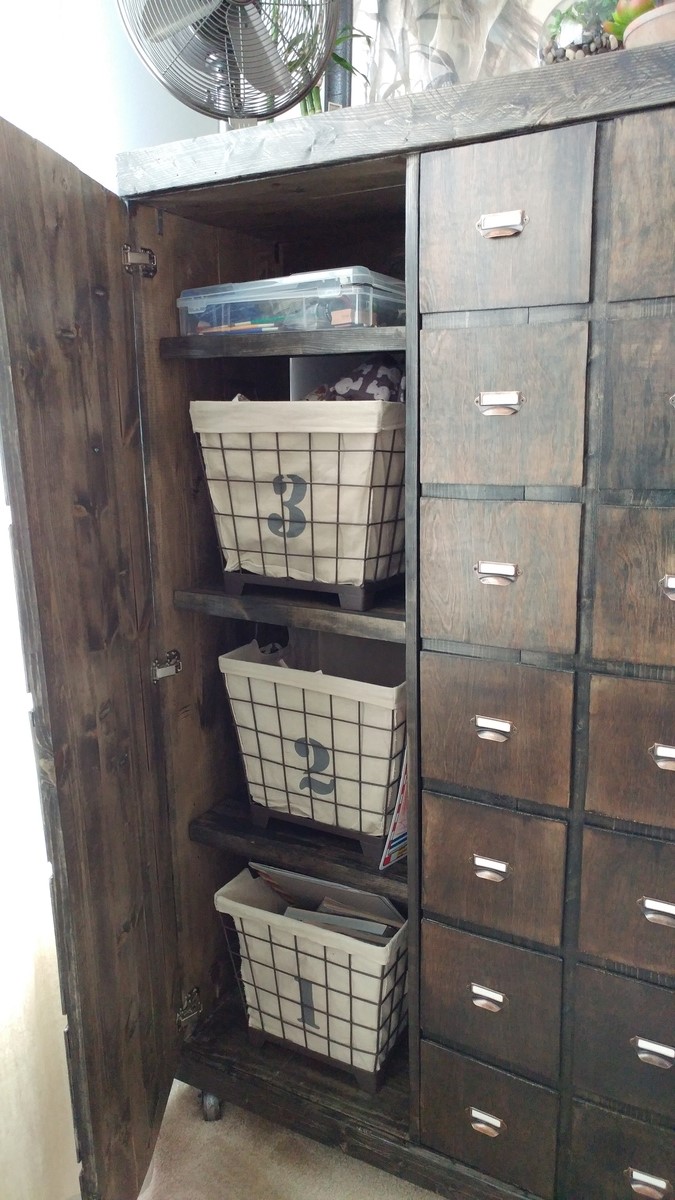
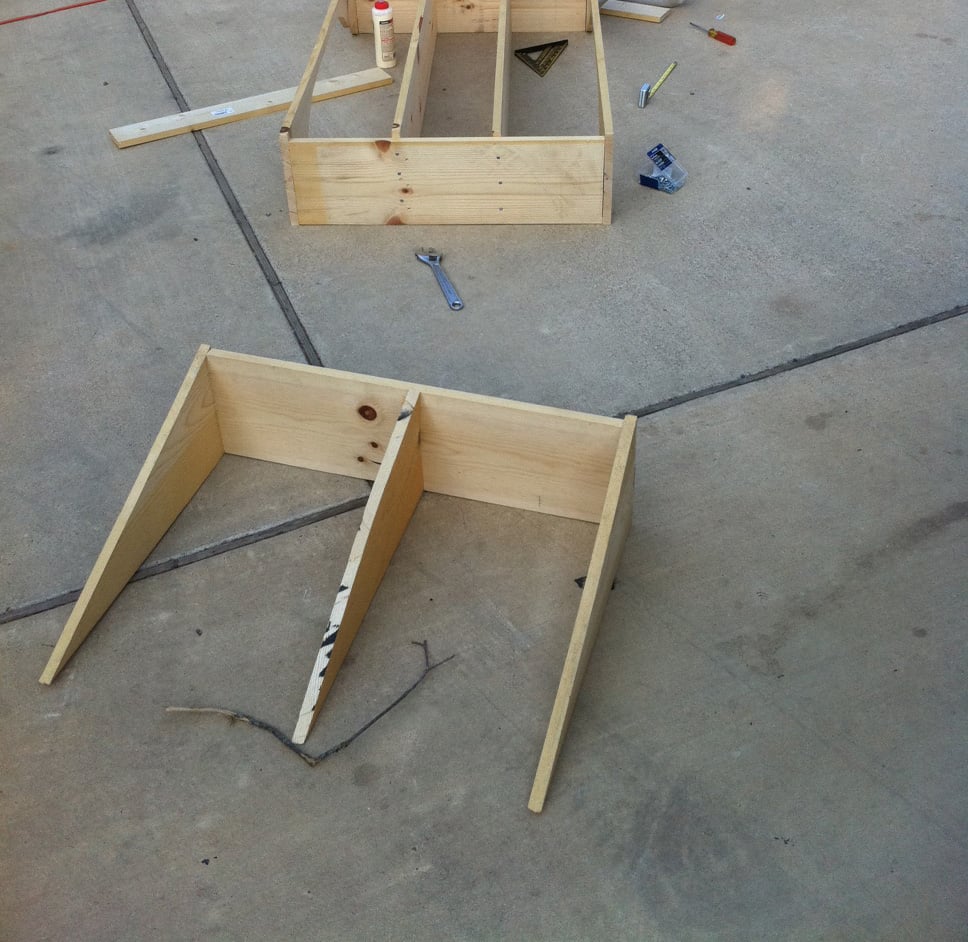
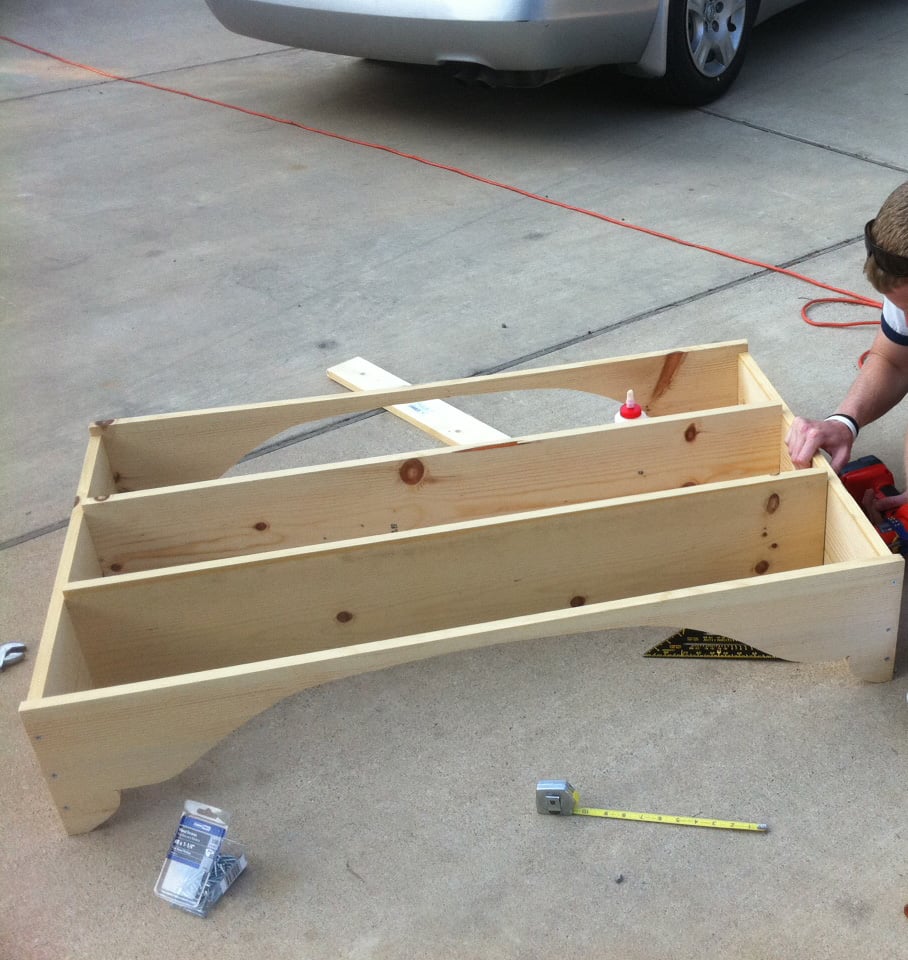
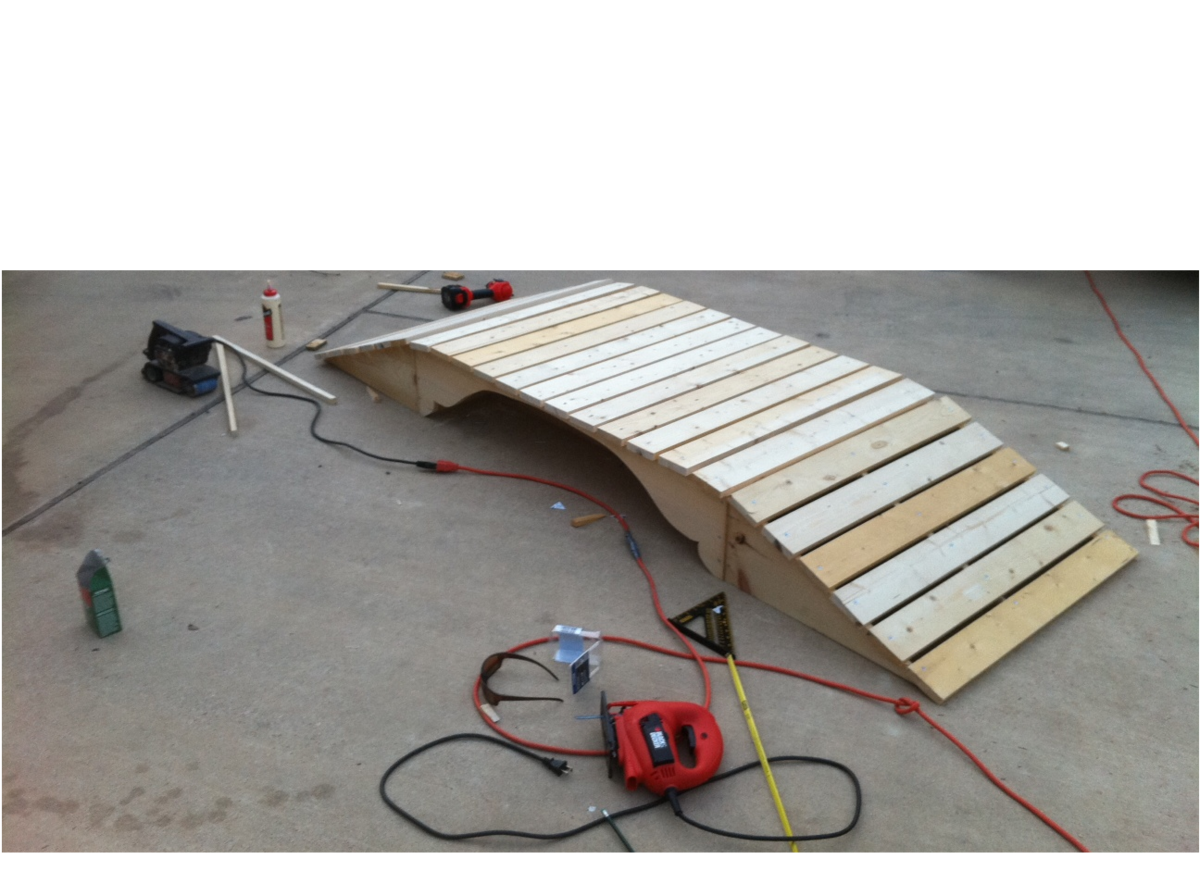
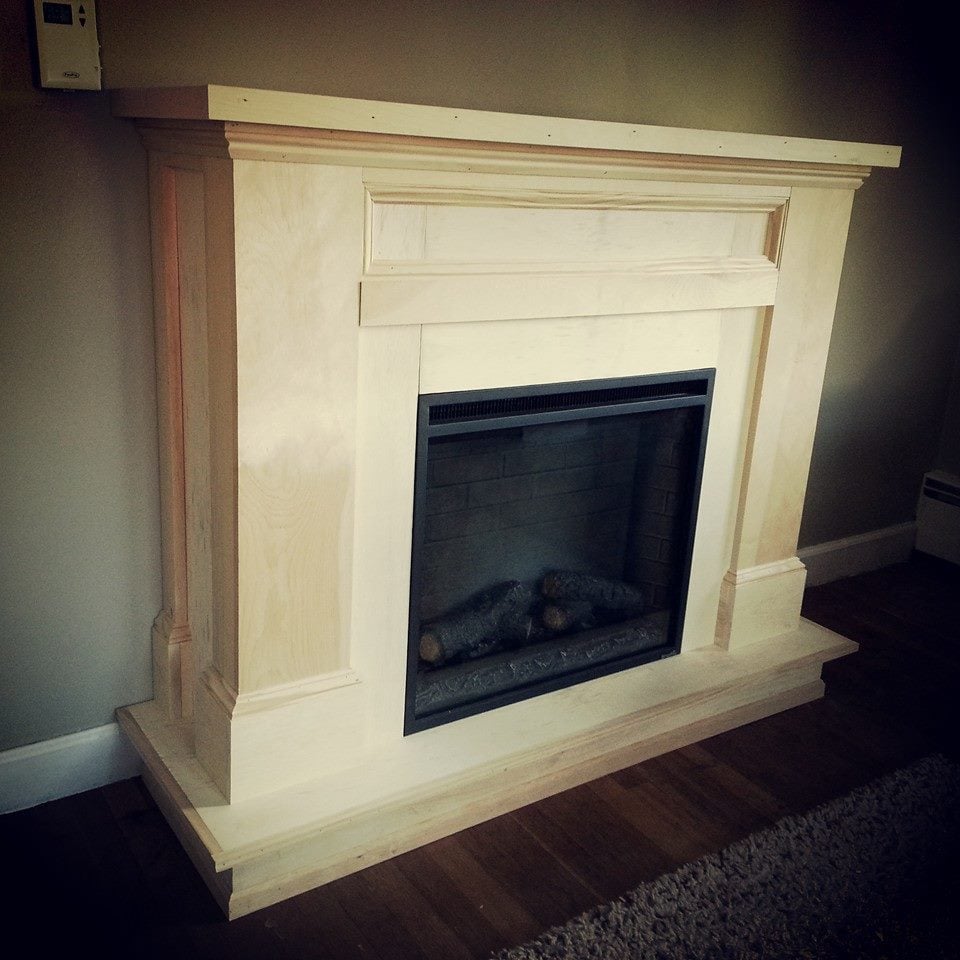
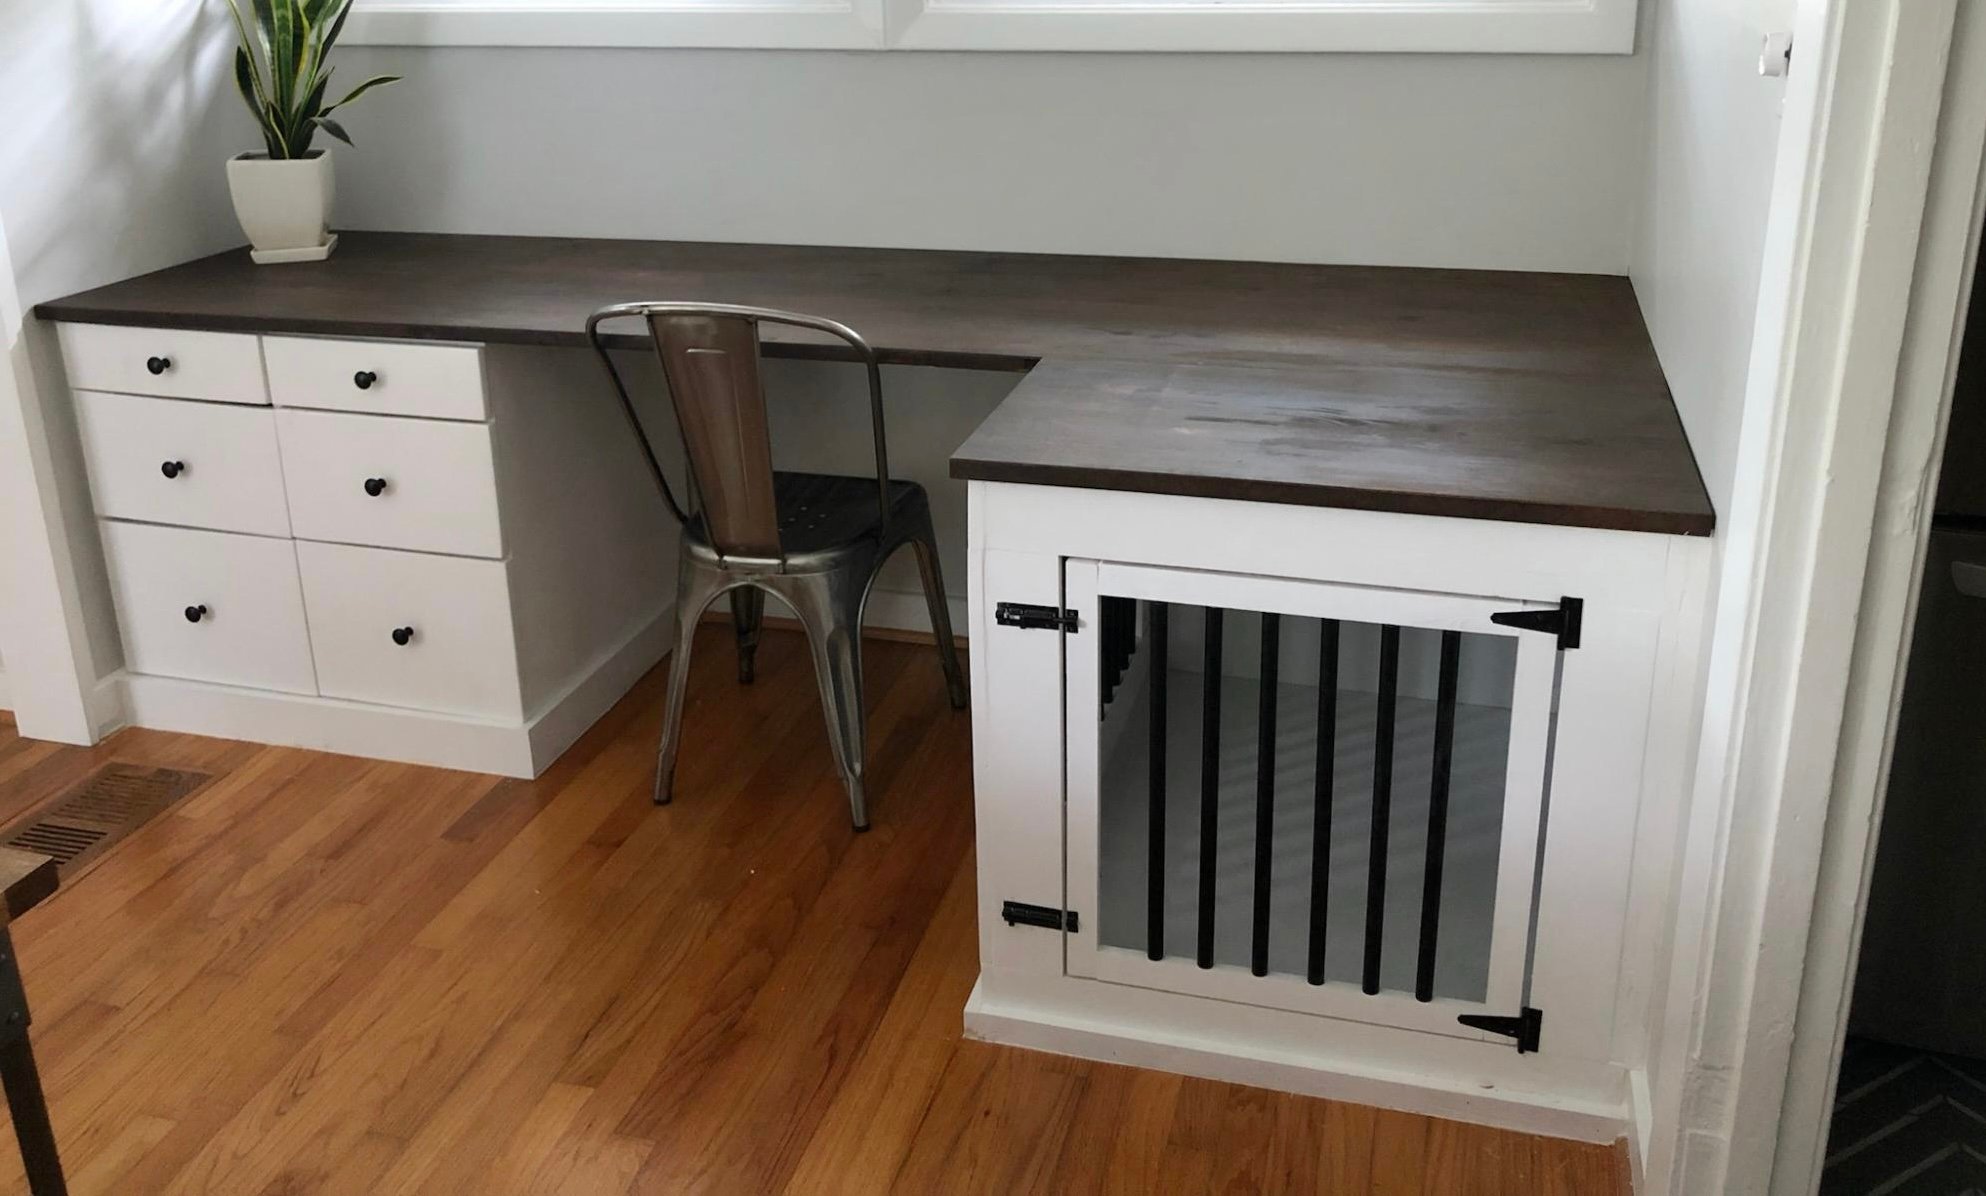
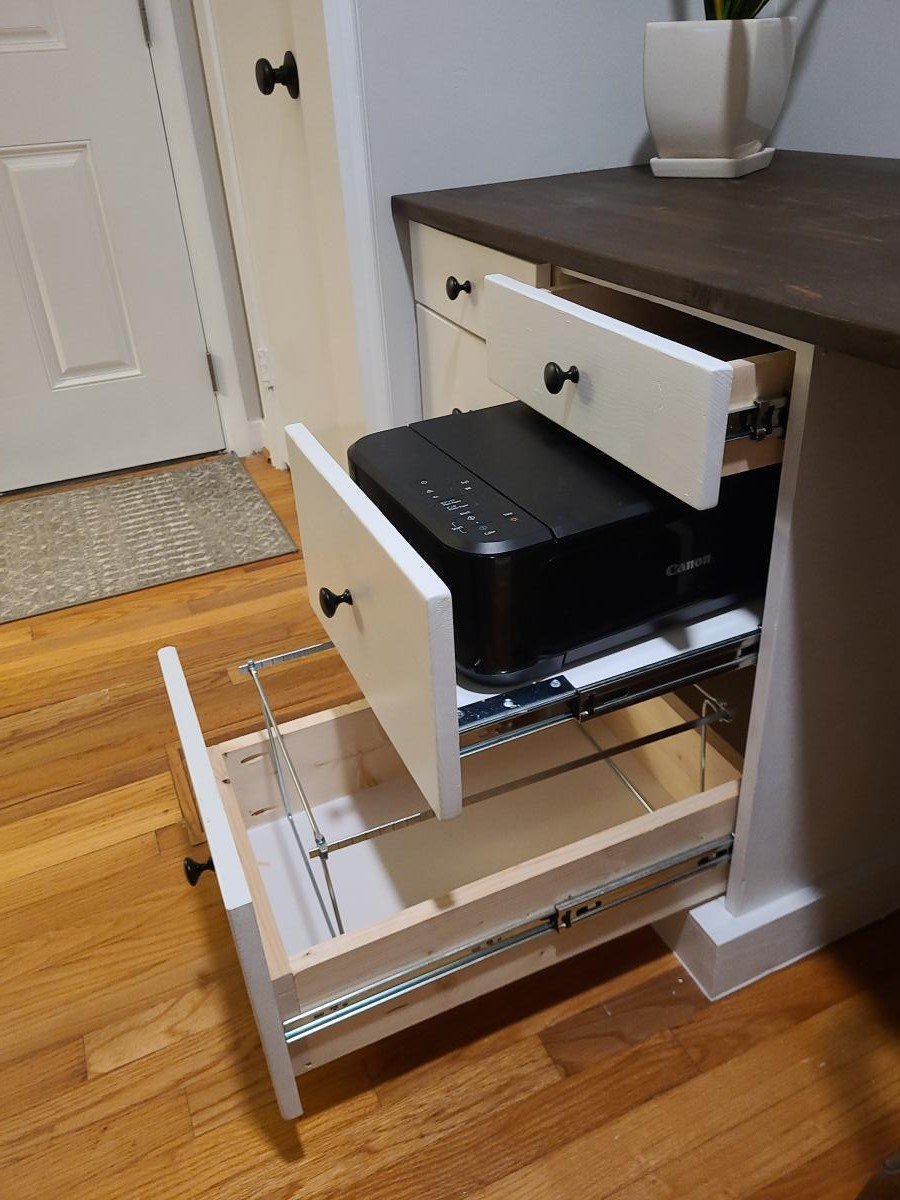
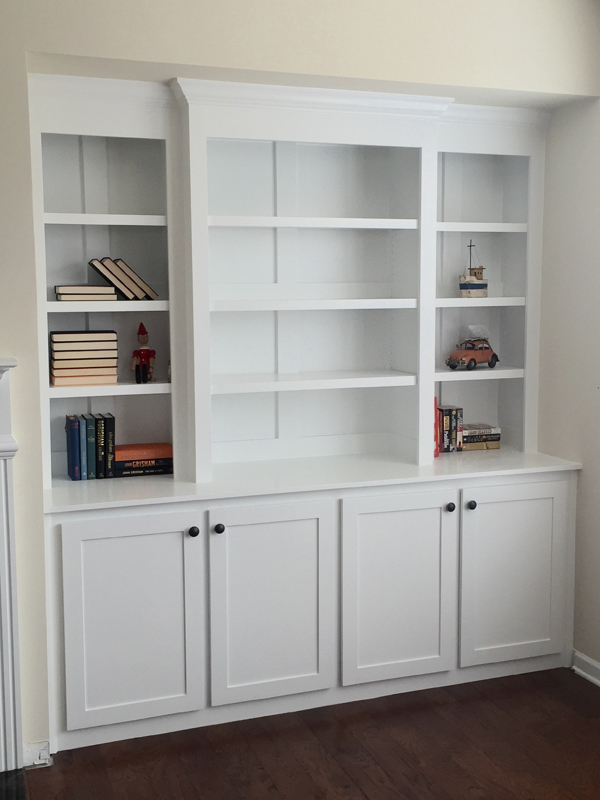
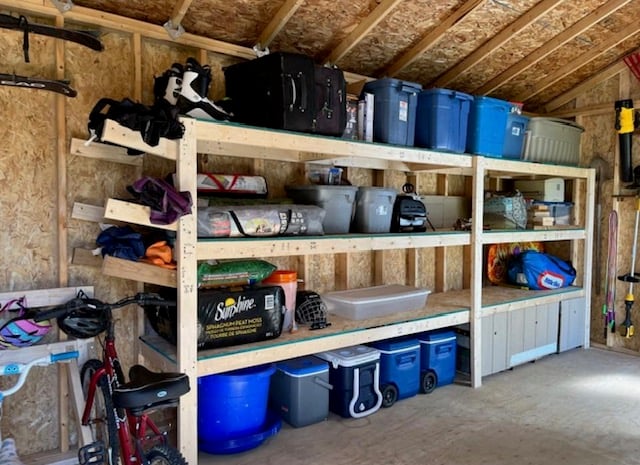
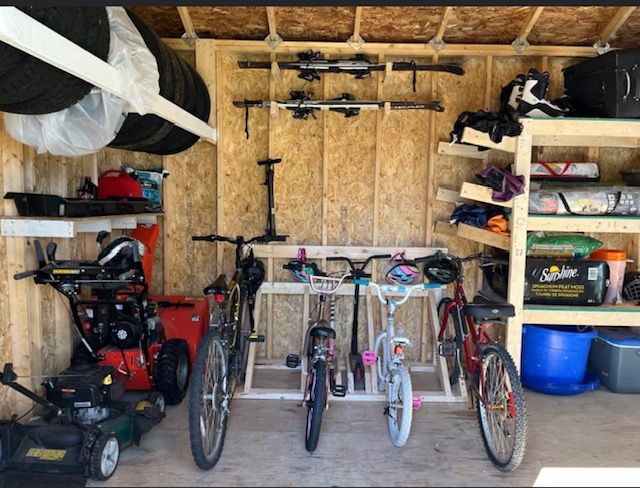
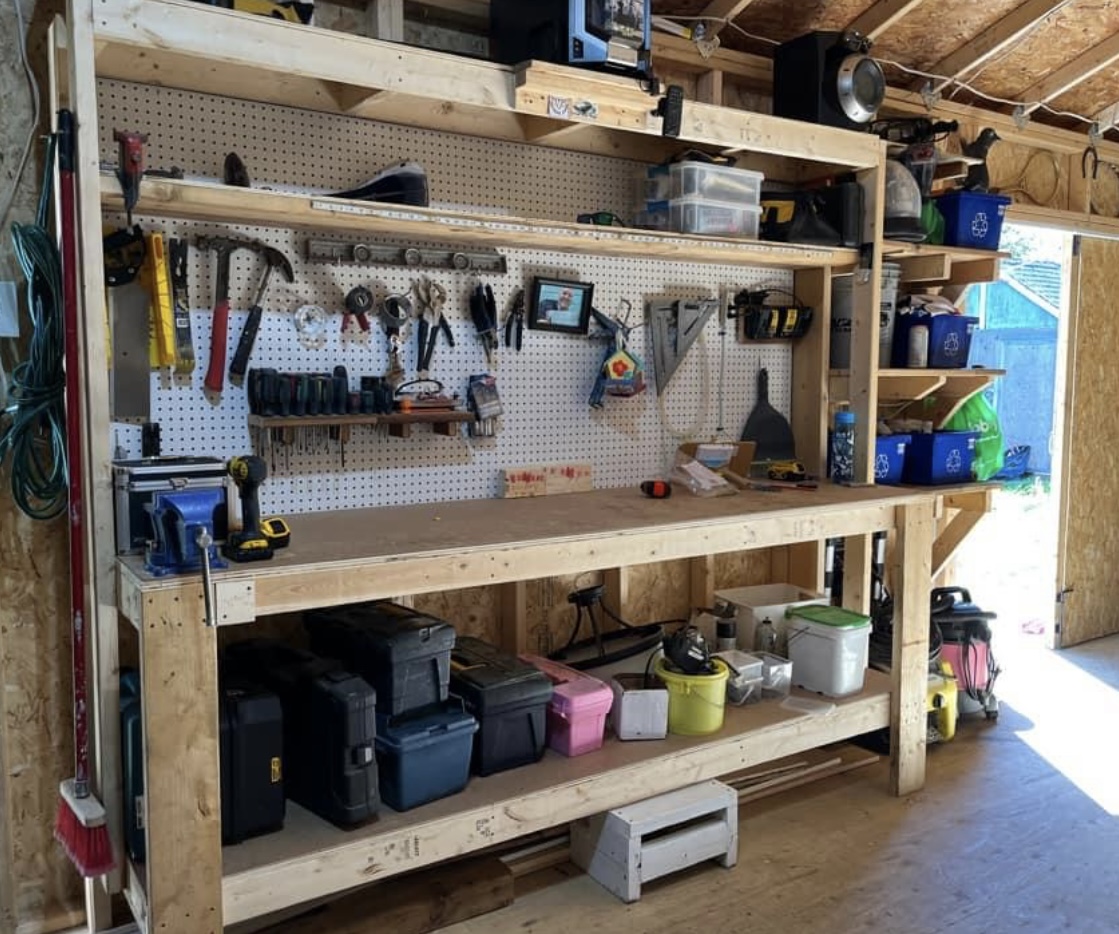
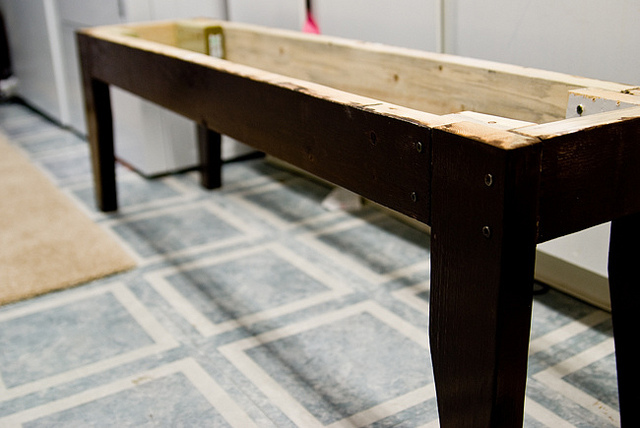
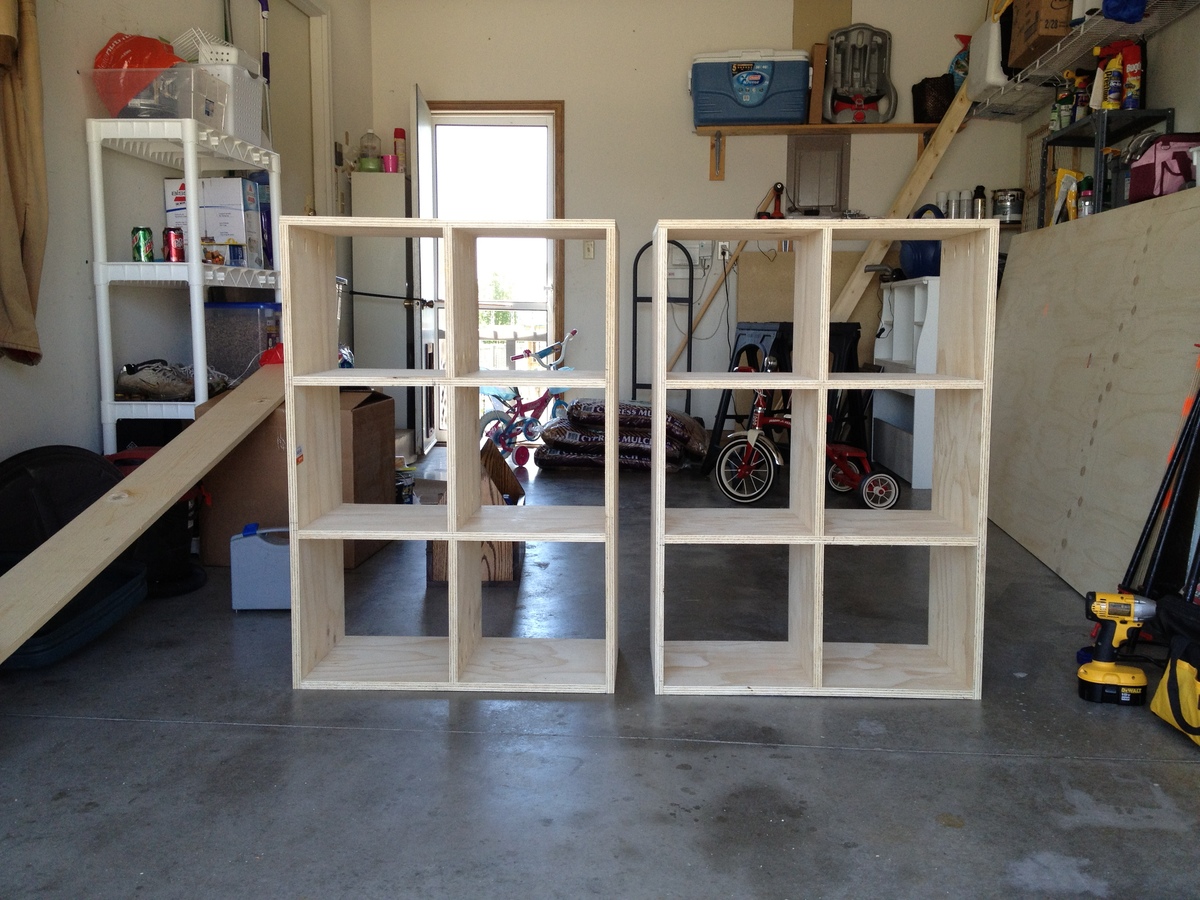
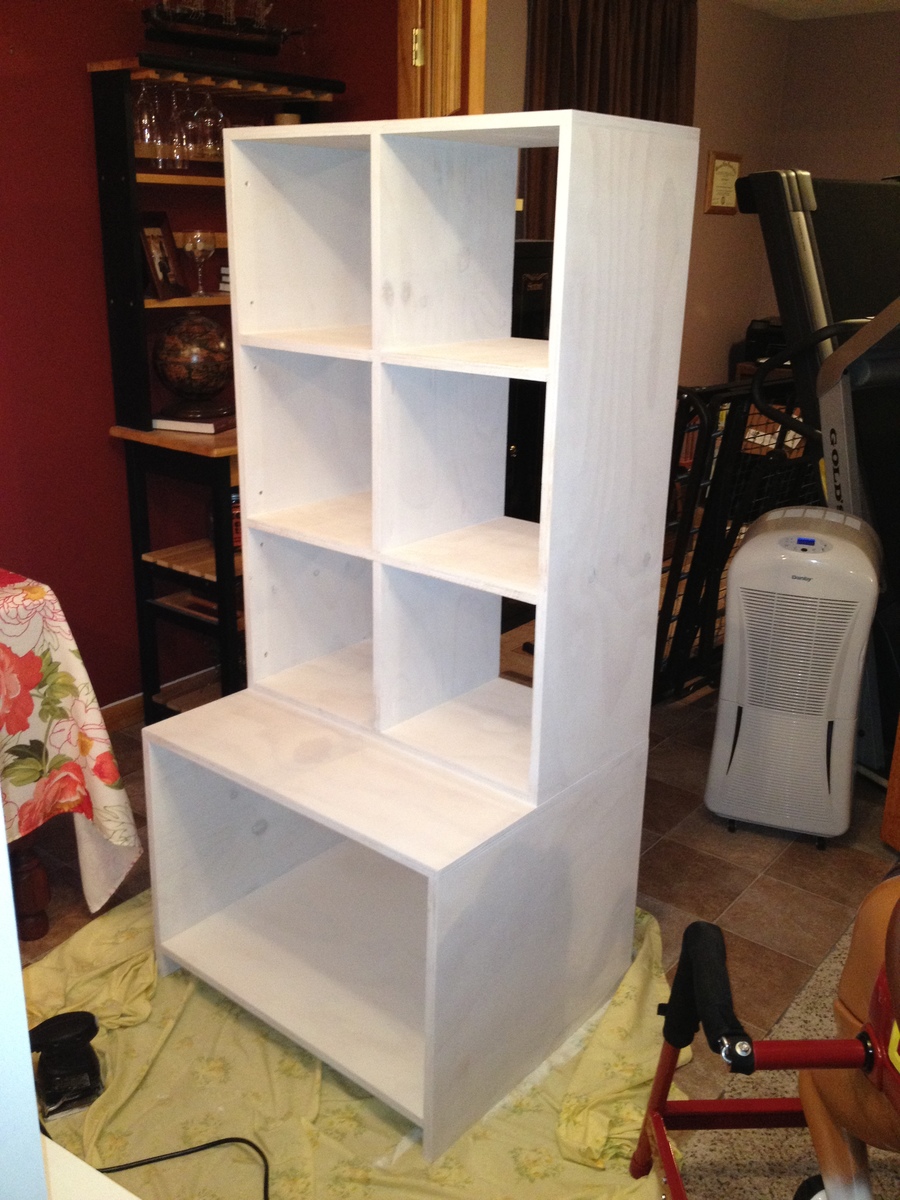
This is my first carpentry project. Bought my house recently and it had the white wire organizers on the wall but I wanted to do something different. Only had 6' width to work with so had to shorten it a bit and lose the middle shelves. Lowes didn't have enough 1x4's for the shelves so I used 1x8's and just left a gap in the front which in my opinion looks good.


Built from Plan(s)
Estimated Cost
$200-$300
Estimated Time Investment
Weekend Project (10-20 Hours)
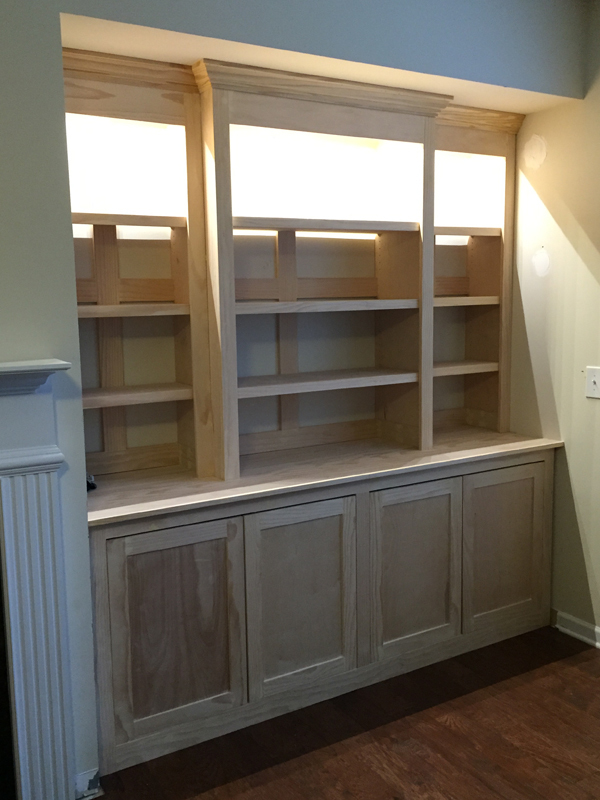
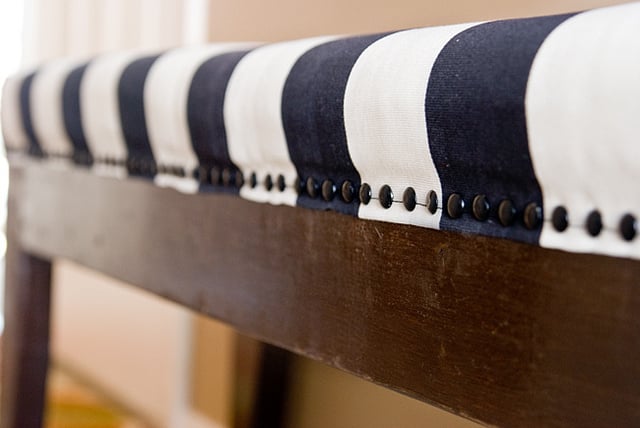
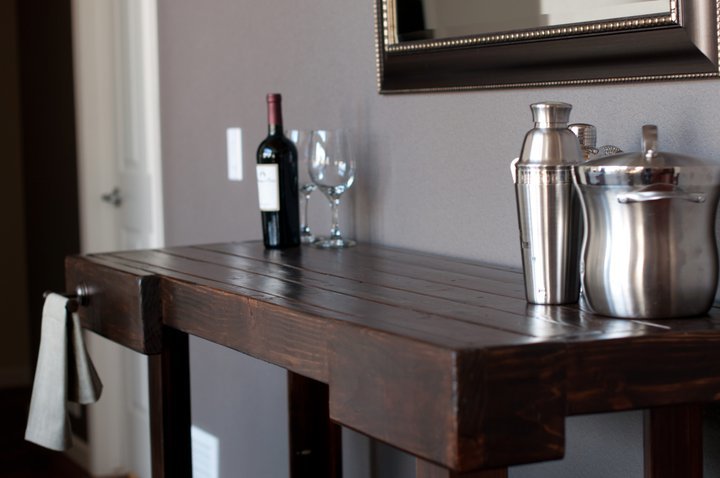
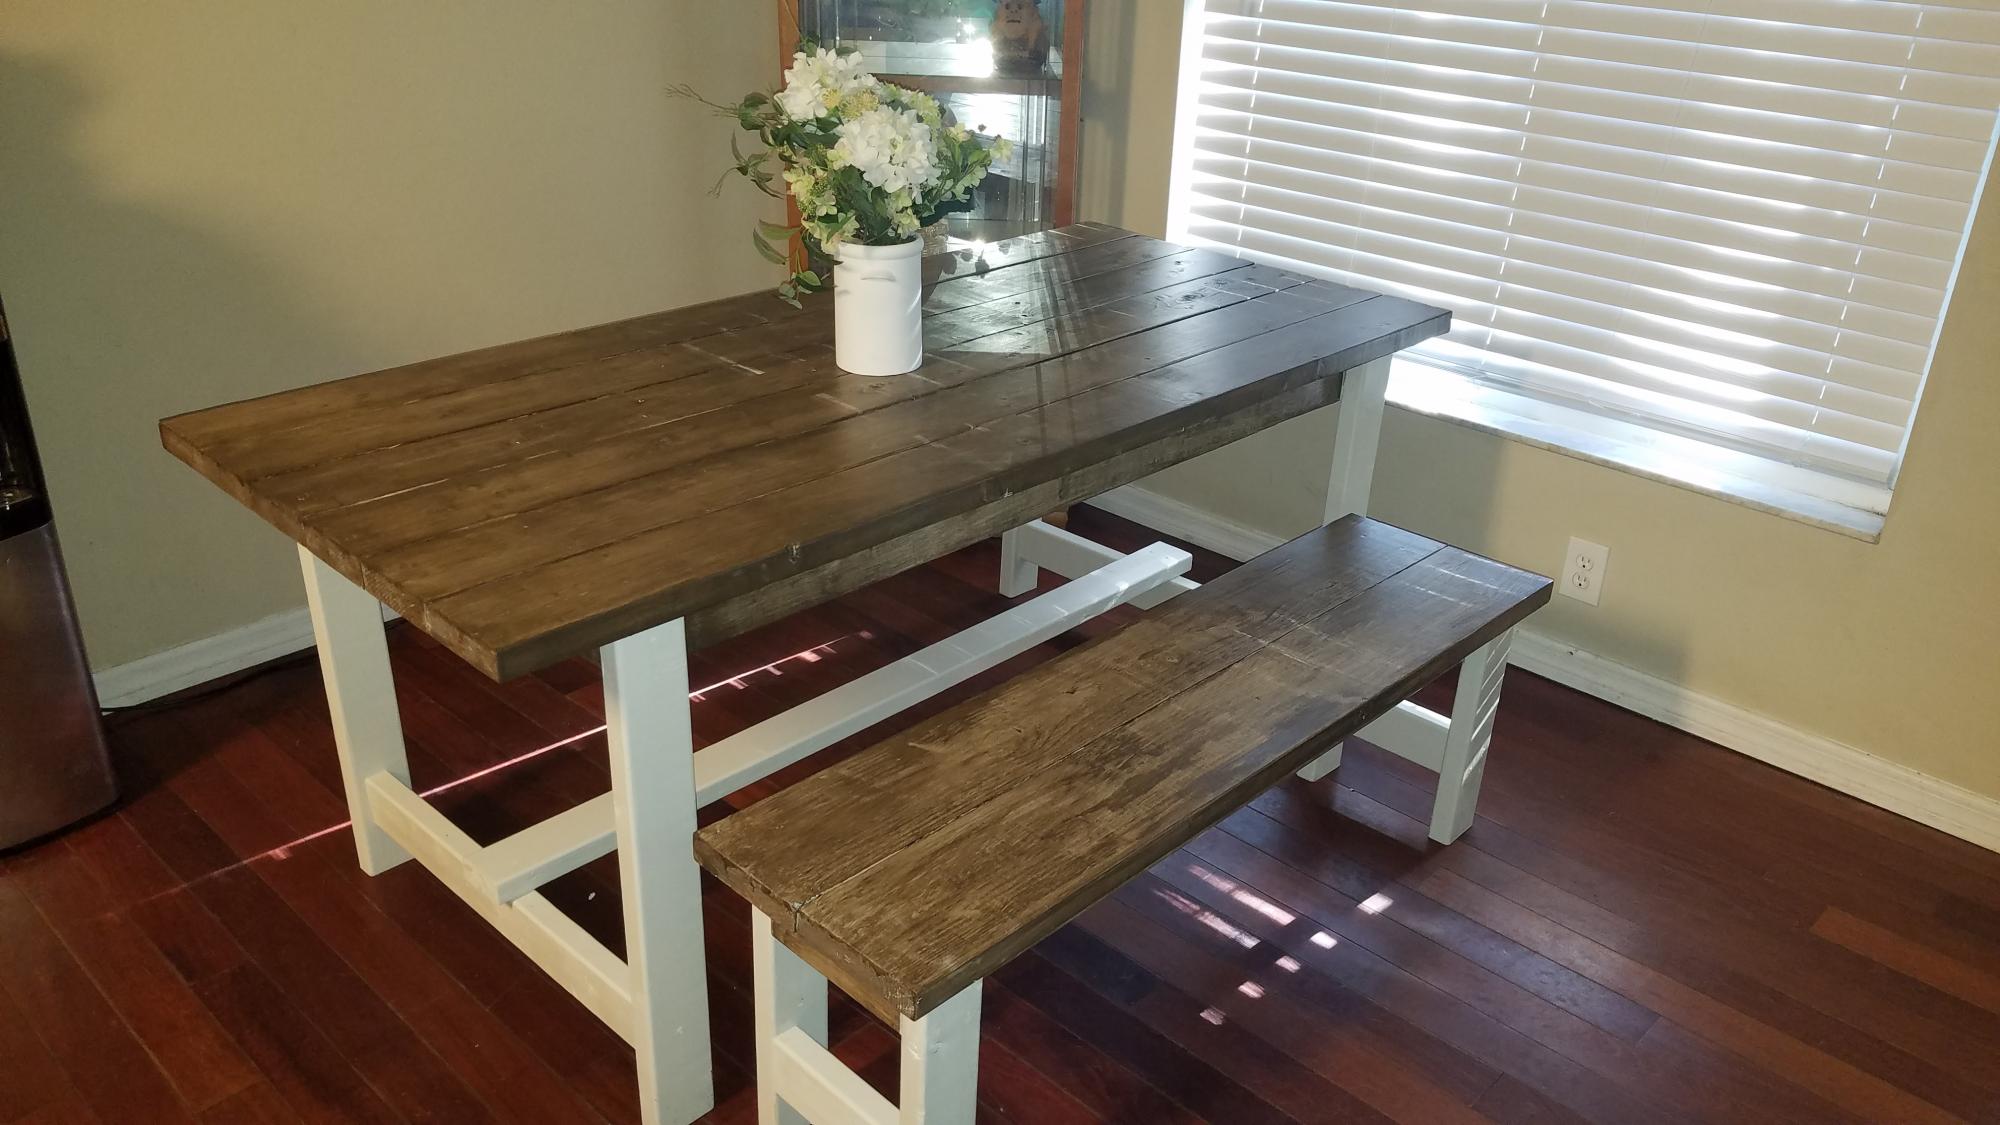
Finish Used
1 coat of Early American stain followed by a light sand and 1 coat of Minwax Polycrylic Clear Matte
Recommended Skill Level
Beginner