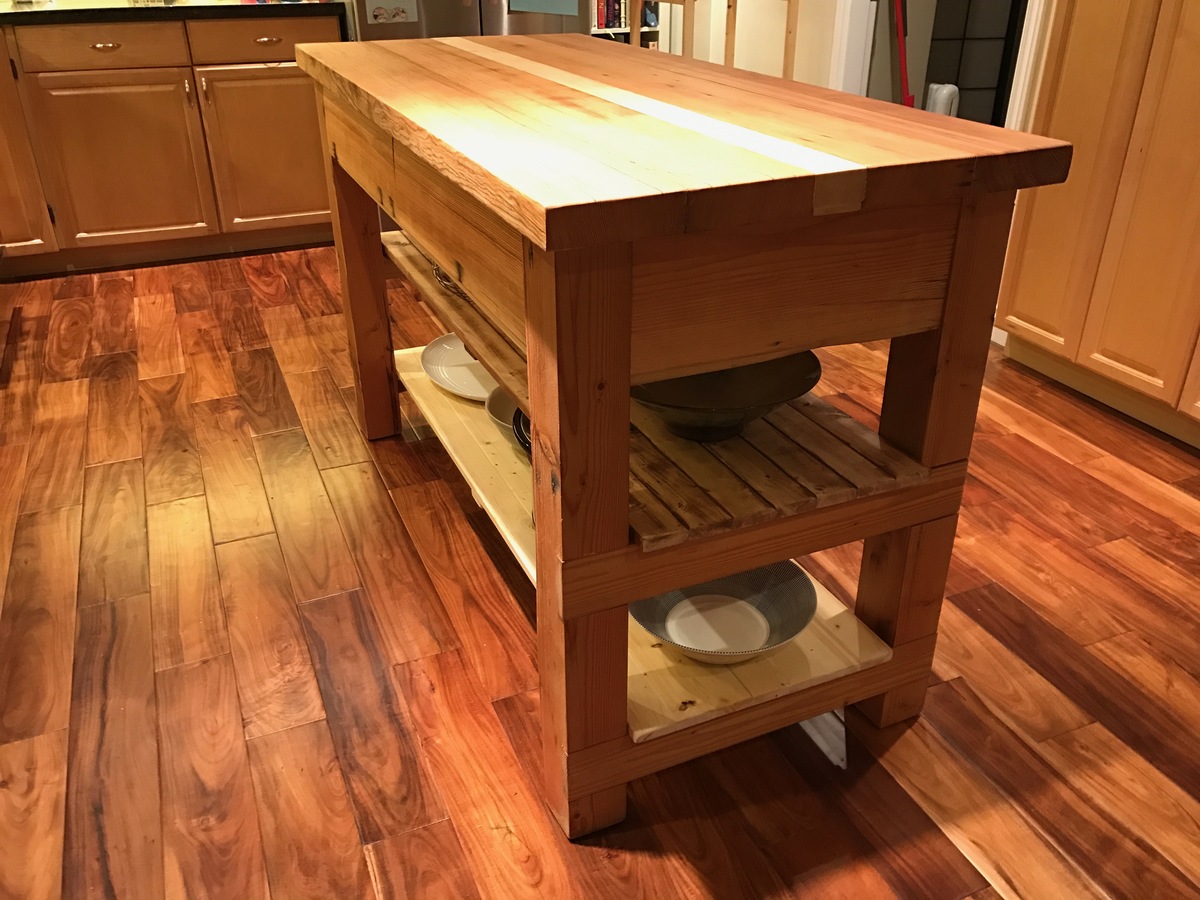
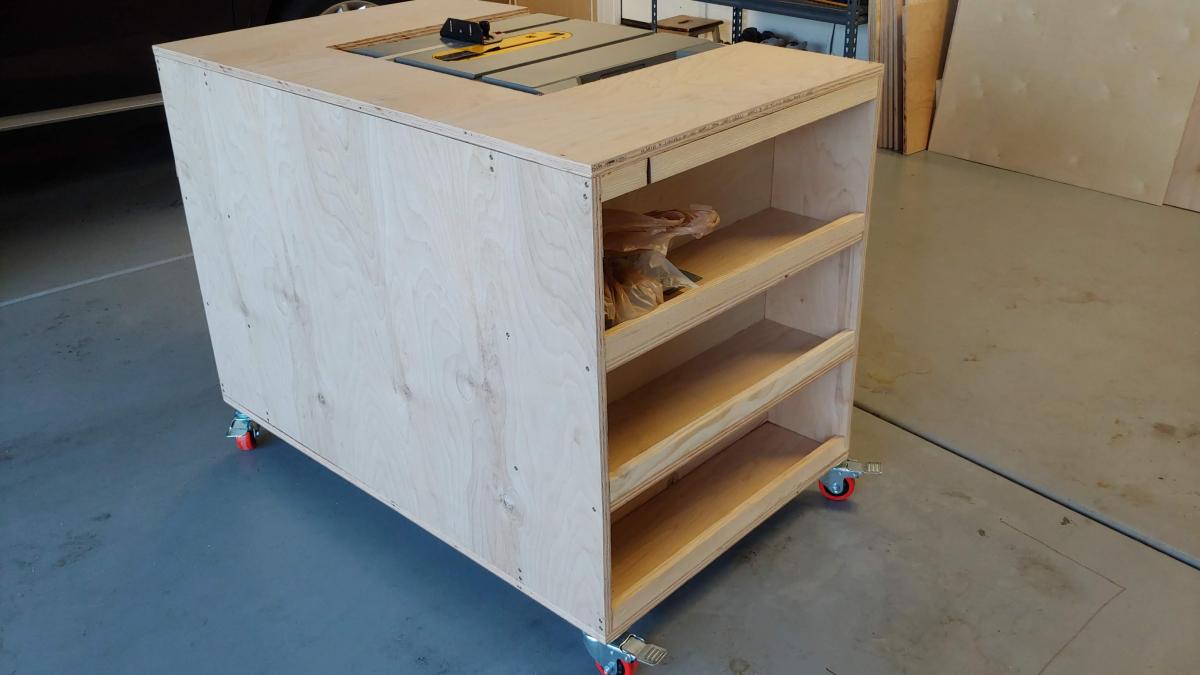
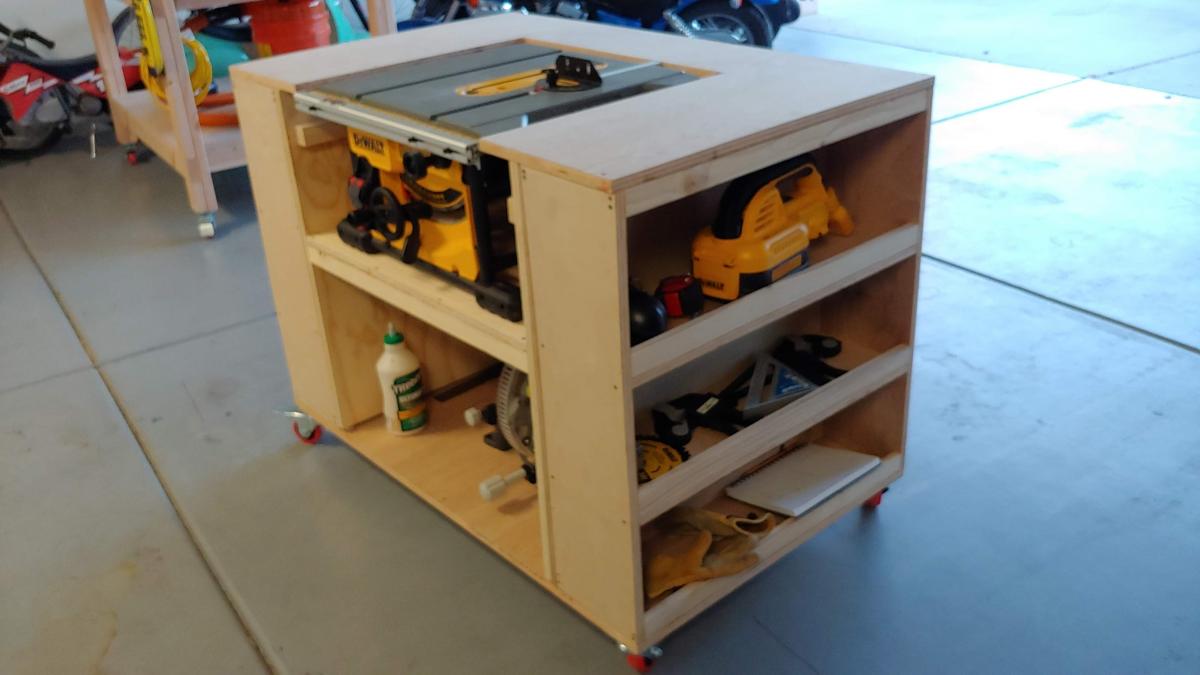
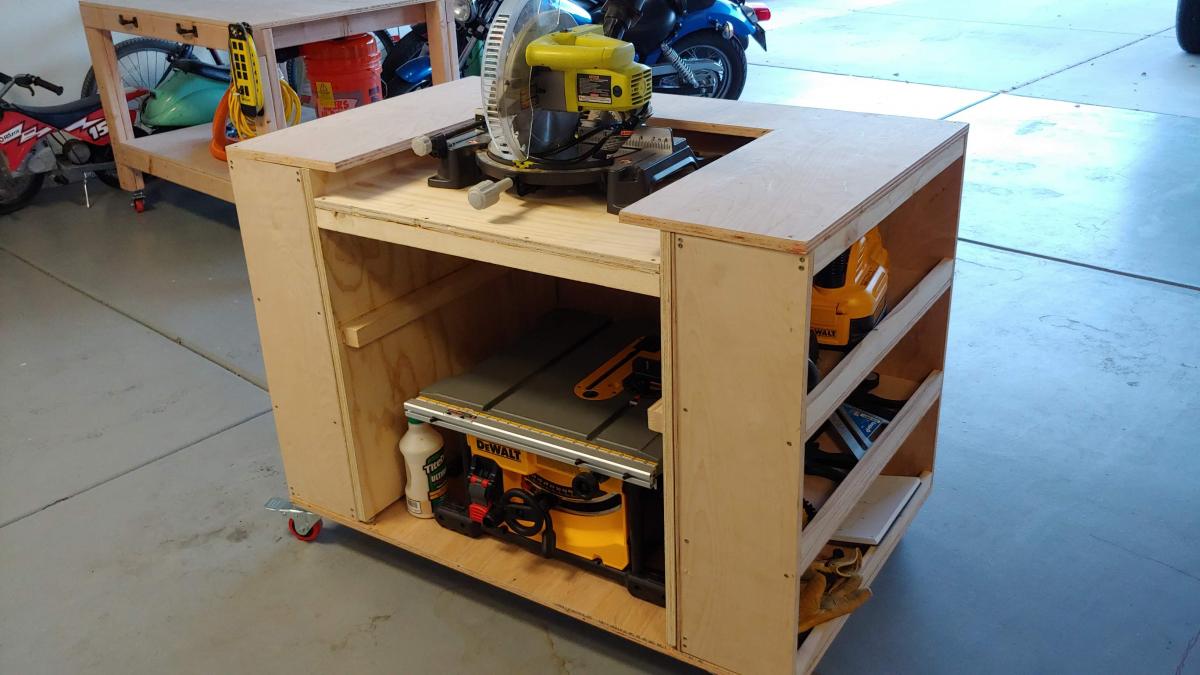
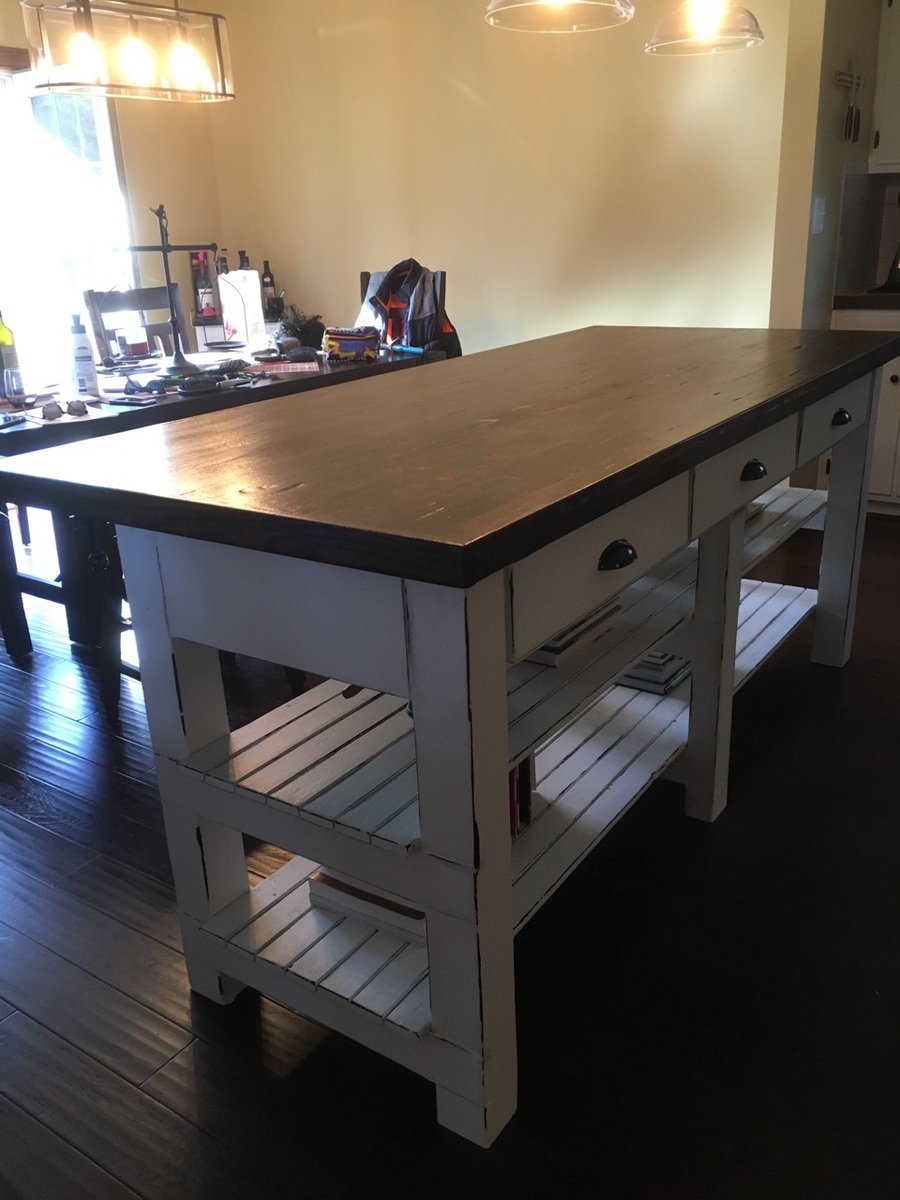
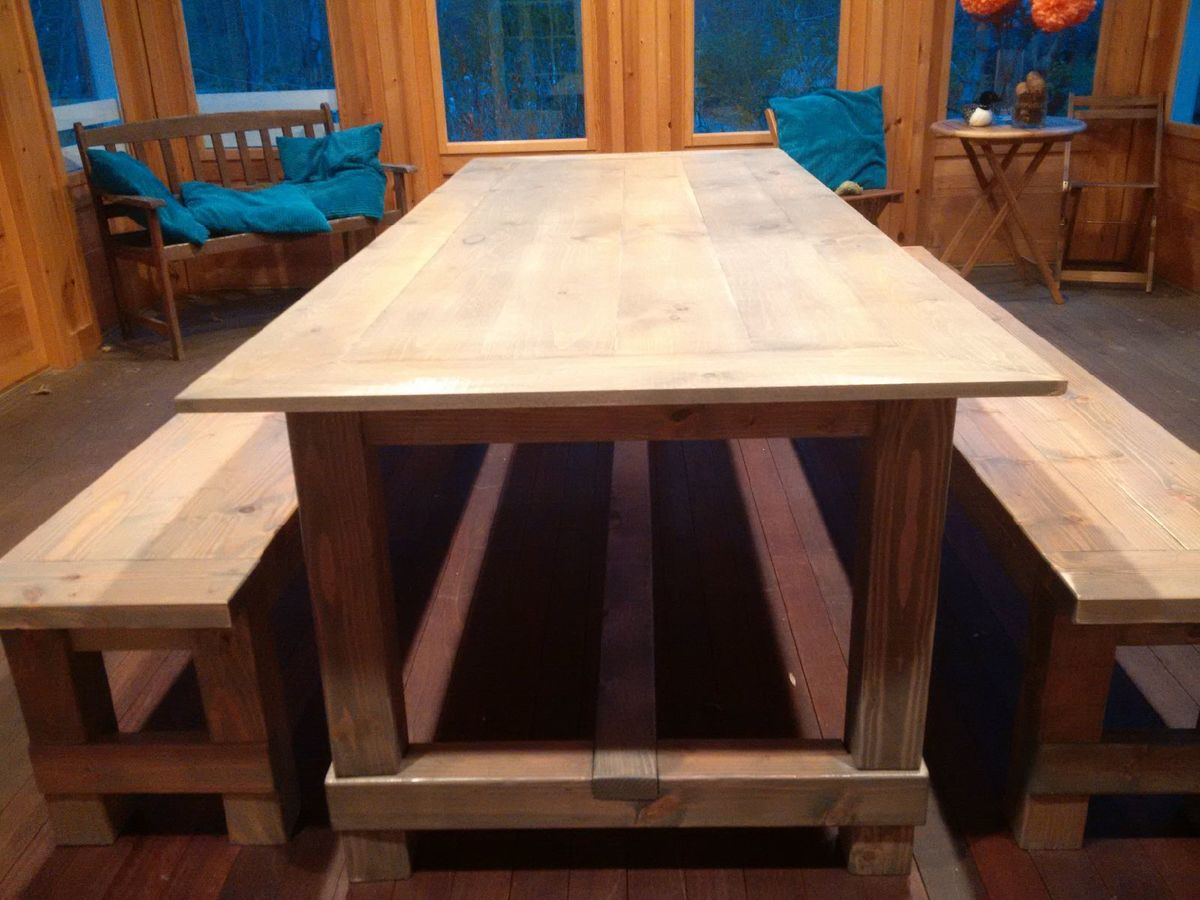
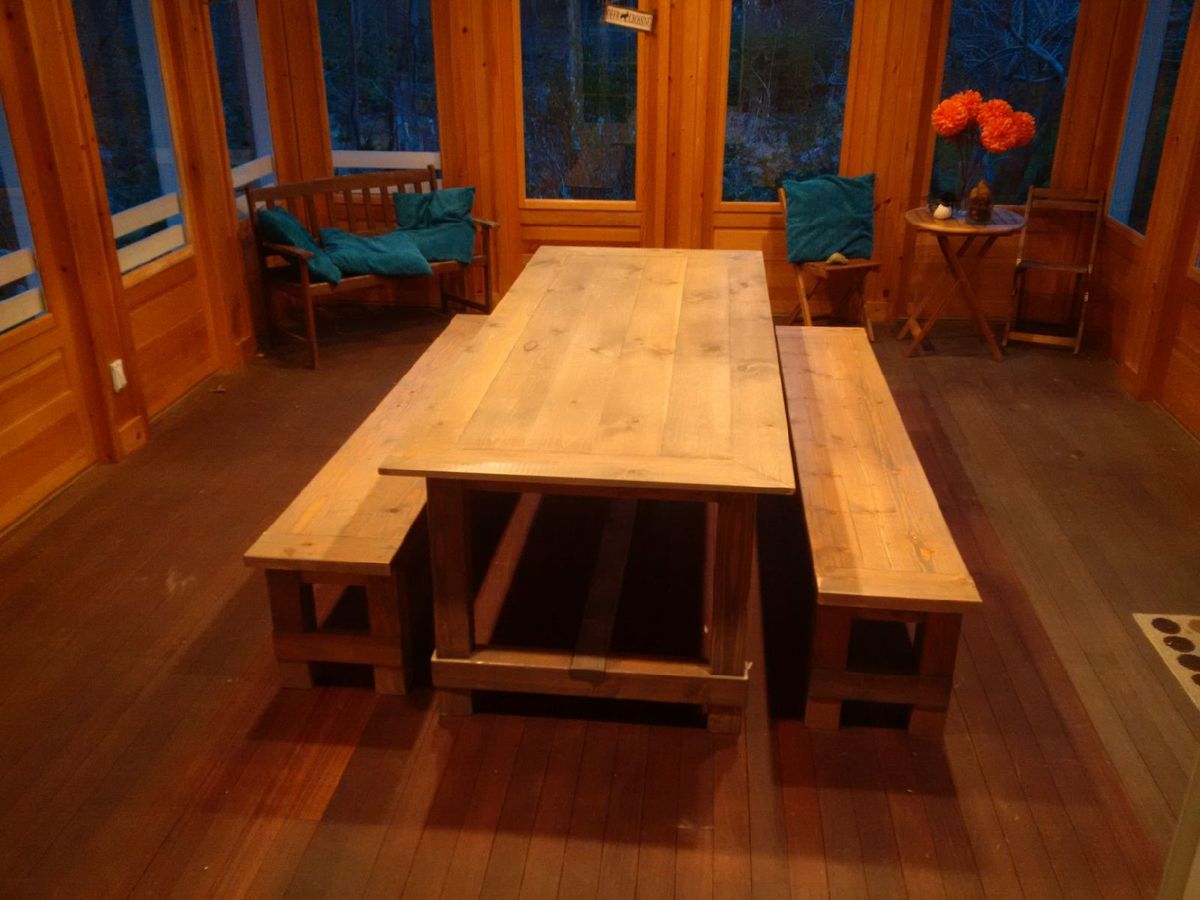
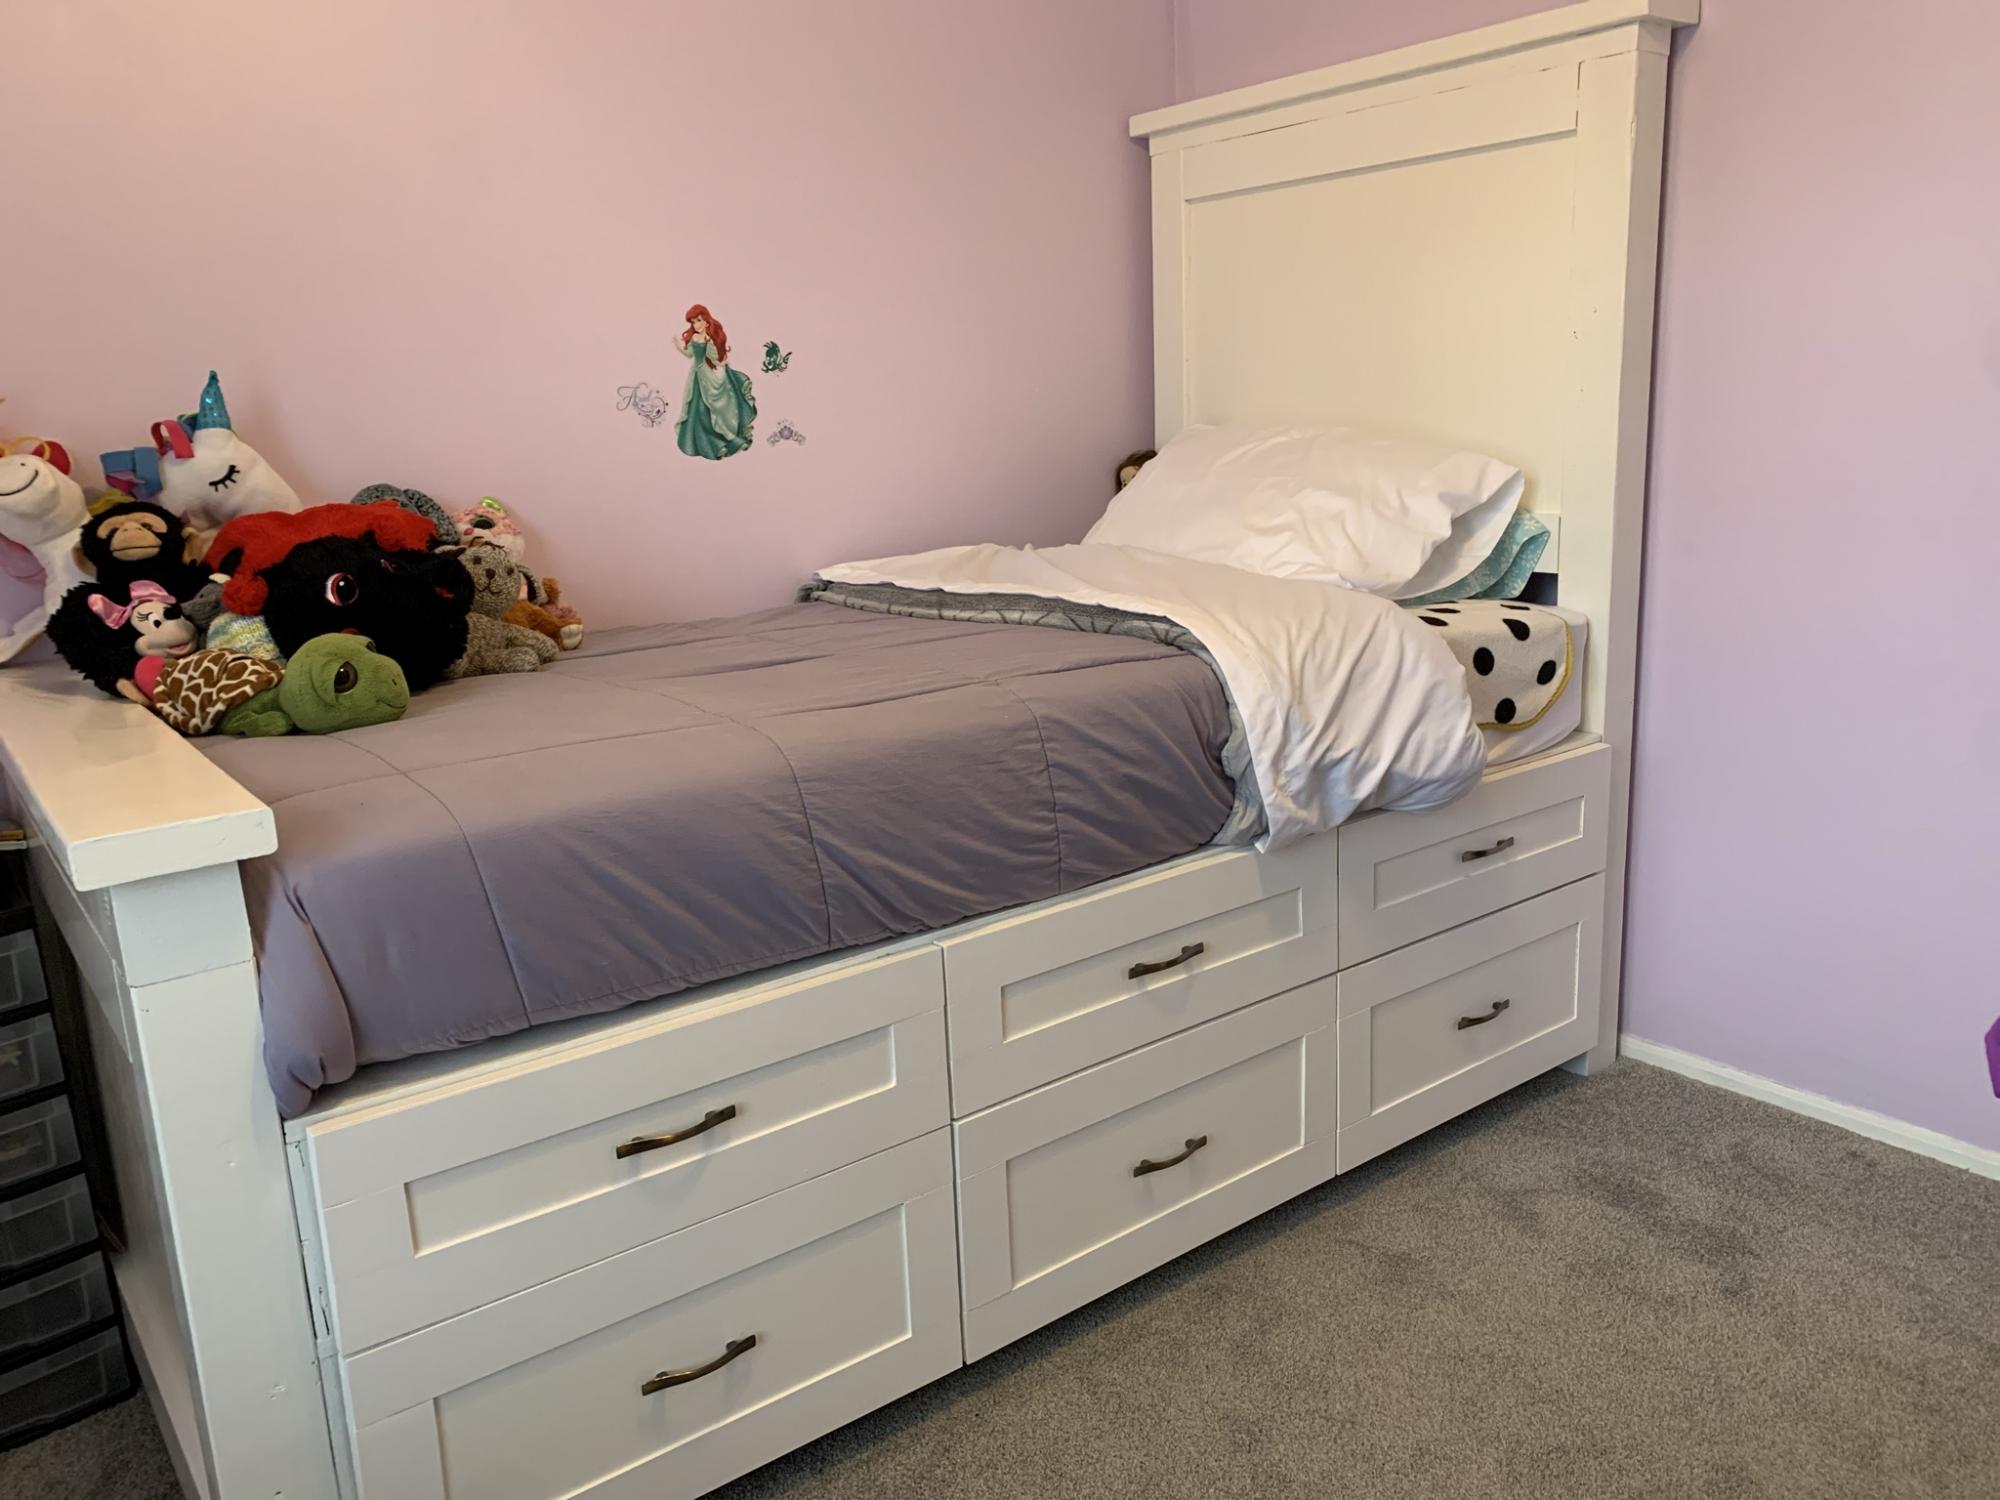
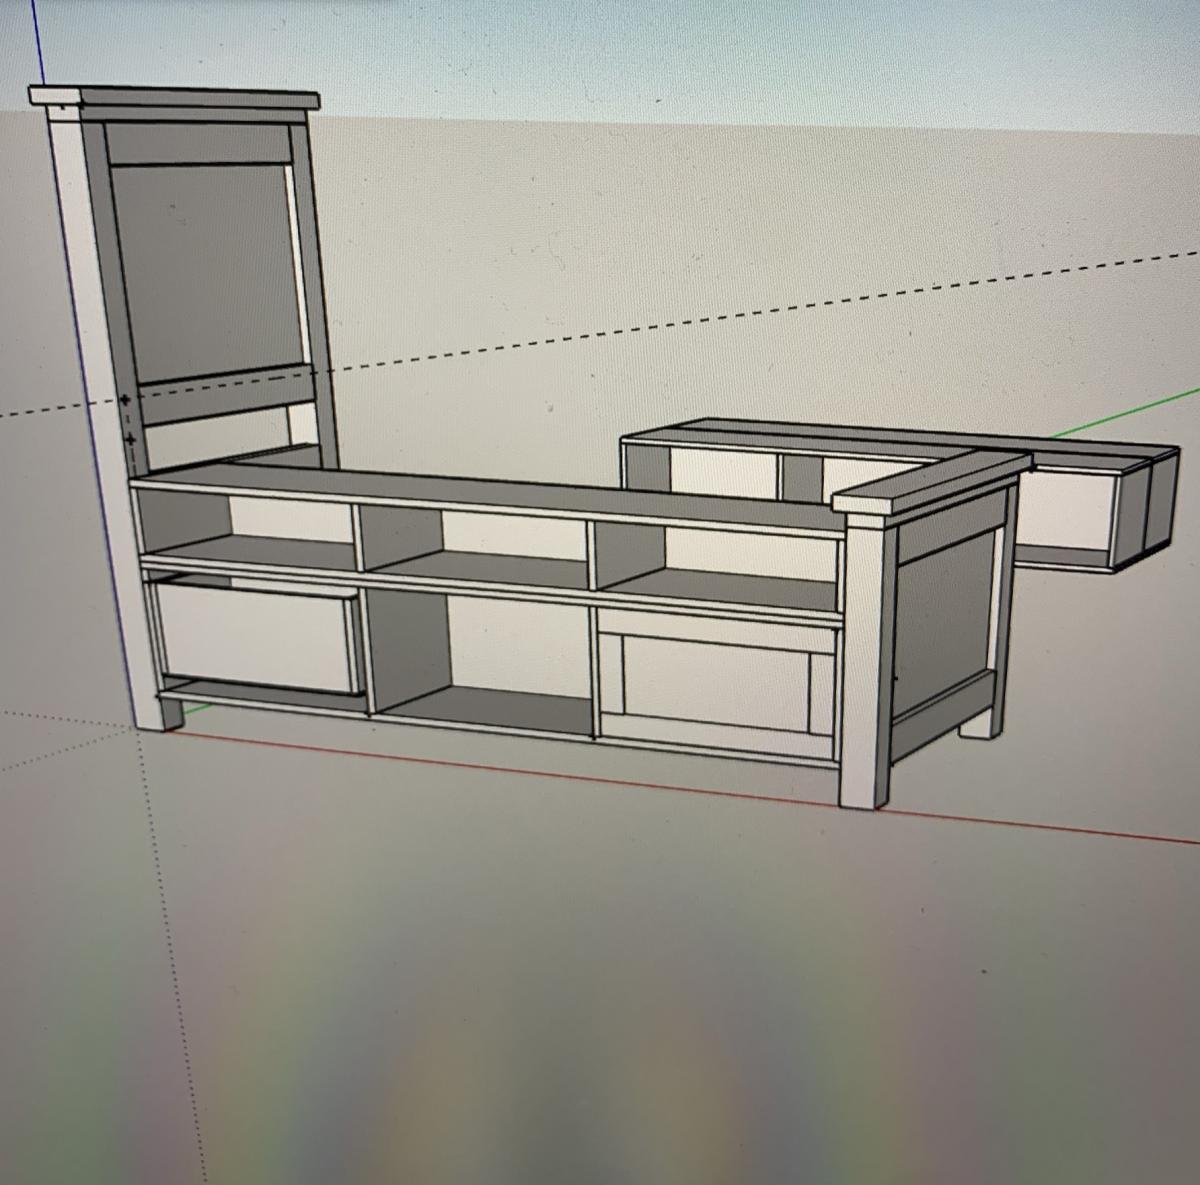
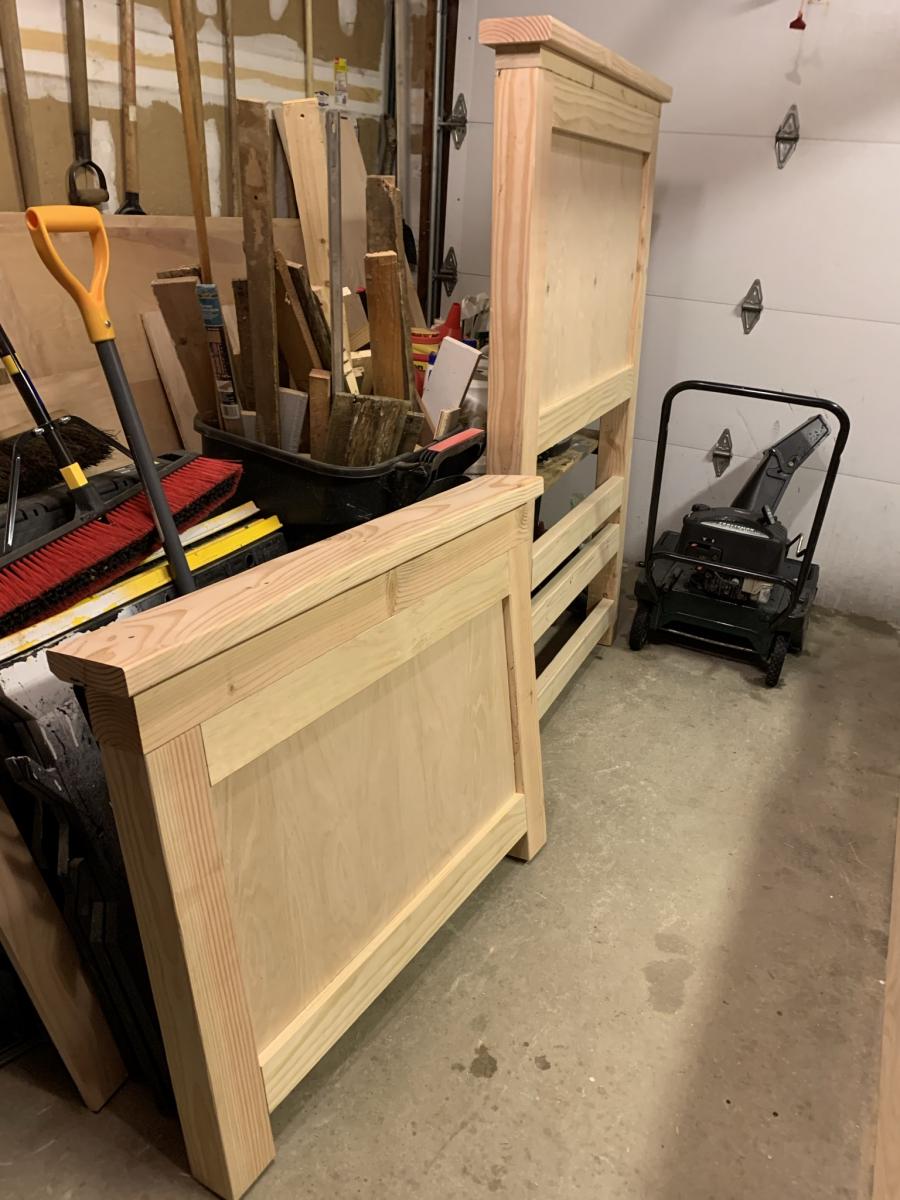
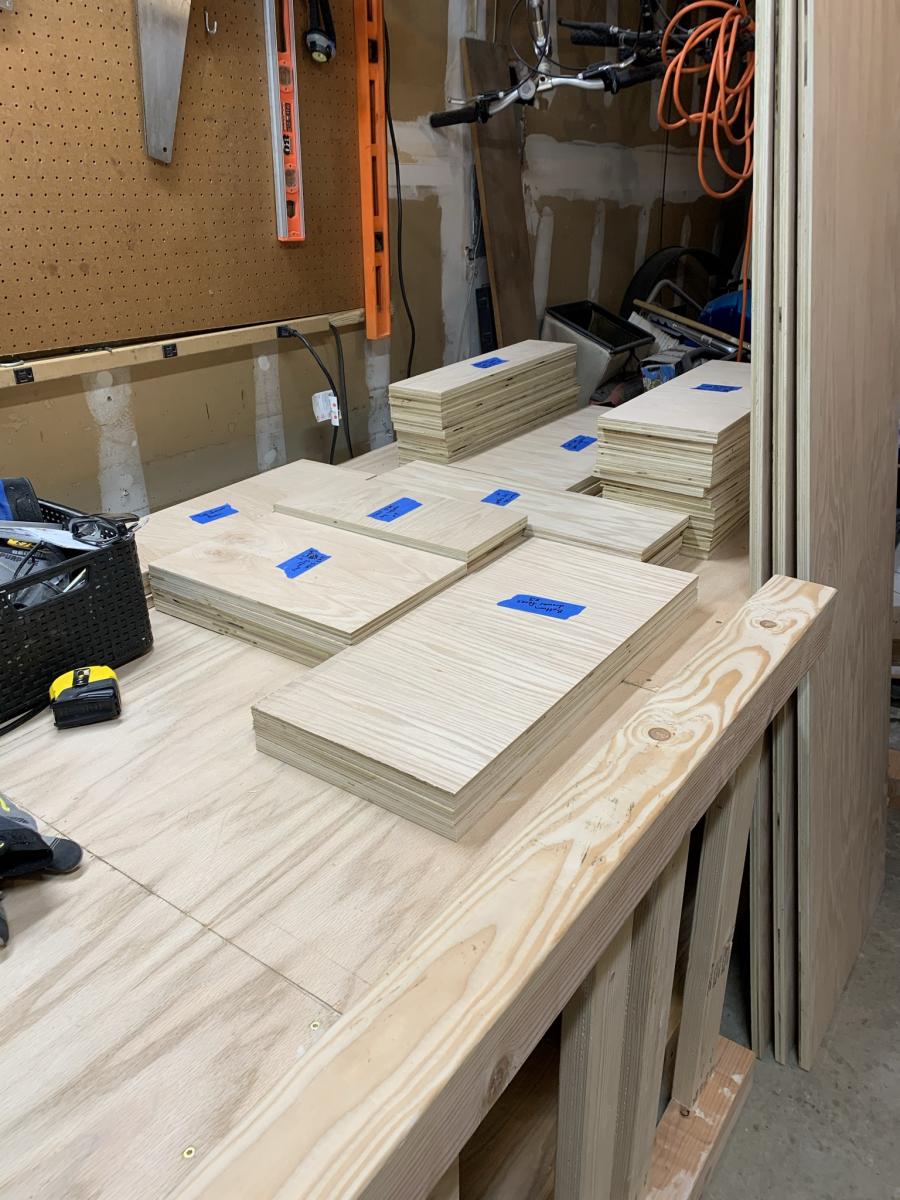
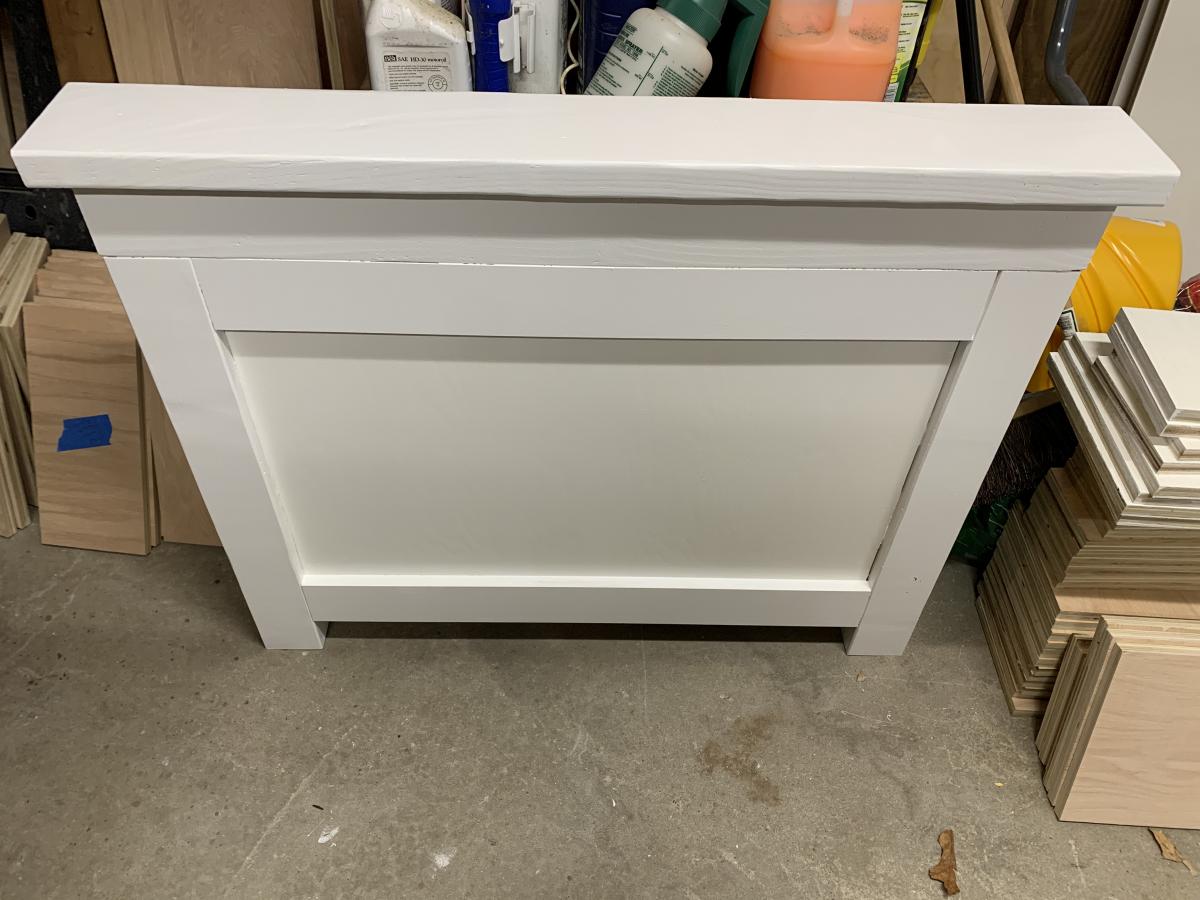
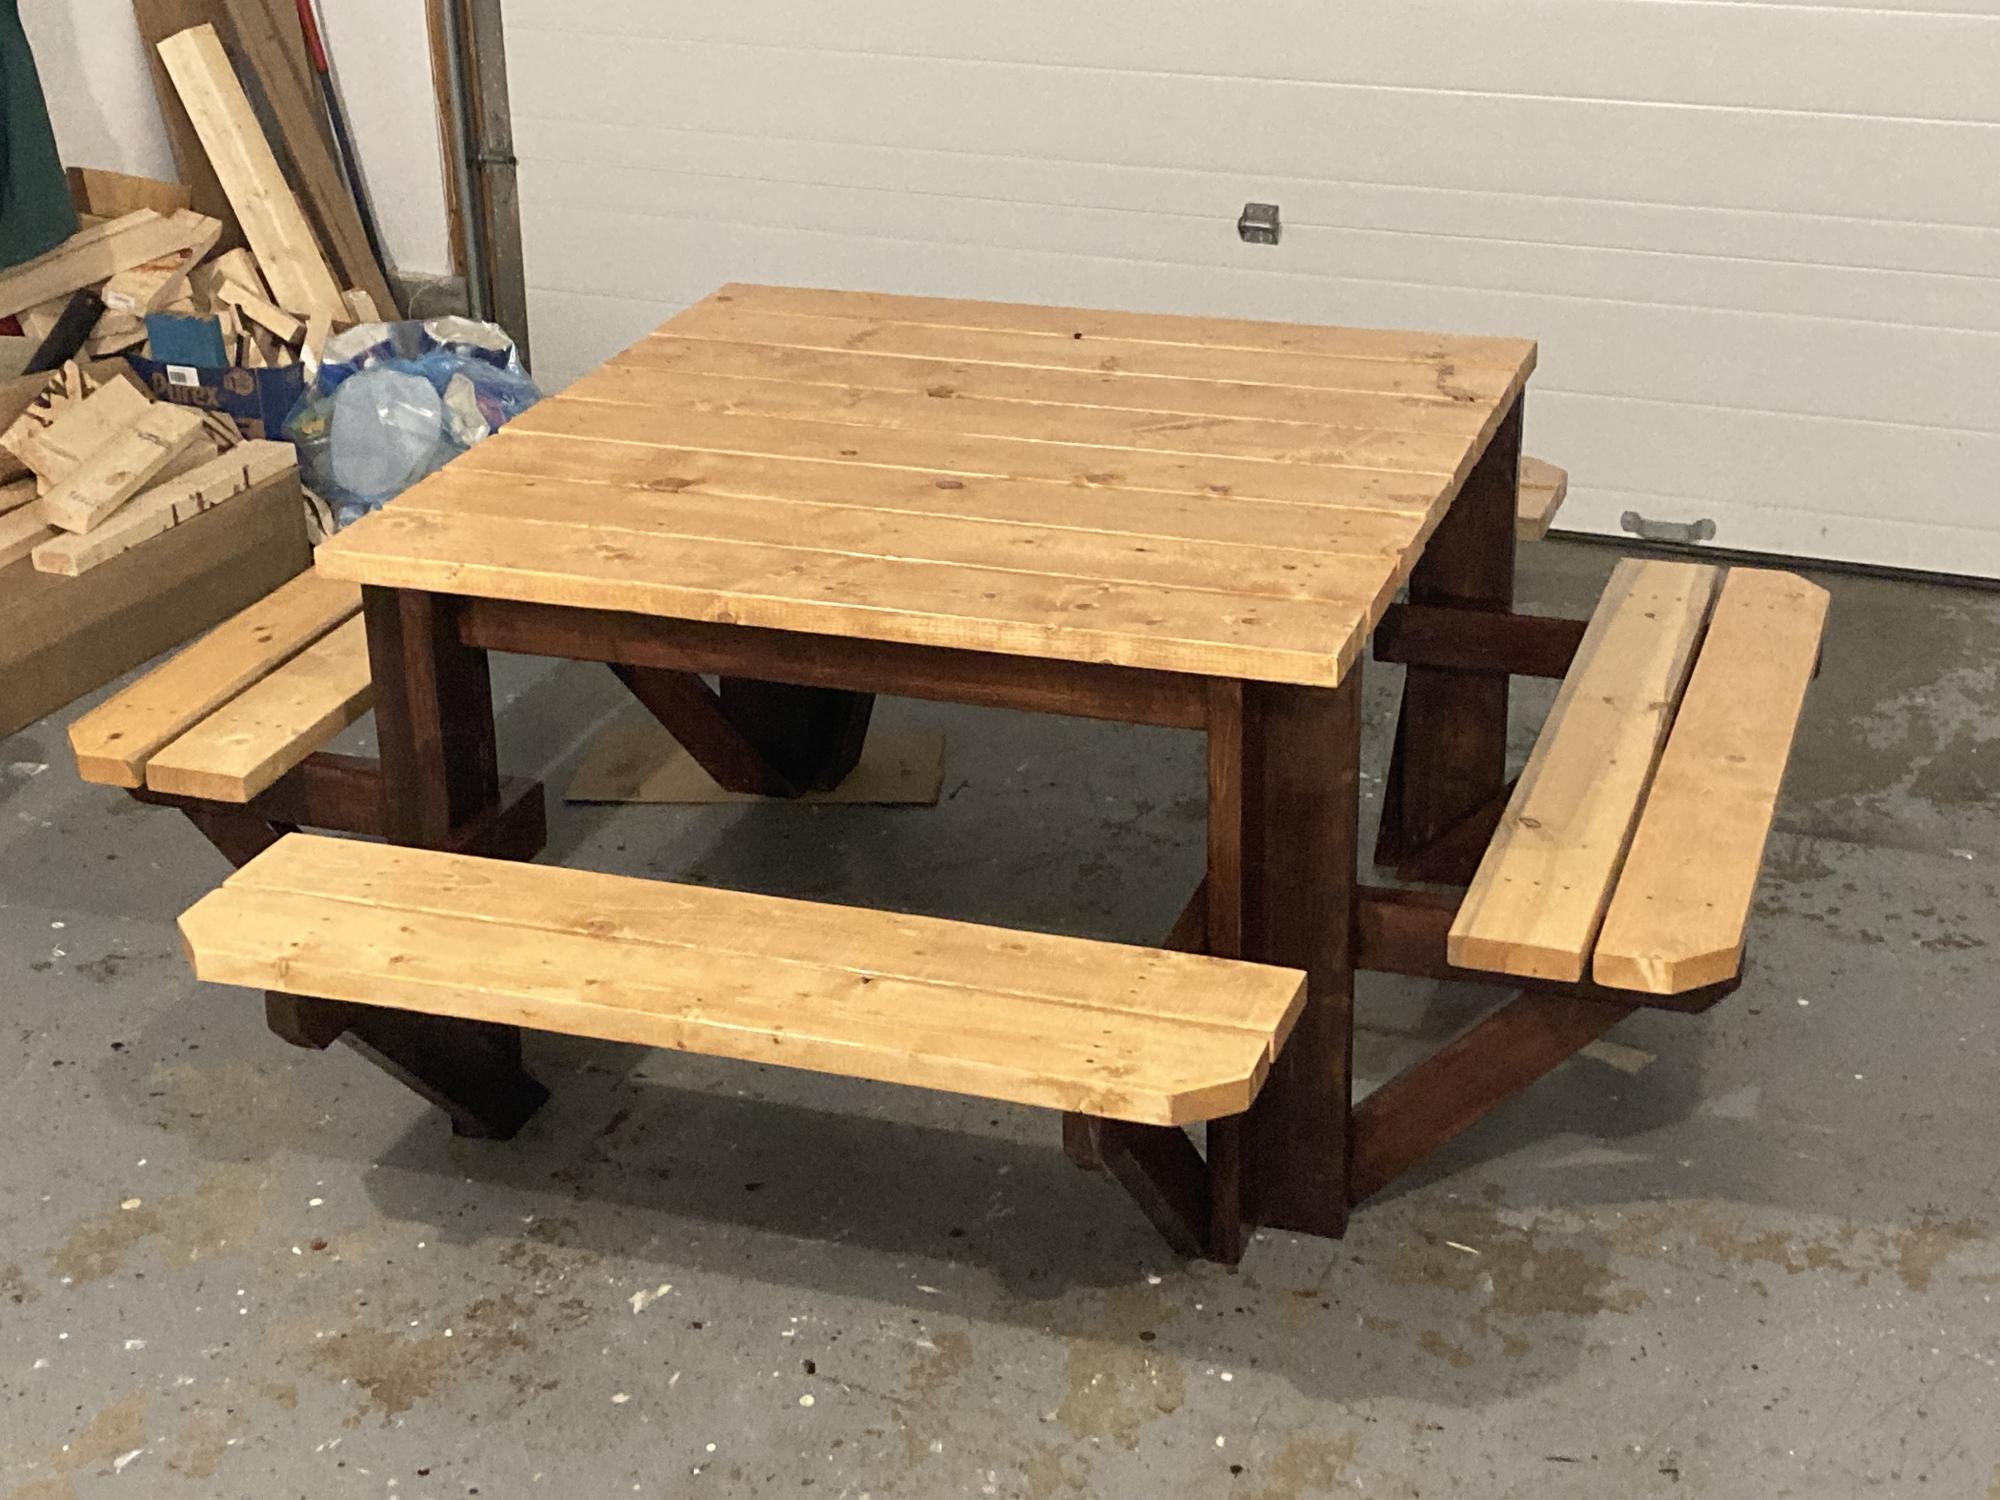
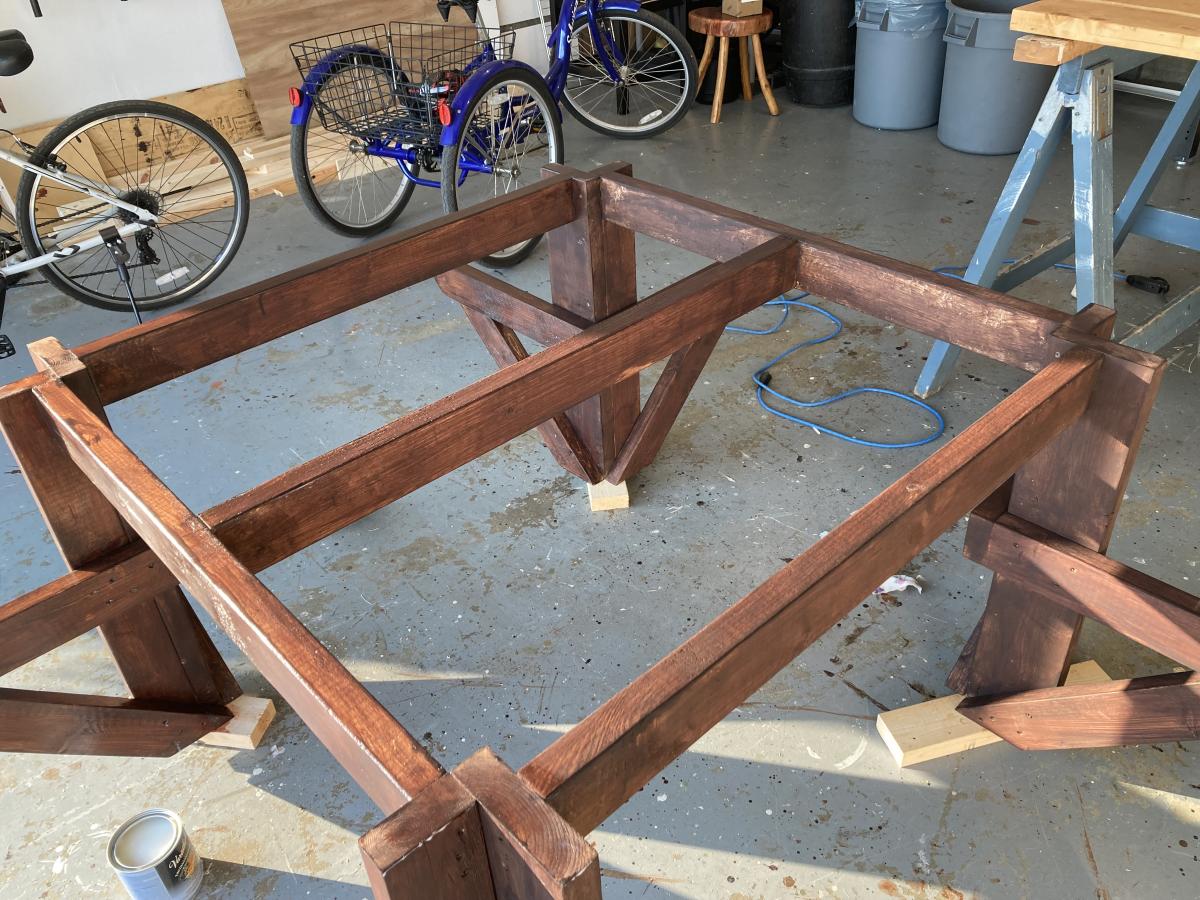
Reclaimed wood kitchen island

Not much to say here other than THANK YOU ANA! I built it right to the plan, used plain dimensional spruce for the drawer box, and reclaimed fir for everything else. Had fun using my thickness planer to save many hours on the belt sander.
Built from Plan(s)
Estimated Cost
Cost was mostly in the reclaimed lumber, so no useful info here.
Estimated Time Investment
Week Long Project (20 Hours or More)
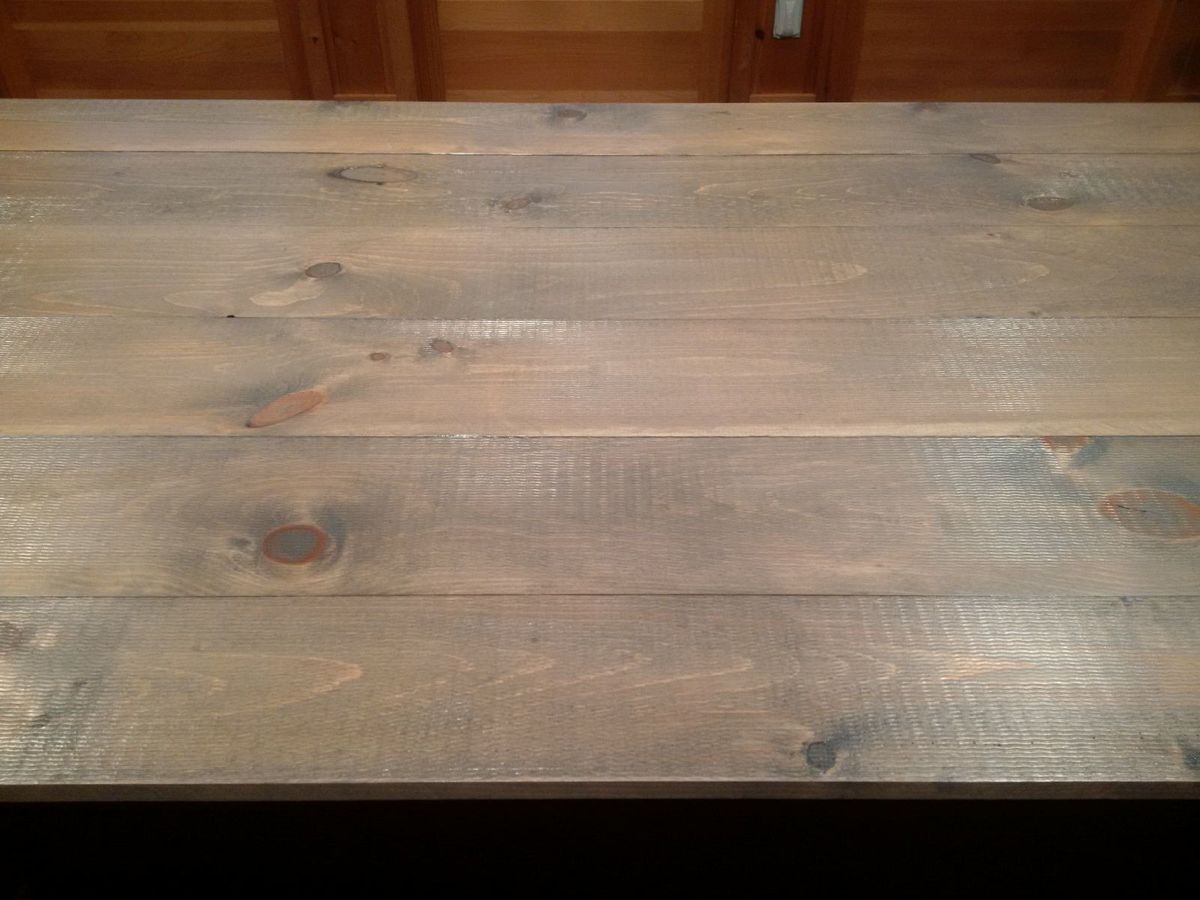
Finish Used
tung oil
Recommended Skill Level
Intermediate


Comments
Ana White Admin
Wed, 02/15/2017 - 11:17
Gorgeous!
Thanks for sharing, it's stunning!