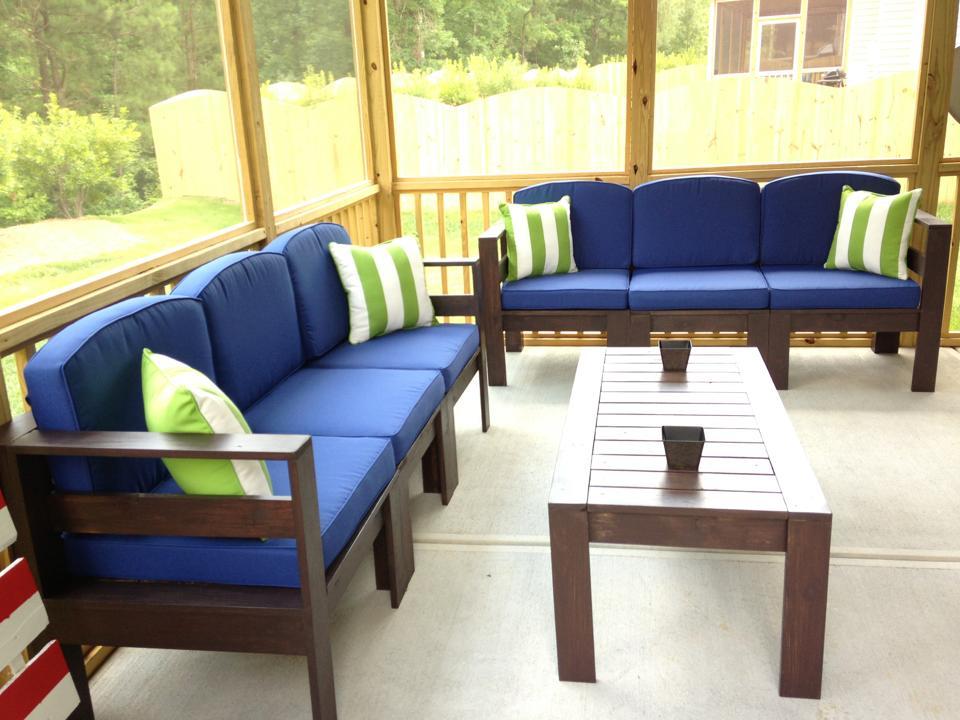
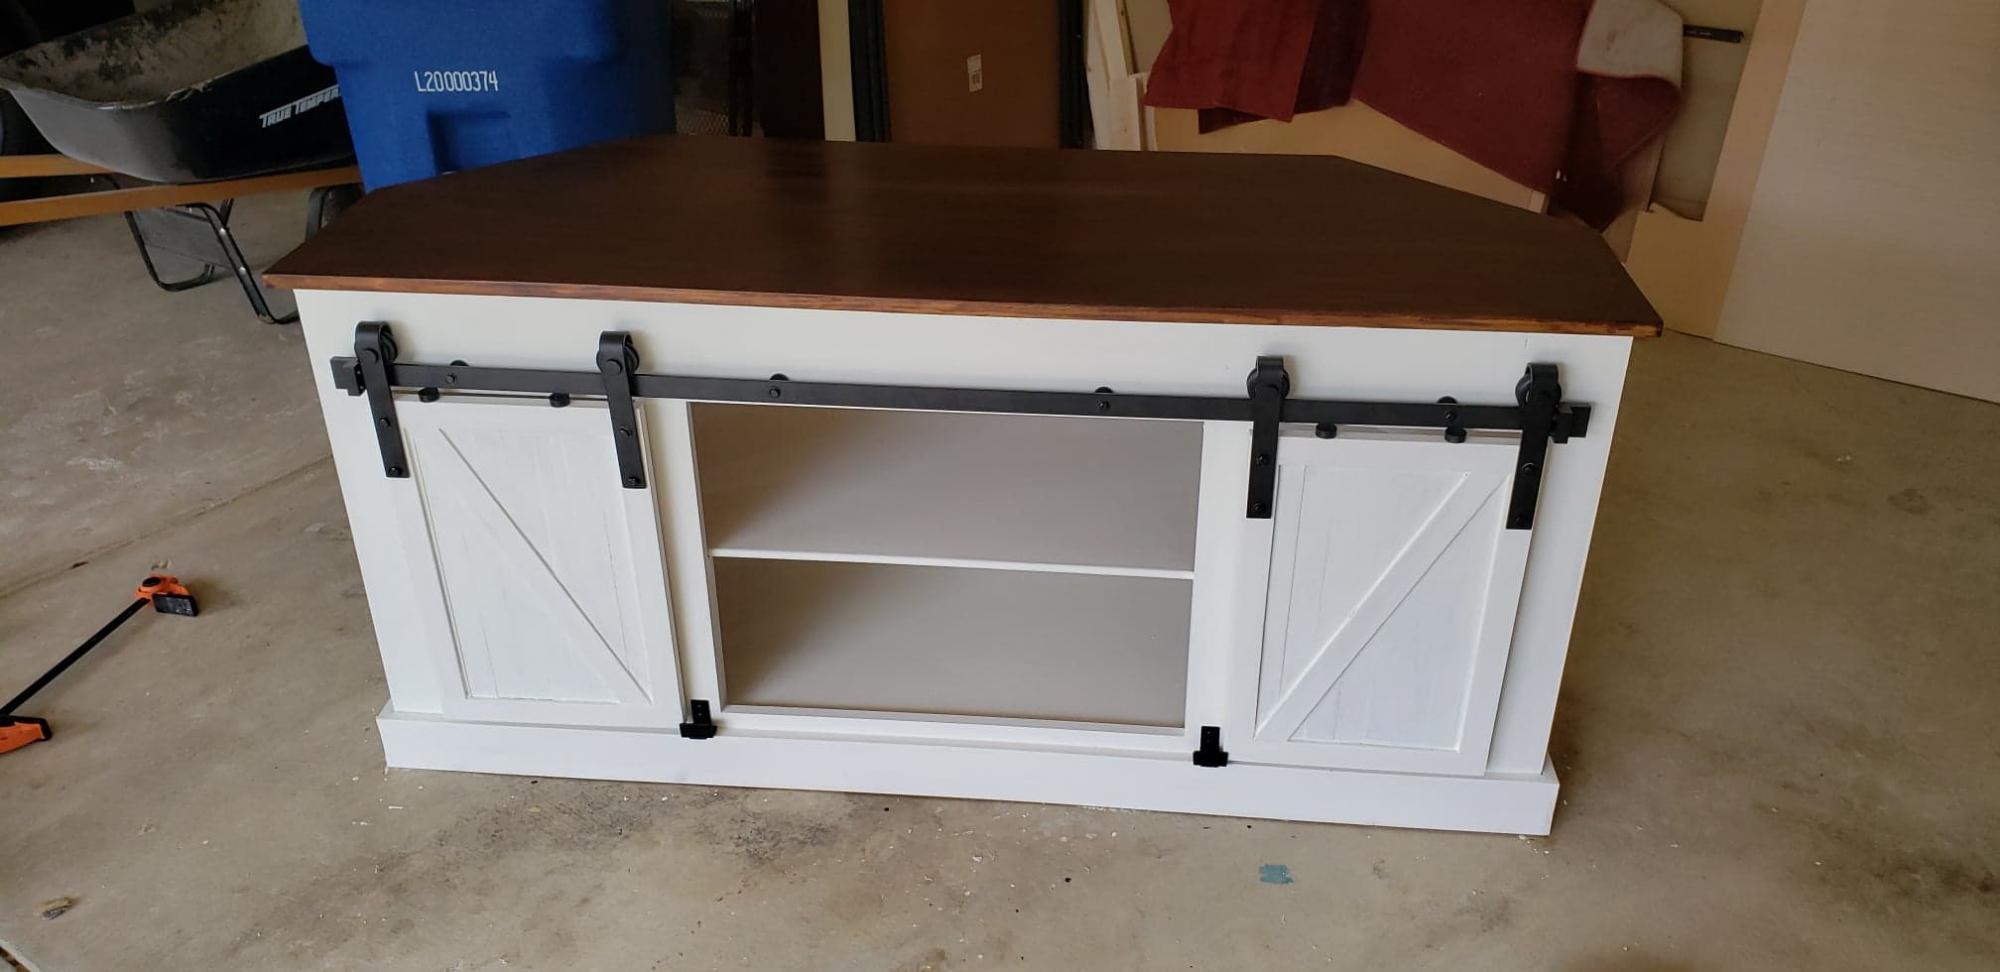
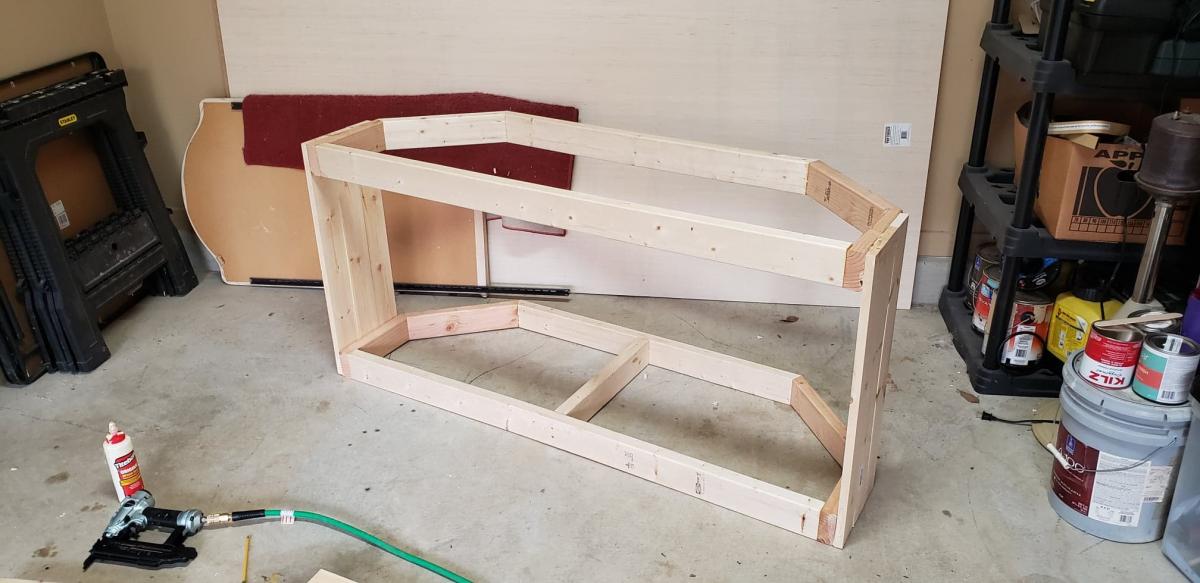
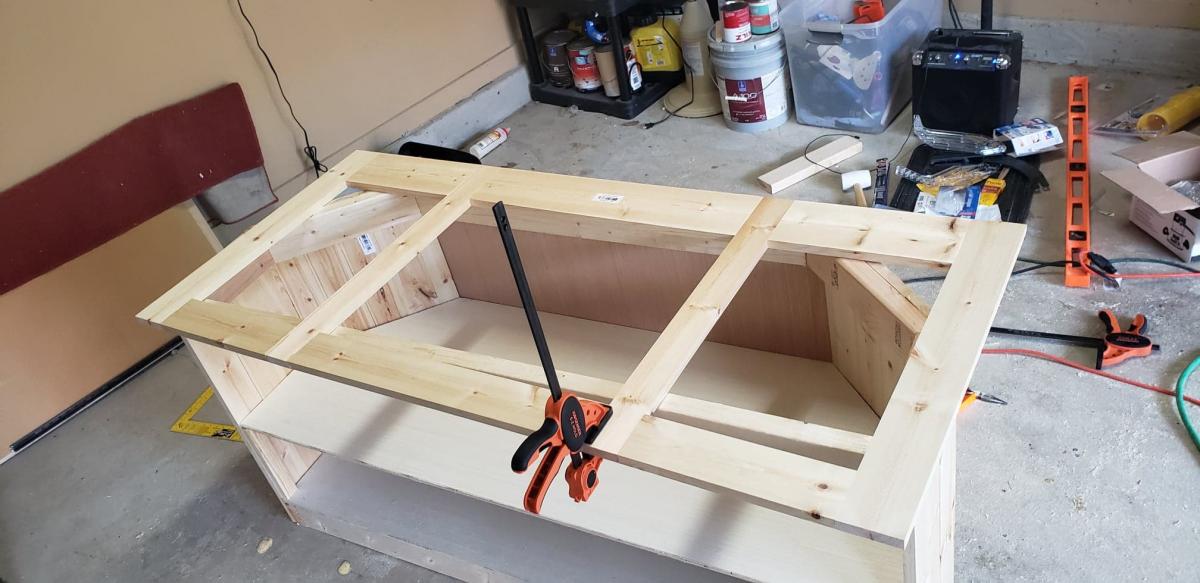
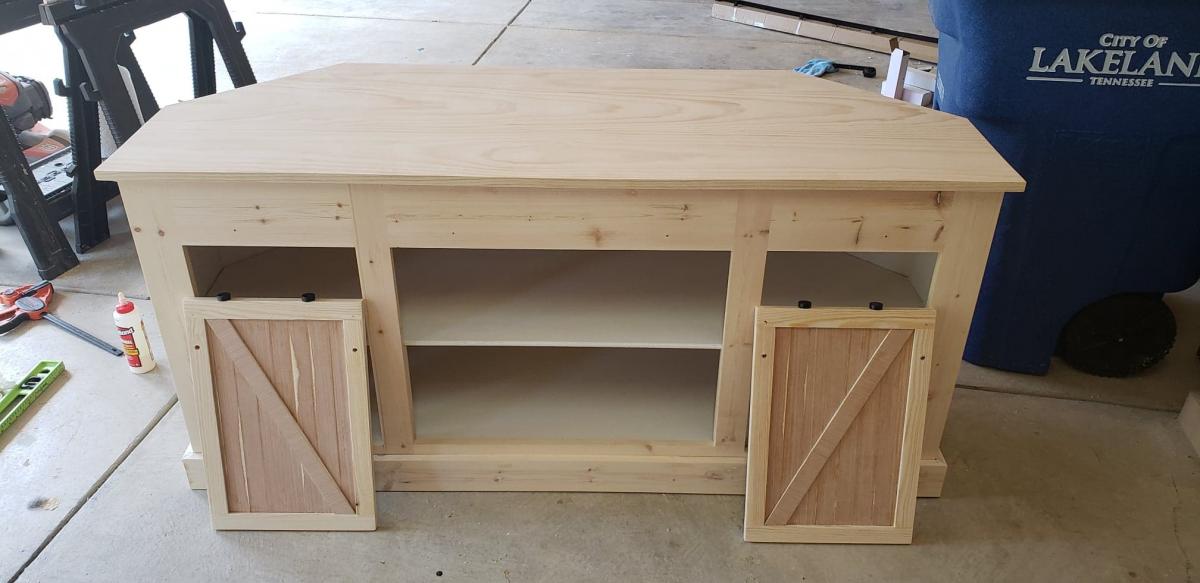
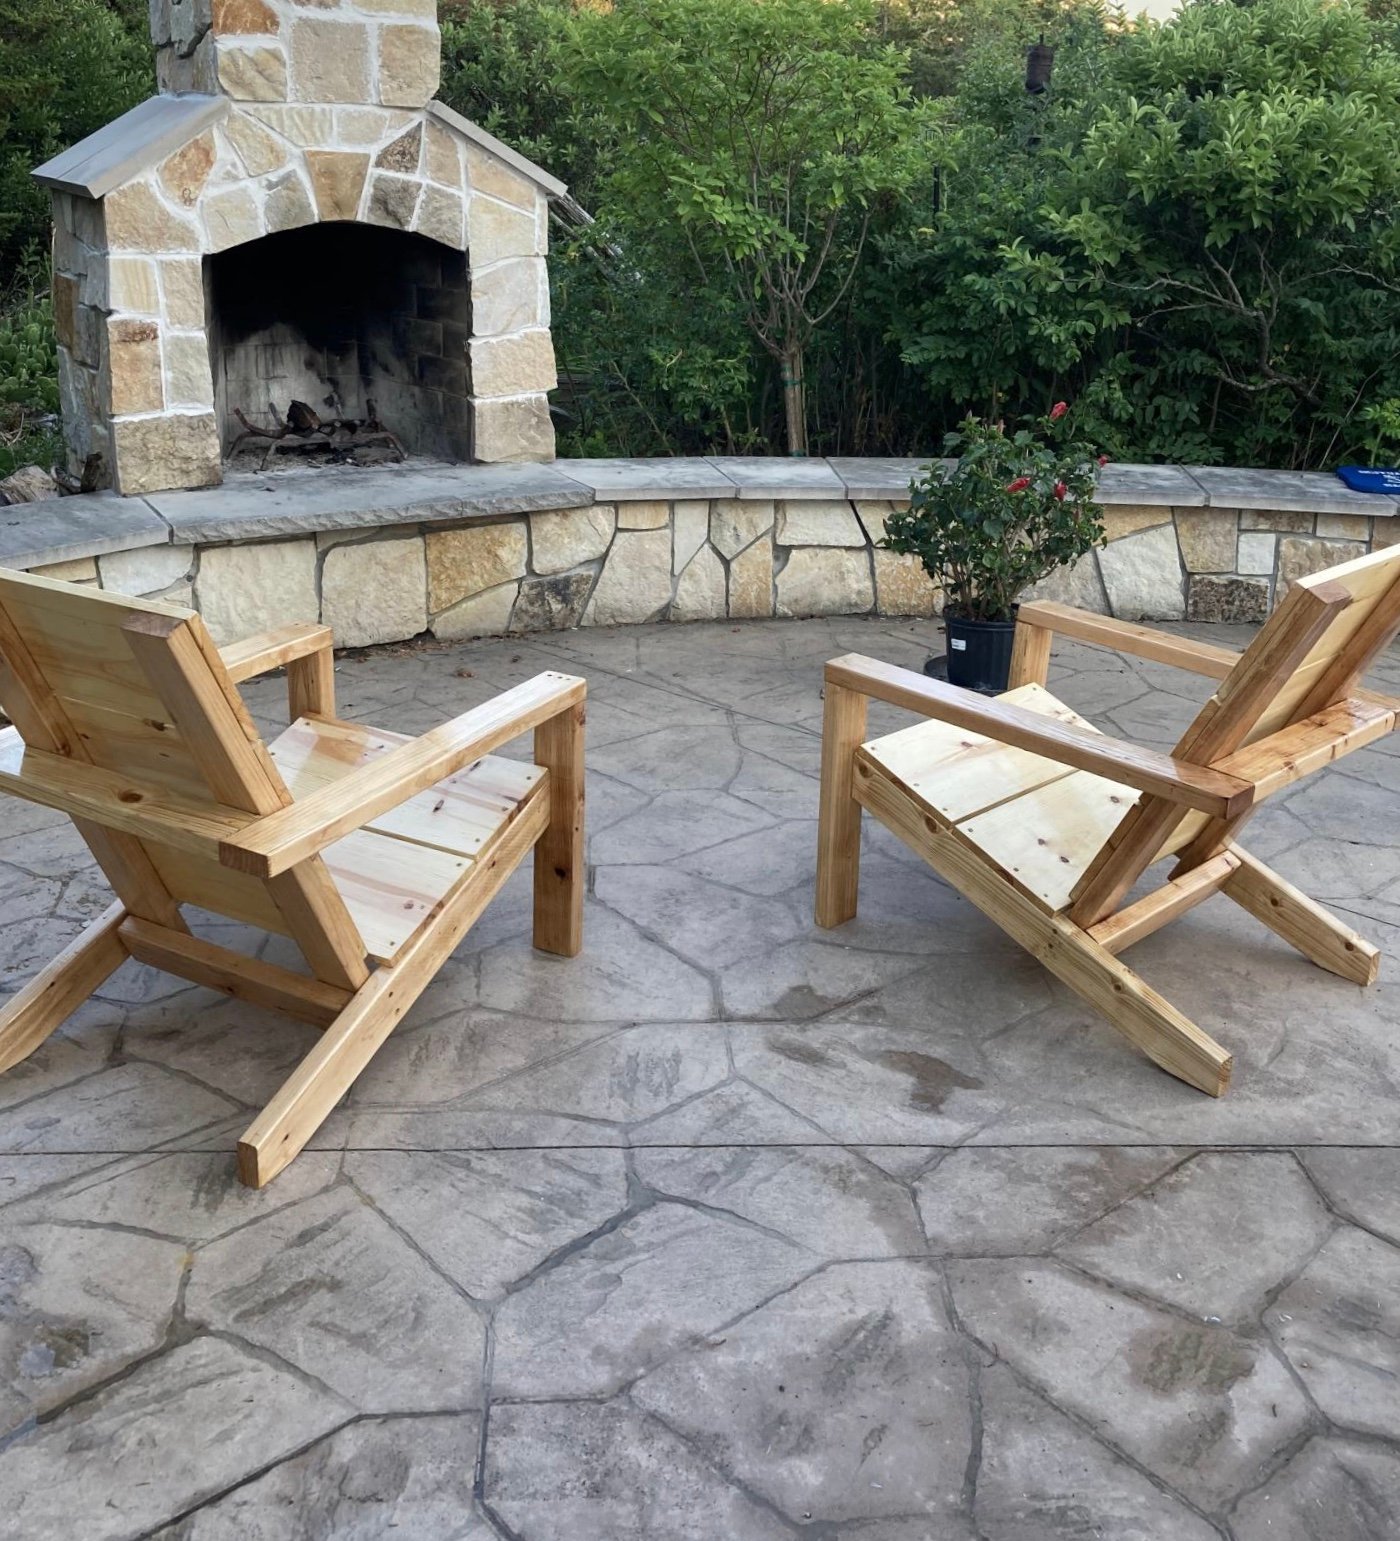
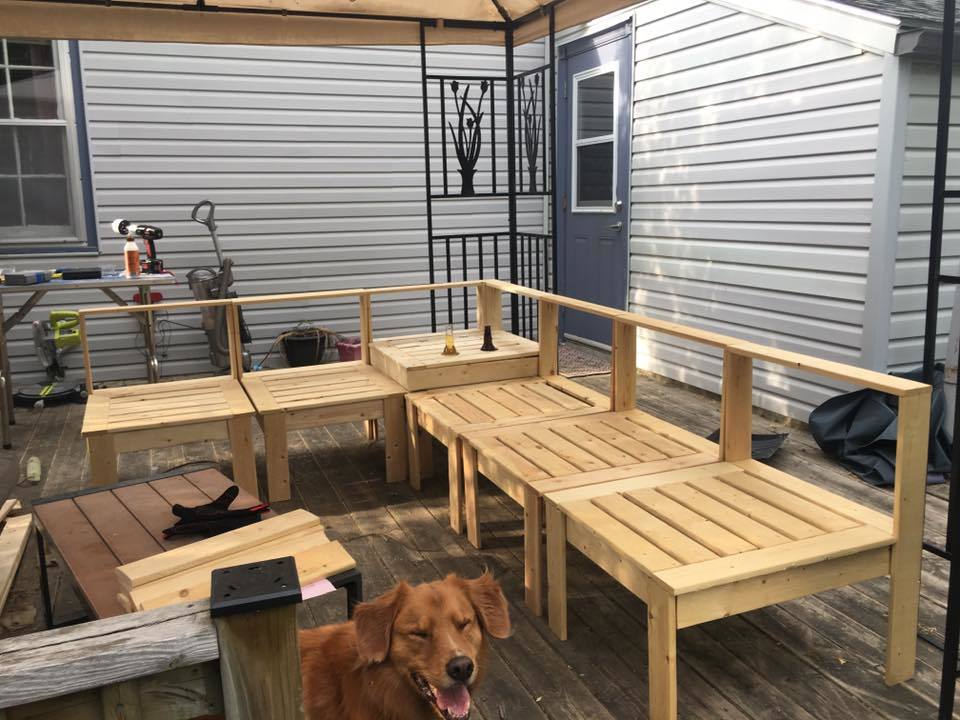
Community Brag Posts

Outdoor Sectional

Submitted by nikkiice on Sat, 05/28/2016 - 17:40

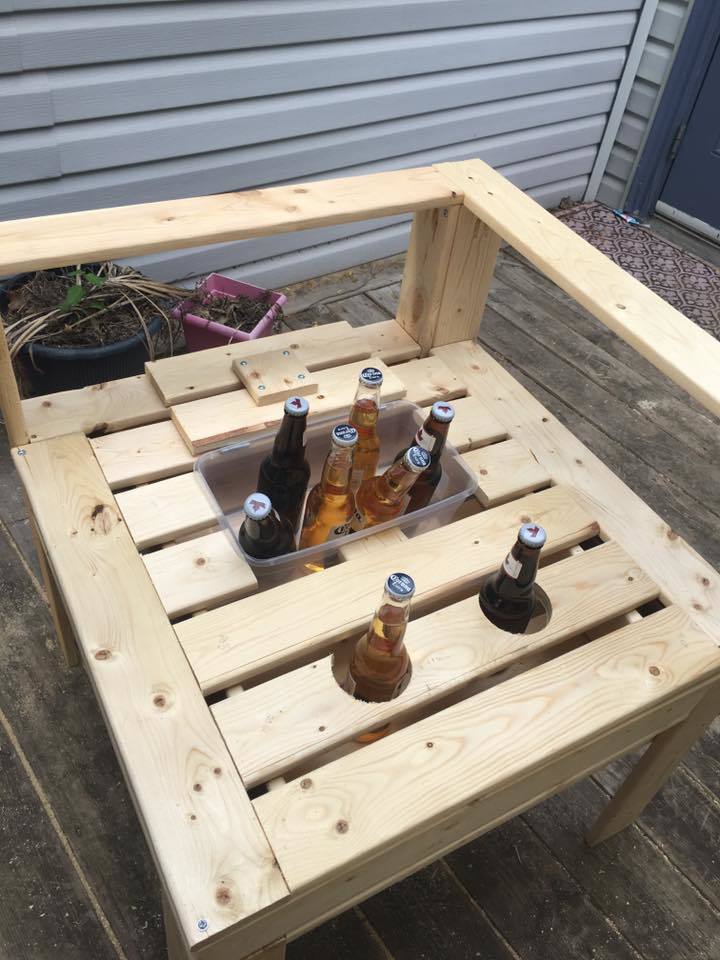
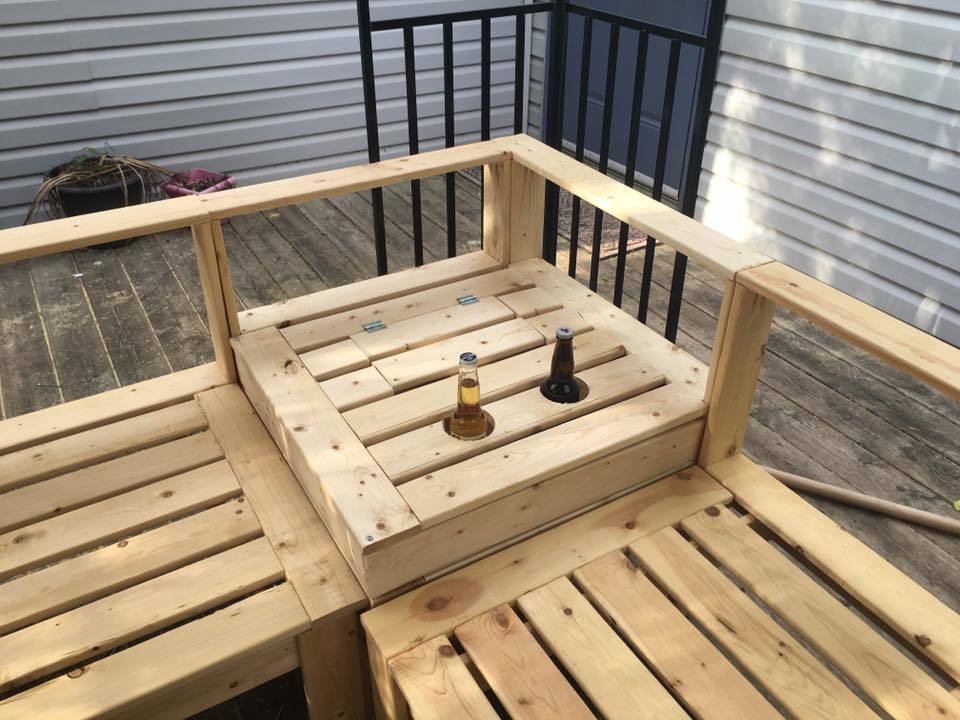
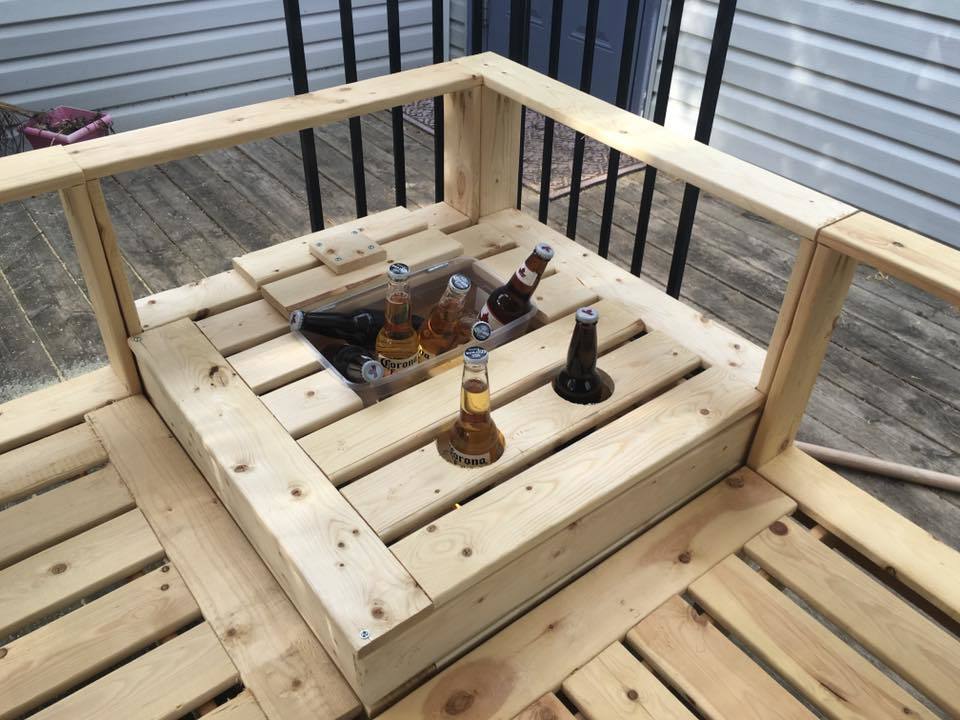
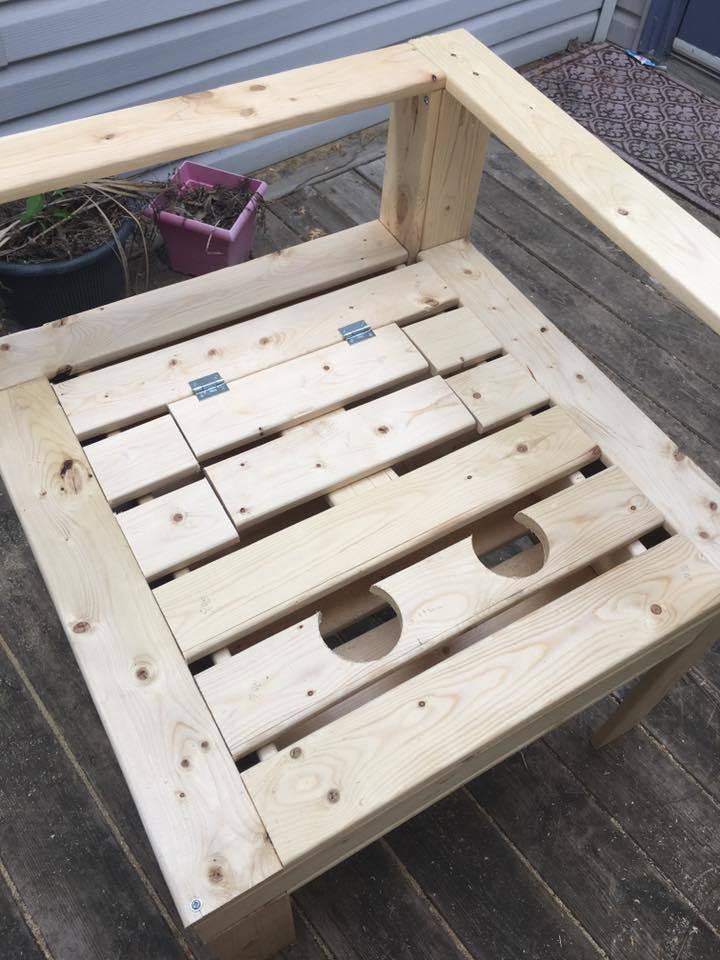
I had so much fun building this! I got a little creative with the corner section and decided to make it a table. I built a small hatch so that I could put in a container for ice and cold beer. When the hatch is not in use, the container can be removed and the hatch can be closed to provide more table space. I also added drink holders! 

Estimated Time Investment
Week Long Project (20 Hours or More)
Finish Used
none yet
Recommended Skill Level
Beginner

Barn Door Bookcase/ Side Pantry

Submitted by BmoreITguy on Wed, 04/22/2020 - 05:57

This took a lot of time and money but I like the way it looks. We have 4 kitchen cabinets and one drawer and no room for more so storage is tight.

Built from Plan(s)
Estimated Cost
400
Estimated Time Investment
Week Long Project (20 Hours or More)
Finish Used
Same as Ana’s
Recommended Skill Level
Advanced

Comments

BmoreITguy

Wed, 04/22/2020 - 06:00

Why is my picture sideways? Ana, one of the most frustrating things with this build was the mobile version of your site. Very laggy, typing lags, pages crash in the middle of typing or viewing and persistent ads are a nightmare

Loft Over Single Bed

Submitted by Anonymous (not verified) on Mon, 01/15/2024 - 18:24

I decided to build a bunk bed for my grandson and his half sister when she came to visit. I enlisted the help of my 7 year old grandson to help with sanding and he was so excited! I was very pleased how it turned out and watching my grandson's excitement was an absolute joy! I can't wait to build more things together!

Norma Jasman

Eric's Cedar Shed!!

Submitted by Anonymous (not verified) on Mon, 07/06/2020 - 21:35

Thank you for the plans, shed turned out great! My association required me to match the siding color, roof color, and anchor to a concrete slab. So I poured 25 bags of 80lbs concrete to make a 9x5 slab. Redid the plans for an 8x4 shed, built the frame with 2x4s and not 2x2's, installed flashing, ice/water shield + felt + matching shingles since I'm near Chicago, and used a flexio finishing sprayer to paint the shed. Saved some $ by using 2 Redwood Grain Fiber siding panels for $22 each at HD.

All in all very happy with my shed and all my dangerous yard tools and woodworking tools can be put away from my toddler.

Built from Plan(s)
Estimated Cost
400
Estimated Time Investment
Weekend Project (10-20 Hours)
Finish Used
Behr Premium Plus exterior paint
Recommended Skill Level
Intermediate

8 foot picnic table

Submitted by Abby721 on Sat, 07/18/2020 - 08:40

This picnic table was a quick build and turned out amazing. I modified the center base support by adding an extra table top support and seat support board to the opposite side of the center legs to give the table symmetry to accommodate an umbrella hole. I also shortened both cross supports by an inch to make sure the base wouldn’t be longer than the top boards. The space between the center table support boards and seat support boards is the perfect size to fit a standard umbrella. I used a 1 3/4” hole saw to make the umbrella hole. The build and stain/paint took me about 5 hours but additional time is needed to properly seal the table. I used untreated pine. Treated pine may give the table longevity but it would also add a lot of weight to an already heavy table. This was a relatively easy and quick build and is a great size to fit my whole family plus a couple guests! I’m happy with how it turned out and would recommend this build to anyone looking for a budget friendly and simple patio table.

Built from Plan(s)
Estimated Cost
$75
Estimated Time Investment
Day Project (6-9 Hours)
Finish Used
Varathane Briarsmoke for the top and Rustoleum Canyon Black Satin for the base. Sealed with 2 coats of Varathane Helmsman Spar Urethane
Recommended Skill Level
Beginner

Comments

Seasonal And Holiday

Rustic X Console

Made a bit shorter to fit our decorative arch and opted for more different hardware.

Built from Plan(s)
Estimated Cost
$100
Estimated Time Investment
Day Project (6-9 Hours)
Finish Used
Rustic Oak Stain with a wax finish.
Recommended Skill Level
Intermediate

Comments

3 Tier Planter

Submitted by ranlim on Thu, 05/18/2017 - 21:24

Love this planter. Used quality pine. Perfect size for the balcony! I use it for fresh herbs... i have have other people wanting one too!

Estimated Cost
17
Estimated Time Investment
An Hour or Two (0-2 Hours)
Finish Used
Special walnut
Recommended Skill Level
Beginner

DIY Folding Workbench

Submitted by suzeet305 on Mon, 10/18/2021 - 18:32

I'm a beginner DIYer and I knew one day I was going to have to make a workbench. I made mine 24x48 so I wanted a little more support to hold up the drop down leaf. I searched your site and found another plan with these gatelegs and knew this is what I wanted. I love the way it came out. What do you think?

Built from Plan(s)

Comments

Potting bench

Submitted by DianeS on Wed, 04/06/2011 - 14:04

I used the plan for the simple potting bench, but because I had  a lot of reclaimed wood, I used well supported 1x4's instead of 2x4's, simply because I had an abundance.

Built from Plan(s)
Estimated Cost
10.00 for screws and the potting bin
Estimated Time Investment
Day Project (6-9 Hours)
Finish Used
just sanded a lot.
Recommended Skill Level
Beginner

Comments

Simple Outdoor Sectional

This was the never-ending project!! Started off as going to be a 5-piece sectional that turned into a 6-piece sectional that was modified into 2 couches. We found it to be much easier for cushions to make 2 couches rather than having an odd number of back cushions or needing pillows that will constantly move around. Although more expensive, we really like the look of using 1" wood and they are definitely sturdy enough. The table was made by basically taking the bottom part of a side piece and doubling it to make the table 48". The project was half making the pieces and half staining, and once a coat of sealant is put on, the project will turn into more time finishing than building. I would recommend for anyone to find cushions before they start to build. 24" cushions are significantly more expensive than 22" cushions. Luckily the plans are simple enough that they can be easily modified to accommodate the smaller seat size.

Estimated Cost
$300 without cushions, $650 with cushions
Estimated Time Investment
Week Long Project (20 Hours or More)
Finish Used
Cabot Semi-Solid Ebony
Recommended Skill Level
Beginner

Comments

JoanneS

Tue, 07/09/2013 - 16:26

These look gorgeous! Love the finish. I like how you added some extra supports around the sides, that's a very good look! The curve top on the back cushions looks great too - where did you find them? ($350 for all 12 cushions is an awesome price!)

dbh

Sat, 07/19/2014 - 08:05

Are the cushions comfortable? I have read mixed reviews, what is your opinion?

Seasonal And Holiday

Quad Bunkbeds

Submitted by Newfey on Thu, 07/18/2013 - 19:29

This is a set of bunk beds that I made for my daughter Alicia for their getaway home at Canadian Lakes, MI. Now their children can invite their friends and have a fun place to sleep.

Recommended Skill Level
Intermediate

Comments

JoanneS

Fri, 07/19/2013 - 02:37

Wow! This looks absolutely amazing! I like the light and shelf in each bunk too. Spectacular!

spiceylg

Fri, 07/19/2013 - 04:45

Newfey, these are awesome! I've seen pics of this type of bunk over the years, but never anybody attempting them as a DIY from a non-professional, unless you are one? Either way, they certainly look professionally done. Love, love, love!

In reply to by spiceylg

Newfey

Fri, 07/19/2013 - 07:56

I am not a professional by any means and have a limited tool supply. My daughter sent me a picture and asked if I could make them for her. It was a big project as their getaway home is 165 miles from where I live. It took quite a few weekends to complete.

kelleer

Fri, 07/19/2013 - 08:12

This is totally awesome. were there plans that you might have used as a base to go from or were you able to design it on your own?

In reply to by kelleer

Newfey

Fri, 07/19/2013 - 09:24

That was one of the problems, I had no plans, only the picture as a reference. It was a design as I went along and needless to say I gave a sigh of relief once that I saw the mattresses fit into their places.

Lasso the Moon

Fri, 07/19/2013 - 11:49

This is a dream room. They look so beautiful! How fun to have extra places for friends to stay the weekend.
Anna

momofour09

Fri, 08/30/2013 - 06:48

I've been viewing pictures of these style bunkbeds for a while. I'm almost certain I could come up with something but most definitely lose my sanity along the way. This would be great in my girls room and you did an awesome job!

meganhammon29

Sat, 07/25/2015 - 20:25

Ana I am looking to see if you have actual plans for a quad bunk bed? Also what about a quad corner bunk bed? We are trying to put our 4 girls in one large room and this would really help make it work!

Farmhouse King Bed

Submitted by gahan22 on Tue, 02/02/2016 - 10:36

This was our first ana white build. Bed build took one Saturday - to finish up took another week or so working nights - most of our time spent on getting the color we wanted and sanding and finishing. Building the 2x4 frame took more time than anticipated as well. We are super happy with how it turned out.

Estimated Cost
$250 for lumber, stain and lumber for bed frame. We used lag screws on the side and 2x4 hangers for the frame which increased costs.
Estimated Time Investment
Week Long Project (20 Hours or More)
Finish Used
Stain is two coats minwax dark mahogany plus classic grey over the top - wiped off and finished with minwax satin poly.
Recommended Skill Level
Starter Project

Grandy Barn Door Corner TV Stand

Submitted by Anonymous (not verified) on Wed, 01/08/2020 - 12:46

I couldn't find any corner TV stands with the barndoor style that were big enough, so I decided to design and make my own using the Grandy buffet design.

Built from Plan(s)
Estimated Cost
200-300
Estimated Time Investment
Week Long Project (20 Hours or More)
Finish Used
Minwax Polyshades Satin
Wax paint
Recommended Skill Level
Beginner

Comments

Cedar Fence Board Planter Box

Submitted by iowachap on Sat, 03/15/2014 - 19:40

Using Ana's 10 dollar raised garden planter box idea, I made my own using the cedar fence boards and then used 2 x 3 x 8 studs for the L corner supports and mid center support along with top rail. This photo is the first 3, I will have a total of 6 boxes. Will post more as I progress.

Estimated Cost
20 to 25 dollars per box
Estimated Time Investment
Afternoon Project (3-6 Hours)
Finish Used
I used 6 fence boards, 2 for each side of the 6' long runs, and 1 for each short 3' section cut in half.

I got the 6' x 5 1/2 " x 5/8 " cedar fence boards at the orange box

I used 2 x 3 x 8 boards for the corners the middle support and the top rail. I got these at the blue box

I used 2 " and 2 1/2" exterior star bit screws.

NOTE: I pre drilled holes in the fence boards and screwed all the boards to the L corner sections from the inside out, so the screws are on the inside of the box, they did not poke through the 2 x 3 boards.

Instead of trying to measure how far off the side of the board I needed to go to match the vertical 2 x 3 boards, I just cut 10 11 inch long 2 x3 sections, and then used the 2 1/2" screws and made 4 L corner pieces the shorter side I screwed the short 3 foot length fence boards too, once I had both my short sections screwed to the L corner sections, I then stood one up and screwed 2 of the 6' length boards to the L corner section. Then the other side.

Once all 4 walls were done, I would then measure 3' in the middle of the 6' long side runs, and put in an additional 2 x 3 x 11" again screwed from the inside of the box out.

Now that all the 2 x 3 x 11" L corners and side support sections were connected to the fence boards I then cut 76 1/4" 2 x3 boards one for each length run, and then 2 26" 2 x 3 sections that were all cut on 45 degree angle to complete the top rail.
Recommended Skill Level
Starter Project

Playhouse

We built this playhouse for our daughter's 6th birthday. She absolutely loves it! We were looking at purchasing one, but they were way out of our budget. Ana saved the day with these plans :).

Estimated Cost
$320.00
Estimated Time Investment
Weekend Project (10-20 Hours)
Finish Used
We painted the house with white Pittsburg Ultra Exterior Latex paint. The mailbox, door and shutters were all painted with Pink Viburnum Sherwin Williams Satin Exterior paint.
Recommended Skill Level
Intermediate
Seasonal And Holiday

Playhouse big build

I went a little out of control on the week of the 4th of July - I set out to build a picnic table, 4 sling chairs, a deck and a playhouse - and I did!!!! I owe Ana a great debt of gratitude for these amazing plans and empowering me to do it! I built the picnic table and the sling chairs as I was waiting for primer and paint to dry on the frame, inside and outside of the house. For the shutters - I scrounged around the garage and found some leftover wainscoting, and put a leftover 1x2 on them. The door frame wasn't straight - so I added a piece of leftover trim from my daughters bed I built. My only next step is curtains for the windows. I even moved the full kitchen set I built the kids a few christmas's ago into their. They have only been playing with it for 2 days and I can't drag them out of it!!!

Estimated Cost
$500-$550
Estimated Time Investment
Week Long Project (20 Hours or More)
Finish Used
Primer and paint
Recommended Skill Level
Intermediate
Seasonal And Holiday

Modern Adirondack Chairs. Thanks

Submitted by Anonymous (not verified) on Sun, 07/19/2020 - 16:16

Ana,

Thanks for making the plans available. Was looking for a simple plan and here is it. Needed to replace 4 aging chairs to match a pine table and a bar. Looking forward to another project in the fall. You definitely made a good choice on the pitch of that chairs. Very comfortable.

Estimated Cost
$50
Estimated Time Investment
Afternoon Project (3-6 Hours)
Finish Used
Spar urethane
Recommended Skill Level
Intermediate
Seasonal And Holiday
Back