Modern outdoor chairs
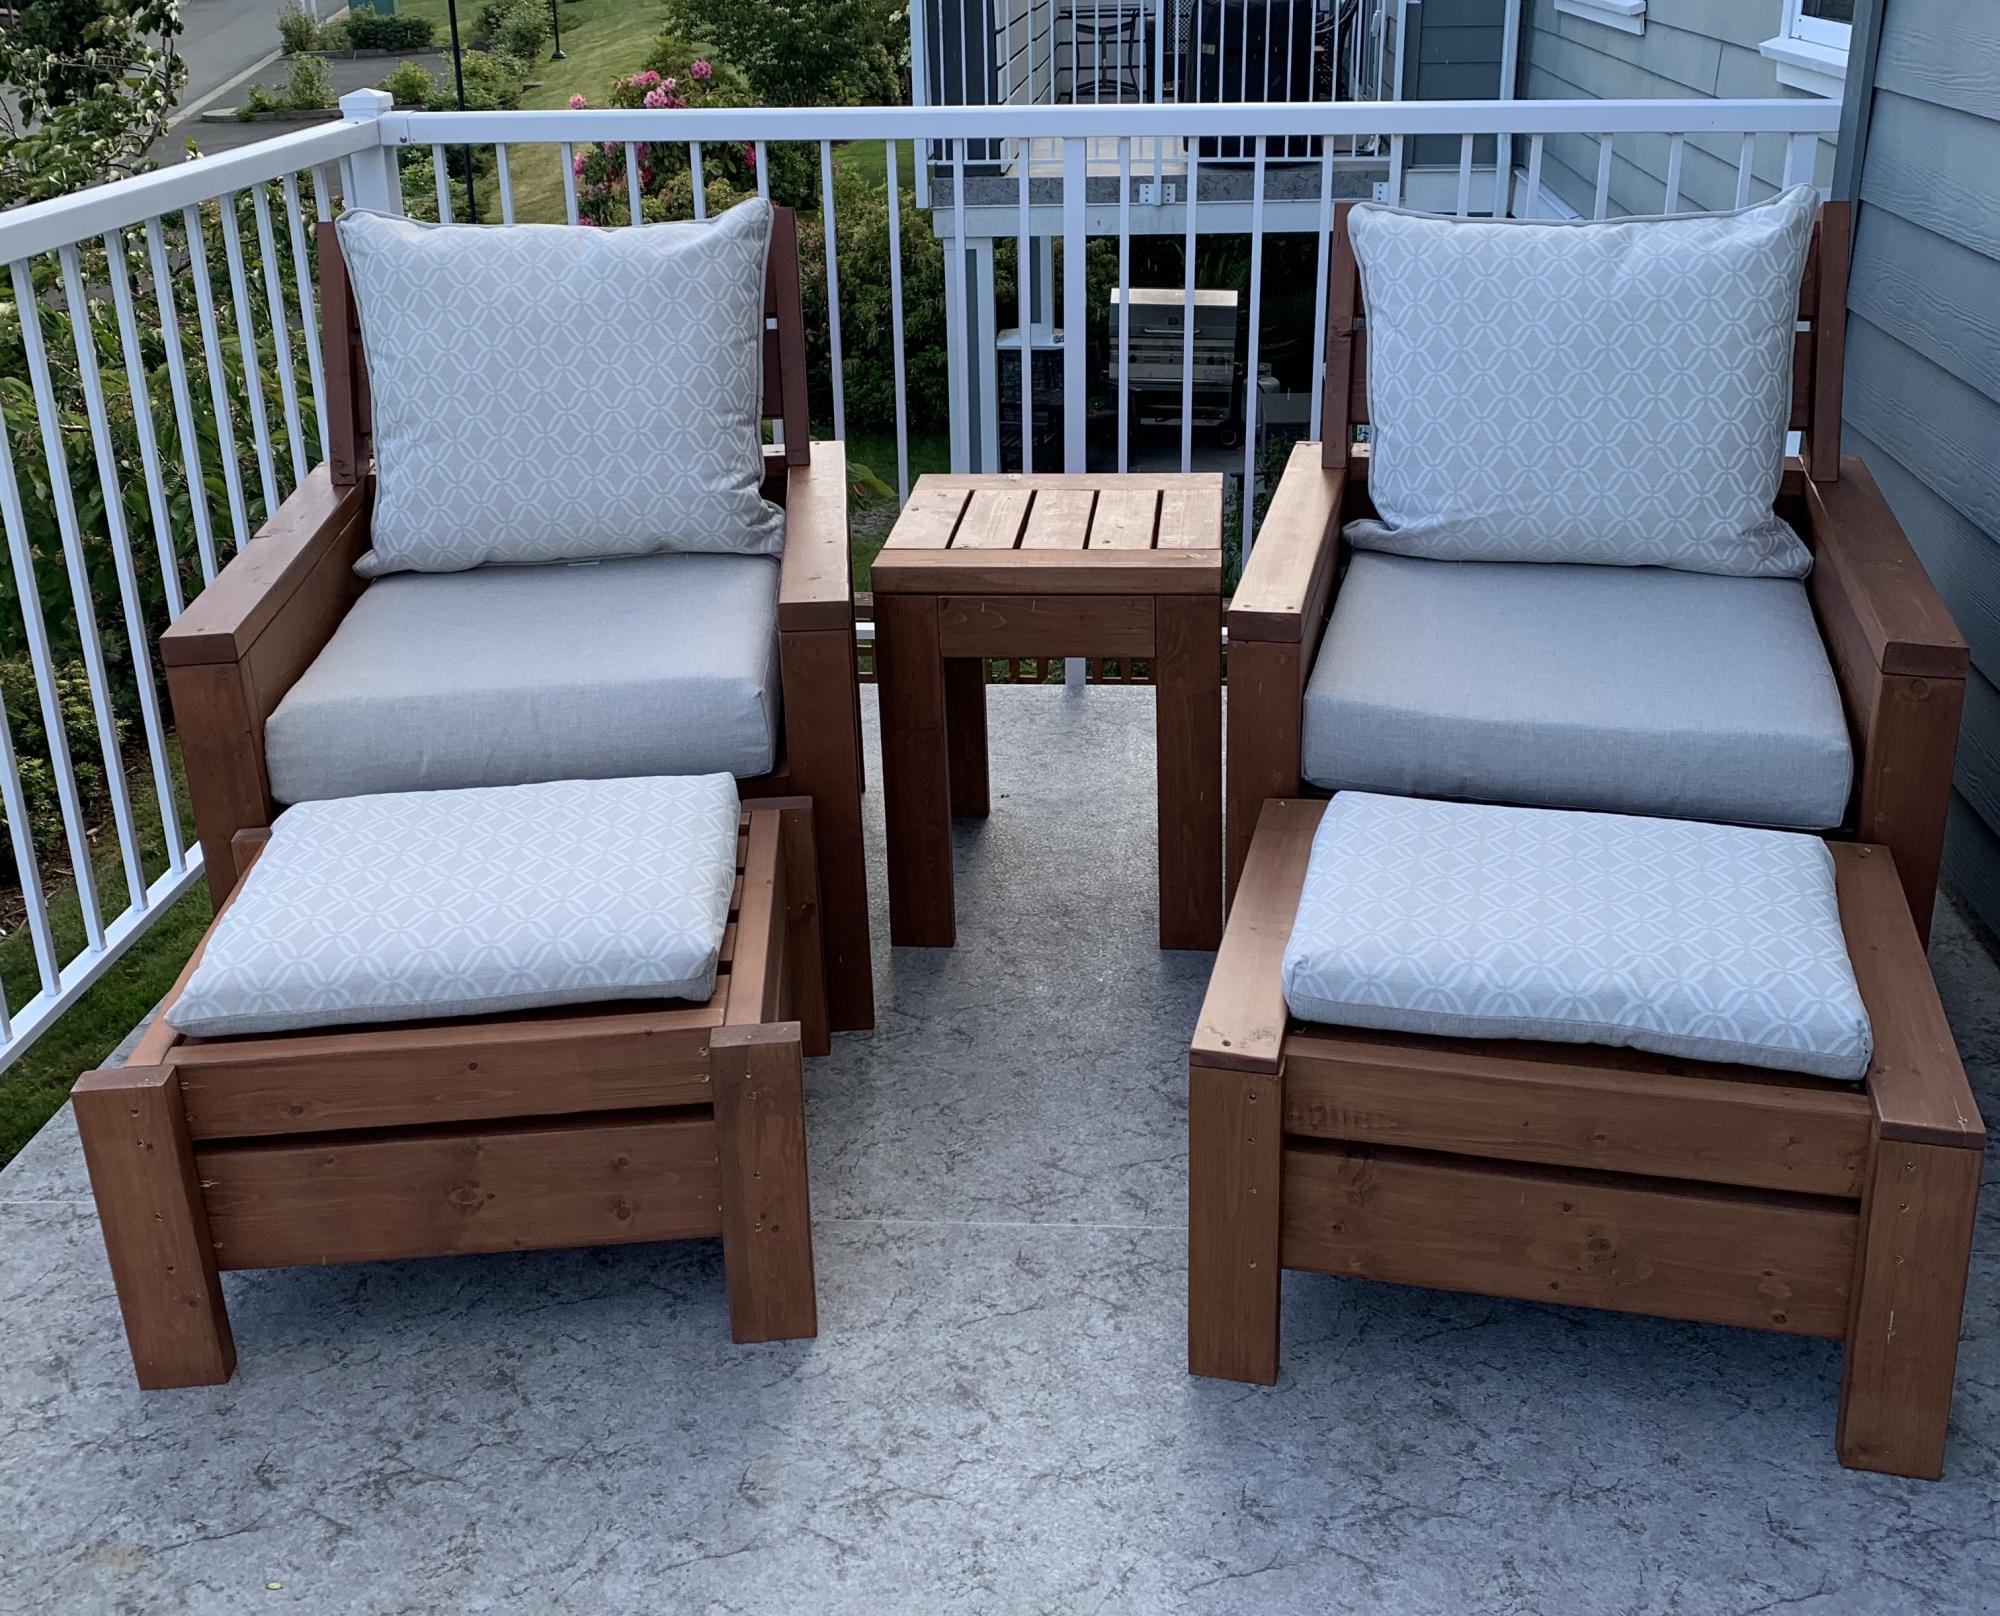
Love these plans! Made a modification and added backs to the chairs. Also, built ottomans to match the chairs which can also be used as additional seating.
Many compliments on the set. Thanks Ana!
Built from Plan(s)
Love these plans! Made a modification and added backs to the chairs. Also, built ottomans to match the chairs which can also be used as additional seating.
Many compliments on the set. Thanks Ana!
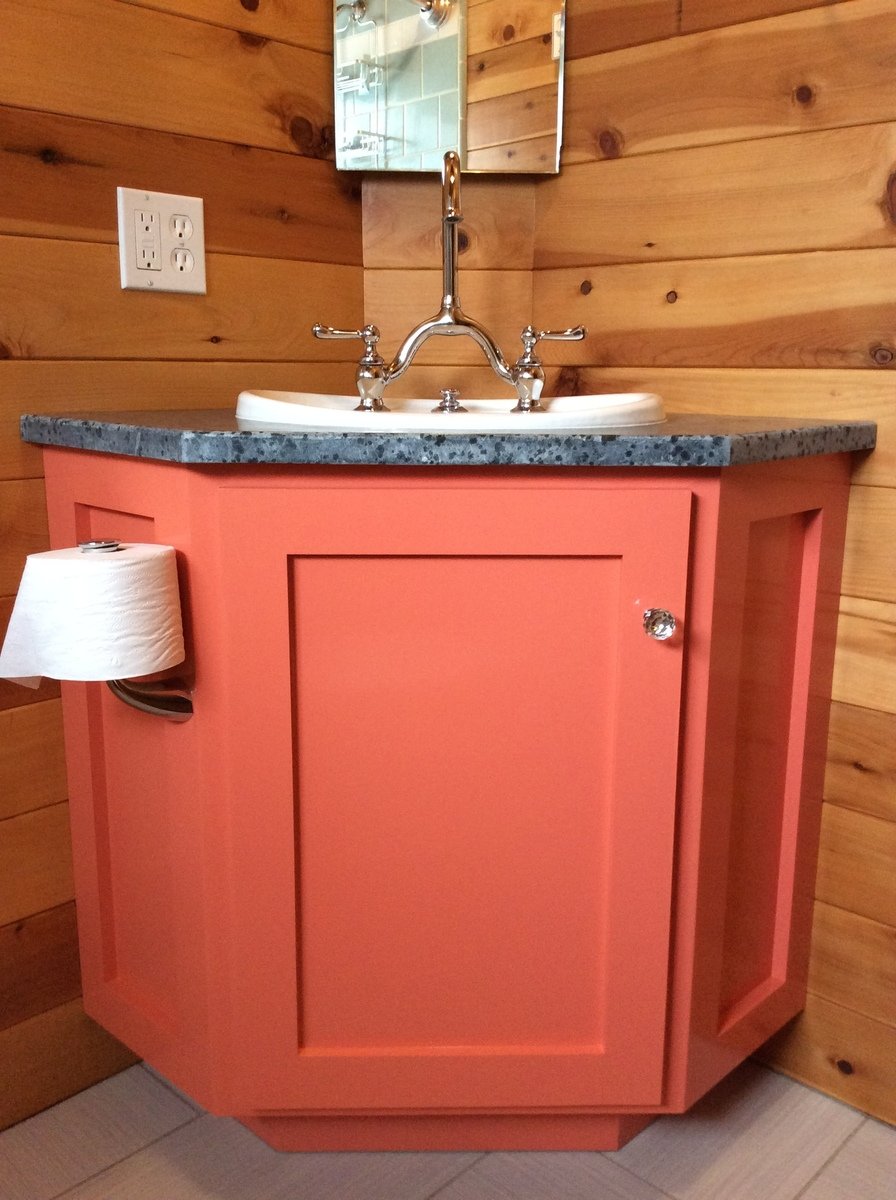
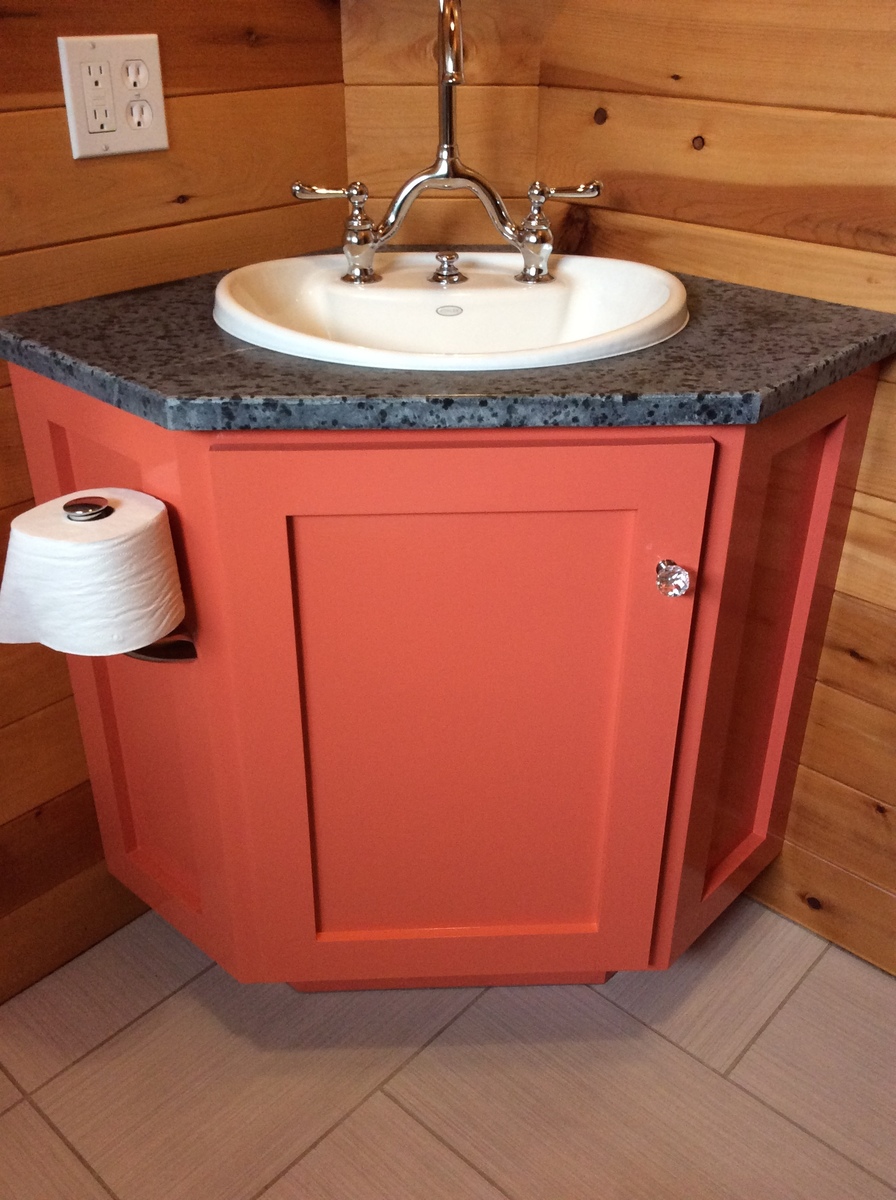
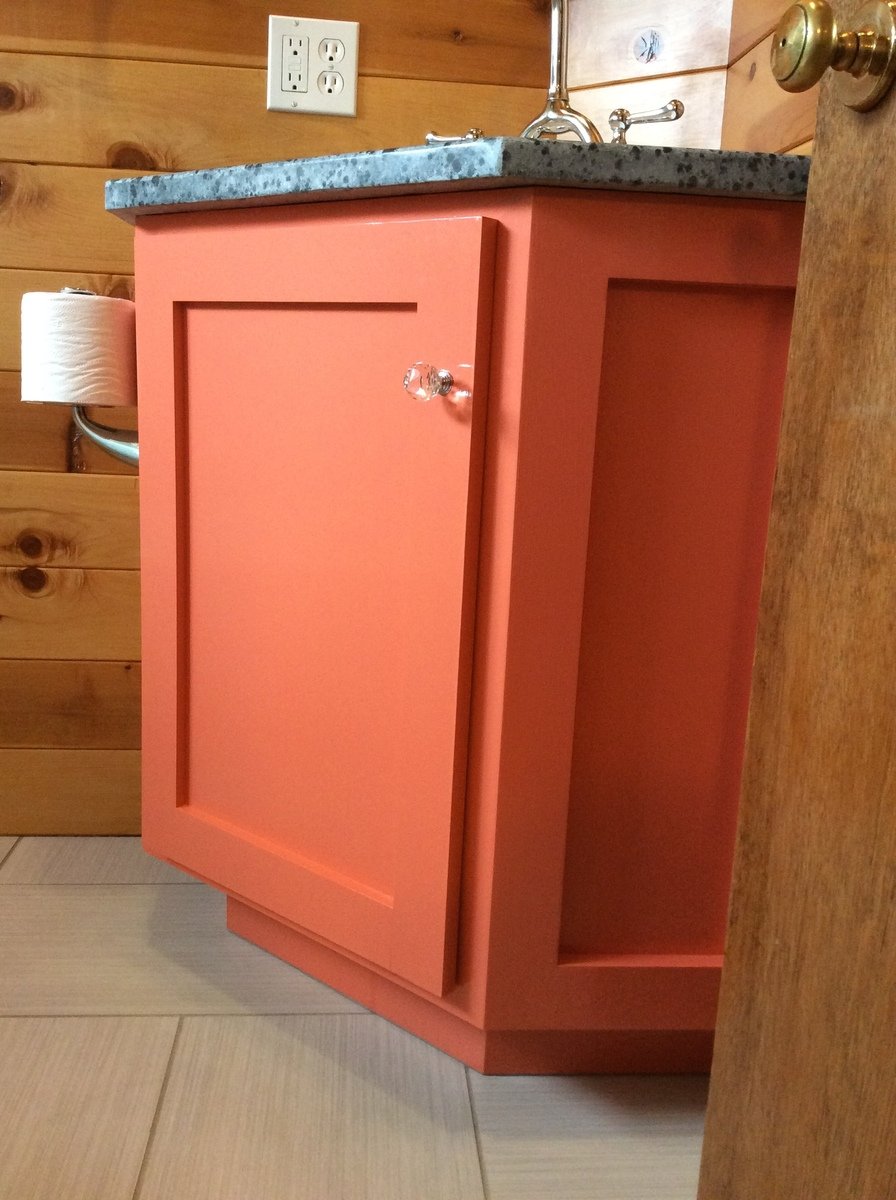
This project started because a corner bathroom vanity that fit my space requirements and budget did not exist. A plan specific to what I exactly needed also did not exist. After combing through what plans I found online, the Wall Kitchen Corner Cabinet best matched what I wanted. I modified it with the Momplex Sink Base Kitchen Cabinet in order to turn it into a sink base.
But, there was a problem. I hadn't actually built anything before. In order to get at least one project under my belt, I built the Vintage Step Stool. It turned out great, so I figured I was ready to go! Strangely enough, after spending about $100 and several weekends picking away at this project, it was done! It looked great, even. Then, I moved the vanity into the bathroom and realized that, while it may have looked great, it wasn't very square. Lesson learned was that this is a two person project. It is too difficult to keep things square and screw at the same time when there is only one person.
At this point, everyone was tired of having to use the kitchen sink to brush their teeth and wash their hands, so we needed to get this project done. $100 later, we had more material. Since I had figured out what needed to be done with the first vanity, let's call it our prototype, the second vanity went together REALLY quickly.
Within a few hours, it was pieced together. Since it was going to be painted, we used Bondo to cover up our imperfections. Yes, of course there were imperfections. While much better than the prototype, it still was only my third woodworking project. Sanding, caulking, and priming took another hour or so. A few coats of the finish paint went on, followed by a couple more coats of a clear sealer, and it was done.
We moved it into place, screwed it to the wall, put the soapstone countertop on along with the sink and faucet, and it truly was complete. Sink is Kohler, faucet came from our local Habitat for Humanity store and I'm not sure what brand it is, and the soapstone came from soapstones.com. If we had oiled the soapstone with mineral oil, it would be a very dark gray.


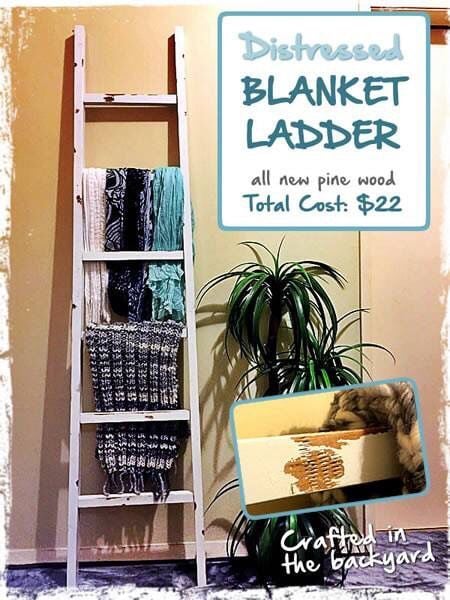
I love blanket ladders and decided to make one.
I have to admit this was trickier than I thought.
Getting the slightly tapered angle right was a pain in the butt. I do love the final result though.
I used screws and a hammer and random things to give the new wood an old look.
I used the vaseline technique for the paint distressing.
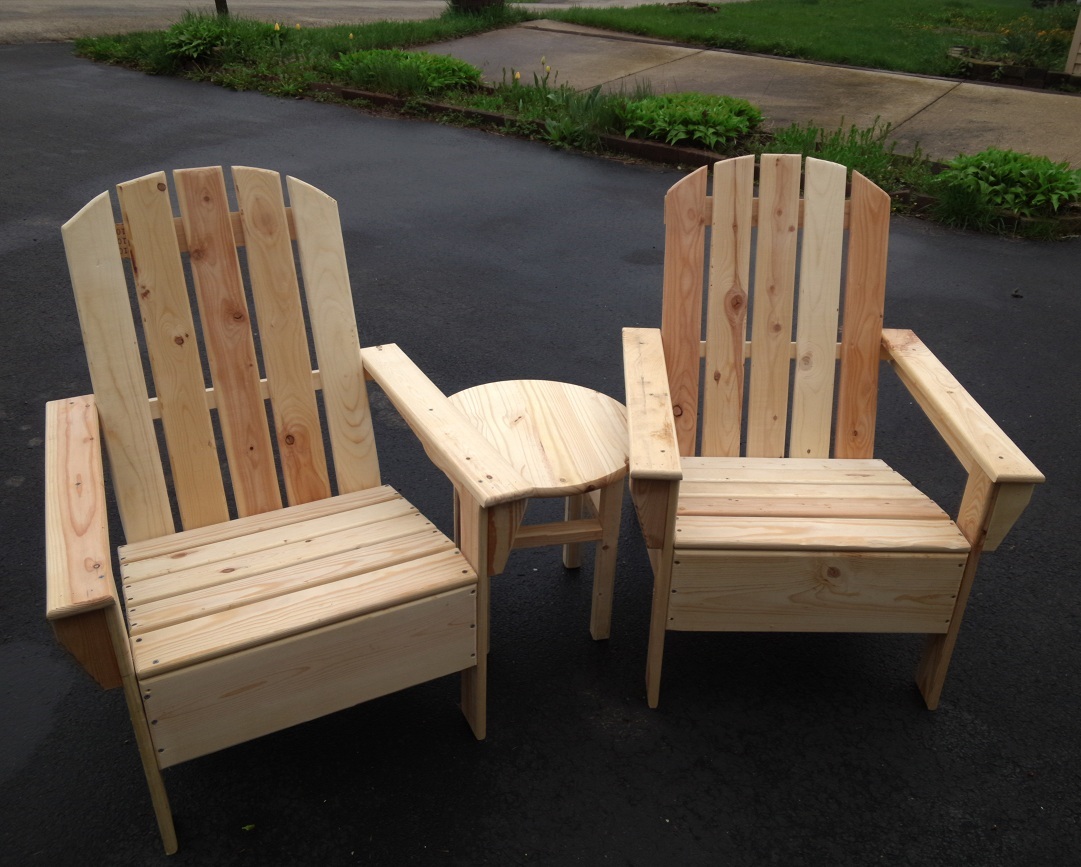
My dad and I built these chairs by following Ana's Adirondack plan, and then adding our own curved back. We also routed all the edges to give the entire chair a rounded feel. We also built the simple little round side table to use with the chairs.

My wife saw the examples of the Providence Bench on this website and thought we could use one on our front porch. We had some heavy lumber from a huge pin oak tree that we had taken out of our yard, and that was used in the construction. In one of the attached photos, you can see the cross-section dimensions of the two top boards are 6-3/4" x 3-1/4". The legs, main beam, and angle braces are rough cut, full dimension 2 x 4's. Due to the lumber dimensions not being the same as standard commercial lumber, I had to vary the dimensions slightly. Because of the dense, thicker lumber, construction took longer than it would of had I used pine or other softer wood. I used a Kreg jig attachment to drill the holes for the screws. We painted it with Sherwin-Williams 1021 Hi-Tech Black exterior grade acrylic paint. The final weight is about 105 pounds.


Ana White’s plans are the best I’ve seen. Some are easy and some are challenging builds. She’s so very encouraging in her videos. She makes me feel like I can keep on building. I’m very happy to say I started my business from her inspirations.
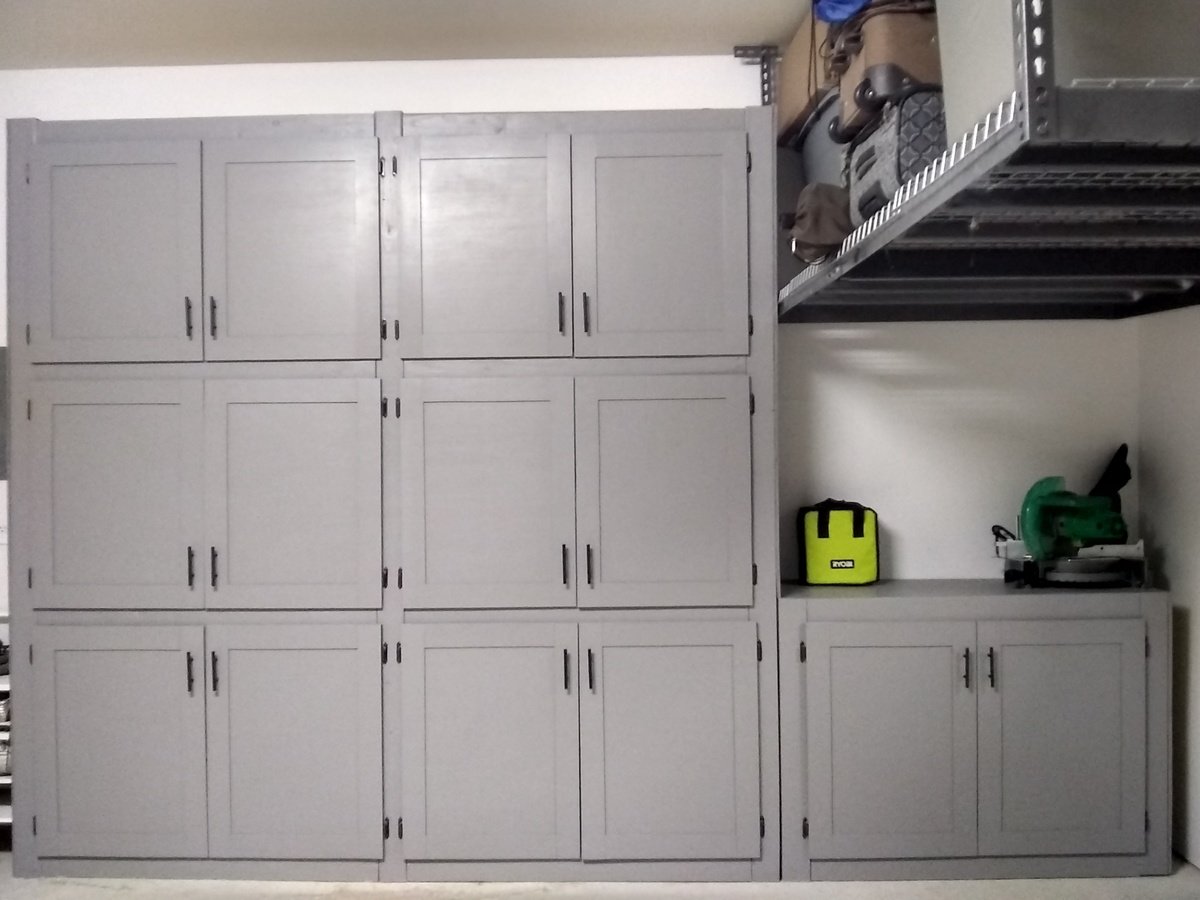
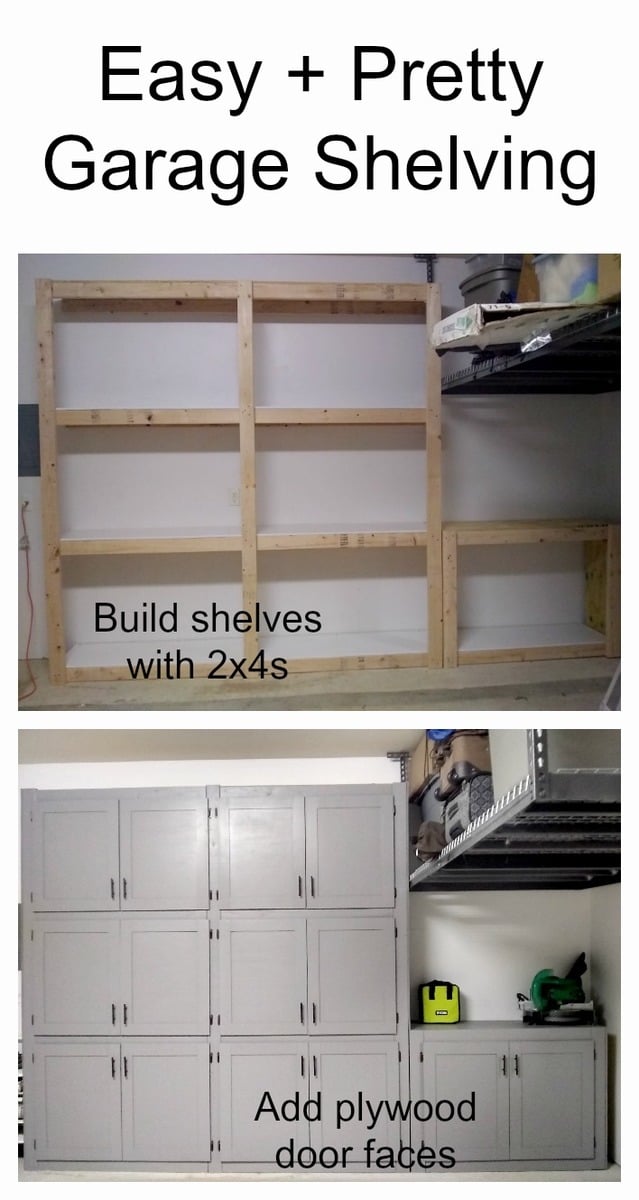
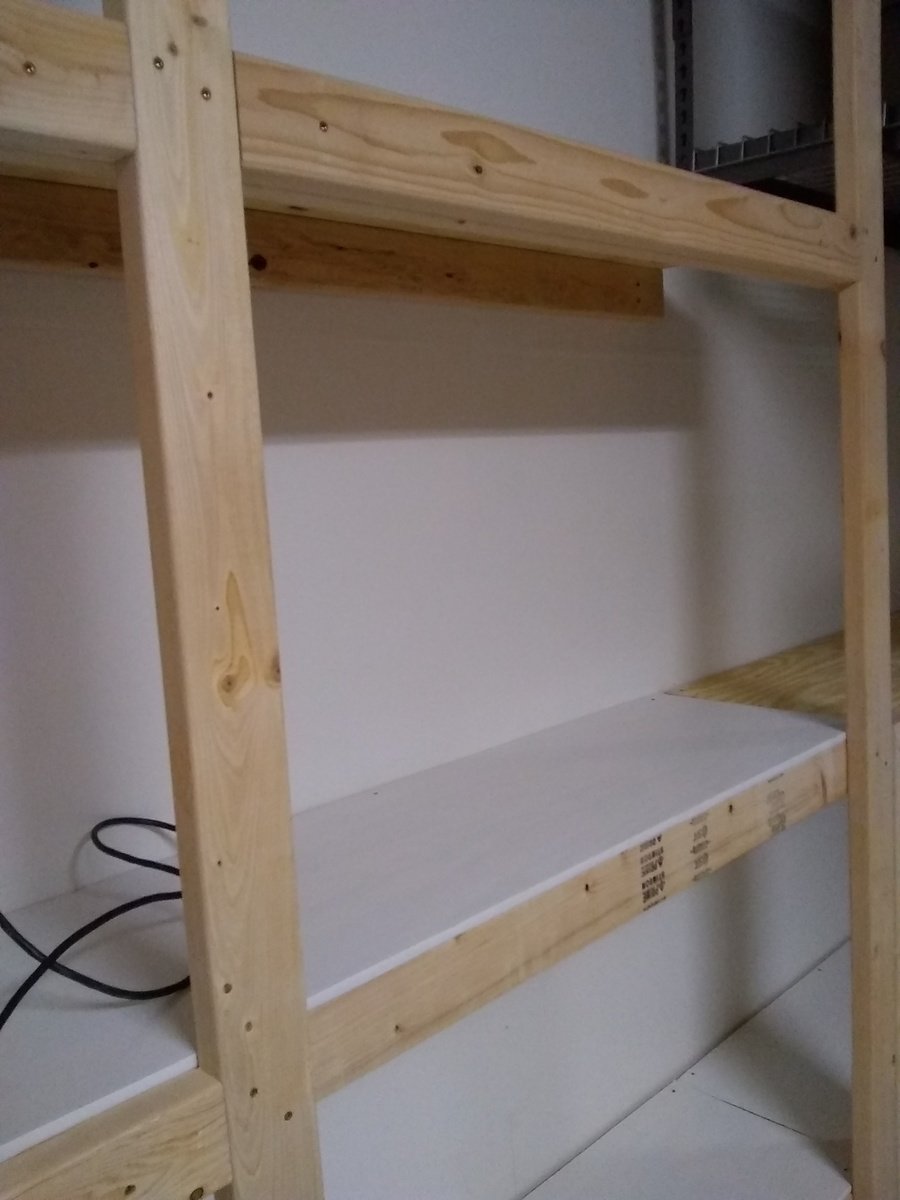
I have been wanting garage cabinets for a long time but couldn't afford them. When I saw these shelves I knew it would be easy to add side panels and create doors for the sections. The size is 8'x8' with the 4'x3' under the ceiling rack. I put a 2"x4" in the middle to divide each section, measured and cut doors from 5mm lauran plywood. I also cut the stiles and rails from the same material to give it interest but mainly to make it thicker to avoid warping as much as possible. I added 2"x4" to create a facing for the doors to rest on. Also used overlay hinges to simplify the hanging as much as possible. I was able to follow the design plan and the only thing I did was add a shelf at the bottom. The cleats were definitely not necessary, it's very sturdy.
Making the doors
The first thing is to learn how to measure for cabinet doors. There are plenty of sites and YouTube videos showing how to correctly measure. If you are doing the same type of doors like I have, with no middle divider, then be sure to pay attention how to correctly measure for those instead of a single door.
The easiest way to make the doors will be getting 1/2 in sanded plywood and use a table saw to cut each door to size. Skip the shaker style trim and put the hardware on and be done. Make sure the hinges will be able to hold the weight of the door.
Unfortunately, I didn't have a table saw but I did have a router and a jig saw, and found a great video on YouTube on how to use a router to cut straight edges without a table saw. I measured out one door and used that outline to cut two identical doors. It turned out that each section was slightly a different width so I had to do two at a time. However, if you have a circular saw you can rig it to make a table saw and make a guide to rip the doors. It all depends on what tools you have available to you.
I have a compact plunge saw and was able to cut the 3 inch strips for the shaker style with it. Honestly, that was the most tedious part and most time consuming by far. That also had to do with the fact that because the plywood is only 5mm thick I cut strips for both the front and the back to make it over 1/2 inch thick to help minimize warping and give the hinges something to grab.
I used the miter saw to cut the stiles and rails to size and a 23 gauge nailer with 1/2 nails and glue to get them on the door. I glued and nailed the front and the back of each side at the same time because the nails are a bit longer than two pieces of plywood. I then turned it over and nailed the other side. The great thing about using a 23 gauge is that I didn't have to fill any holes because they are so small you can hardly see them at all.
The last thing is to use your sander to ensure all of the pieces are even. I used a 60 grit and then followed it with a 220 where needed.
If you want to avoid cutting the strips but still want to have the shaker style, Home Depot sells 1/4 thick Polystyrene flat moulding that will add vertially no weight to the door but the cost can easily add up if you have a lot of doors.
Lastly, if you are wondering why I got such thin plywood that ended up creating more work. The reason is because I wanted to save money on hardware and I didn't trust the inexpensive hinges I got off eBay would hold a heavy door for many years.


Wed, 06/19/2019 - 13:20
What kind of paint did you use? Looks really nice, the whole thing!

Thu, 07/18/2019 - 10:28
This is amazing! Thank you for sharing so much detail on your project too.
Wed, 06/10/2020 - 13:14
Can we get detailed plan of how you made this from the start to end like a material list and cut list.
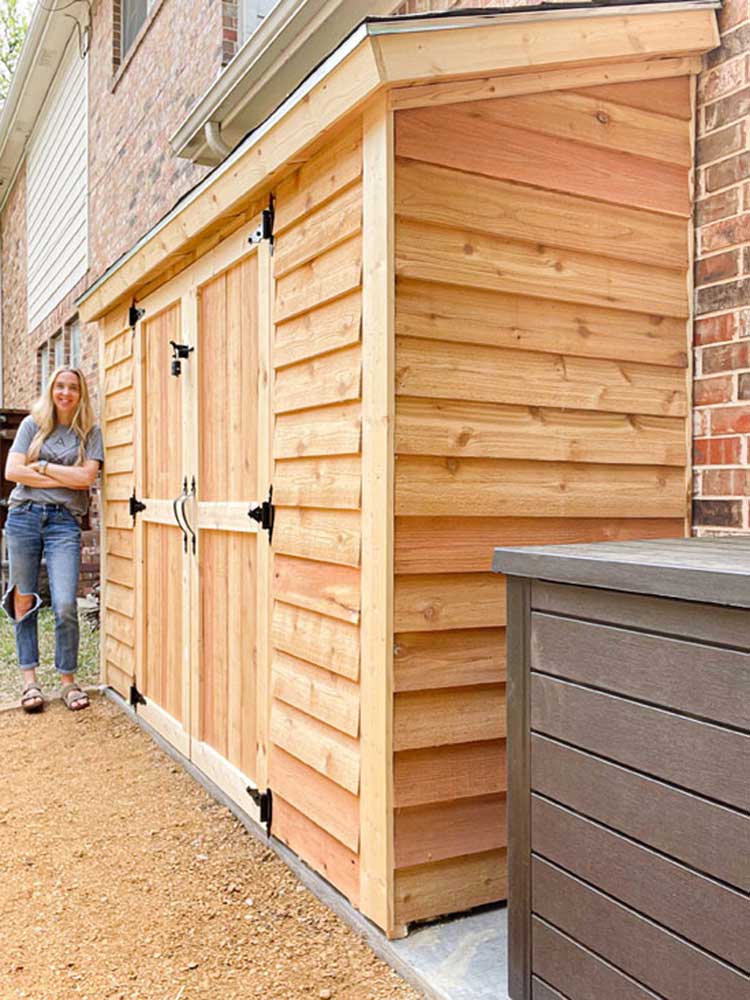
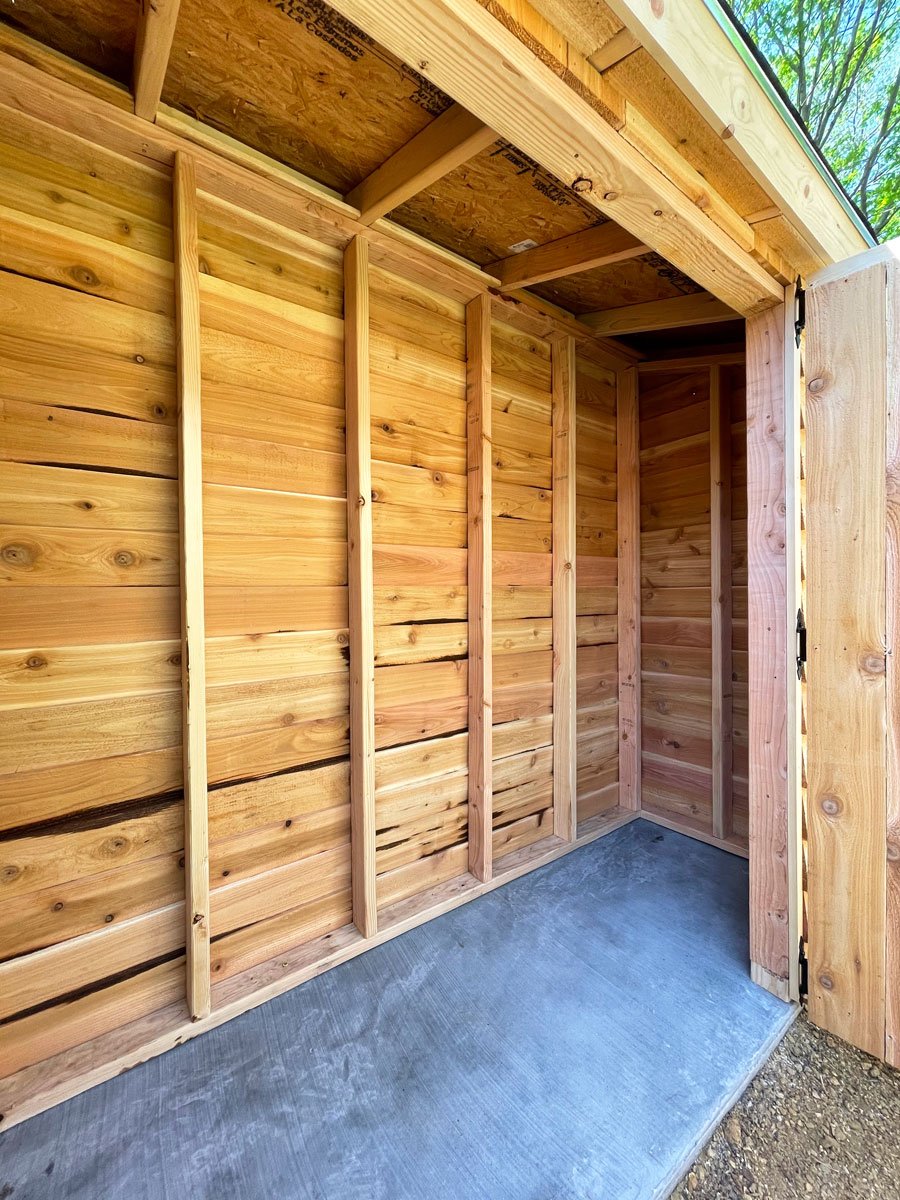
We needed a way to get all of the lawn & garden stuff out of our garage and organized. I found Ana's plans for the Small Cedar Shed & adjusted them to fit our space. We used 2x4s as our studs & added front walls on the sides. Our shed measures 9.5'x30". We had a concrete slab poured for our foundation. We are experienced DIYer's but had never taken on a project of this scale from scratch. This project was much easier than I was anticipating, and we were able to complete it in one weekend! Similar shed kits were way more expensive and not the size that we were looking for. Thank you so much for the inspiration!
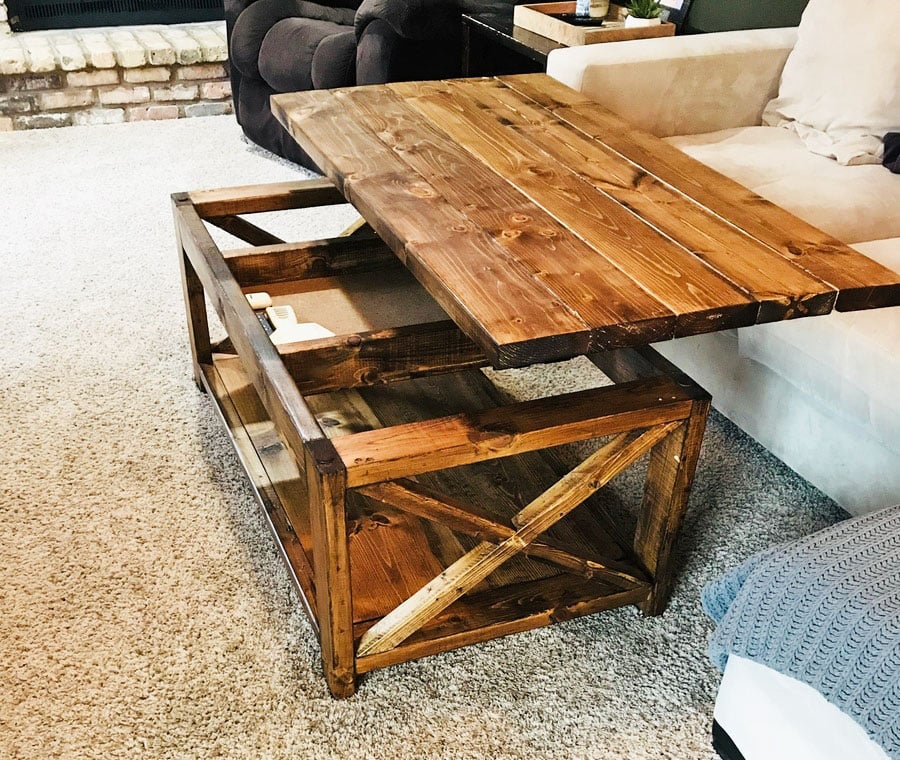
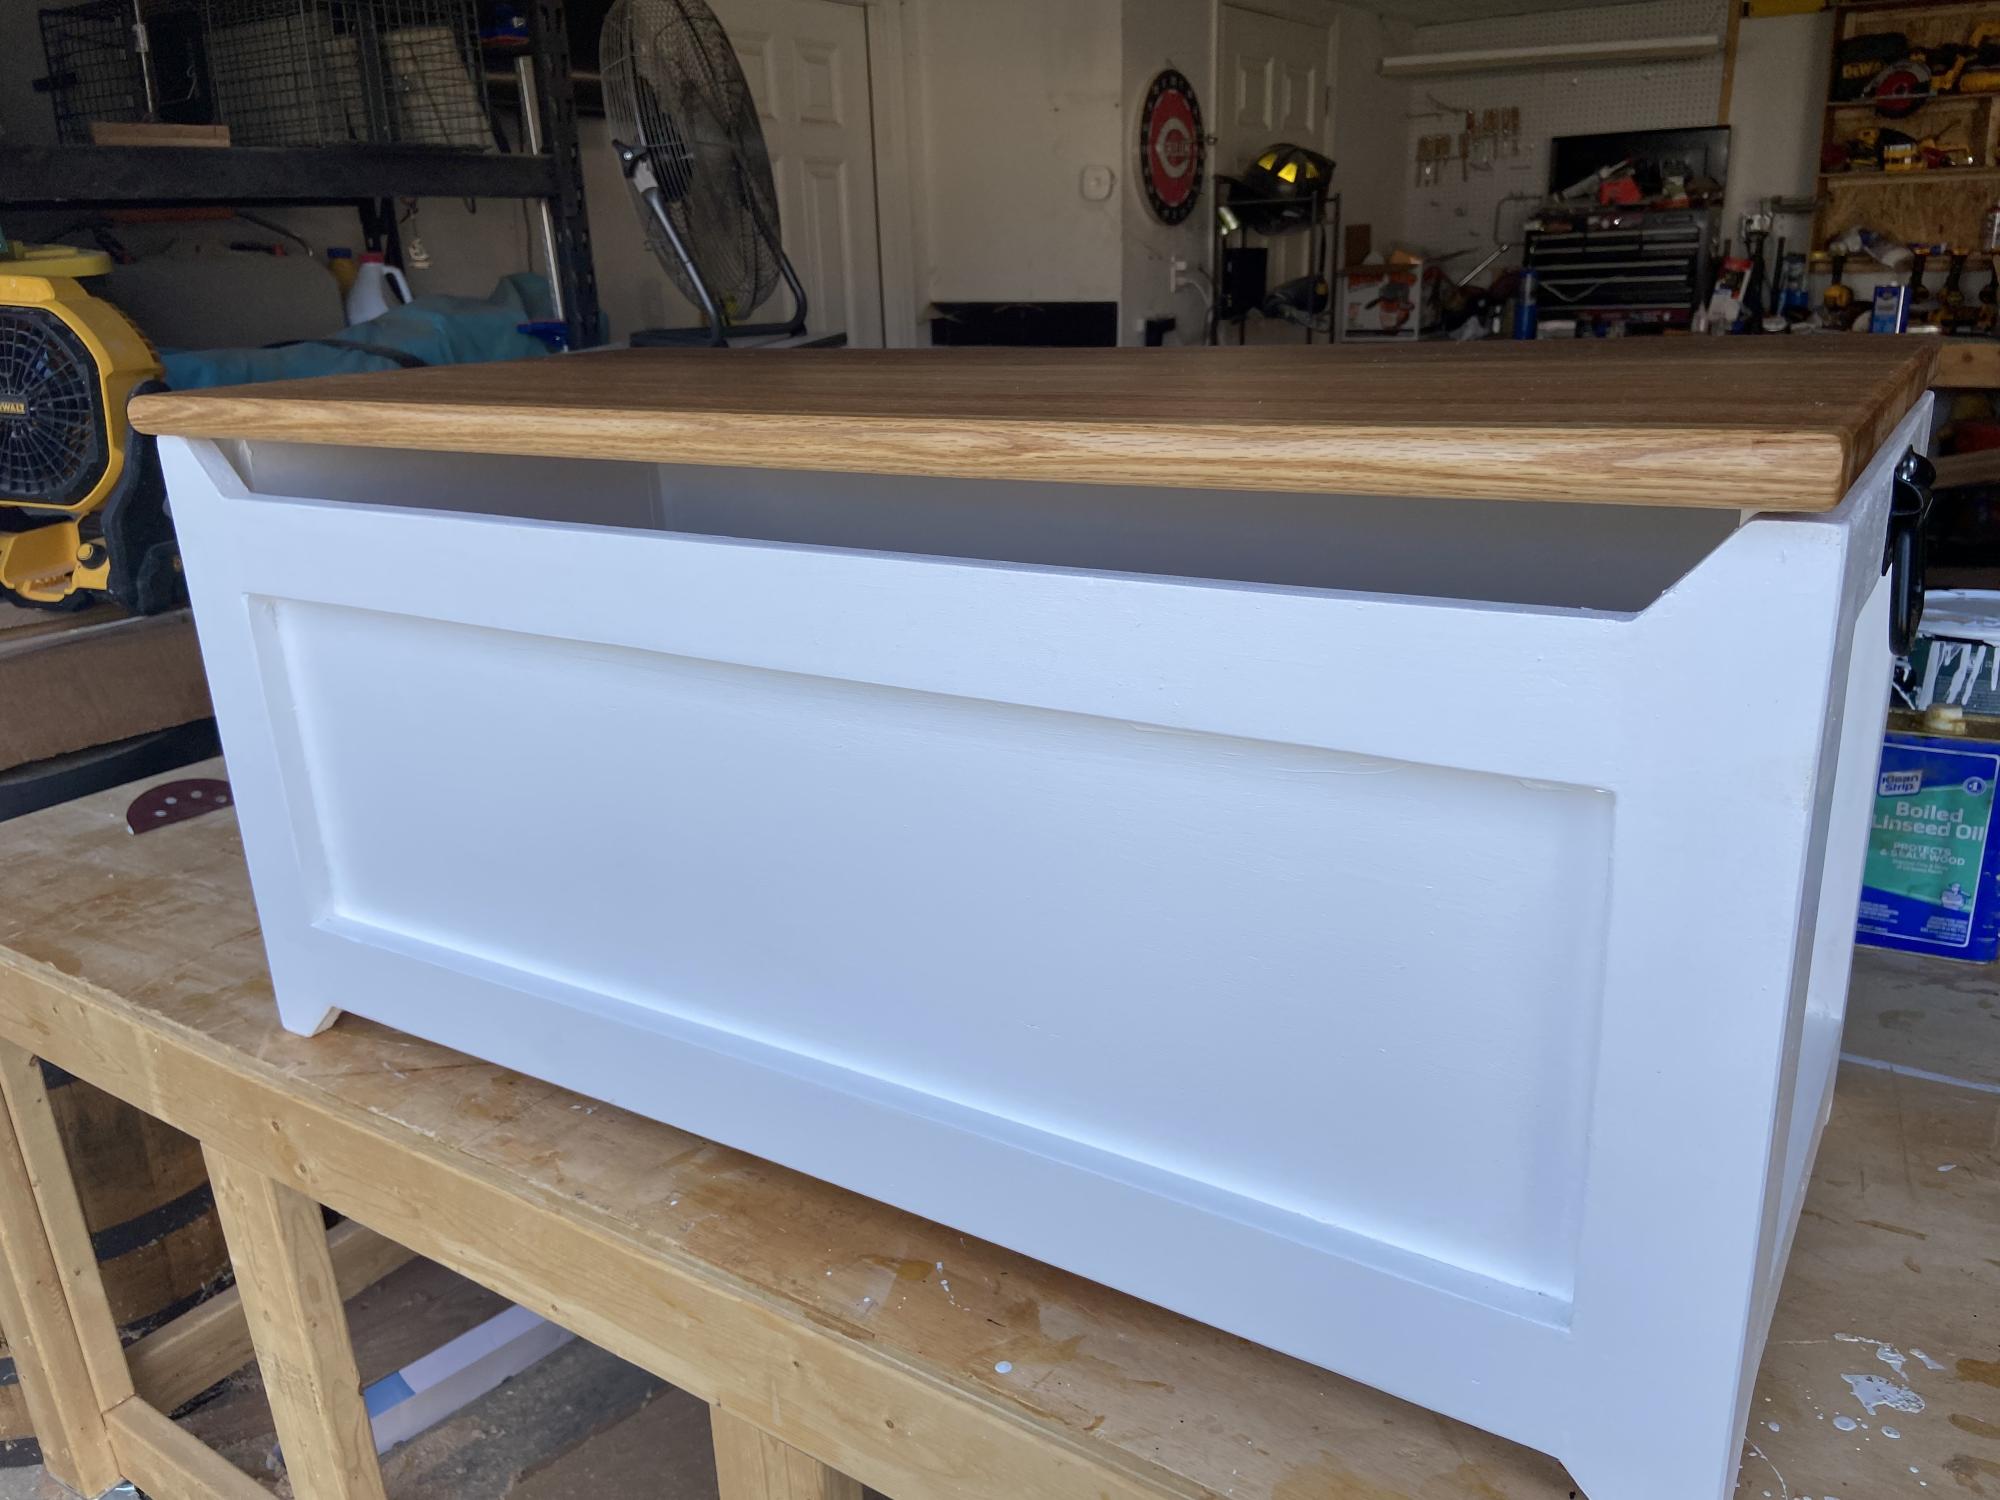
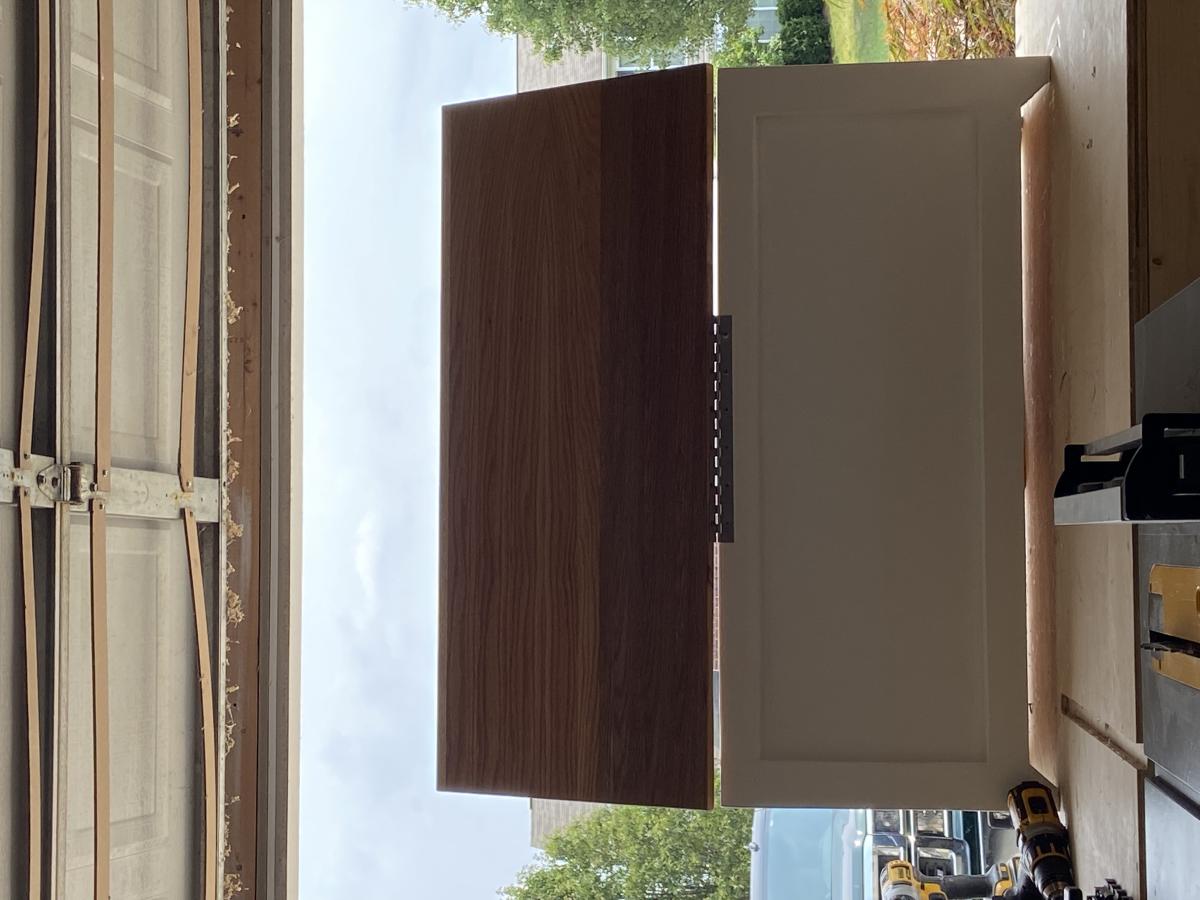
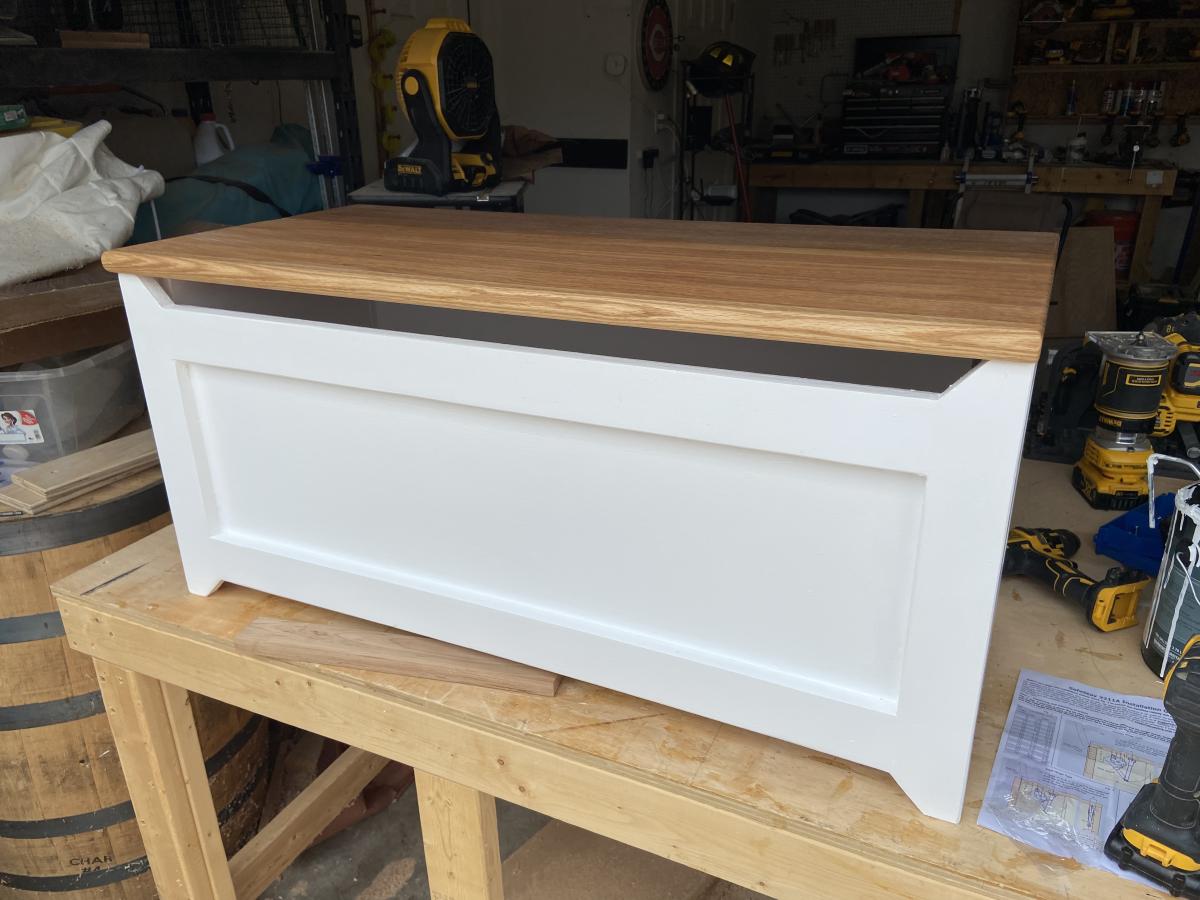
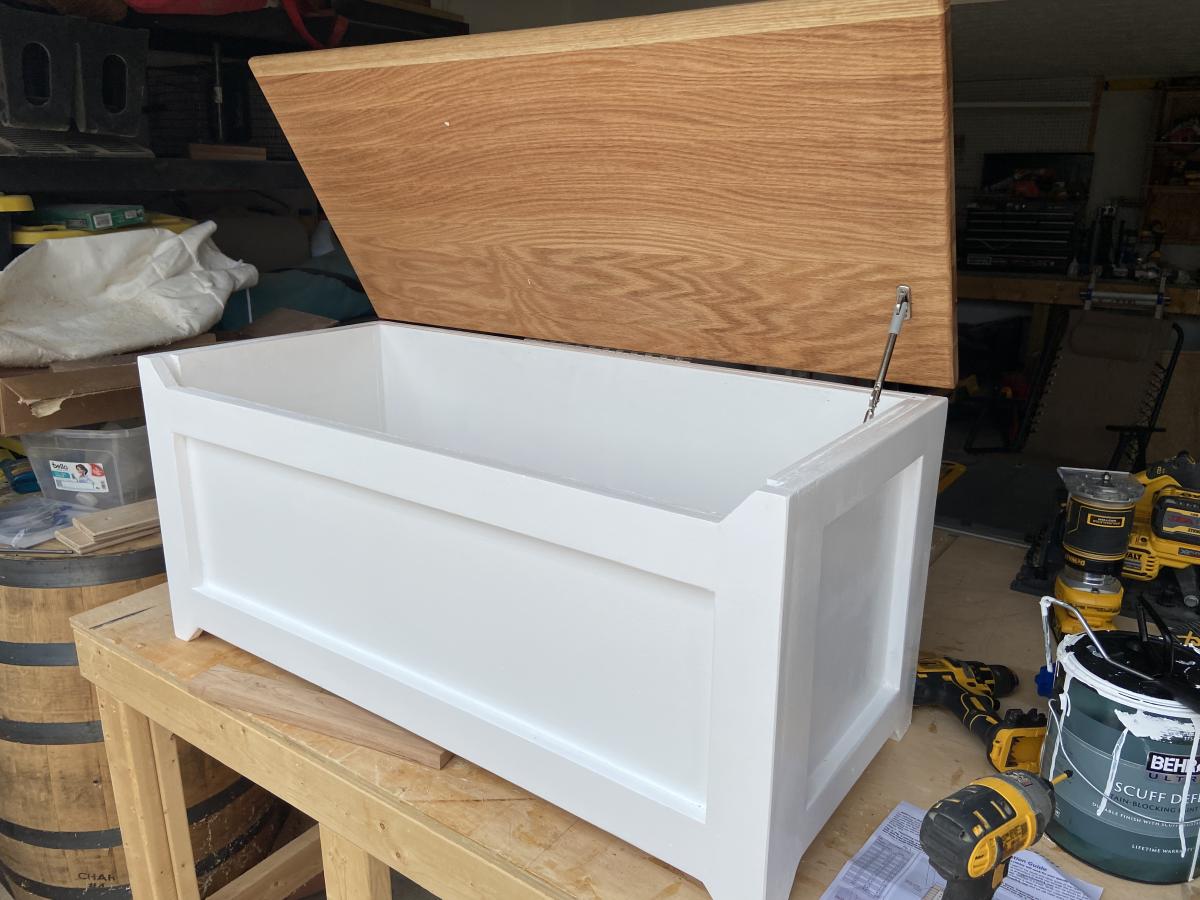
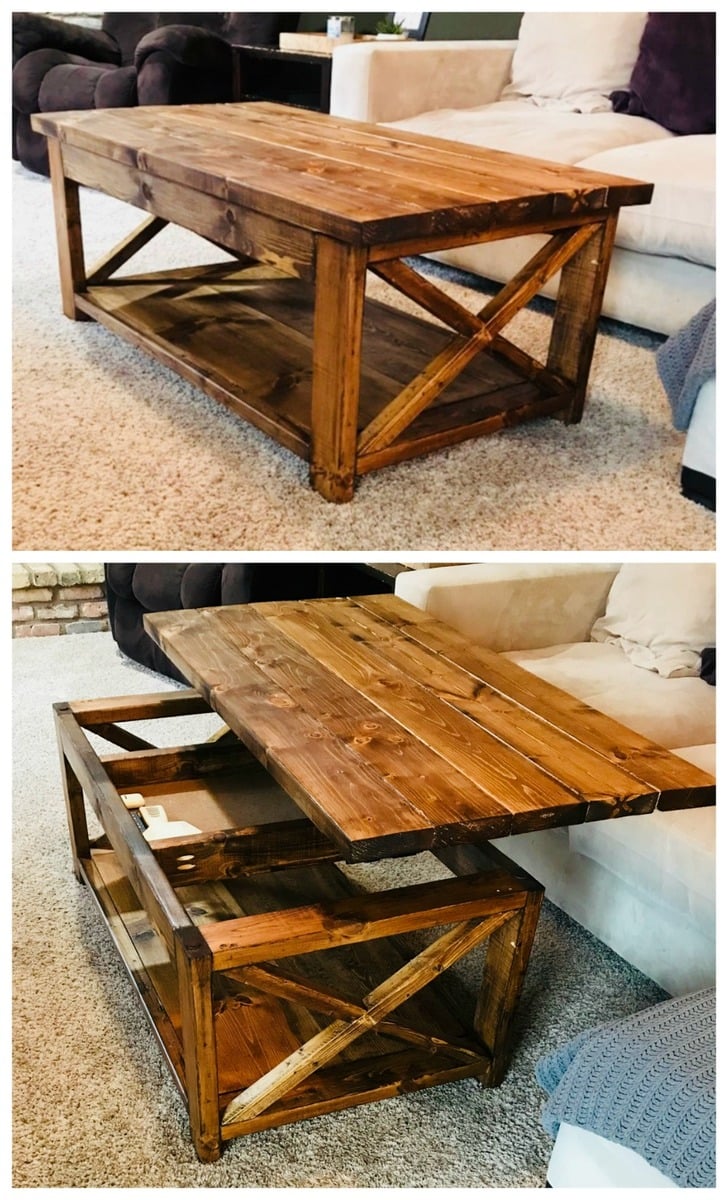
Instead of attaching the top to the coffee table base as done in the plans, the top is attached using a set of coffee table lift top hinges.
Fri, 08/21/2020 - 23:38
Looks wonderful, love the finish. What kind of stain did you use?
Wed, 09/30/2020 - 19:59
I love this table. It is just what l have been looking for. Is there any instructions. I would love to make this.
thanks
peggy

Really handy for getting more storage space without taking up extra floor space
Tue, 08/25/2015 - 17:39
A plate (biscuit) joiner is really helpful for building the cabinets, especially if you're going to have the drawers.
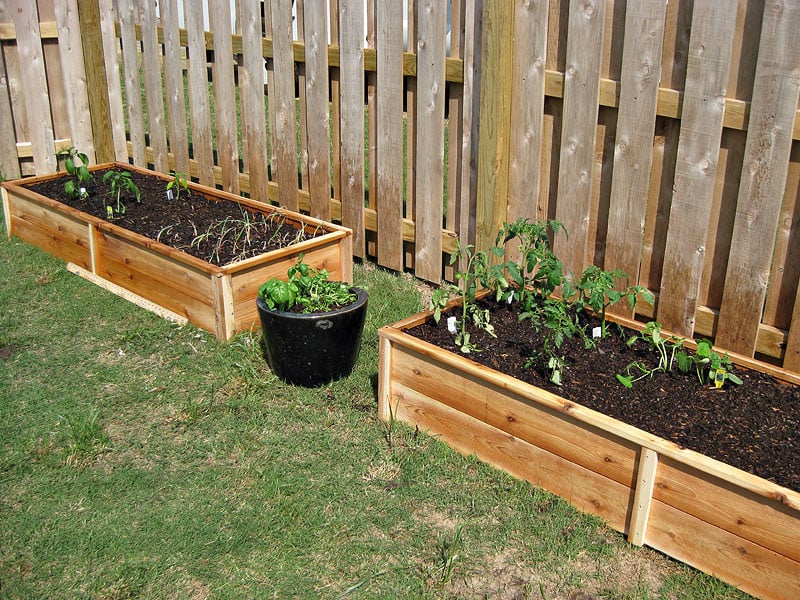
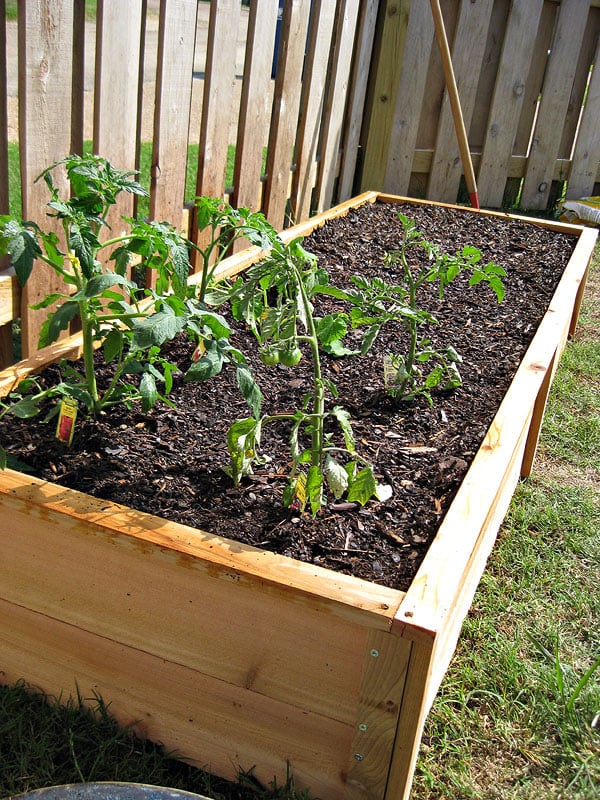
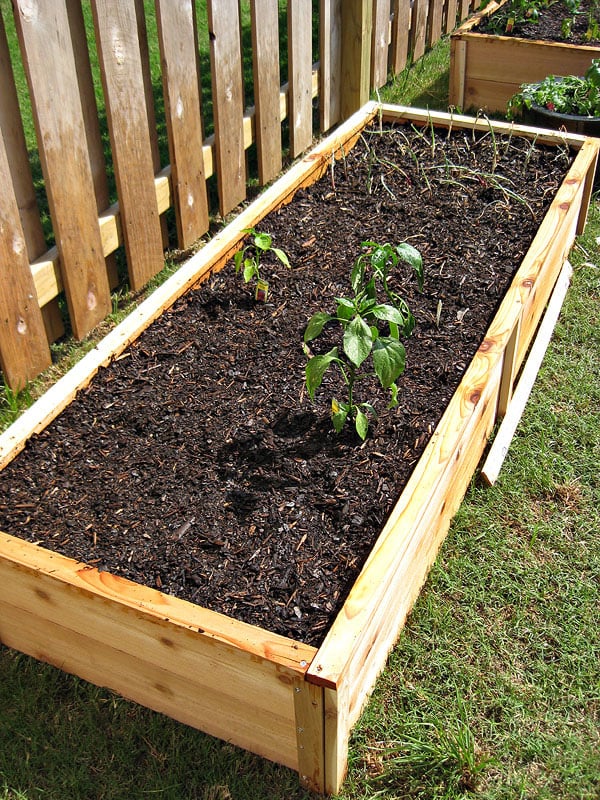
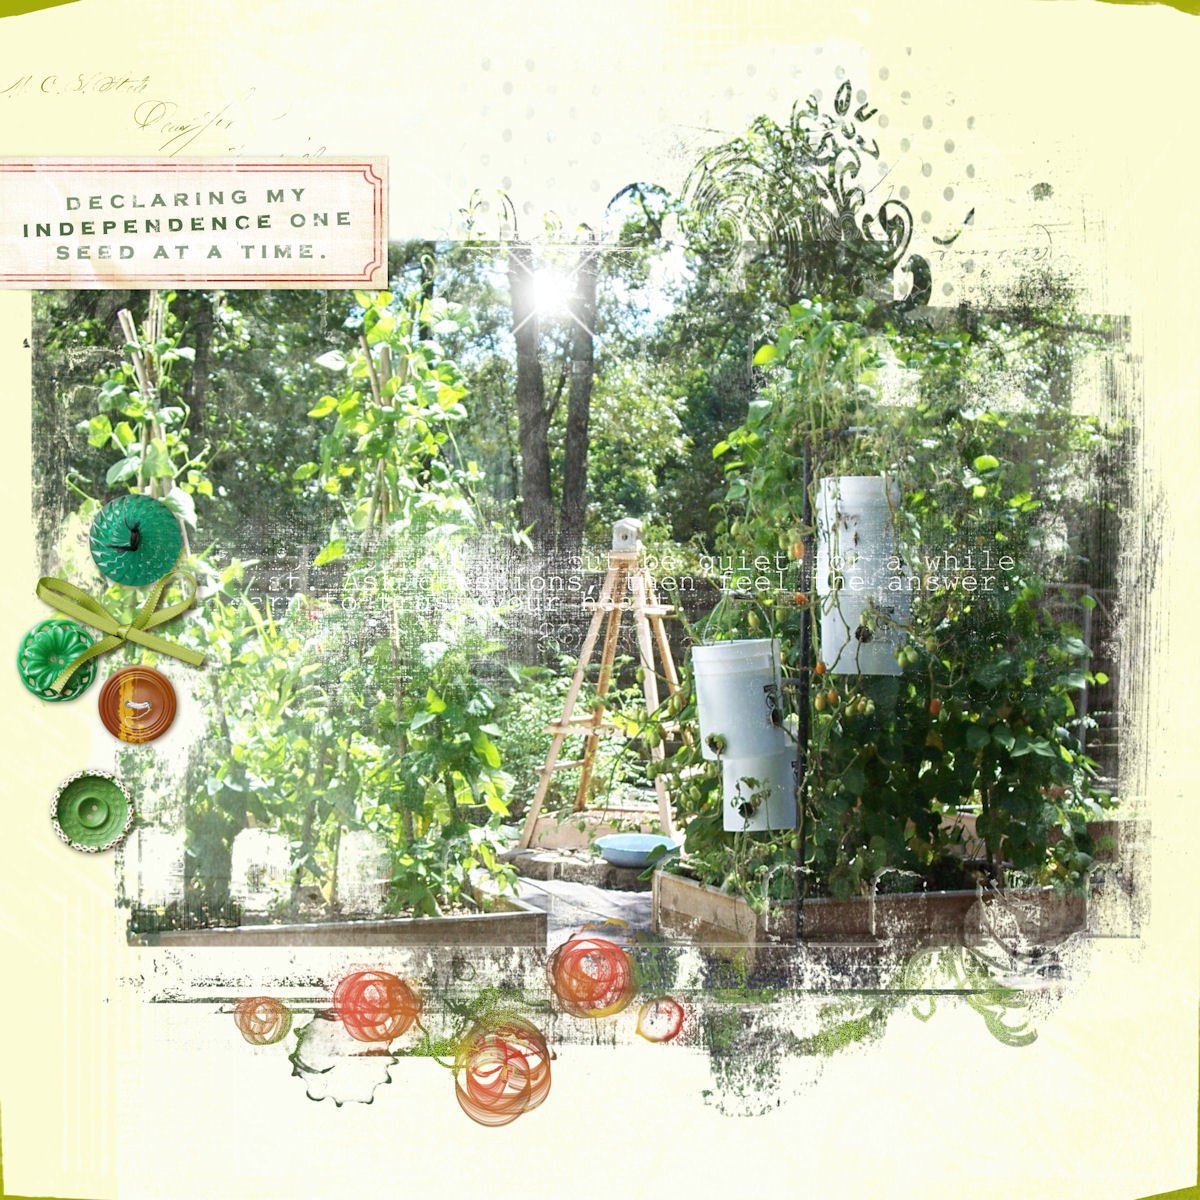
Since moving and finding Knock Off Wood, we decided now would be a good idea to try some gardening (again...after failed attempts!) These beds are so simple but beautiful out in the yard and for the first time I actually have vegetables growing. We used the cedar fence posts just as Ana suggested.
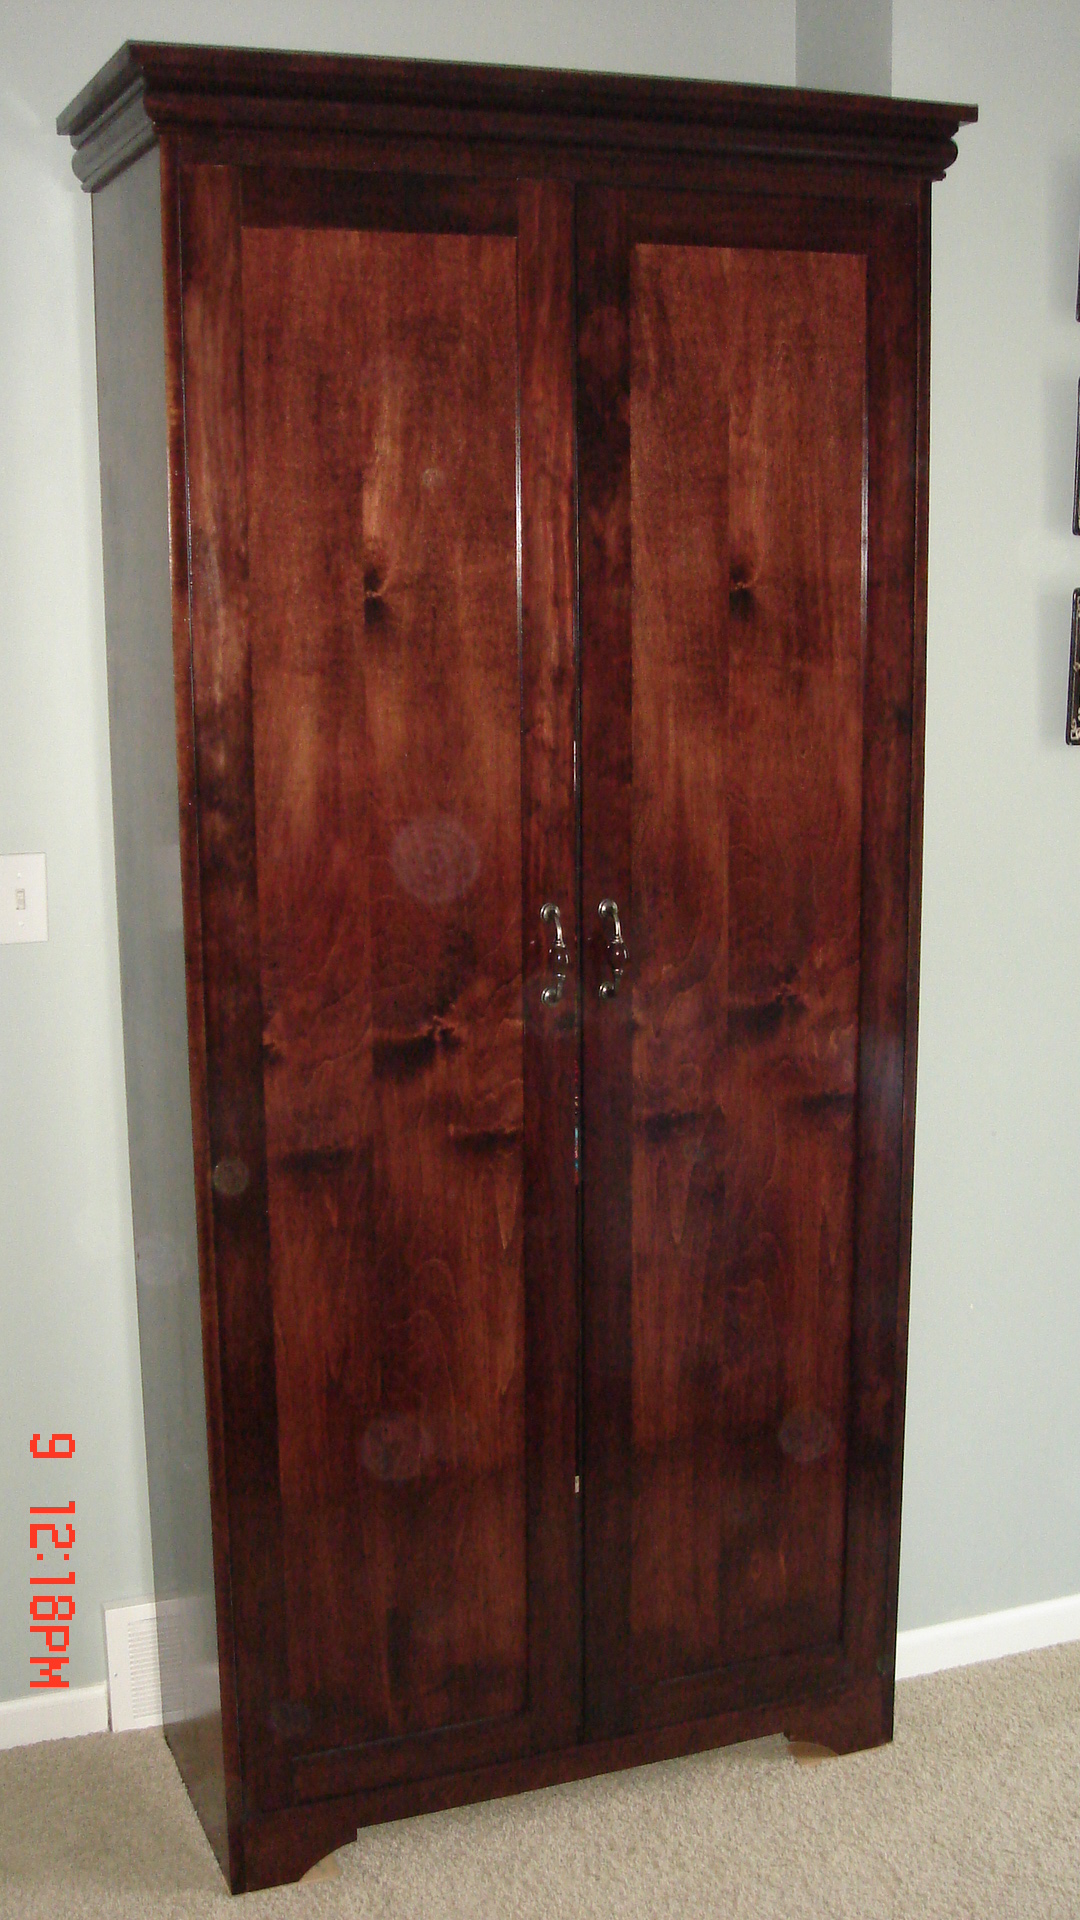
Second project we under took after stumbling over this blog. The armorie fit well in our bed room and has enough space for all my Indian sarees. Added a jewelery drawer in the middle. Love your blog Ana, thanks for the great work you do. Next project is to build a bed to match the armorie.


Sat, 07/09/2011 - 18:42
Love the finish and detail, beautiful inside and out. The jewelry drawer is a super idea! Super job- Love it! :) J
Sun, 07/10/2011 - 09:34
It's beautiful! I had posted a comment earlier, but the site must have eaten it.

This bench was made from the plans for the Workbench to Get the Job Done....and we did get it done. About $50 in lumber and a few hours work. The only change we made is we used 3/4" plywood for both shelves to only use one piece of ply. Next to paint it turquoise! Thanks to my friend Richard Ramirez...he did most of the work! Next I'm going to make 2 more not as wide and without the bottom shelf so I can roll my shop vac under one and my trash can under the other.
Sun, 09/01/2013 - 06:45
If I may make a suggestion, you could screw a 2x4 flat to the back, which willow you yo drills holes across it for screwdrivers, chisels punches and what not!
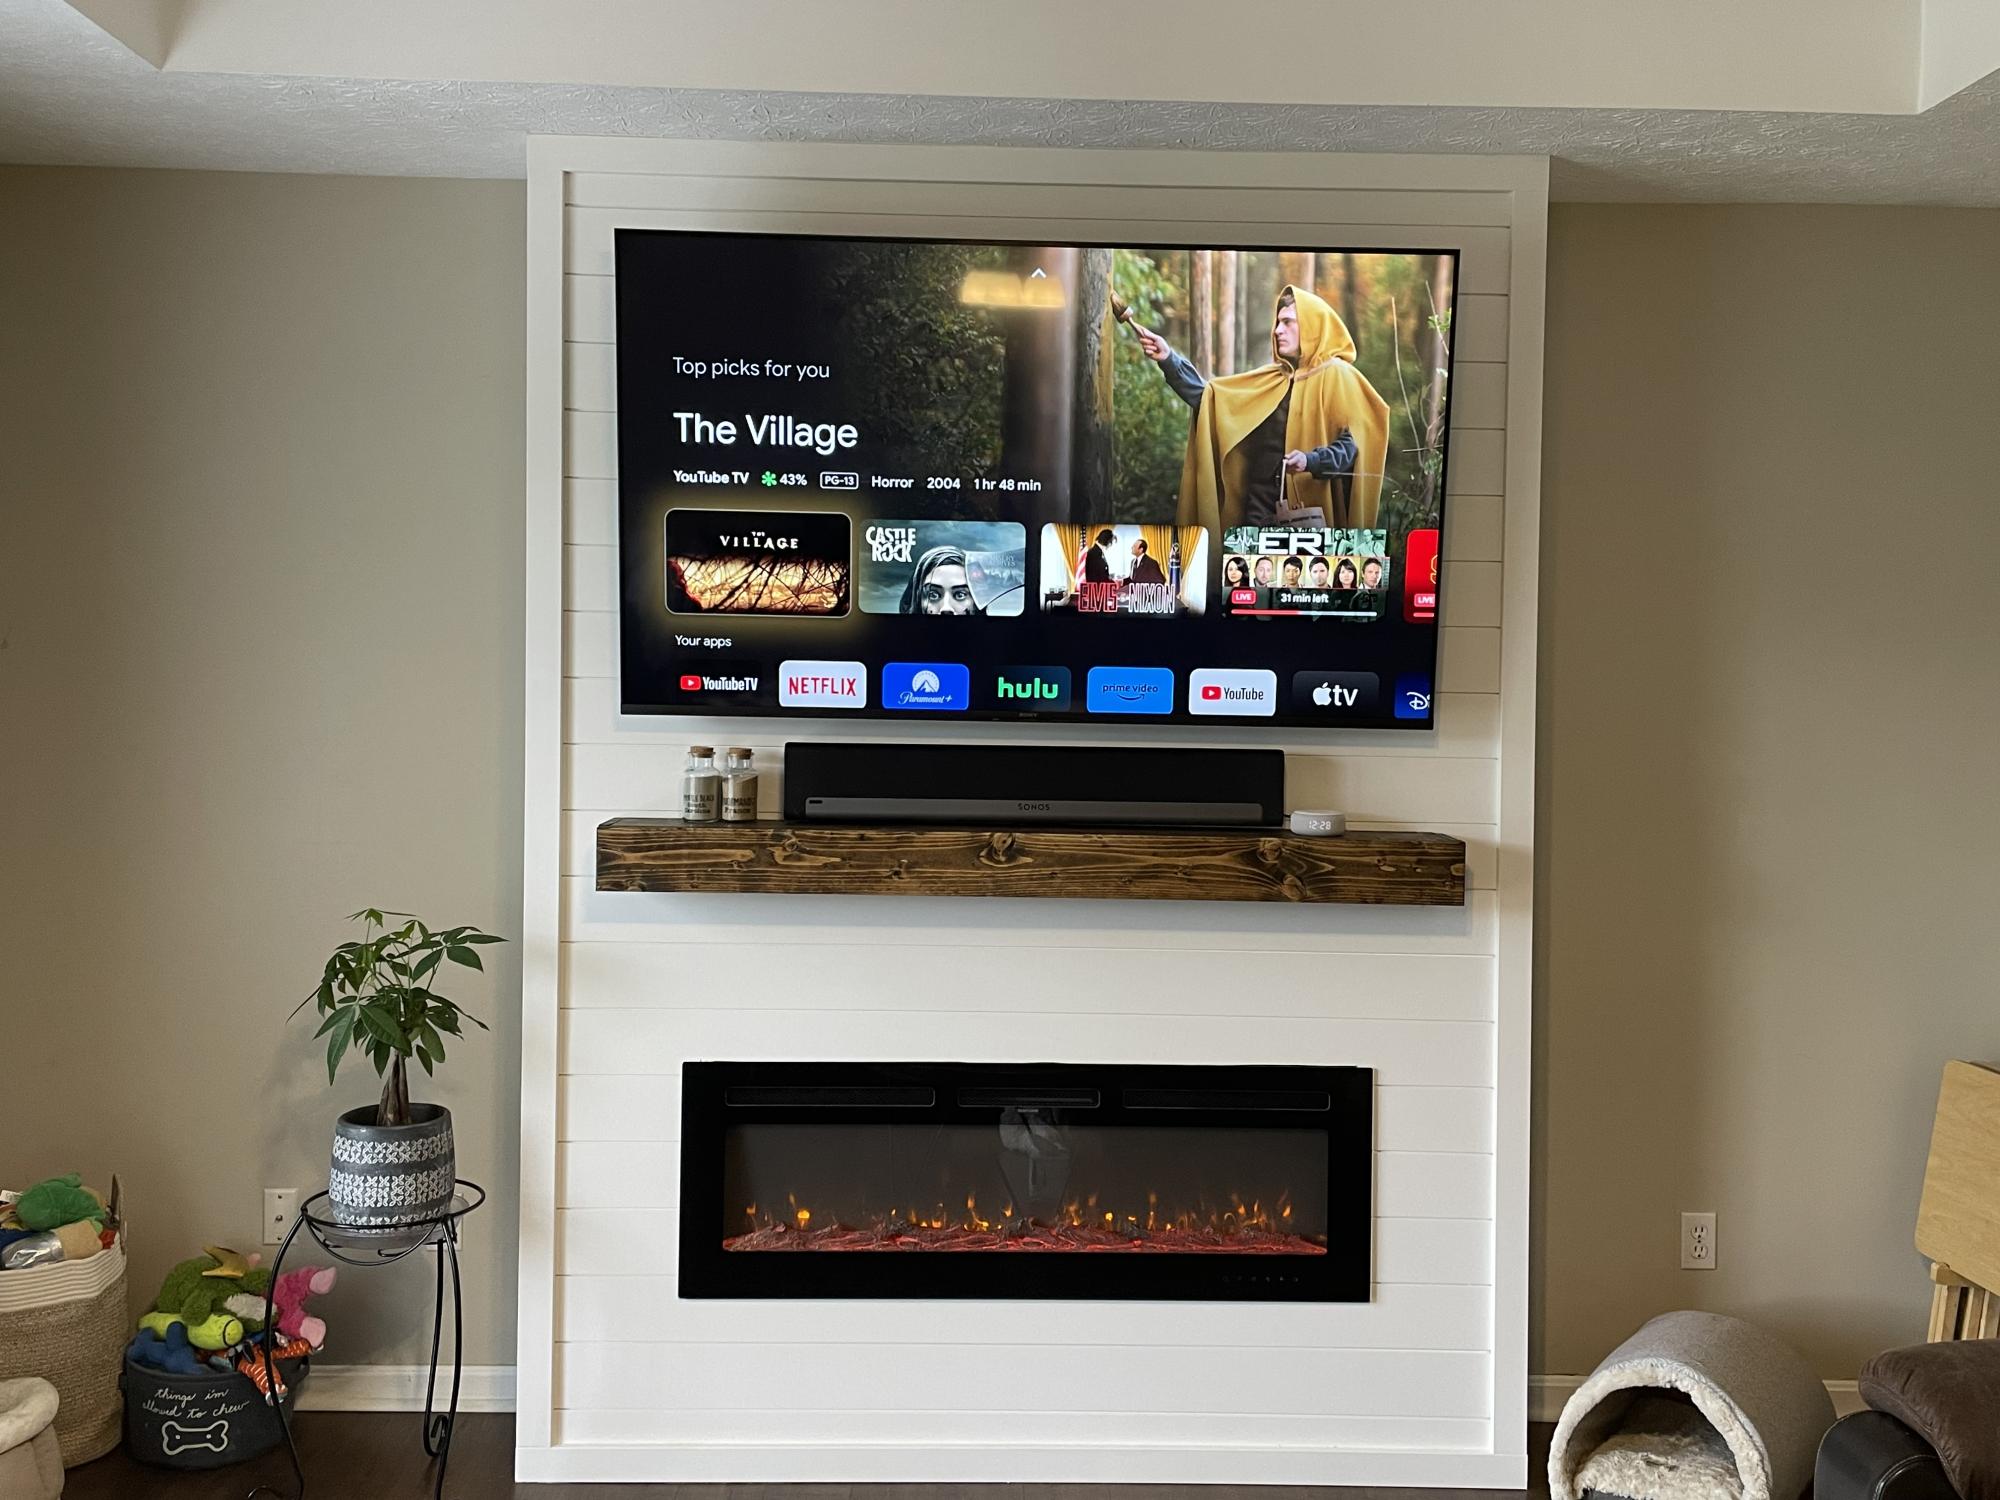
My first “real” build! I’m thrilled with how it turned out! Thanks Anna for giving me the confidence to give it a try.
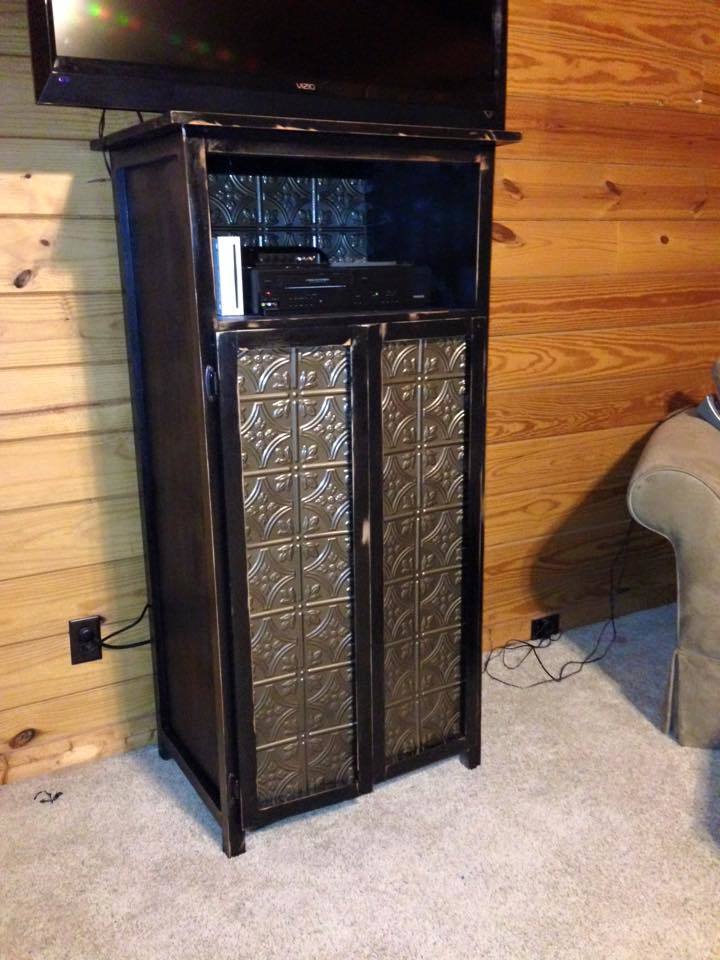
I made my cabinet slightly taller and wider. I also made taller doors to hide our massive DVD collection! I used faux metal ceiling tiles as the panels on the doors and on the inside top part.
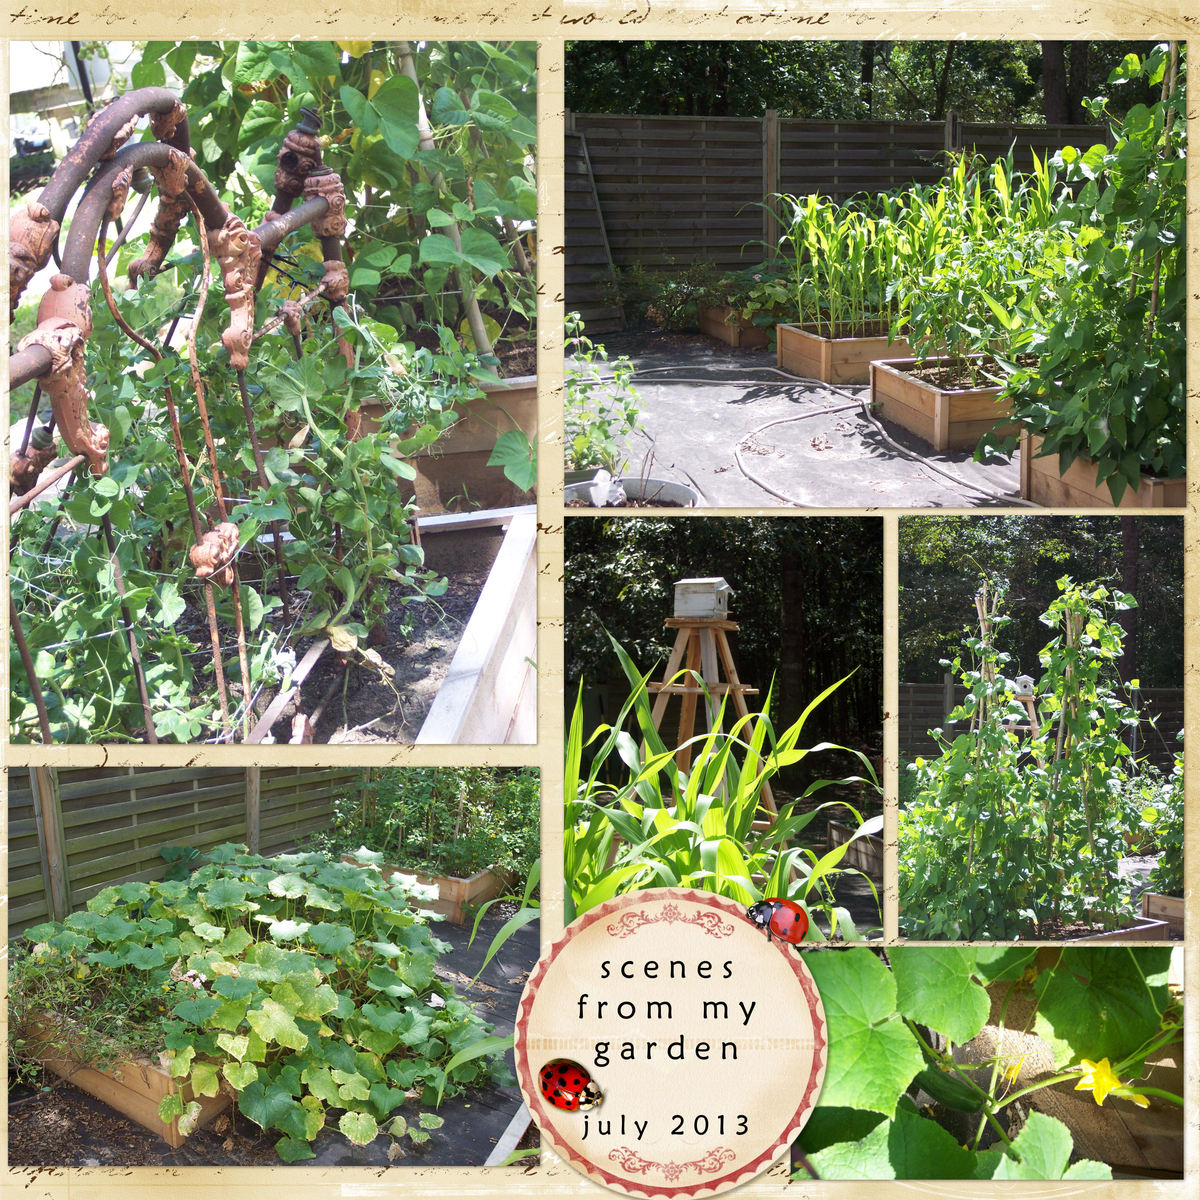
I really wanted to have a raised bed garden to grow organic veggies for my family but was so discouraged by the cost of ready-made planters that I almost gave up. While searching for options on Pinterest I came across these fabulous, affordable and untreated wood planters and after a trip to the home store, we built 10 according to the plans. I couldn't be happier with the results; thank you Ana!
Thu, 01/09/2014 - 08:00
I really wanted a raised bed veggie garden but was discouraged by the high cost of ready made planters - especially since my dream garden required 10! I was about to give up when I discovered Ana's amazing plans while browsing Pinterest!
Tue, 07/08/2014 - 00:24
Thank you Ana, I used your plans and ideas for a raised bed vegetable garden. I did change things a bit and it has worked out real well for me. I hate weeding and well I am a bit lazy. So mine are 6’x3’, I had a problem with the pickets splitting when I used screws to fasten them down. I ended up using a pneumatic brad/nail gun to fasten things together. I also used weed block under the bed and over the dirt and mulched over that. I have almost no weeding to do, about 10 minutes every three days or so. I also put in an irrigation system using ½ inch pvc pipe and 2 liter soda pop bottles. That way I water the roots and not the whole area, it cuts down on my water bill and it goes directly to the roots. The other thing I ended up doing is putting down 6 mil black plastic between the rows of raised beds and putting straw over that( I have 3’ walking/working paths between each bed). I have built 20 of them and plan to add another 20.

A few years ago I ran across Ana's plans for the Ryobi Dream Workshop with the rolling carts. They have been the most useful item in the garage. I customized them by using some scrap lumber to build some simple slide out shelves, attached a power strip to the inside of the cart, added hooks to hold various tools and added a removable container to the outside edge to hold items (safety glasses, pencils, scissors, glue, etc) that I want to keep close by but not on the work area. Thanks for the plans, Ana!


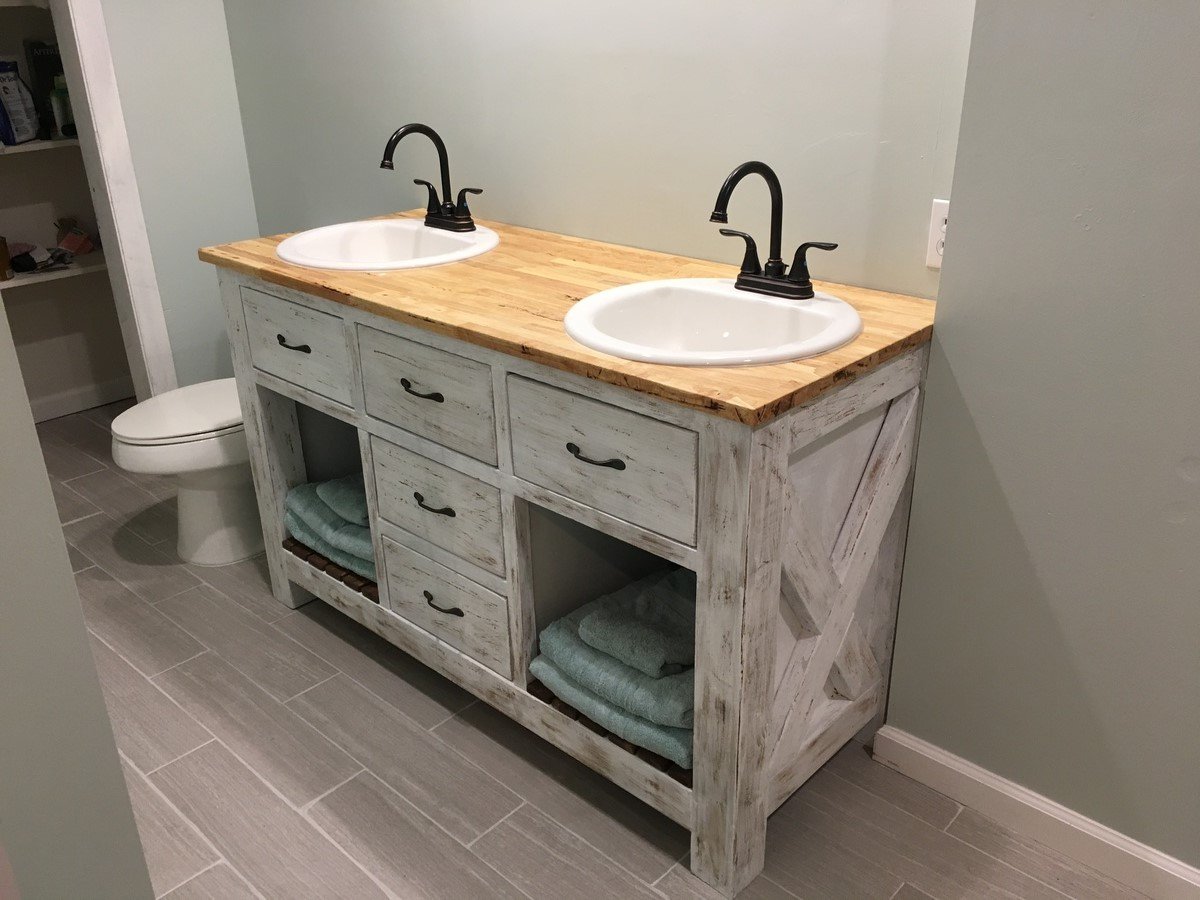
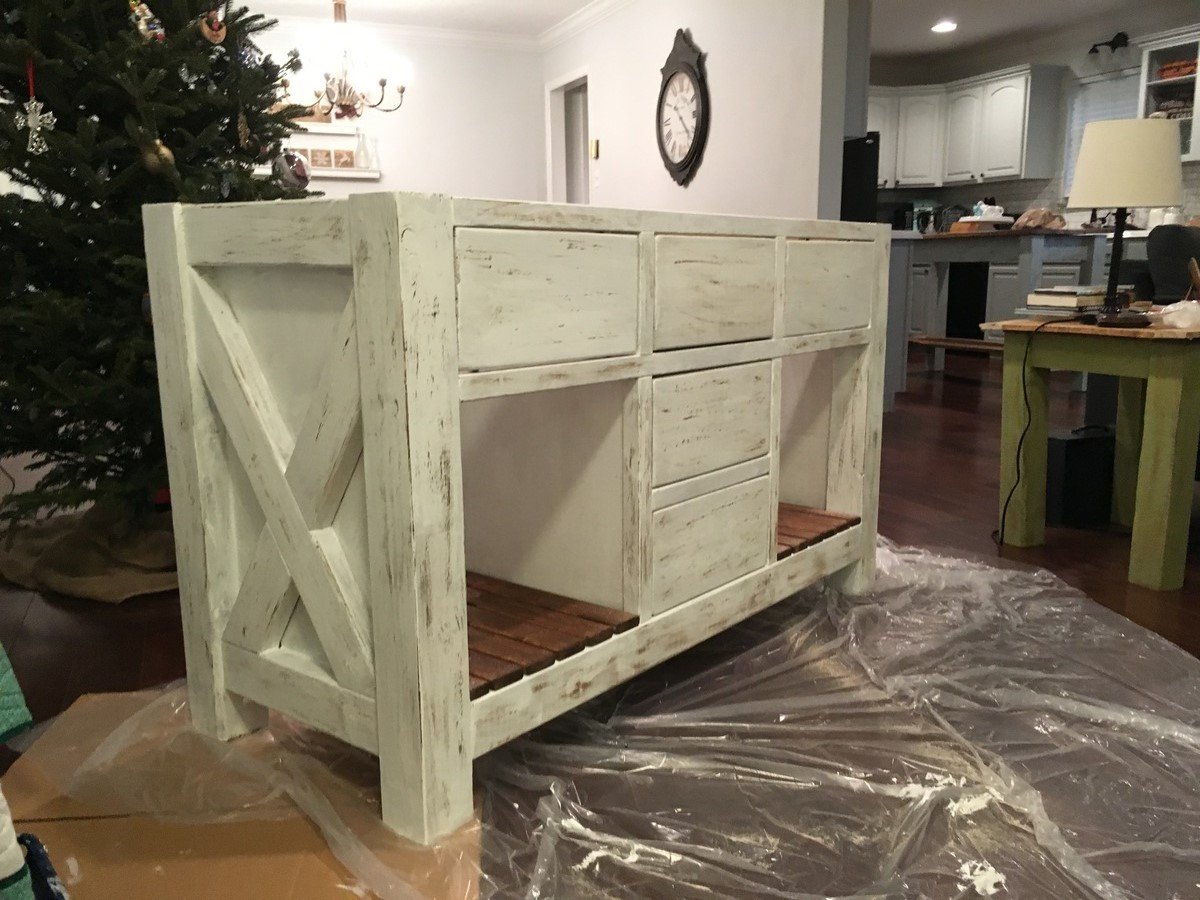
This is a heavily modified version of the rustic x kitchen island that I tweaked to make for 2 sinks.
Thu, 08/15/2019 - 11:52
This is gorgeous! Thanks so much for adding a brag post!
Mon, 11/25/2019 - 11:39
Do you happen to have plans or info on what you did to modify it to hold the sinks?? Absolutely love this!!!
Mon, 02/03/2020 - 06:41
Absolutely love this but I would like the actual modified plans . Is it possible to get them?
Sun, 01/03/2021 - 16:01
Love this!!! Great job!!!! II need new vanities... this will be a great project!!
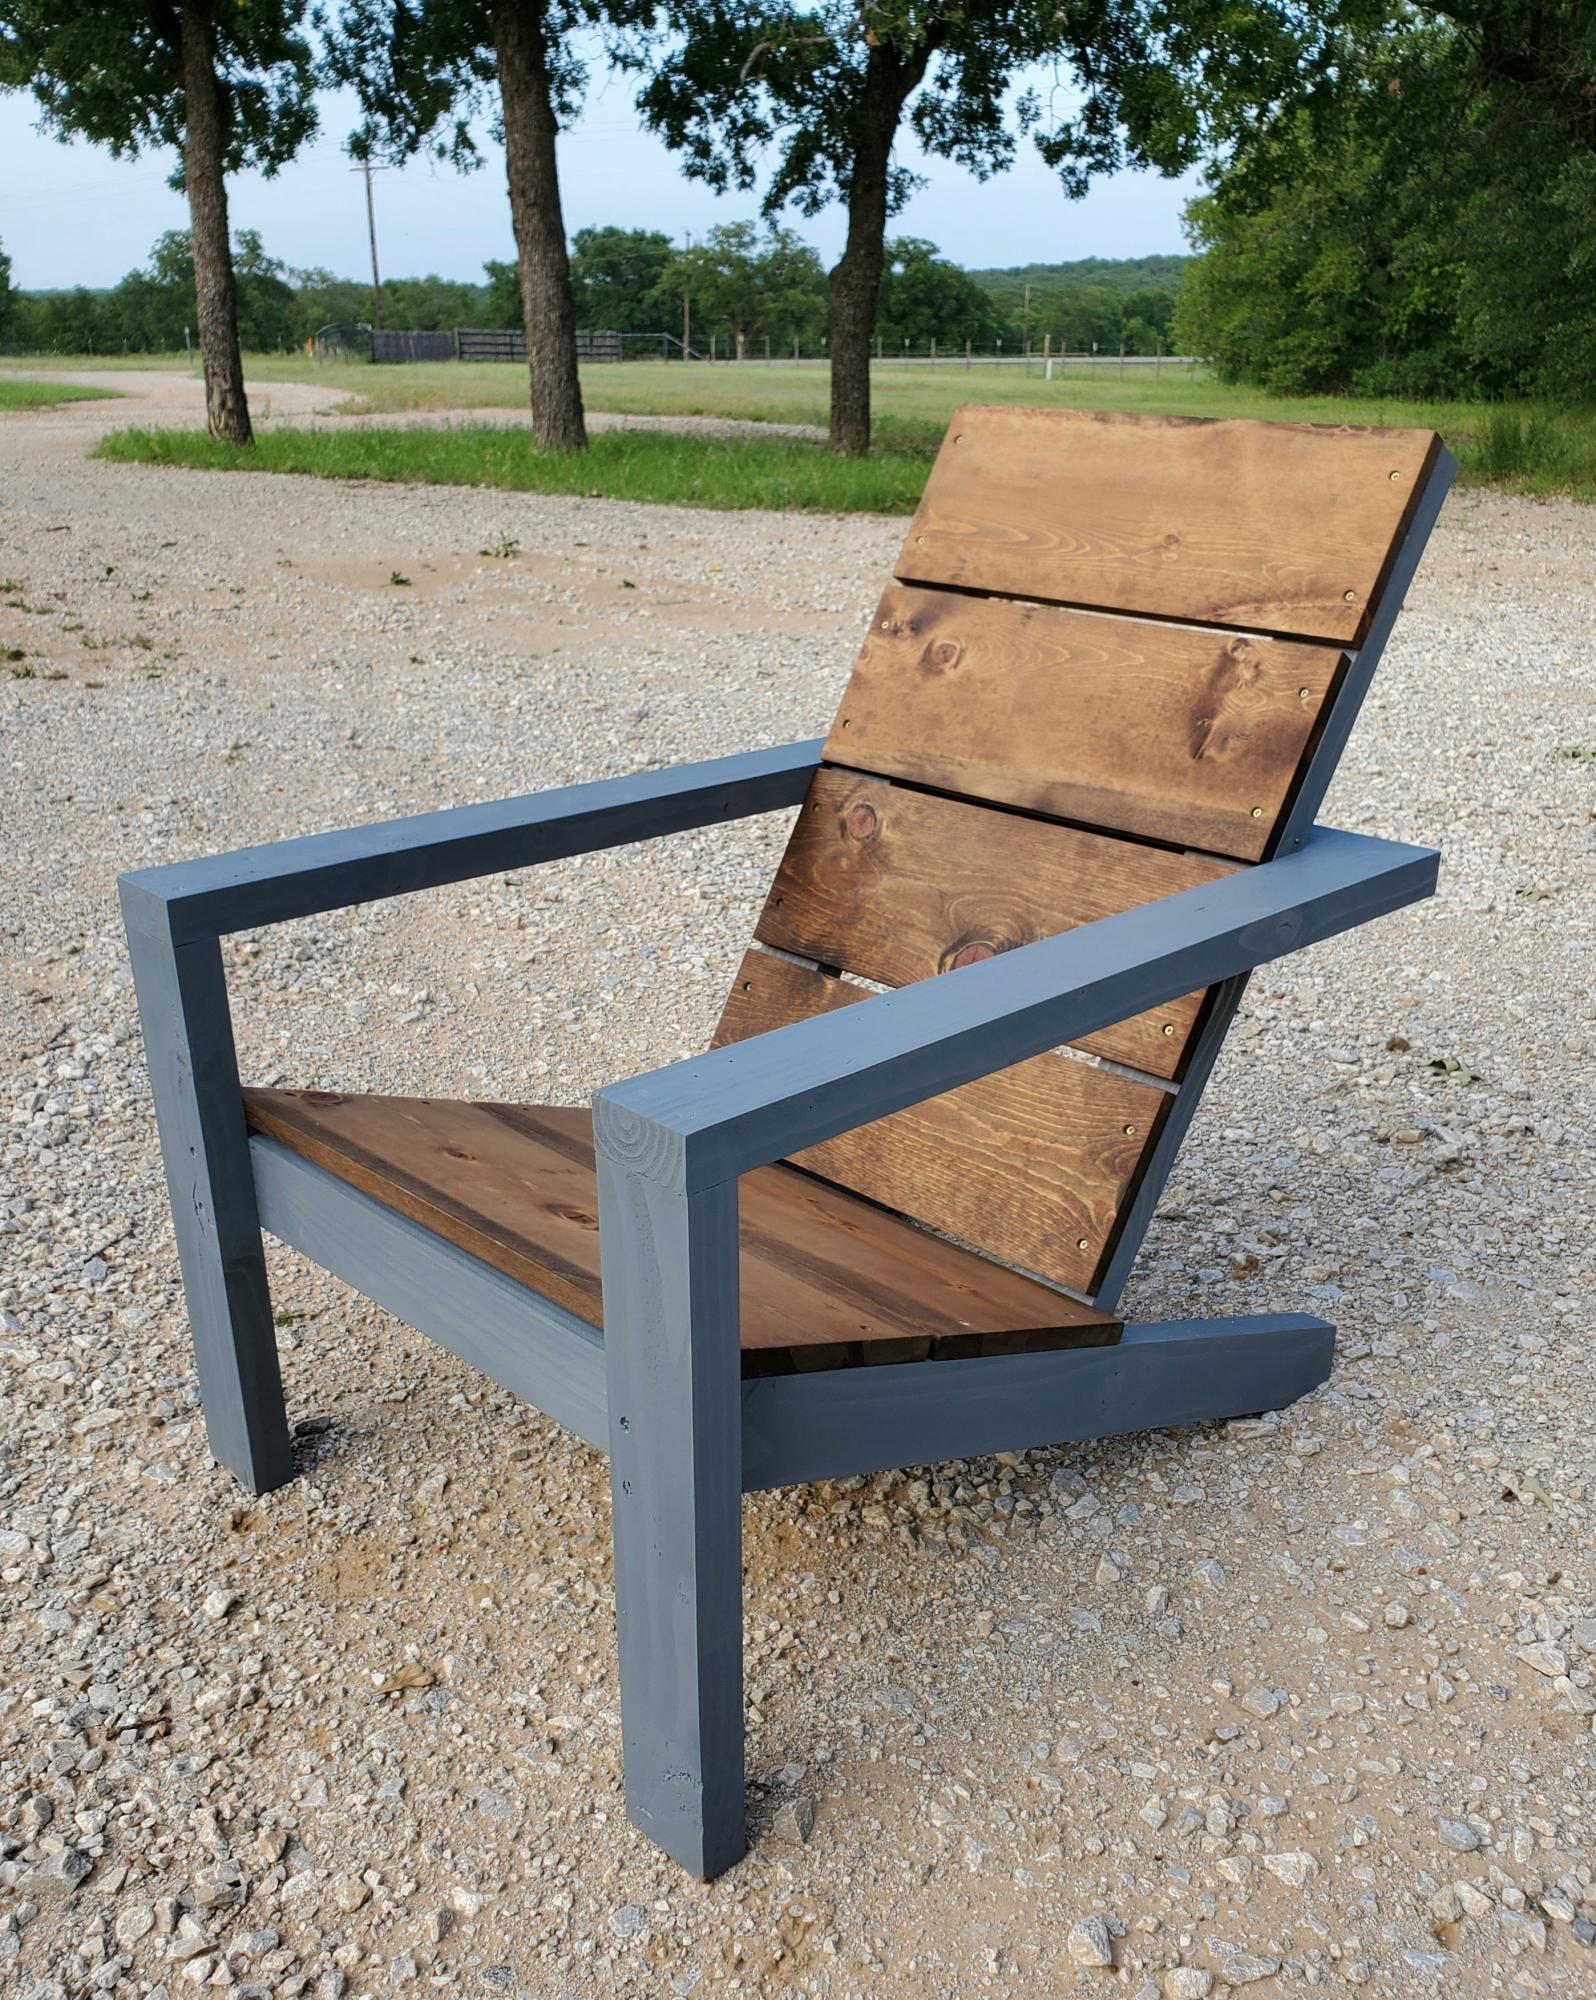
Like this chair! Changed the 3 1x10's on the back to 4 1x8's ripped down to 6 ¹⁵/¹⁶
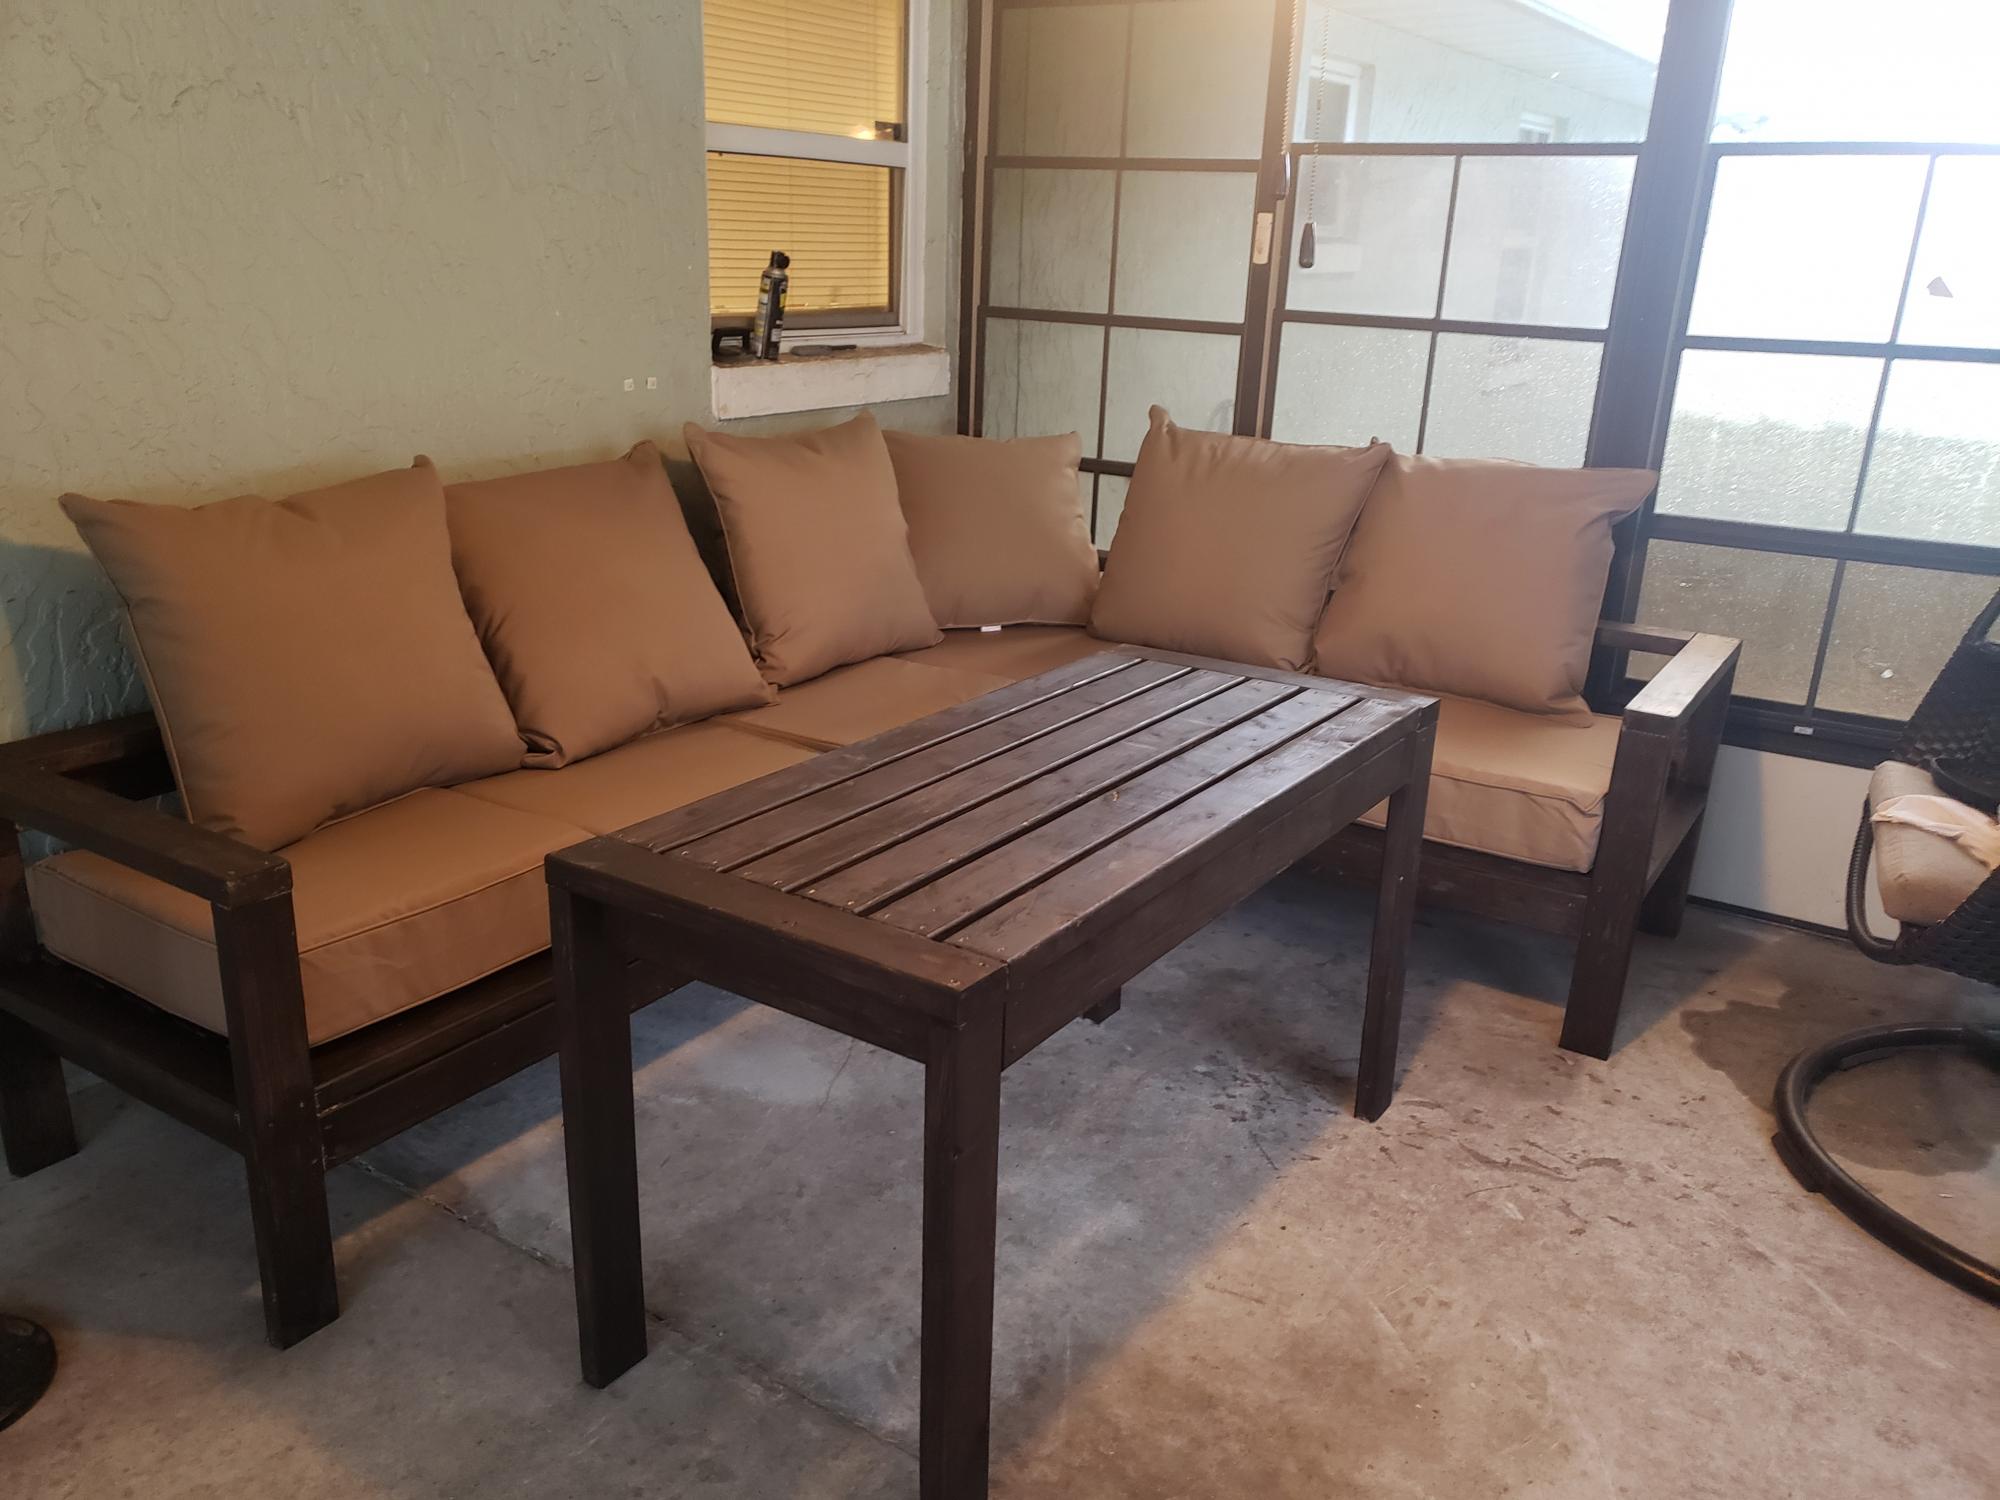
I stumbled upon this page and instantly fell in love. I made the 2x4 outdoor sectional this week with a few tweeks to make it work for us. My husband does a lot of computer work on our patio so we did the tall table to make it work. I plan to add a shelf at the bottom and touch up on my staining but for my first project I'm impressed. With the instructions and lists given this was a breeze of a project!
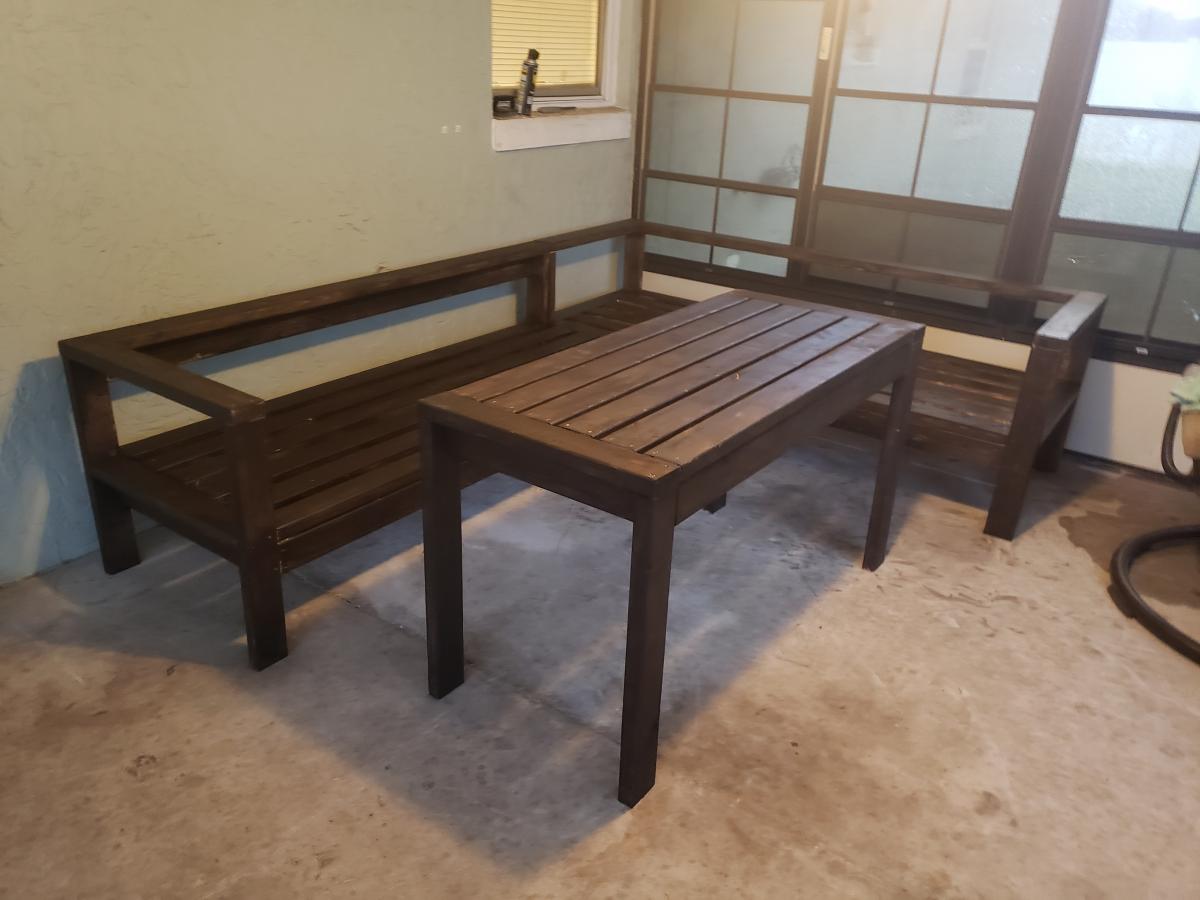
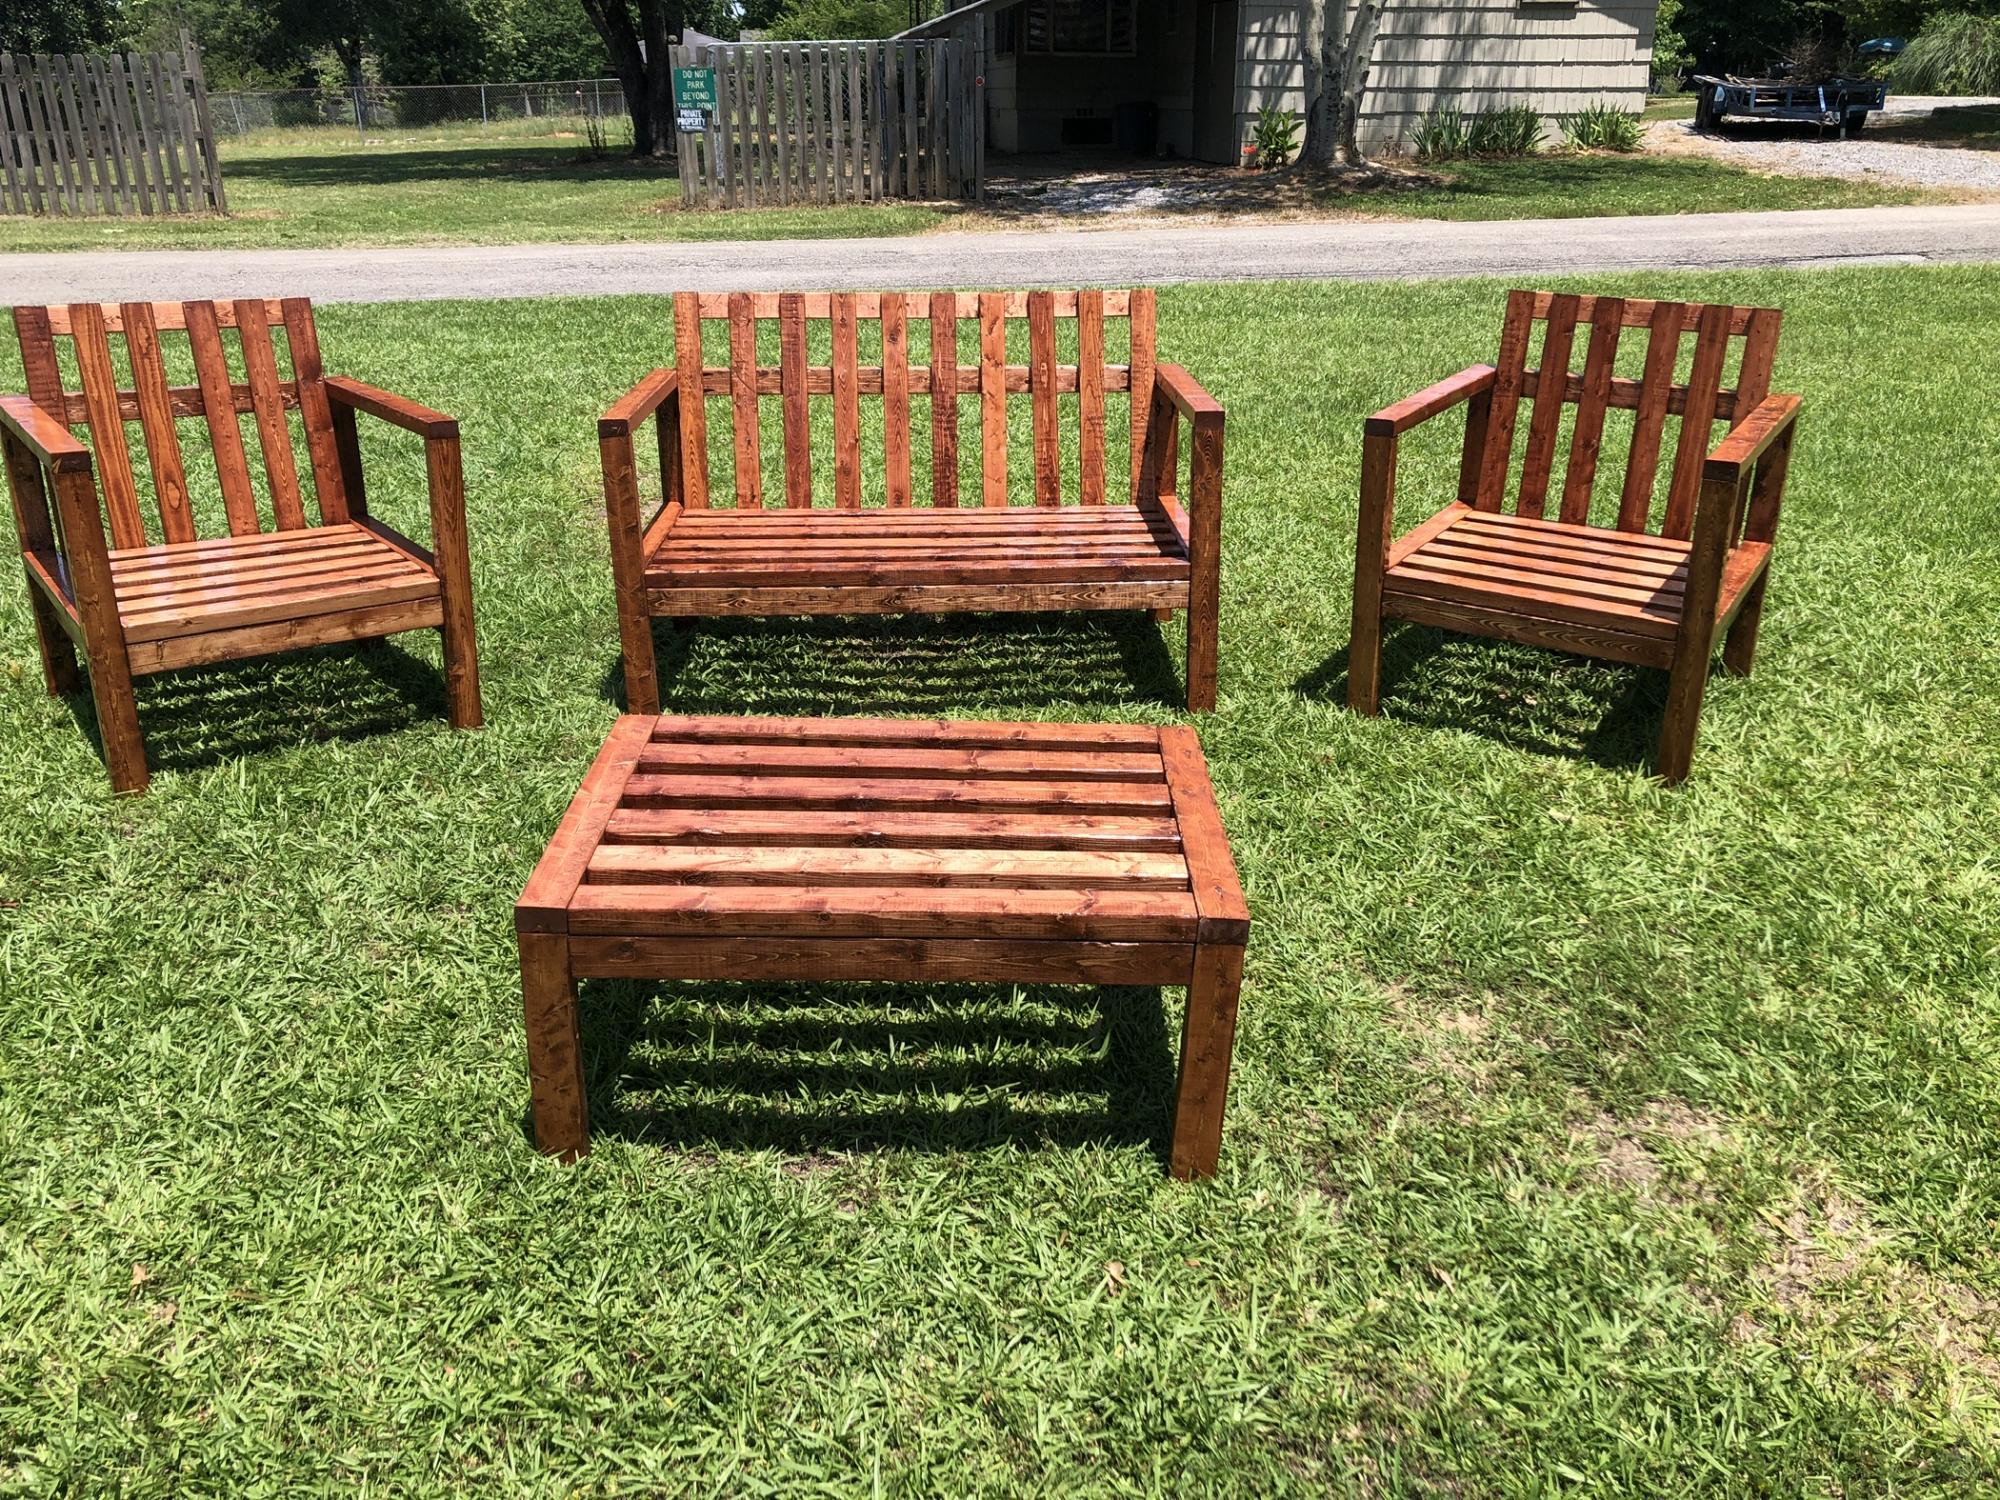
Ths set is based on the plans for the 2x4 sofa. It is very east to adjust the sizes to create the perfect piece for your space.
Using these plans I simply changed the seat sizes to 24" and 48" to create a chair and loveseat. I have also added a 1x4 across the rear of the seat to act as a bottom support for the 1x3 slats I added for back support. The other major change was using 2x3's instead of 2x4's. With the shortened length these can be a little less bulky with sacrificing stability.

Comments
Ana White Admin
Tue, 06/08/2021 - 10:44
Awesome!
Love the added ottomans! Great job all around, thank you for sharing.