Community Brag Posts

Raised bed garden planters

Submitted by 4peas on Thu, 01/09/2014 - 07:55

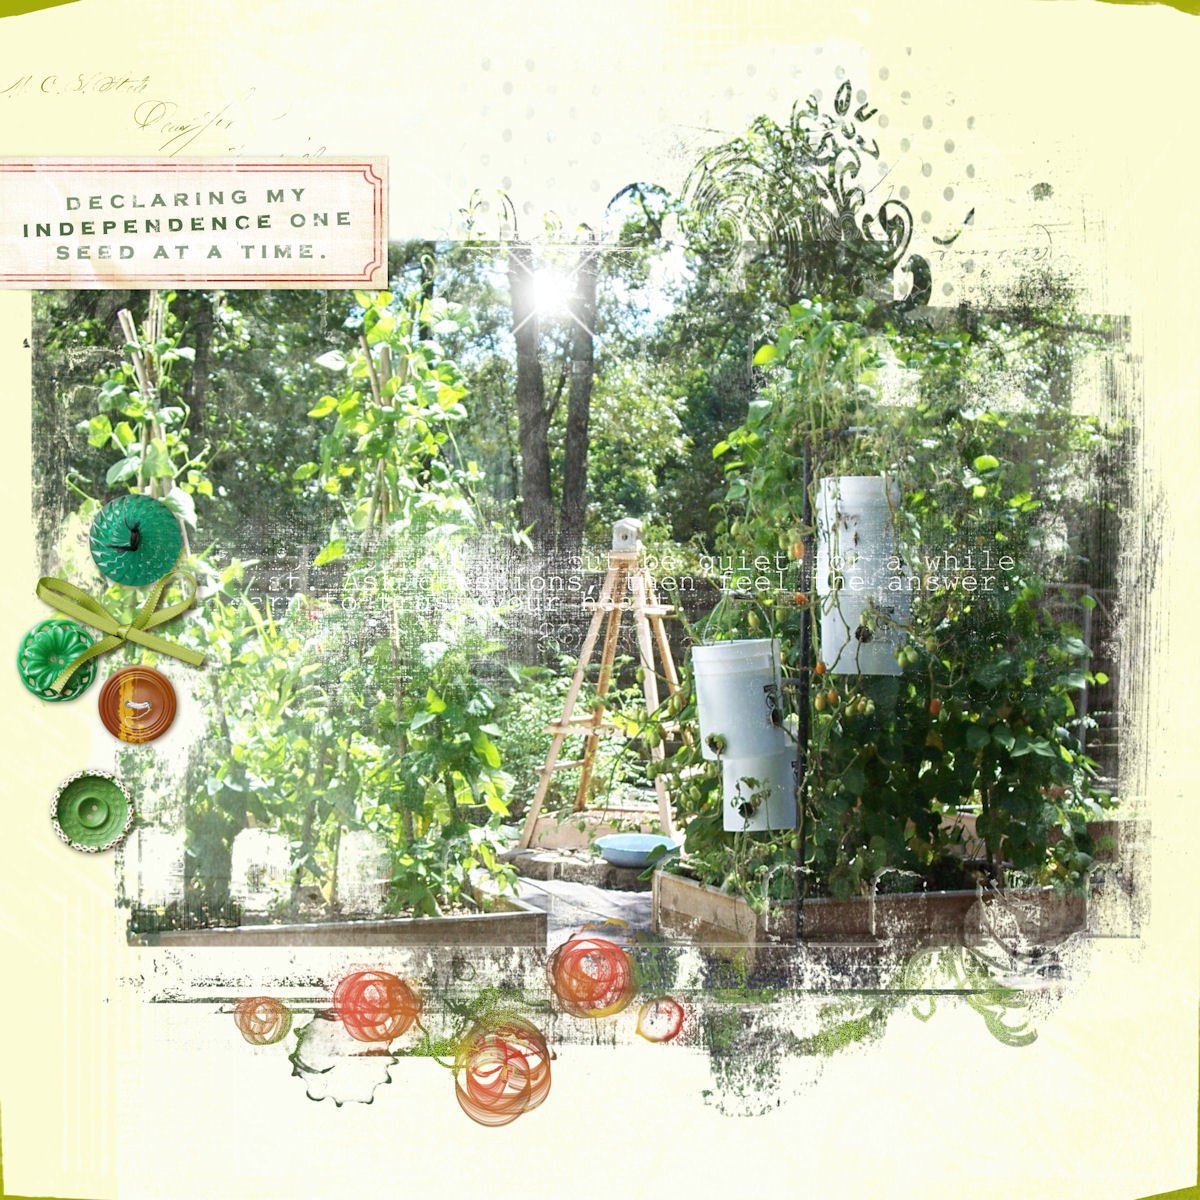
I really wanted to have a raised bed garden to grow organic veggies for my family but was so discouraged by the cost of ready-made planters that I almost gave up. While searching for options on Pinterest I came across these fabulous, affordable and untreated wood planters and after a trip to the home store, we built 10 according to the plans. I couldn't be happier with the results; thank you Ana!

Estimated Time Investment
Weekend Project (10-20 Hours)
Finish Used
none
Recommended Skill Level
Beginner

Comments

4peas

Thu, 01/09/2014 - 08:00

I really wanted a raised bed veggie garden but was discouraged by the high cost of ready made planters - especially since my dream garden required 10! I was about to give up when I discovered Ana's amazing plans while browsing Pinterest!

Mark555

Tue, 07/08/2014 - 00:24

Thank you Ana, I used your plans and ideas for a raised bed vegetable garden. I did change things a bit and it has worked out real well for me. I hate weeding and well I am a bit lazy. So mine are 6’x3’, I had a problem with the pickets splitting when I used screws to fasten them down. I ended up using a pneumatic brad/nail gun to fasten things together. I also used weed block under the bed and over the dirt and mulched over that. I have almost no weeding to do, about 10 minutes every three days or so. I also put in an irrigation system using ½ inch pvc pipe and 2 liter soda pop bottles. That way I water the roots and not the whole area, it cuts down on my water bill and it goes directly to the roots. The other thing I ended up doing is putting down 6 mil black plastic between the rows of raised beds and putting straw over that( I have 3’ walking/working paths between each bed). I have built 20 of them and plan to add another 20.

Rolling workbench carts

Submitted by LampAtFeet on Tue, 12/10/2019 - 08:04

A few years ago I ran across Ana's plans for the Ryobi Dream Workshop with the rolling carts. They have been the most useful item in the garage. I customized them by using some scrap lumber to build some simple slide out shelves, attached a power strip to the inside of the cart, added hooks to hold various tools and added a removable container to the outside edge to hold items (safety glasses, pencils, scissors, glue, etc) that I want to keep close by but not on the work area. Thanks for the plans, Ana!

Estimated Cost
$60
Estimated Time Investment
Afternoon Project (3-6 Hours)
Finish Used
No finish added
Recommended Skill Level
Beginner

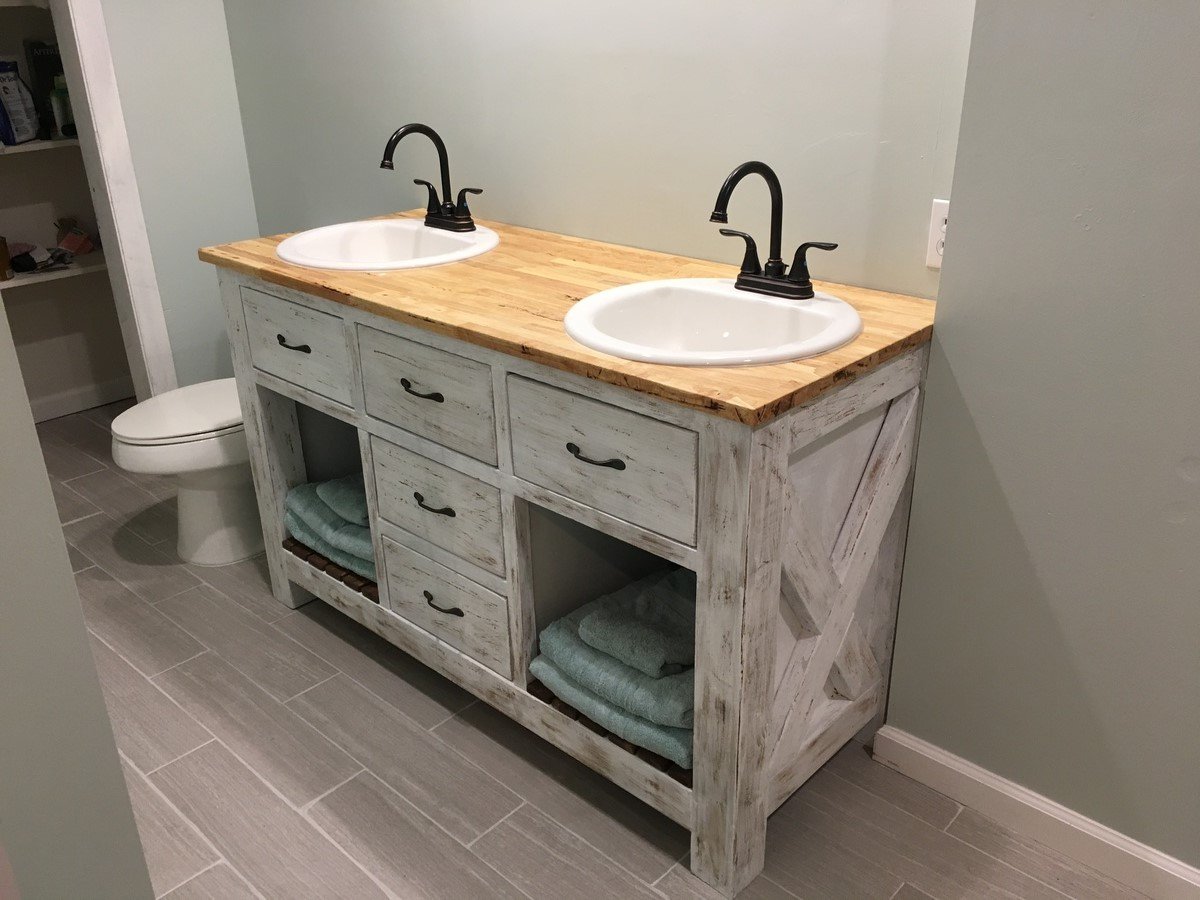
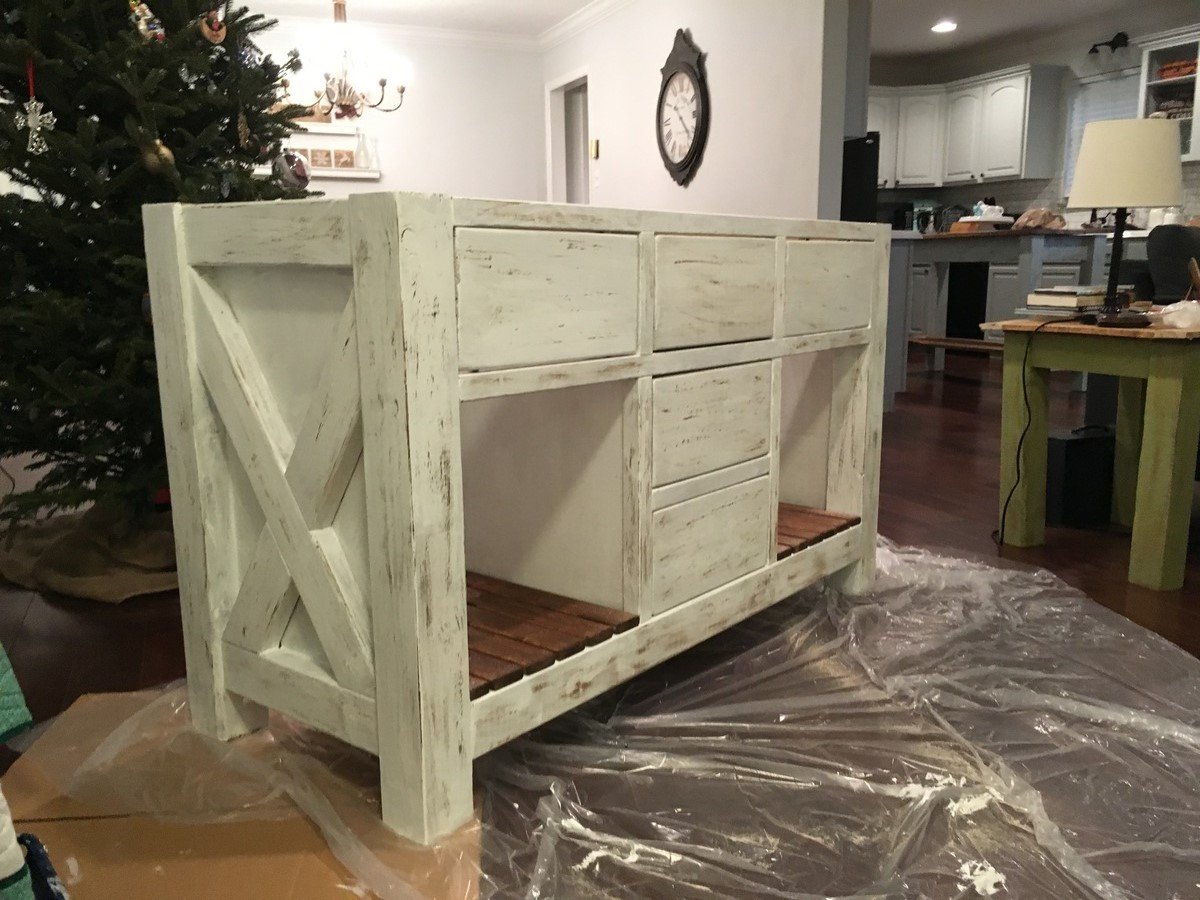
Rustic X Bathroom Vanity

Submitted by Decross on Thu, 08/15/2019 - 11:49

This is a heavily modified version of the rustic x kitchen island that I tweaked to make for 2 sinks. 

Built from Plan(s)
Estimated Cost
$250
Estimated Time Investment
Weekend Project (10-20 Hours)
Recommended Skill Level
Intermediate

Comments

Sandishmily

Thu, 01/18/2018 - 05:30

Hi i actually have a question about the tv stand you made. I love it and I'm wondering what paint you used?  Sorry i wasn't sure that you would see my comment on the tv stand link because it was under guest.

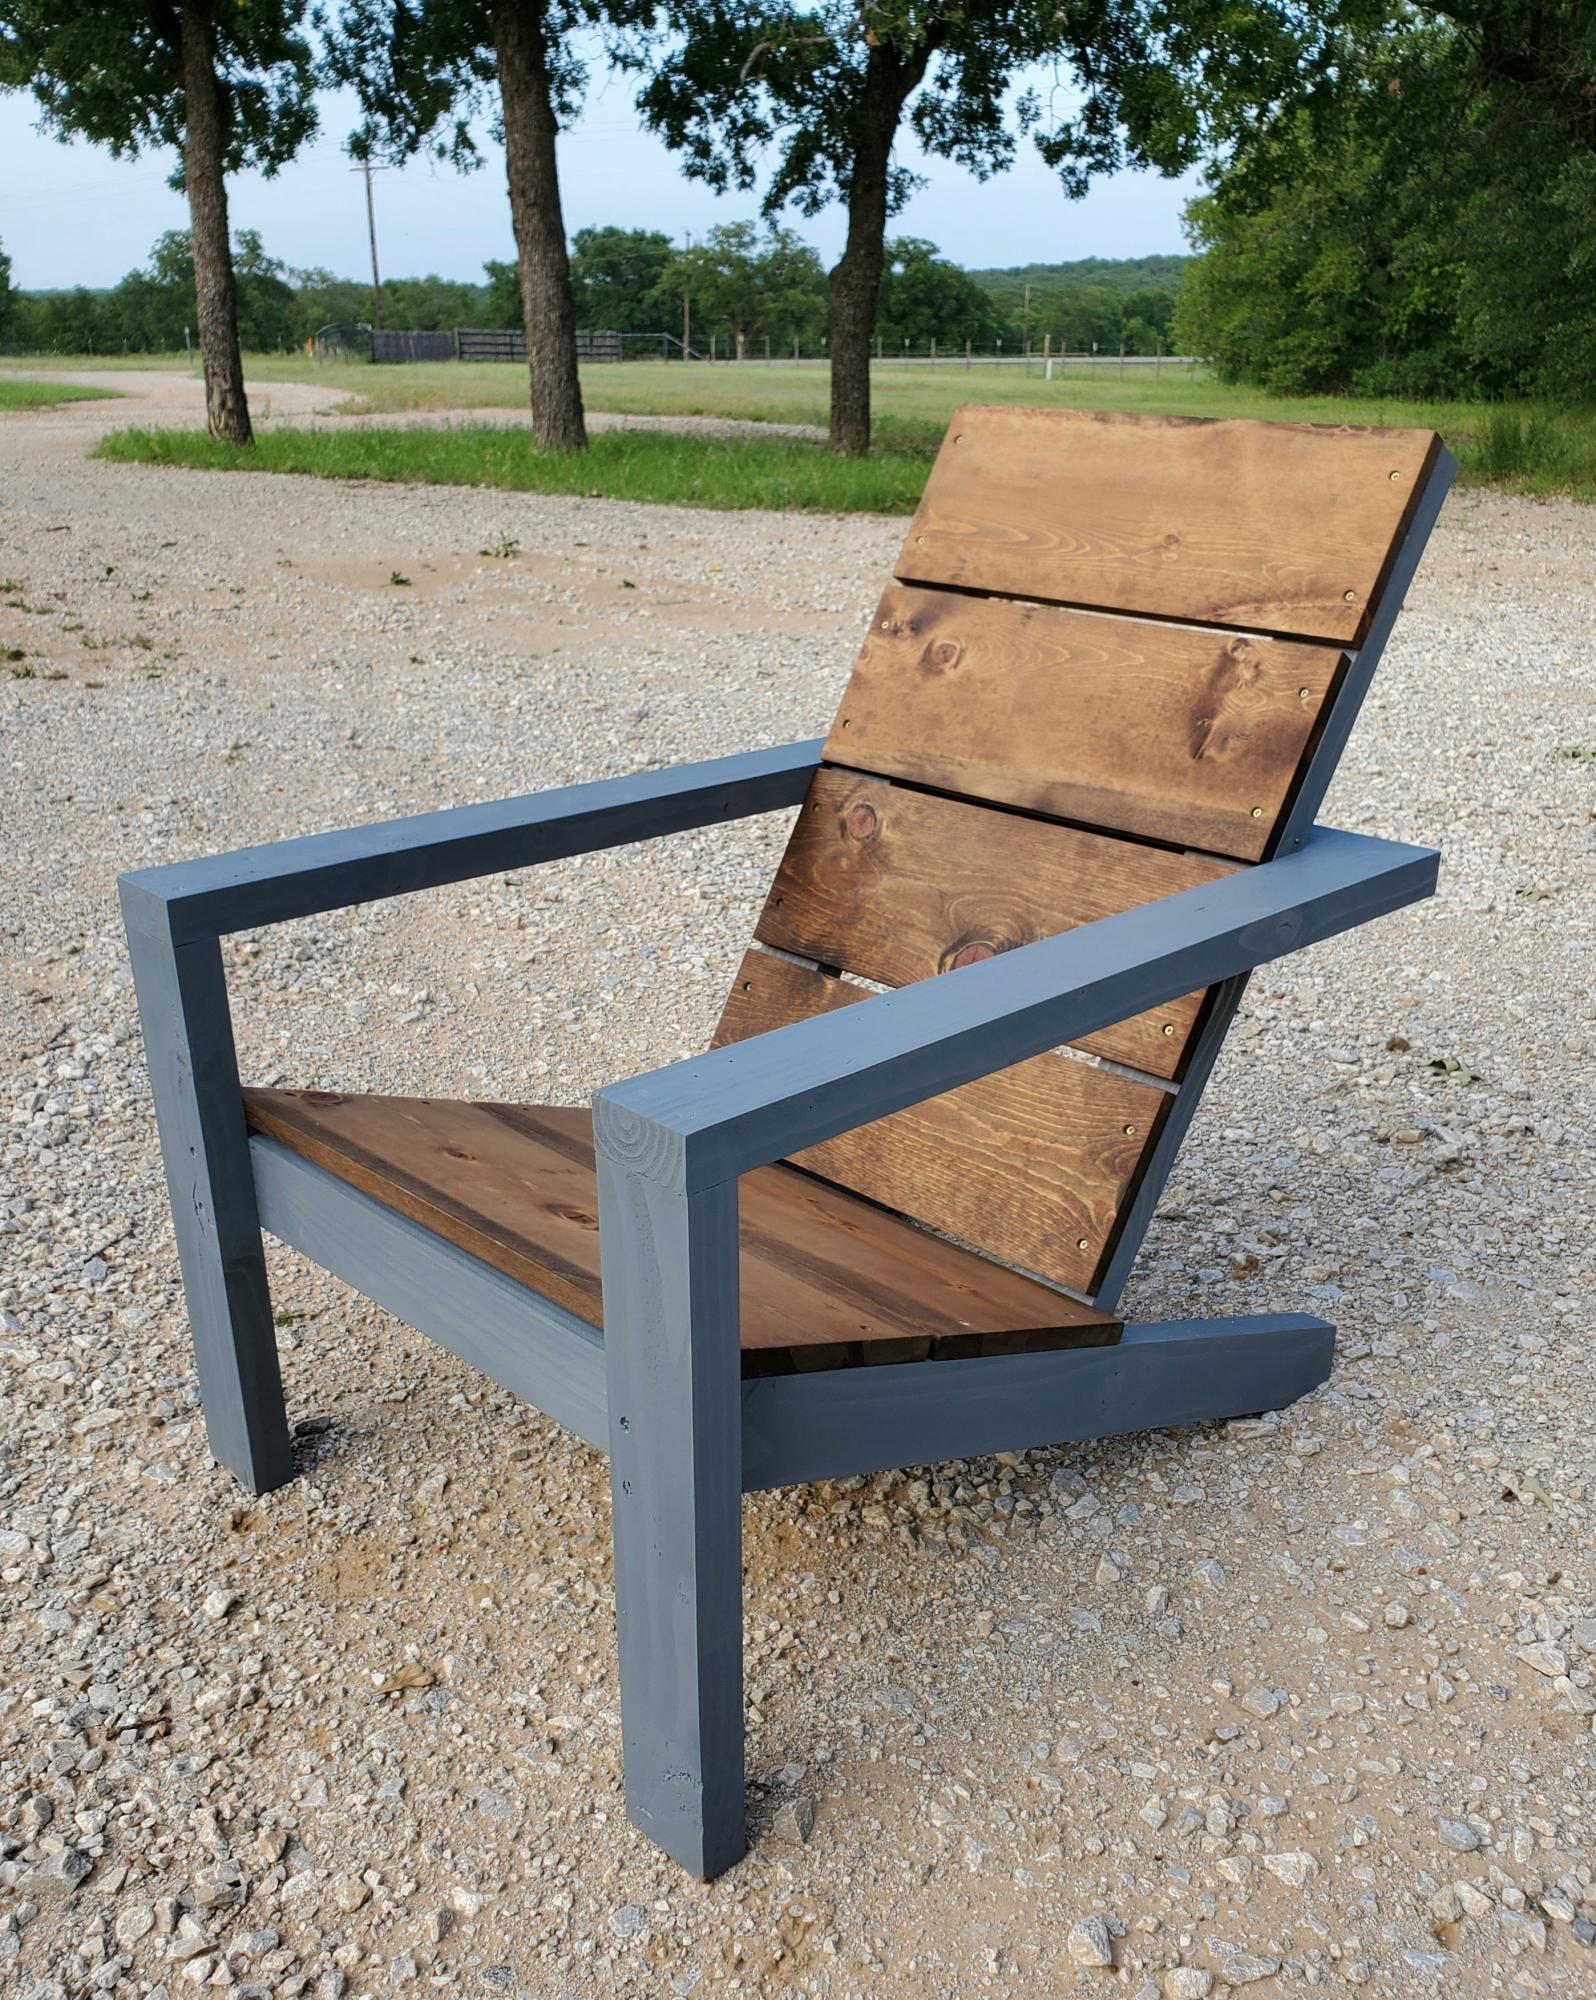
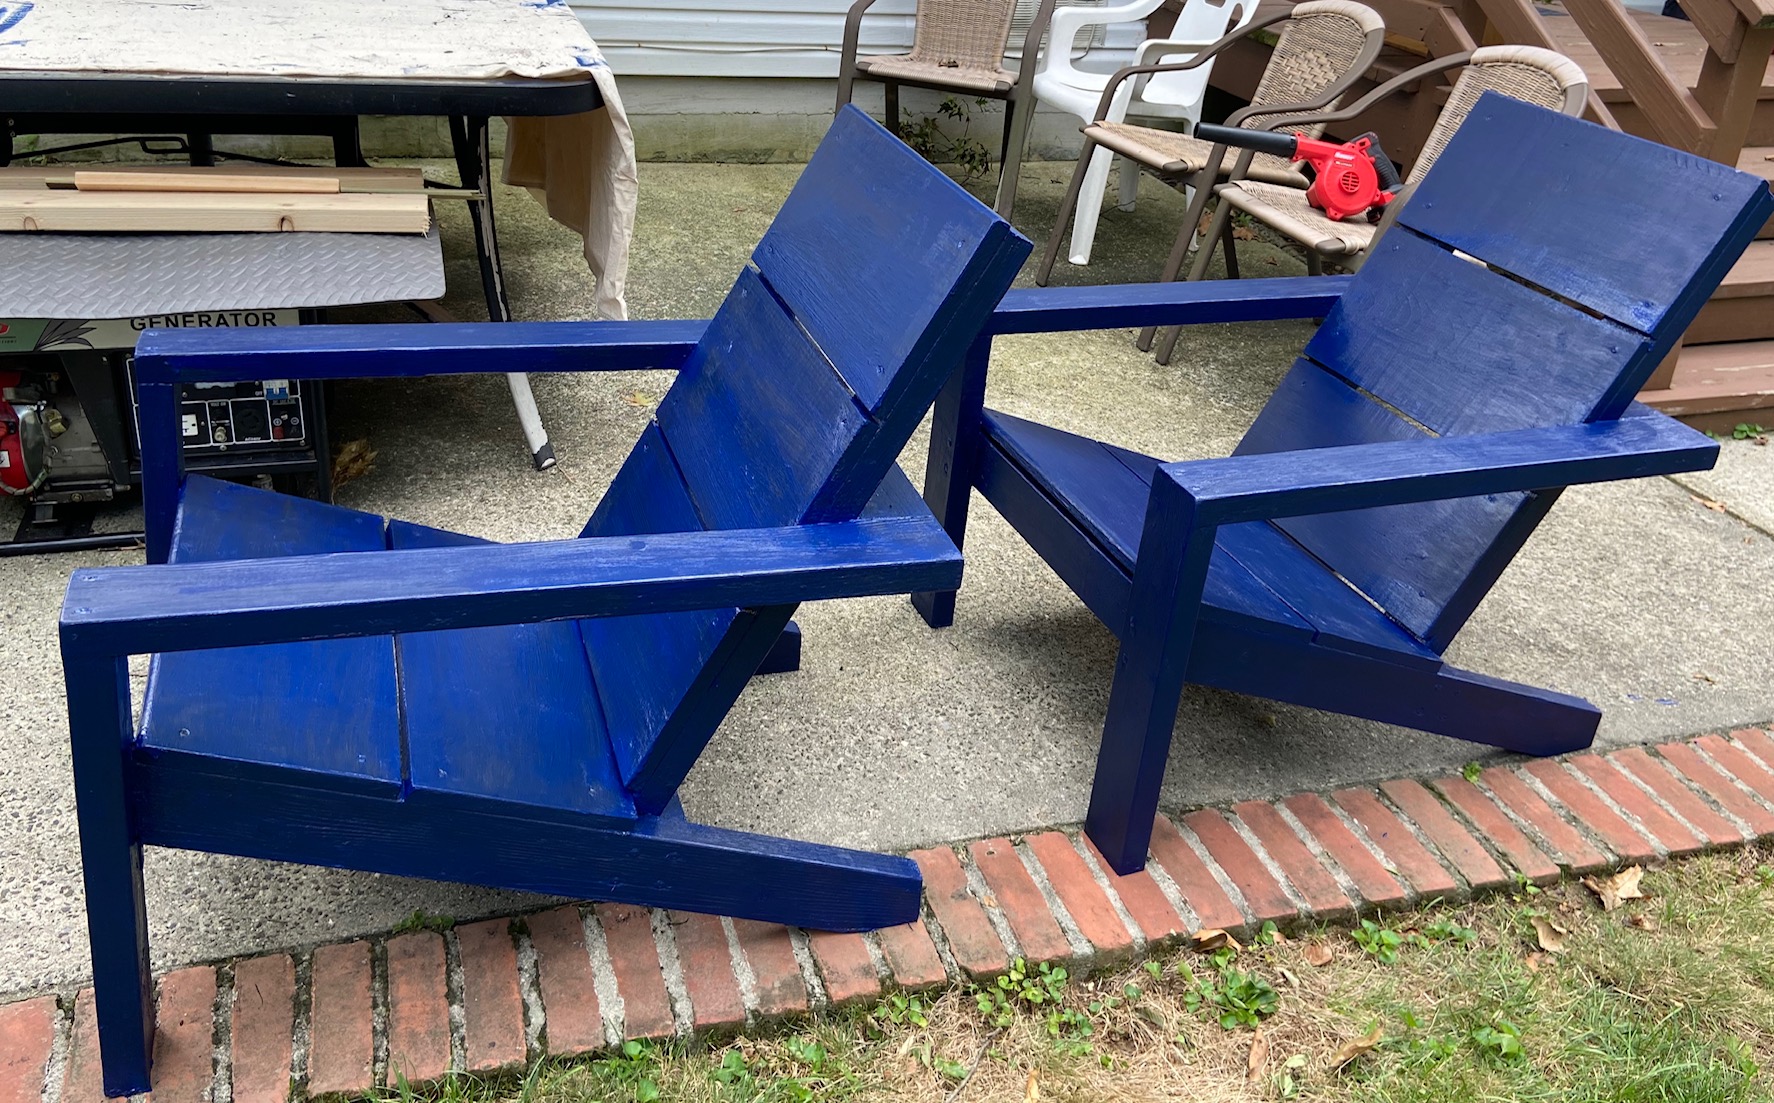
Essential Adirondack chair

Submitted by str1523 on Mon, 05/25/2020 - 10:23

Like this chair! Changed the 3 1x10's on the back to 4 1x8's ripped down to 6 ¹⁵/¹⁶

Estimated Cost
40
Estimated Time Investment
An Hour or Two (0-2 Hours)

Comments

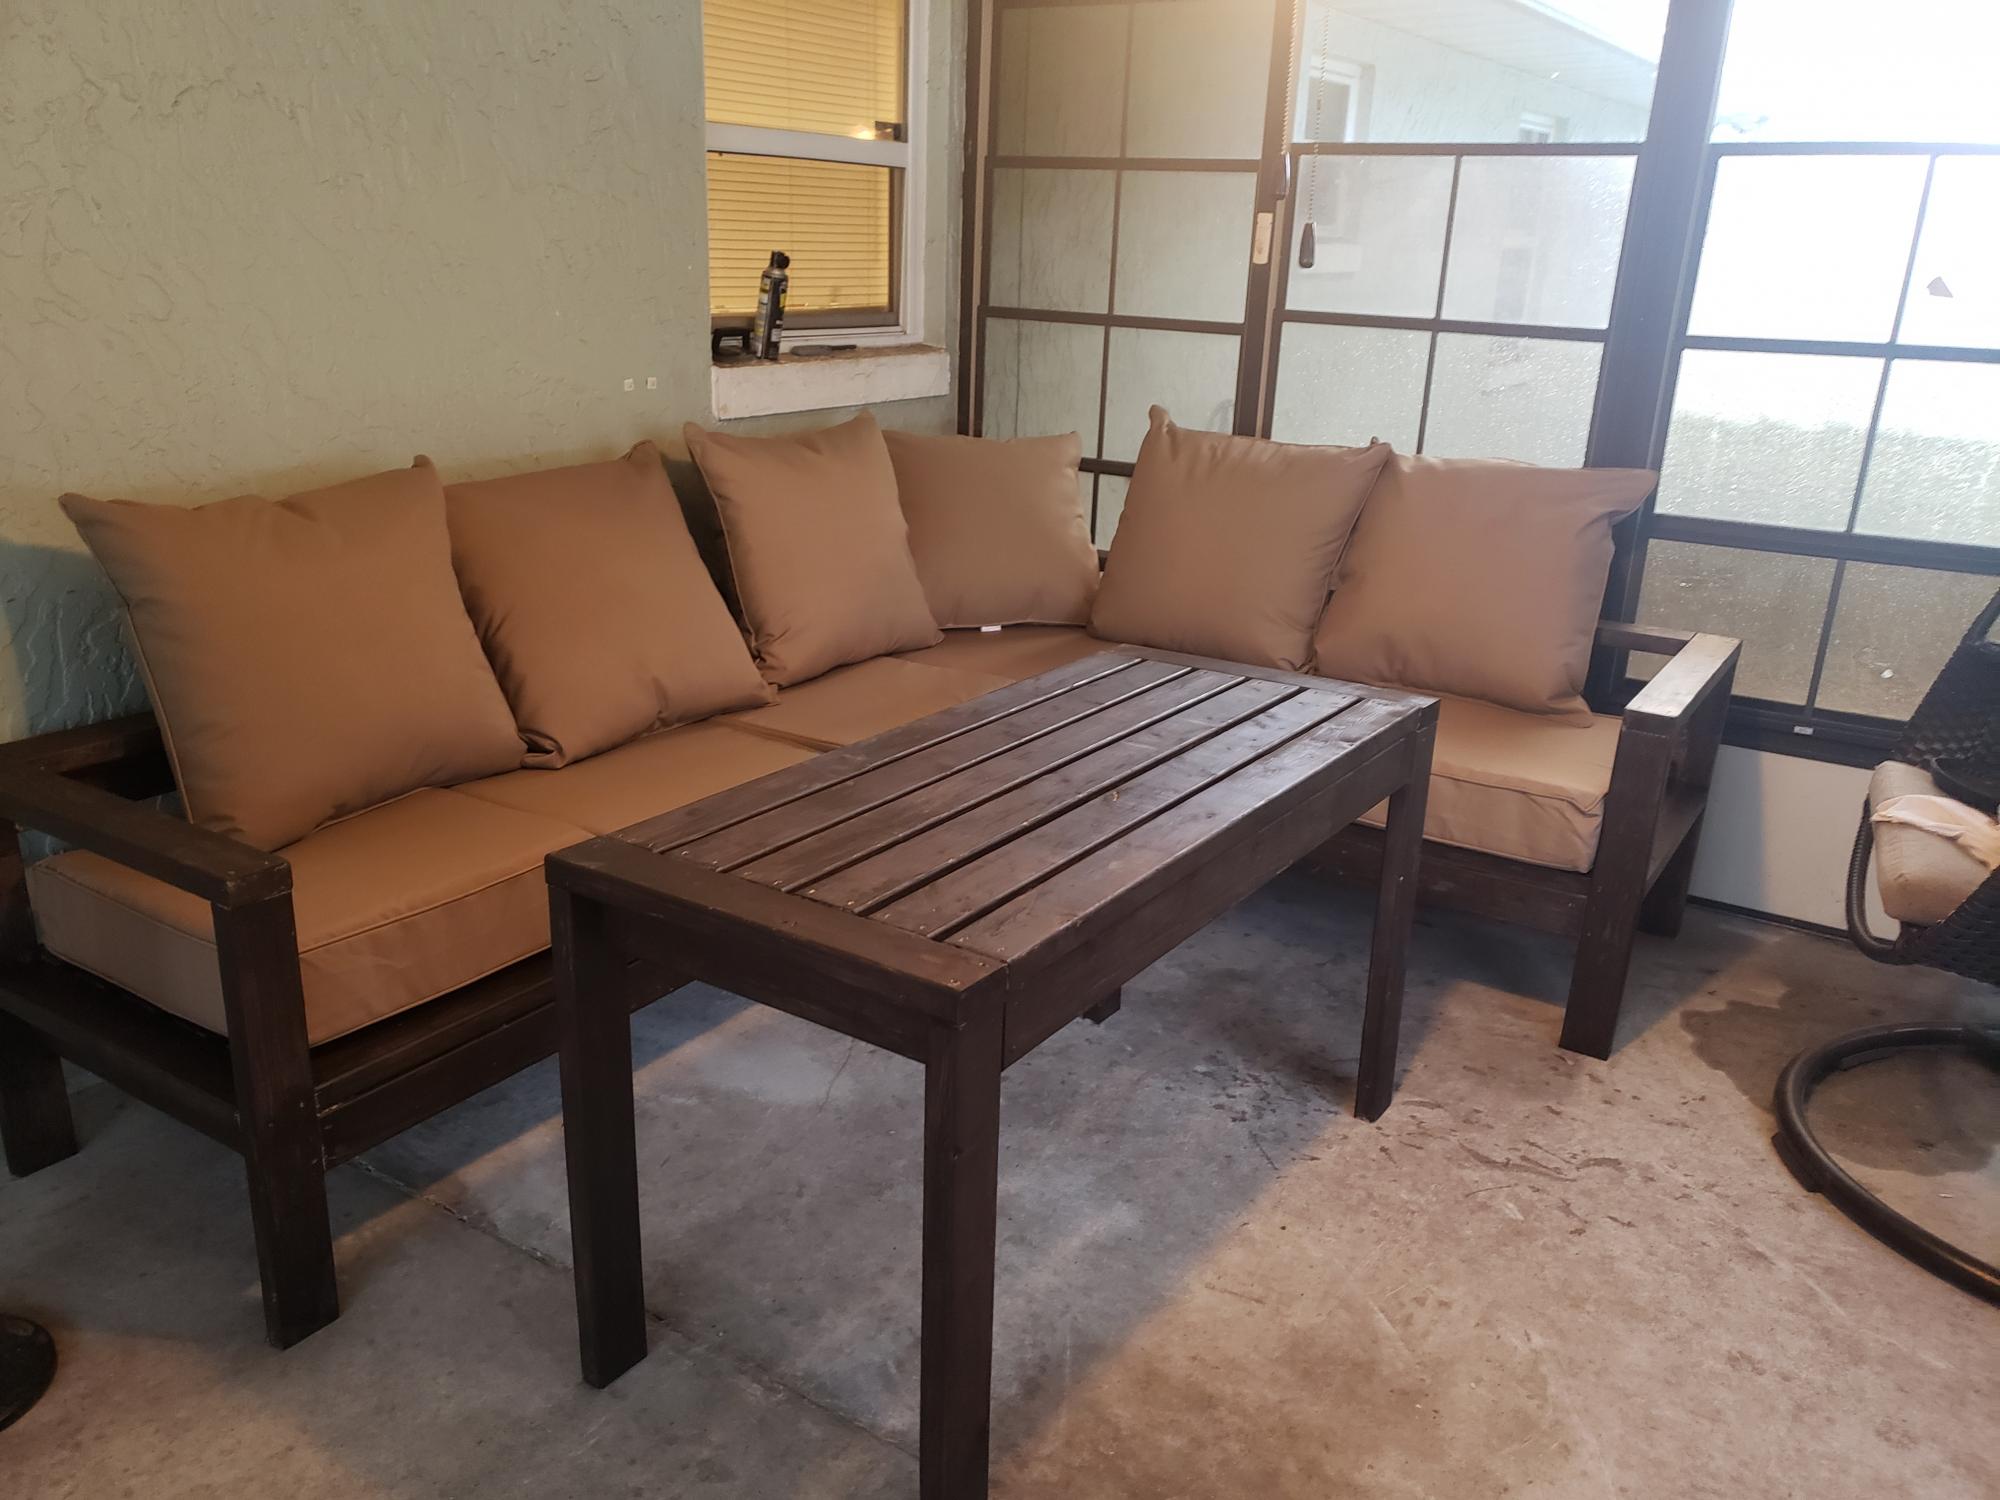
2x4 Outdoor sectional

Submitted by Anonymous (not verified) on Mon, 06/01/2020 - 12:00

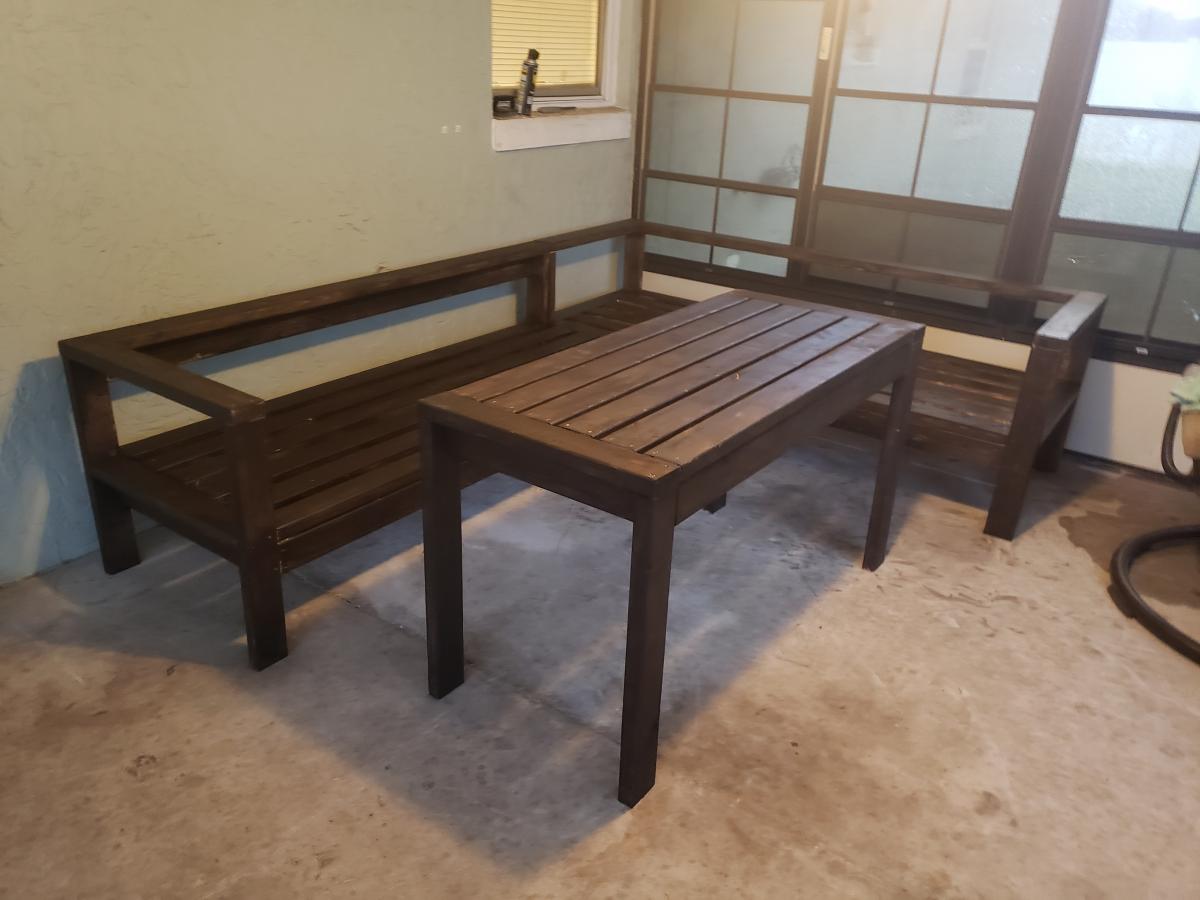
I stumbled upon this page and instantly fell in love. I made the 2x4 outdoor sectional this week with a few tweeks to make it work for us. My husband does a lot of computer work on our patio so we did the tall table to make it work. I plan to add a shelf at the bottom and touch up on my staining but for my first project I'm impressed. With the instructions and lists given this was a breeze of a project!

Estimated Cost
160$ before cushions
Estimated Time Investment
Weekend Project (10-20 Hours)
Finish Used
Semi transparent stain
Recommended Skill Level
Beginner

My Modern Farmhouse Table

Submitted by zigmommy on Sat, 09/08/2012 - 22:49

My husband and I built this project in one day, for less than $100, including the matching benches! We used inexpensive white wood boards and made sure to find the straightest ones in the best shape. The table is easy to assemble and SO sturdy. It can easily sit 4 adults on the benches or 6 smaller people, more with extra chairs on the ends.

I've wanted to build this table for quite some time and it couldn't have turned out better, I just wish we were keeping it for ourselves. :-)

I share more details on my blog if you'd like to check them out, thanks for looking!

Happy Building,

Danielle
organizationalhysteria.com

Estimated Cost
$75 - $100
Estimated Time Investment
Day Project (6-9 Hours)
Finish Used
Minwax Stain/Polyurethane in one in Antique Walnut, two coats.
Recommended Skill Level
Intermediate

Needed a new Patio set after Hurricane Matthew destroyed mine.

Submitted by Anonymous (not verified) on Tue, 03/03/2020 - 18:00

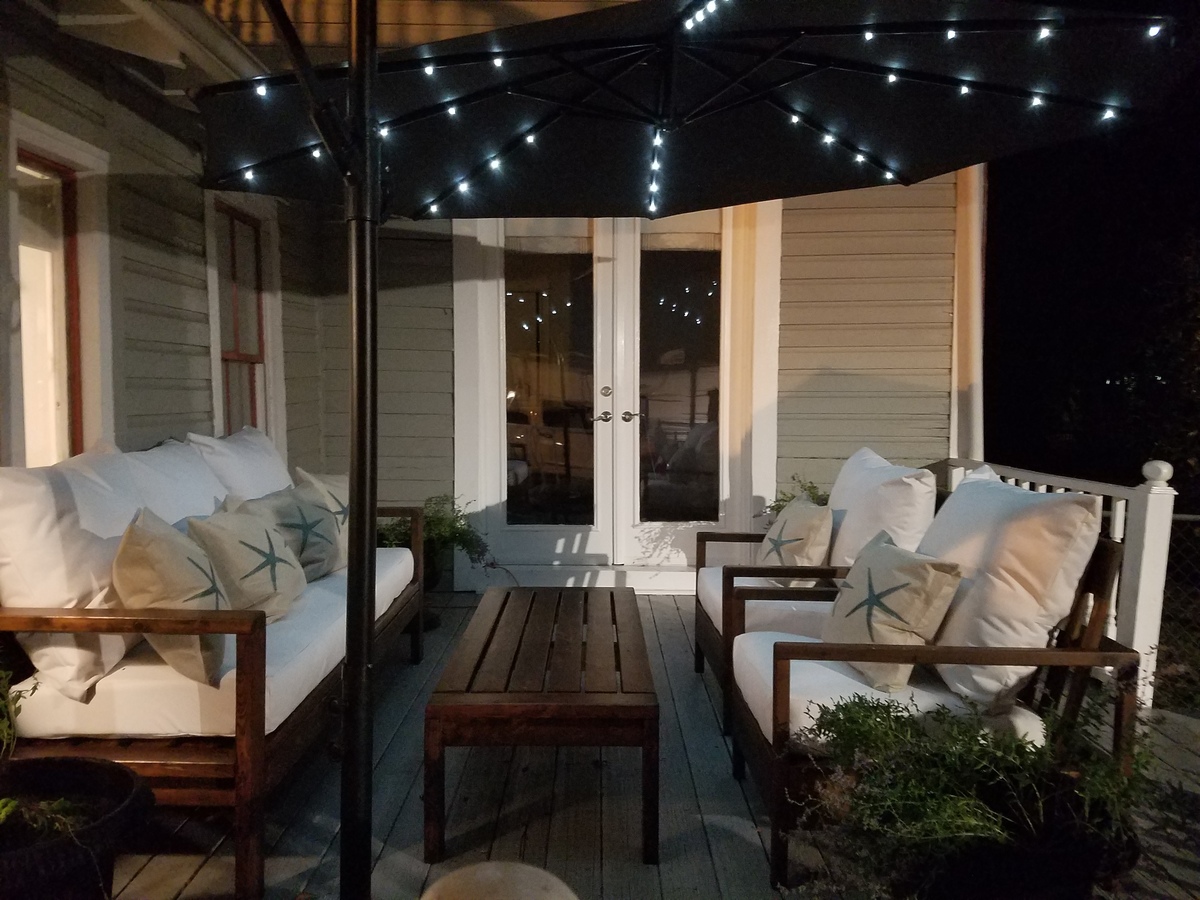
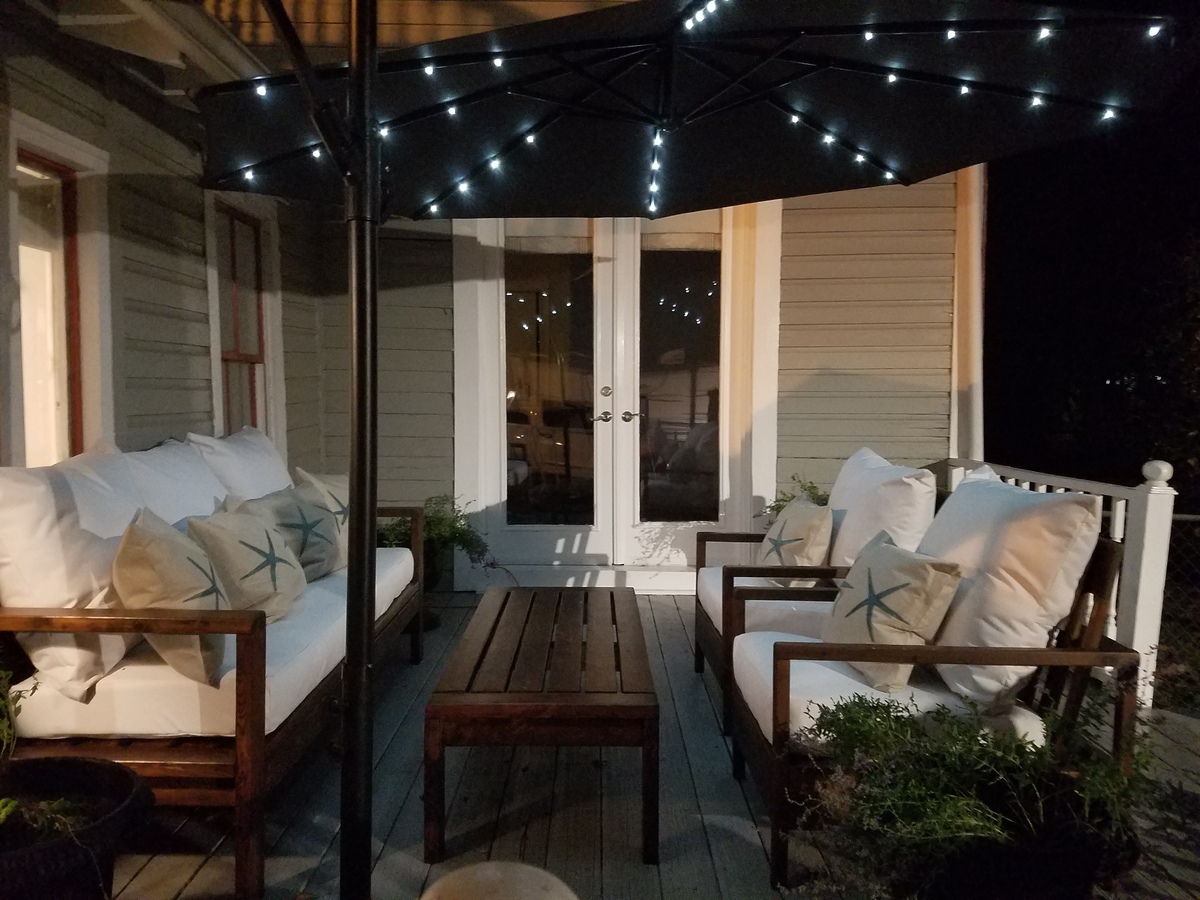
Between my day job and daily chores I somehow managed to build this, make the stain with the vinegar/steel wool, and sew all the cushions in about a week and a half.  The hardest part for me was lifting the sofa onto the deck by myself after I built it.

I also made the chairs from this site (simple white outdoor chair) and the coffee table.

Thanks Ana and everyone for contributing your plans and for everyone posting their projects.  It helps me do it to.


Estimated Cost
for foam, wood, screws, sand paper pillow stuffing, waterproof fabric 400 bucks
Estimated Time Investment
Week Long Project (20 Hours or More)
Finish Used
steel wool/vinegar/coffee grounds and then UV flood protector
Recommended Skill Level
Beginner
Seasonal And Holiday

Screen door with built in dog door

Our old screen door wasn't cutting it anymore, so I built a new one, and to kill two birds with one stone, I included a built-in dog door. Now I just need to find the motivation to close off the old dog door.

I have the plans to build this screen door with a built-in dog door posted via the blog link below for anyone interested.

Estimated Cost
80
Estimated Time Investment
Afternoon Project (3-6 Hours)
Finish Used
white exterior paint
Recommended Skill Level
Intermediate

DIY Easy Build Wood Headboard Twin Size

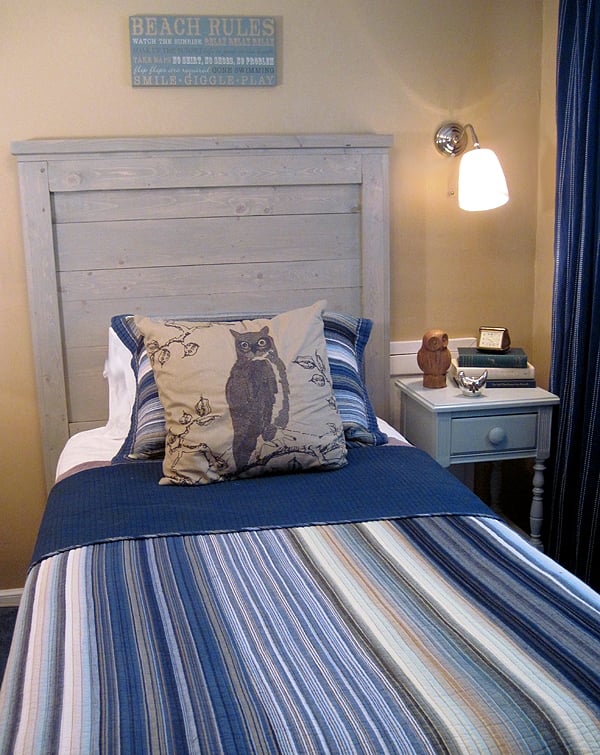
A fun project we did with my 12 y/o niece and husband. It was fun and fairly easy. We distressed the wood by using a copper brushalong the grain and used nails to make holes. We chose rustoleum sunbleached stain hoping to create and washed out gray driftwood look. It took about an hour to put together. The next day I sanded and stained , left it dry for the rest of the day then sealed it with polycrylic spray. The hardest part was getting up 2 flights of stairs, solid wood, it was heavy. The headboard was a little tall we thought. Plans are originally for Full so as bed gets more narrow the height becomes more noticeable. I thought about cutting down the legs a bit but after we got it in the room we thought it looked fanastic. We love love love it.

Estimated Cost
65.00$
Estimated Time Investment
An Hour or Two (0-2 Hours)
Finish Used
Rustoleum " Sunbleached" stain

After I finished sanding the entire headboard with about 150 grit sandpaper I starting distressing it. Hoping that the stain would sink further into crevices and give my headboard and varied look. I distressed by poking holes with a nail in random groupings. I then followed up with that copper wire brush you see. I took the brush and with some force and went horizontally across the surface following the wood grain. The put lots of grooves into the wood, again hoping that stain will sink into crevices. I chose Rustoleum "Sunbleached" stain for this headboard going with the driftwood theme. Rustoleum does not require a wood condtioner so I save myself a step here. But really I chose it because of this great color. The best way to put on stain is with a rag. The box of rags you see in the image are the absolute best. They stay together. Much stronger than a paper towel. You just throw them away when you are done. Applying stain in this manner is the best way in my opinion. Wood is porous so applying the stain with a rag forces the stain into the fibers of the wood. Using a paint brush will not achieve the same results. It also takes alot longer with a brush and then you have to wash the brush out... ugh. Staining this headboard took me 10 minutes. That's right 10 minutes. So much easier with a rag, it's like you are just wiping it down. Because I can force the stain into the wood fiber I can put the stain on a little thicker and the wood absorbs more negating the need for 2 coats. Try it and see. Of course wear gloves. Do not soak the paper towel dripping wet. As much of the towel wet as possible without dripping all over. Wipe it on with the grain paying special attention to knots in the wood. Let it dry thoroughly for a day or so. Spray with Polycrylic which also only takes a few minutes. Polycrylic recommends then lightly sanding and spraying again 3 times. We did it twice. Seems fine to me. I'm Done.
Recommended Skill Level
Intermediate

Comments

Bi-Fold Closet Doors

We wanted to replace the vented / painted bi-fold closet doors in our Master Suite with something that was warmer and more consistent with the decorating motif of the house.  We priced out various wood bi-fold doors and were shocked at the $350 - $600 price range of what was available.   We decided that building them ourselves was a much better choice.

The frames are made from 1” Knotty Pine and the panels are from ¼” Knotty Pine.   Frames were made to fit and assembled w/ Kreg screws & Glue.  Rabbet channels were cut w/ the router and the panels were brad nailed & glued.

It was finished w/ the same stain used on our Knotty Pine ceilings / walls and finished w/ a satin varnish for a perfect match to our house.

This was a very straightforward, quick & inexpensive alternative to purchasing expensive bi-fold doors.   

The doors took about 15 hours to build / sand and 10 hours to finish.   Total cost was around $100. 


Estimated Time Investment
Week Long Project (20 Hours or More)
Finish Used
Custom stain and satin varnish.
Recommended Skill Level
Beginner

Comments

Poolside Towel Cabinet from Benchmark Cabinet Plan

Submitted by Anonymous (not verified) on Thu, 03/23/2017 - 11:21

My father and I made this awesome poolside towel cabinet using the Benchmark Cabinet plans. A super easy 1 day build and it looks amazing on the patio. Bring on the pool weather! 

Estimated Cost
$60
Estimated Time Investment
Day Project (6-9 Hours)
Finish Used
Chalk paint/Poly topcoat
Recommended Skill Level
Beginner

Outdoor Storage Bench

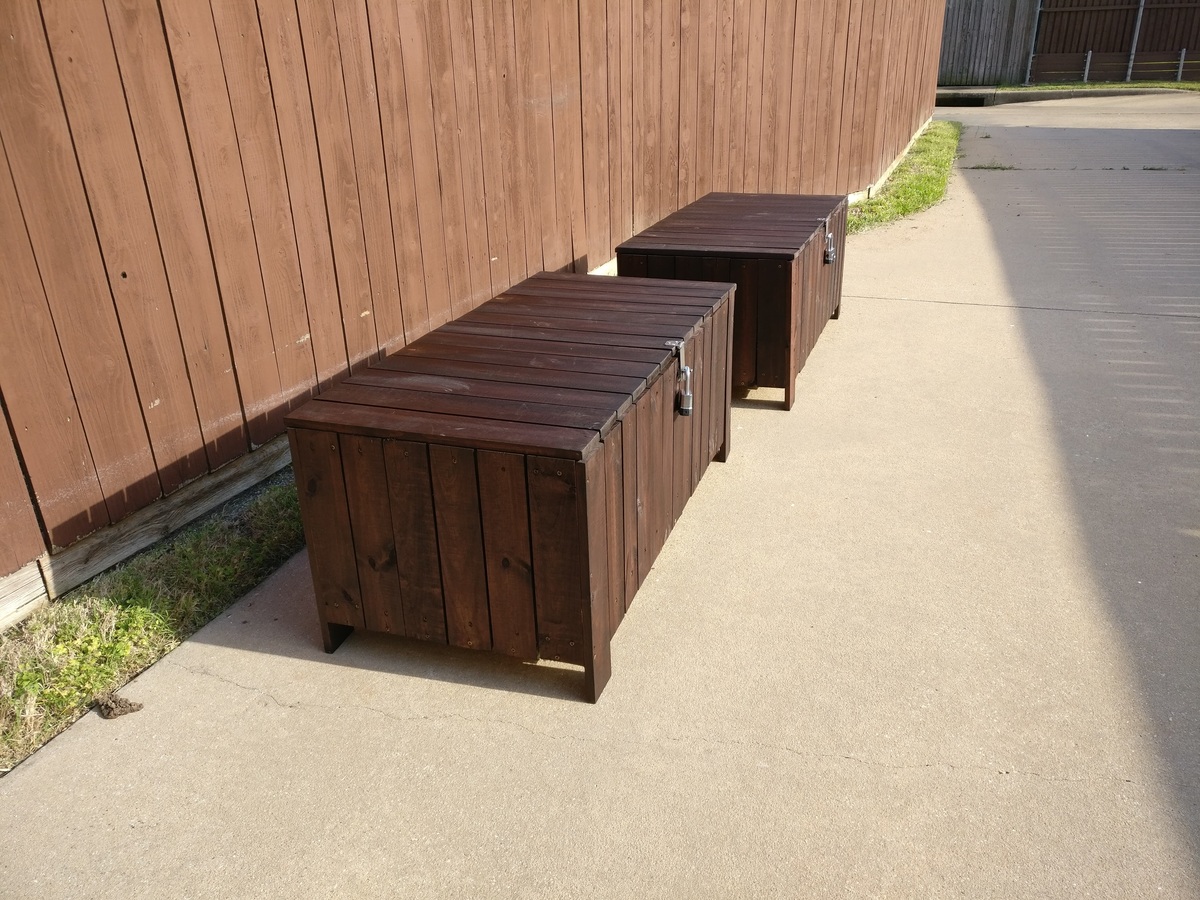
Submitted by Anonymous (not verified) on Wed, 05/20/2020 - 10:20

These benches were for my Eagle Scout project. They will be used in the IB Garden at my school. The group creating the garden were very pleased with how these benches turned out. Thanks for the plans!

Estimated Cost
$300 for two
Estimated Time Investment
Weekend Project (10-20 Hours)
Finish Used
Red Mahogany stain
Recommended Skill Level
Beginner

Simple 2x4 Potting Bench modified with inset tote for potting soil or water

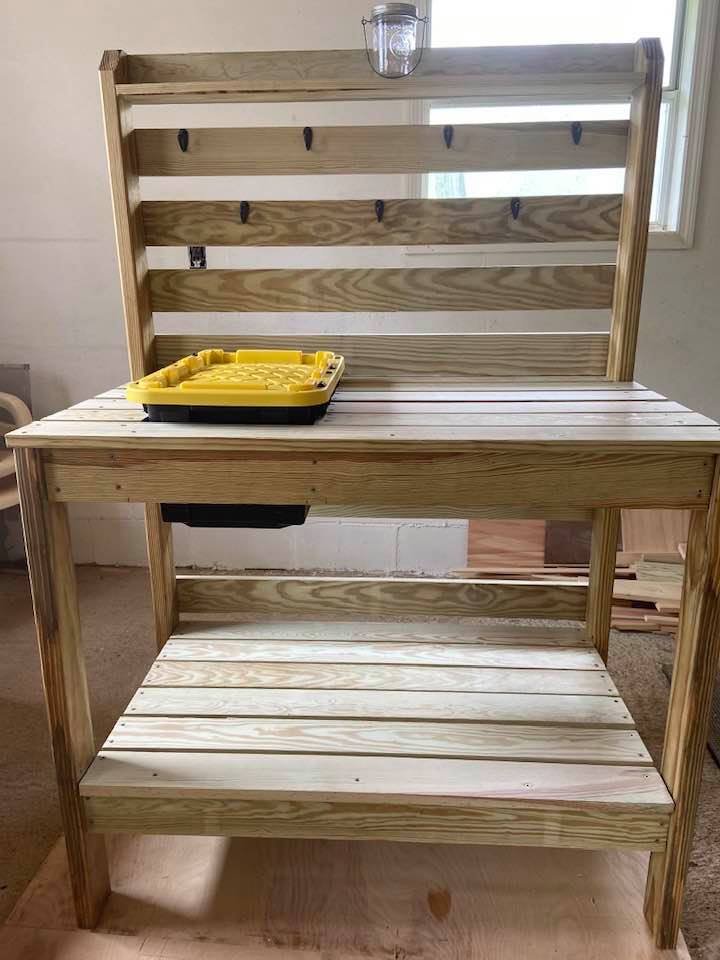
Submitted by SusanStory on Thu, 04/15/2021 - 10:10

Made this for a friend who does cuttings of her plants for others. I used the Simple 2x4 potting bench plan and modified it to hold an inset 7 gal. Commander tote box with snapping lid with two 2x4 @ 22" braces to support the tote on each side attached to the front and back aprons. She wanted something that would hold a medium size bag of potting soil with a lid to keep snakes and other critters out since she lives in the country. There are plenty of hooks to hang tools and other items.

Estimated Cost
$224.00
Estimated Time Investment
Afternoon Project (3-6 Hours)
Finish Used
Thompson Water sealer
Recommended Skill Level
Beginner

Comments

Modern outdoor chairs

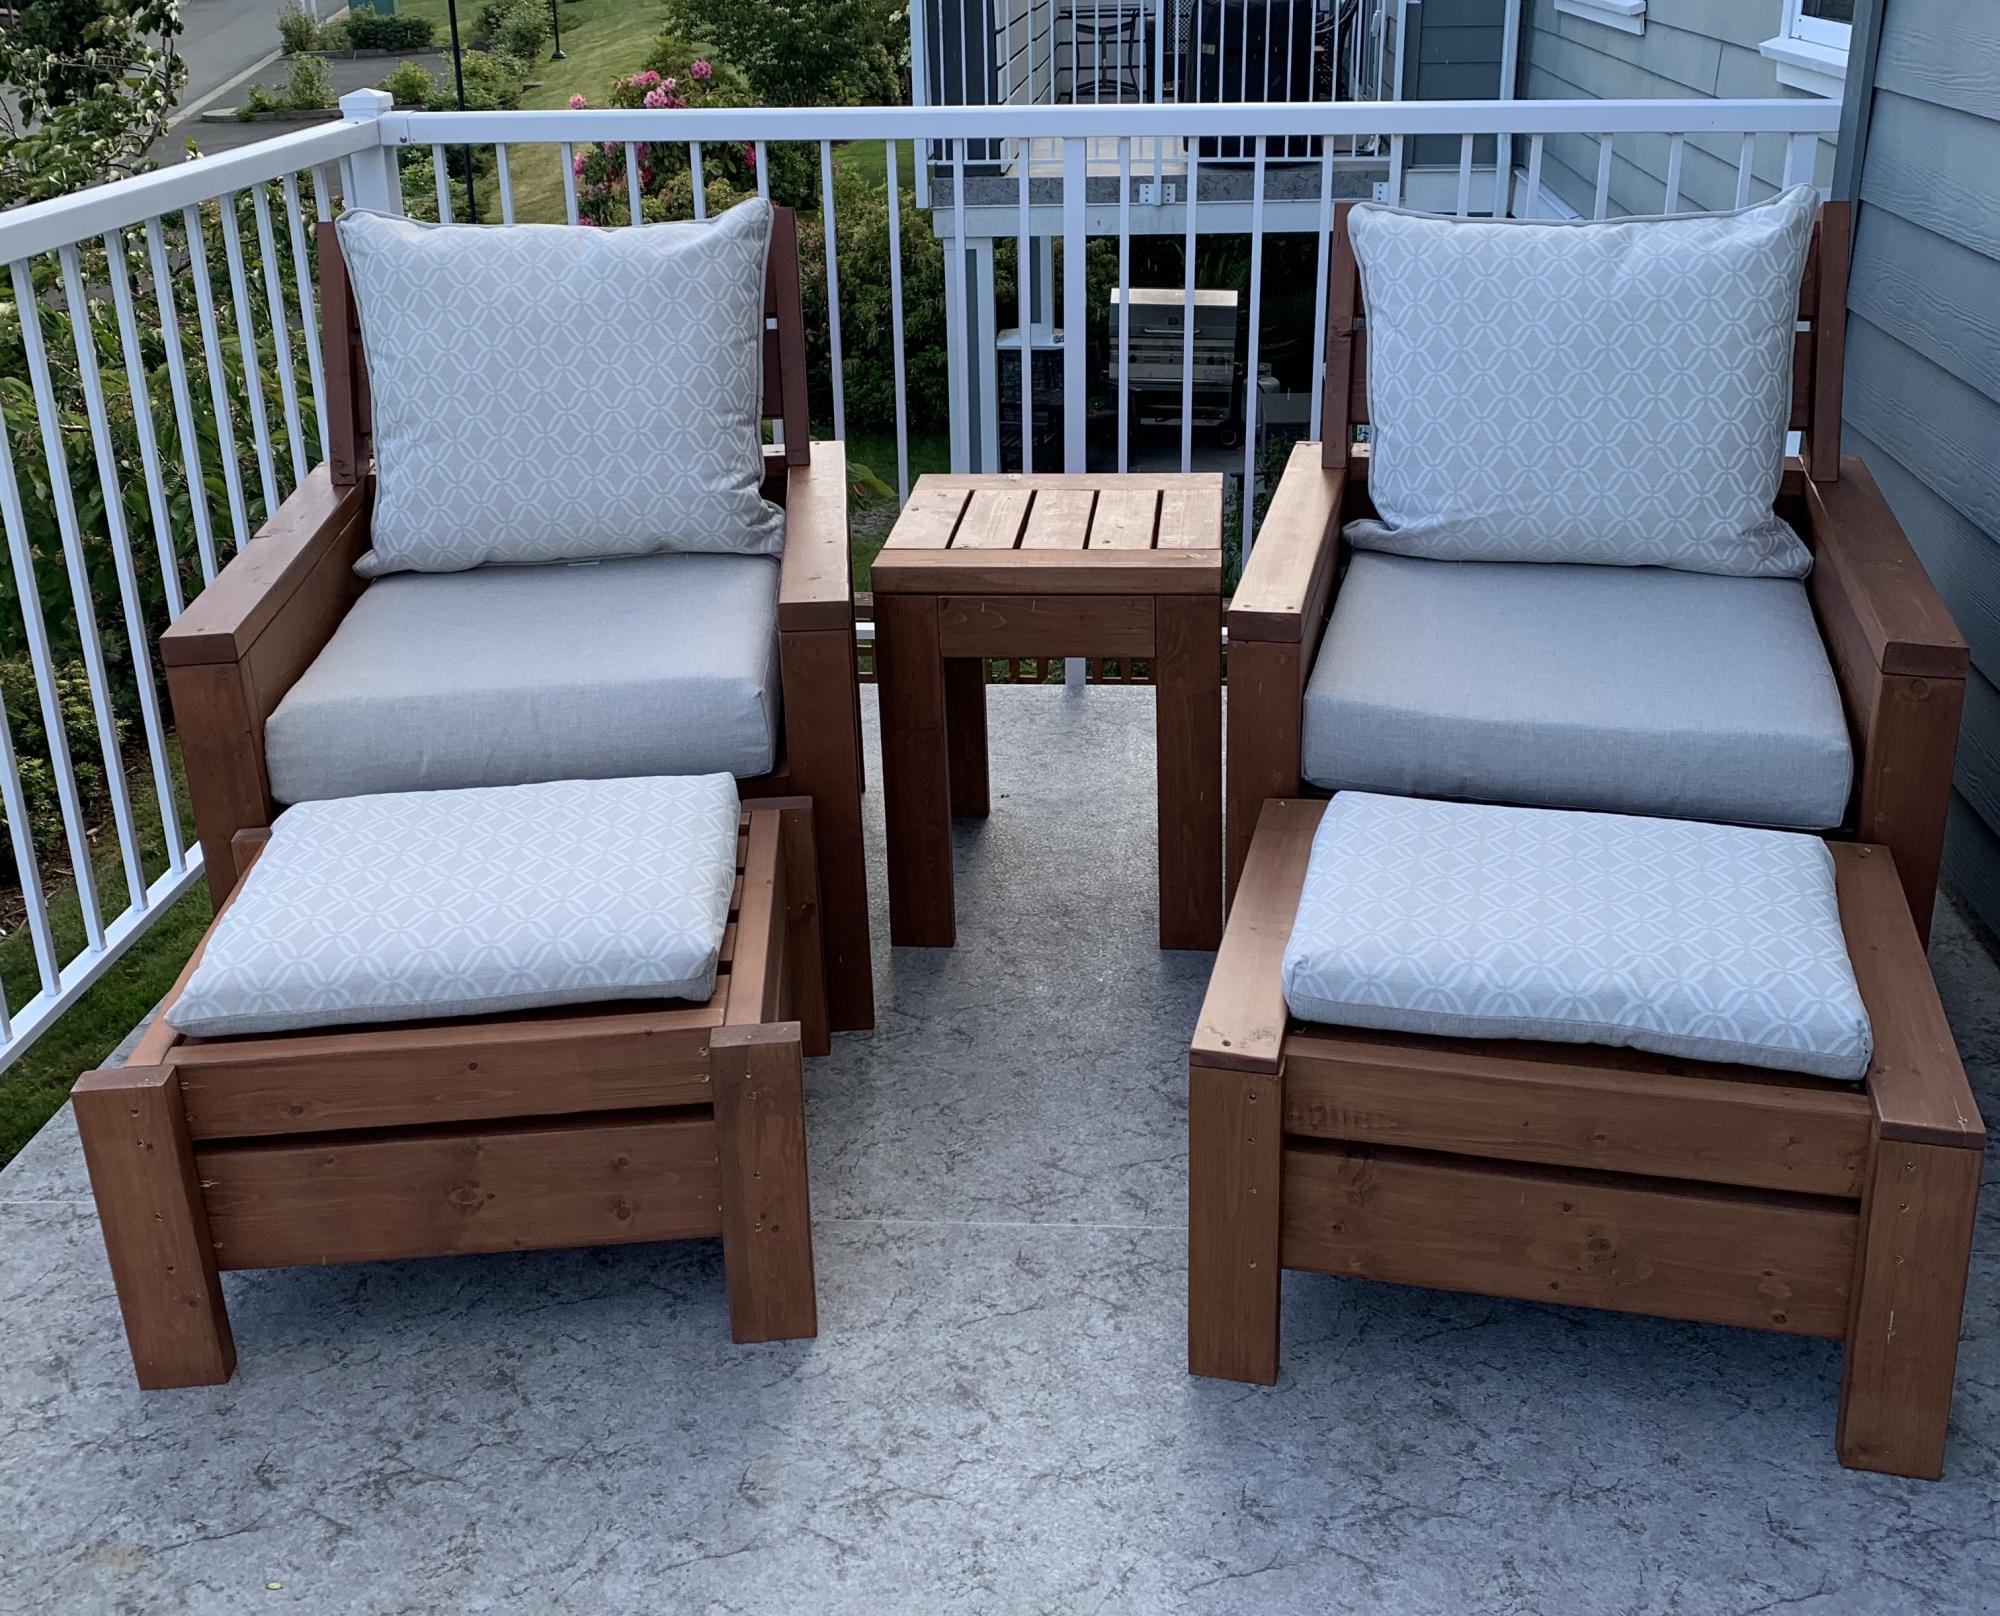
Submitted by Anonymous (not verified) on Tue, 06/08/2021 - 08:01

Love these plans! Made a modification and added backs to the chairs. Also, built ottomans to match the chairs which can also be used as additional seating.
Many compliments on the set. Thanks Ana!

Comments

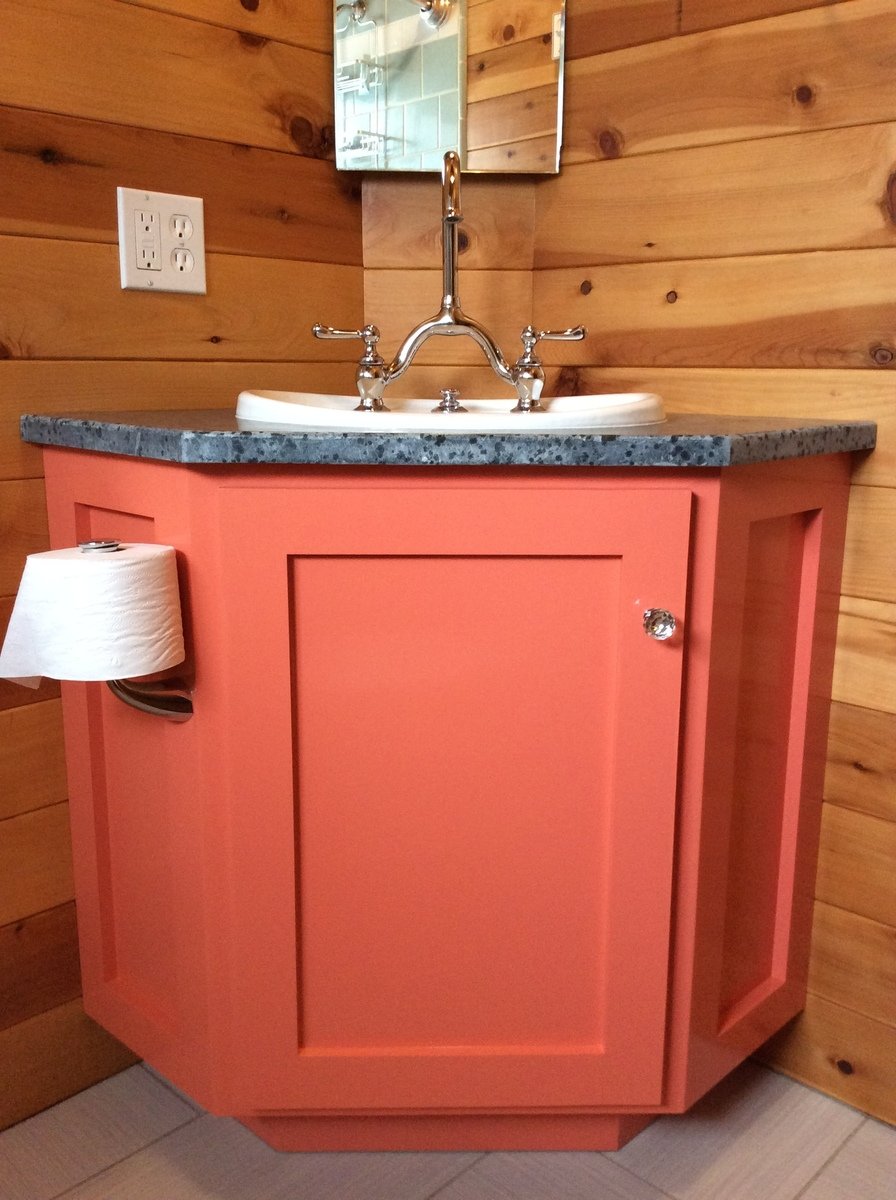
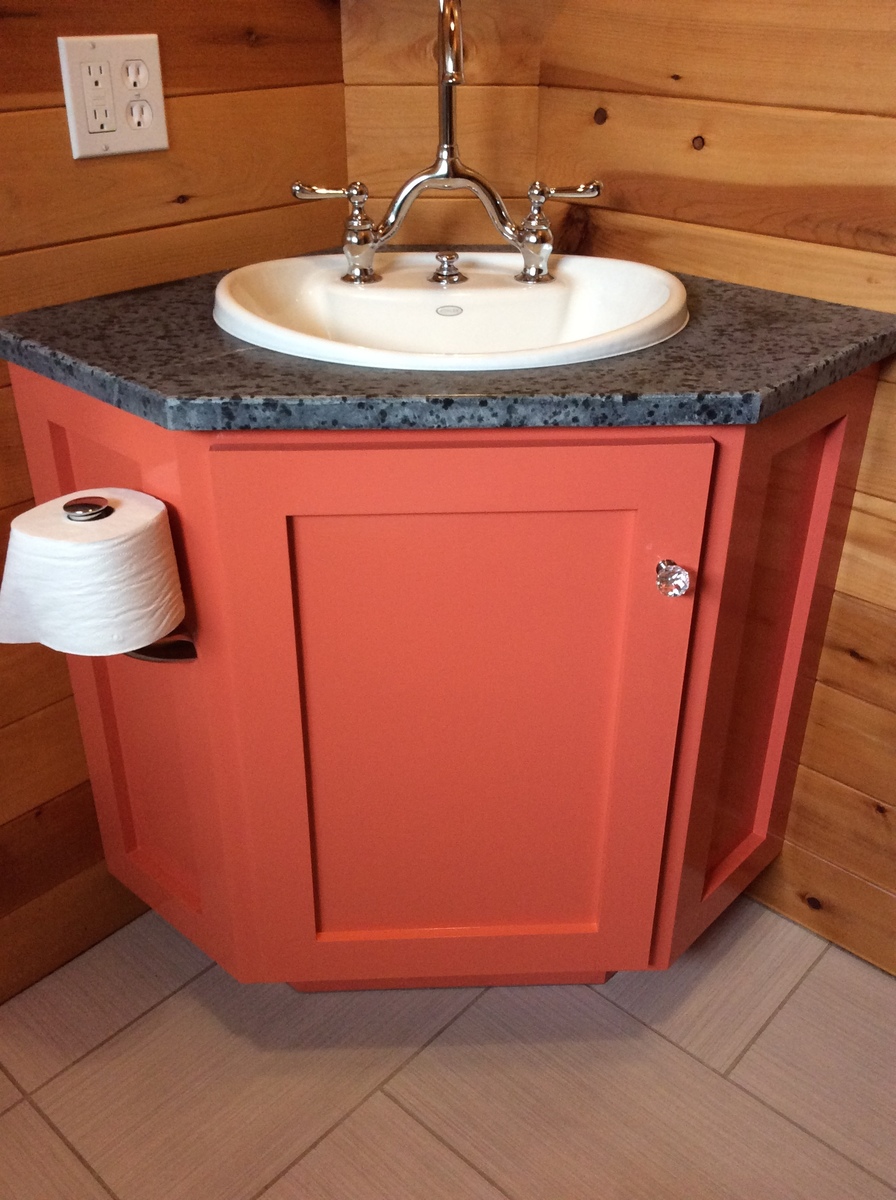
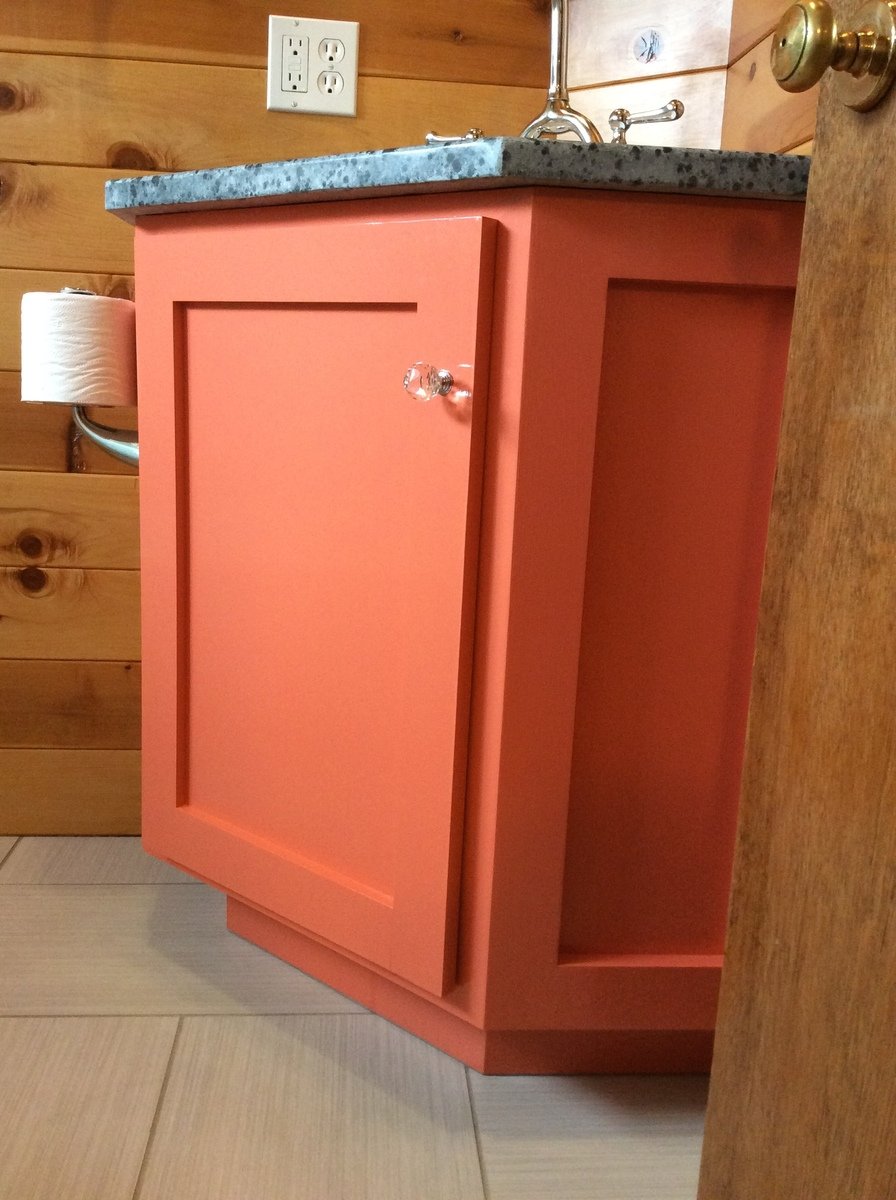
Bathroom corner vanity

Submitted by Anonymous (not verified) on Mon, 06/12/2017 - 12:49

This project started because a corner bathroom vanity that fit my space requirements and budget did not exist. A plan specific to what I exactly needed also did not exist. After combing through what plans I found online, the Wall Kitchen Corner Cabinet best matched what I wanted. I modified it with the Momplex Sink Base Kitchen Cabinet in order to turn it into a sink base.


But, there was a problem. I hadn't actually built anything before. In order to get at least one project under my belt, I built the Vintage Step Stool. It turned out great, so I figured I was ready to go! Strangely enough, after spending about $100 and several weekends picking away at this project, it was done! It looked great, even. Then, I moved the vanity into the bathroom and realized that, while it may have looked great, it wasn't very square. Lesson learned was that this is a two person project. It is too difficult to keep things square and screw at the same time when there is only one person.


At this point, everyone was tired of having to use the kitchen sink to brush their teeth and wash their hands, so we needed to get this project done. $100 later, we had more material. Since I had figured out what needed to be done with the first vanity, let's call it our prototype, the second vanity went together REALLY quickly. 


Within a few hours, it was pieced together. Since it was going to be painted, we used Bondo to cover up our imperfections. Yes, of course there were imperfections. While much better than the prototype, it still was only my third woodworking project. Sanding, caulking, and priming took another hour or so. A few coats of the finish paint went on, followed by a couple more coats of a clear sealer, and it was done.


We moved it into place, screwed it to the wall, put the soapstone countertop on along with the sink and faucet, and it truly was complete. Sink is Kohler, faucet came from our local Habitat for Humanity store and I'm not sure what brand it is, and the soapstone came from soapstones.com. If we had oiled the soapstone with mineral oil, it would be a very dark gray.
Estimated Cost
$100-$150 for the wood, screws, caulk, primer, paint, and clearcoat.
Estimated Time Investment
Weekend Project (10-20 Hours)
Finish Used
Pratt & Lambert Azalea 5-12 and Designer White 33-1 for the colors. After each application dried, I sanded it with a very fine grit sandpaper to make the finish silky smooth. I also used our air compressor to blow the dust off, and then used a damp cloth to wipe it down before applying more coats. That worked better for me than using a tack cloth. Then, I added a few coats of a water based, heavy duty floor finish, meant for wet areas. I don't recall what brand it was.
Recommended Skill Level
Intermediate

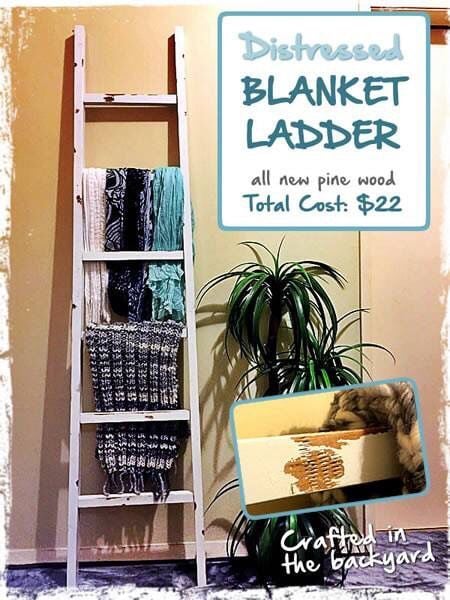
Blanket - Scarf Ladder

Submitted by naomi on Fri, 06/23/2017 - 06:41

I love blanket ladders and decided to make one.

I have to admit this was trickier than I thought.

Getting the slightly tapered angle right was a pain in the butt. I do love the final result though.

I used screws and a hammer and random things to give the new wood an old look.

I used the vaseline technique for the paint distressing.

Built from Plan(s)
Estimated Cost
$22
Estimated Time Investment
Afternoon Project (3-6 Hours)
Finish Used
Stain and enamel paint.
Recommended Skill Level
Intermediate

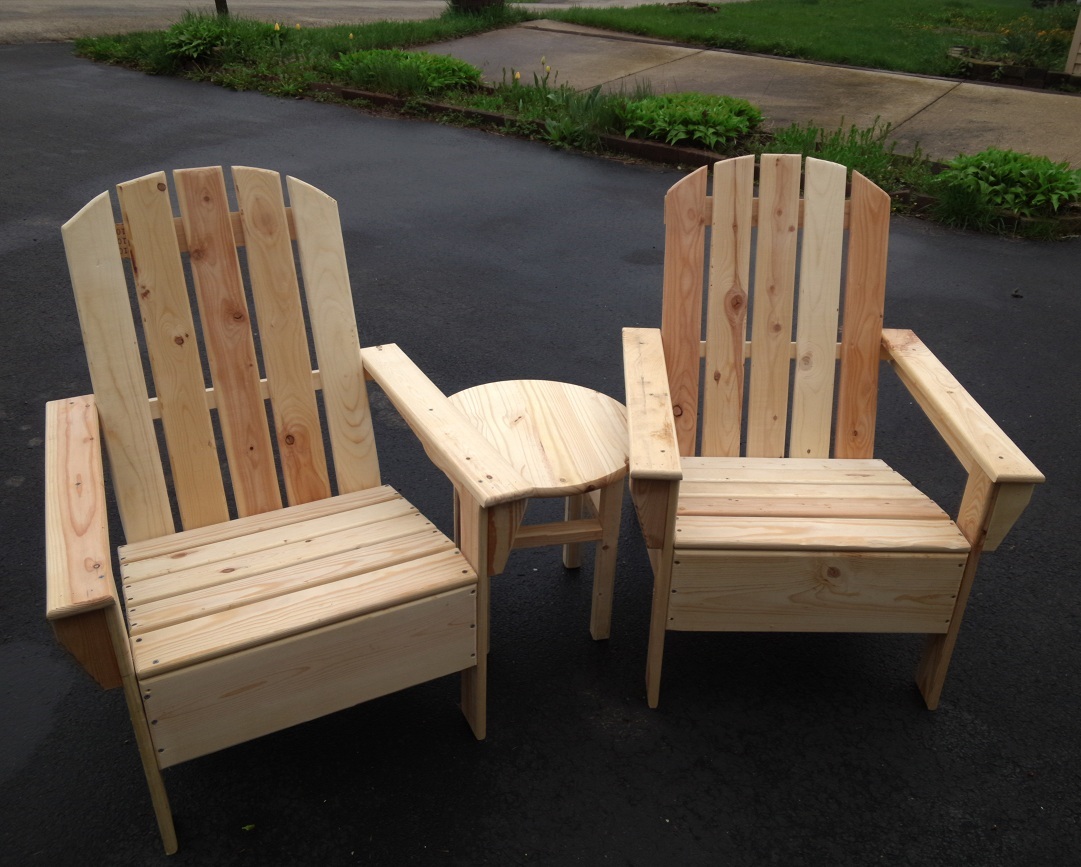
Chairs and Round Side Table for the yard!

Submitted by tbman7 on Fri, 05/03/2013 - 15:38

My dad and I built these chairs by following Ana's Adirondack plan, and then adding our own curved back. We also routed all the edges to give the entire chair a rounded feel. We also built the simple little round side table to use with the chairs.

Built from Plan(s)
Estimated Cost
$25 per chair
Estimated Time Investment
Day Project (6-9 Hours)
Finish Used
unfinished, but plan on using an outdoor finish
Recommended Skill Level
Beginner

Providence Bench - Heavy Timber Version

Submitted by sawduster on Sat, 10/28/2017 - 15:37

My wife saw the examples of the Providence Bench on this website and thought we could use one on our front porch.  We had some heavy lumber from a huge pin oak tree that we had taken out of our yard, and that was used in the construction.  In one of the attached photos, you can see the cross-section dimensions of the two top boards are 6-3/4" x 3-1/4".   The legs, main beam, and angle braces are rough cut, full dimension 2 x 4's.  Due to the lumber dimensions not being the same as standard commercial lumber, I had to vary the dimensions slightly.  Because of the dense, thicker lumber, construction took longer than it would of had I used pine or other softer wood.  I used a Kreg jig attachment to drill the holes for the screws.  We painted it with Sherwin-Williams 1021 Hi-Tech Black exterior grade acrylic paint.  The final weight is about 105 pounds.

Built from Plan(s)
Estimated Cost
Less than $100; I used lumber from a tree that was removed from my yard, and a friend with a sawmill milled the lumber at minimal cost.
Estimated Time Investment
Week Long Project (20 Hours or More)
Finish Used
Sherwin-Williams 1021 Hi-Tech Black exterior grade acrylic paint.
Recommended Skill Level
Intermediate
Seasonal And Holiday

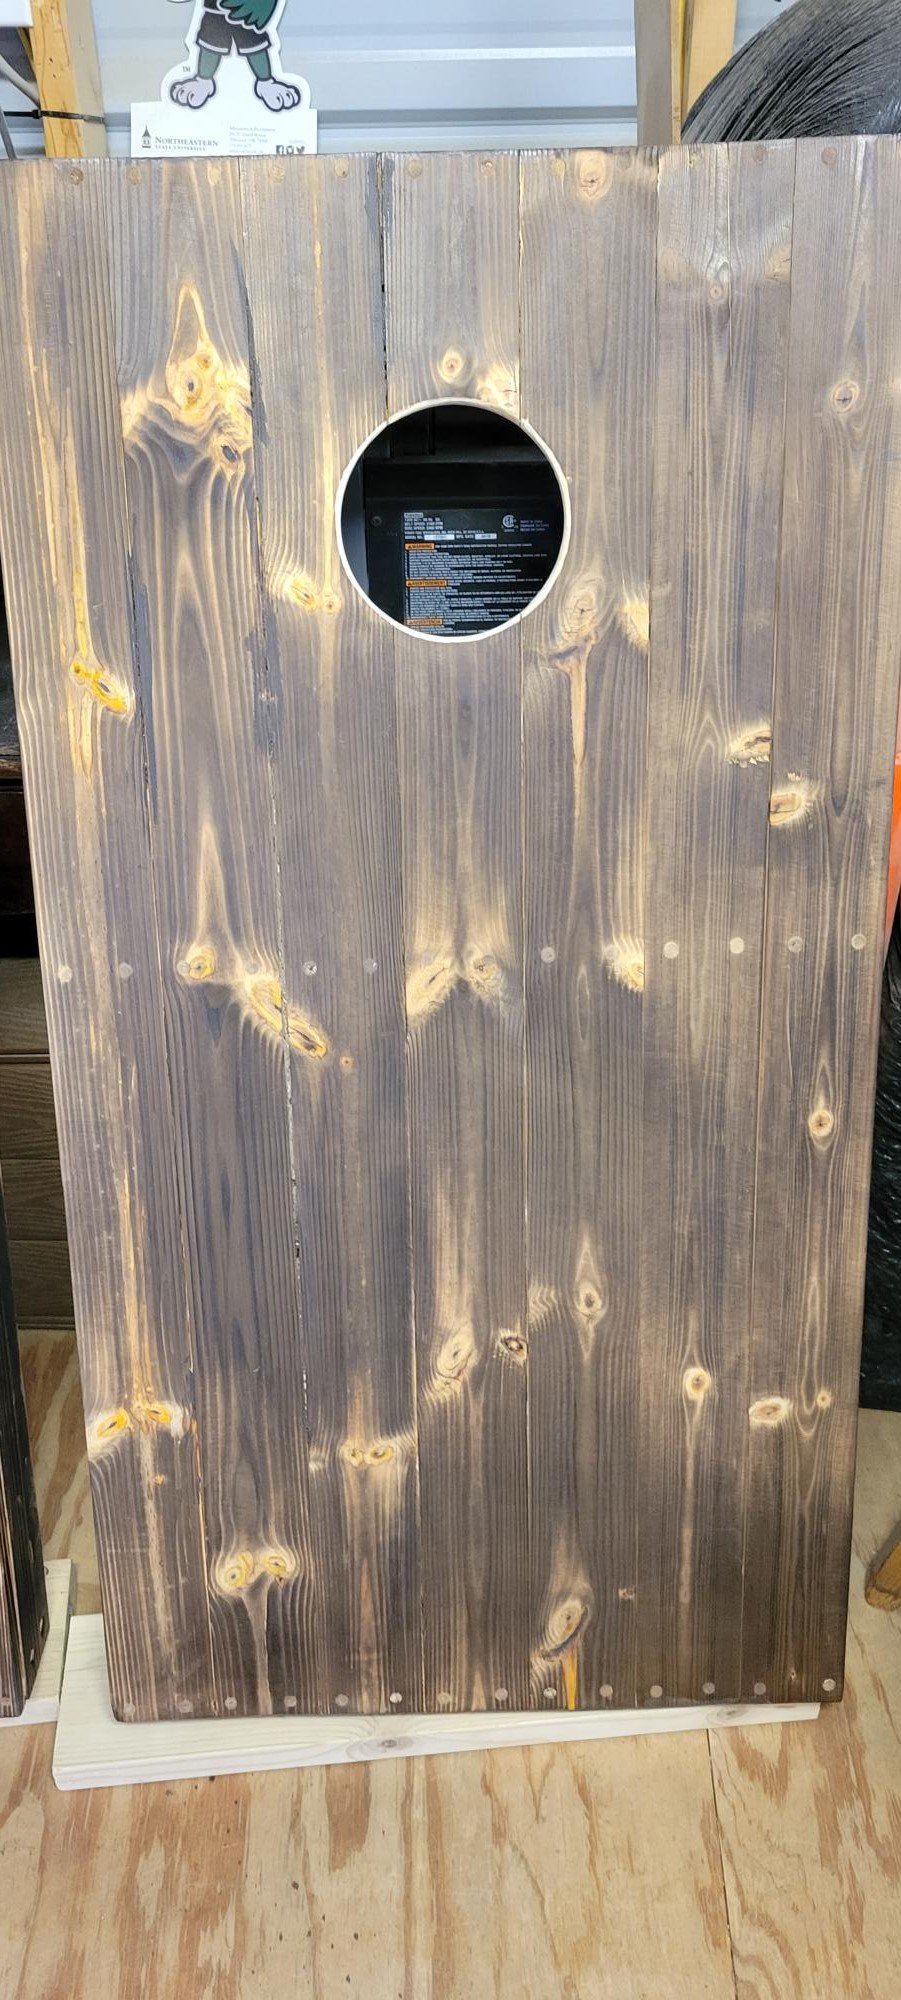
Shou Sugi Ban (Yakisugi) Cornhole Boards

Submitted by Anonymous (not verified) on Sun, 12/26/2021 - 14:48

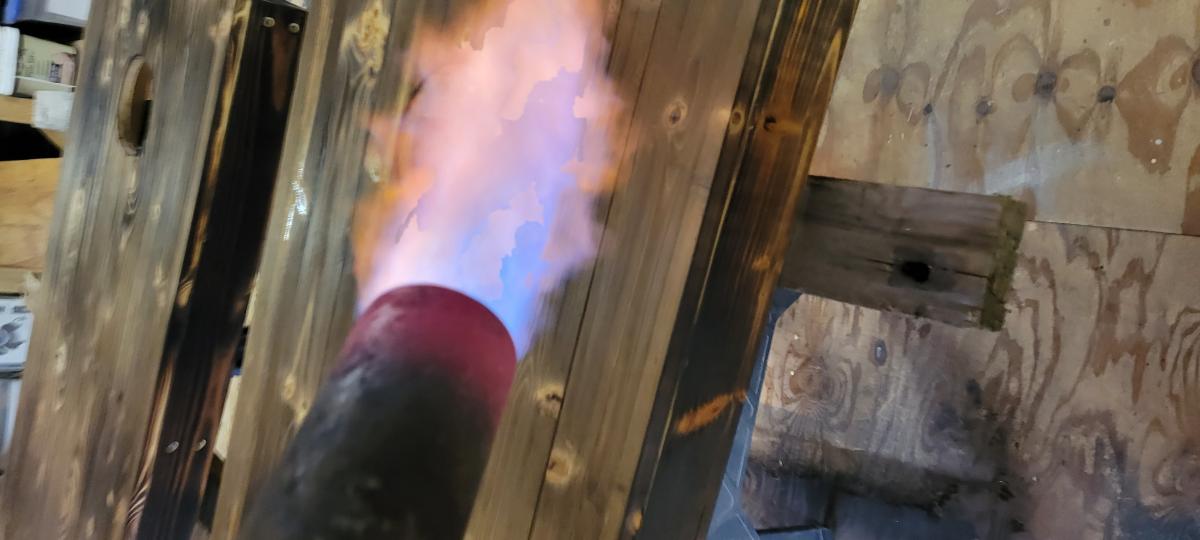
I'm James Farquhar, designer, and fabricator. This is the second set of cornhole boards I built this year. This set is the regulation size of 48" x 24" according to the American Cornhole Association. It is made from fir 2 x 4 s and pine 1 x 4 s (6 per board). Each board is glued with Titebond II and countersunk Torx top screws (#8 1-1/2 inches). It is coated with Minwax polyacrylic (8 layers sprayed on) and Howard's bee's wax (3 layers). The boards are secured with 3-inch toggle latches in pairs. Kayak carrying handles with four screw ports; I used the same Torx Screws I used to put the boards together, extra for strength. The total weight of the boards is 60 pounds. I used a Texas Flame Thrower to Shou Sugi Ban (Yakisugi), as a finish.

Comments